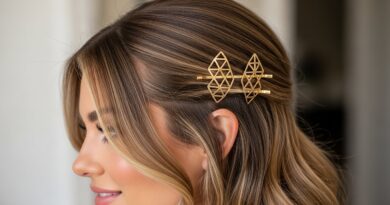
Half-Up 24 Heart-Shaped Pull-Throughs Romantic for Valentine Celebrations
Okay, let’s be real. Valentine’s Day is coming up, and you want to look special without spending hours in front of the mirror. I get it. You want something romantic, maybe a little whimsical, but also something you can actually do yourself.
That’s why I’m obsessed with this half-up style. It sounds fancy—”24 Heart-Shaped Pull-Throughs”—but trust me, it’s just a clever twist on a braid. It looks intricate and absolutely dreamy, like you stepped out of a fairy tale.
It’s the perfect blend of sweet and sophisticated for any Valentine’s plan, from a fancy dinner to a cozy night in. And the best part? It’s way easier than it looks. Let me show you how to get this gorgeous, romantic look in no time.
What You’ll Need to Get Started
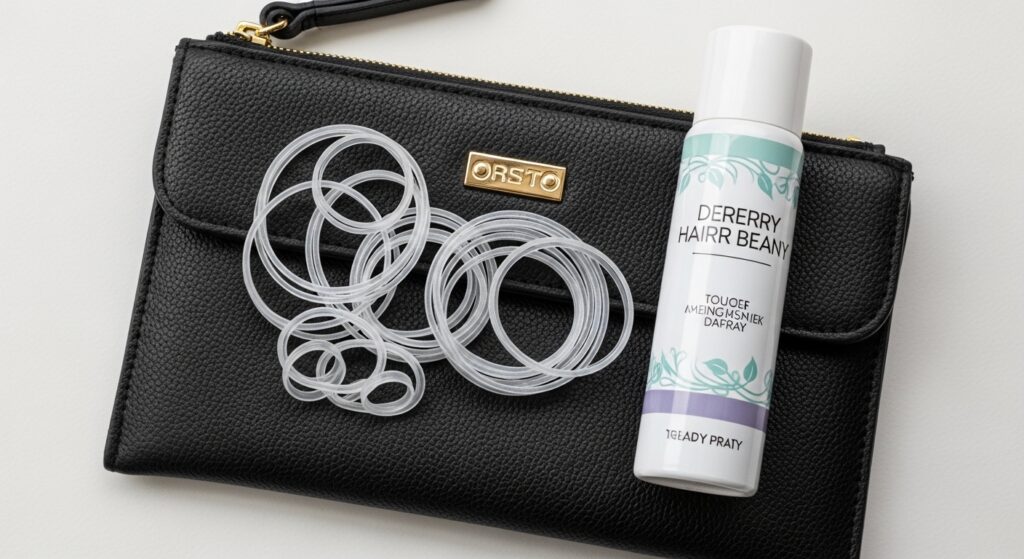
You don’t need a salon full of products for this. We’re keeping it simple and achievable. The right basic tools make all the difference in creating clean sections and a polished finish.
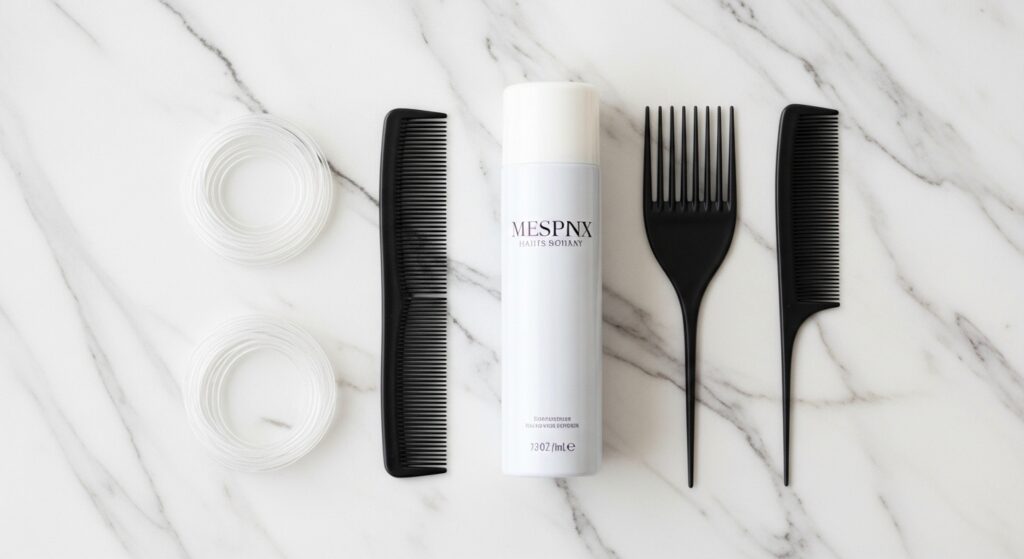
Here’s your quick checklist:
- Clear elastics: A pack of small, clear ones is essential. They’ll disappear into your hair.
- A fine-tooth comb: For creating sharp, clean parts. A tail comb is even better for precision.
- Light-hold hairspray or texture spray: To add a bit of grip and hold without stiffness.
- Hair that’s at least collarbone-length: This works on layered cuts, bobs, and even works as a stunning romantic goth hairstyle on darker hair.
Step 1: Prep Your Hair
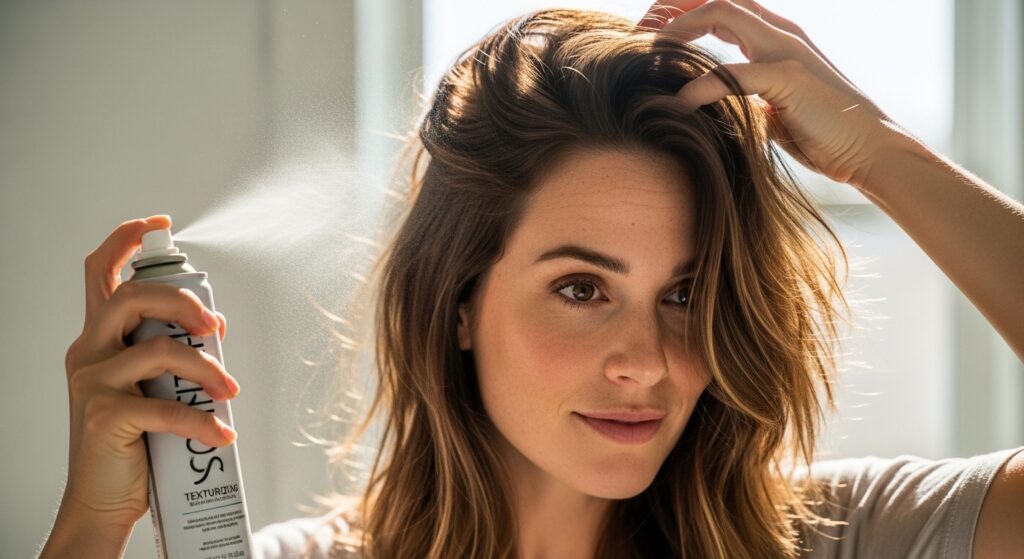
Start with day-old hair or add a bit of texturizing spray to clean, dry hair. A little grit helps the style hold better and gives the pull-throughs more definition. Slight waves or natural texture are perfect.
If your hair is very slippery, a light mist of dry shampoo at the roots will add the necessary volume and grip. Don’t brush it out completely; we want that lived-in, soft feel. This is the foundation for that effortless, old money hair vibe—polished but not overdone.
Step 2: Section for the Half-Up Crown
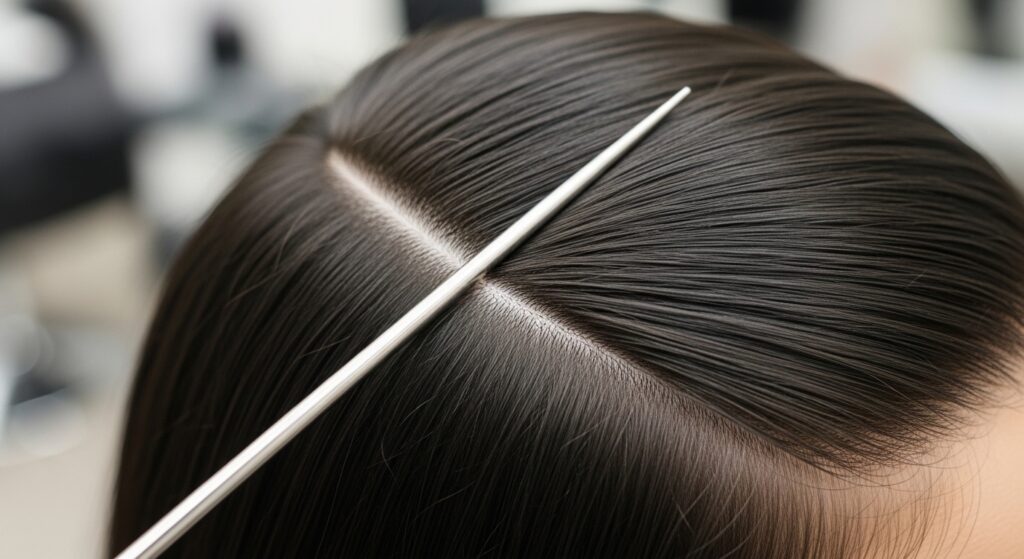
Use your tail comb to create a clean, deep side part or a middle part—whatever you prefer. Then, section off the top half of your hair. Imagine drawing a line from just above each ear, over the crown of your head.
Secure this top section with a clip for now. We’ll focus on this portion to create the hearts. The hair below will stay down, giving you that beautiful, romantic half-up effect that’s so perfect for celebrations.
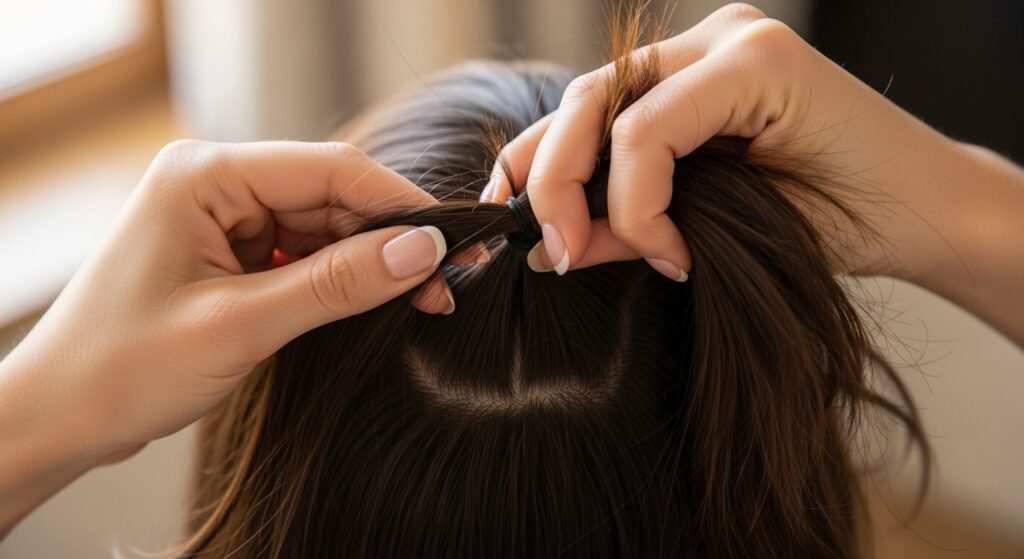
Step 3: Create Your First Two Sections
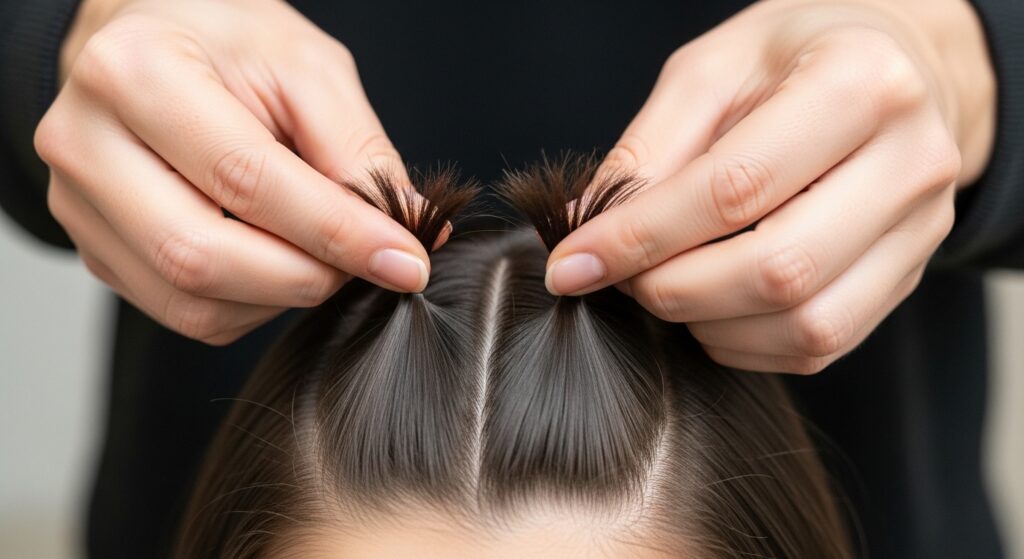
Release a small piece of hair from the front of your clipped section, near your part. This will be the start of your first heart. Take a similarly sized section right next to it.
These two sections should be even and about an inch apart. Think of them as the two top curves of the heart. Keep the rest of the clipped hair out of the way. Precision here makes the final shape much clearer.
Step 4: Tie the First Loop
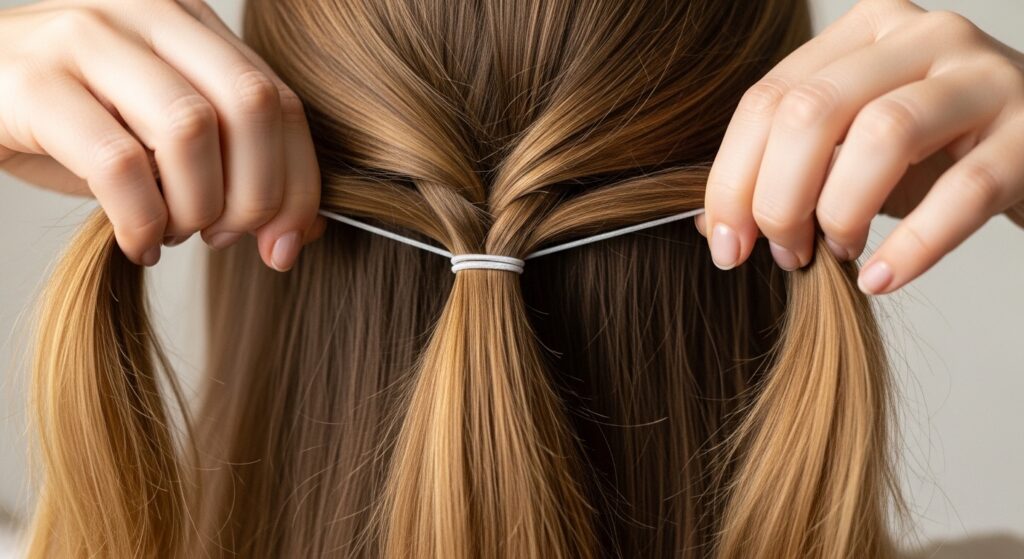
Take those two front sections and tie them together with a clear elastic. Make it snug, but not too tight against your scalp. You should now have a small, isolated ponytail right at the front of your half-up section.
This is the anchor for your first heart. Fluff it gently to loosen it a tiny bit. This little bit of volume is what will make the “pull-through” step possible and give the style its soft, romantic dimension.
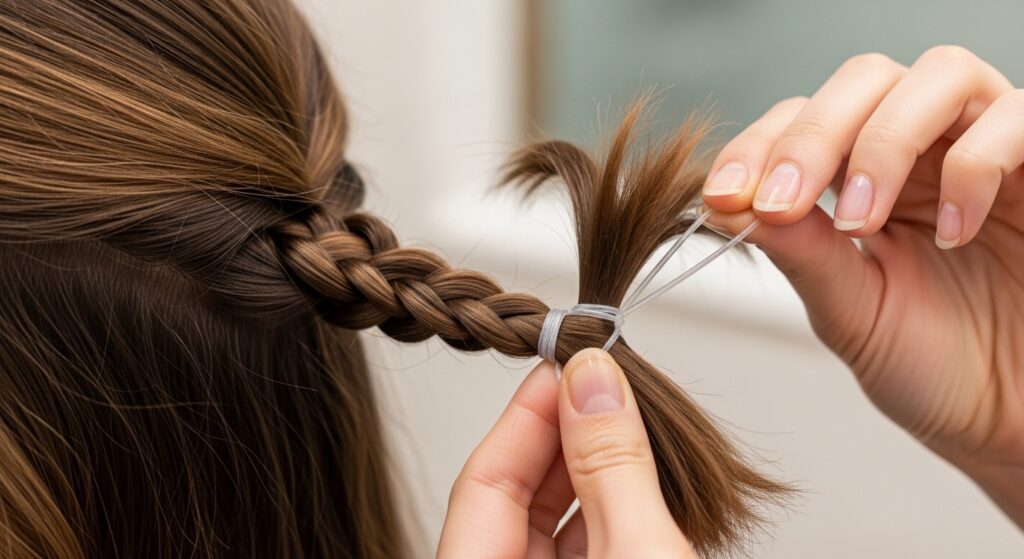
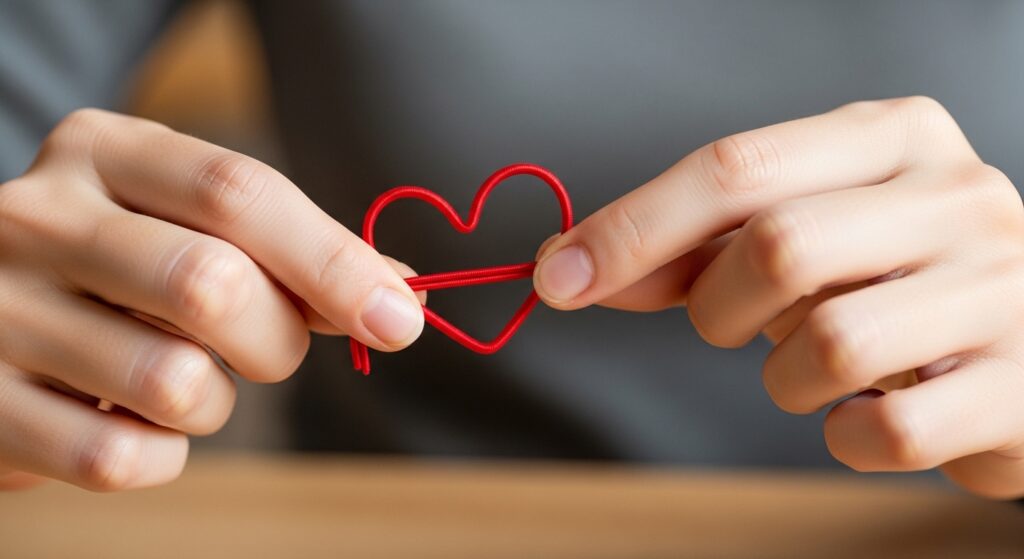
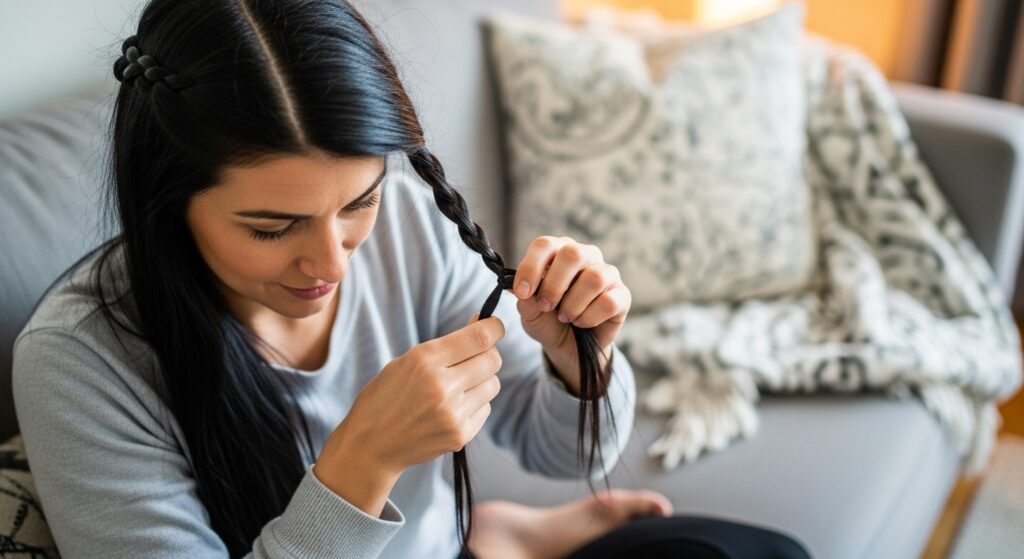
Step 5: The Pull-Through Technique
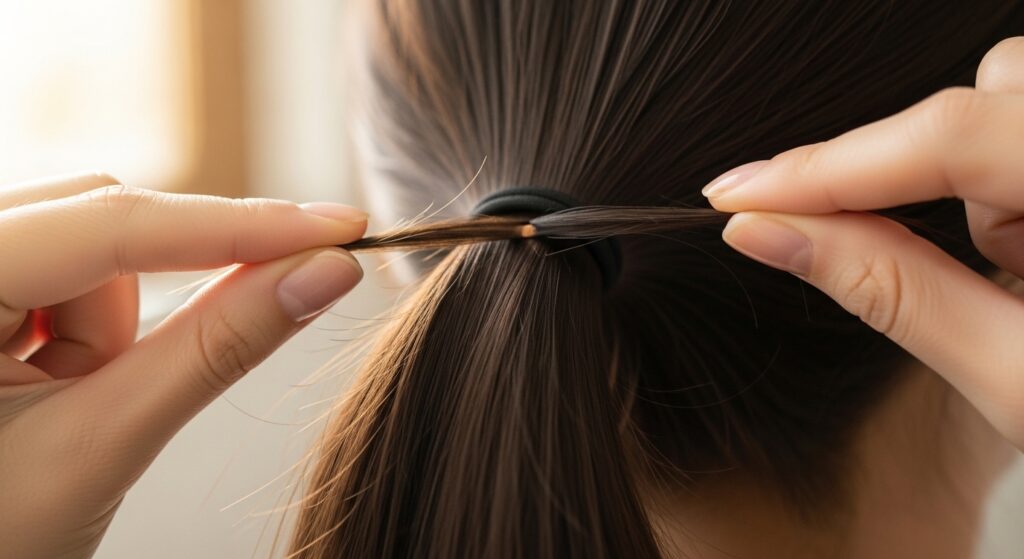
This is the magic step! Gently split the little ponytail you just made right above the elastic. Use your fingers to open up a hole. You’re essentially creating a small loop or tunnel in the hair.
Be careful not to pull too hard and break the hair. The goal is a neat opening that you can poke hair through. This technique is a staple in many 2026 hairstyles for its beautiful, intricate look.
Step 6: Forming the Heart Shape
Now, from right behind that first ponytail, gather a new section of hair. This section should be slightly wider, as it will form the bottom point of the heart.
Pull this new section of hair forward, up, and through the hole you created in Step 5. Gently tug it all the way through until the elastic snugs at the base. See it? You’ve just made a heart shape with hair!
Step 7: Secure the Heart
Combine the hair you just pulled through with the two original sections from the first ponytail. Gather them all together and secure them with a new clear elastic.
This new ponytail now contains all the hair and becomes the base for your next heart. Adjust the shape by gently tugging on the sides of the first loop to perfect the heart silhouette. It’s instantly romantic.
Step 8: Repeat All the Way Back
This is the rhythm: create two new sections from the loose hair behind your current ponytail, tie them, split the ponytail, pull a new section through, and secure. Repeat this process, moving toward the back of your head.
Aim for about 12 hearts on each side, leading back to the crown. The number isn’t strict—just go until you run out of hair in your half-up section. The repetition is meditative and gets faster as you go.
Step 9: Joining the Two Sides
Once you’ve completed a row of hearts on each side of your part, you’ll have two separate “strands” meeting at the back. Combine the two final ponytails from each side into one.
Secure them together with a final clear elastic. You now have a stunning half-up style with a detailed heart-embellished crown. This intricate detail is what takes it beyond a simple half-up do.
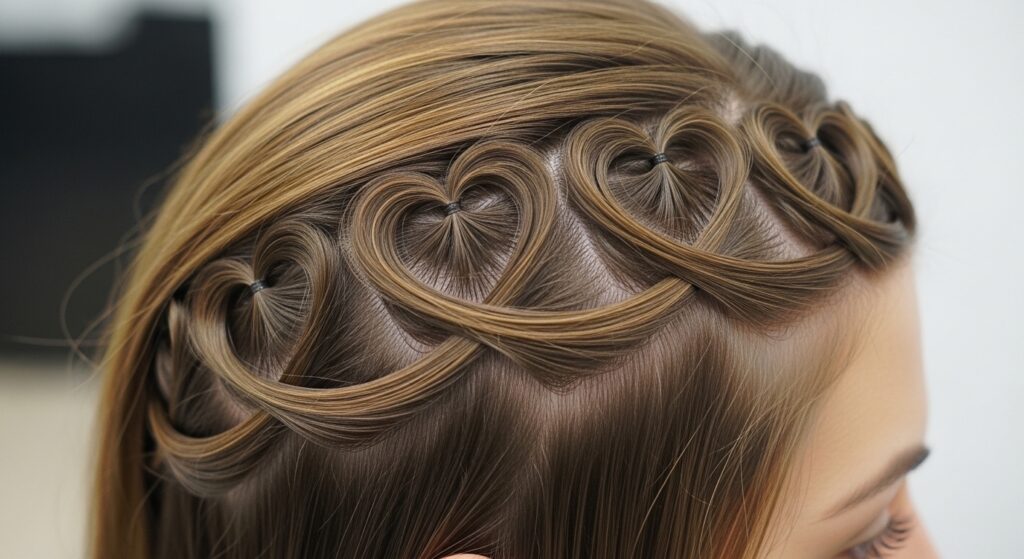
Step 10: Loosen and Shape for Romance
This step brings the whole look to life. Gently tug on the sides of each heart loop to loosen and plump them up. Pull a few face-framing pieces loose for a soft, effortless feel.
You want the hearts to be visible and dimensional, not flat against your head. This softness is key for that dreamy, romantic vibe. It’s the opposite of a severe hime cut—it’s all soft curves.
Styling the Down Portion
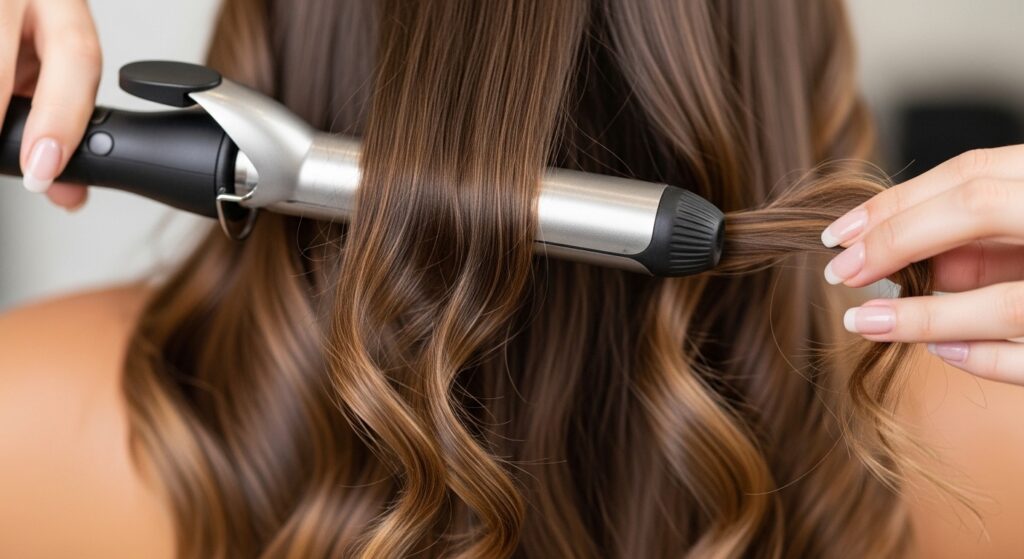
Now, let’s style the hair that’s left down. For maximum romance, create loose waves with a curling wand or iron. Curl away from your face in large sections for a natural, undone look.
Once all the hair is curled, run your fingers through the waves to break them up. This creates beautiful movement and pairs perfectly with the structured hearts above. It’s a perfect blend of detail and flow.
Adding Final Hold and Shine
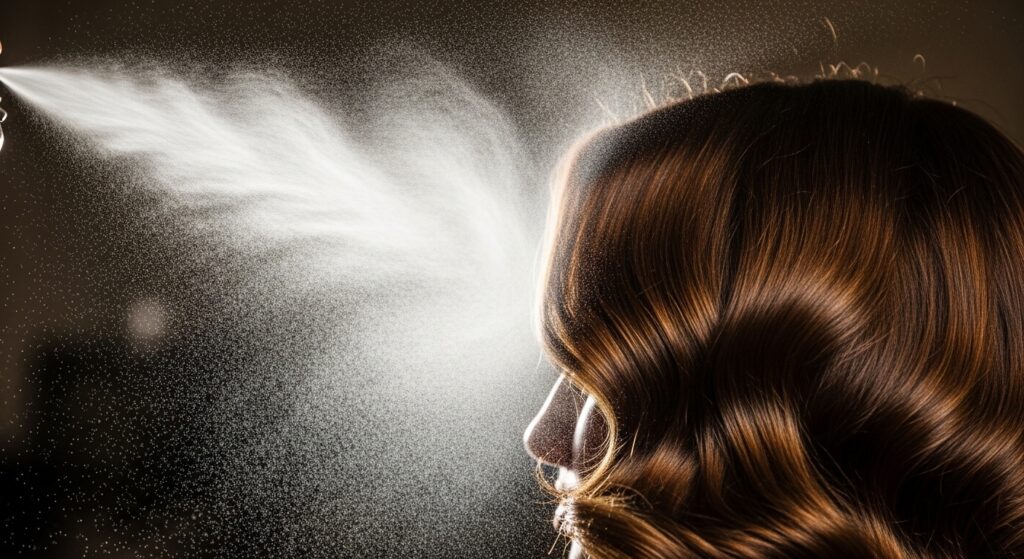
Finish with a light mist of flexible-hold hairspray. Hold the can at arm’s length to avoid any stiffness or crunch. You just want to lock in the shape and tame any flyaways.
For extra shine and a touch of that glitchy glam hair magic, rub a tiny drop of hair serum between your palms and lightly smooth it over the surface of your waves. This adds a healthy, romantic sheen.
Adapting for Shorter Hair (Bobs & Lobs)

Have a quiet luxury bob or an asymmetrical lob? You can still do this! Just create smaller hearts and aim for 8-10 total instead of 24. Use tiny, clear elastic bands.
Section off a much smaller top portion of hair. The process is the same, but the final look will be a adorable, detailed accent at the back of your crown, with your chic bob framing your face. It’s unexpectedly gorgeous.
Creating a Dark Romantic Vibe
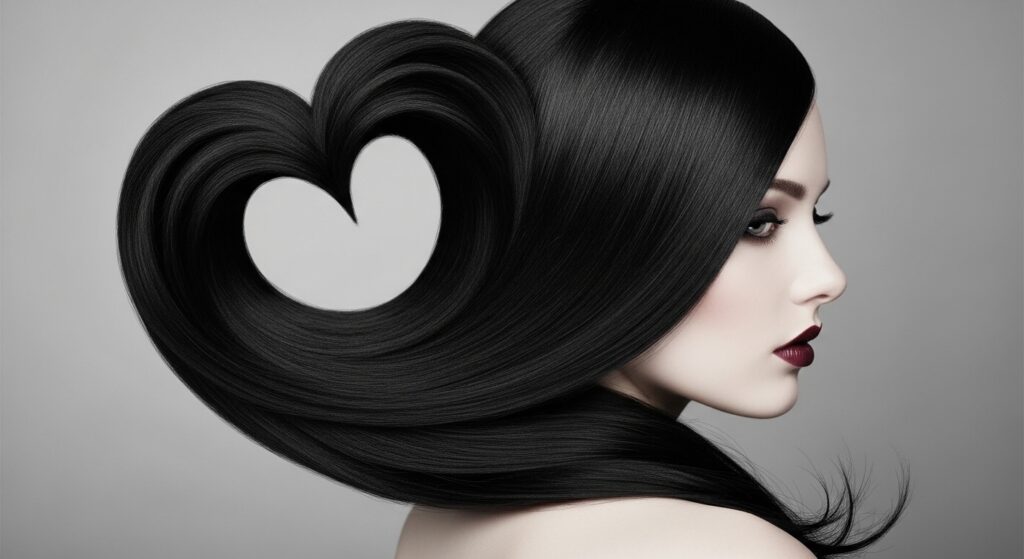
This style is amazing for a romantic goth hairstyle or vampire haircut aesthetic. Start with pin-straight, dark hair. Keep the sections very neat and precise.
Pair the finished hearts with a deep side part, sharp eyeliner, and a dark lip. The contrast of the sweet heart shapes against the dramatic makeup and hair color is absolutely stunning and perfectly moody for Valentine’s.
Accessorizing Your Heart Hairstyle
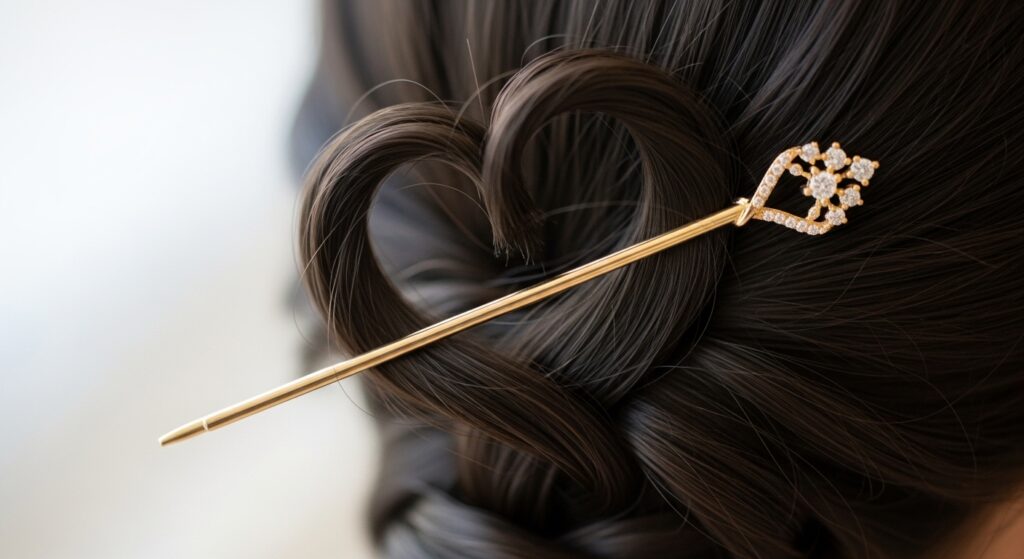
A little sparkle goes a long way. Tuck in a few delicate pearl or gold hairpins near the base of a heart. You could also weave a thin, satin ribbon through the pull-throughs before you start.
Keep accessories minimal and elegant to let the intricate hairwork shine. Think of it like jewelry for your hair—a little accent, not the main event. It adds that final touch of celebration.
Making It Last All Night Long
To ensure your style survives a night of dancing and celebrating, do a solid prep with texturizing spray. Carry a few extra clear elastics and a travel-sized hairspray in your bag.
If a heart gets loose, you can quickly re-secure the ponytail. A light mid-evening spray will refresh the hold. Good prep means you can forget about your hair and just have fun.
What to Do If a Heart Gets Messy
Don’t panic if one heart loses its shape. Simply find the elastic holding that specific heart. Gently tighten it by pulling on the elastic itself, not the hair.
Then, re-loosen and shape the loop with your fingers. The beauty of this style is its flexibility. Small adjustments are easy and won’t ruin the whole look. You’ve got this.
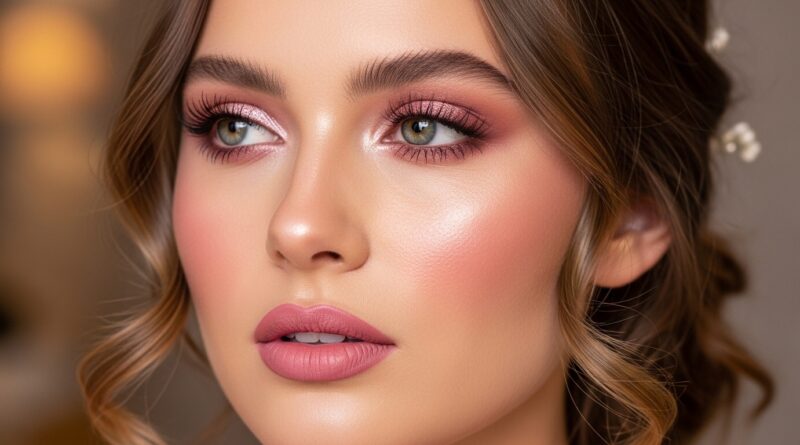
Pairing with Valentine’s Day Makeup
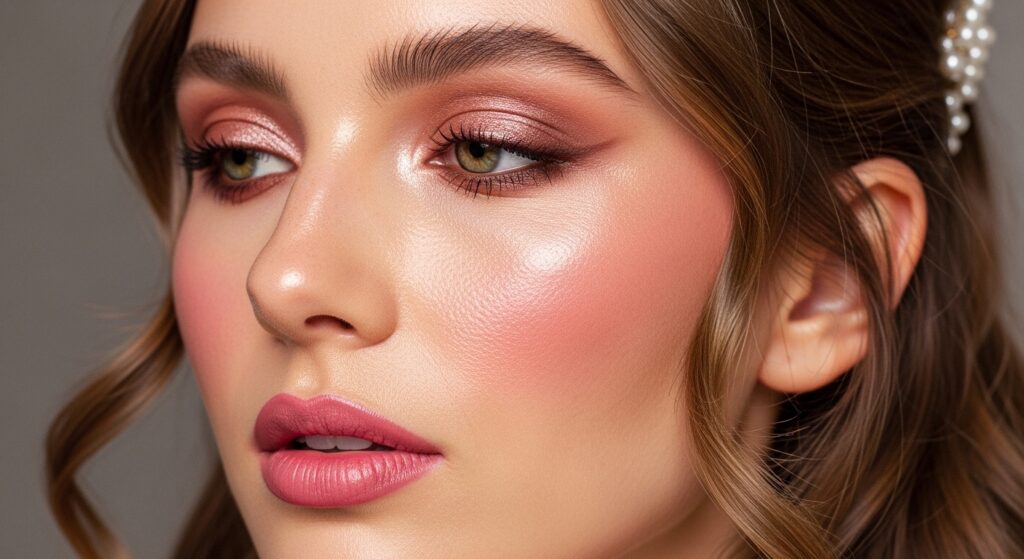
Keep your makeup in the same romantic lane. Think glowing skin, soft pink or peach blush swept on the cheeks, and defined lashes. A rosy lip stain or gloss completes the look.
Since the hair has detail, you don’t need overly dramatic eye makeup. Let one feature shine. A soft, romantic makeup look lets the intricate hairstyle be the true star of the show.
From Date Night to Galentine’s Day
This style isn’t just for romantic dates! It’s perfect for a Galentine’s brunch or a night out with your best friends. It makes you feel special and put-together for any celebration of love.
It’s a conversation starter and a way to show a little extra love for yourself. Doing your hair can be a form of self-care, and this style is a fun, creative way to celebrate you.
Your Quick Practice Routine
If you’re nervous, practice the pull-through technique on a simple three-strand braid first. Master the motion of splitting a ponytail and pulling hair through.
Then, try making just 4 or 5 hearts on one side before a big event. Practice builds muscle memory. By the time Valentine’s Day arrives, you’ll be able to do it quickly and without stress.
Why This Style is a Keeper
This hairstyle is more than just a Valentine’s trend. It’s a technique you can use year-round—swap the hearts for simple pull-throughs for a cool, textured look. It teaches you precision and a beautiful, reusable skill.
It works for weddings, parties, or anytime you want to feel a little extra. Once you learn it, it becomes a trusted tool in your beauty toolkit, right next to your favorite asymmetrical lob cut.
And there you have it! Your ticket to the most romantic, head-turning hairstyle this Valentine’s season. It looks like you tried so hard, but now you know the secret—it’s just a simple, repeatable technique.
The best part is the confidence it gives you. Walking into a room knowing your hair is stunning lets you relax and truly enjoy the moment. That’s the real gift of a great hairstyle.
Save this post to Pinterest to keep this guide handy for your next romantic outing or any special event. Did you try it? I’d love to hear how it went! Tell me in the comments below—what’s your go-to special occasion hairstyle?