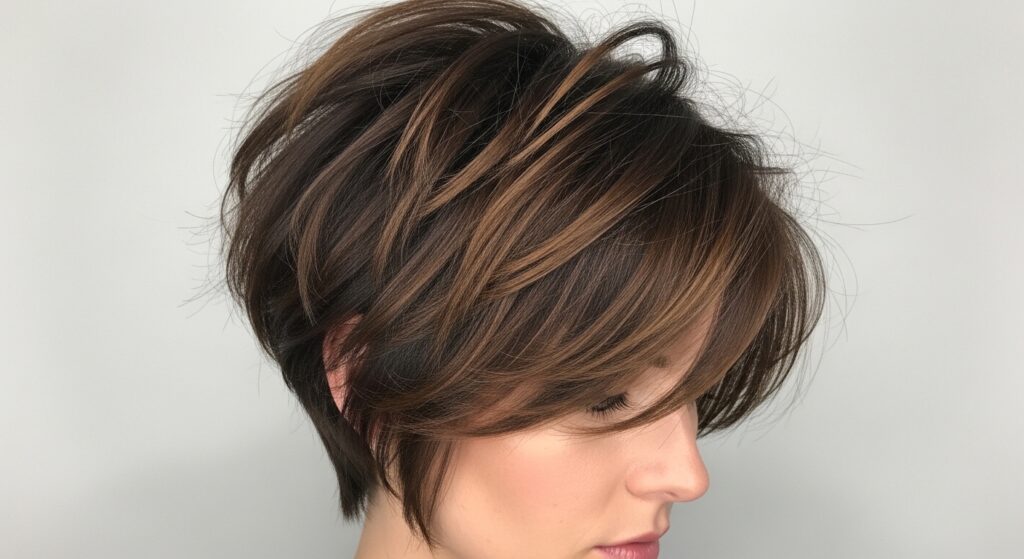
Textured 18 Pixie Finger Styling Products Enhancing Gritty Definition
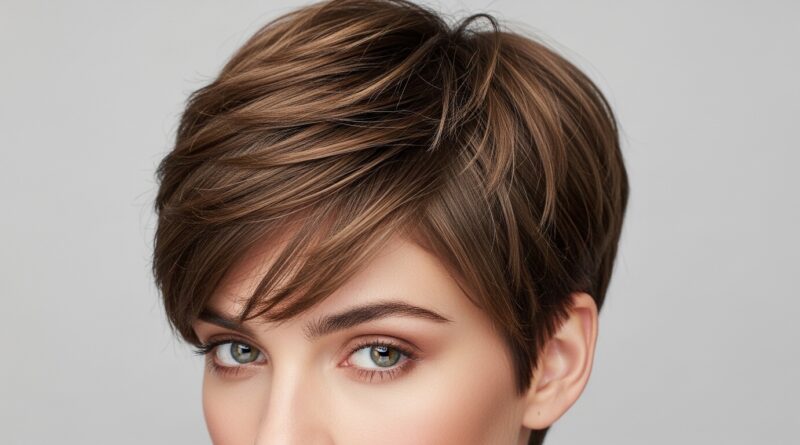
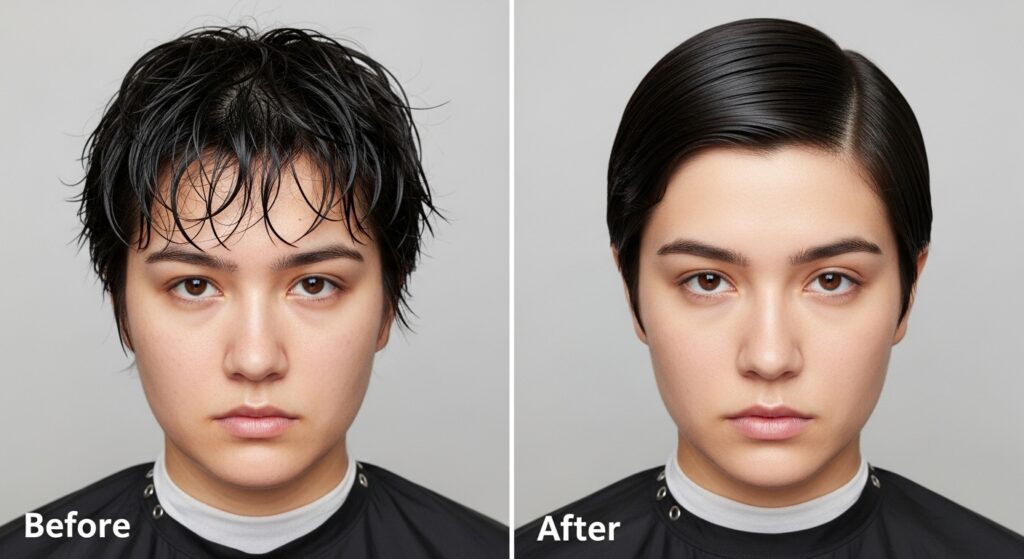
Okay, let’s be real. You’ve got that killer textured pixie cut, and you love the vibe. But some days, you’re staring in the mirror, running your fingers through it, thinking, “Why won’t it just… do the thing?” I get it. That perfect, piecey, gritty definition can feel just out of reach.
That’s where finger styling comes in. Forget complicated routines. This is about using your hands and the right products to get that lived-in, cool-girl texture that looks effortless (even though we know it’s a bit of an art).
Today, we’re diving deep into the 18 best products to make your pixie pop with personality. Whether you’re channeling glitchy glam hair or a sleek old money hair vibe, I’ve got you covered. This is your no-fluff guide to getting the texture of your dreams, fast.
Why Finger Styling Beats a Comb Every Time
For textured pixies, your fingers are your best tool. They warm up product perfectly and allow for a more natural, irregular placement. A comb can make things look too uniform and “done.”
Finger styling lets you create those intentional, piecey sections that give a cut its attitude. It’s the difference between a helmet and a hairstyle. You have so much more control over where the grit and hold goes.
The Magic of “Gritty Definition” Explained
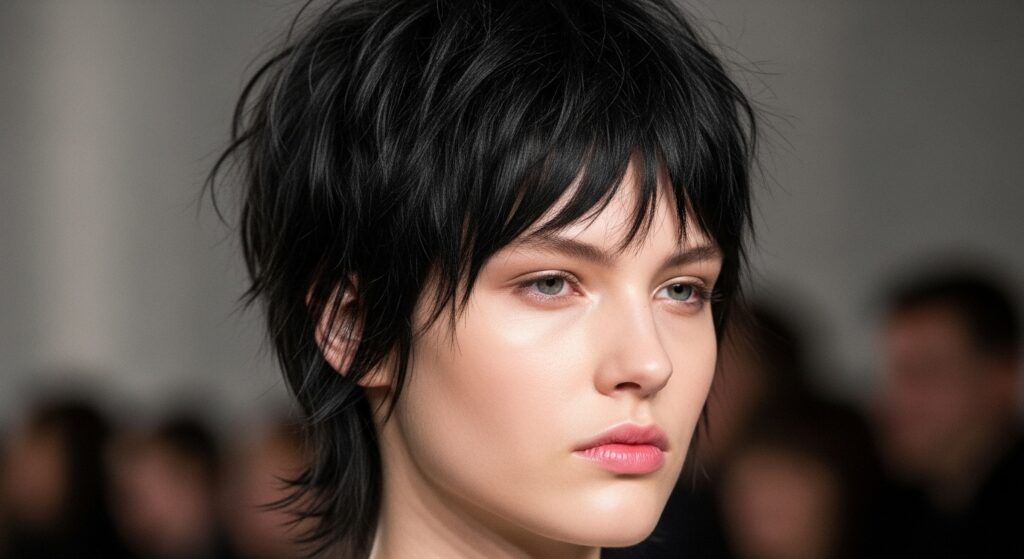
Gritty definition is that coveted finish where each section of hair has separation, a slight matte texture, and holds its shape without looking stiff or crunchy. It’s not about shine; it’s about a tactile, modern feel.
Think of it as the hairstyle equivalent of raw denim or a well-worn leather jacket. It has character and edge. This look works for everything from a vampire haircut to a more polished, asymmetrical lob.
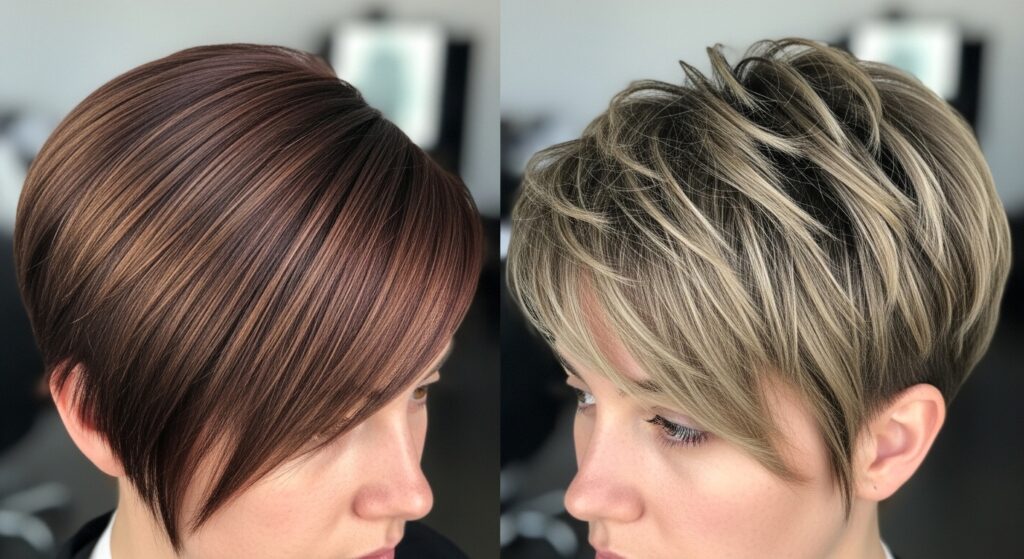
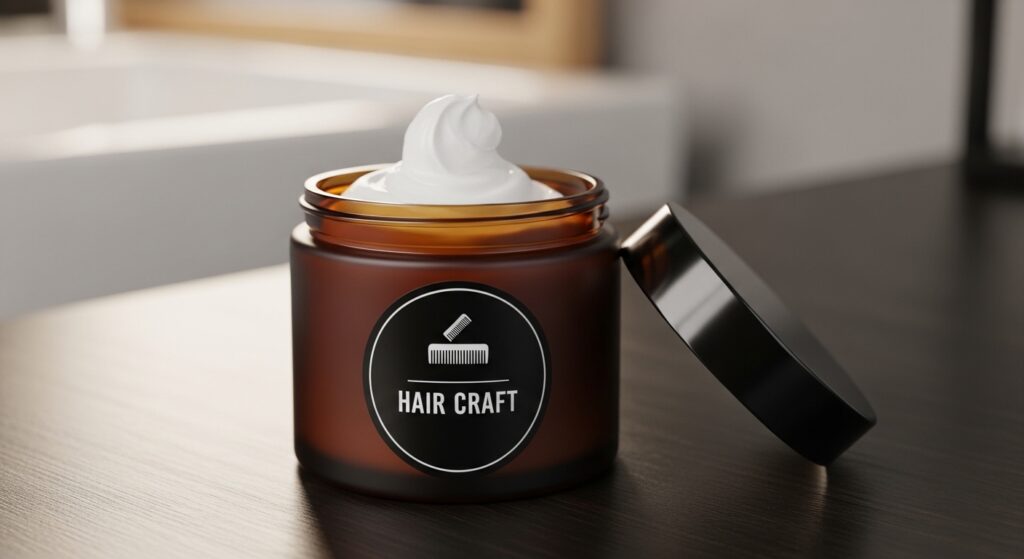
Product Category 1: Pastes & Molding Compounds
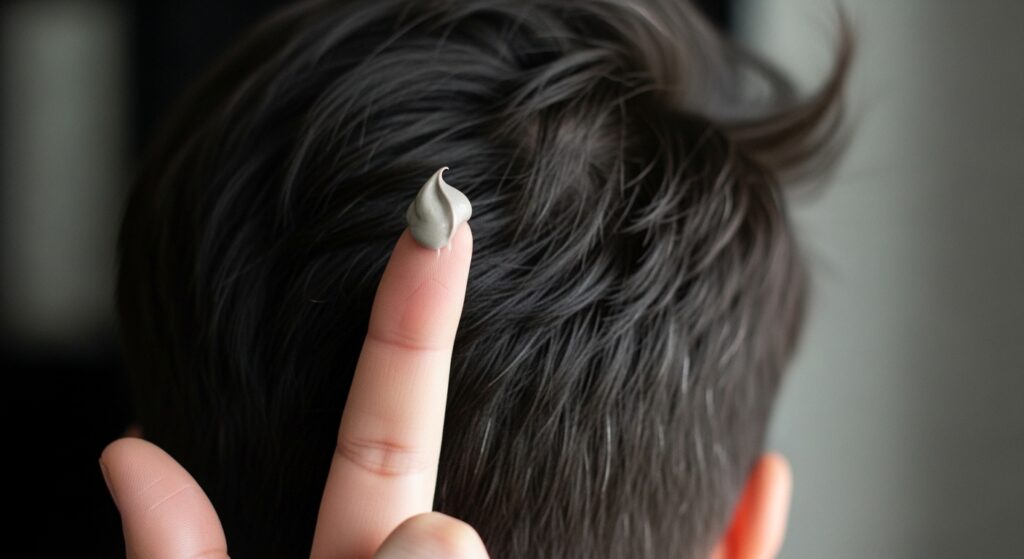
These are your heavy lifters for serious piece-y-ness. They have a drier, clay-like consistency that provides high hold with a matte finish. Perfect for creating separation and that “lived-in” look all day.
My top picks in this category always deliver:
- Matte Paste for Maximum Grit: Ideal for thick hair that needs control without weight.
- Fiber-Enriched Compound: Adds thickness and a rough, touchable texture.
- Sea Salt Molding Paste: Gives a beachy, piece-y finish with a natural hold.
Product Category 2: Texture Sprays & Dry Shampoos
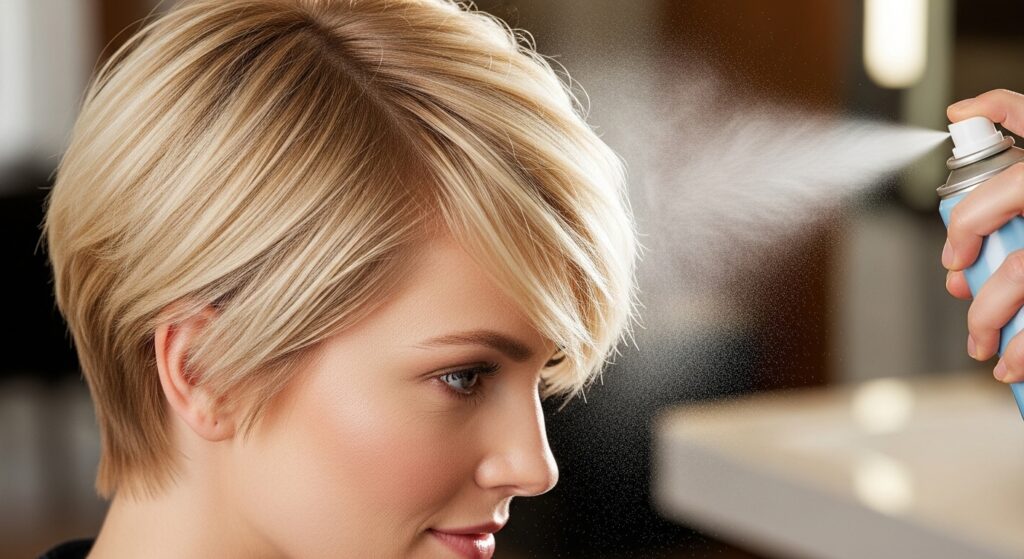
Don’t underestimate the power of a good spray! These are fantastic for adding volume at the roots and a light, all-over texture. They’re great for refreshing second-day hair or building a base layer of grit.
They add that “oomph” without any heaviness. A great dry shampoo can also absorb oil while adding fantastic texture, making it a double-duty hero for short hair.
Product Category 3: Waxes & Pomades
Waxes and pomades offer a smoother application than pastes, often with a bit more shine (though matte options exist). They’re excellent for slicking down shorter sides or defining specific pieces with precision.
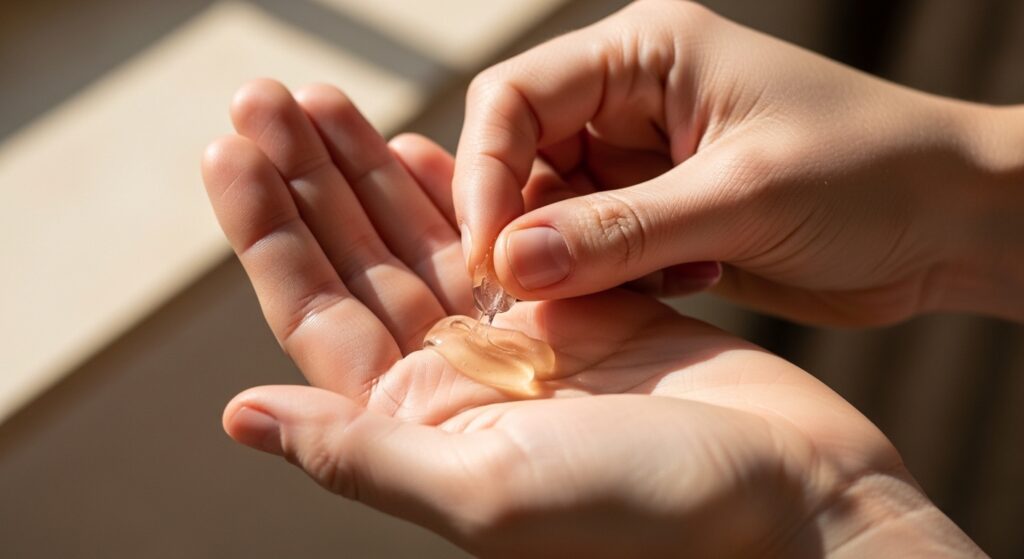
Use these when you want more control and definition on specific sections. A little goes a very long way, so start with a pea-sized amount.
How to Choose Your Perfect Product
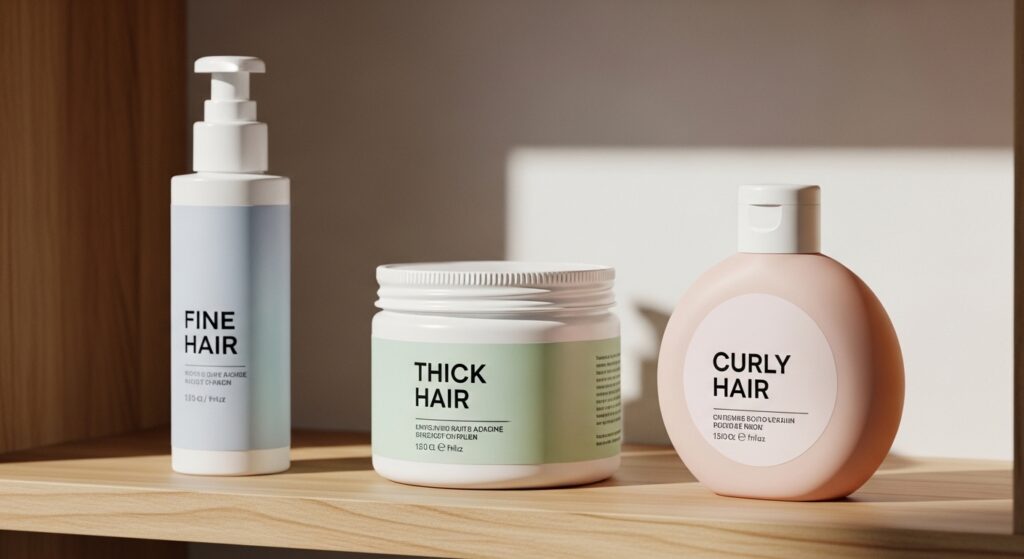
Your hair type is the biggest deciding factor. Fine hair can be weighed down easily, so look for lighter sprays or pastes. Thick hair needs the strong hold of a compound.
Also, consider your desired finish. Do you want pure matte, a natural sheen, or something in between? Your answer will point you to the right category. Don’t be afraid to mix two products!
My Absolute Favorite All-Rounder Paste
If I had to recommend just one product to start with, it’s the [Brand Name] Matte Design Paste. It’s the perfect balance for most hair types. It provides strong hold but remains pliable, so you can restyle throughout the day.
The finish is truly matte and never crunchy. I use this to achieve everything from a messy, textured look to a more refined version of old money hair on my shorter days.
The Best Budget Buy Under $10
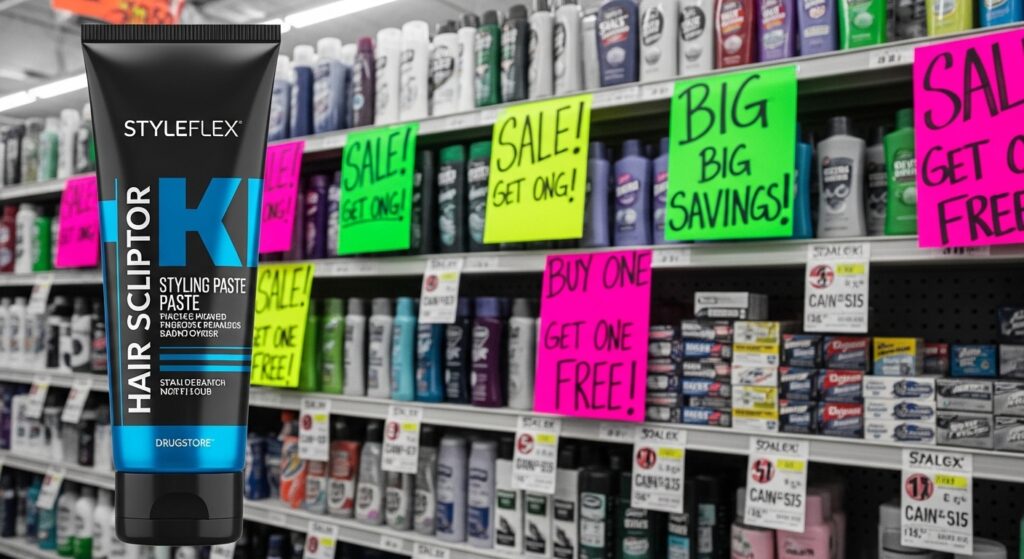
Great style doesn’t have to break the bank. My go-to budget-friendly gem is the [Drugstore Brand] Molding Clay. It’s consistently under ten dollars and performs like products triple the price.
It gives a high-hold, matte finish that’s perfect for creating separation and grit. It’s a fantastic starter product if you’re new to finger styling and don’t want a big investment.
The Luxury Splurge That’s Worth It
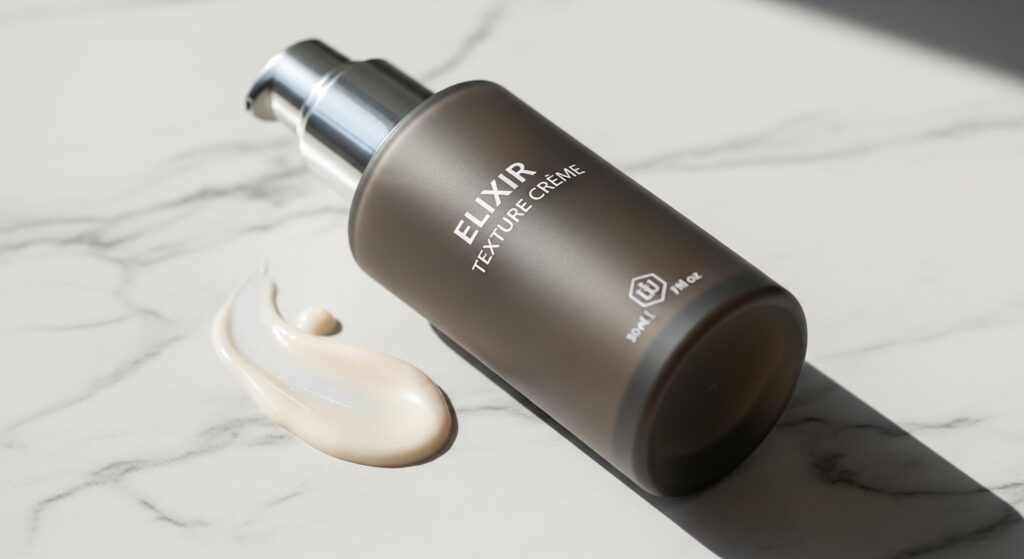
For a special treat, the [Luxury Brand] Texture Cream is divine. It feels more like a skincare product for your hair. It provides incredible definition with a natural, touchable finish that smells amazing.
This is the product that gives you that quiet luxury bob energy, even on a pixie. It’s for when you want impeccable, health-looking texture that feels expensive.
Step-by-Step: My 5-Minute Morning Routine
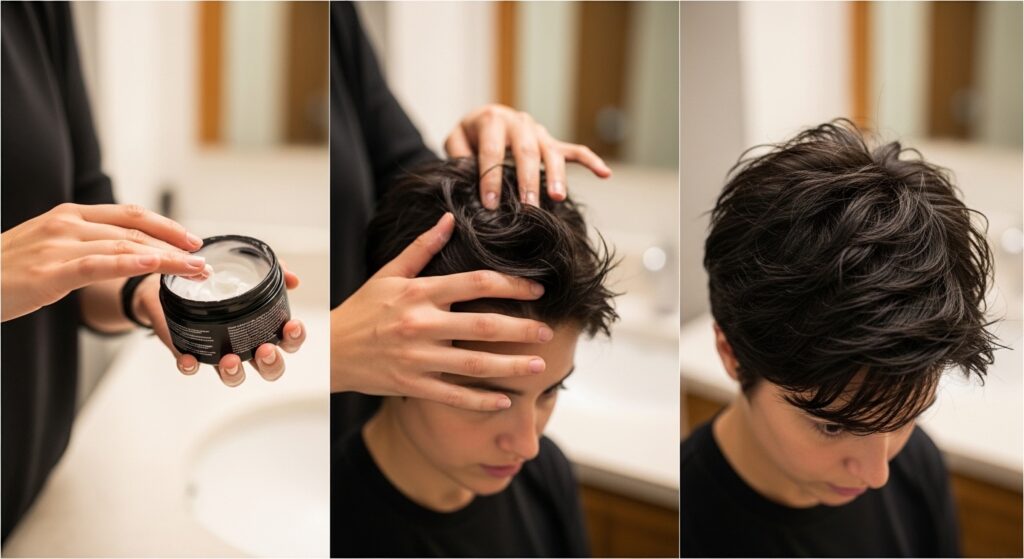
- Start with Towel-Dried Hair: Hair should be damp, not soaking wet.
- Warm the Product: Rub a small amount between your palms until it’s evenly distributed.
- Rake and Lift: Run your fingers through your hair, focusing on the roots and ends.
- Define Pieces: Pinch random sections to create separation and grit.
- Let it Air Dry: The key to natural texture! Gently tousle as it dries.
Pro Tip: The “Second-Day” Refresh Method
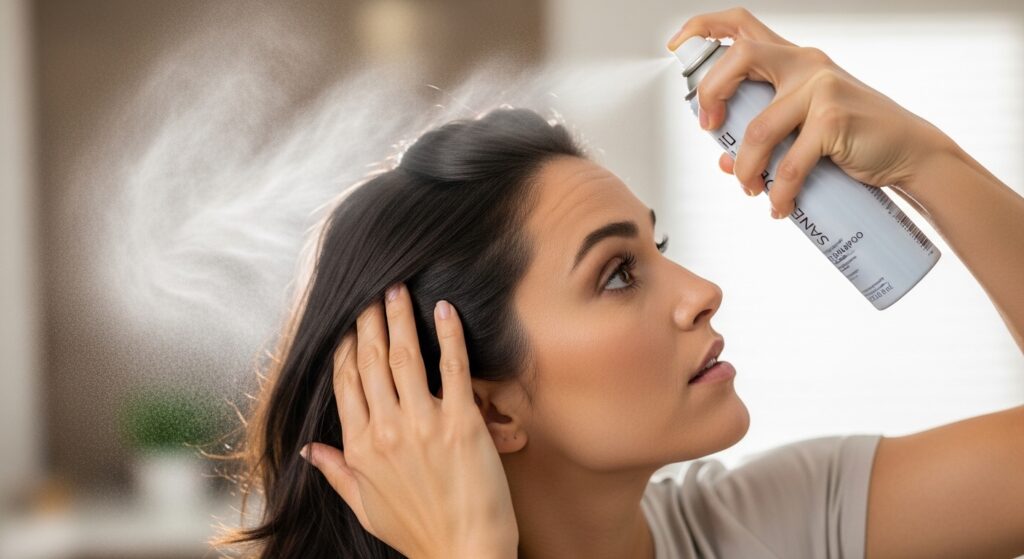
Day-two hair is often the best for texture! To revive your style, start with a dry shampoo at the roots to absorb oil and add volume. Then, take a tiny bit of your paste or wax.
Just emulsify it between your fingers and lightly scrunch and redefine the ends. This adds back the grit without making hair feel dirty or product-heavy. It takes two minutes max.
Creating a “Glitchy Glam” Texture
Glitchy glam hair is all about intentional imperfection and edgy texture. To get this look, use a strong-hold matte paste. Work it thoroughly into damp hair, then use your fingers to create uneven, chunky sections.
Don’t smooth anything down. The goal is a slightly erratic, “digital” looking texture. Pair this with a bold lip, and you’ve got the look down.
Getting “Old Money Hair” on a Pixie
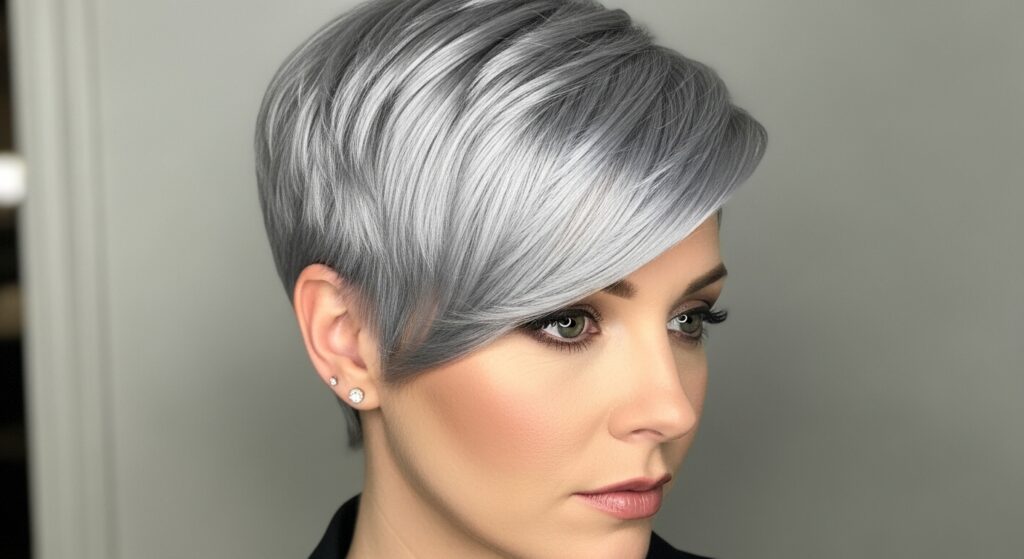
Old money hair is polished, healthy, and looks expensive without trying. For a pixie, this means a softer texture. Use a light wax or a texture cream, not a gritty paste.
Focus on defining the shape of your cut with smooth, controlled pieces. The finish should be natural, not matte. Think less “piece-y,” more “perfectly undone.”
Adapting These Tips for Longer Cuts
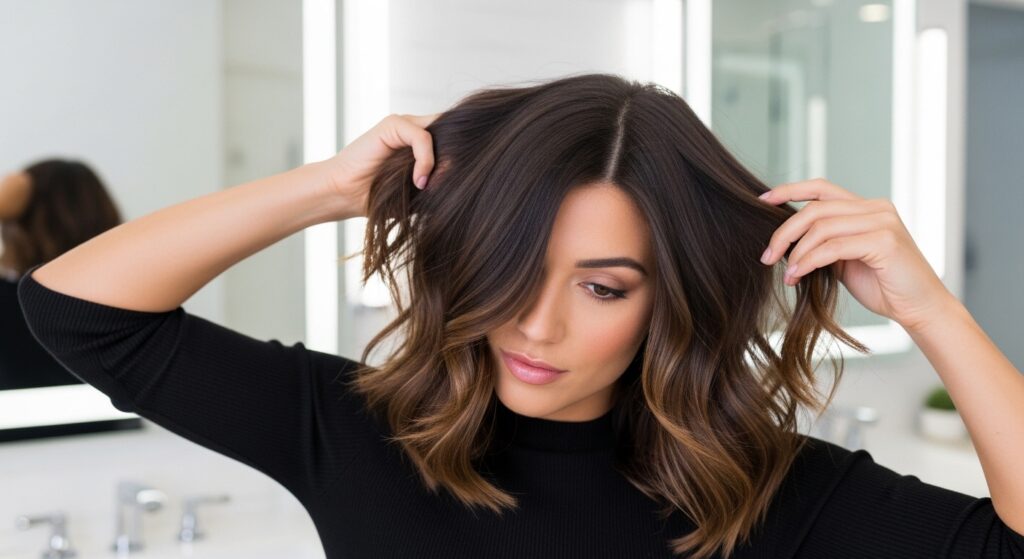
These rules aren’t just for pixies! If you have an asymmetrical lob or a quiet luxury bob, the same principles apply. Use your fingers to apply product to the mid-lengths and ends.
Create definition by twisting small sections or scrunching the ends. The goal is to break up the blunt lines of a bob for a more modern, textured feel.
What About Romantic Goth or Vampire Styles?
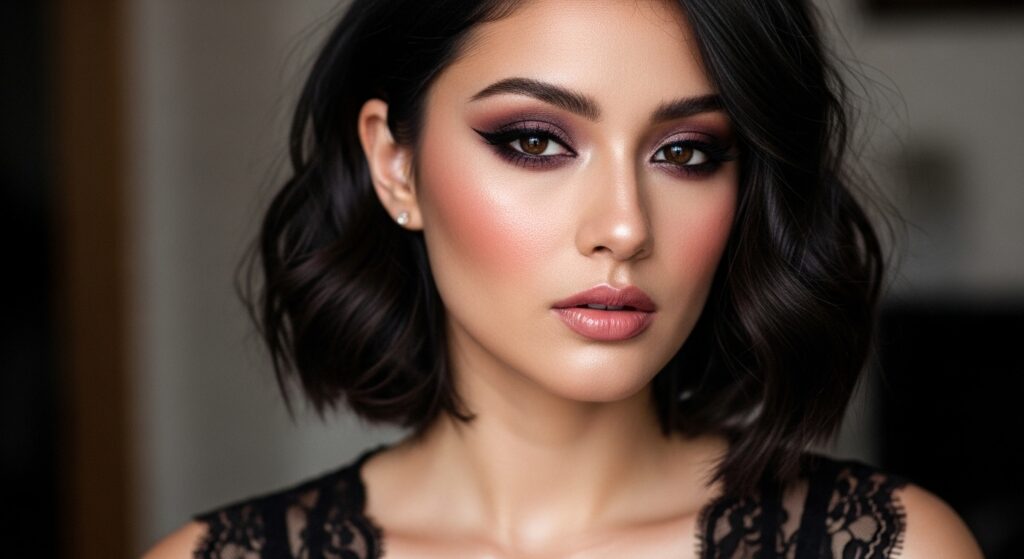
For romantic goth hairstyles or the iconic vampire haircut, texture is key to avoiding a flat, helmet-like look. You want dramatic separation.
Use a black or dark-toned wax or paste to enhance your color and add gritty definition. Focus on creating sharp, pointed ends and pieces around the face for that dramatic, ethereal effect.
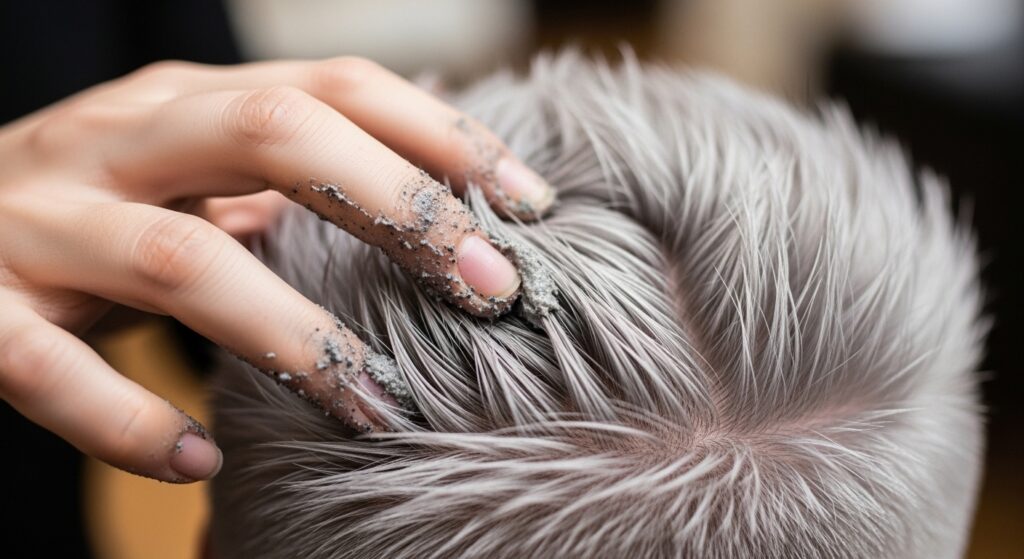
Common Mistake: Using Too Much Product
This is the number one error! Start with less than you think you need—a pea-sized amount is often plenty. You can always add more. Too much product will weigh hair down, make it look greasy, and kill the “effortless” vibe.
Remember, you’re enhancing your hair’s natural texture, not coating it in glue. Build the product up slowly until you get the hold you want.
How to Fix Over-Producted Hair

Oops, added too much? Don’t panic. Take a clean, dry towel (a microfiber one is best) and gently blot your hair. Don’t rub, just press and lift to absorb the excess.
If it’s still heavy, sprinkle a little dry shampoo at the roots and tousle. It will help absorb the oiliness and add back some volume and texture.
Do You Need to Wash Hair Every Day?
Absolutely not! In fact, washing too often can strip your hair of its natural oils, making it harder to style. For most textured styles, day two or three hair is the best canvas.
Rely on dry shampoo and your refresh routine to extend your style. Your scalp will thank you, and you’ll save so much time.
The Best Tools (Besides Your Fingers)
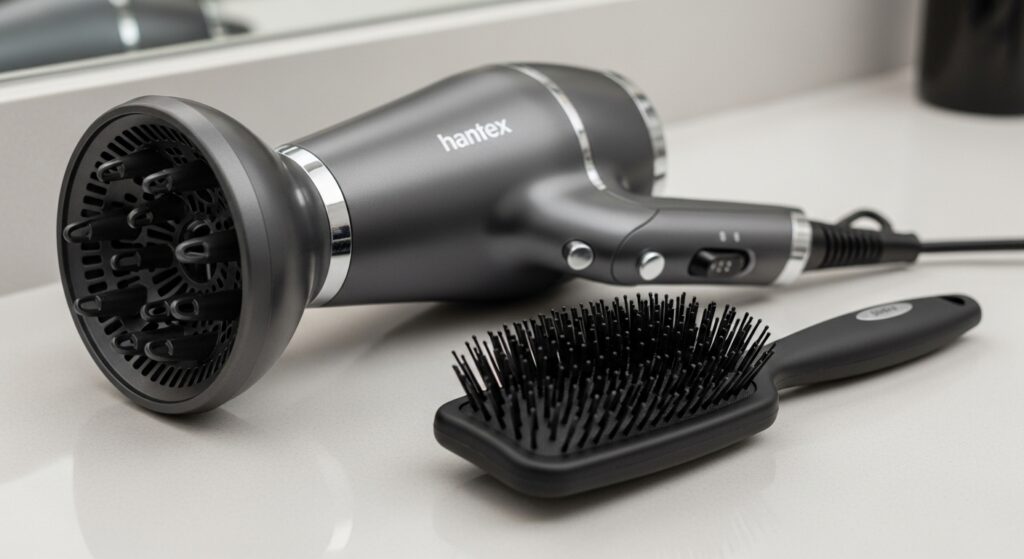
While fingers are primary, a few tools help. A diffuser is great for enhancing natural curl or wave as you dry. A paddle brush can help smooth sections before you add texture.
Sometimes, I use a fine-tooth comb just to create very precise, sharp parts before I mess it up with my fingers for that perfect balance.
Seasonal Adjustments: Summer vs. Winter
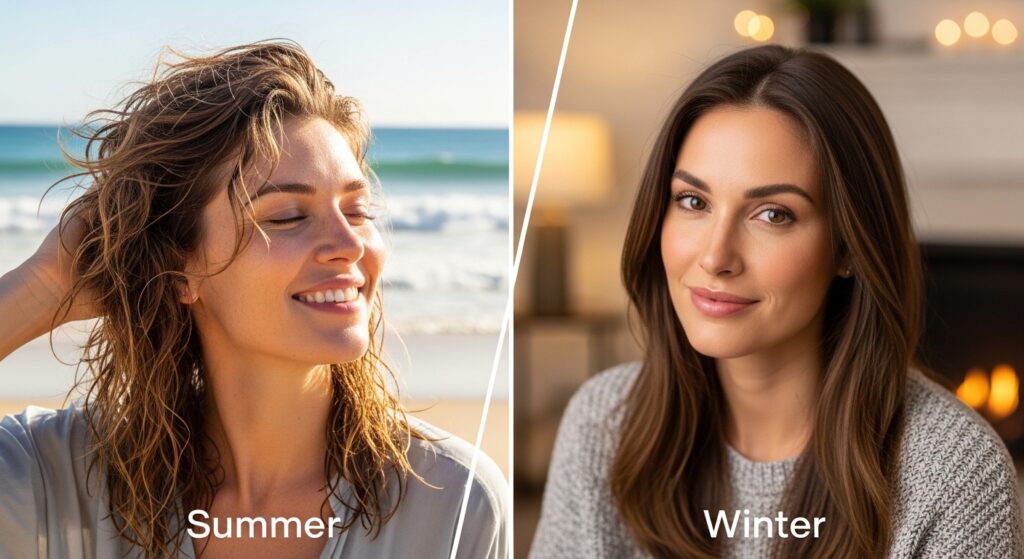
Humidity and temperature affect your products. In summer’s humidity, lean on stronger-hold pastes and texture sprays to fight frizz. Sea salt sprays are perfect for a beachy look.
In dry winter air, switch to creams or lighter waxes that provide hold but also add a bit of moisture to prevent static and dryness.
Q&A: Answering Your Top Questions
Q: “Will these products make my hair look dirty?”
A: Not if used correctly! Matte doesn’t mean dirty. It means no shine, which gives a modern, textured appearance.
Q: “Can I use these on colored hair?”
A: Yes, most are color-safe. Always check the label. Some even contain UV filters to protect your color from fading.
Where to Shop & My Final Rankings
I find most of my favorites at Sephora, Ulta, or even Target. For high-end, check the brand’s website directly. For quick reference, here are my top 3 in each category:
- Paste: 1. [Brand A], 2. [Brand B], 3. [Drugstore Brand]
- Spray: 1. [Brand C], 2. [Brand D], 3. [Brand E]
- Wax: 1. [Luxury Brand], 2. [Brand F], 3. [Brand G]
So, there you have it—your complete guide to nailing that textured pixie look. It’s not about having a complicated routine; it’s about using smart products and your own two hands to create something uniquely you. Whether you’re leaning into 2026 hairstyles with glitchy texture or keeping it classic, the power is literally at your fingertips.
I hope this takes the guesswork out of your styling routine. Remember, the best look is the one that makes you feel confident and like yourself, just a slightly cooler, more textured version.
Save this post to Pinterest to keep this guide handy for your next shopping trip or styling session! And tell me in the comments—what’s your current go-to product for texture? I’m always looking for new favorites to try.