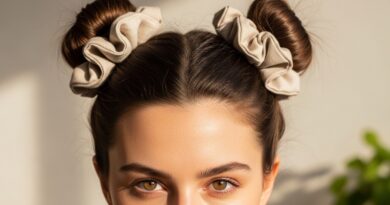
Updos 28 Marathon Hacks Securing Through Hours of Dancing
Okay, let’s be real. You’ve spent months planning the perfect wedding, the epic birthday party, or that marathon festival weekend. Your outfit is flawless, your makeup is on point… and then you think about your hair. The dread is real. Will it survive the first slow song, let alone hours of dancing?
I’ve been there. I’ve had bobby pins digging into my scalp by hour two and a half-updo that became a full-down mess by the dessert table. It’s the worst.
But after years of trial and error (and many, many events), my team and I have cracked the code. This isn’t about complex, salon-only styles. It’s about 28 stupid-simple hacks that use what you already have to make any updo—from a sleek bun to a romantic goth hairstyles twist—last from the first photo to the last dance.
Let’s get into it. Your hair is about to become the most reliable guest at the party.
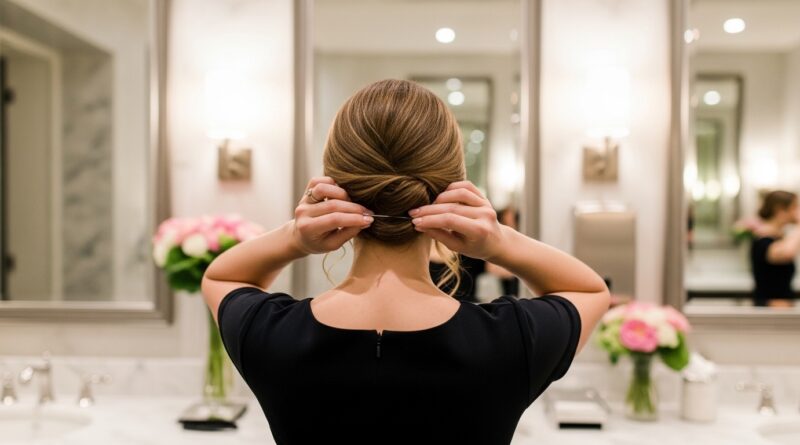
1. The Foundation is Everything: Prep Your Hair Right
Think of your updo like building a house. If the foundation is weak, it will collapse. Starting with squeaky-clean, slippery hair is your first mistake.
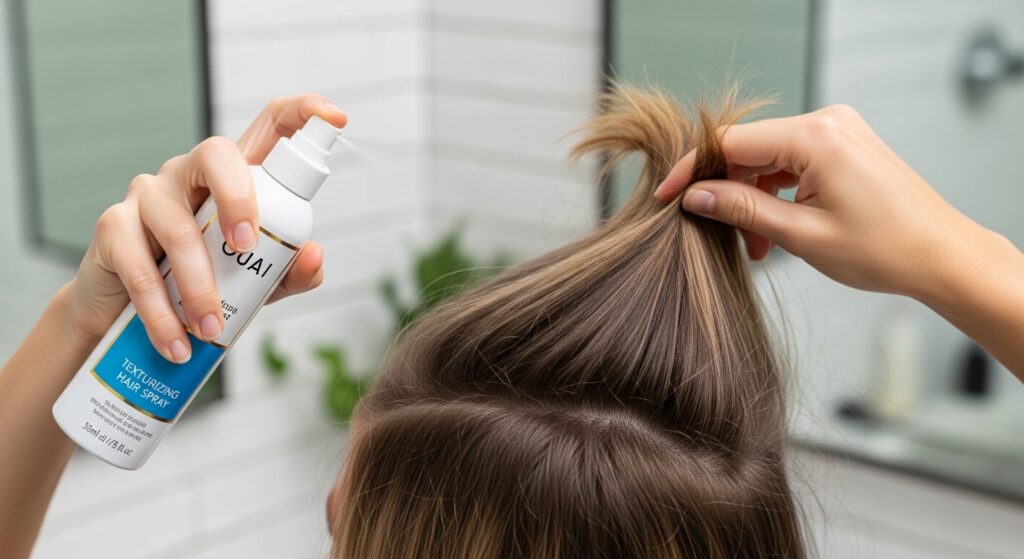
Your best base is day-old hair with a bit of natural oil. If you just washed it, you absolutely need to add grip. I swear by two things:
- A light-hold texturizing spray at the roots for volume.
- A light mist of dry shampoo on the mid-lengths for that perfect “gritty” texture that pins love to grip.
This combo creates a surface that holds onto pins and elastics, instead of letting them slide right out.
2. Choose the Right Tools: Ditch the Flimsy Stuff
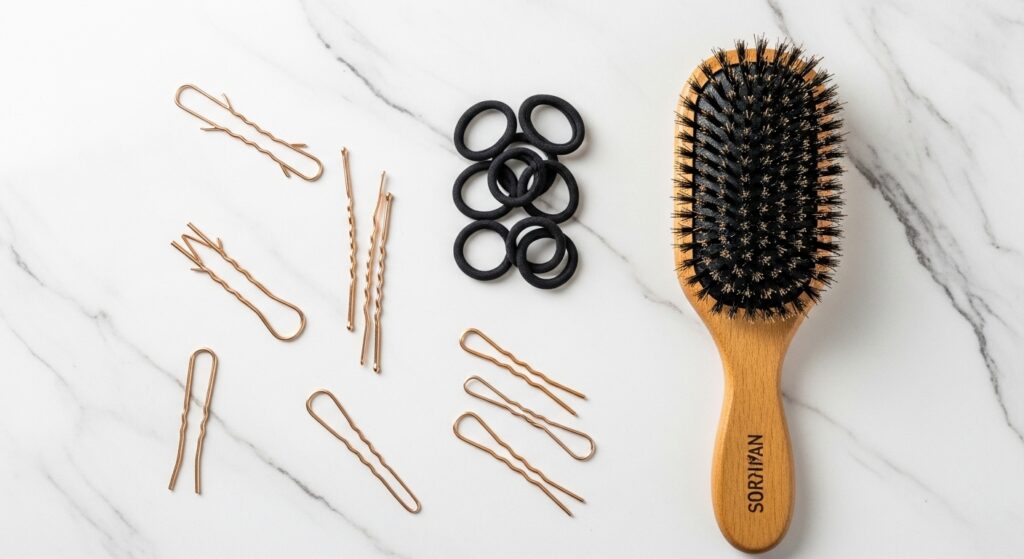
Those flimsy, plastic-tipped bobby pins from the drugstore? Toss them. For a marathon updo, you need professional-grade tools. They don’t cost much more, but they make all the difference.
Here’s your non-negotiable toolkit:
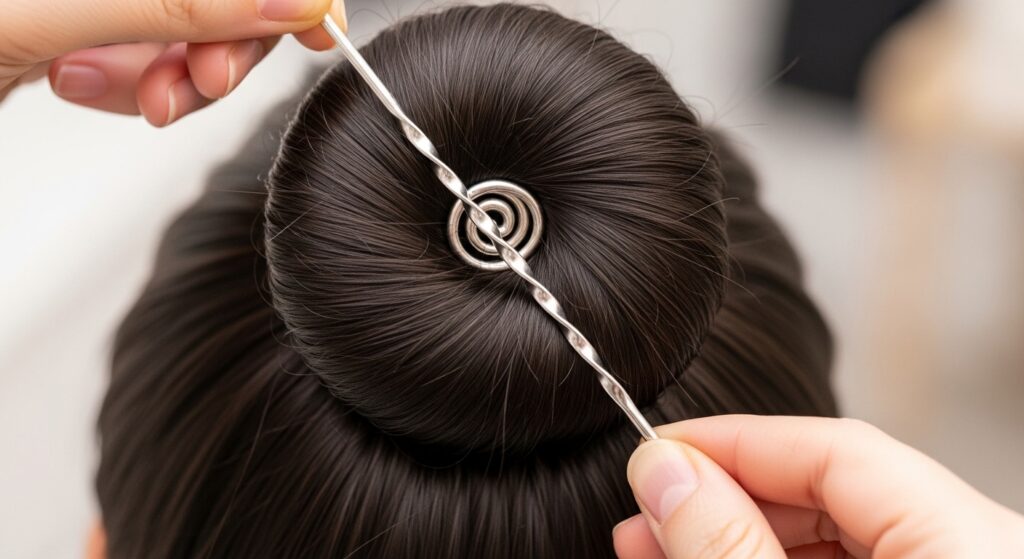
- U-shaped pins (or Amish pins): These are the secret weapon. They hold ten times more hair than a bobby pin.
- Spin Pins: Genius for securing buns with just a twist.
- Strong, small elastics that match your hair color.
- A fine-tooth comb for clean sections.
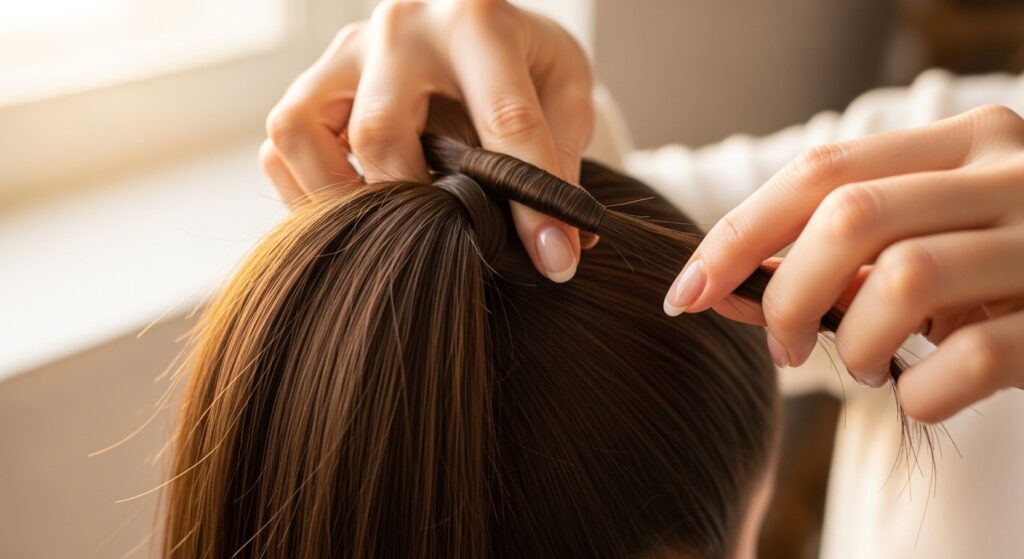
3. The “Second-Day Secret” for Slippery Hair
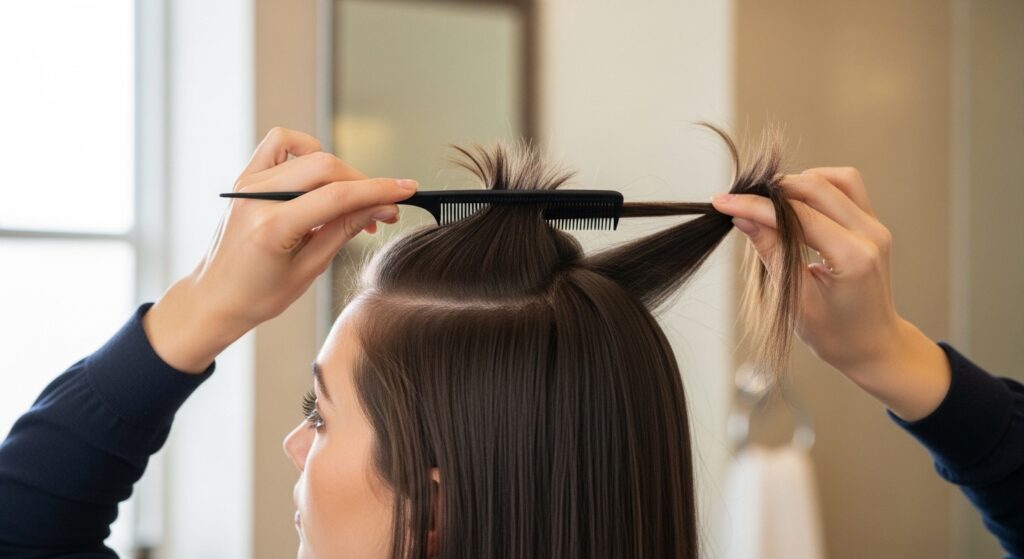
If you have fine or silky hair, you know the struggle. Everything just slides. The trick isn’t more product—it’s strategic texture.
Before you start your style, take small, horizontal sections at the crown and the area where you’ll anchor your bun or twist. Gently backcomb (tease) just at the root area.
Be gentle! You’re not going for 80s volume. You’re just creating a tiny mesh of tangles that will act like Velcro for your pins. Smooth the top layer over it, and suddenly your pins have something to lock onto.
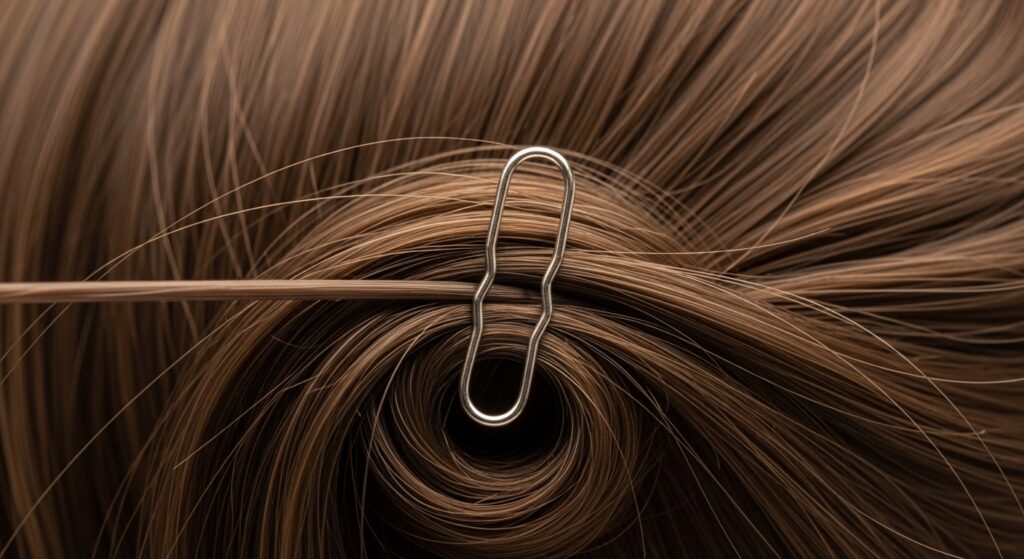
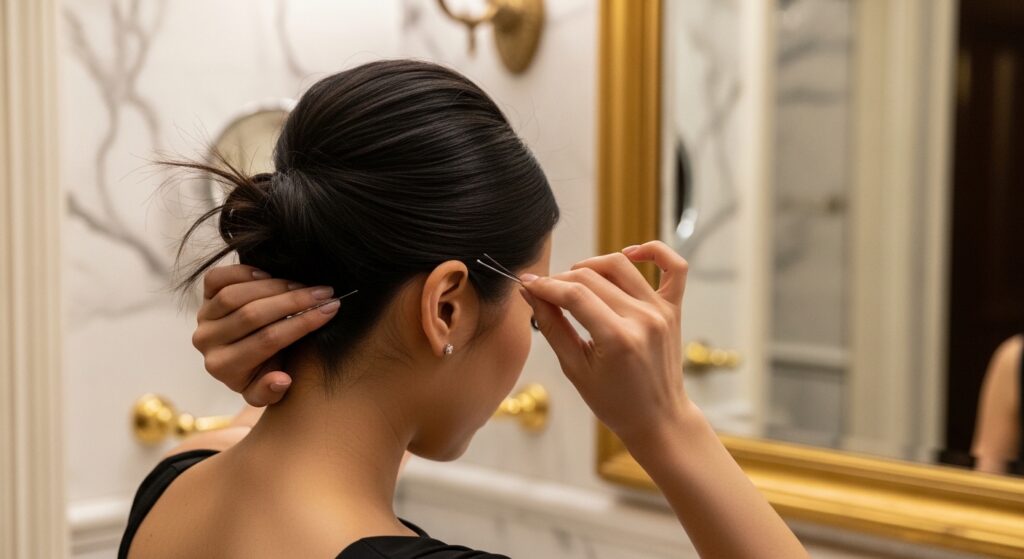
4. The Bobby Pin “Grip” Hack You’re Doing Wrong
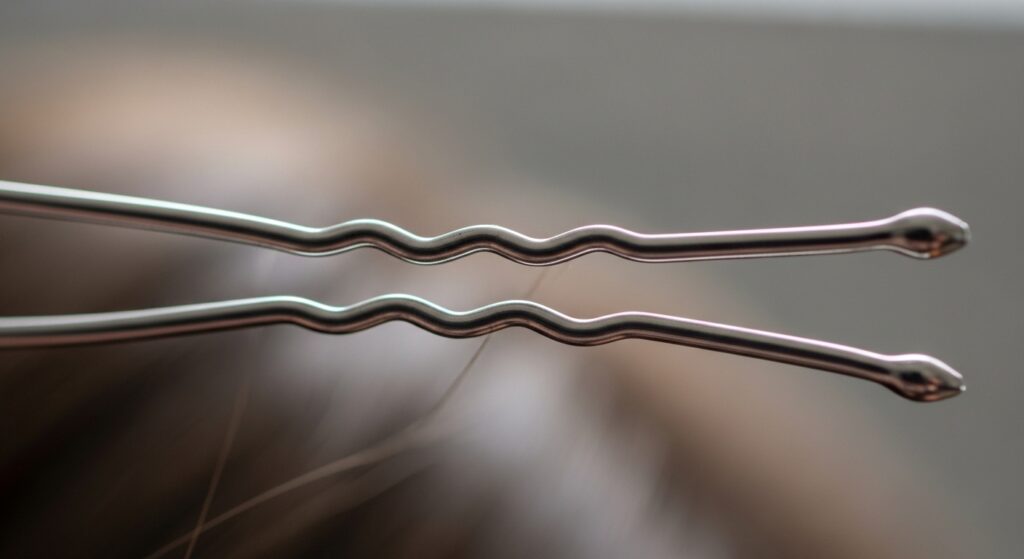
This is the most common mistake I see. You’re putting your bobby pins in smooth-side-down. It feels right, but it’s wrong.
For maximum hold, the wavy (ridged) side of the bobby pin should always face down, toward your scalp. Those ridges are designed to grip your hair and the other pin, creating a tight lock.
Push the pin into your style, then gently open it, slide it over a small section of hair, and close it again. This “pinches” the style to your head. It won’t budge.
5. Create a Secure Base with a Simple Braid
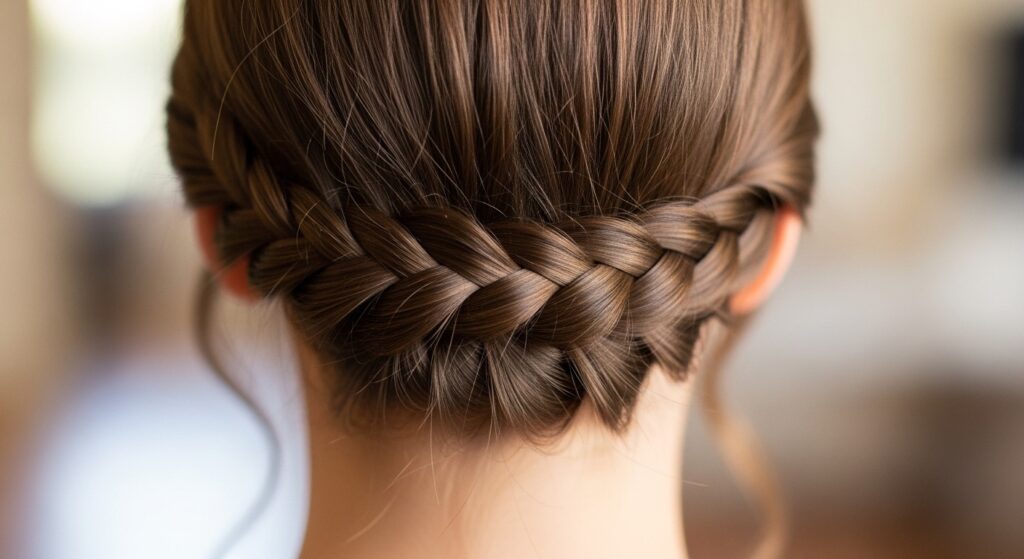
Anchoring your updo to a braid is like giving it a sturdy backbone. This is a game-changer for heavy or long hair.
Start with a low, simple three-strand braid at your nape. Don’t make it tight or fancy. Once you have that braid, you can wrap a bun around its base, or twist and pin sections into it.
The braid distributes the weight and gives you a solid structure to pin into. It’s far more secure than just pinning hair to hair. This works beautifully with more intricate 2026 hairstyles that have a braided element.
6. The Power of the “X” Formation
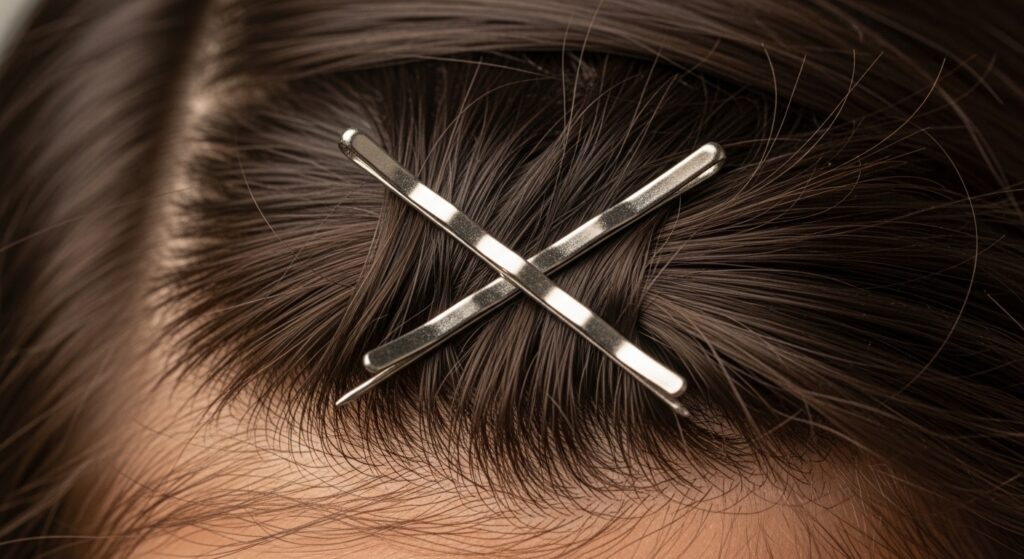
Never pin parallel. When you’re securing a folded or tucked section of hair (like in a chignon or a twisted style), a single pin is easy to work loose.
Instead, use two pins. Insert the first one in the direction you need. Then, take the second pin and cross it over the first one, forming an “X”.
This creates a locking mechanism. As you move, any tension works to tighten the “X” instead of pulling a single pin free. It’s a tiny change with massive staying power.
7. Secure a High Bun with Spin Pins
For a classic high bun—whether it’s a neat ballerina style or a messier look—spin pins are your best friend. They’re like corkscrews for your hair.
After you’ve twisted your hair into a bun and secured it with an elastic, simply take a spin pin and start twisting it horizontally into the center of the bun. It will grab and hold the core.
Use two or three, spaced around the bun. They hold the entire mass together from the inside out, preventing that sad, droopy bun look by hour three.
8. Make a Ponytail Unshakable
A high ponytail is a dance-floor classic, but a sagging one is not. The key is in the placement and the wrap.
When you gather your hair, tip your head forward. Gather it where you want it to sit when your head is up, not where it falls when you’re looking down. This counteracts gravity.
After the elastic is tight, take a small section from underneath the ponytail, wrap it around the base to conceal the elastic, and secure the end with a tiny U-pin underneath. This adds an extra anchor point.
9. The Hairspray Layering Technique
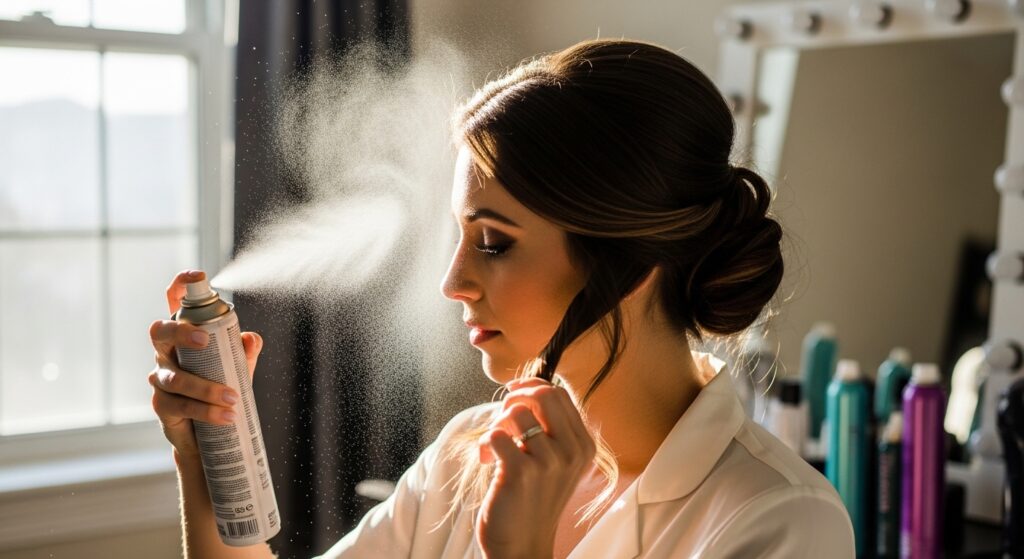
Dousing your finished style in hairspray is a sticky, crunchy mistake. The pro move is to layer it in as you build.
As you create each section—whether it’s a twist, a braid, or a roll—give it a very light mist before you pin it. This sets each layer individually.
Once the whole style is done, do a final, light mist from about 12 inches away. This creates a flexible, all-over hold without the crispy feel. Your hair moves as one piece, not in individual, crunchy strands.
10. Hide Your Ends Like a Pro
Nothing unravels a style faster than loose ends poking out and catching on things. The goal is to encase them completely.
When you’re wrapping or twisting a section, make sure the ends are folded under or tucked into the center of the roll or bun. Use your fingers to smooth them into the mass of hair.
Then, secure that specific area with a pin. If your ends are slippery, a tiny dot of styling cream on your fingertips before tucking them can help them stay put.
11. Adapt Trends for Staying Power: The Asymmetrical Lob
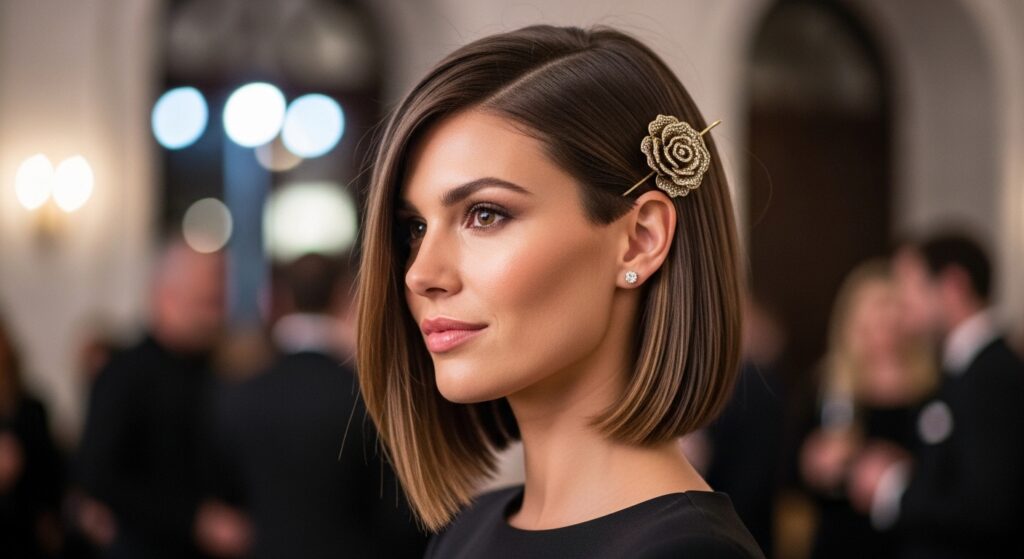
An asymmetrical lob is a stunning, modern cut, but how do you “updo” it? The key is to play up the asymmetry. Don’t fight it.
For a night out, try a deep side part. Take the heavier, longer side and create a loose, textured twist back from your face, securing it behind your ear with pins. Leave the shorter side loose or gently tucked.
Use a strong-hold, texturizing paste on the twist for piece-y definition that won’t fall flat. This gives you an elegant, half-up style that celebrates the cut’s shape and stays put.
12. Adapt Trends: The Romantic Goth Hairstyles

Romantic goth hairstyles are all about drama and texture. To keep that ethereal look secure, think “structured mess.”
Start with those braided bases or twisted sections we talked about to create a solid core. Then, deliberately pull out your face-framing pieces and a few tendrils *before* you hairspray.
Use a wax or pomade on your fingertips to define and slightly curl these pieces. Pin any decorative elements, like a dark ribbon or small charm, directly into the secured base, not just the loose hair.
13. Adapt Trends: The Quiet Luxury Bob
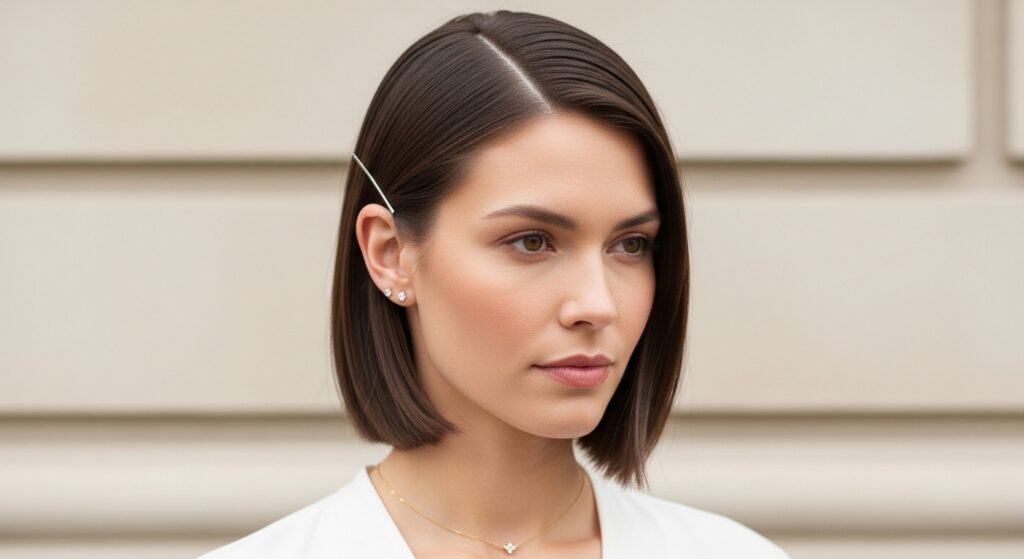
The quiet luxury bob is sleek, polished, and needs to look effortlessly perfect. The challenge is keeping that smoothness from getting ruffled.
A deep side part and a strong-hold, shine-enhancing gel are your starters. For extra security, after tucking your hair behind your ears, use a single, matte-finish bobby pin vertically behind each ear, hidden in the hair.
This anchors the style without disrupting the lines. A light mist of flexible-hold hairspray on a brush can be used to slick down any flyaways without making hair stiff.
14. Adapt Trends: The Hime Cut

The hime cut, with its distinctive long front strands and blunt shorter layers, is striking. To style it for movement, you need to secure those long front pieces elegantly.
Treat the long front sections like a headband. Take each side, twist them gently back along your hairline, and join them at the crown or nape of your neck. You can then incorporate them into a small bun or knot.
Secure the twists with pins close to the scalp every few inches. This keeps the dramatic frame of the cut while ensuring the hair stays out of your face all night.
15. Adapt Trends: Glitchy Glam Hair
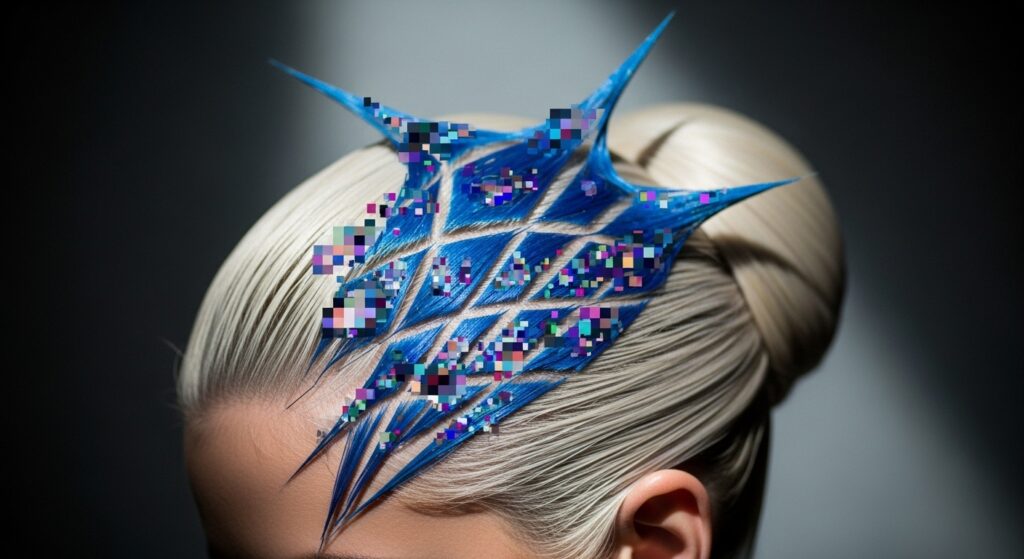
Glitchy glam hair is about intentional, artistic disruption. The base updo must be rock-solid so the “glitch” elements don’t bring it down.
Create a very simple, tight, and neat base updo—a slick bun or a tight braid. This is your canvas. Then, add your glitch elements: clip-in colored streaks, geometric pin-on pieces, or asymmetrical clips.
Attach these decorations by also pinning them into the secure base underneath, not just clipping them to surface hair. This way, if a clip gets bumped, it doesn’t take a chunk of your style with it.
16. Adapt Trends: The Vampire Haircut
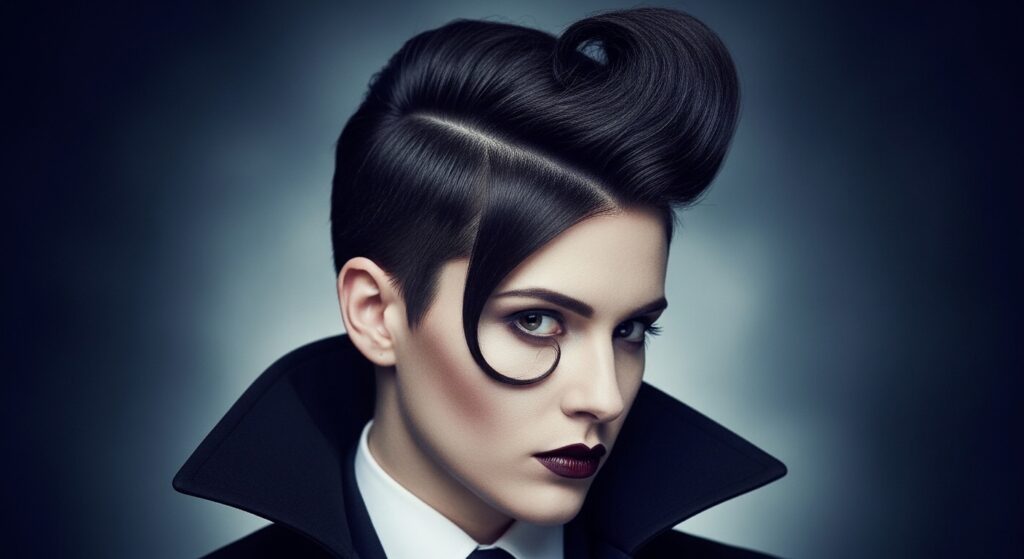
The vampire haircut, with its sharp layers and dramatic shapes, needs a hold that matches its intensity. It’s all about direction and product.
Use a strong-hold pomade to direct your layers. For an updo vibe, sweep all the hair to one side, creating a deep, dramatic wave. Secure it behind the ear with pins, letting the back layers flow or tucking them.
The pomade will keep the shape defined and the layers stuck together, preventing the piece-y look from becoming a frizzy mess. It’s controlled chaos.
17. The “Touch-Up” Kit for Your Clutch
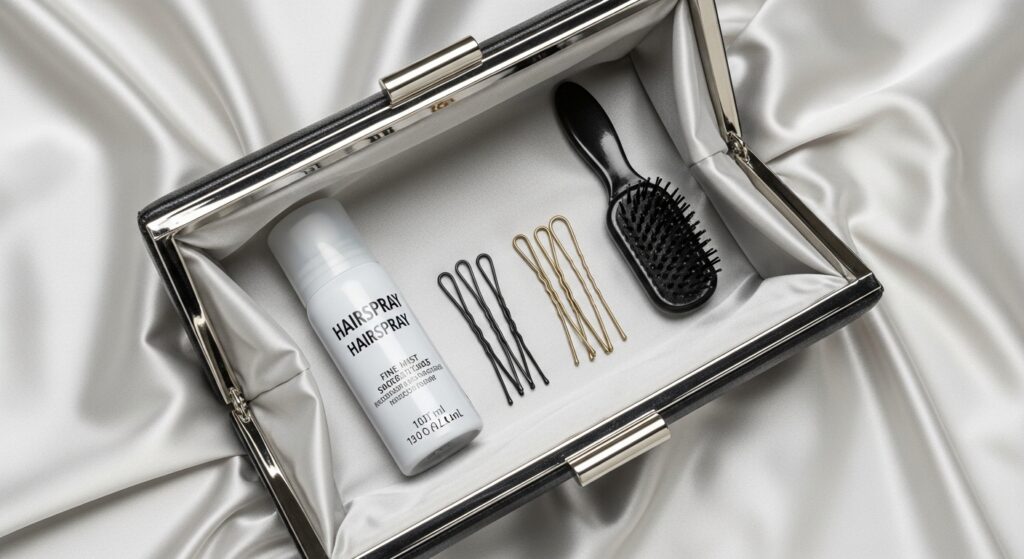
Be prepared! Even the best updo might need a minor adjustment. Your emergency kit should be tiny and effective.
Pack a travel-size can of strong-hold hairspray, 4-5 extra bobby pins/U-pins, and a mini boar bristle brush for smoothing flyaways (a clean toothbrush works too!).
If you feel a section loosening, find a bathroom, give it a quick spray at the root, and reinforce it with a new pin in an “X” over the existing one. Two-minute fix, and you’re back on the dance floor.
18. Protect Your Style Overnight
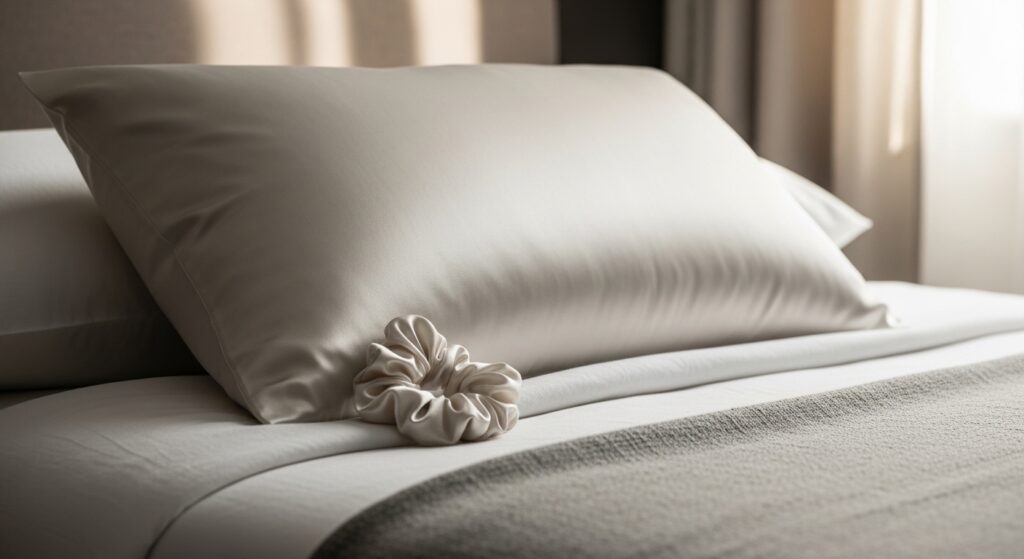
Got a multi-day event? You don’t have to start from scratch each morning. Protect your masterpiece while you sleep.
Loosely gather your updo into a very high, loose ponytail on top of your head with a silk scrunchie. This prevents friction and crushing.
Sleep on a silk or satin pillowcase. In the morning, take it down, gently massage your roots for volume, reinforce any loose pins, and refresh with a light spray. You’ll save an hour of styling.
19. What to Do When It Starts to Slip
Don’t panic if you feel a section sagging. Frantically pushing pins in will just make a mess. Have a calm, step-by-step rescue plan.
First, locate the loose area. Gently tighten the base by finding the nearest secure anchor point (a braid, a firm pin). Hold the loose hair where you want it.
Insert a new pin in an “X” formation over an existing pin, or create a new anchor by pinning the section to a tighter part of the style. A quick spray at the new pin point locks it.
20. Your Final Checklist Before You Walk Out
Before you head out the door, do your final security scan. This takes 60 seconds and saves the night.
- Tug Test: Gently tug on the main sections of your updo. It should feel anchored to your head, not like a separate piece.
- Headbang Test: Seriously, gently shake your head side to side and up and down in front of the mirror. See if anything moves that shouldn’t.
- 360 View: Use a hand mirror to check the back and sides for loose ends or visible pins you want to hide.
And there you have it. Twenty-eight little secrets that add up to one huge thing: freedom. Freedom to dance like no one’s watching, hug everyone you see, and enjoy every single minute of your marathon event without that little voice in your head worrying about your hair.
Remember, the best updo is the one you forget you’re wearing. It’s just a part of you, looking and feeling amazing, all night long. It’s not about being perfect—it’s about being perfectly secure.
Save this post to Pinterest so you have it ready for your next big event! What’s the next occasion you’re styling your hair for? Tell me in the comments—I’d love to hear what you’re planning!