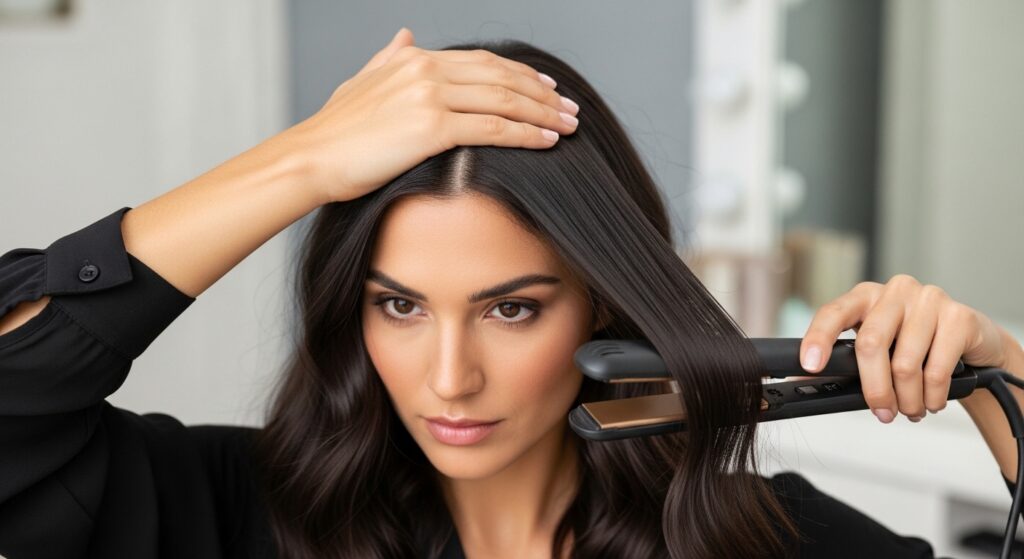
Hacks 20 Curl Quenching Straighteners Silkening Without Frizz Return
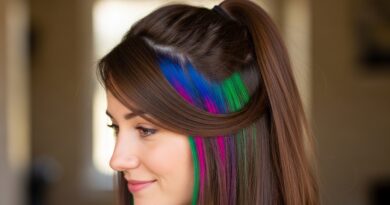
Okay, let’s be real. You finally get your curls or waves perfectly defined, you feel amazing… and then you see a picture of that sleek, silky, old money hair vibe and you get the itch. I’ve been there. The dream of switching it up without the nightmare of fried, frizzy regret.
But what if you could have both? The freedom to rock your gorgeous natural texture one day and a smooth, glassy look the next, without the damage or the drama? It’s totally possible. It’s all about the prep, the process, and the products.
This isn’t about changing who you are. It’s about having fun with your style. I’m sharing my absolute best, battle-tested hacks to get that salon-smooth, frizz-free finish at home. Let’s get into it.
1. The Golden Rule: Start With a Super Clean Slate
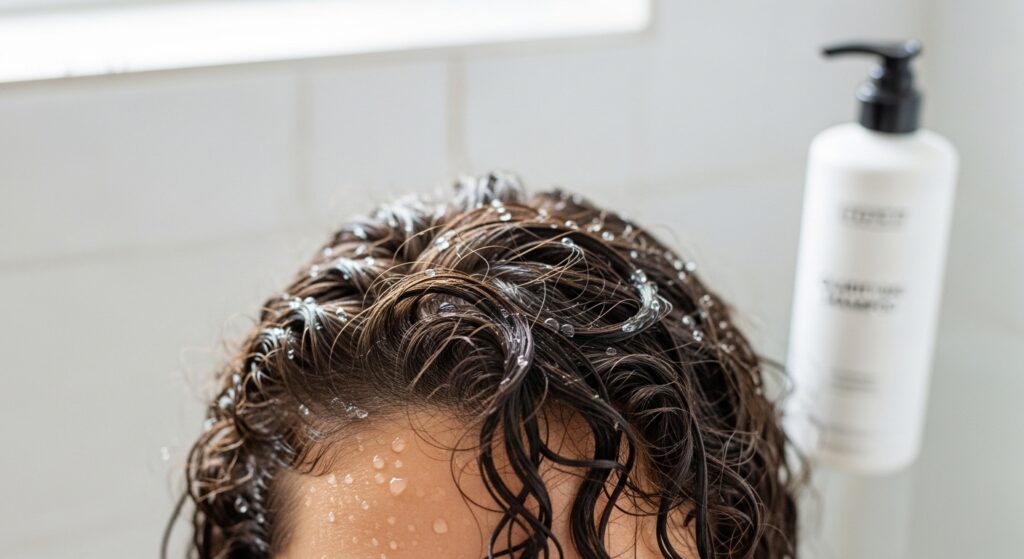
This is non-negotiable. Any leftover product, oil, or buildup will cook onto your hair with the heat, causing instant dullness and potential frizz. For this process, you need a truly clean canvas.
Use a clarifying shampoo this one time. It will strip everything away so your conditioner and heat protectant can do their jobs perfectly. Your hair should feel slightly squeaky clean before you move to the next step.
2. Conditioner is Your First Defense Layer

After clarifying, your hair needs moisture. Apply a rich conditioner from your ears down. Avoid the roots. Let it sit for a good 3-5 minutes while you do other shower things.
This step replenishes what the clarifier took and starts the smoothing process from the inside out. Rinse with cool water to help seal the hair cuticle. This initial smoothness is a game-changer.
3. The Leave-In That Locks Out Frizz
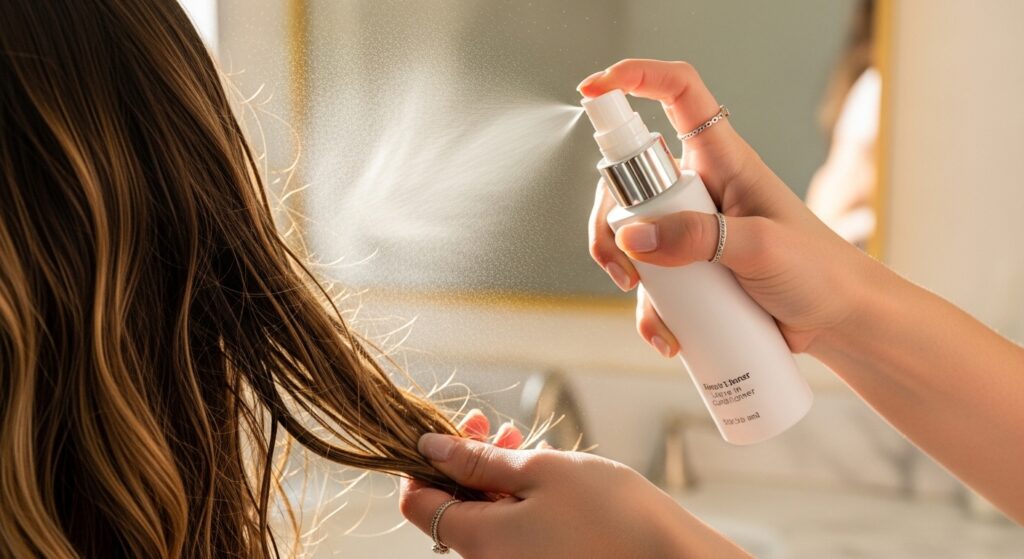
Do not skip a leave-in conditioner on straightening days. It’s a crucial extra layer of hydration and protection. Look for one that says “smoothing” or “anti-frizz.”
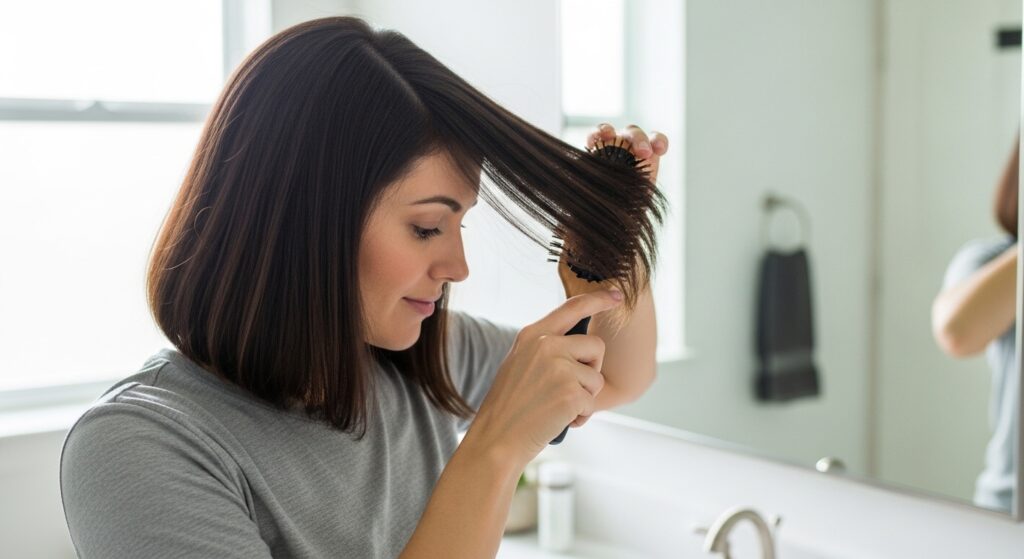
Apply it to soaking wet hair, focusing on your ends. Then, gently detangle with a wide-tooth comb. This ensures even distribution and prevents you from tearing through knots later with a brush and iron, which causes breakage and frizz.
4. The Holy Grail: Heat Protectant Serum

This is your shield. A good heat protectant serum does two things: it protects from heat damage and adds a silky slip that makes straightening easier. Creams can be too heavy for this; a serum is perfect.
Use about a dime-sized amount for medium-length hair. Rub it between your palms and smooth it over your hair, paying special attention to the ends. Your hair should feel slippery, not greasy.
5. Pre-Dry Your Hair 100%
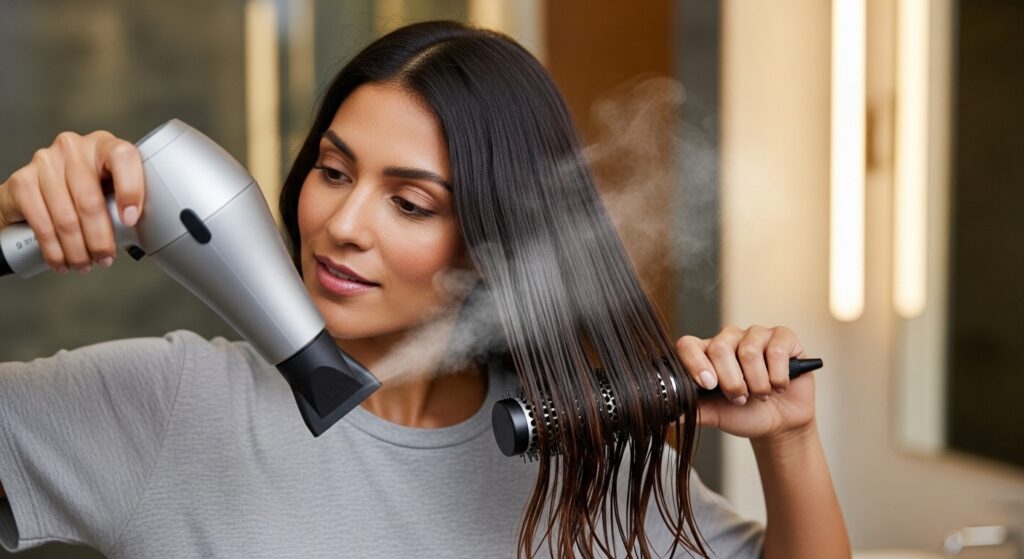
Never, ever put a flat iron on damp hair. You will sizzle it. You must blow-dry your hair completely straight first. This is the secret to a lasting, frizz-free finish.
Use a paddle brush or a round brush and a dryer with a concentrator nozzle. Work in small sections, pulling the hair taut from the roots as you dry. You want it as straight as possible before the iron even touches it.
6. Section Like a Pro
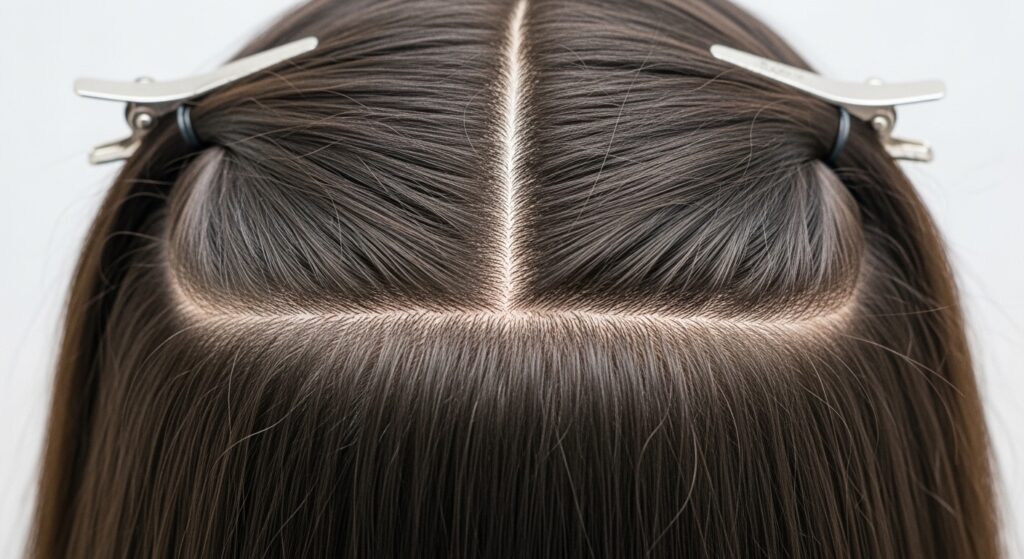
Trying to straighten a whole head of hair at once is a recipe for missed spots and re-dos (which means more heat). Small, manageable sections are key.
Once your hair is dry, divide it. I do four main sections: bottom back, top back, left side, right side. Clip the top ones up. You’ll work from the bottom layer up, taking even smaller subsections from each.
7. Find Your Perfect Flat Iron Temperature
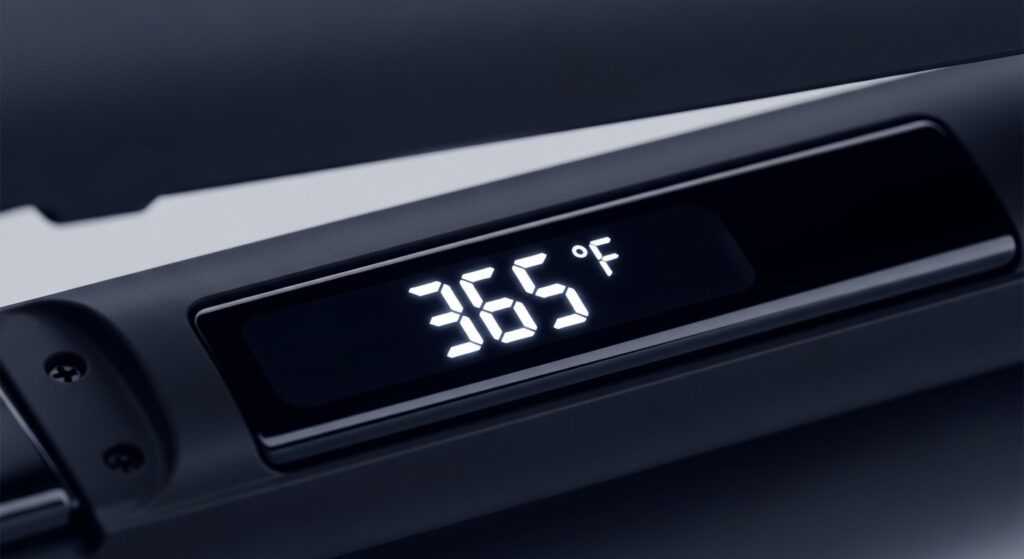
More heat isn’t better. Fine or color-treated hair might only need 300-350°F. Thick, coarse hair might need 375-400°F. Start lower—you can always increase if needed.
High heat on hair that doesn’t need it is just causing unnecessary damage, which leads to long-term frizz. Let your iron heat up fully on the right setting before you start. A consistent temperature gives consistent results.
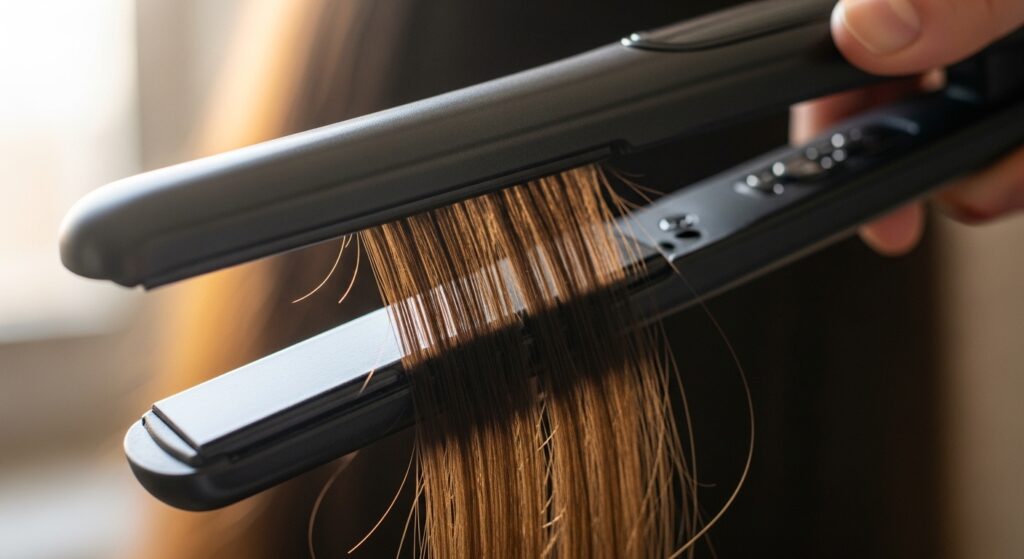
8. The One-Pass Method
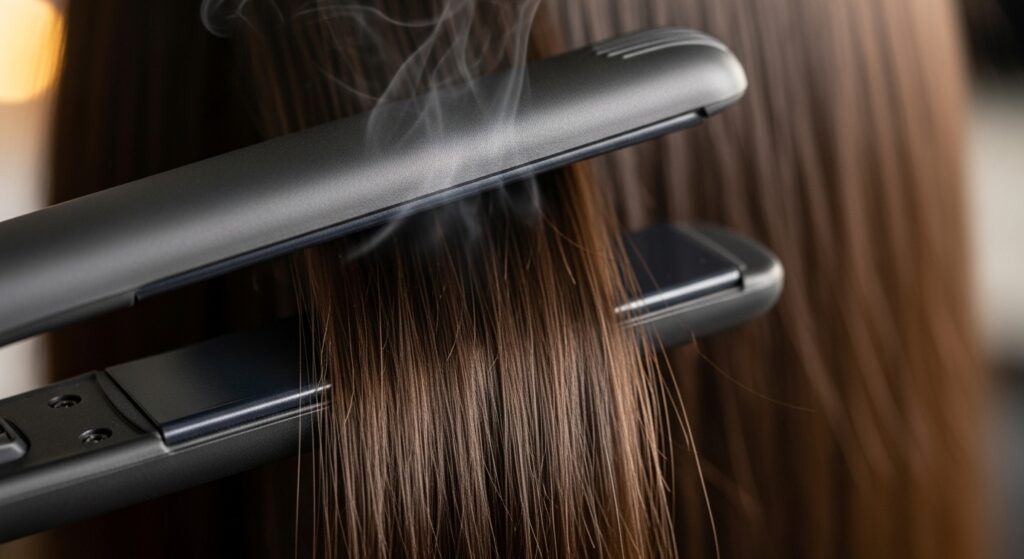
The goal is to get it smooth in one pass. Going over and over the same piece of hair is what fries it. If your hair isn’t straight after one pass, your section was too thick, your iron wasn’t hot enough, or your hair wasn’t dry enough.
Take a thin section—no wider than your iron. Clamp near the roots, glide down slowly and steadily to the ends. That’s it. Move on.
9. Tension is Your Secret Weapon
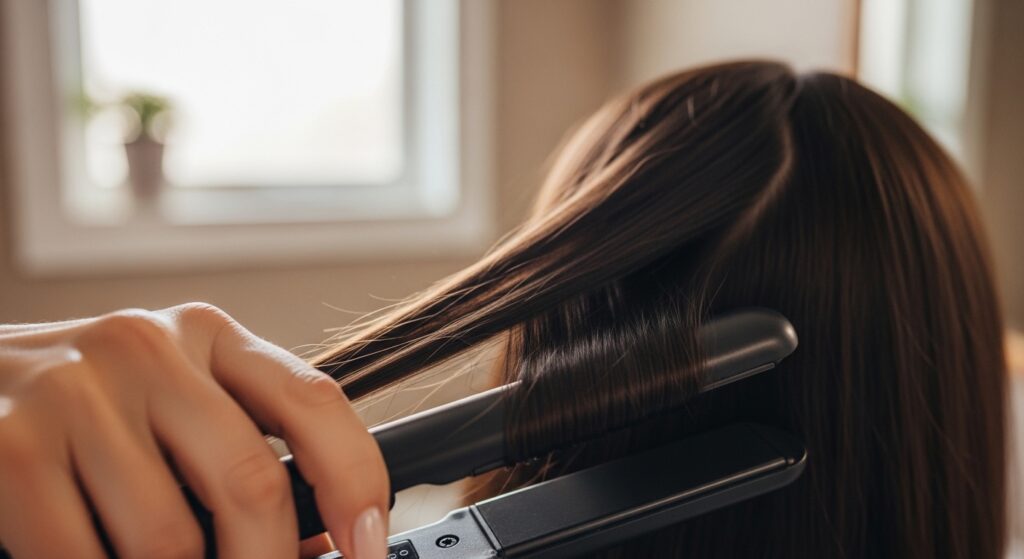
As you glide the iron down, use your other hand to gently pull the hair taut. This slight tension helps the heat distribute evenly and ensures every strand in that section gets smoothed.
Don’t pull hard enough to stretch the hair, just enough to keep it straight and flat. This technique is what gives you that super sleek, salon-quality look with less effort.
10. Cool Each Section Down
Right after you straighten a section, don’t just let it fall. Gently press it against your head or shoulder for a few seconds as it cools down.
This helps “set” the hair in its new straight form. It’s a tiny step that makes a big difference in how long your style lasts, especially in humidity.
11. The Final Pass for Sealing
Once your whole head is done, do a super quick, light pass over just the surface layer of your hair. Use a lower temperature for this if your iron allows.
This smooths down any baby hairs or flyaways that got disturbed while you were working. Focus on the canopy (the top layer) and the very ends to seal them perfectly.
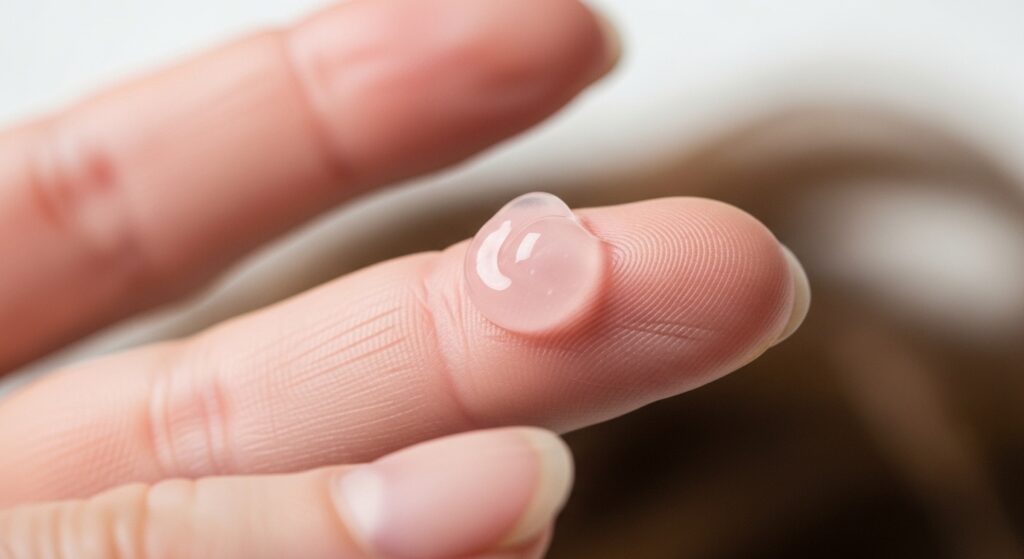
12. A Drop of Oil for the Glassy Finish
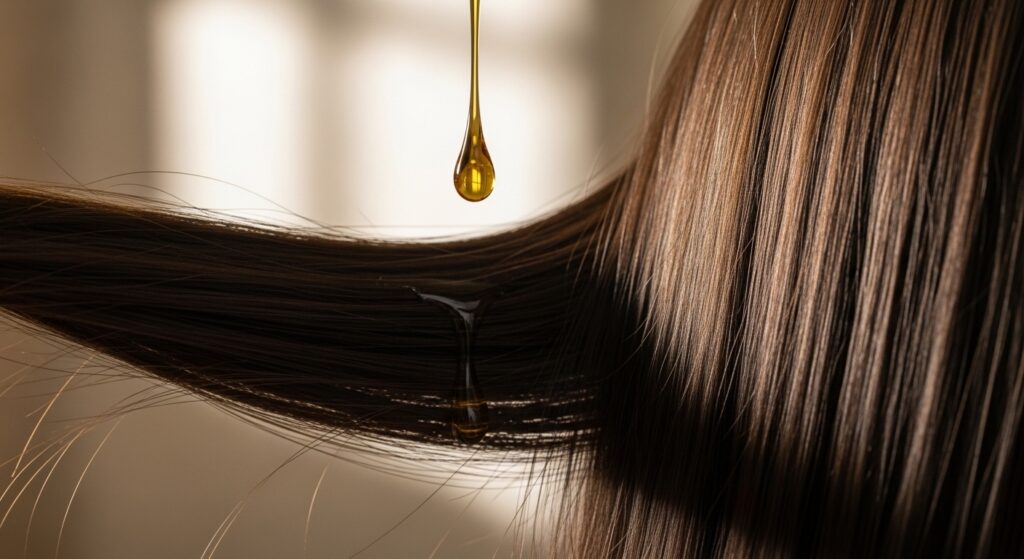
After everything is cool, take a single drop of a lightweight hair oil—like argan or marula. Rub it between your palms and then lightly skim it over the surface of your hair, from mid-lengths to ends.
This adds incredible shine, tames any last frizzies, and gives you that “glitchy glam hair” reflective finish. More than one drop can weigh hair down, so start small.
13. Sleep on a Silk Pillowcase
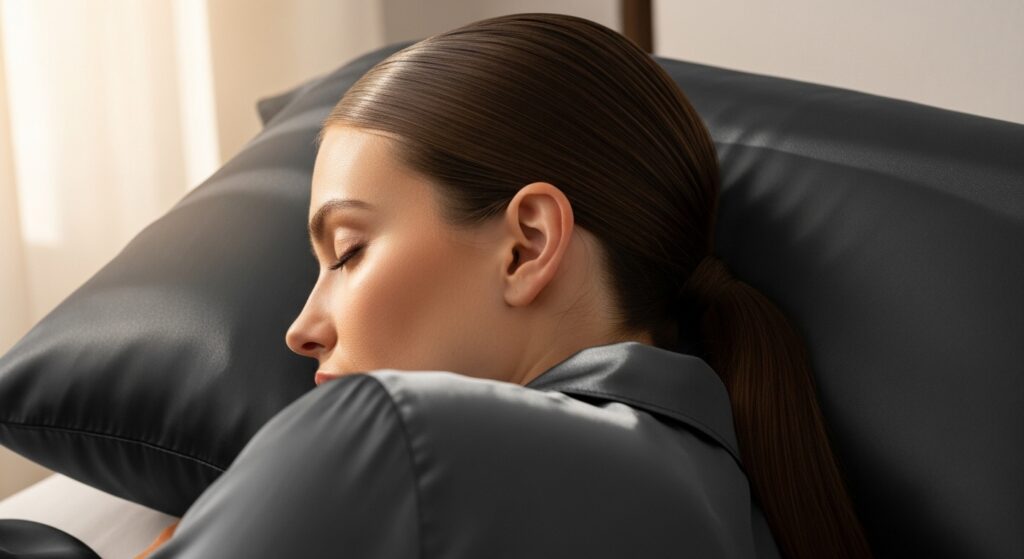
Your work shouldn’t disappear overnight. Cotton pillowcases create friction, causing frizz and flattening your style. A silk or satin pillowcase lets your hair glide as you sleep.
It’s the easiest way to preserve your blowout. You’ll wake up with hair that still looks smooth and just needs a quick refresh at the roots. Trust me, it’s worth the investment.
14. The Day-Two Refresh
Day two hair is often even better! Any natural oils have distributed, adding shine. To revive it, use a boar bristle brush. It distributes oils from your roots down the hair shaft.
Lightly mist a heat protectant on any areas that look poufy, then use your flat iron on a low setting (300°F) to quickly smooth just those sections. No need to re-do everything.
15. Fight Humidity with Hairspray
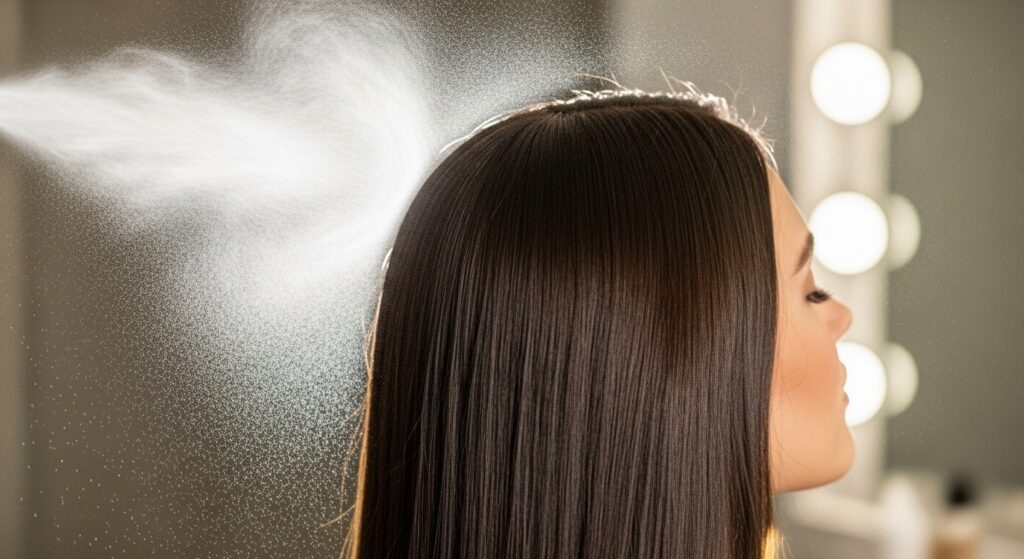
Humidity is the enemy of smooth hair. A flexible-hold hairspray is your secret weapon. Before you go out, hold the can about 10 inches away and mist a light cloud over your hair.
Don’t spray it directly or it’ll get sticky. This creates an invisible shield that helps block moisture in the air from penetrating the hair shaft and causing frizz.
16. Try a Silking Cream for Touch-Ups
For on-the-go frizz control, skip the heavy serums. Carry a tiny tube of a silking cream. If your ends start to look dry or fuzzy, take a pea-sized amount.
Rub it vigorously between your palms until it’s almost clear, then lightly glaze it over the problem areas. It melts away frizz without making hair look greasy or product-y.
17. Embrace Styles That Grow Out Gracefully
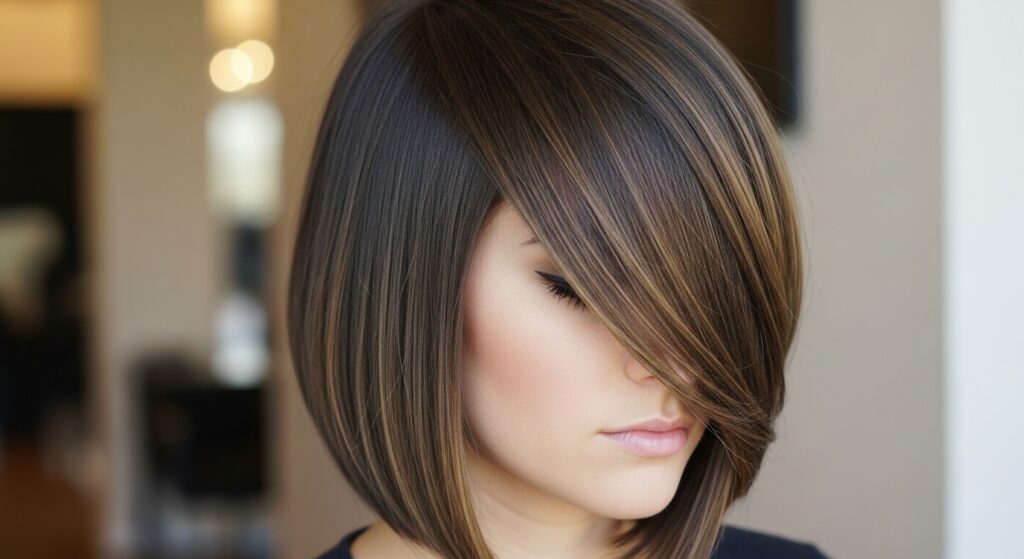
If you love the straight look, choose a cut that works with your texture as it grows. An asymmetrical lob or a sharp vampire haircut has so much style that a little wave as it grows out just adds to the vibe.
Cuts with strong shapes, like a hime cut with its blunt front pieces, or a quiet luxury bob, maintain their elegance even as your roots get a bit fuller. It takes the pressure off perfect straightness.
18. Blend Textures for a Trendy Look

You don’t have to be pin-straight from root to tip. Some of the best 2026 hairstyles are about mixing textures. Think romantic goth hairstyles with mostly straight hair but a few delicate, wavy face-framing pieces.
After straightening, use a curling wand on a low setting to add a soft bend to just the very ends or a few pieces around your face. It adds movement and makes the style look more modern and effortless.
19. Give Your Hair a Break
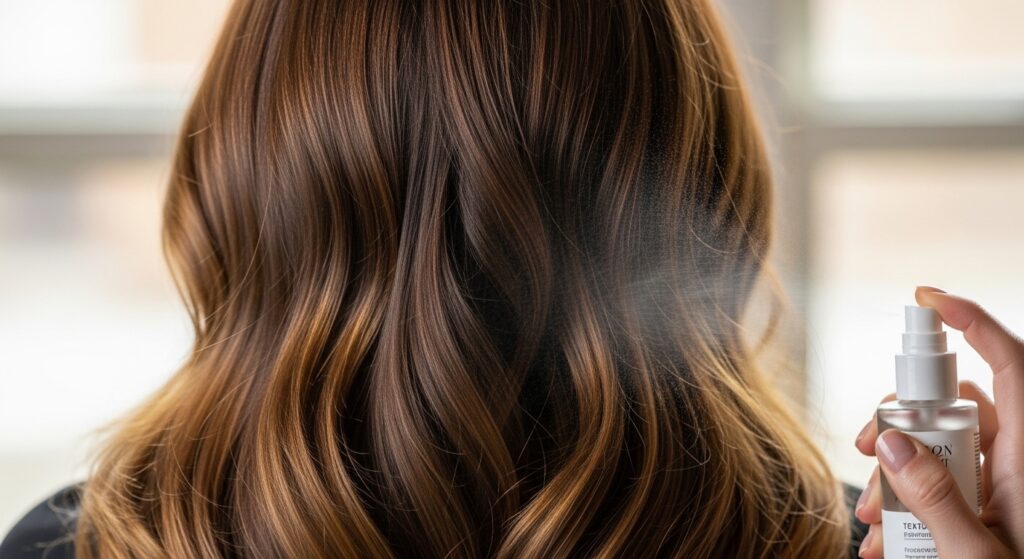
The best way to prevent long-term frizz is to not straighten every day. Give your hair days off to just be itself. Use a texturizing spray or mousse on your natural curls or waves for a defined, “done” look.
This break allows your hair’s natural moisture balance to restore itself. The healthier your hair is overall, the better it will straighten when you want it to, with less frizz and damage.
20. The Deep Condition Reset
Once a week, show your hair some love. A deep conditioning mask for 20-30 minutes will replenish moisture lost to heat styling. It keeps your hair strong, shiny, and resilient.
Healthy hair takes to heat better and resists frizz more easily. This is the foundation everything else is built on. Don’t skip your weekly reset.
And there you have it! Every single hack I use to get that silky, frizz-free look at home. It might seem like a lot of steps, but once you get the routine down, it goes so fast. The key is really in the prep and the patience with each section.
Remember, having versatile hair is about fun and expression. Some days are for big curls, some days are for that sleek old money hair perfection. Now you can switch between them confidently.
Save this post to Pinterest so you always have these tips handy for your next straightening session! Did I miss any of your personal holy-grail frizz fighters? Let me know in the comments below—I’m always looking for new tricks to try!