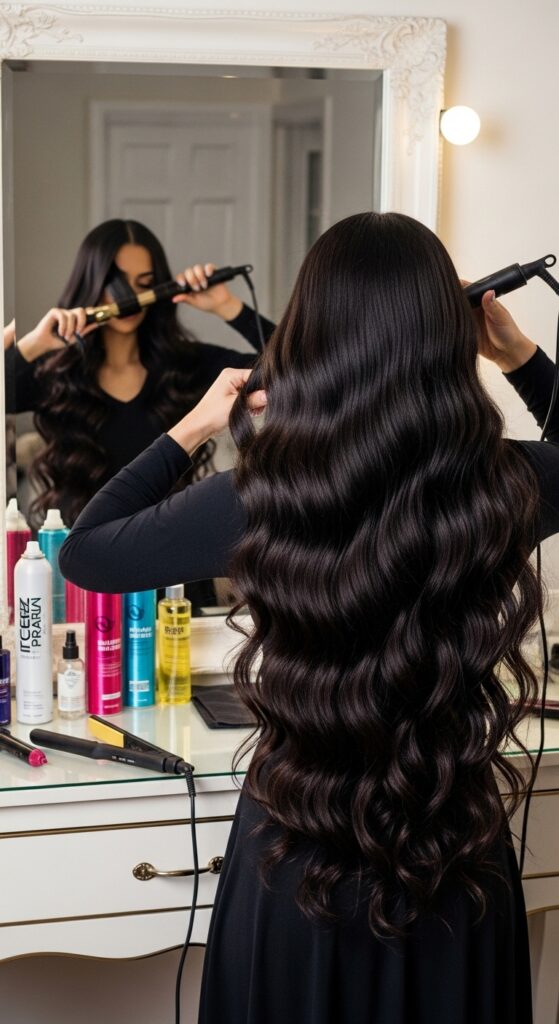
Now 26 Thermal Protectant Mists Shielding Before Every Styling
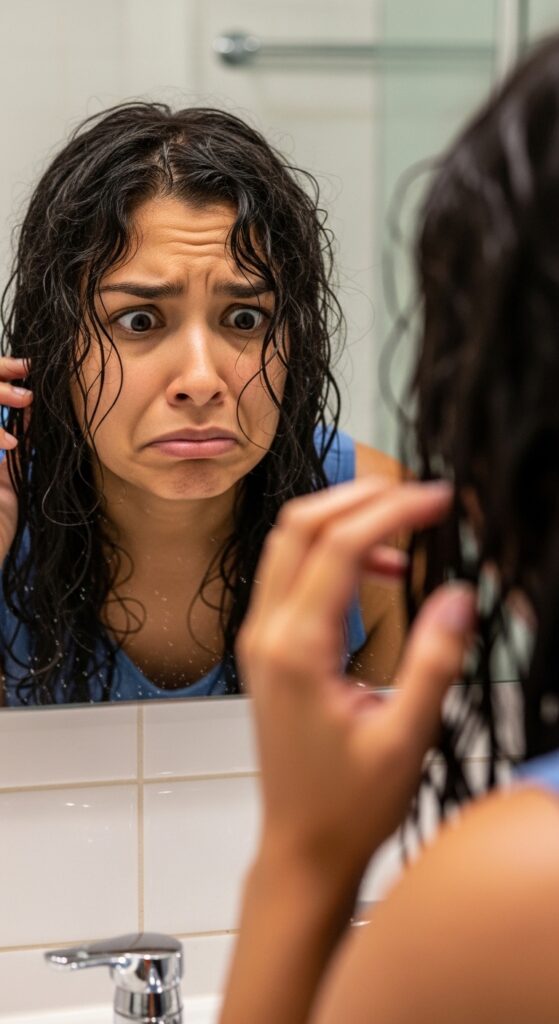
Okay, let’s be real for a second. How many times have you grabbed your hot tool, turned it on, and just… gone for it? I’ve been there. You’re in a rush, you want those perfect waves or that sleek asymmetrical lob to look sharp, and you skip the one step that actually protects your hair. We all have.
But here’s the truth I had to learn the hard way: every single time you apply heat without a shield, you’re causing damage that builds up. It leads to breakage, frizz, and color that fades way too fast. It doesn’t matter if you’re going for old money hair or edgy romantic goth hairstyles—the foundation is healthy hair.
That foundation starts with a thermal protectant. And not just any spritz. I’m talking about a true mist that shields. Today, I’m breaking down everything you need to know. Consider this your no-nonsense guide to using the right protectant for every single one of your 2026 hairstyles.
Let’s get your hair game strong and safe, so you can style with confidence.
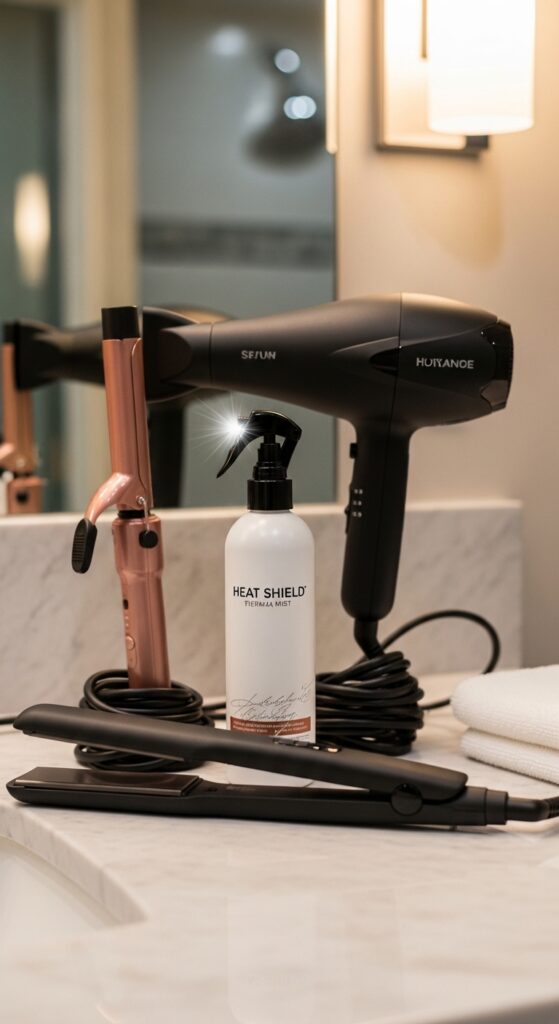
Why “Just a Spritz” Isn’t Enough Anymore
Think of your hair like your favorite silk blouse. You wouldn’t iron it on high heat without a cloth in between, right? Your hair needs that same buffer. Modern thermal protectants do more than just add a temporary barrier.
They form a smart shield that:
- Coats the hair shaft to repel direct heat.
- Lock in moisture so the heat doesn’t dry hair out.
- Often contain nourishing ingredients that actually improve hair health over time.
Using one is the difference between styling your hair and slowly frying it. It’s the most important product in your routine, hands down.
The #1 Mistake Everyone Makes (I Did Too)
For years, I thought I was doing it right. I’d spray my damp hair once before blow-drying and call it a day. Wrong. The biggest mistake is not reapplying. Each heat application needs its own fresh layer of protection.
If you blow-dry, then use a curling iron, then a flat iron for touch-ups? That’s three separate heat events. Your hair needs a light mist before each tool. This was the game-changer for my hair’s strength and shine.
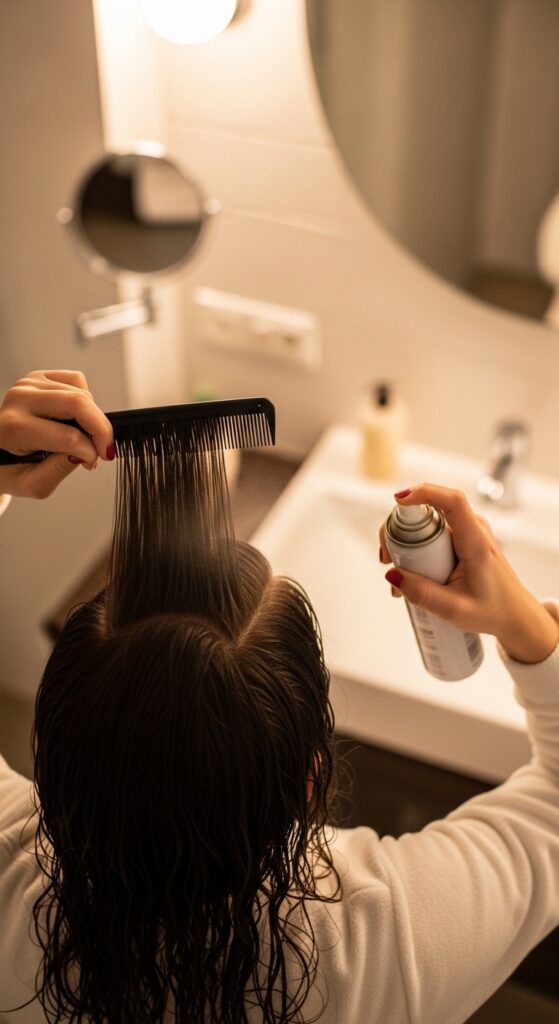
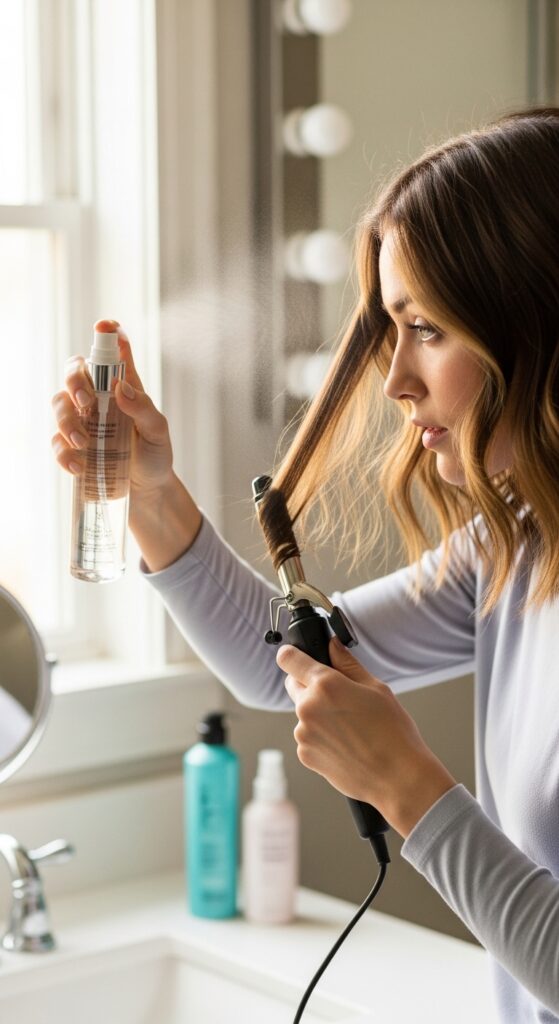
How to Apply It for Maximum Shield
Technique matters just as much as the product. You want even coverage without weighing hair down. Start with towel-dried hair. Hold the bottle about 6-8 inches away.
Section your hair and spray lightly from roots to ends, focusing on the mid-lengths and ends where hair is oldest and most fragile. Don’t forget the underside! Then, comb it through with a wide-tooth comb to ensure every strand is coated.
Protecting Fine, Thin Hair Without Weighing It Down
If you have fine hair, you might fear products that make it look greasy or flat. The key is to look for a protectant specifically labeled “lightweight” or “volumizing.” Avoid heavy oils or silicones high in the list.
Spray it on damp hair before blow-drying for the best lift. A light mist before using a curling iron on low heat will give you those soft, glitchy glam hair textures without the crunch or collapse.

Shielding Thick, Curly, or Coarse Hair
Thicker textures need more moisture and a stronger shield. Look for creams or richer sprays with ingredients like argan oil or shea butter. These add protection while fighting frizz.
Apply to soaking wet hair, comb through, and then style. Reapply a small amount to dry sections before using a flat iron for smoothness. This is essential for achieving a sleek quiet luxury bob on textured hair.

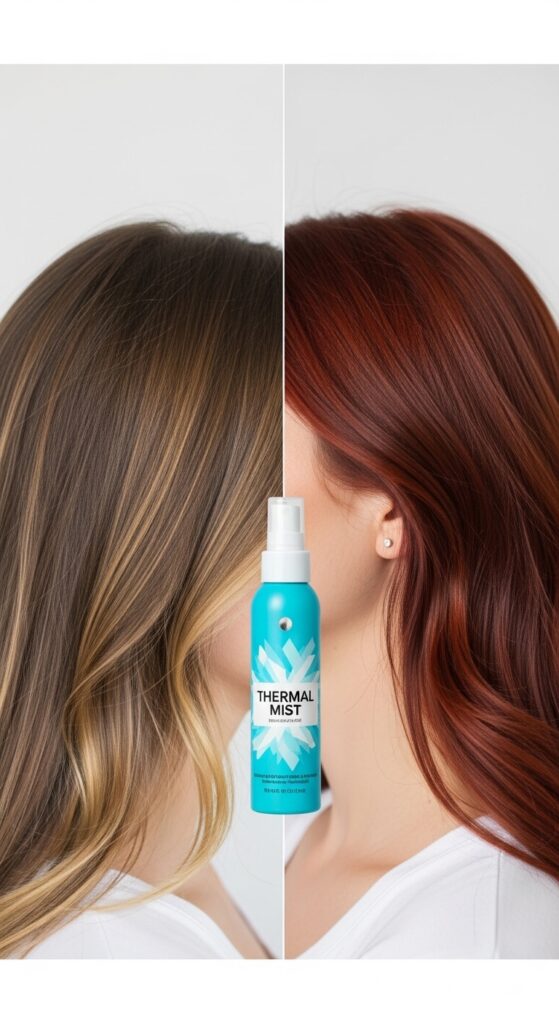
For Color-Treated or Bleached Hair
Colored hair is more porous and vulnerable. Heat can strip that gorgeous color you paid for! A thermal protectant with UV filters is a double win—it shields from heat and the sun.
This extra step locks in your hue and prevents brassiness. Whether you’re rocking a vampire haircut or pastel glitchy glam hair, this keeps your color vibrant and true.
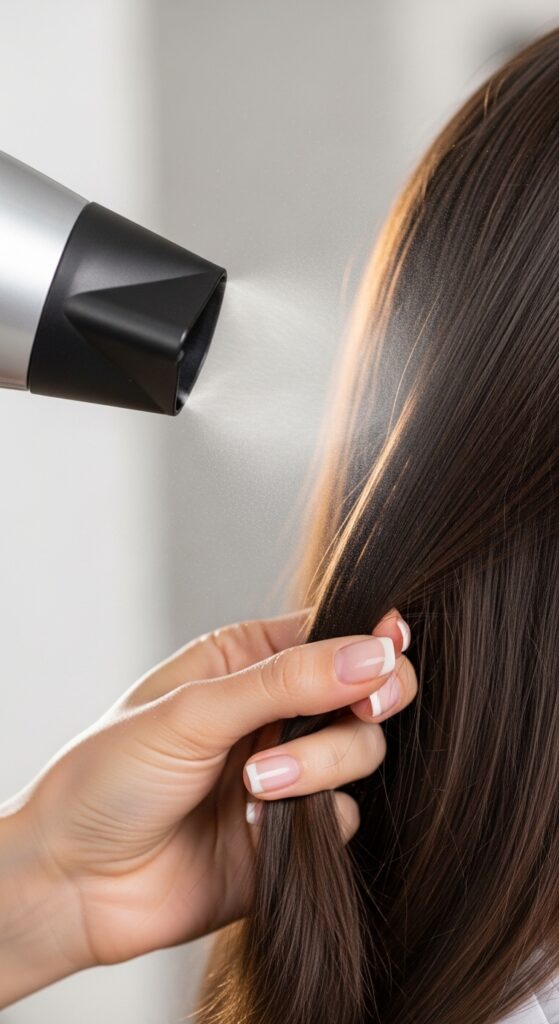
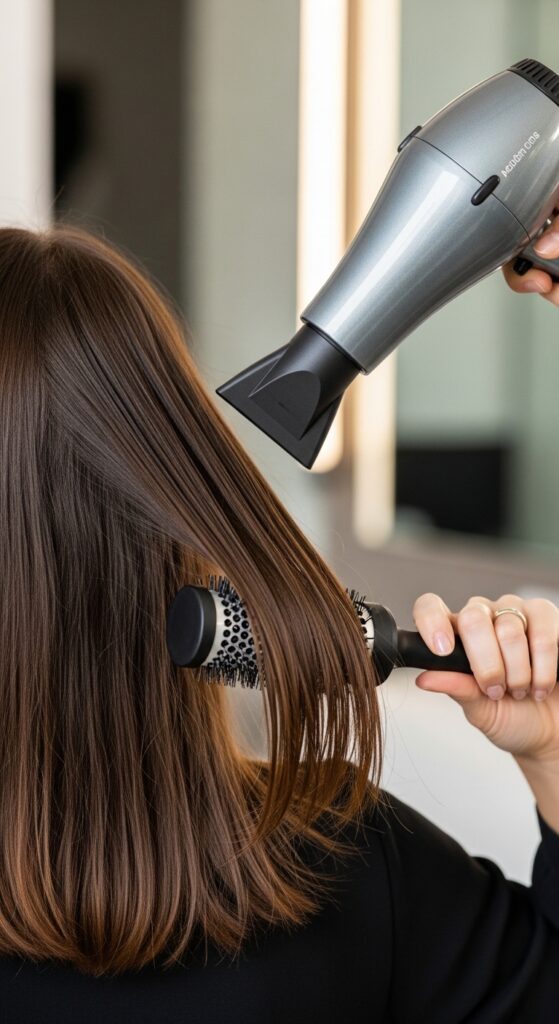
Before Blow-Drying: Your Foundation Step
Blow-drying is often the first and longest heat exposure. A good protectant here cuts drying time and boosts shine. After applying to damp hair, use a concentrator nozzle on your dryer.
Direct the airflow down the hair shaft. This smooths the cuticle as you dry, sealing in the protectant and creating a smooth base for any other styling. It’s the secret to salon-level blowouts.
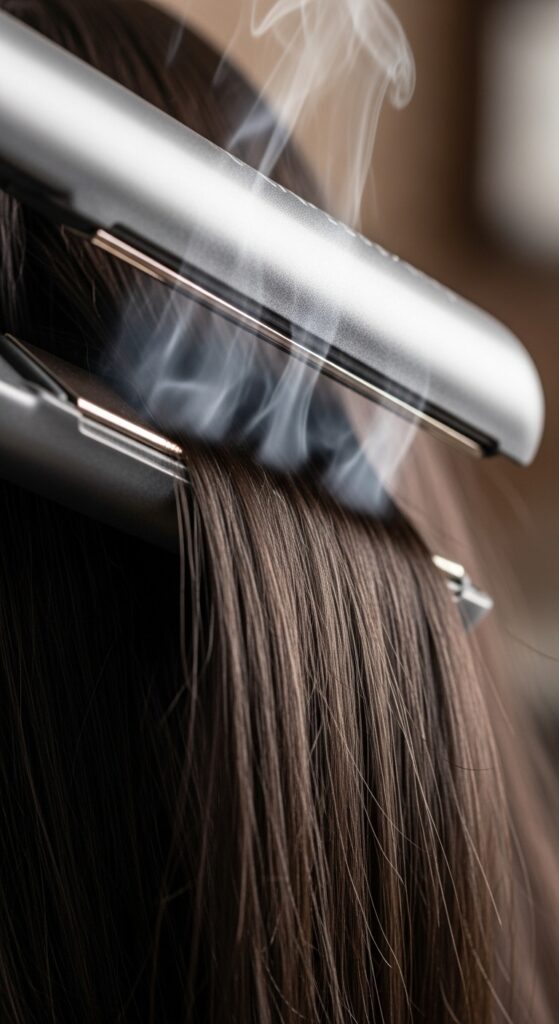
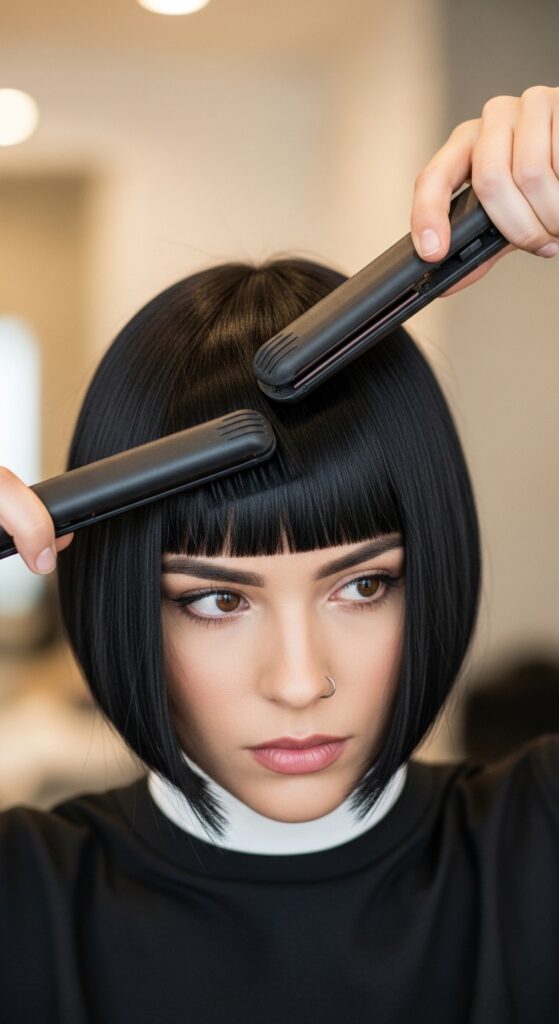
Before Flat Ironing for Glass-Like Shine
Flat irons get extremely hot. This is where your protectant’s strength is tested. Always apply to completely dry hair. Spritz a section lightly, then run the iron down slowly in one pass.
Multiple passes on the same section without protection is a recipe for disaster. This method gives you that iconic, sleek old money hair shine without the heat damage.
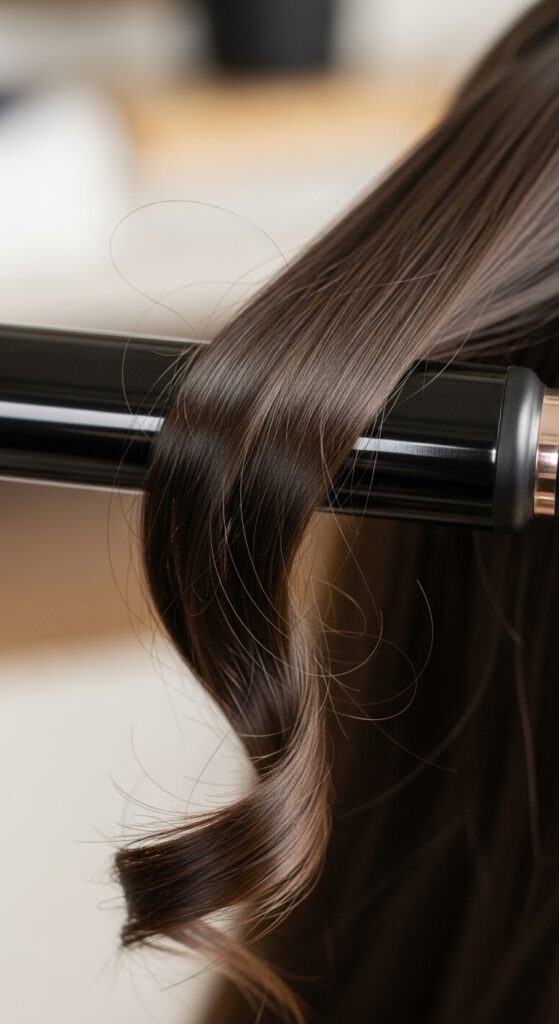
Before Curling Wands or Irons
Whether you want loose waves or tight curls, protection prevents a crispy, dry feel. Lightly mist each section before you wrap it around the barrel. This helps the style set better and last longer.
For romantic goth hairstyles with intricate waves, or soft bends for an asymmetrical lob, this keeps the hair flexible and soft, never brittle.
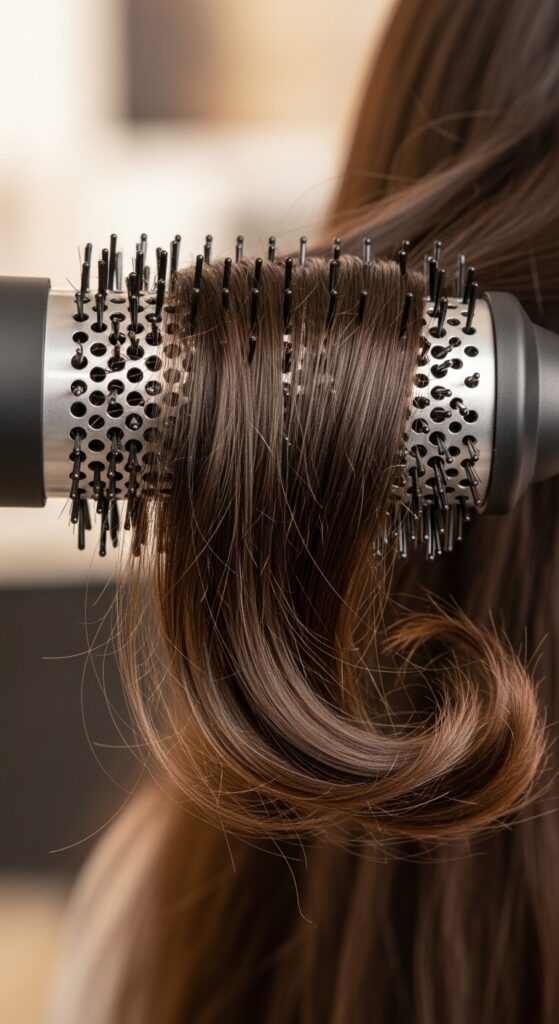
Even Before Hot Brushes or Air Stylers
Don’t be fooled! These “all-in-one” tools still use intense heat. The rotating brushes and hot air need a barrier too. Apply your protectant to damp hair before using.
It prevents snagging and ensures the smooth, polished result these tools promise. It’s a simple step for a huge payoff in hair health.
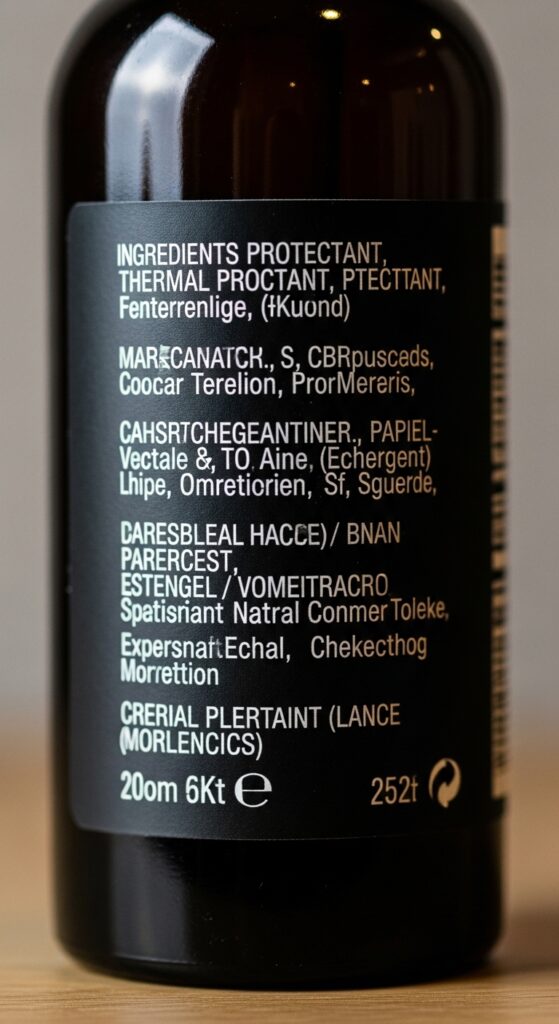
Decoding the Ingredients Label
What should you look for? Key heat-protective ingredients include polymers like Polyquaternium and Dimethicone. Natural options might use cyclomethicone or plant oils.
Avoid products with a high alcohol content (like denatured alcohol) at the top of the list, as they can be drying. Think of your protectant as a leave-in conditioner plus a shield.
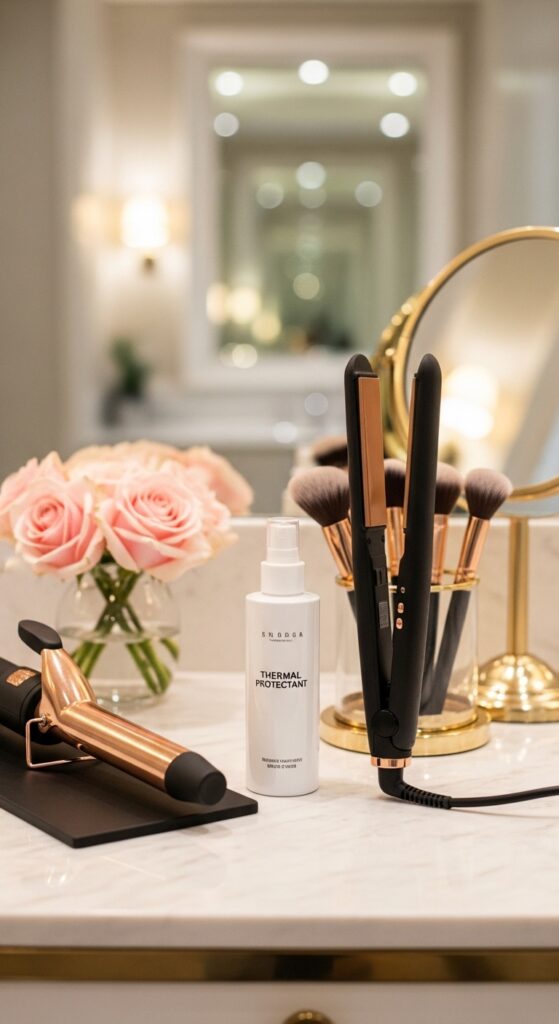
Spray vs. Cream vs. Serum: Which One?
Your choice depends on your hair type and styling step. Mists are great for all-over, lightweight protection and reapplication. Creams are ideal for thick, curly, or dry hair.
Serums are perfect for a final seal on ends before flat ironing. I often use a cream before blow-drying and a light spray before my curling iron for layered protection.

Can You Use Too Much? (Spoiler: Yes)
More is not always better. Over-applying, especially with serums or creams, can make hair look greasy, feel heavy, and even cause buildup that makes heat styling less effective.
Stick to the “light, even coat” rule. If your hair feels producty or sticky after applying, you’ve likely used too much. A little goes a long way.
The Quick Refresh for 2nd-Day Styling
Your hair on day two or three still needs protection! If your style needs a touch-up with heat, lightly mist the areas you’ll be restyling. Let it dry for 30 seconds before applying the hot tool.
This reactivates the protective layer without making your hair wet. It’s perfect for fixing a few pieces of your hime cut or reviving the bend in your asymmetrical lob.
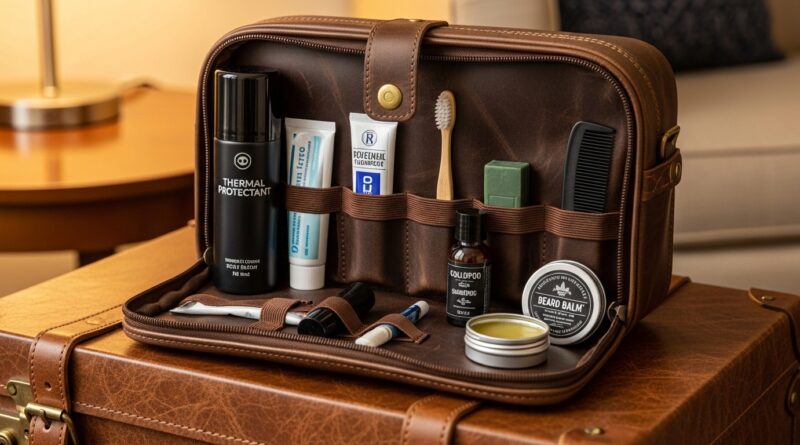
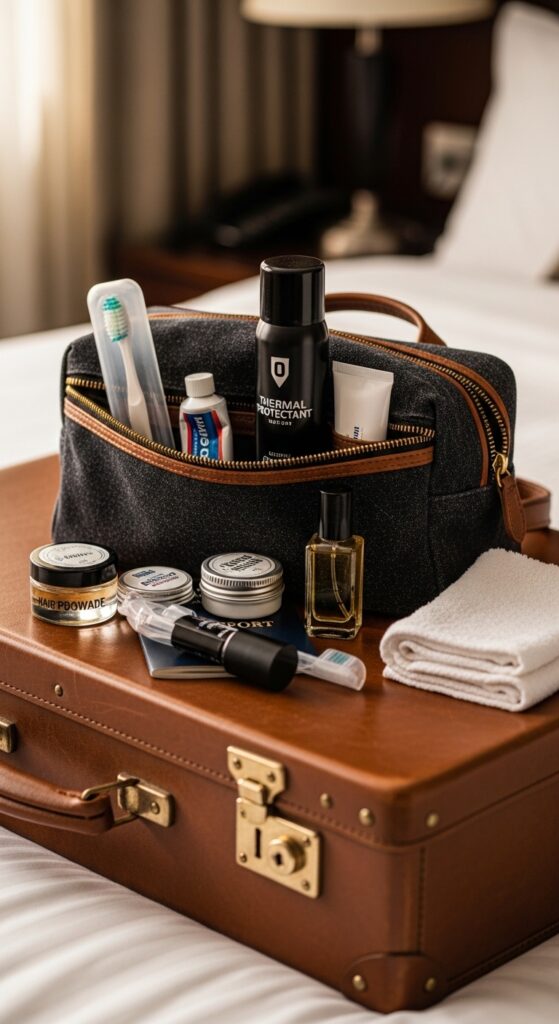
Travel-Size Must-Have for Your Dopp Kit
Never skip protection on vacation or work trips. Hotel hair dryers are notoriously harsh! Decant your favorite protectant into a TSA-approved travel spray bottle.
It takes up no space and ensures you can style your hair safely, whether you’re prepping for a beachy wave or a sleek look for dinner. This tiny step makes a huge difference.
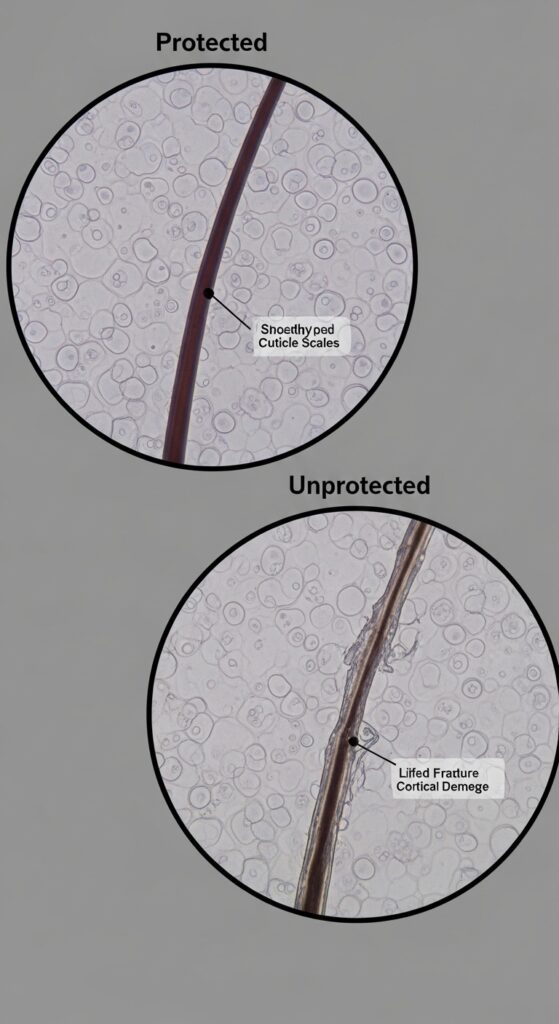
Myth Busting: Does It Really Work?
Some people think it’s just a marketing gimmick. Science says otherwise. Independent studies show thermal protectants significantly reduce hair breakage and protein loss from heat styling.
They work by distributing the heat more evenly and preventing the water inside your hair shaft from boiling, which is what causes bubbles and breakage. It’s real protection.
Pairing With Your Other Products
Your thermal protectant should be one of the last leave-in products you apply. The general order is: treatment (like a leave-in conditioner) -> heat protectant -> styling product (like mousse).
This lets each product do its job. The protectant forms the shield closest to the hair cuticle before the heat hits.

For Short Hair & Bold Cuts
Short styles like a sharp vampire haircut or a graphic hime cut often need precise heat styling. Protectant is crucial because shorter hair is often newer, healthier hair—let’s keep it that way.
Use a lightweight spray to avoid flattening your style. It protects those sharp lines and textured pieces as you define them with a flat iron or small iron.
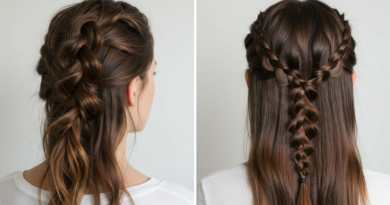
For Long, Fantasy-Inspired Styles
Creating romantic goth hairstyles or intricate braids often involves multiple heat tools on the same section. This is where diligent reapplication is non-negotiable.
Mist each section before curling or straightening. It preserves the length and prevents the dry, frayed ends that ruin a mystical, flowing look.
Building the Habit: Make It Unskippable
The trick is to make it as automatic as brushing your teeth. Keep your thermal protectant right next to your hot tools. Never store them separately.
When you reach for your iron, the bottle is in your hand first. After two weeks, it will feel weird to style without it. Your future hair will thank you.
My Personal Top 3 Picks Right Now
I test a lot of products, so here are my current ride-or-dies. For fine hair: a volumizing spray. For thick, curly hair: a nourishing cream. For all-around, no-fuss use: a lightweight mist that works on damp or dry hair.
(Note: I’m not listing specific brands to keep this guide timeless, but you can always DM me on Instagram @haileyandteam for my latest favorites!).

Your Hair’s Long-Term Health Starts Today
Think of this as an investment. The minor daily step of using a thermal protectant adds up to major long-term benefits: less breakage, more length retention, shinier color, and overall healthier hair.
It allows you to play with all the 2026 hairstyles you love, from the quiet luxury bob to glitchy glam hair, without sacrificing the integrity of your hair. That’s true style freedom.
So, that’s the full scoop. It seems like a small thing, but honestly, making thermal protection a non-negotiable step completely changed my hair’s health. I went from constantly fighting split ends and dullness to having hair that actually feels strong, holds style better, and shines.
The best part? It takes about ten seconds. Ten seconds between your hair and the heat. That’s all it takes to be a smarter, kinder stylist to yourself.
I want to hear from you! Was this a lightbulb moment? Have you found a holy-grail protectant? Spill your tips in the comments below—let’s help each other out.
Save this post to Pinterest to keep this guide handy for your next styling session!