Now 21 Precision Parting Combs Guiding Symmetrical Lines Perfectly
Okay, let’s be real. We’ve all been there. You see a picture of a perfect, clean, symmetrical hairstyle—maybe that sharp quiet luxury bob or a precise hime cut—and you think, “I could never do that at home.” The part is never straight, the lines are always a little off, and it just doesn’t look as polished.
I used to feel the exact same way. My DIY attempts at the trendy asymmetrical lob or even a simple center part for 2026 hairstyles looked… well, a little wonky. I needed a salon-level guide, literally.
Then I discovered precision parting combs. Game. Changer. These little tools are the secret to getting those salon-sharp lines and perfectly balanced sections, whether you’re going for an old money hair vibe or something more edgy.
This isn’t complicated. I’m going to walk you through everything, from what these combs are to exactly how to use them for your next big style switch. You’ll get pro-level symmetry in minutes.
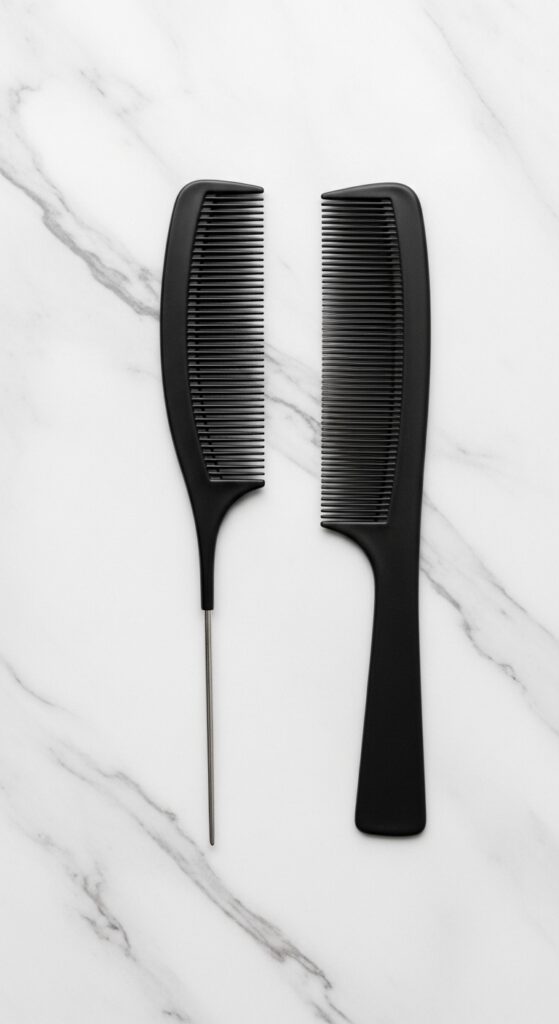
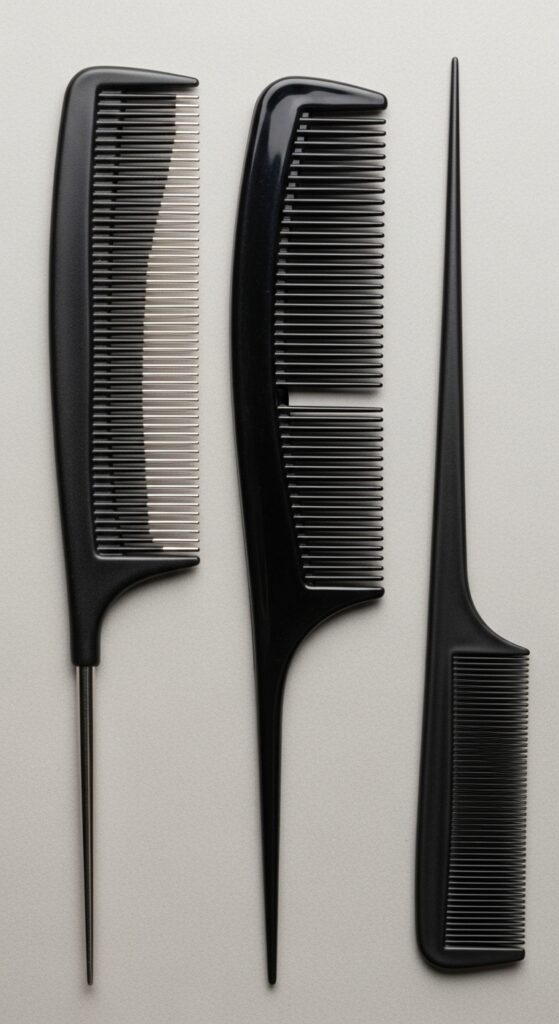
What Are Precision Parting Combs, Anyway?
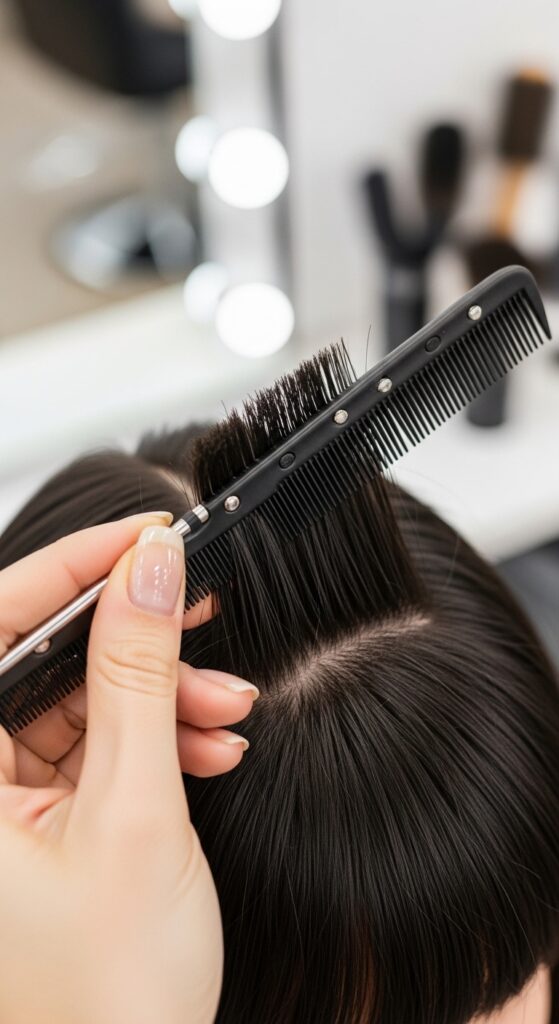
Forget your regular wide-tooth comb. A precision parting comb is a styling tool designed with one job: creating flawlessly straight, clean parts and sections. They typically have a long, pointed tail and very fine, closely spaced teeth.
The pointed end lets you draw a literal line on your scalp, and the fine teeth grip the hair tightly to separate it without any stray strands messing up your perfect line. It’s the difference between freehand drawing and using a ruler.
Why Your Regular Comb Just Doesn’t Cut It
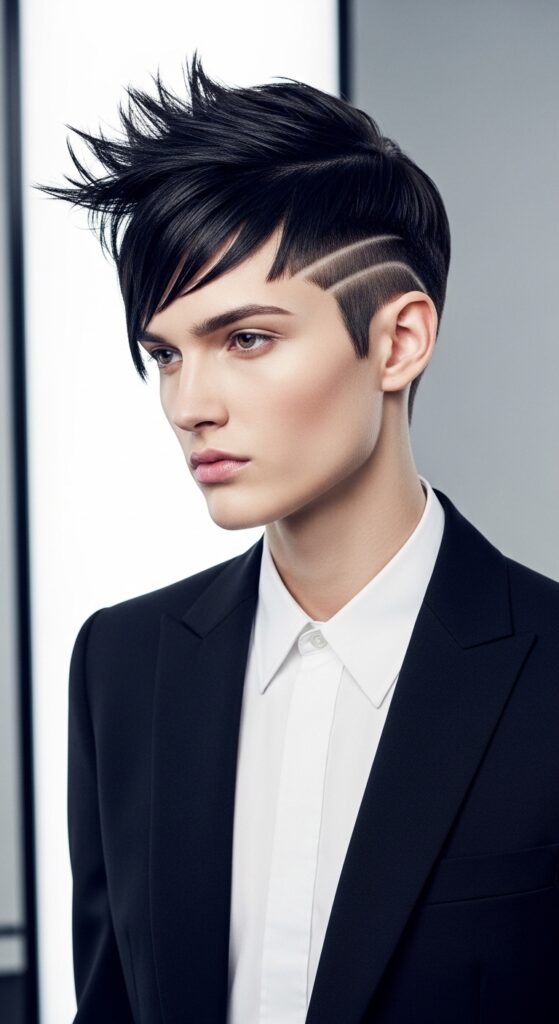
Your everyday comb is great for detangling and general styling. But when you need a razor-sharp part for a style like the vampire haircut or that ultra-clean glitchy glam hair look, it falls short.
The teeth are too wide, allowing hair to crossover. The tail isn’t pointy enough to guide a straight line from your forehead to your crown. Using a regular comb for precise work often leads to wobbly, uneven sections that throw off the whole symmetry of your cut.

The Tool You Didn’t Know You Needed for 2026 Hairstyles
As we look ahead to 2026 hairstyles, precision is everything. Trends are leaning towards hyper-clean lines, intentional asymmetry, and geometric shapes. Think updated bobs and sharp layers.
A precision parting comb is the foundational tool to achieve these looks at home. It ensures that when you attempt that modern take on the asymmetrical lob, the shorter side is a perfect, intentional slice, not just accidentally shorter hair.
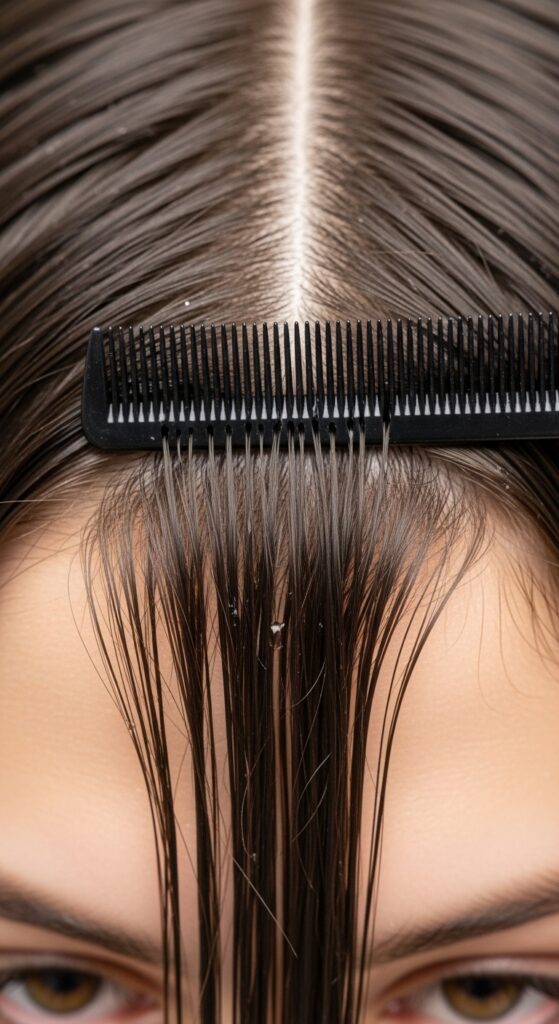
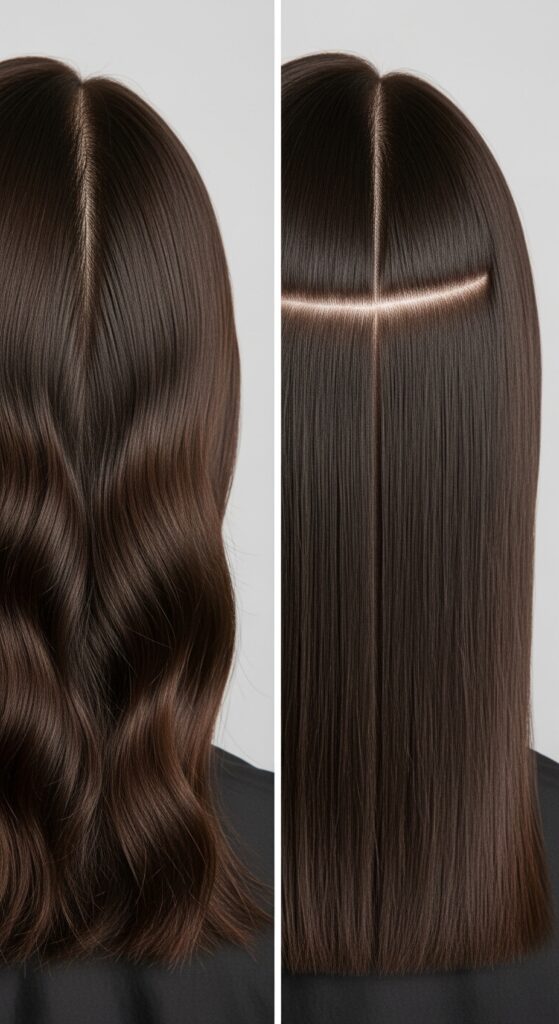
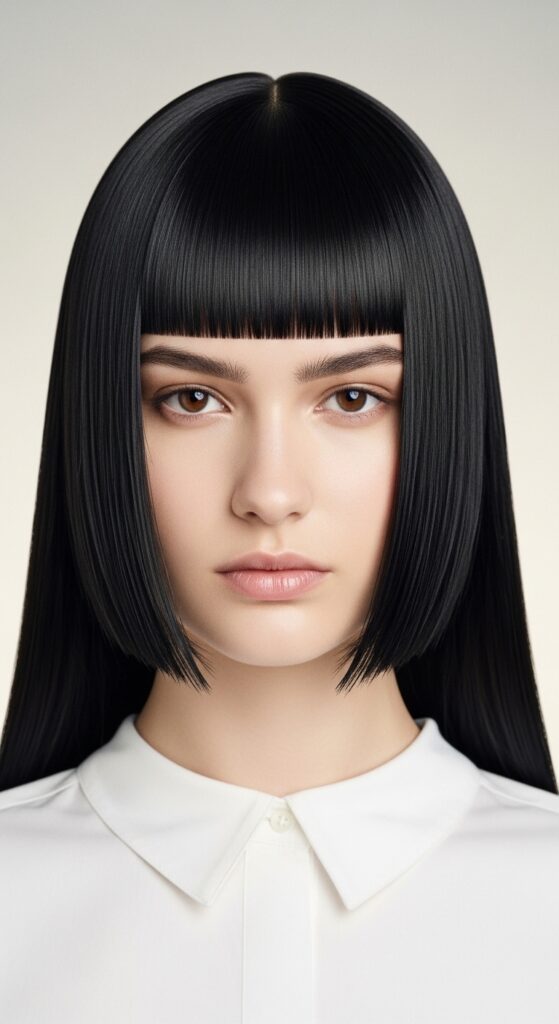
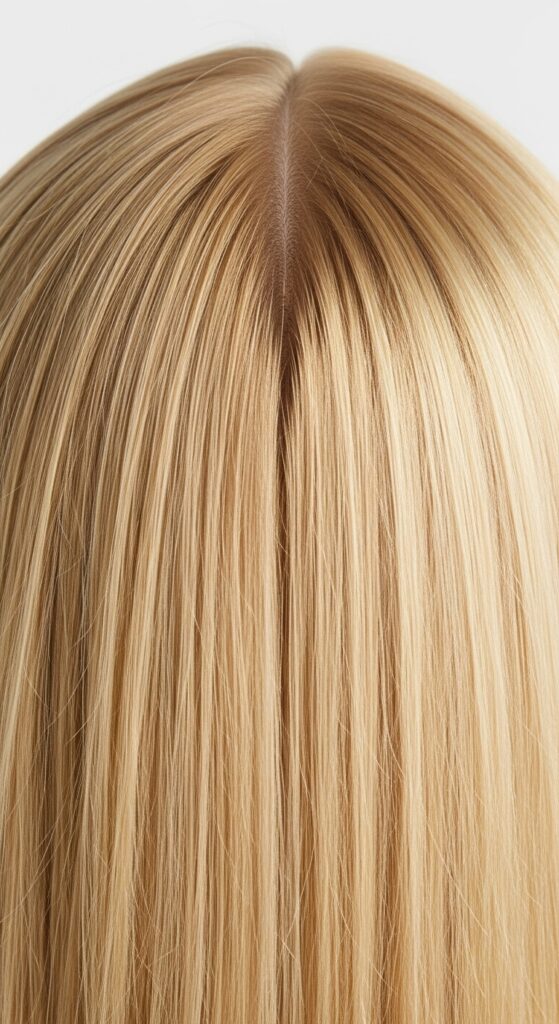
Mastering the Classic Center Part
The center part is back in a huge way, especially for old money hair and quiet luxury styles. But it has to be *perfectly* centered. Here’s how to get it right every single time.
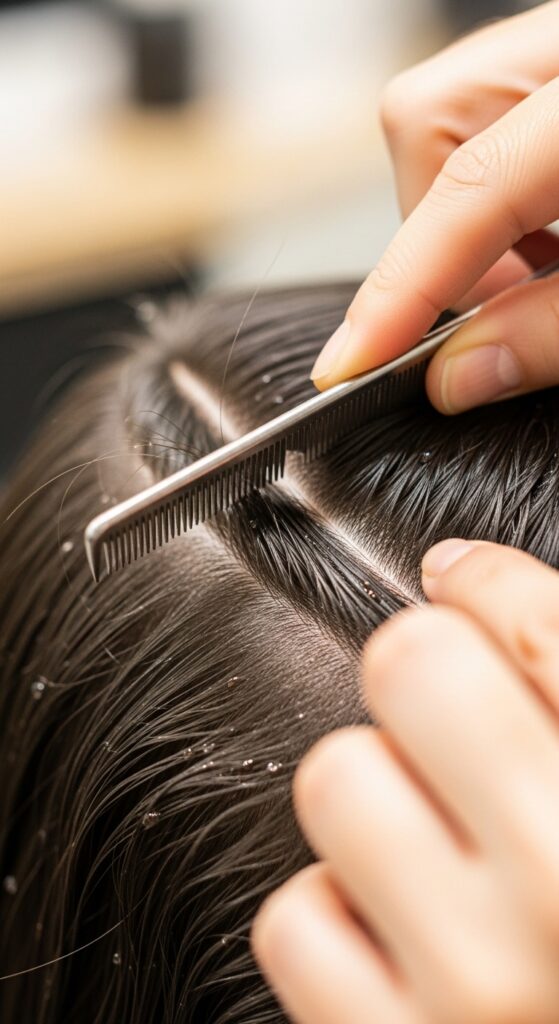
- Start with damp, detangled hair. Use the pointed tail of the comb to line up the center of your nose with the center of your forehead.
- Gently press the point to your scalp and drag it straight back over the crown of your head.
- Follow immediately with the fine teeth of the comb to separate the hair firmly along that line.
Creating the Perfect Deep Side Part
A deep side part is timeless and adds instant volume and drama. It’s the first step for so many styles, from vintage glam to the romantic goth hairstyles we love.
Find the high arch of your eyebrow. Place the point of your comb there and draw a line diagonally back to the crown of your head. The deeper you go, the more dramatic the volume.
Use the teeth to secure the part, then direct the larger section of hair across your forehead. This creates that beautiful, sweeping effect that lifts your roots.
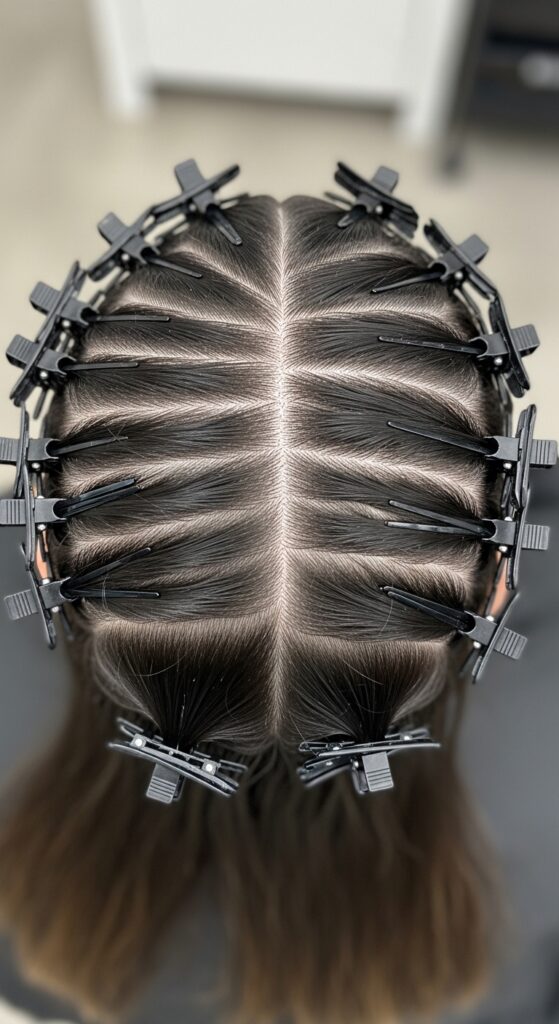
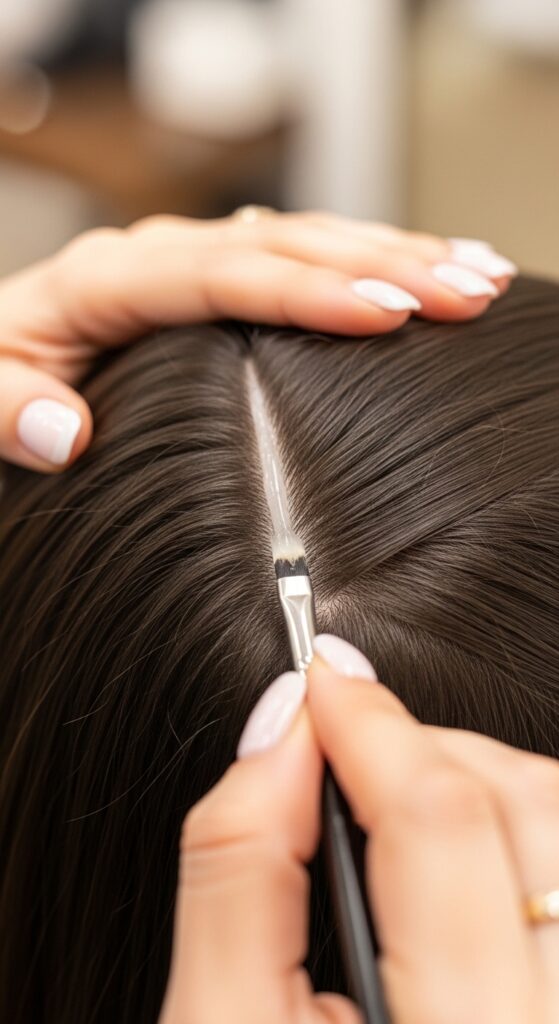
Sectioning for Salon-Quality Color at Home
If you do your own highlights or touch up your roots, this tool is your new best friend. Clean sections mean clean color with no bleed-over.
Use the precision comb to separate the hair you’re coloring from the hair you’re protecting. Create thin, even subsections by pulling the tail in straight lines perpendicular to your part.
This method is a lifesaver for babylights, foils, or even applying a gloss evenly. It turns a messy chore into a precise, professional-looking job.
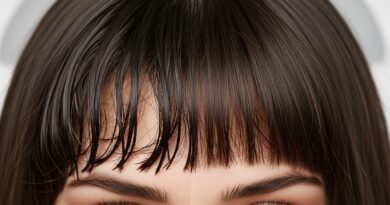
Getting Those Sharp, Symmetrical Bangs
Whether you have curtain bangs or a full fringe, keeping them even is a constant battle. A precision comb makes trimming your bangs at home less scary.
Always start with a center part through your bang section. Then, use the comb to pull small, even subsections straight down over your forehead.
Cut each subsection individually, using the previous one as a guide. The comb holds the hair taut and straight, ensuring you get a clean, even line across.
Precision for the “Vampire Haircut” Trend
The vampire haircut is all about sharp, dramatic layers and a heavy, often disconnected fringe. Symmetry and clean lines are crucial to making it look intentional and cool, not just hacked off.
Use your precision comb to create a hard, deep side part. Then, use the pointed tail to map out where your shortest front layers will start, drawing a straight line from your part to your desired length.
This visual guide helps you or your stylist see exactly where to cut to achieve that iconic, sharp shape that defines this trend.
Nailing the Hime Cut’s Signature Lines
The hime cut is the ultimate test of precision. It features straight-across, blunt front strands and sharp, cheekbone-level sidelocks, all against longer back hair.
The key is using your comb to create three distinct, blocky sections: the front (princess strands), the two side sections, and the back. Each section must be isolated with a perfectly straight part.
When cutting, the comb guides you to keep every line blunt and every angle sharp. It’s what transforms a simple cut into this striking, geometric style.

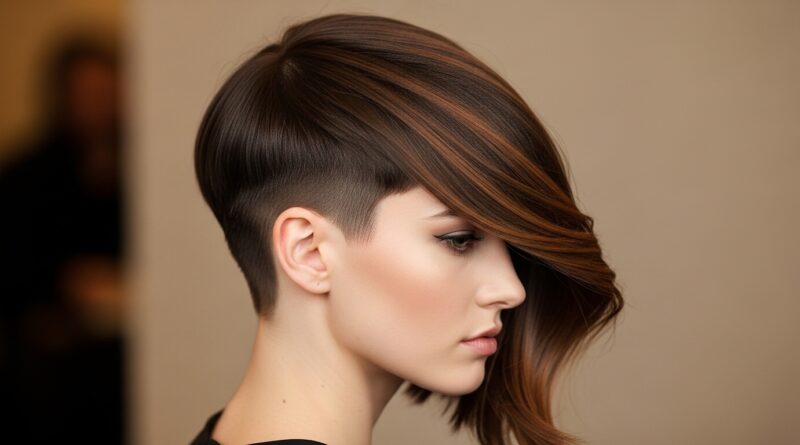
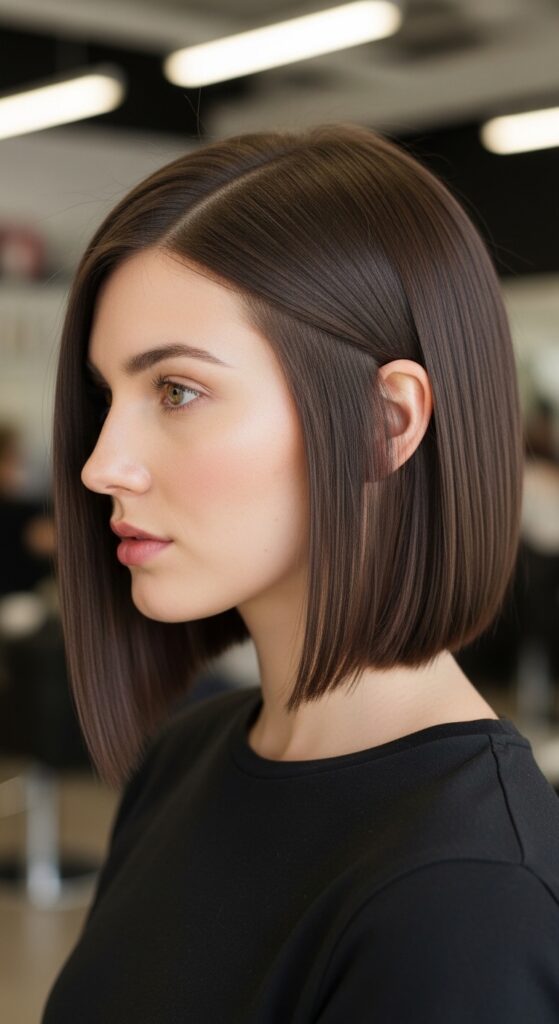
Elevating the Asymmetrical Lob
The asymmetrical lob is a classic for a reason. But its beauty lies in the balance between the shorter and longer sides. It’s asymmetrical, not messy.
First, establish your guide. Create a deep side part. The hair on the heavier side of the part will be your longer length. The hair on the smaller side will be your shorter length.
Use the precision comb to pull the shorter side section straight down. Cut your guide length there. Then, use that clean, comb-guided line as a reference point to blend and shape the rest of the cut.
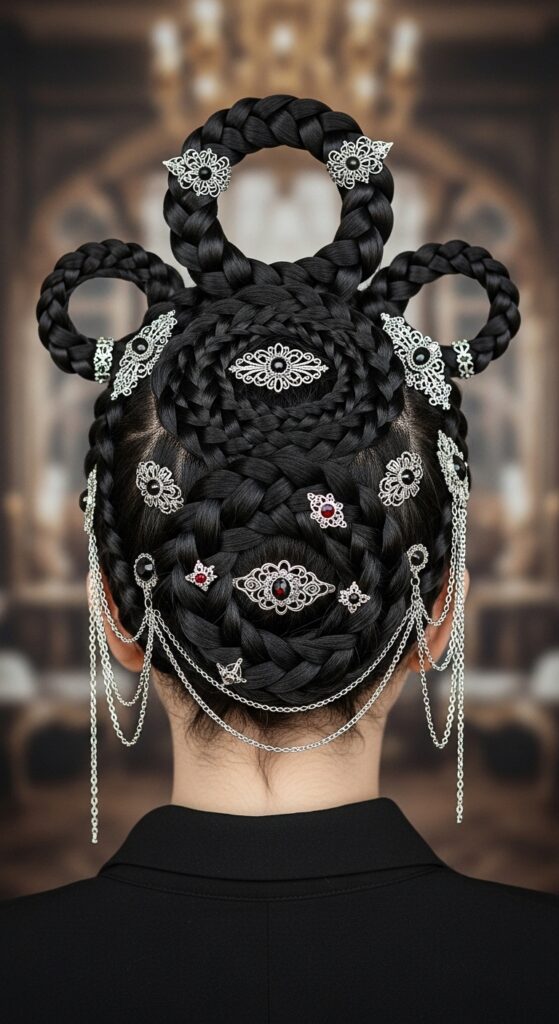
Sectioning for Romantic Goth Hairstyles
Romantic goth hairstyles often involve intricate braids, twists, and accessories placed with intention. Chaos is a vibe, but controlled chaos looks even better.
Before you start braiding, use your precision comb to create clean, deep parts—center parts, triangle parts at the crown, or sharp side parts. This gives your style a polished base.
When adding accessories like clips or chains, use the lines you’ve created as a guide for symmetrical placement. It elevates the entire look from DIY to artisan.
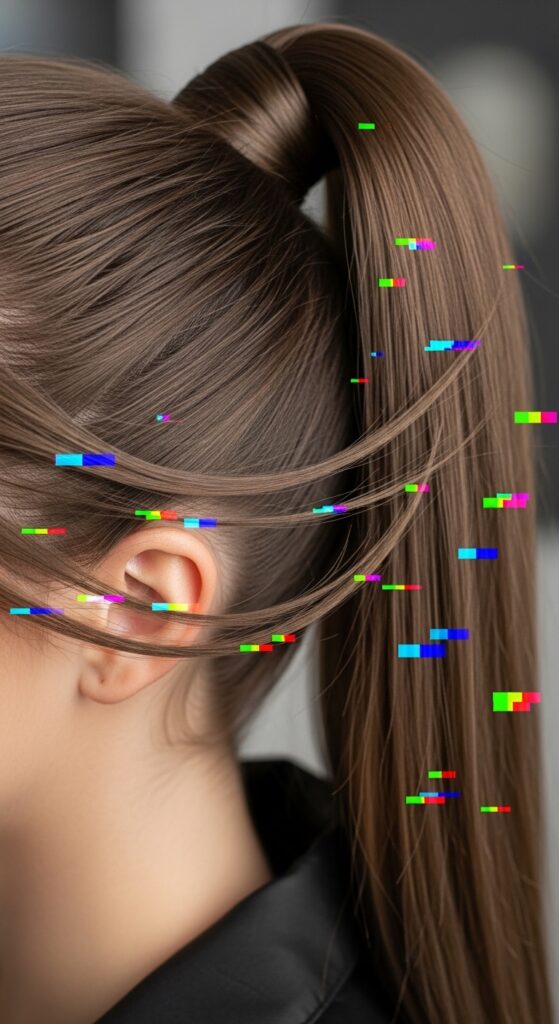
Building the Base for Glitchy Glam Hair
Glitchy glam hair plays with texture and misplaced pieces, but it starts with a perfect canvas. You need to know the rules before you can artfully break them.
Begin by using your precision comb to create an impeccably sleek base style—a tight ponytail, a smooth blowout, or a neat center part.
Then, and only then, do you gently pull out those strategic “glitch” pieces. The contrast between the perfect base and the intentional mess is what makes this trend so compelling.
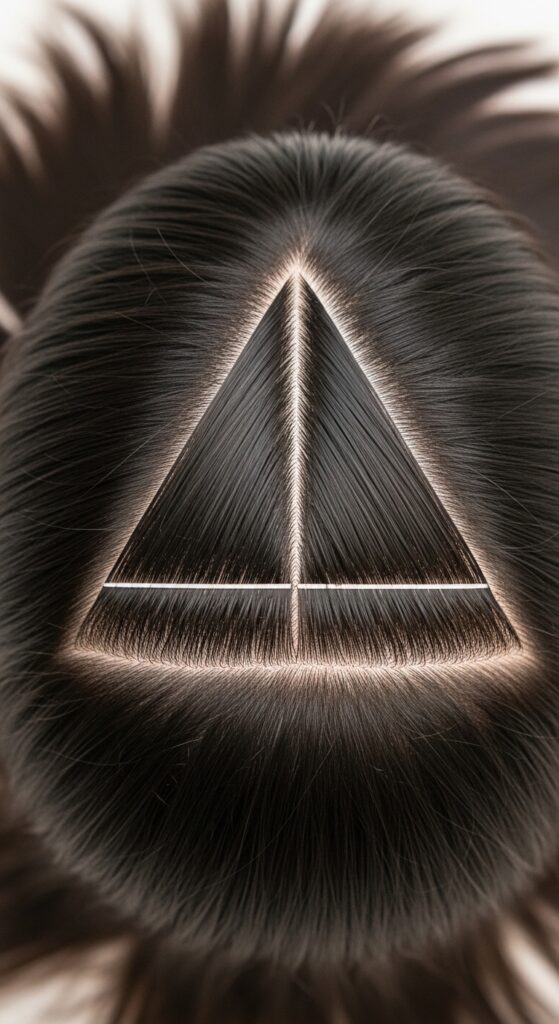
How to Do a Perfect Triangle Part
A triangle part is a secret weapon for volume and for styles like half-up crowns or certain braids. It creates a concentrated section of hair at the crown.
- Draw a straight line from each temple up to the crown of your head, using the point of your comb.
- Connect the two points at the crown with another straight line, forming a triangle.
- Isolate the hair within that triangle. This section is now perfect for teasing, braiding, or tying into a voluminous half-up style.
Keeping Your Part Straight All Day
You’ve made the perfect part. Now, how do you make it last? The key is setting it right after you create it, especially on damp hair.
After using your precision comb, take a tail comb or even the point of your precision comb and run it along the part again. Then, apply a light-hold hairspray or a dab of gel directly along the exposed line.
You can also use a setting spray on a small brush. This little step “sets” the part, preventing flyaways and keeping the line crisp from morning to night.
Fixing a Crooked Part in Seconds
We all have to fix our part sometimes. Maybe you did it in a rush, or it shifted during the day. Don’t start over! Here’s the quick fix.
Spritz the hair along your part lightly with water or a setting spray to relax the hair’s memory. Take your precision comb and gently redraw the straight line you want.
Follow with the teeth to reseparate the hair. If needed, add that tiny bit of product along the new line to lock it in. It takes less than a minute.
Choosing the Right Comb for Your Hair Type
Not all precision combs are identical. If you have very thick or coarse hair, look for one with sturdy, metal-reinforced teeth that won’t bend.
For fine or thin hair, a comb with slightly more flexible teeth can be gentler. A longer tail is great for making long parts on thick hair, while a shorter tail offers more control for detailed work around the face.
Feel the weight and grip it in the store if you can. It should feel like an extension of your hand.
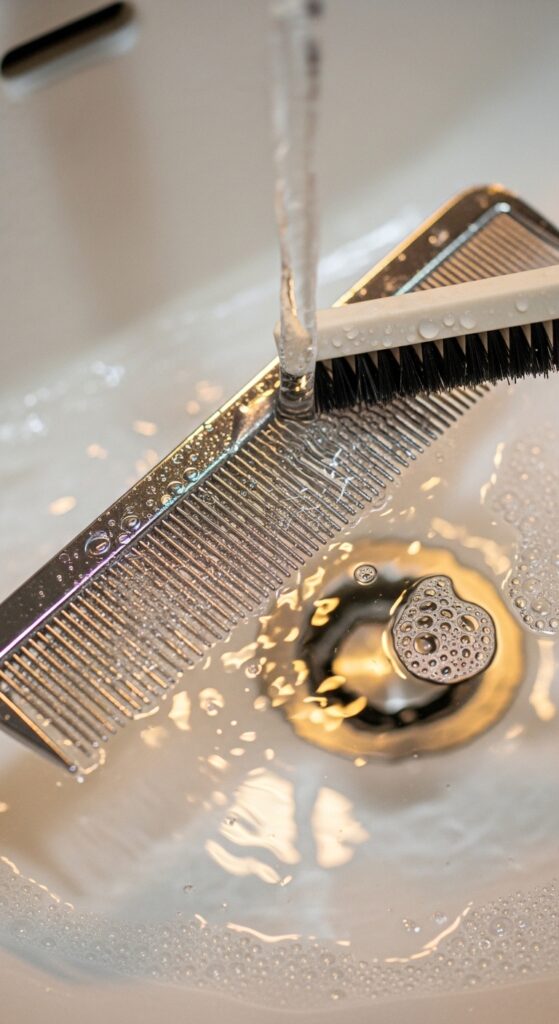
Cleaning and Caring for Your Precision Comb
This tool needs to be clean to work well! Product buildup on the teeth will make it drag and snag, ruining your perfect lines.
Once a week, soak it in warm water with a bit of gentle shampoo or dish soap. Use an old toothbrush to scrub between the teeth and around the tail.
Rinse thoroughly and let it air dry. A clean comb glides through your hair effortlessly, making every styling session smoother.
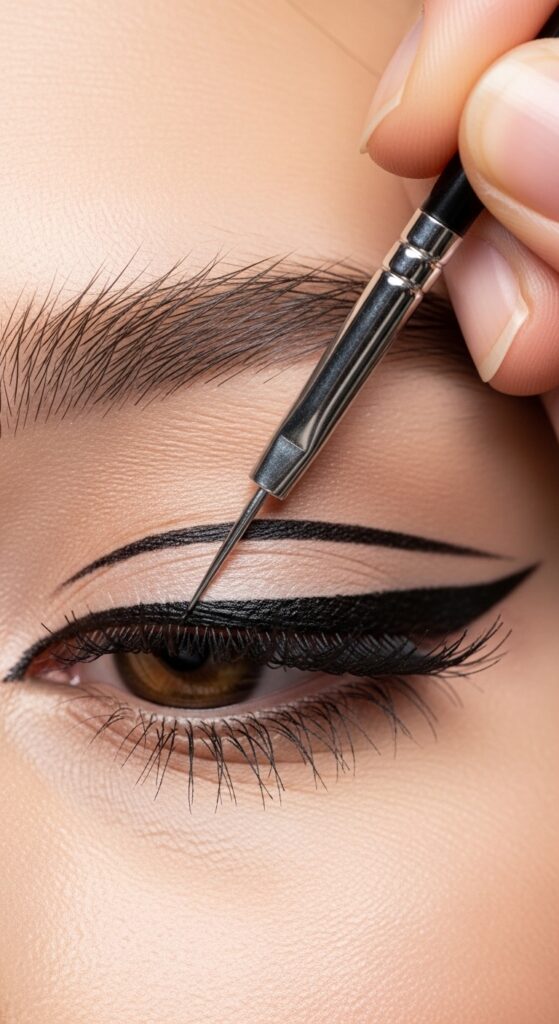
Beyond Hair: Using the Tail for Makeup
This is a fun bonus! The pointed, non-sharp tail of your comb is a surprisingly versatile makeup tool in a pinch.
You can use it to separate clumpy mascara, clean up smudged eyeliner, or even create a sharp, graphic eyeliner look. Just make sure to clean it thoroughly with makeup remover after!
It’s also great for applying hairline powder or eyeshadow to your roots for touch-ups. One tool, so many uses.
Common Mistakes and How to Avoid Them
The biggest mistake is trying to create a part on dry, tangled hair. Always start with detangled, damp, or lightly misted hair for the most control.
Another error is dragging the comb too fast. Go slow and let the point guide you. Press gently but firmly to the scalp to create a clear path.
Finally, don’t forget to look at your part from multiple angles in the mirror. Check the front view and the top view to ensure it’s truly centered or even.

Practice Makes Perfect: Start Simple
If you’re new to this, don’t start with the most complex hime cut sectioning. Begin by practicing a simple center part on damp hair after your shower.
Do it every day for a week. Notice how your hands feel, how much pressure to use. Then try a deep side part. Master the basics first.
Once you’re confident drawing straight lines, you can move on to the more advanced sectioning for braids, color, or dramatic cuts. Build your skill.
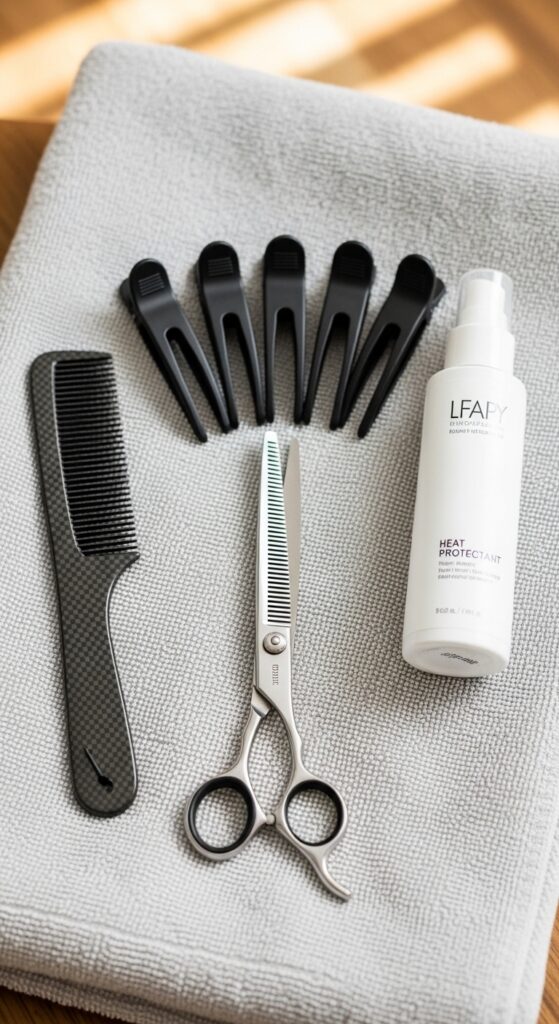
Your At-Home Salon Toolkit Upgrade
Adding a precision parting comb to your kit is a small upgrade with a huge payoff. It bridges the gap between amateur and professional results.
Pair it with good sectioning clips, a sharp pair of hair shears (if you cut your own hair), and a reliable heat protectant. These are the tools that give you real control.
Investing in the right few tools changes the entire at-home styling game. You spend less time fighting your hair and more time loving the results.
My Final Thoughts on Finding Your Lines
Honestly, mastering these little tools and techniques gave me so much more confidence to try new 2026 hairstyles at home. It took the guesswork out of the equation.
Whether you’re aiming for that sleek old money hair aesthetic or the dramatic lines of a vampire haircut, it all starts with a clean, intentional foundation. That’s what a precision parting comb gives you.
It’s not about being overly rigid. It’s about having the control to create exactly the look you want, down to the last detail. And that feeling is pretty amazing.
So, there you have it! The not-so-secret secret to getting those symmetrical, salon-worthy lines every single time you style your hair. It really is one of those “why didn’t I try this sooner?” kind of tools.
I hope this guide encourages you to play with your part, experiment with new sections, and feel like a total pro in your own bathroom. Remember, even the most intricate styles start with one straight line.
Save this post to Pinterest to keep this guide handy for your next styling session! And I’d love to know—which trend are you excited to try first? Is it the quiet luxury bob or something more dramatic? Tell me in the comments below!