Mastered 24 Braided Sleeve Protectors Concealing Ends Discreetly Neatly
Okay, let’s be real. You’ve spent an hour on a gorgeous braid, your arms are tired, and then… the ends. Those wispy, frayed ends that ruin the whole sleek look. We’ve all been there, staring in the mirror, wondering how to make it look polished.
I used to think I just wasn’t good at braiding. Turns out, I was just missing one simple, game-changing trick. It’s not about braiding tighter or using more product.
It’s about the finish. Today, I’m sharing the one method my hairstylist bestie taught me that changed everything. It’s called the braided sleeve protector, and it’s the secret to making any braid—from an old money hair style to romantic goth hairstyles—look salon-perfect and last for days. Let’s dive in.
What Is A Braided Sleeve Protector?
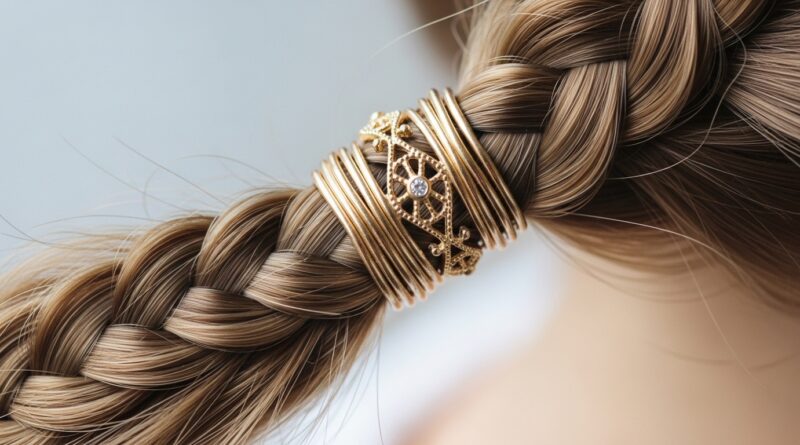
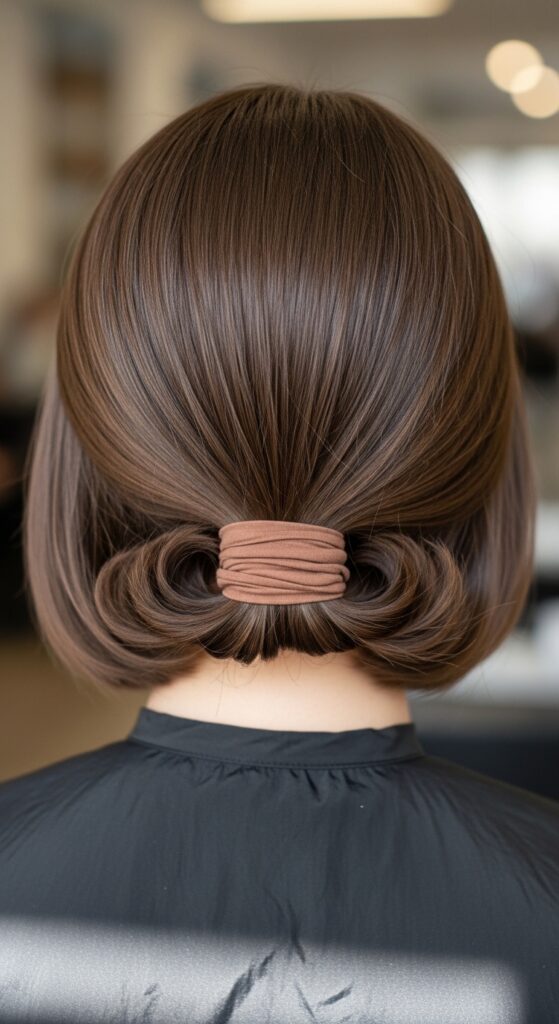
Think of it as a tiny, invisible hug for the end of your braid. Instead of a basic elastic, you use a small section of hair to create a seamless “sleeve” that encases the messy ends.
It tucks everything in neatly, leaving no trace of flyaways or rubber bands. This technique is the foundation for that discreet, polished finish you see on all the best 2026 hairstyles previews.
Why This Method Beats A Basic Hair Tie
Regular elastics dent your hair and eventually snap those precious strands. They also leave a bulky, obvious lump at the end of your braid.
The sleeve protector distributes tension gently, prevents breakage, and creates a whisper-thin, natural-looking tip. It’s the detail that elevates a simple braid into quiet luxury territory.

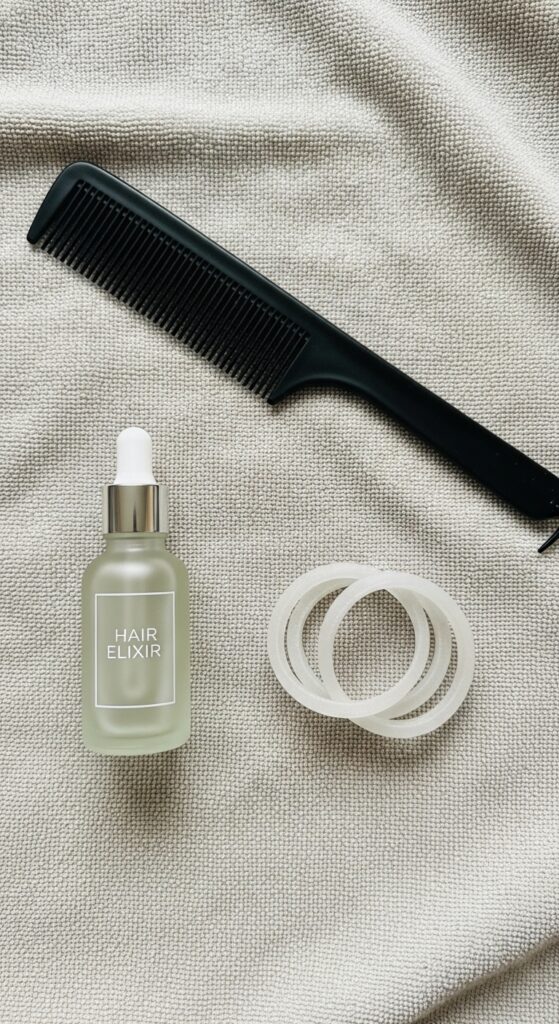
The Absolute Essentials You’ll Need
You barely need anything, which is the best part. Grab a fine-tooth comb for sectioning, a couple of clear, mini hair elastics (the good, snag-free kind), and a light-hold hairspray or serum.
That’s it. This isn’t about fancy tools; it’s about technique. Having these basics ready will make the whole process smooth and quick.
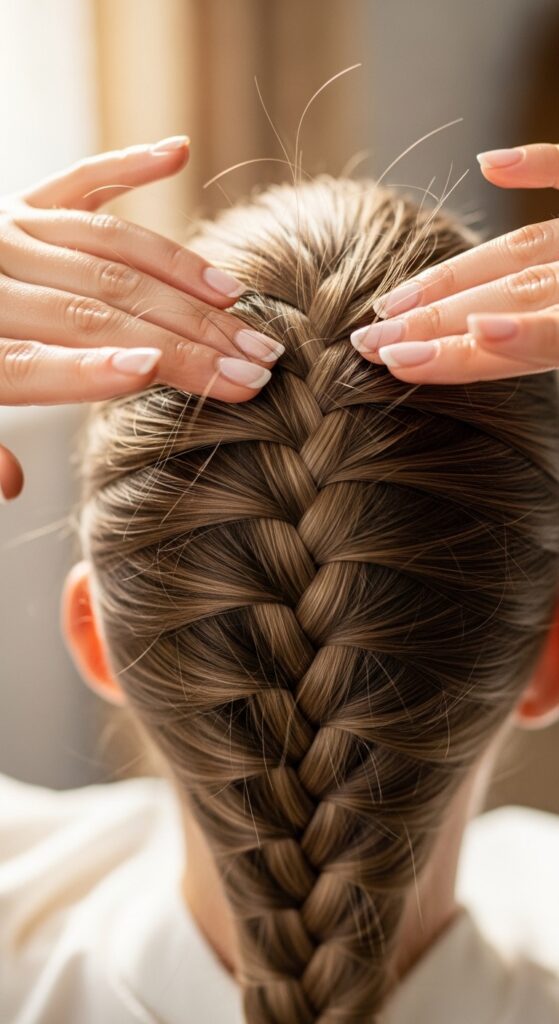
Step 1: Braid As You Normally Would
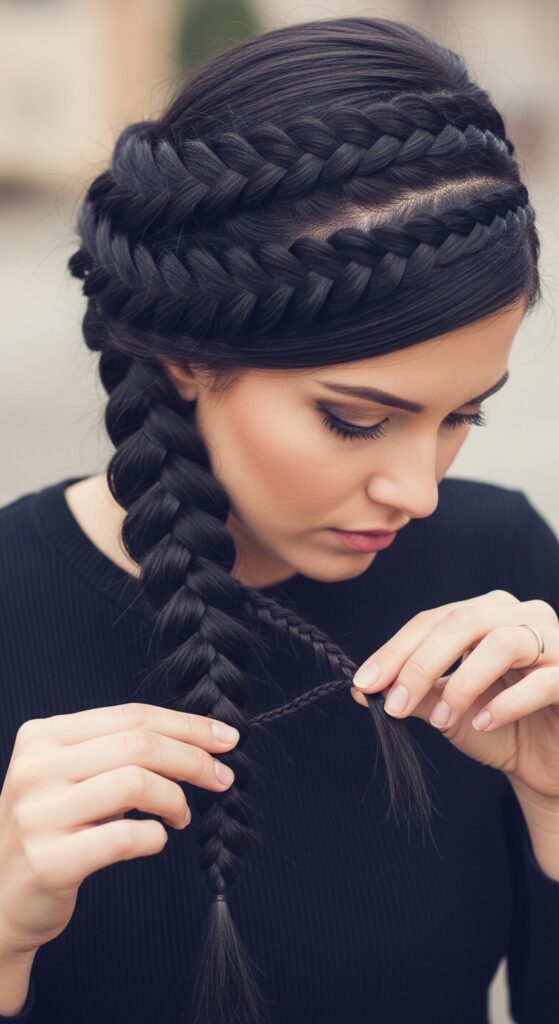
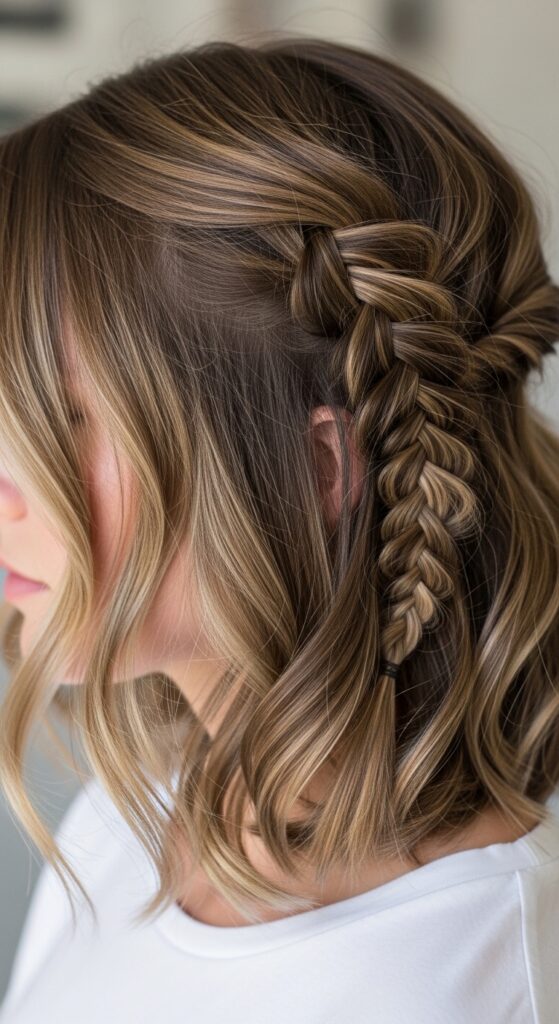
Start your braid—French, Dutch, fishtail, whatever you love. Braid it all the way down to where you’d usually put the elastic.
Keep a firm, even tension. For a modern twist like the asymmetrical lob or vampire haircut, a single, sleek side braid looks incredible with this finish.
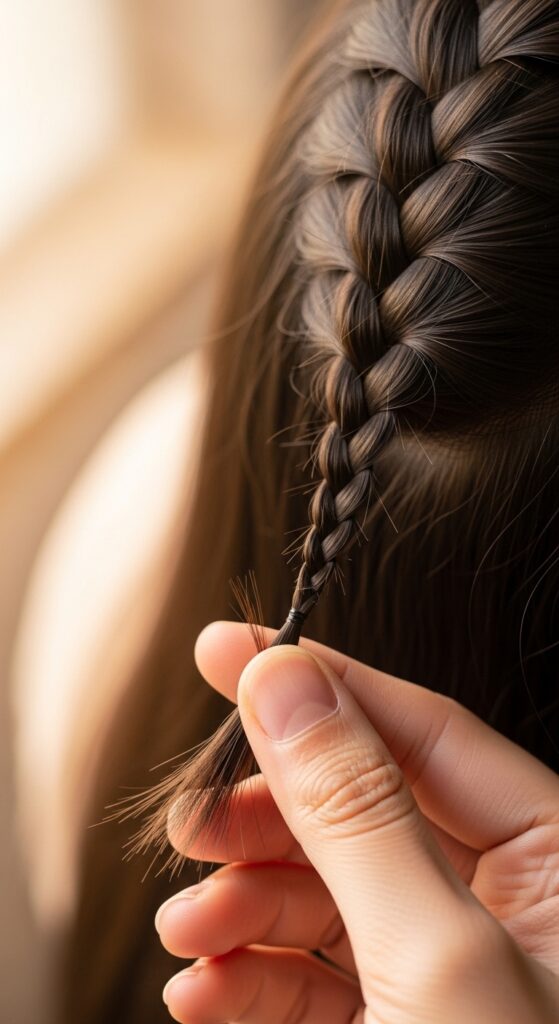
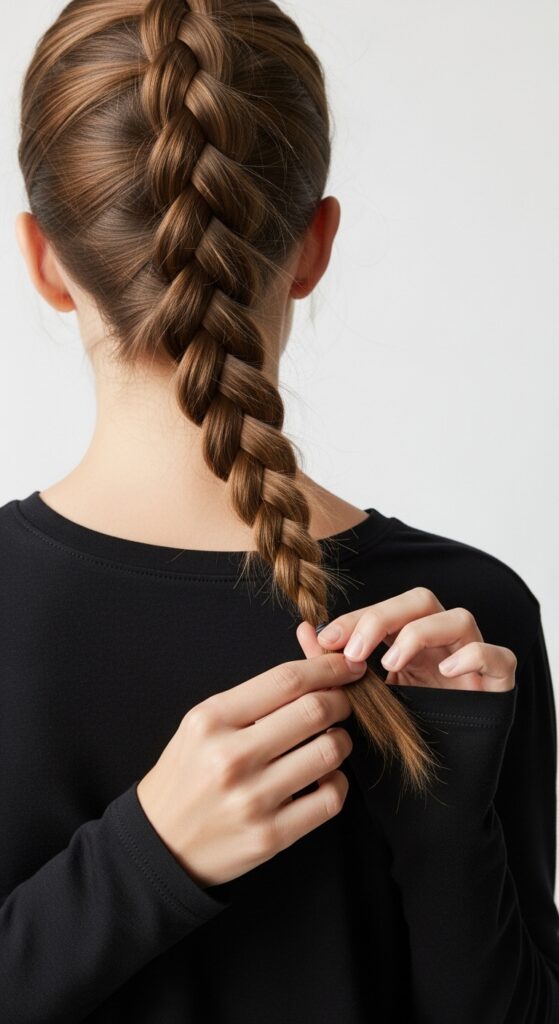
Step 2: The Critical Final Section
When you have about two inches of hair left, stop. This is your working length. Take a final, very thin section of hair from the right side of your braid.
This piece will become your “sleeve.” Make sure it’s thin—about the width of two spaghetti noodles. Thicker sections get bulky.
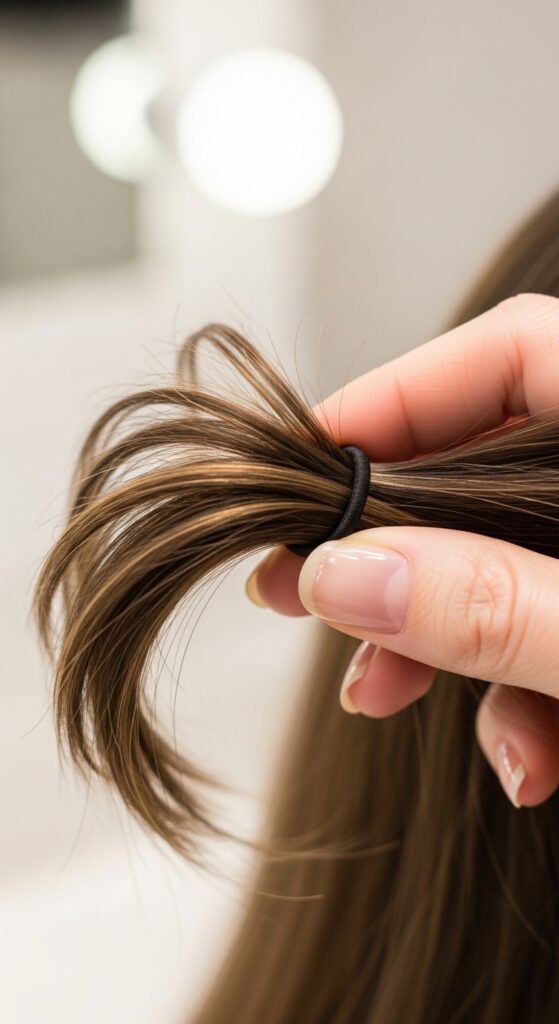
Step 3: Create The Sleeve & Wrap
Hold that thin section separate. Now, place a clear mini elastic around the entire remaining tail of the braid, including your thin section.
This elastic is just a temporary anchor. It secures all the ends together so you can work your magic.

Step 4: The Discreet Wrap Technique
Here’s the key. Take that thin section of hair and begin wrapping it around the elastic and the messy bunch of ends. Wrap it snugly, like you’re covering a wire.
As you wrap, the sleeve will naturally conceal everything underneath. Keep wrapping until you run out of length.
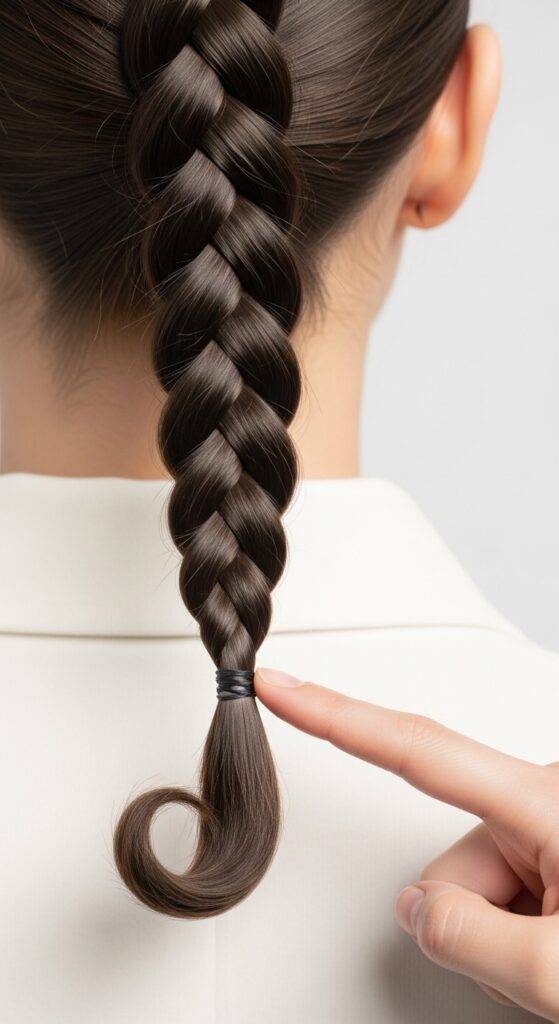
Step 5: Secure The Wrap Invisibly
You now have the end of your thin wrap piece. Tuck this tiny end underneath the wrapped sleeve you just created.
Use the tip of your comb or a bobby pin to gently push it under and secure it. The tension of the wrap will hold it in place. No second elastic needed.
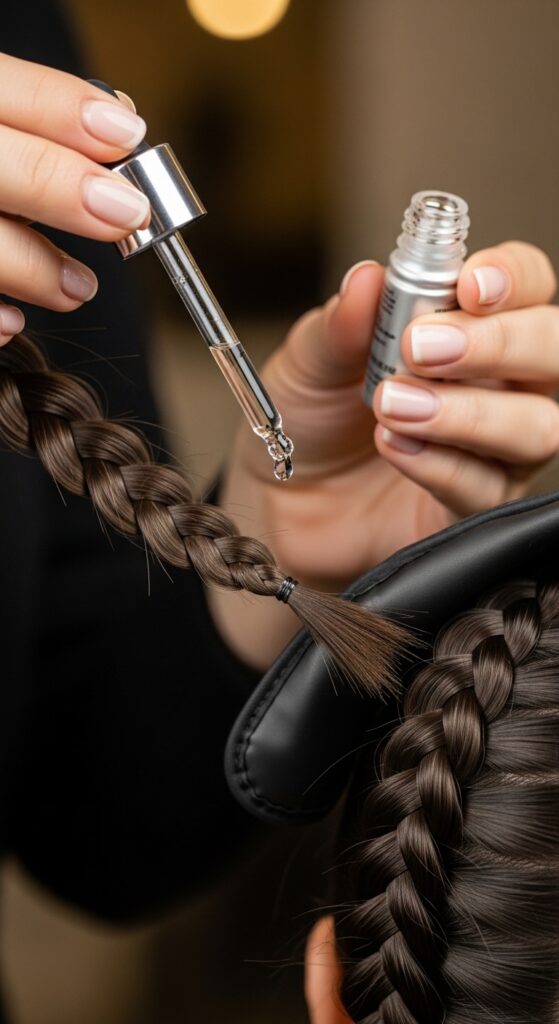
Step 6: The Final Tightening & Polish
Gently tug on the sides of the braid above the sleeve to tighten everything and smooth any bumps in the wrap. Give it a light mist of hairspray.
For extra sleekness, rub a tiny drop of serum between your palms and gloss it over the sleeve. This adds that glitchy glam hair shine.
Adapting It For A Classic Bob
Shorter hair works perfectly. On a quiet luxury bob, create a low, stubby braid. Your “sleeve” section will be very short, so wrap it just once or twice.
Tuck the end under firmly. It creates a cute, polished knob that looks intentional and chic, not messy.
Making It Work For The Hime Cut
The hime cut is all about dramatic shapes. Use this on the two long front sections. Braid each one and finish with the sleeve protector.
It keeps those dramatic lengths looking sharp and architectural, not frayed. It’s a perfect contrast to the blunt cut.
Adding Romance To Goth Styles
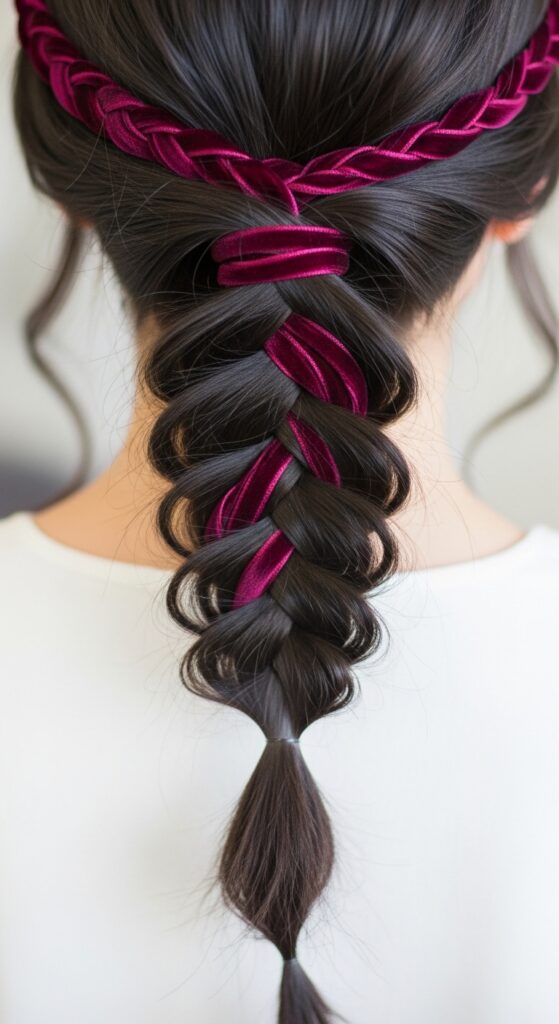
For romantic goth hairstyles, this technique is a must. It gives intricate braids a perfected, almost Victorian finish.
Imagine it on a deep side part with woven ribbons. The clean end makes the entire style look more deliberate and elegant.
Creating The “Undone” Glitchy Glam Look
Glitchy glam hair plays with perfection and imperfection. Master the sleeve, then gently pull a few face-framing pieces loose.
The contrast between the perfectly finished braid end and the loose, wispy front creates that cool, intentional “glitch.”
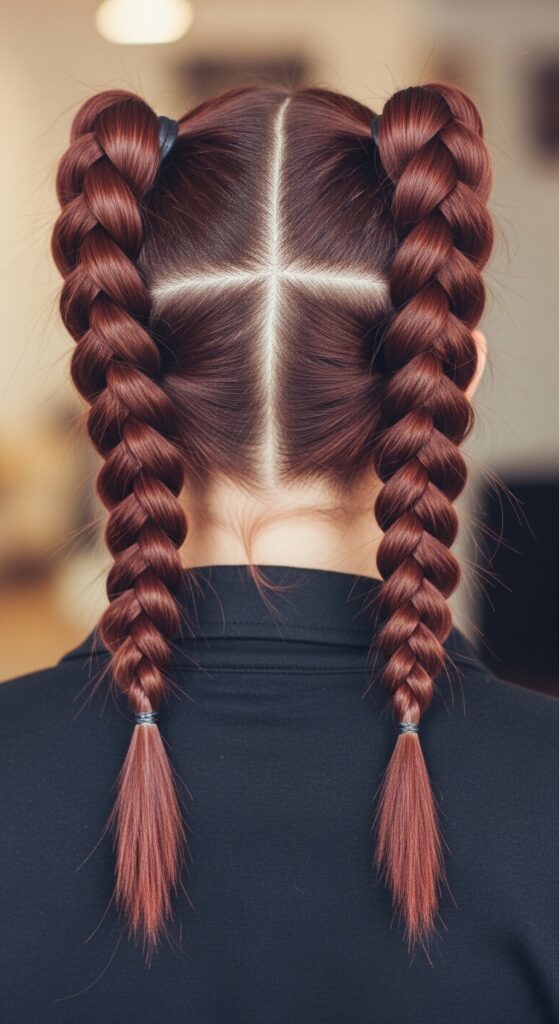
Double Braids & Pig Tail Perfection
Nothing looks more undone than messy ends on pigtails. Apply the sleeve protector to each braid for a look that’s playful yet put-together.
It gives major “effortlessly cool” vibes and works amazing on both straight and curly hair textures.
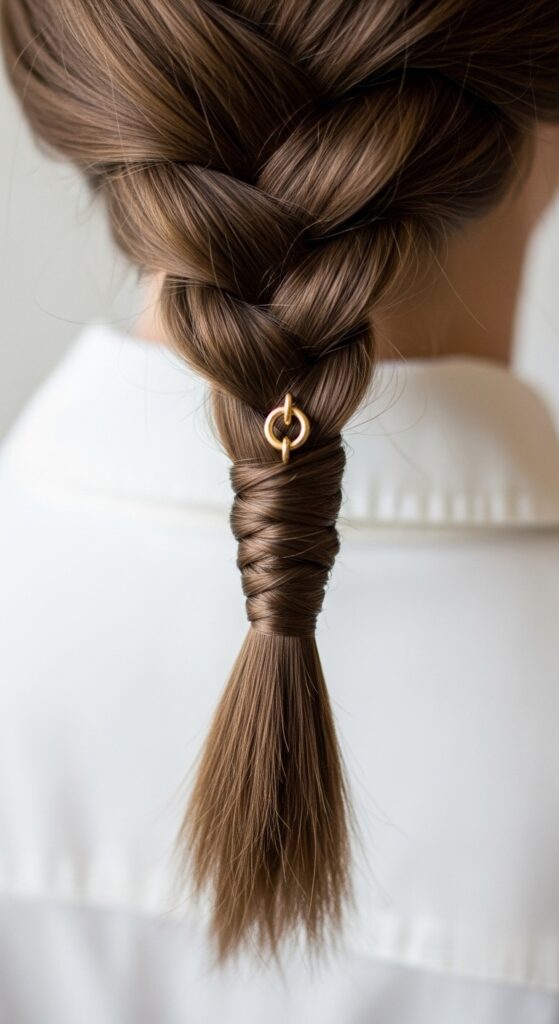
Incorporating Hair Accessories
Once your end is sleek, you can add accessories without them catching on wisps. Slide a delicate charm onto the sleeve before you wrap the final tuck.
Or, wrap the sleeve around a decorative pin. It becomes part of the style, not an afterthought.
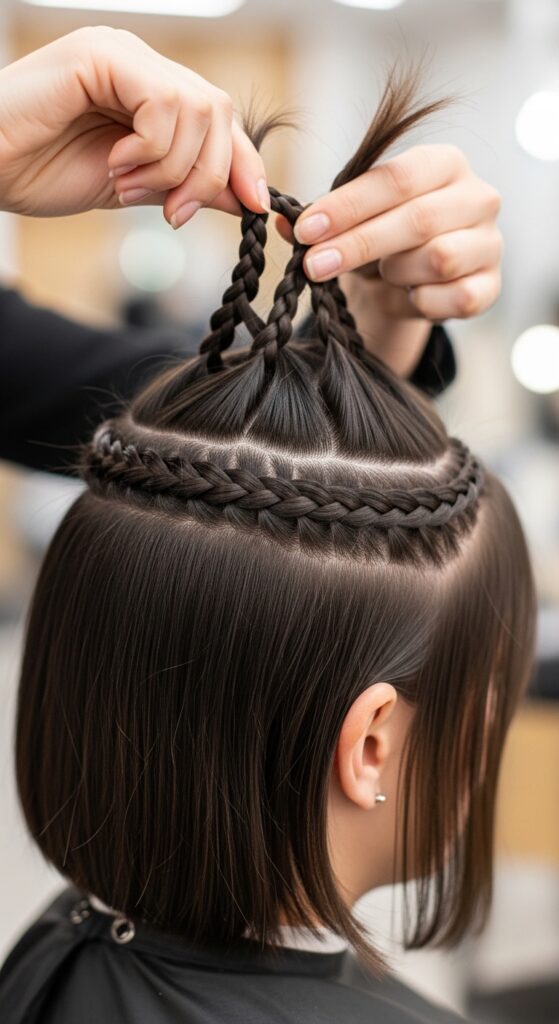
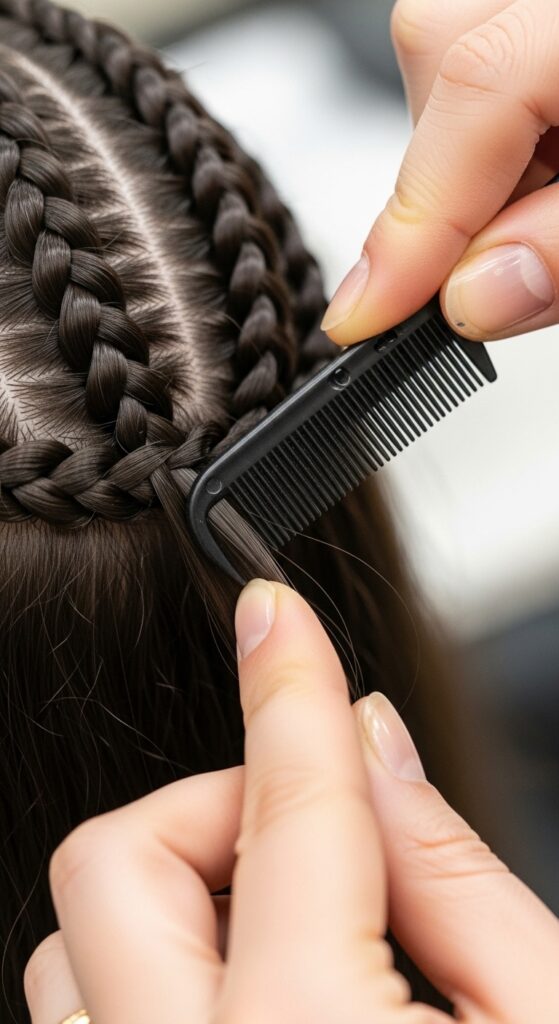
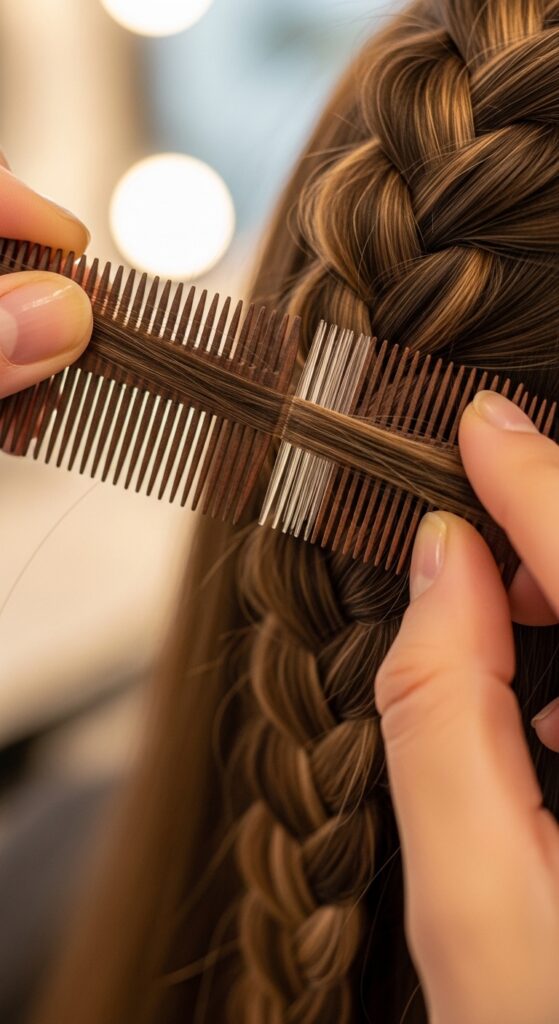
Mastering The Invisible Part
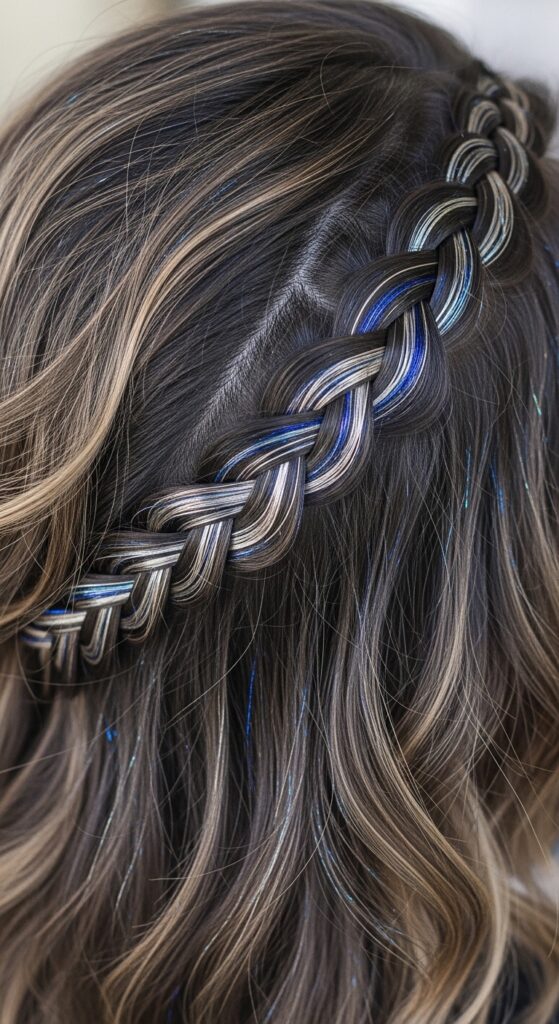
The trickiest part is getting that initial thin section. Use the pointed end of your comb to lift a fine, even layer from the main braid.
If it’s too thick, don’t panic. Just split it in half and use only one half. Practice makes this step second nature.
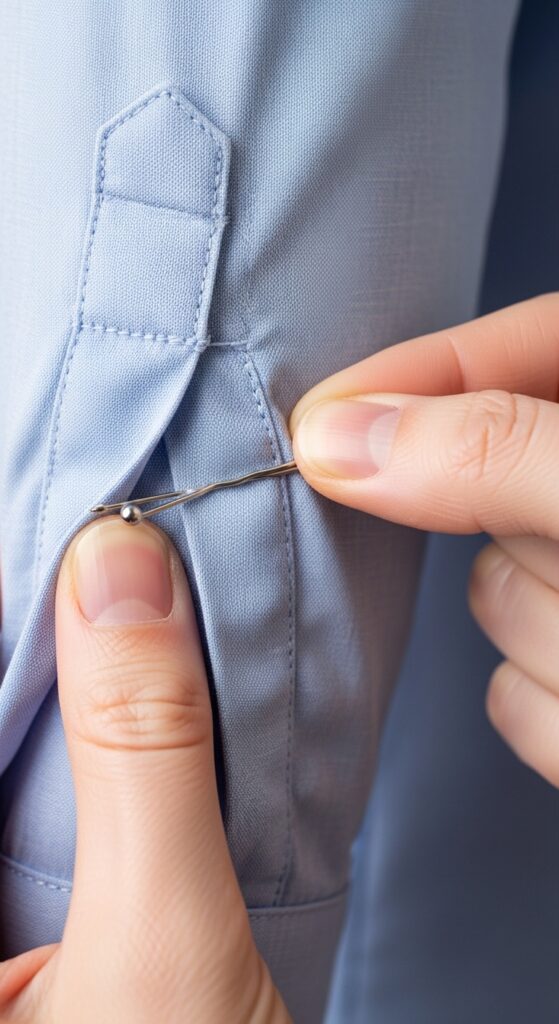
Fixing The Slipping Wrap
If your wrap feels loose or slips, you likely started with too much hair in the sleeve. Undo it, take a thinner section, and try again.
You can also secure the final tuck with a single, micro bobby pin hidden completely under the wrap. No one will ever know.
How To Make It Last For Days
This style is a dream for second and third-day hair. Sleep on a silk pillowcase to prevent friction. In the morning, if the wrap loosens, just re-tuck the end.
The braid itself will hold its shape beautifully because the end is so securely and gently fastened.
Combining With Heatless Waves
For a full old money hair look, create heatless waves overnight. The next day, gather a side section into a braid with the sleeve finish.
It looks luxurious, like you just came from a high-end salon, with zero heat damage. It’s all about layered texture.
Quick Refresh For Day-Old Braids
Found some new flyaways? Dampen your fingertips with a bit of water or a light styling cream. Smooth them down and re-tuck any escaped pieces.
A light spray at the root can lift volume while the ends stay perfectly sleek. It takes 30 seconds.
Why This Feels Like A Professional Secret
Stylists use variations of this all the time. It’s that final, hidden step that clients never see but always notice in the finished look.
Now you know it. It gives you that same confidence, knowing your hairstyle is finished with a pro-level detail.
Your New Go-To Finishing Move
Once you do this five times, it’ll become muscle memory. It will be your automatic finish for every single braid you create.
It transforms your relationship with braiding. No more frustration, just perfect, discreetly neat ends every time.
And that’s it, friend. The one trick that finally makes braids feel complete. It’s not complicated, but it makes all the difference between a hairstyle that’s “almost there” and one that’s absolutely flawless.
It works with every trend, from the sharpest asymmetrical lob to the most dramatic vampire haircut. The beauty is in that final, hidden detail.
I’d love to hear how it goes for you! Did this change your braiding game? Which hairstyle are you trying it with first? Let me know in the comments below!
Save this post to Pinterest to keep this technique right at your fingertips for your next hair day. Trust me, you’ll want to remember these steps.