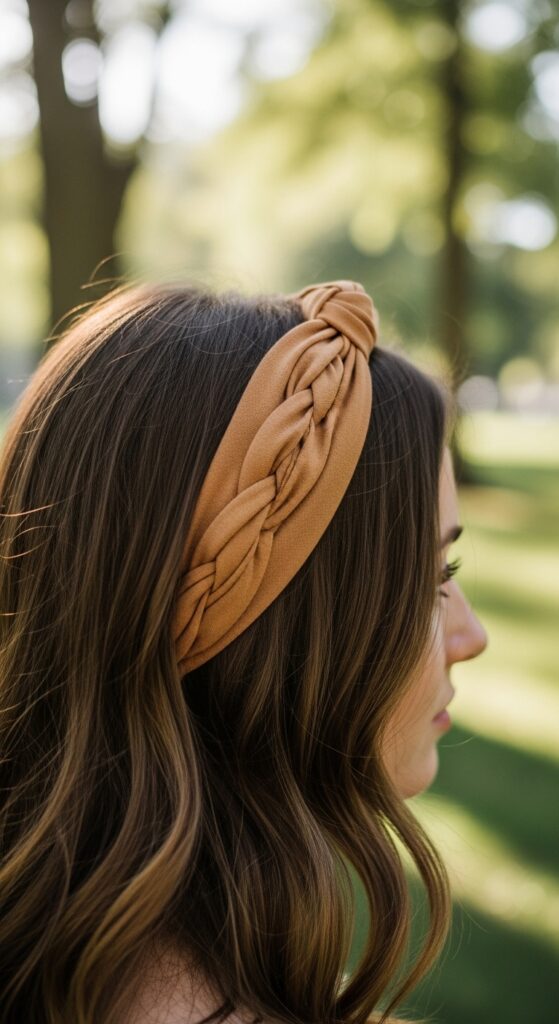
Illusion 23 Headpiece-Free Crowns Woven Purely from Strands
Okay, let’s be real. How many times have you seen a stunning, intricate updo and thought, “Gorgeous, but I could never do that without a head full of pins and a professional”? I used to feel the same way. My arms would get tired, and I’d end up with a messy bun (again).
But what if I told you the most elegant crowns and halo braids don’t need a single accessory? It’s all about the illusion. Using just the hair from your own head, woven in a specific way, you can create a look that appears to be a separate, magical piece.
This year is all about these headpiece-free styles. They fit perfectly with the old money hair aesthetic—effortless, polished, and quietly luxurious. I’m talking about styles that look complex but are built on simple, repeatable techniques. Ready to learn the secrets? Let’s dive into the 23 best illusion styles you can actually do yourself.
What Is An Illusion Crown, Really?
An illusion crown is a hairstyle that mimics the look of a decorative headband or tiara using only your own hair. It’s woven from sections of your hair, often starting at the temples or nape, and wrapped around the head to create a “crown” effect that sits seamlessly on top of your natural hair.
The magic is in the tension and direction. By crossing strands over and under each other, you build a structure that looks and feels secure, all without any clips or pins showing. It’s the ultimate in clever, practical hair design.
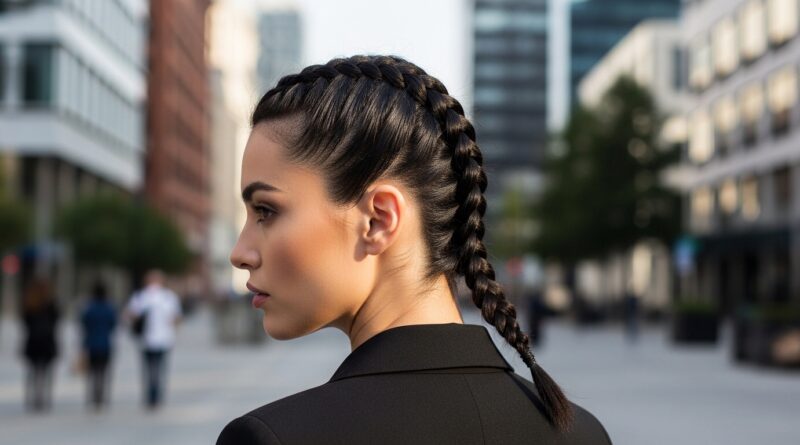
The Foundational Dutch Braid Technique
Most illusion styles start with a Dutch braid. This is just a French braid, but instead of crossing sections over the middle, you cross them under. This makes the braid pop out from your head, which is perfect for creating that 3D crown effect.
Practice this first on its own. Start with a small section at your hairline, divide into three, and begin braiding, adding hair only from the top section as you go. Keep it tight against your scalp. This is your building block.
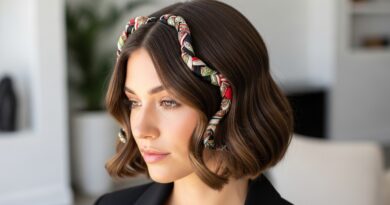
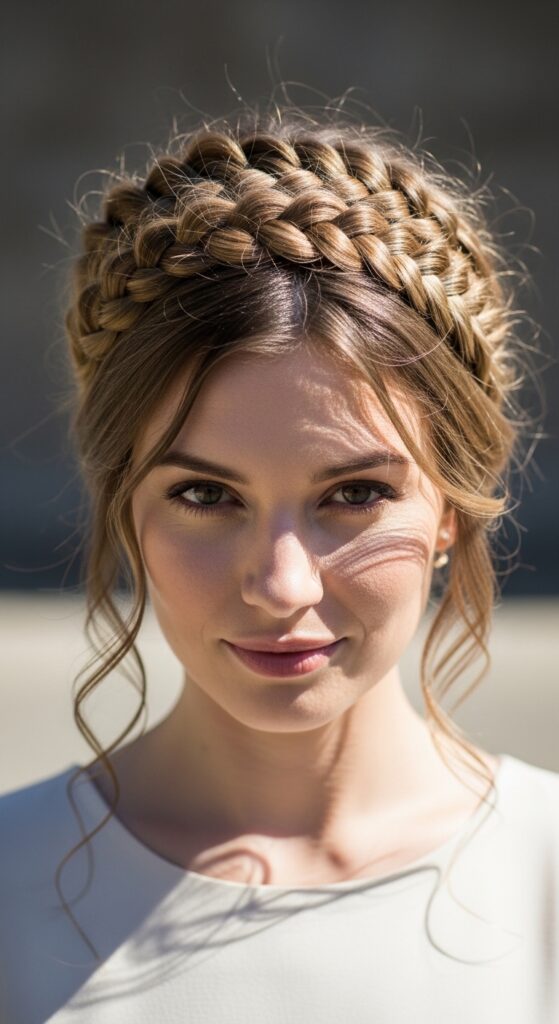
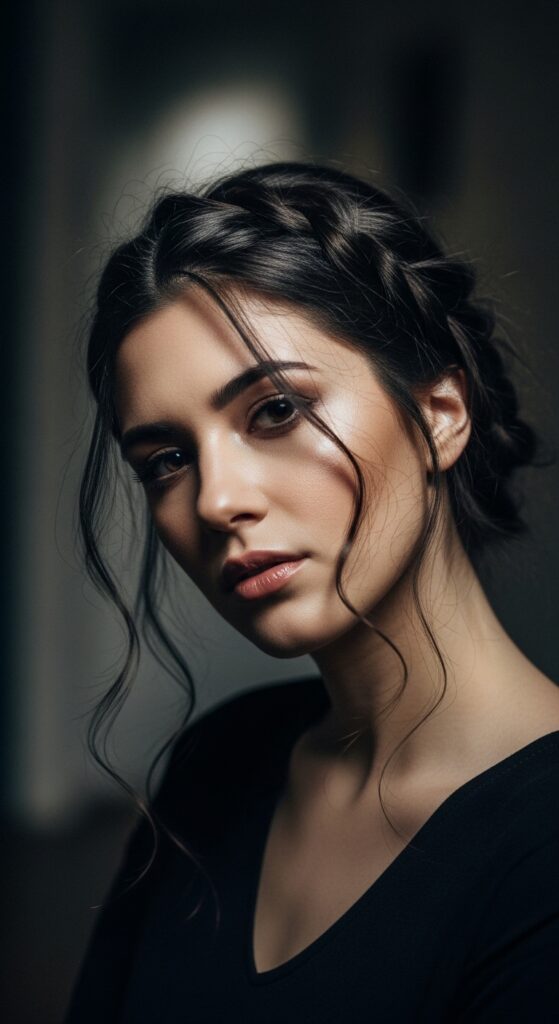
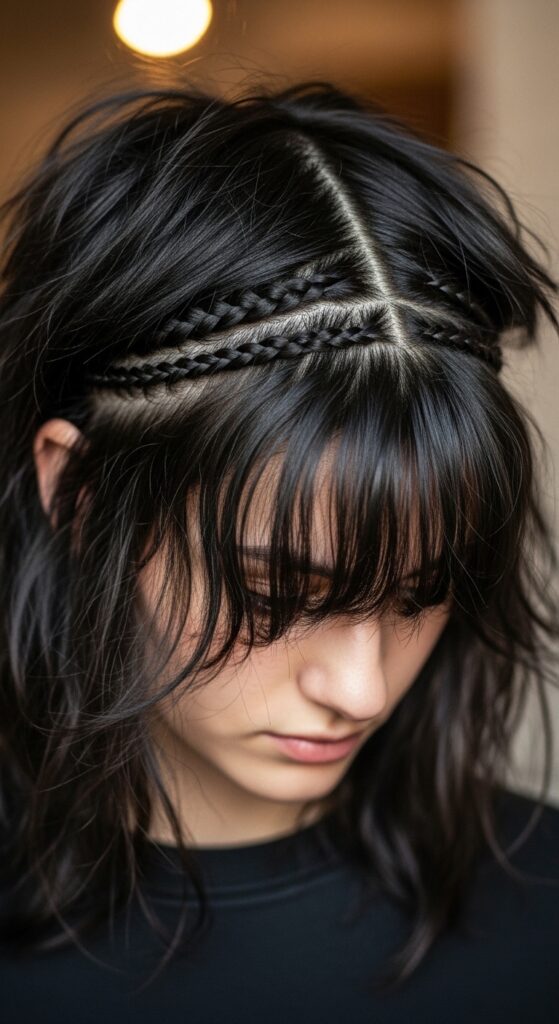
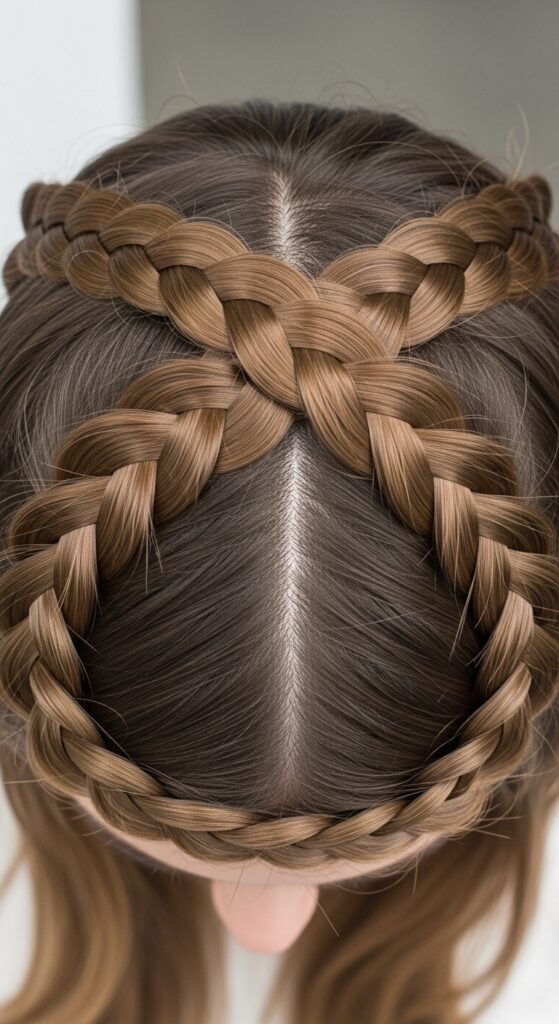
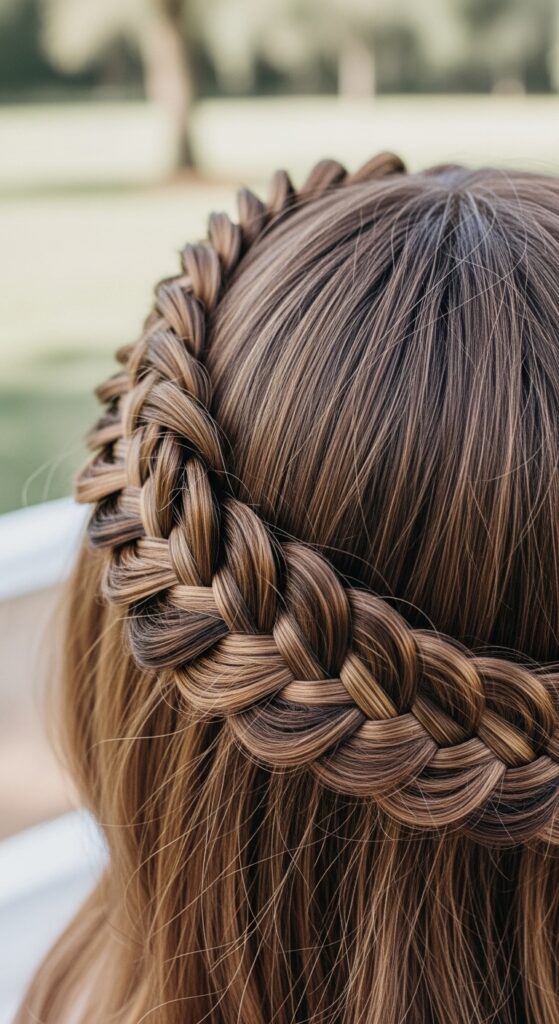
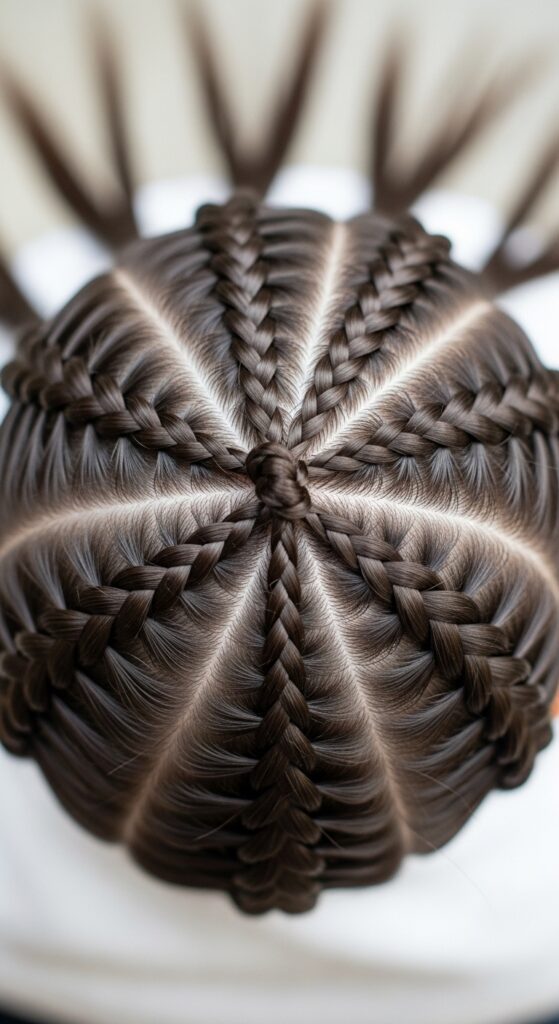
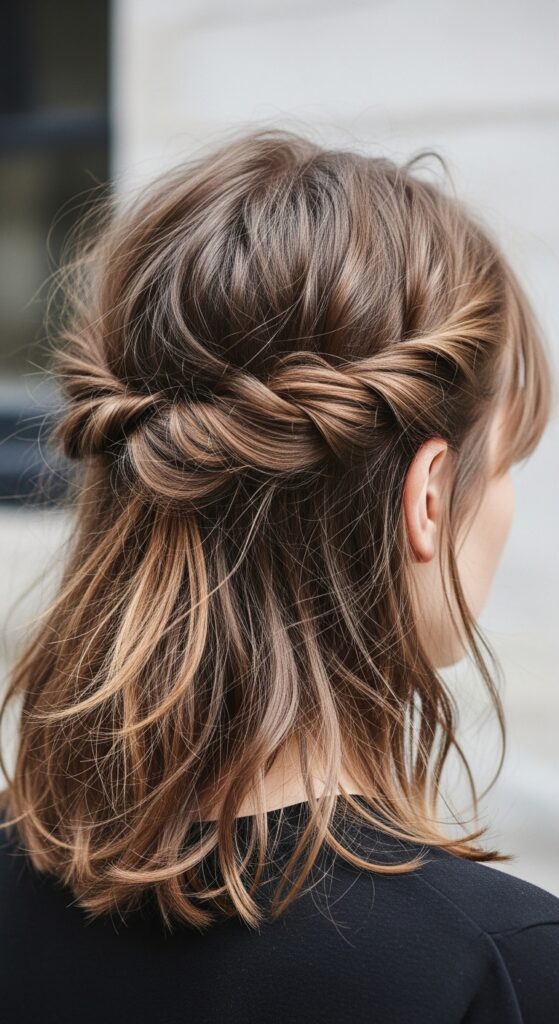
Style 1: The Classic Halo Braid
This is the queen of illusion crowns. Create a Dutch braid starting at one temple, continuing all the way around the back of your head to the other temple. Tuck the end under and secure it invisibly with a tiny clear elastic.
Gently pull on the edges of the braid to loosen and flatten it slightly, making it look like a thick, soft headband. This style screams quiet luxury bob when done on shorter hair—it’s so chic and clean.
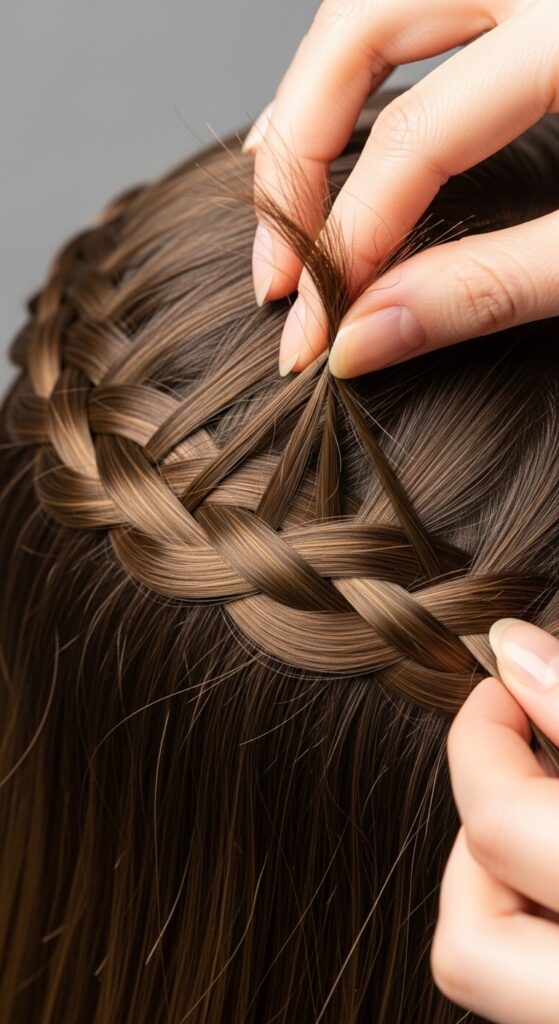
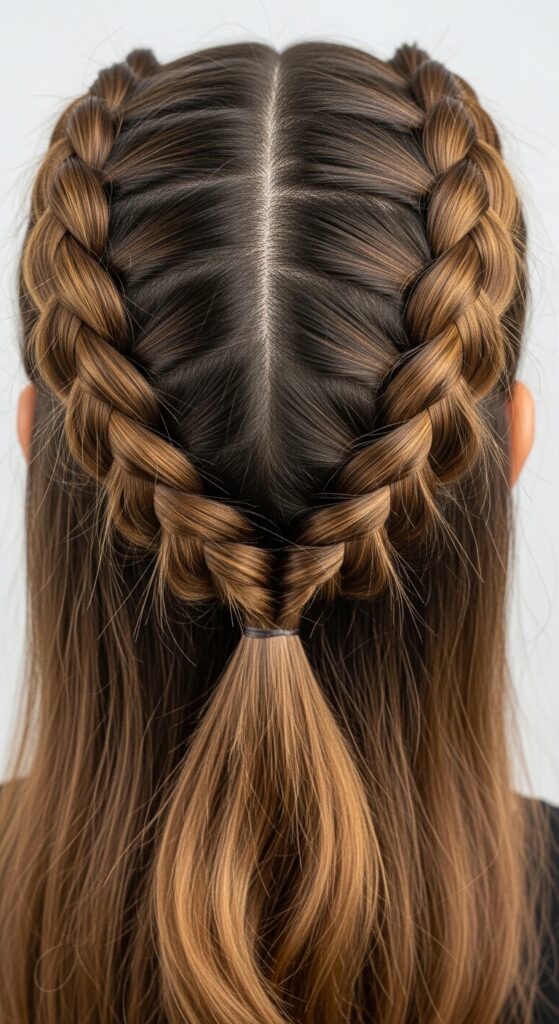
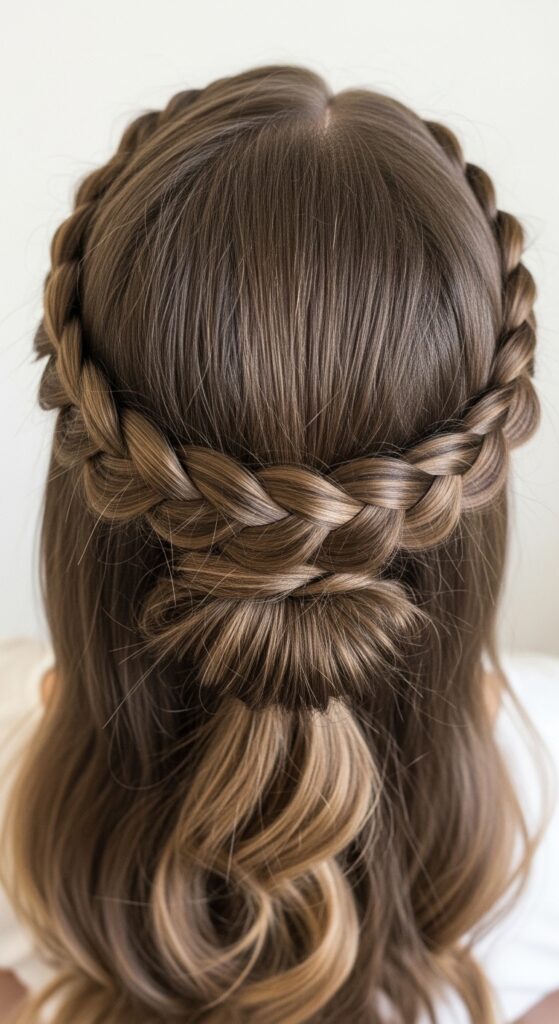
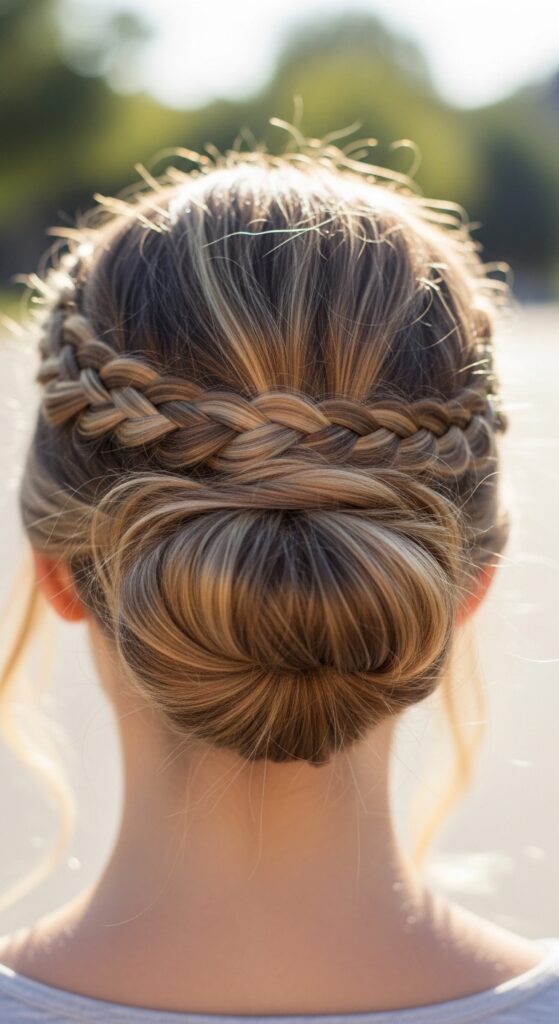
Style 2: The Double-Dutch Crown
For thicker hair or a more dramatic look, try two halo braids. Create a Dutch braid along your lower hairline, from ear to ear. Then, create a second one just above it, following the same path.
Tuck the ends of both under and pin them discreetly where they meet. This creates a gorgeous, intricate crown that looks incredibly complex but is just two simple braids stacked.
Style 3: The Asymmetrical Illusion Lob
This is perfect for an asymmetrical lob. Start a Dutch braid high on one side of your head, near the part. Braid it diagonally across the back of your head, stopping at the opposite ear.
Let the rest of your lob hair flow freely. The braid acts as a stunning, structural detail that lifts one side of your face. It’s modern, edgy, and totally pin-free.
Style 4: The Romantic Goth Twist
Think soft, not scary. This takes the halo and makes it deliberately imperfect. Create a loose, slightly messy Dutch braid crown. After securing it, gently pull out wisps and strands all around your face and at the nape of your neck.
Pair it with deep, rich hair color for that perfect romantic goth hairstyles vibe. It’s elegant with a mysterious, undone edge.
Style 5: The Hime Cut Accent Braid
If you rock a hime cut (those classic straight-across bangs and long sidelocks), this highlights it beautifully. Isolate one of your long front sections.
Dutch braid just that section, starting at your temple and braiding it back until it blends into your hair. Let the rest of the sidelock flow free. It frames the face so uniquely and honors the traditional style with a modern twist.

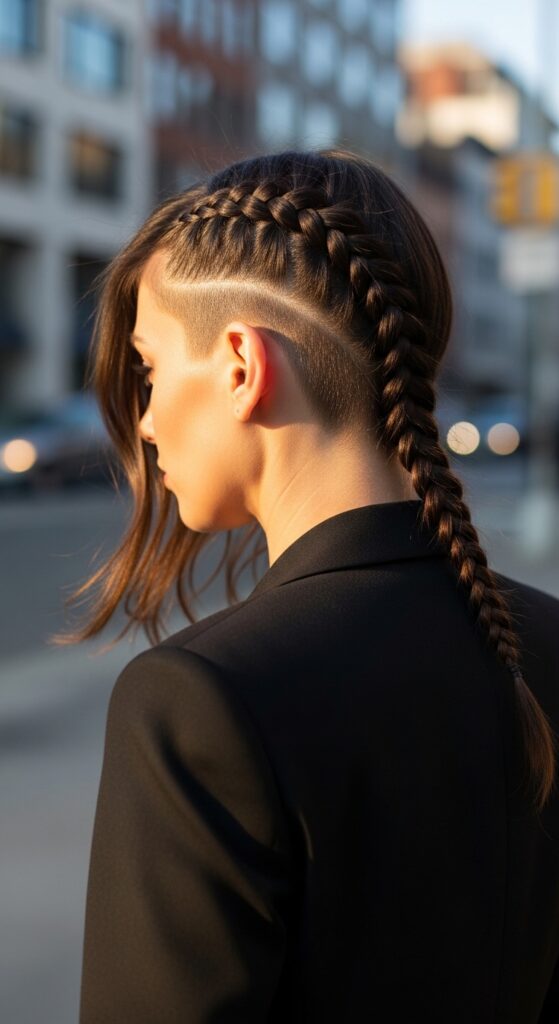
Style 6: The Vampire Haircut Companion
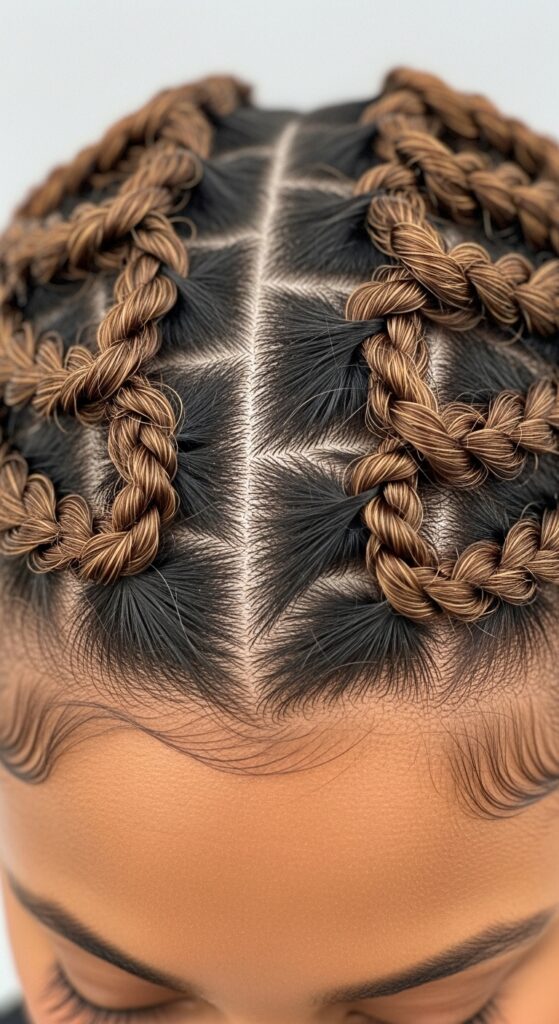
The vampire haircut (all those sharp layers and shags) already has great texture. Amplify it by adding a micro crown. Take two very thin sections from your temples.
Create tiny, tight Dutch braids with them and connect them at the back of your head, tucking the ends. This leaves your wild layers down but adds a subtle, ancient-looking detail that’s absolutely stunning.
Style 7: The Glitchy Glam Top Knot
For glitchy glam hair, it’s all about intentional disruption. Create a high ponytail but leave out two front sections. Dutch braid those two sections separately, then wrap them around the base of your ponytail in opposite directions.
Finally, twist your ponytail into a knot. The braids look like digital glitches framing your face, holding the style together in a cool, unexpected way.
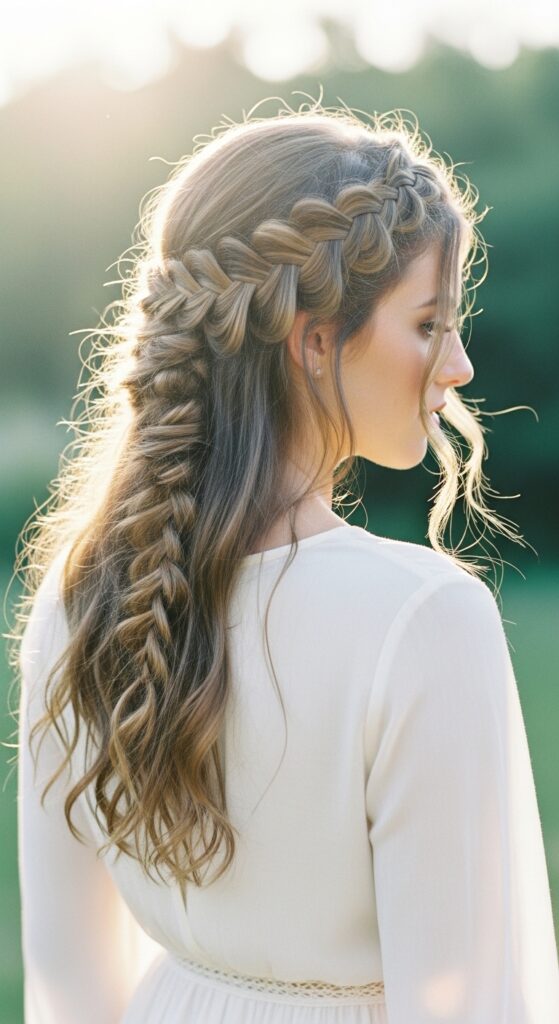
Style 8: The Waterfall Illusion Crown
This one looks like a braid is magically floating on top of flowing hair. Part your hair deeply to one side. On the heavier side, start a waterfall braid (where you drop sections as you braid) along your hairline.
Instead of letting it fall, continue the dropped strands into a Dutch braid that goes around the back of your head. It creates a breathtaking, ethereal effect.
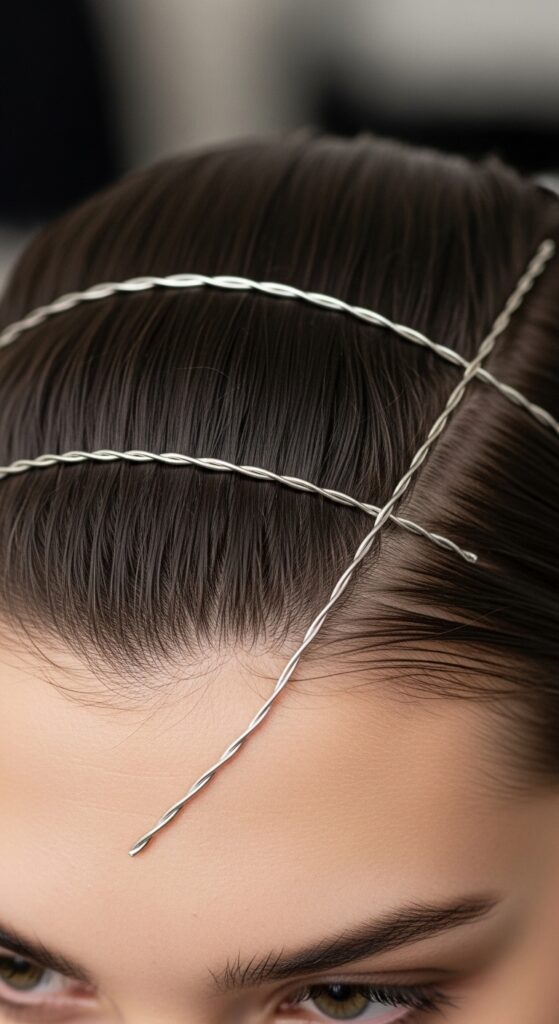
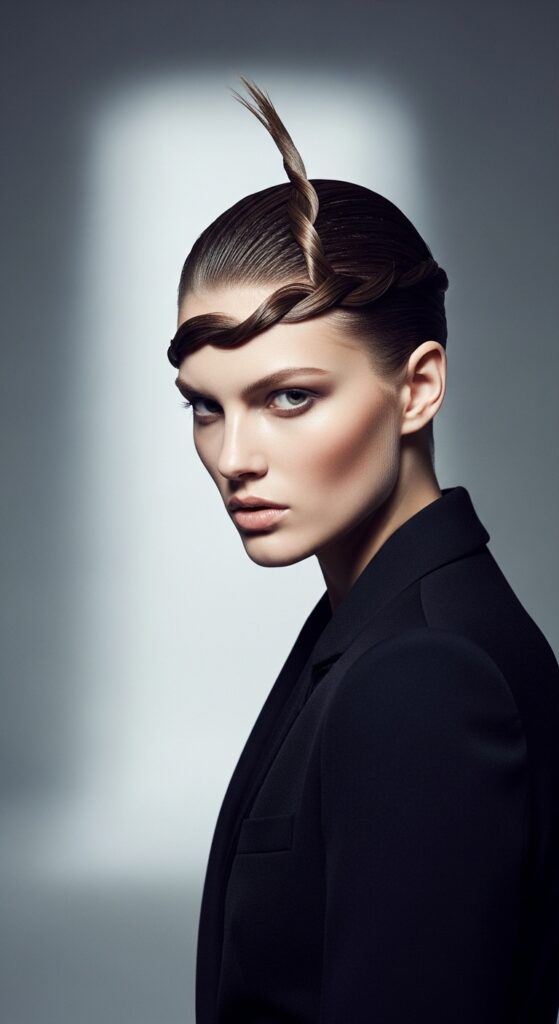
Style 9: The 2026 Preview: Face-Framing Wires
I’m calling this a 2026 hairstyles trend now. It’s ultra-fine and graphic. Take a pencil-thin section from each temple. Twist each section tightly until it coils on itself.
Wrap one across your forehead and the other across the crown, pinning them invisibly at the ends. They look like delicate wires drawing lines on your hair—so futuristic and cool.
Style 10: The Knotted Headband
No braiding needed here. Take a front section from each side, about an inch back from your hairline. Tie them together in a single knot at the top of your head.
Then, tie them together again at the back, tucking the ends under. Pull the knot flat. It creates a beautiful, bohemian knotted headband in seconds.
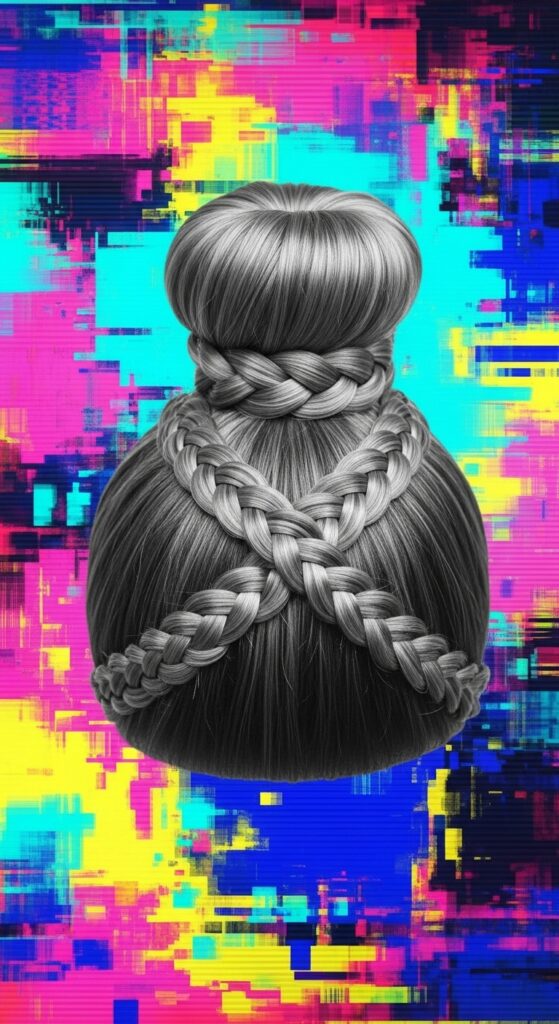
Style 11: The Twisted Rope Crown
This is softer than a braid. Divide your hair along your hairline into two sections—top and bottom. Twist each section tightly in the same direction.
Then, twist those two twisted sections together in the opposite direction around your head. Secure the end. It creates a beautiful, rope-like texture that’s incredibly secure.
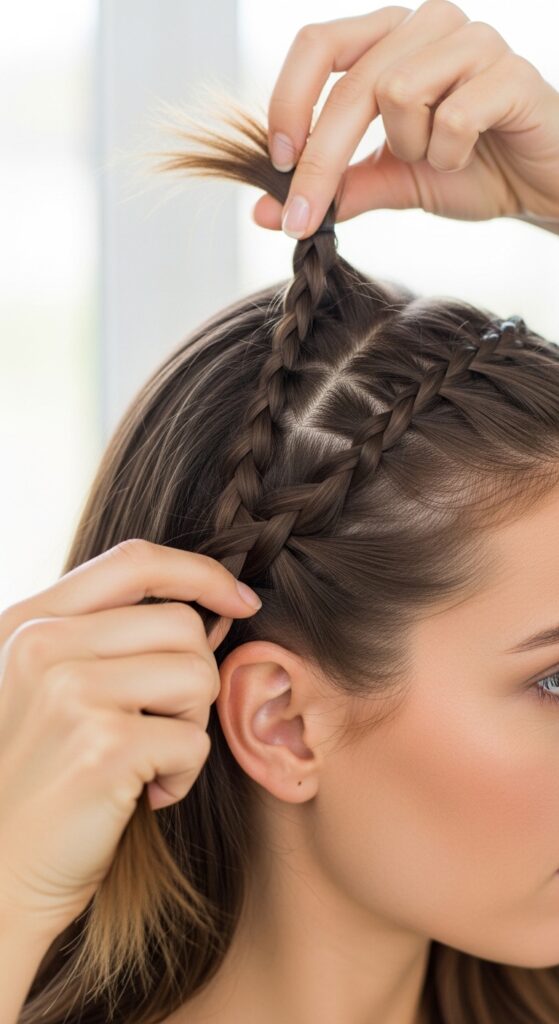
Style 12: The Half-Up Hidden Crown
This style hides its magic. Create a small, tight Dutch braid along your entire hairline, ear to ear. Gather it and the rest of your top hair into a half-up ponytail, using the braid as the “holder.”
From the front, all you see is a perfect half-up style. From above, you see a gorgeous crown. It’s a secret for you to know.
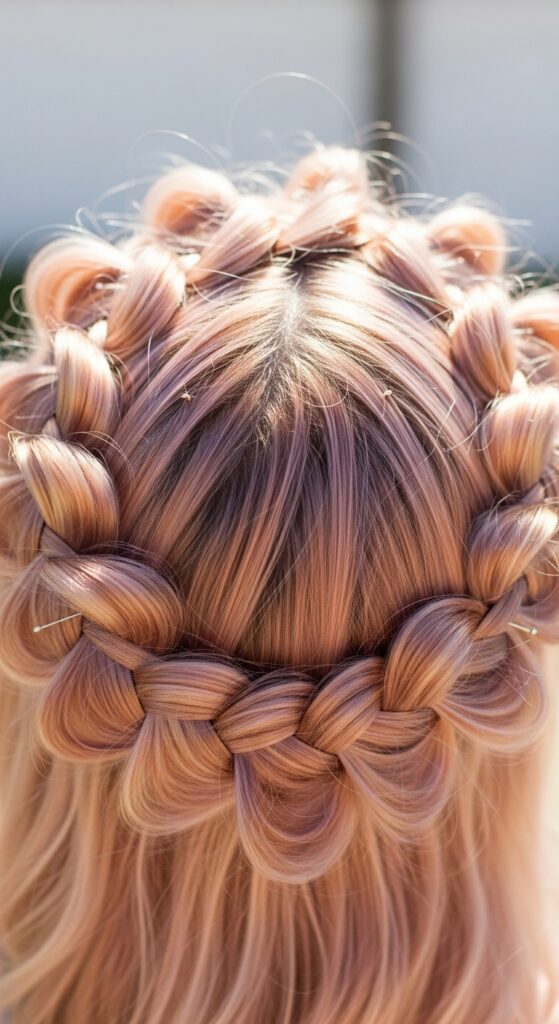
Style 13: The Bubble Braid Halo
After making a classic halo braid, don’t pull it flat. Instead, gently puff out sections of the braid to create “bubbles.” Secure each bubble at its base with a clear elastic, then hide the elastics by pulling the hair a little more.
This is a playful, modern take on the crown that adds amazing volume and works great on straight hair.
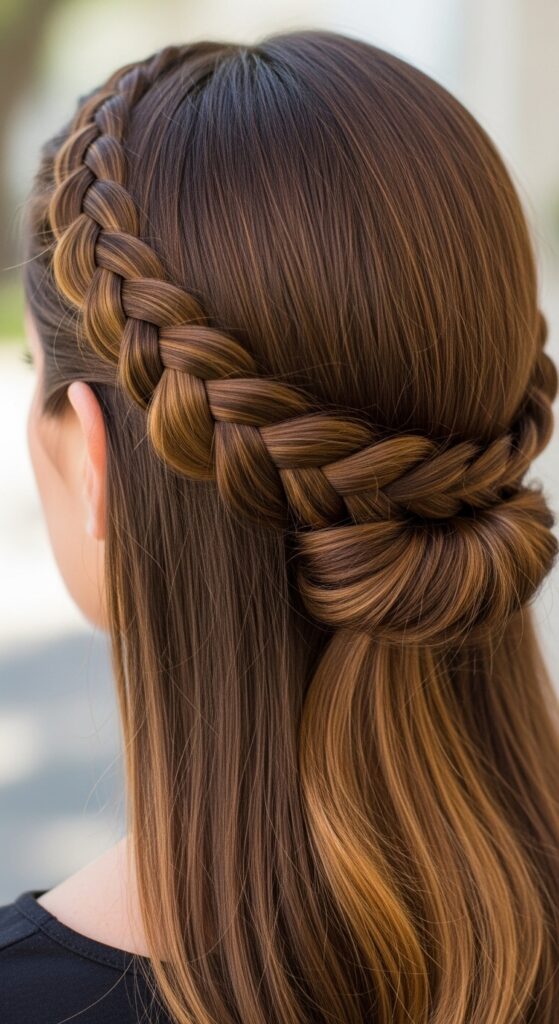
Style 14: The Milkmaid Infinity
This looks like two long braids wrapped around. Create two low Dutch braids, one on each side. Bring the left braid up and across your head, pinning it. Bring the right braid up, tucking its end over the left braid’s start.
It forms an infinity symbol on top of your head. It’s romantic, sturdy, and perfect for long hair days.
Style 15: The Tucked French Twist Crown
Start a French twist at one ear, but as you twist and fold, only add hair from the top of your head. Continue this all the way to the other ear.
Tuck the end in and pin. The result is a sleek, twisted roll that sits like a crown. This is peak old money hair—so refined and perfect for a special event.

Style 16: The Fishtail Crown
If you’re good at a regular fishtail, this is for you. It takes longer but is so worth it. Start a fishtail braid at one temple, adding hair only from the top as you work it around your head.
The herringbone texture is incredibly beautiful and detailed, making it look like a piece of art woven from your hair.
Style 17: The Pull-Through Crown Ponytail
Create a high ponytail but leave it in a loose loop (don’t pull the hair all the way through on the last pass of the elastic). Divide the loop in half horizontally.
Gently pull the tail of your ponytail up and through that hole, spreading it over the top. It creates an instant, voluminous crown around your ponytail base.
Style 18: The Gibson Tuck Illusion
The classic Gibson tuck gets a crown makeover. Create a loose, low ponytail. Twist it and start tucking it under, but instead of pinning it flat, roll it outward so the twisted hair forms a roll that sits above your nape.
Use small sections from the sides to wrap over and hide the roll’s edge. It looks like a padded headband from behind.
Style 19: The Triple-Braid Knot
Create three simple three-strand braids: one from each temple and one from the nape. Bring them all to the top of your head.
Tie them together in one master knot, letting the ends fan out. It’s a structured, bohemian crown that’s surprisingly easy.
Style 20: The Slicked-Back Edge Control
This is for sleek hair. Use a strong gel or edge control to slick all your hair back. Then, take a small section from the front and twist it tightly.
Wrap it around your head like a headband, pinning it at the nape. The contrast between the slicked hair and the textured twist is everything.
Style 21: The Messy Bun Crown Base
Make a messy bun at the crown of your head, but leave a section of hair out from the front. Use that section to create a Dutch braid that wraps around the base of the bun.
Tuck the end in. This anchors the bun and makes the whole style look more intentional and crafted.
Style 22: The Headband Braid Flip
Create a Dutch braid along your lower hairline from ear to ear, but stop halfway at the back of your head. Pull the unbraided hair up and over the braid, flipping it up to cover the braid’s end.
Pin it under. From the front, you see a braided headband. From the back, it’s a seamless flip—so clever!
Style 23: The Simple Twist & Pin
The easiest one to finish. Take a front section from each side. Twist them back and towards each other until they meet at the back of your head.
Cross one over the other and pin. It takes 60 seconds and gives you that perfect, minimal crown silhouette. Perfect for second-day hair.
Your Essential Tips for Success
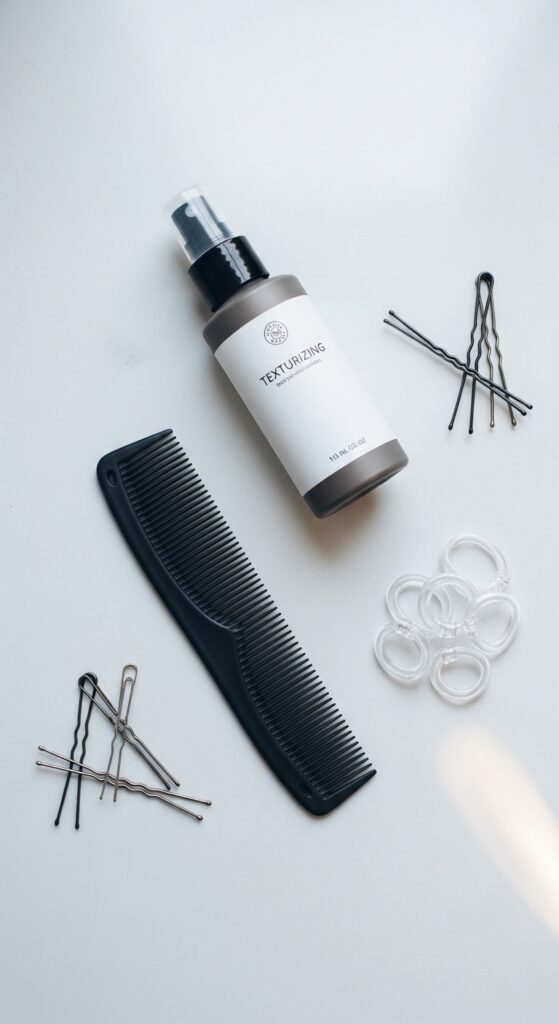
Start on day-old hair. Freshly washed hair is often too slippery. A little dry shampoo or texturizing spray is your best friend for grip.
Use a fine-tooth comb to create clean sections. Messy sections lead to a messy crown. And always keep a mirror handy to check your progress from all angles as you work.
How to Make Any Style Last All Day
After you create your style, lock it in. A light-hold hairspray is key. Hold it about 10 inches away and give a gentle mist all over.
For extra hold on flyaways, spray a tiny bit on a toothbrush and gently brush them down. Carry a few extra pins and a clear elastic in your bag, just in case.
And there you have it—23 ways to wear a crown without ever needing to buy one. The real beauty of these styles is in their practicality. They look like you spent hours, but the secret is a simple technique repeated with confidence.
I hope this unlocks a new world of easy, elegant hairstyles for you. Remember, the goal isn’t perfection. It’s that feeling of having a special, put-together detail in your hair that makes you walk a little taller.
Save this post to Pinterest to keep this guide handy for your next hair day! Which style are you most excited to try first? Tell me in the comments below—I read every single one.