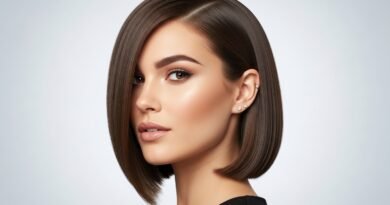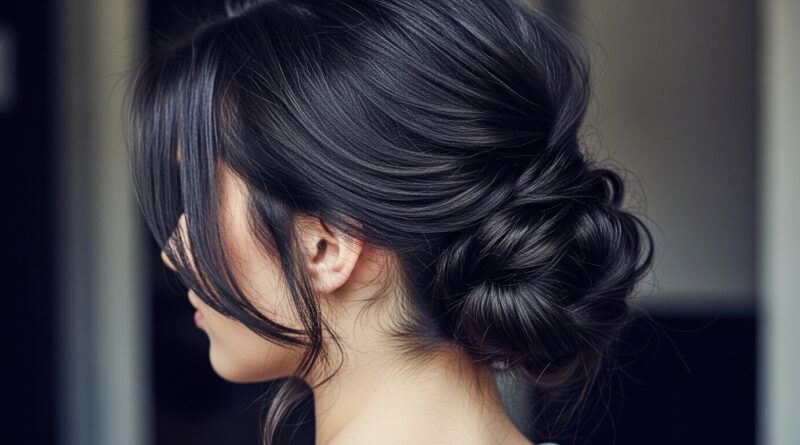
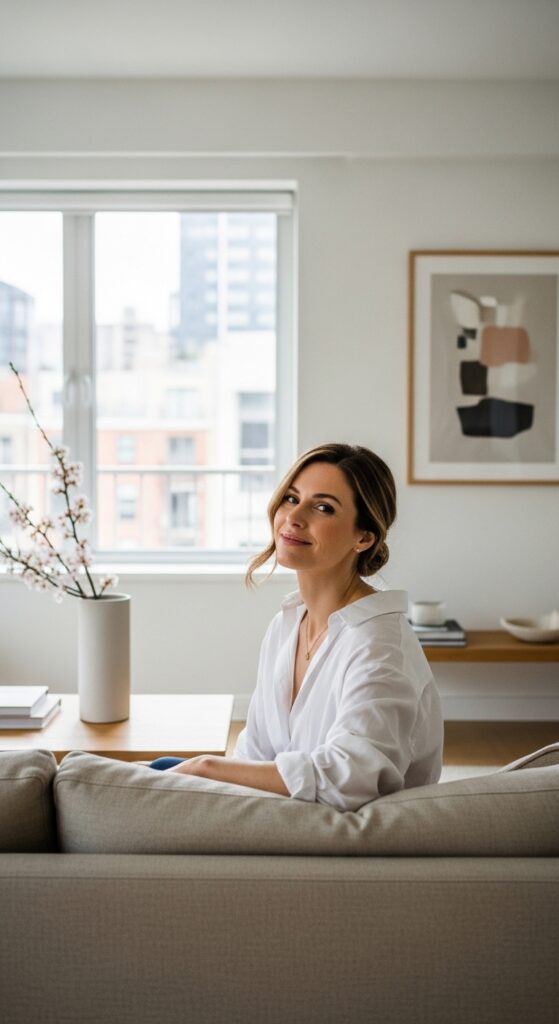
Bun 13 Low Side Knots Asymmetrical for Artistic Flair
Okay, let’s be real. Sometimes you just want a hairstyle that feels a little more… intentional. You know, something that looks like you put in effort, but secretly didn’t break a sweat. That’s the magic of a good bun.
But we’re moving past the basic topknot. Today, we’re getting artistic. We’re talking about the low side knot, specifically an asymmetrical version. It’s that perfect mix of messy, elegant, and interesting.
It works for so many vibes—think quiet luxury with a twist, or a touch of romantic goth. It’s one of those 2026 hairstyles you can start wearing right now. And the best part? It’s surprisingly simple to master.
I’m going to walk you through everything, from the why to the how. Grab a couple of pins and your favorite texturizing spray. Let’s create some artistic flair.
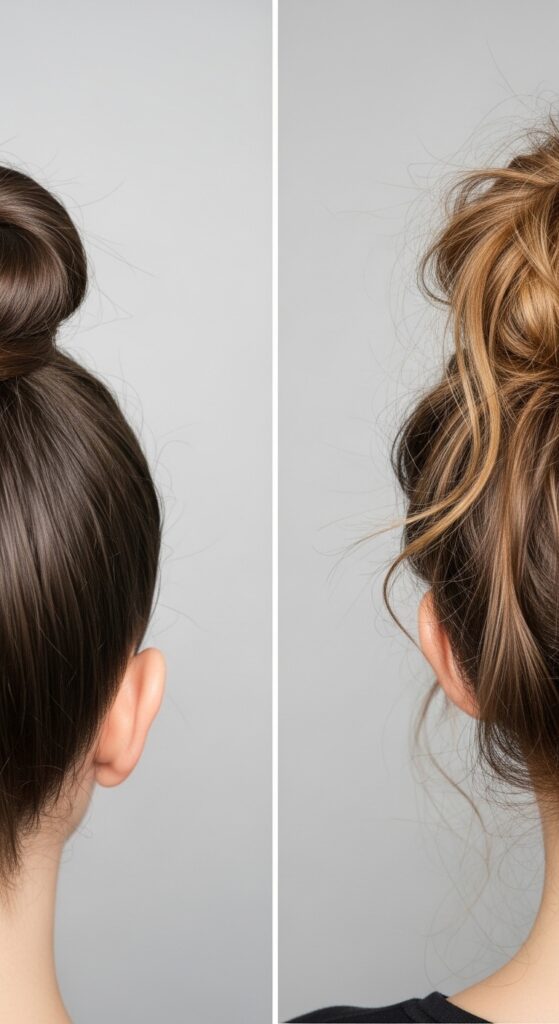
Why The Asymmetrical Low Bun Is Your New Go-To
This isn’t your gym bun. The off-center placement changes everything. It feels deliberate and fashion-forward, yet soft and approachable. It adds instant dimension to your look without needing a major cut.
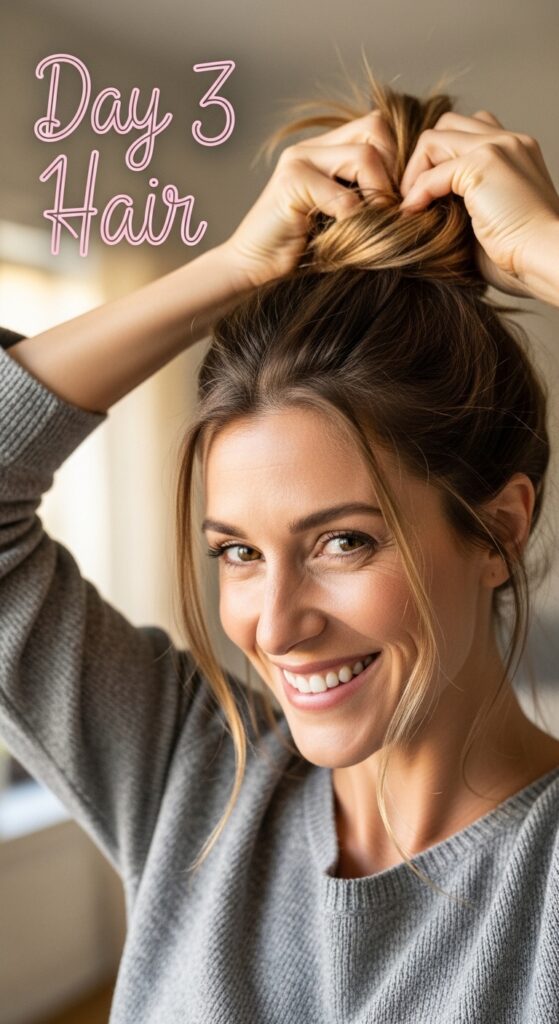
It’s incredibly versatile. You can wear it sleek for a quiet luxury bob vibe, or pull it looser for a more romantic, undone feel. It works with almost every hair length past the shoulders and is a lifesaver for second or third-day hair.
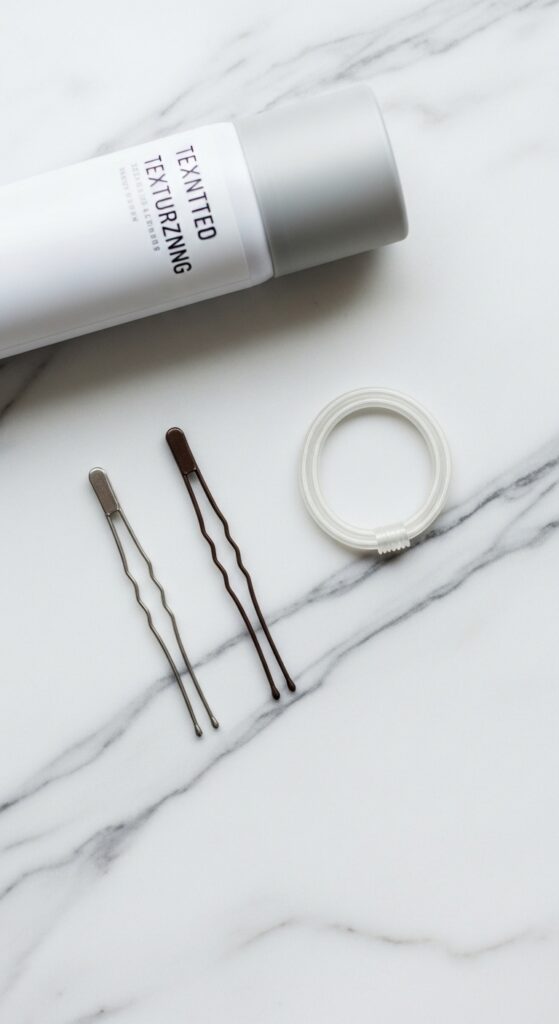
Gathering Your Simple Toolkit
You don’t need much. A couple of thin, strong bobby pins and a small, clear elastic are the heroes. A texturizing spray or dry shampoo is your best friend for creating grip.
For a more polished finish, a light-hold hairspray and a tail comb for smoothing flyaways can help. That’s truly it. We’re keeping this practical and easy, just like your favorite jeans.
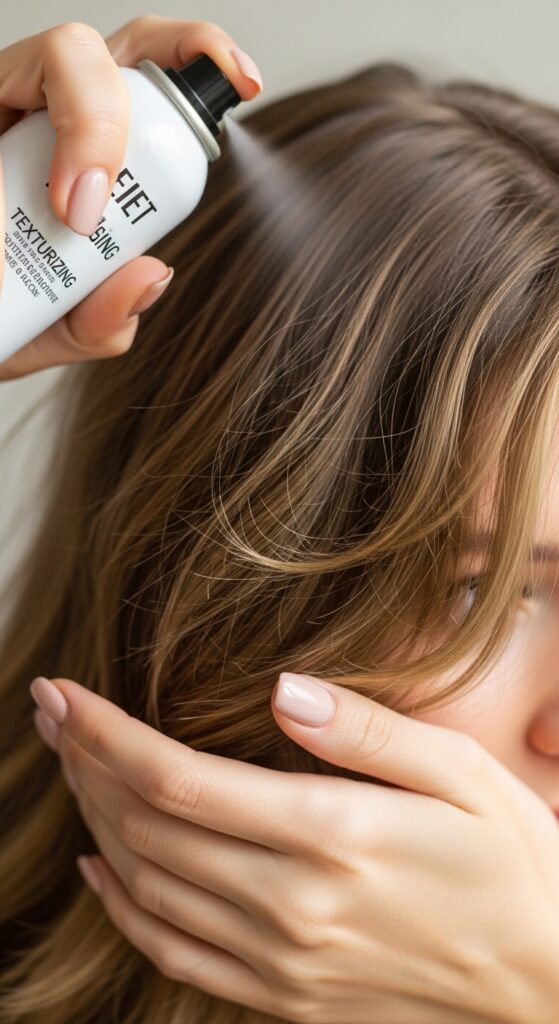
Step 1: Create Your Perfect Base Texture
Start with day-old hair or spray dry shampoo at the roots for volume and grip. If your hair is very silky, a light mist of texturizing spray all over will help the bun hold its shape.
Don’t brush it perfectly smooth. We want a little lived-in texture. This step is what separates a stiff bun from one with that cool, glitchy glam hair feel—intentionally imperfect.
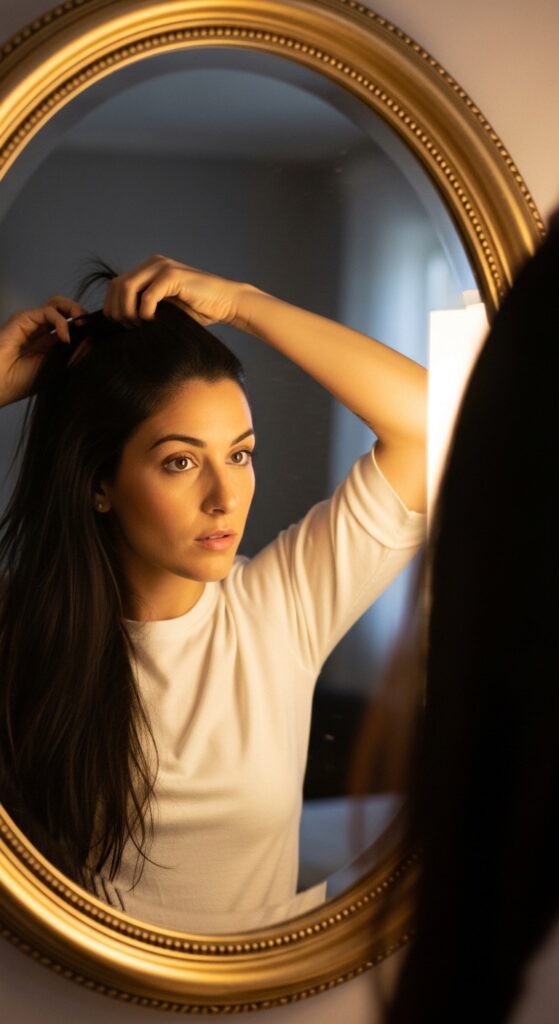
Step 2: Choose Your Asymmetrical Side
This is the fun part. Look in the mirror. Which side do you naturally part your hair on? We’re going to lean into that. Gather all your hair to the side opposite your usual part for maximum asymmetry.
If you have a middle part, choose the side that feels most comfortable. This will create a beautiful, cascading line that feels very modern, almost like an asymmetrical lob but in bun form.
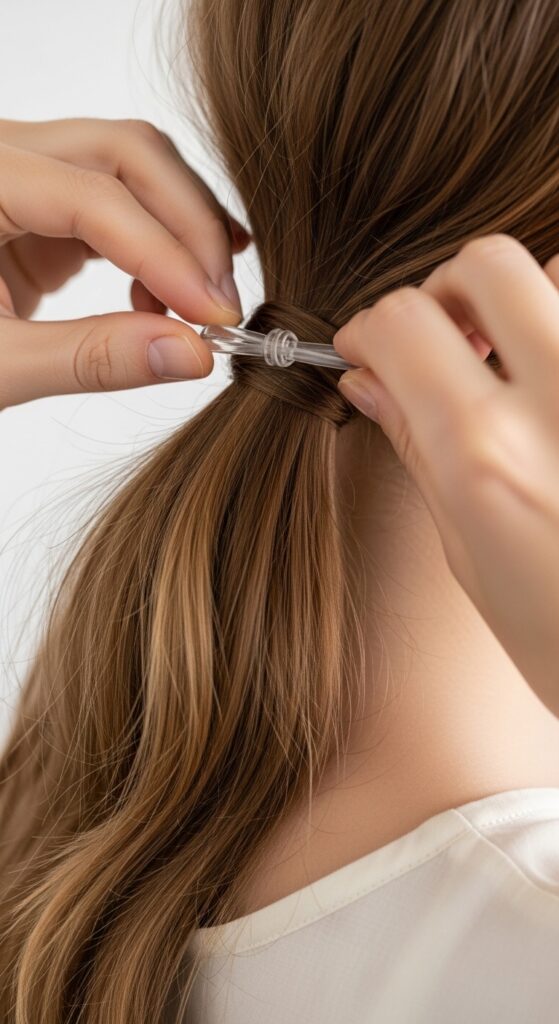
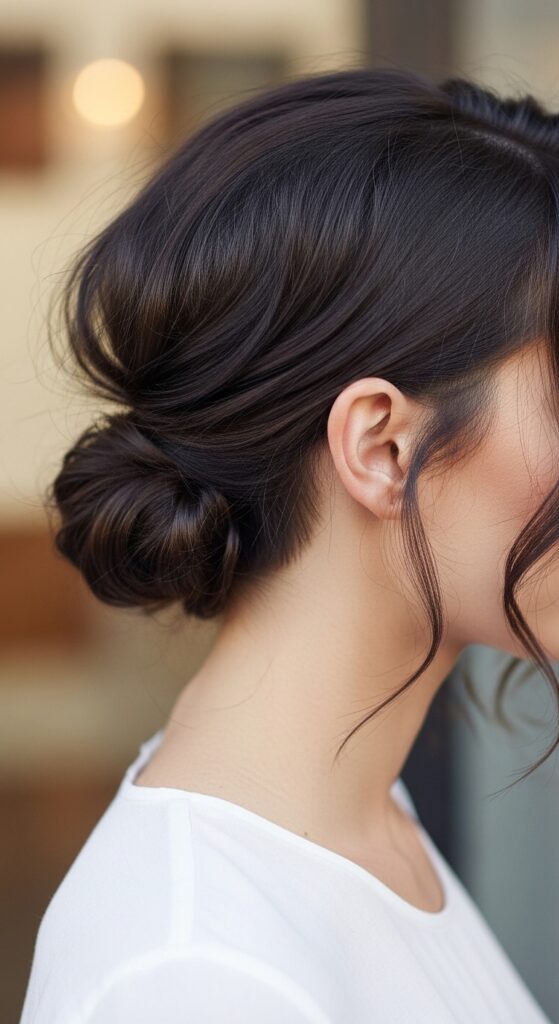
Step 3: The Low Ponytail Anchor
Gather your hair at that low side point, right at the nape of your neck but shifted over. Secure it with a clear elastic, but only make it as tight as you need to hold.
Leave the tail of the ponytail out. This isn’t a tight ballerina bun. We’re going for something softer. Think of this ponytail as the secure base for our artistic knot.
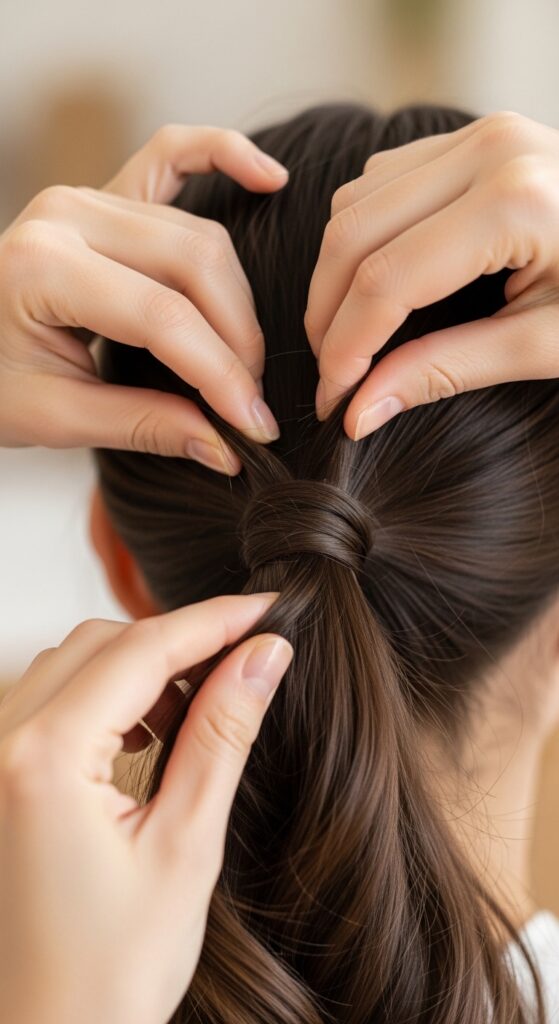
Step 4: Twist & Wrap Into A Knot
Now, twist the length of the ponytail until it starts to coil on itself. Instead of wrapping it around the base in a classic bun, form it into a loose knot. Pull the end through the loop you create.
Don’t pull it tight. Leave it loose and knotted. This is where the artistic flair comes in. It should look a bit abstract and interesting, not perfect.
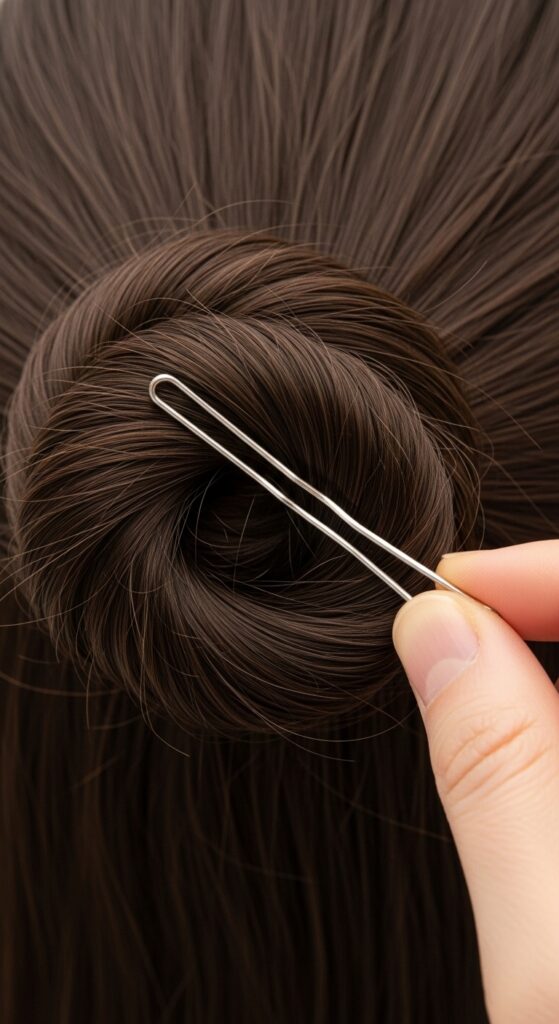
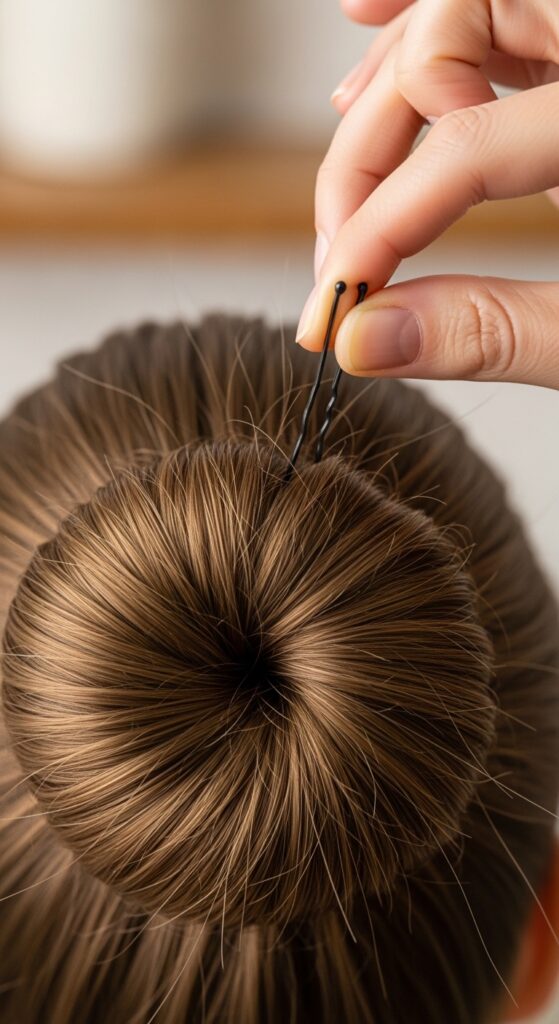
Step 5: Secure The Knot Discreetly
This is where the bobby pins come in. Open a pin, slide it into the center of the knot, and then anchor it into the base of your ponytail. Use 2-3 pins, criss-crossing them for security.
Hide the pins by pushing them up into the bulk of the knot. The goal is to make the bun look like it’s magically holding itself together.
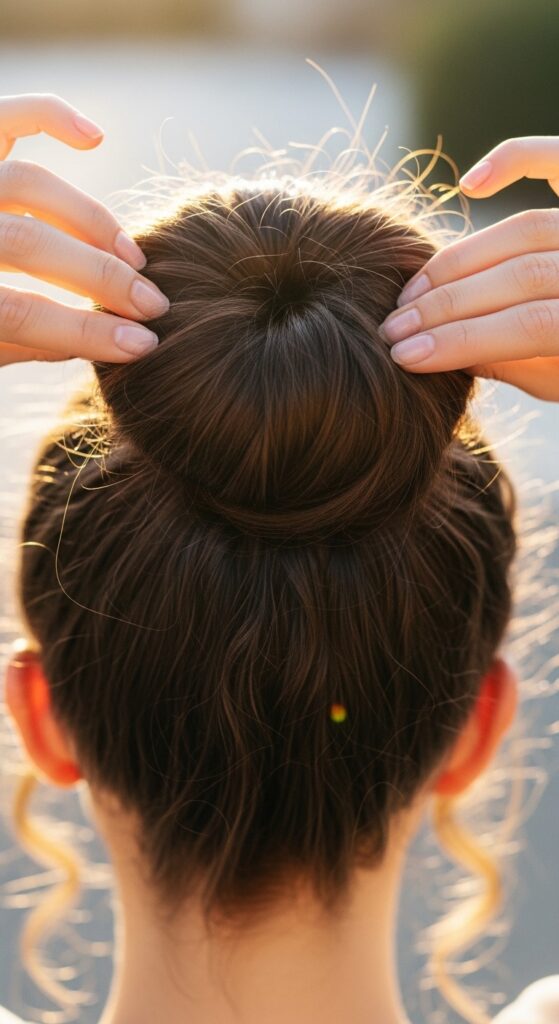
Step 6: The Art Of The Pull & Tug
Gently pull at the sides of the knot to loosen and widen it. Tug on small sections around your face and at the crown to create soft, face-framing pieces and volume.
This messiness is key. It adds that romantic, effortless vibe. It’s the difference between “just did my hair” and “I always look this cool.”
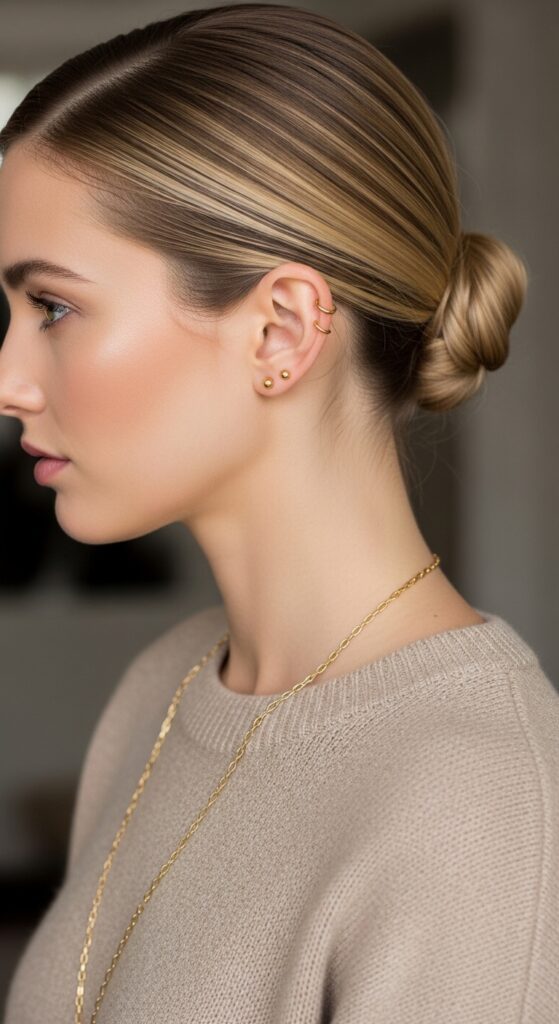
Styling For A “Quiet Luxury” Vibe
For that old money hair aesthetic, keep it sleeker. Before gathering, use a brush and a light serum to smooth the crown and sides. Keep the knot itself neat and compact.
Pair it with pearl studs and a crisp button-down. The look is understated, elegant, and incredibly polished. It’s power hair for the low-key minimalist.
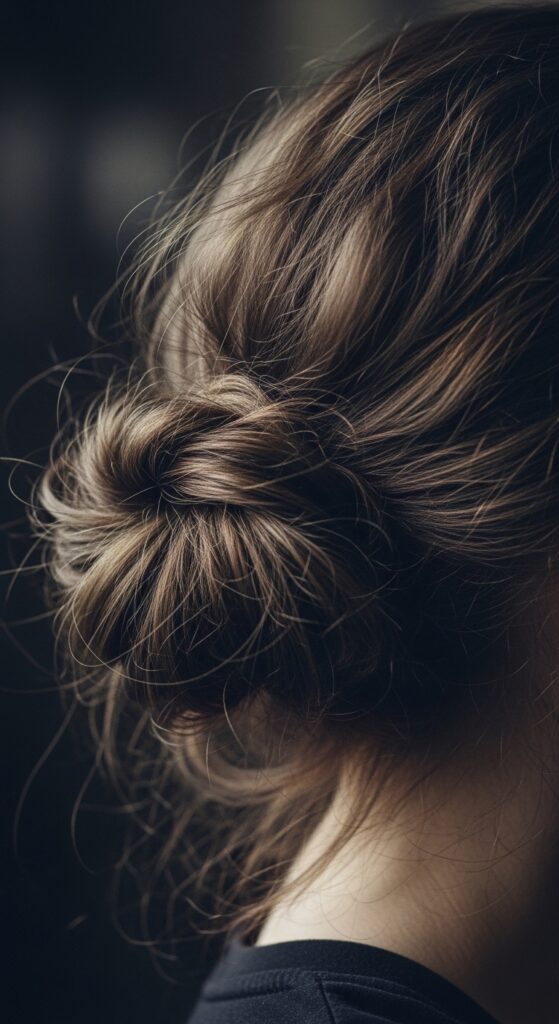
Styling For A “Romantic Goth” Feel
Lean into the texture. Use a strong-hold texturizing spray for piece-y definition. Pull out more face-framing strands and curl them loosely with a flat iron for a bend.
Add a dark lip or a lacy top. This style has a touch of vampire haircut drama but in a soft, wearable way. It’s poetic and a little mysterious.
Adding Glitchy Glam Hair Accents
Glitchy glam is all about playful disruption. Add a few face-framing clip-in highlights in an unexpected color like silver or pastel pink just around the front.
Or, weave in a single, thin, sparkly hair chain through the knot. It’s that one detail that makes people look twice and fits right in with edgy 2026 hairstyles.
Adapting It For Shorter Hair (Lob & Beyond)
If you have an asymmetrical lob or a bob, you can still do this! Gather only the hair from your longer side into the low knot. Let the shorter side fall freely.
It creates an amazing, dynamic shape. This is a fantastic way to play with asymmetry if you’re not ready for a full hime cut but love the idea.
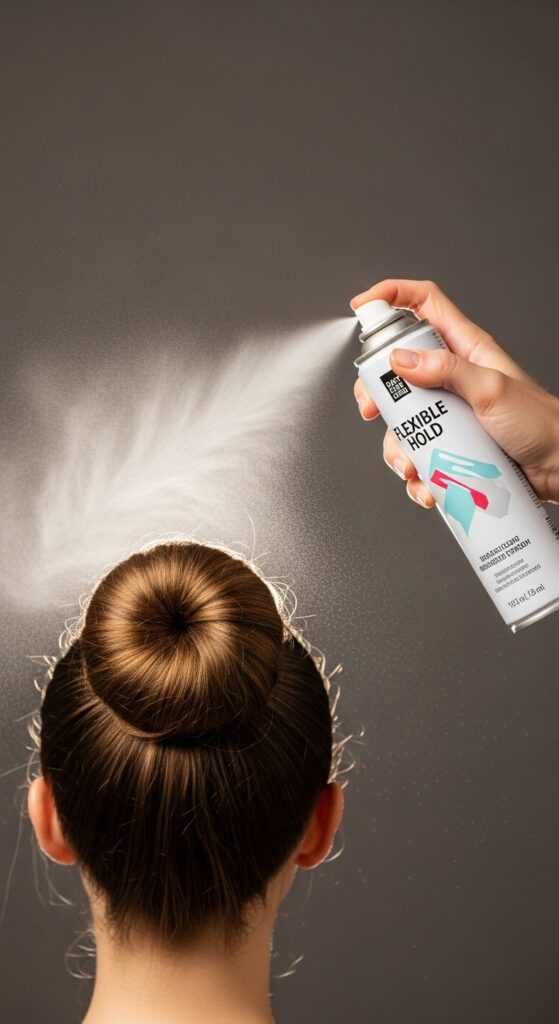
Making It Last All Day & Night
Security is in the pinning. Always criss-cross your bobby pins. After you’re done, a light mist of flexible-hold hairspray all over will lock in the texture without making it crunchy.
Throw a few extra pins in your bag. If you feel it slipping later, you can quickly tuck and secure without re-doing the whole style.
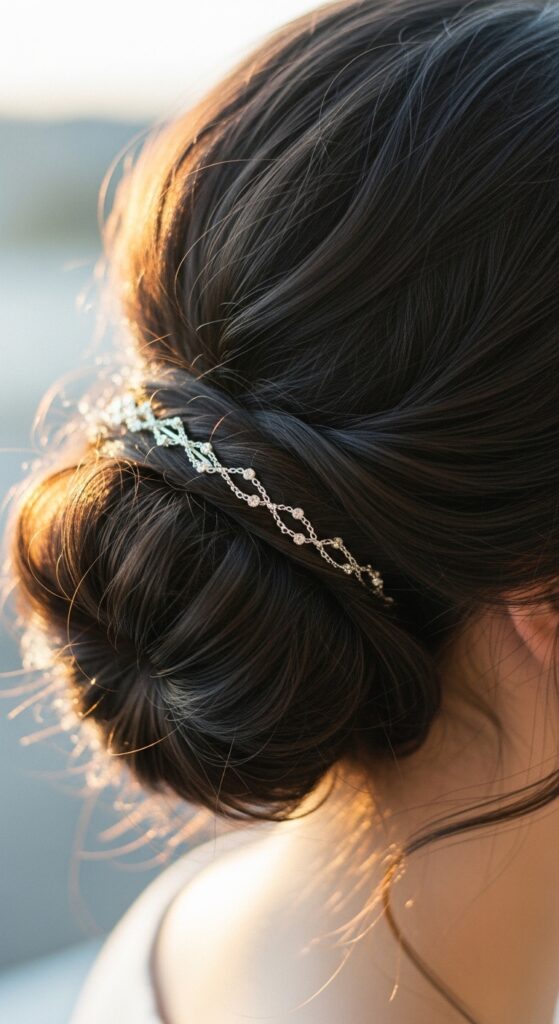
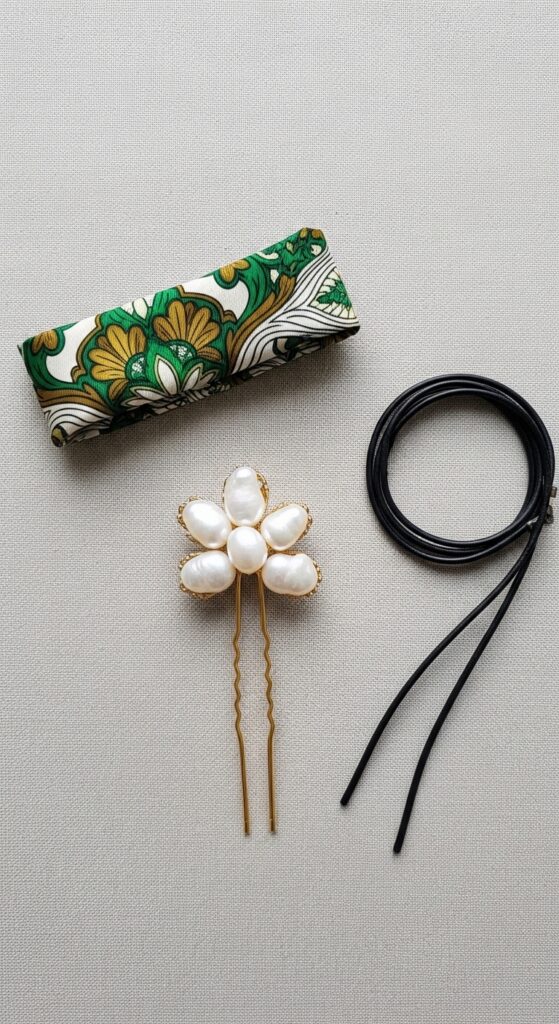
The Perfect Hair Accessories To Try
- Mini Silk Scarf: Tie it around the base of the ponytail before you make the knot.
- Decorative Pins: Push a single, beautiful pin into the center of the knot as jewelry.
- Thin Leather Cord: Wrap it around the base of the bun a few times and tie a small bow.
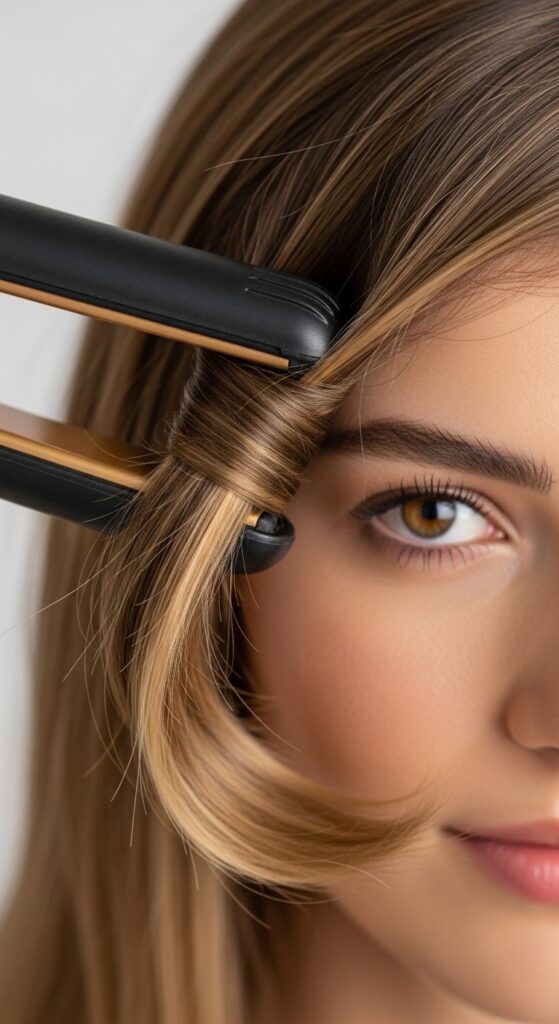
What To Do With Your Face-Framing Pieces
Don’t just leave them straight. For a cohesive look, add a slight bend. Use a flat iron or a small curling iron to create a soft “C” shape away from your face.
You can also twist two small sections on either side and pin them back loosely near the bun. It adds a beautiful, romantic detail.
Quick Fix For A Falling Bun
If your bun feels loose halfway through the day, don’t panic. Gently remove the pins, re-twist the knot, and re-pin. Then, focus on adding pins from the bottom upward for better lift.
Sometimes, just adding one more pin through the center and into your scalp hair is all the reinforcement you need.
Pairing With Makeup Looks
This hairstyle is such a great canvas. With the quiet luxury version, go for glowing skin and a nude lip. For the romantic goth twist, try a smoky eye or a bold berry lip.
Because the hair is pulled back, it really lets your makeup shine. It balances out a strong eye look perfectly.
From Day To Dinner: A 30-Second Upgrade
To take your day bun to evening, pull out a few more tiny pieces around your hairline to frame your face. Add a bit of shine serum to those pieces.
Then, swap your simple studs for a statement earring. The contrast of the messy bun with a glam earring is absolutely stunning.
Common Mistakes & How To Avoid Them
- Pulling Too Tight: A tight ponytail base gives a headache, not style. Keep it loose.
- Using Thick Elastics: They’re hard to hide and bulky. Stick with clear or skinny ones.
- Forgetting Texture: Slick, clean hair slips. Always start with some grit or dry shampoo.
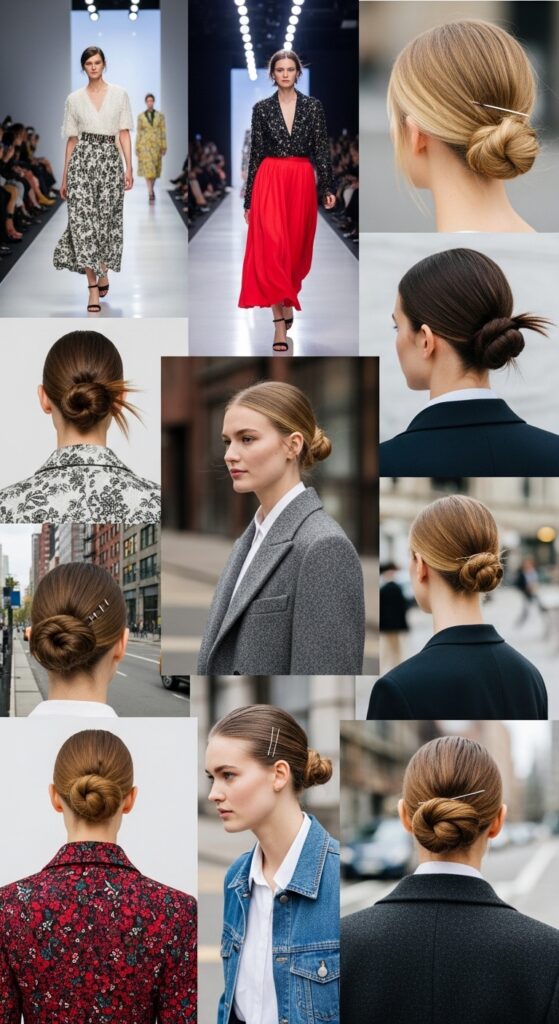
Inspiration From Runway To Real-Way
You’ll see variations of this knotted, asymmetrical style everywhere from high-fashion runways to street style blogs. The key is to adapt the feeling, not the exact look.
Take the artistic intent—the asymmetry, the looseness—and make it work for your hair length and texture. That’s how you build a personal style.
Your New Favorite Third-Day Hair Hack
Let’s be honest, this is the real reason we love a good updo. When your hair is feeling a bit too oily or flat, this bun is the perfect solution.
The texture from the dry shampoo only makes the bun look better and hold stronger. It’s a win-win that looks like you tried, when you really just needed a refresh.
Final Thoughts Before You Start
Don’t aim for perfection. The first time you try it, it might not look exactly like the picture in your head. That’s okay. Play with it. Loosen it more. Add a pin.
This style is meant to be personal and a little different every time. That’s where your own artistic flair comes in. Have fun with it!
And just like that, you’ve got a hairstyle in your back pocket that works for so many moments. It’s the kind of look that makes you feel put-together and creative at the same time.
Remember, the best hair trends, like the ones we’re seeing for 2026, are all about expression. They’re a mix of old money hair elegance, romantic goth drama, and glitchy glam playfulness. This little bun lets you tap into all of that.
I’d love to see your version! Did you go for the sleek quiet luxury look, or add some vampire haircut edge? Tag me on Instagram so I can see your artistic flair in action.
Save this post to Pinterest so you always have the steps handy for your next hair day. And tell me in the comments—what’s your go-to “looks fancy but is easy” hairstyle?