Waterfall 31 Loose Tendril Integration Romantic Around Tight Updos
Okay, let’s be real. We’ve all been there. You spend forever twisting and pinning your hair into this gorgeous, intricate updo. It looks polished, it looks elegant… and then you catch your reflection and think, “Wow, I look a bit… severe.”
Where’s the softness? Where’s the romance? That’s the exact problem I was having until I mastered one simple trick: the waterfall tendril.
It’s the secret sauce that transforms any tight bun or chic updo from “boardroom meeting” to “romantic dinner.” And the best part? It takes about two minutes to do. This isn’t about a full re-style. It’s about strategic, loose pieces that add instant movement and a touch of effortless glam.
Consider this your quick-start guide to getting that perfectly imperfect, romantic look every single time. Let’s dive into the how, the why, and all the little details that make it magic.
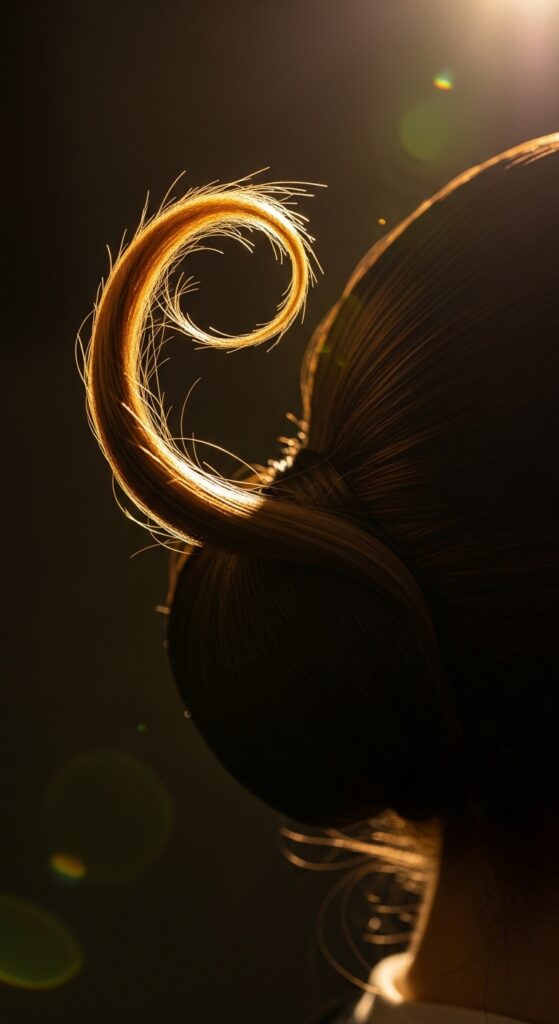
What Is a Waterfall Tendril, Anyway?
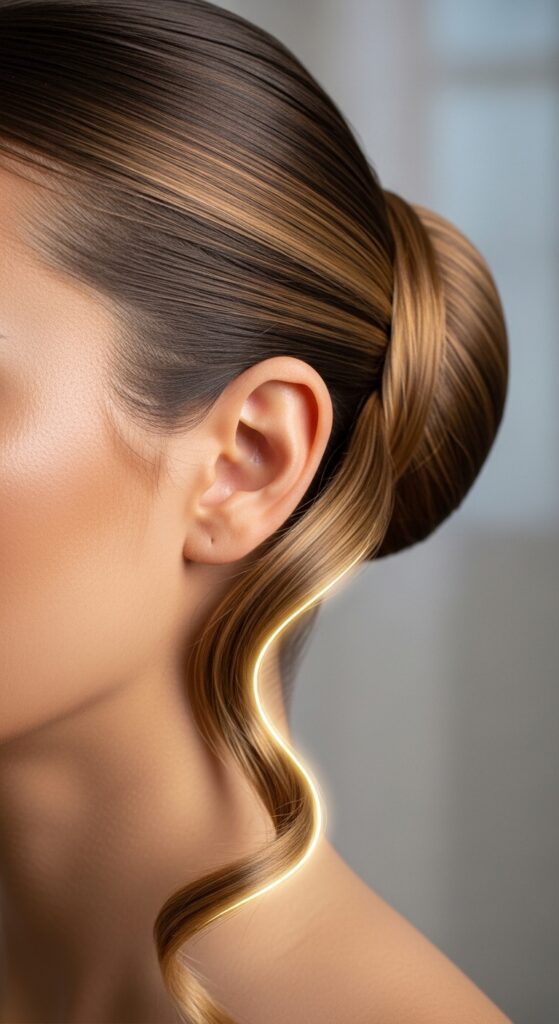
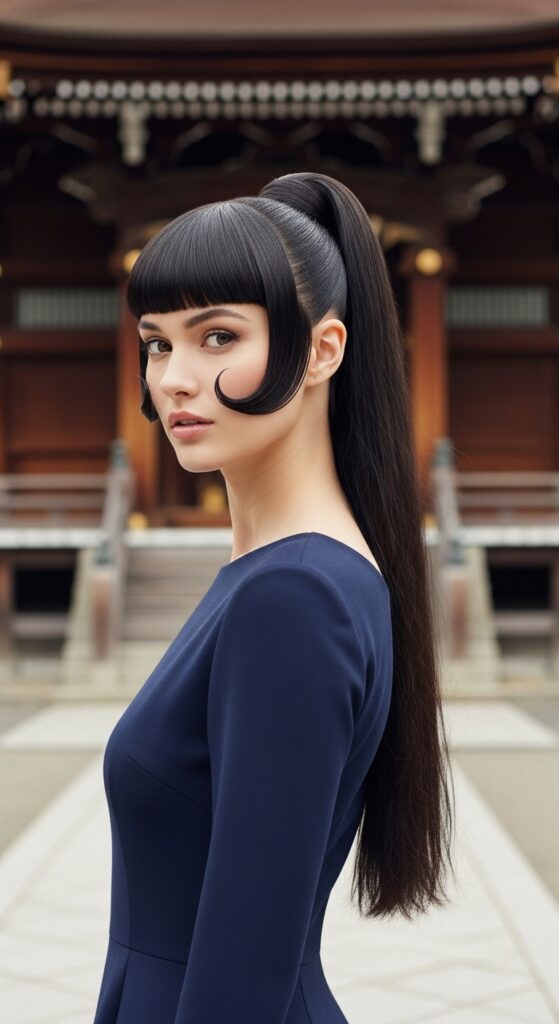
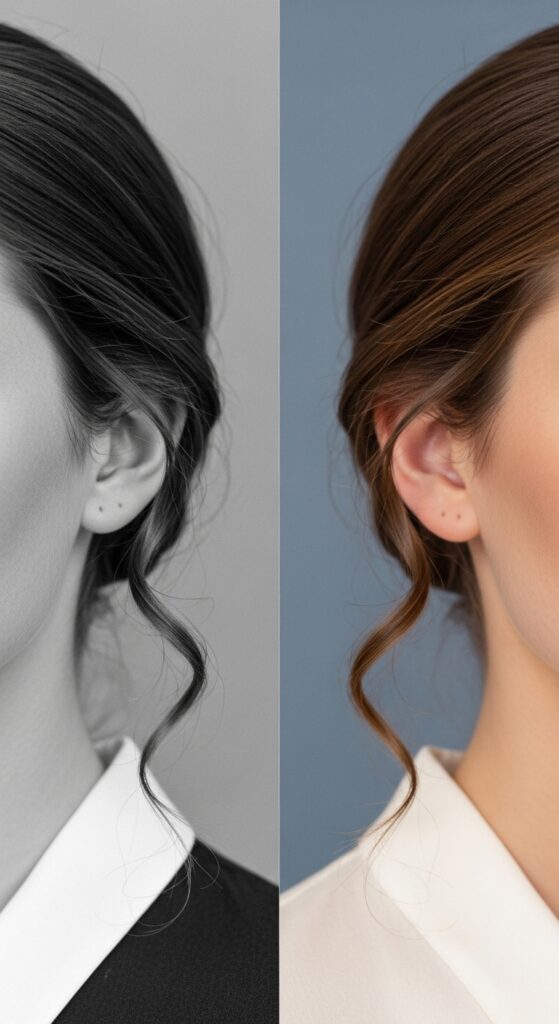
It sounds fancy, but it’s beautifully simple. A waterfall tendril isn’t just a random piece of hair you pull out. It’s a specific, softly cascading section that starts higher up near your crown or temple and “falls” down along the side of your face and neck.
Unlike face-framing pieces, which are often shorter, these are longer, more deliberate, and have a gentle, flowing curve. They mimic the way hair naturally falls, breaking up the hard lines of an updo and adding a sense of soft, organic movement. Think of it as intentional dishevelment.
The #1 Rule: Keep It Loose & Lived-In
The biggest mistake is making these pieces too perfect. The goal is romance, not rigidity. After you pull your chosen sections out, you have to break them up. Run your fingers through them to separate the hairs.
I always gently twist the piece away from my face, hold it for a second, and then release. This creates a soft, memory-holding bend instead of a stiff curl. The look should whisper “I just woke up like this,” not “I used a 1/4-inch curling iron for this exact strand.”
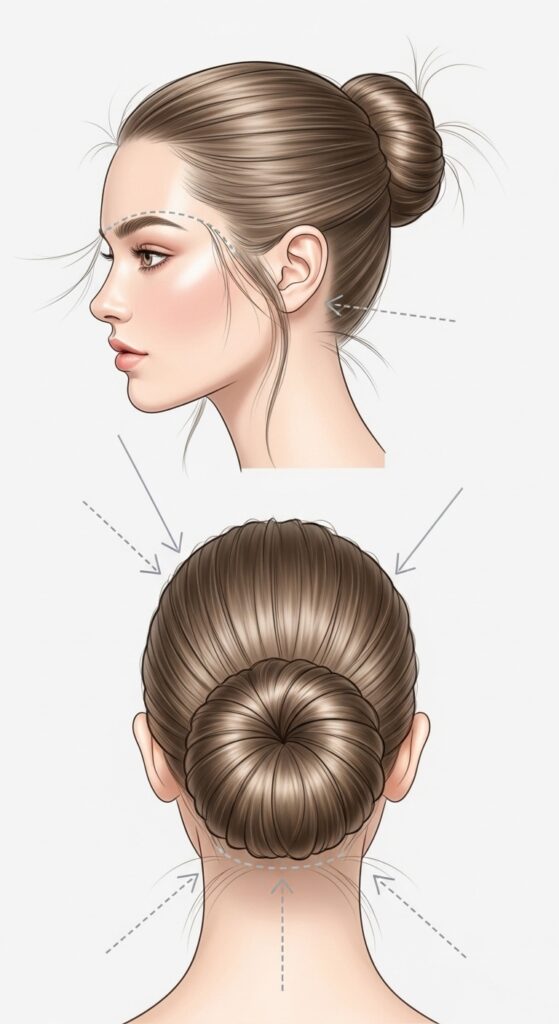
Where to Place Your Tendrils for Maximum Effect
Placement is everything. For most face shapes, two key spots work wonders. First, a piece from each temple, framing the forehead softly. Second, one or two longer pieces from the nape of your neck or just behind the ears.
These nape pieces are the real hero. They create movement from behind when you turn your head. Avoid pulling pieces from directly above the ears—it can look accidental, like you missed a spot while putting your hair up.
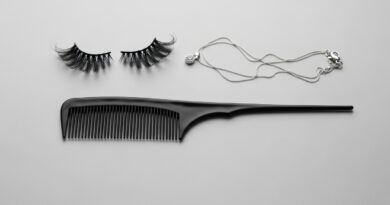
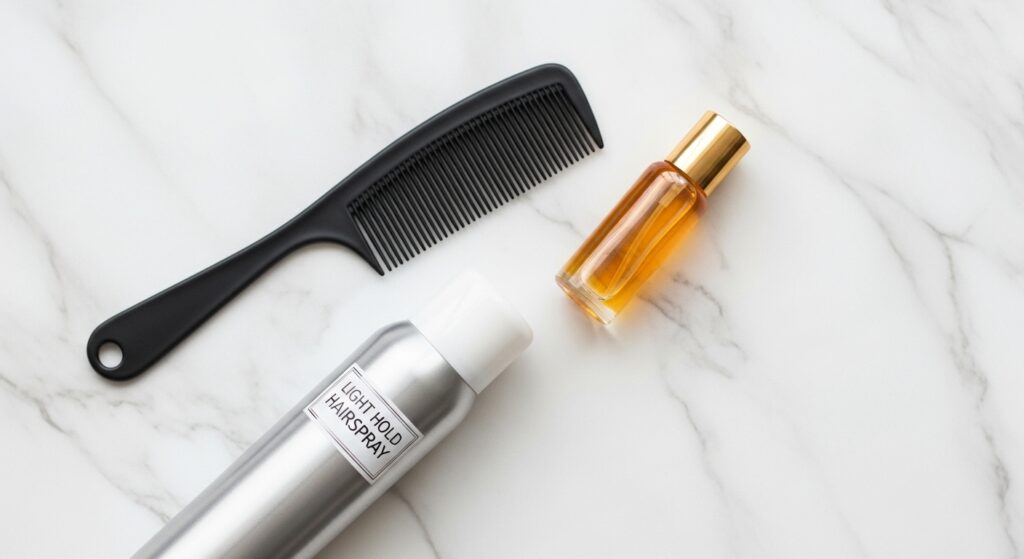
Toolkit: What You Actually Need
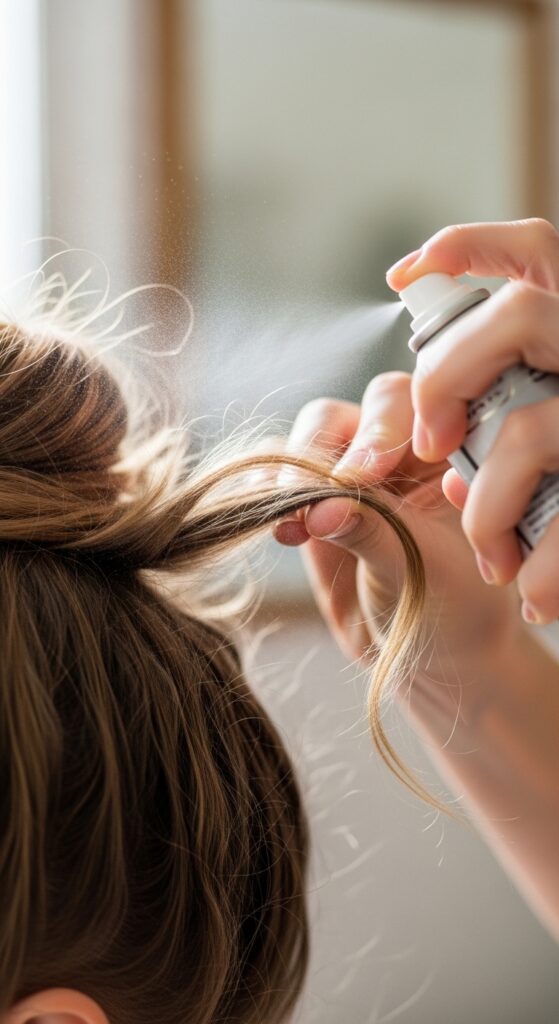
You don’t need much! A fine-tooth comb or the tail of a rat-tail comb is key for cleanly sectioning out the pieces you want. A light-hold hairspray or texturizing spray is your best friend for holding the shape without crunch.
My secret weapon? A tiny bit of hair oil or serum, just on the ends of the tendrils. It kills any frizz and makes the hair look incredibly healthy and glossy, elevating the whole look instantly.
- Tail comb for precise sectioning
- Light-hold flexible hairspray
- Texturizing spray (optional)
- Small amount of hair serum
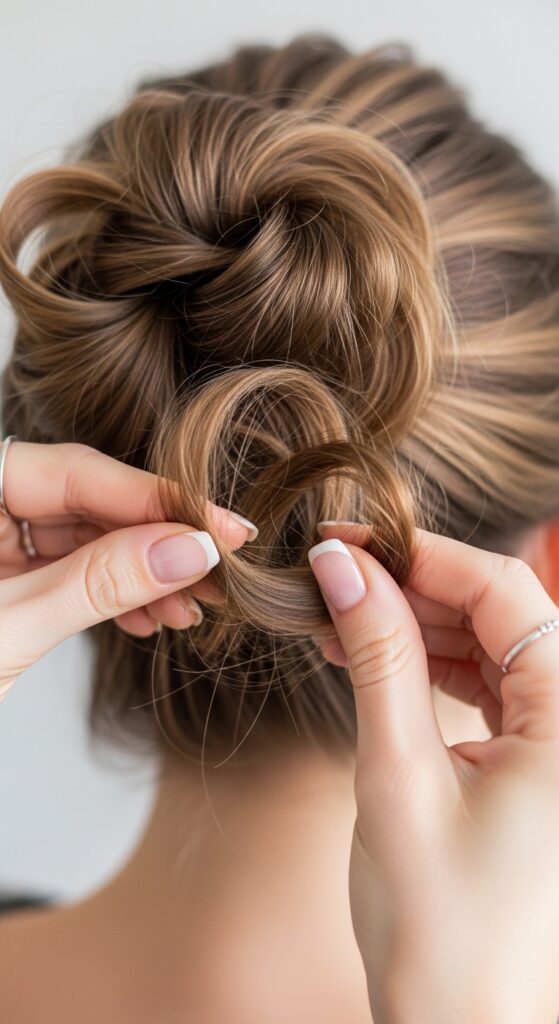
Step-by-Step: Adding Tendrils to a Sleek Bun
Start with your bun as you normally would—sleek, tight, and polished. Before you do the final spin and tuck, use your tail comb to gently pull out two small sections near your temples. Make them a bit thicker than you think.
Then, from the very bottom of the hair you’re gathering, pull out one or two more sections from the nape area. Now, finish securing your bun. Style your tendrils separately with the twist-and-release method for a soft bend.

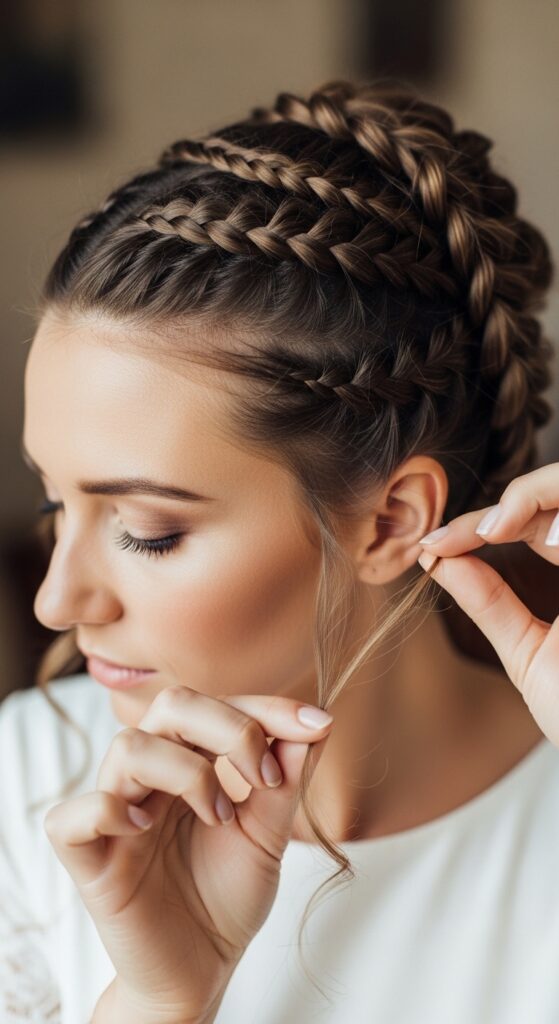
Step-by-Step: With a Romantic Braided Updo
Braided styles already have texture, so your tendrils should be softer and wispier. As you braid, intentionally leave a few smaller pieces loose near your face. Don’t incorporate all your hair.
After the braid is pinned, go back and pull out a few more micro-sections from the braid itself, especially where twists meet. This blends the tendrils seamlessly so they look like they naturally escaped the style.
The “Old Money Hair” Connection
This technique is pure “old money hair” and quiet luxury. It’s that undeniably elegant, understated look that says you’re polished but never overdone. It’s not trendy; it’s timeless.
The loose tendril is the antithesis of helmet hair. It shows you care about details but aren’t trying too hard. This effortless vibe is the core of quiet luxury bob styles and soft, romantic updos seen on style icons for decades.

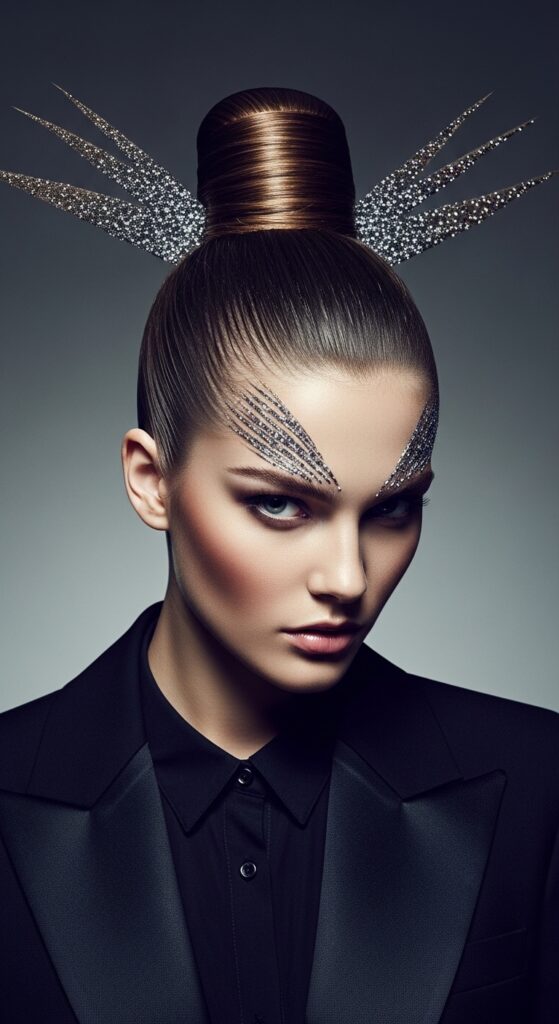
Adapting It for 2026 Hairstyles & Beyond
As we look at emerging trends like glitchy glam hair or romantic goth hairstyles, texture and contrast are key. The waterfall tendril fits perfectly. Imagine it with a stark, slicked-back bun—the soft tendril creates the “glitch” in the perfection.
For romantic goth or vampire haircut styles, make these pieces a bit darker at the root or use a wax for a piece-y, slightly damp look. It adds that touch of dramatic romance without being costume-y.
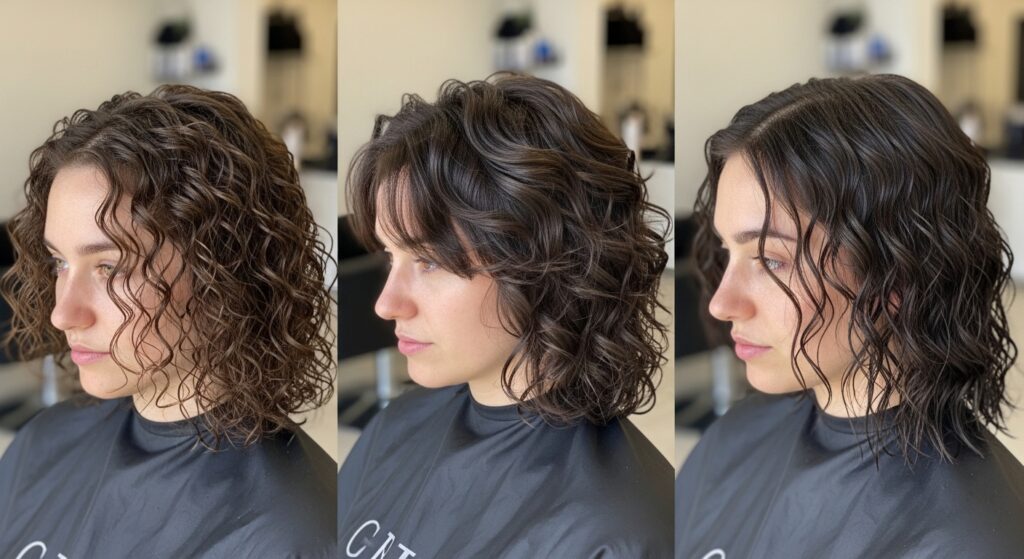
Working with Different Hair Textures
If you have fine hair, use a texturizing spray at the roots of your tendril before styling for grip and volume. For curly hair, celebrate your texture! Define one beautiful curl to act as your tendril using a little gel or cream.
For thick hair, you might need to slightly thin the end of the tendril section with thinning shears (carefully!) to prevent it from looking like a heavy chunk. The goal is a wispy, light end.
Asymmetrical Lobs & Hime Cuts: The Perfect Base
If you have an asymmetrical lob or a hime cut, you’re already ahead of the game! These cuts are built with intentional pieces. When you put the bulk of your hair up, those shorter front pieces from your hime cut or the longer side of your lob automatically become your waterfall tendrils.
Just enhance them with a curl or some wax. It makes the transition from down to up hairstyle incredibly seamless and stylish.
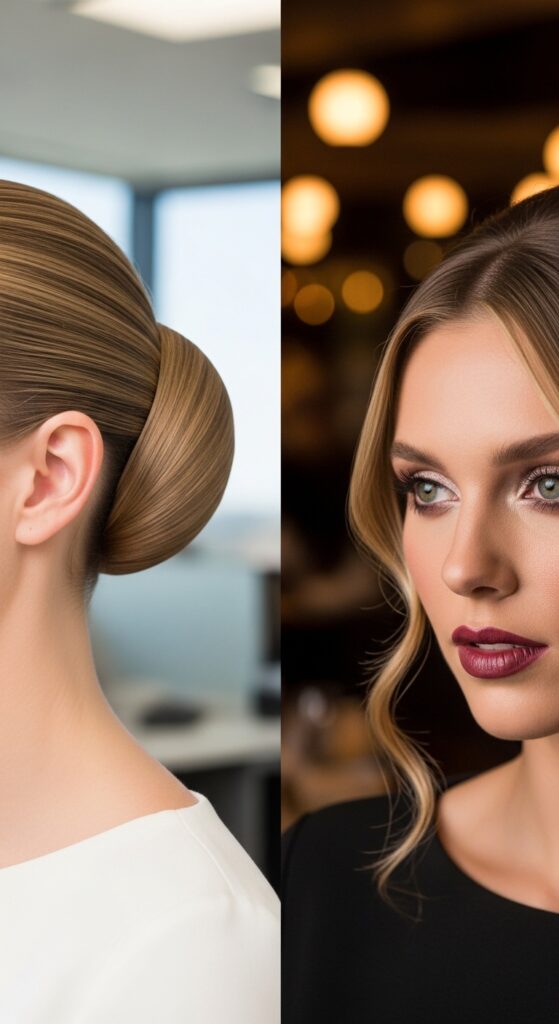
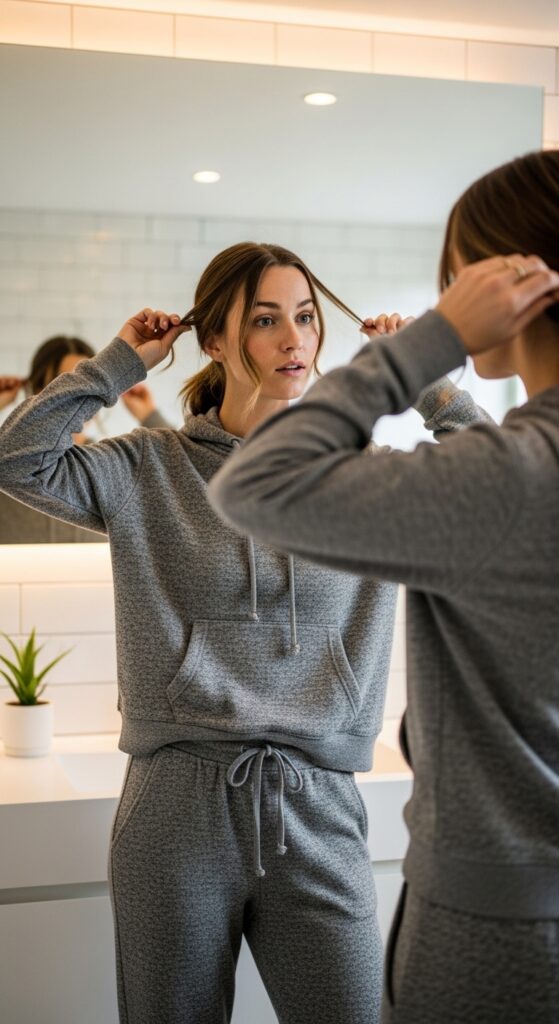
Day-to-Night Transformation in Minutes
This is my go-to move for a quick evening upgrade. You run to dinner after work, pop into the bathroom, and let down two or three strategic pieces. Instantly, your professional daytime updo becomes a romantic, nighttime look.
Add a little extra serum for shine or a spritz of perfume to your wrists and gently run them through those tendrils. It’s a five-second trick that makes a huge difference.
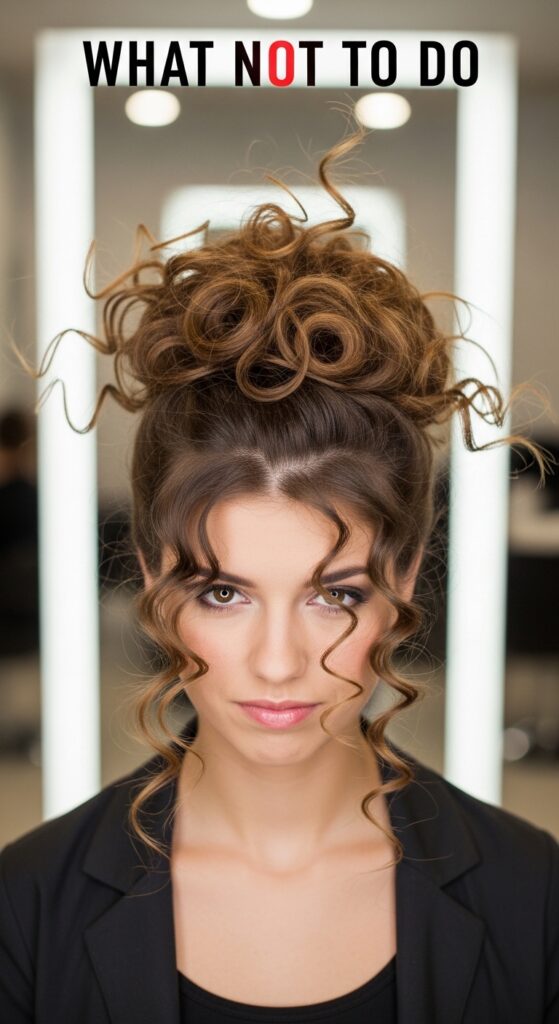
Common Mistakes to Avoid
Too many tendrils: You’re not taking your hair down. Stick to 3-5 pieces max. Too-perfect curls: Avoid uniform ringlets. Seek messy, undone waves. Forgetting the nape: The back pieces are crucial for 360-degree beauty.
Also, avoid tendrils that are all the same length. Mix it up for a more natural look. And never, ever spray them stiffly into place. Always spray and then scrunch.
How to Make Them Last All Night
Longevity is key. After you style your tendrils with a gentle curl or bend, let them cool completely. Then, apply a very light mist of flexible-hold hairspray from a distance.
If you feel them falling throughout the night, don’t re-curl. Simply wrap the piece around your finger, give it a slight tug, and hold for a few seconds. The body heat will revive the bend.

The Color Play Advantage
If you have balayage, highlights, or money pieces, this technique showcases them beautifully. That face-framing highlight is meant to be seen! Placing a tendril right where your best color lives draws attention to it.
It creates a stunning, sun-kissed effect, even with an updo. It makes your color look expensive and multi-dimensional.
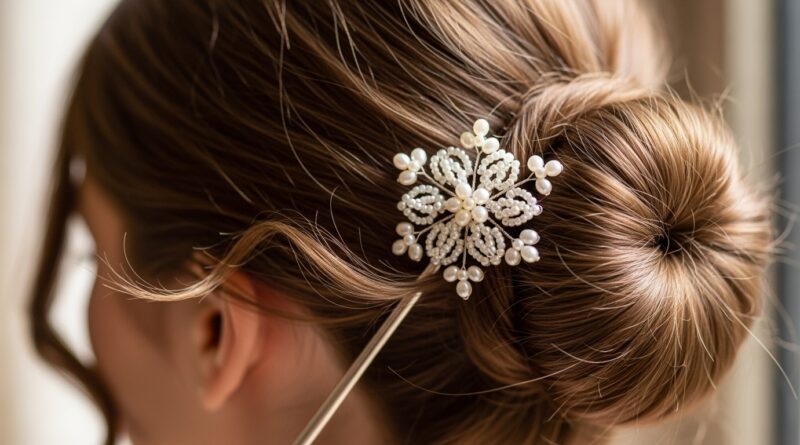
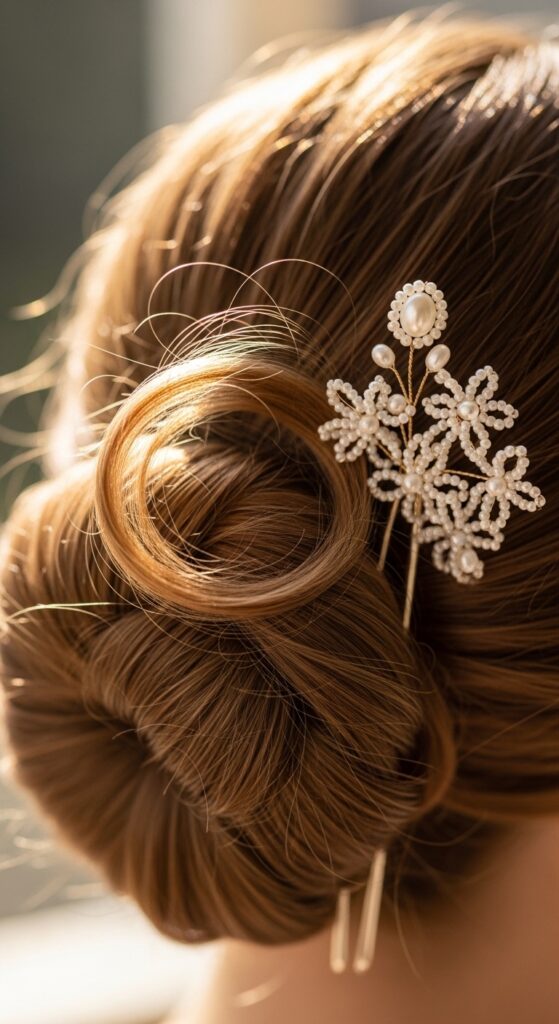
Pairing with Accessories
When adding accessories like pearl pins or a sparkly clip, place the accessory first. Then, style your tendrils around it. The tendrils should soften the accessory, not compete with it.
For a minimalist look, let a delicate tendril fall over a thin headband. It breaks up the line and keeps it from looking too costumey or harsh.
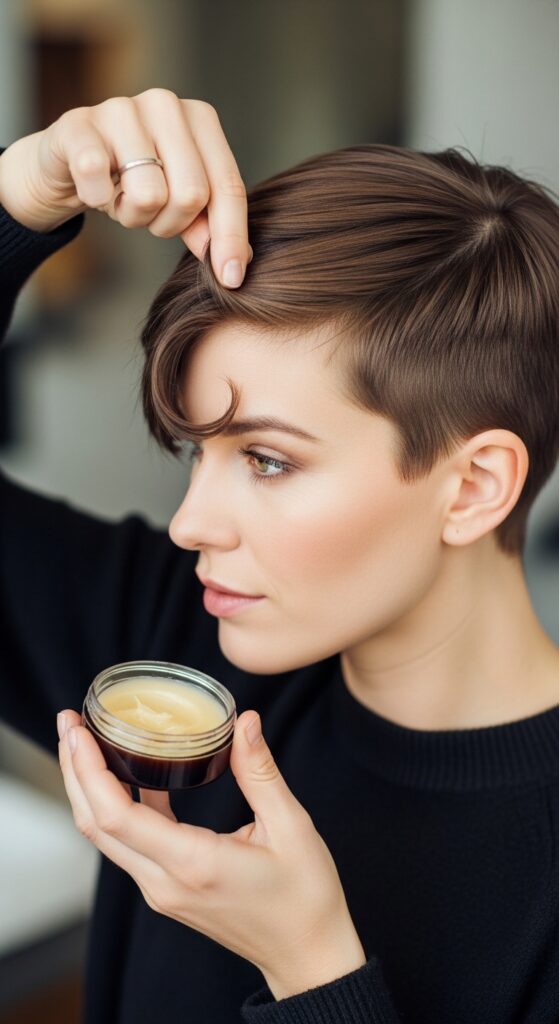
For Super Short Hair & Pixies
Yes, you can do this too! If you have a pixie with longer pieces on top, use a bit of pomade to sweep one piece down as a “tendril.” For shorter styles, focus on the wispy pieces at the nape of your neck.
Even the tiniest pieces breaking free can add that same soft, romantic feel. It’s all about the intention.
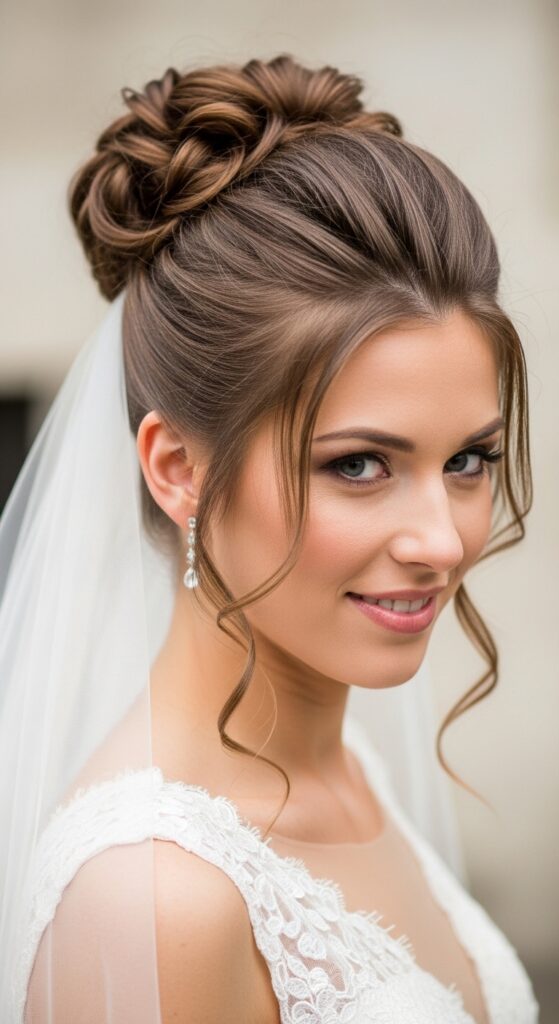
The Bridal Application
This is a non-negotiable for bridal hairstyling. It photographs beautifully, softening the face and adding movement. For brides, I recommend setting these pieces with a very loose curl using a wand, not a clamp iron, for a more relaxed wave.
Always do a trial with your veil or headpiece to ensure the tendrils fall perfectly around them.
Quick Fixes for Bad Hair Days
Is your hair dirty or not holding a style? The waterfall tendril is your savior. Put your hair in a loose, messy bun or a twisted style. Pull out your tendrils and hit them with dry shampoo at the root for lift.
Then, use a texturizing spray along the length and twist. The texture from the dry shampoo will help the piece hold its shape better, disguising the fact you’re on day-three hair.
Inspiration from the Icons
Look at old Hollywood stars like Grace Kelly or modern style setters like Blake Lively. They rarely wear a completely sealed updo. There’s always a whisper of hair loose somewhere.
It’s a detail that feels both personal and glamorous. Study red carpet looks—you’ll see this trick on almost every stylist’s best work.
Your Practice Routine
Don’t wait for a big event to try this. Practice while you’re watching TV. Put your hair up, play with different sections. See what placements flatter your face shape most.
Take selfies from different angles. The more you do it, the faster and more instinctual it becomes. You’ll find your signature tendril placement in no time.
Final Pro Stylist Secret
Here’s the secret the pros know: it’s not about the hair you pull out. It’s about the hair you leave in. The contrast between the tight, polished updo and the soft, free tendrils is what creates the magic.
That tension—between controlled and free, polished and soft—is the very definition of romantic style. It’s a feeling, not just a technique.
And that’s really all there is to it. What seems like a tiny, almost insignificant detail is actually the key to unlocking a whole new level of ease and romance in your hairstyles. It’s the difference between looking like you tried and looking like you simply are.
I promise, once you start adding this one move to your routine, you’ll never go back to a completely tight updo again. It becomes second nature, your little signature touch.
Was this helpful? I’d love to hear from you! Did you try it? What’s your go-to updo to add tendrils to? Tell me in the comments below! And if you want to keep this guide handy for your next event or bad hair day, be sure to save this post to Pinterest so you can find it whenever you need a quick dose of hair inspiration.