Everywhere 29 Sponge Tip Applicators Blending Edges Seamlessly Invisible
Okay, let’s be real for a second. How many times have you spent an hour on your hair, only to have those little baby hairs or your edges ruin the whole sleek look? You’re not alone. It’s the final, frustrating step that can make even the best style feel unfinished.
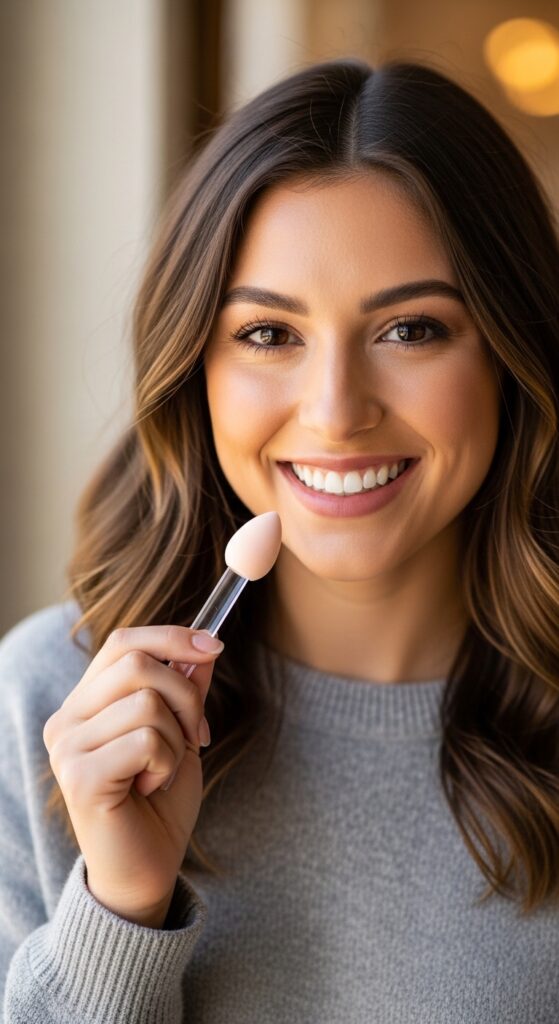
But what if I told you the secret weapon isn’t some $50 tool or a complicated technique? It’s something simpler, cheaper, and probably already in your makeup bag. I’m talking about those little sponge tip applicators that come with eyeshadow.
Yes, really. This tiny tool is a game-changer for blending edges and making any hairstyle—from a quiet luxury bob to romantic goth hairstyles—look salon-perfect. Stick with me, and I’ll show you exactly how to use it to get that seamless, invisible finish in under a minute.
Why Your Usual Edge Control Isn’t Cutting It
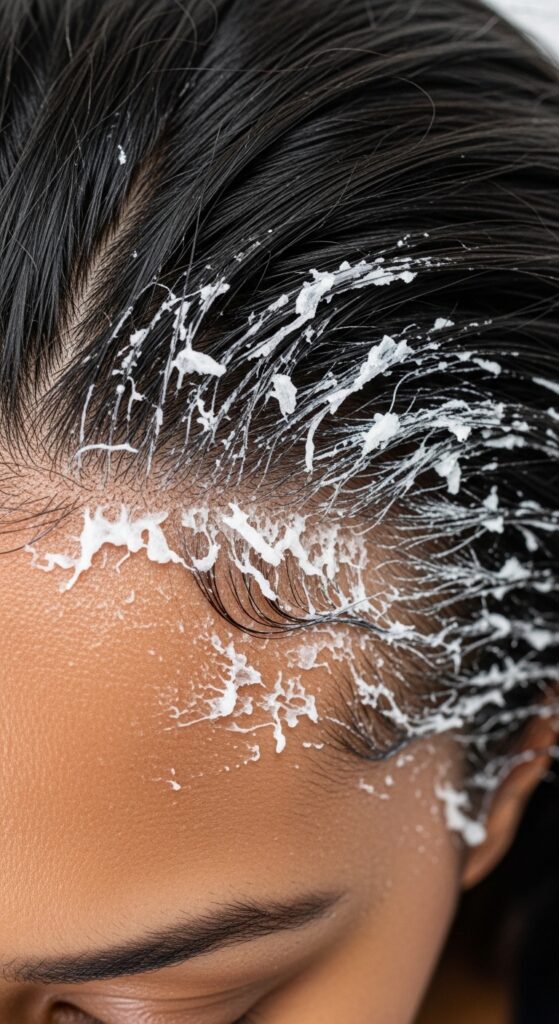
We’ve all been there. You apply your gel or wax, and for an hour, it’s perfect. Then, it either gets flaky, turns white, or just loses its hold. That crisp line starts to look more like a helmet than a hairstyle.
Traditional products can be too heavy. They weigh down fine baby hairs and often don’t blend with your actual hair texture. This is where the magic of a soft, disposable tool comes in. It lets you work with your hair’s natural movement, not against it.
The Humble Sponge Tip: Your Hair’s Best Friend
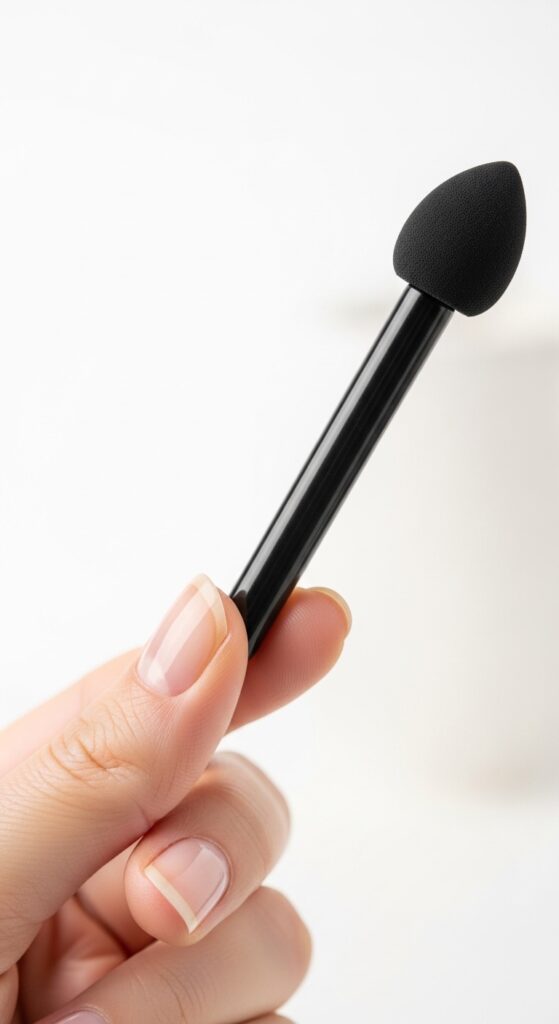
Don’t underestimate this little guy. Its design is perfect for hair. The sponge is firm enough to apply product but soft enough to press and blend without pulling. The pointed tip lets you get right into the hairline.
It’s also about hygiene. Using your fingers can transfer oils. A dedicated sponge tip gives you more control and keeps your style cleaner for longer. Best part? You can buy a pack of 100 for almost nothing.
Gathering Your Simple Toolkit
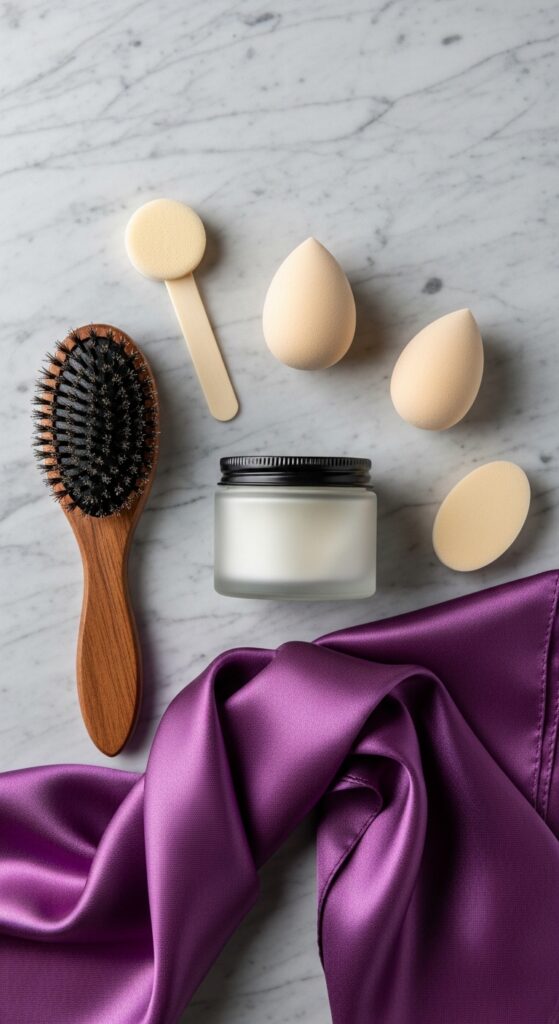
You only need a few things to get started. First, grab your favorite edge control or a light-hold styling cream. Something that’s moisturizing and not too sticky is ideal.
Next, you’ll need your sponge tip applicators and a soft brush (a toothbrush or a dedicated edge brush works). Finally, have a satin scarf or headband ready for setting. That’s it! No fancy equipment required.
Prepping Your Hairline The Right Way
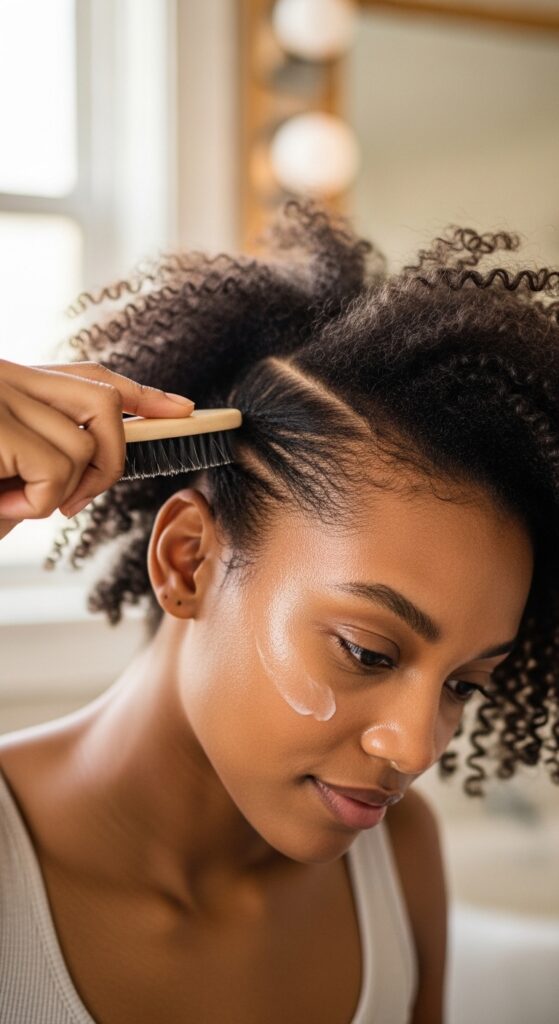
Start with clean, product-free edges if possible. If your hair is dry, use a tiny, tiny drop of water or a light moisturizer on the baby hairs. The goal is to make them manageable, not wet.
Gently brush the hairs in the direction you want them to lay. For most styles, that’s smoothing them down or into the shape of your style. This prep step makes the next part so much easier.
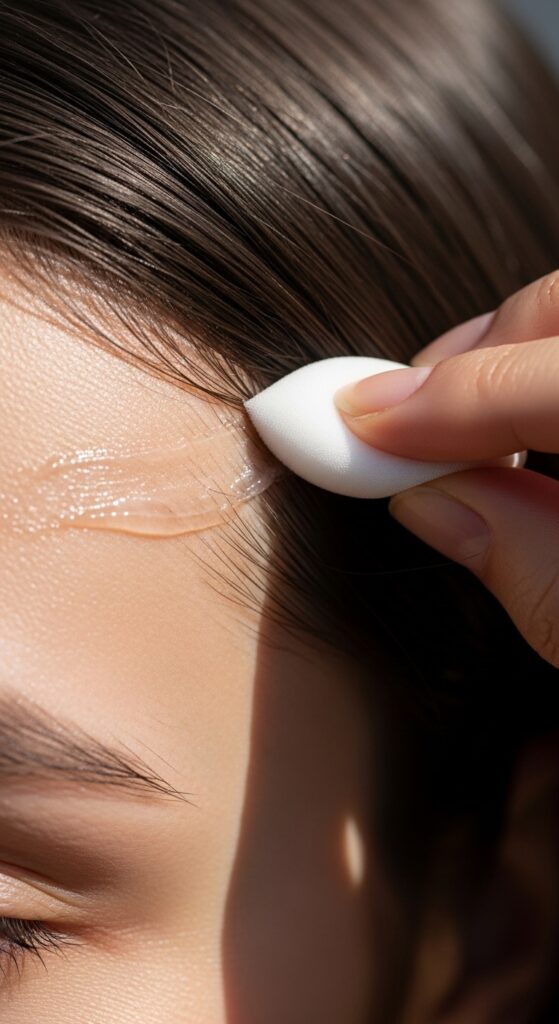
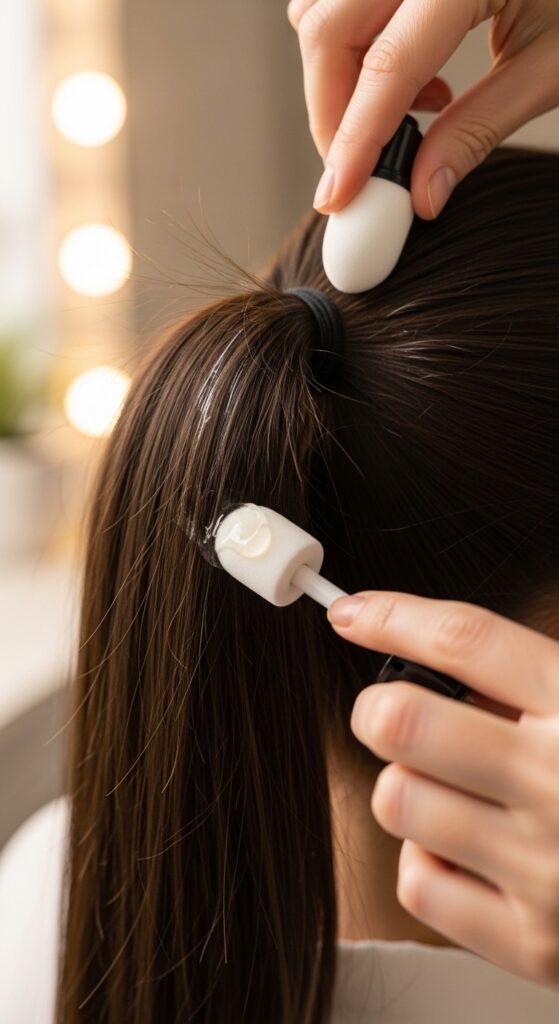
The Application Secret: Less Is More
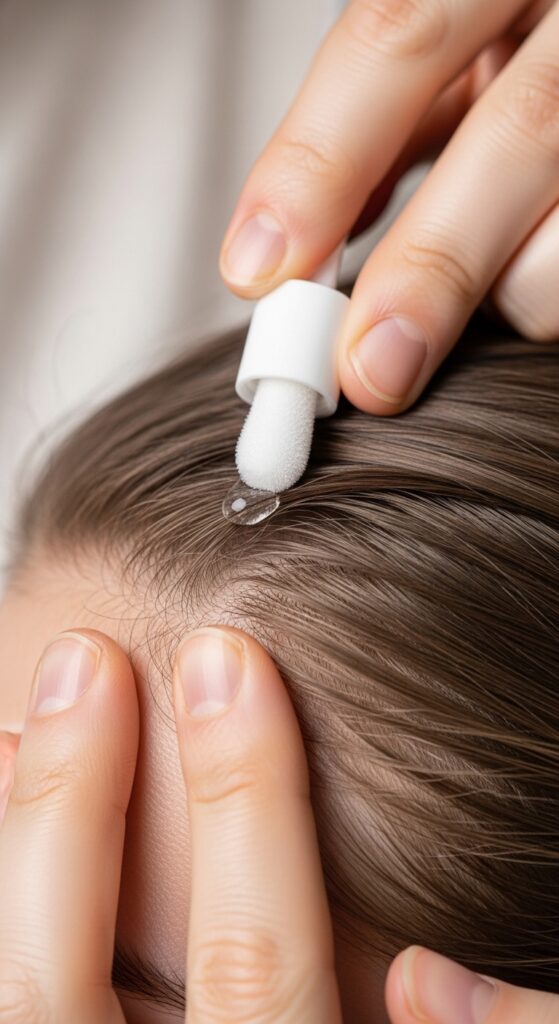
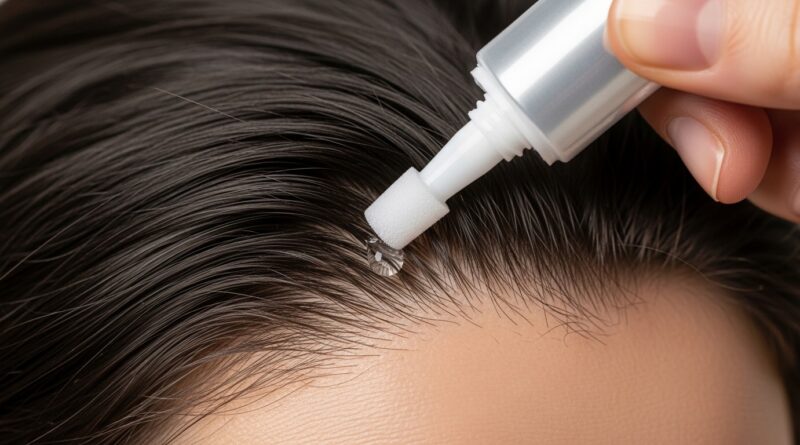
This is the key. Take your sponge tip and dip just the very corner into your edge product. You need far less than you think. We’re talking a dot for each section.
Apply that tiny amount directly to the root of the baby hairs, right at your hairline. Do not smear it on top. Applying at the root gives you hold where it matters and lets the ends blend away naturally.
Blending For That Invisible Finish
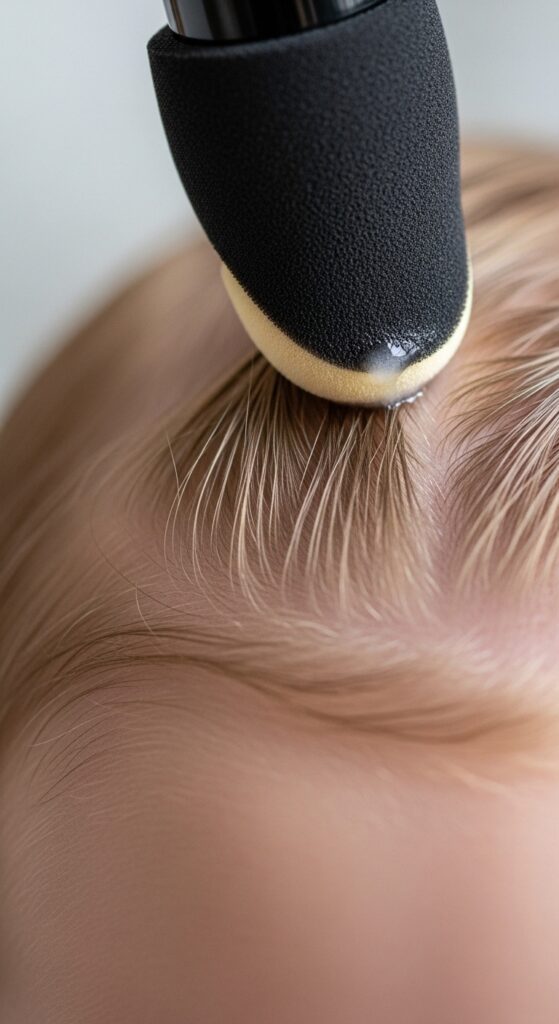
Now, use the flat side of the sponge to gently press and sweep the hairs into place. Use short, pressing motions instead of dragging. This melds the product with your hair.
The sponge soaks up any excess, so only what’s needed stays on your hair. This prevents that heavy, producty look. You’re just guiding the hairs to lay flat and smooth.
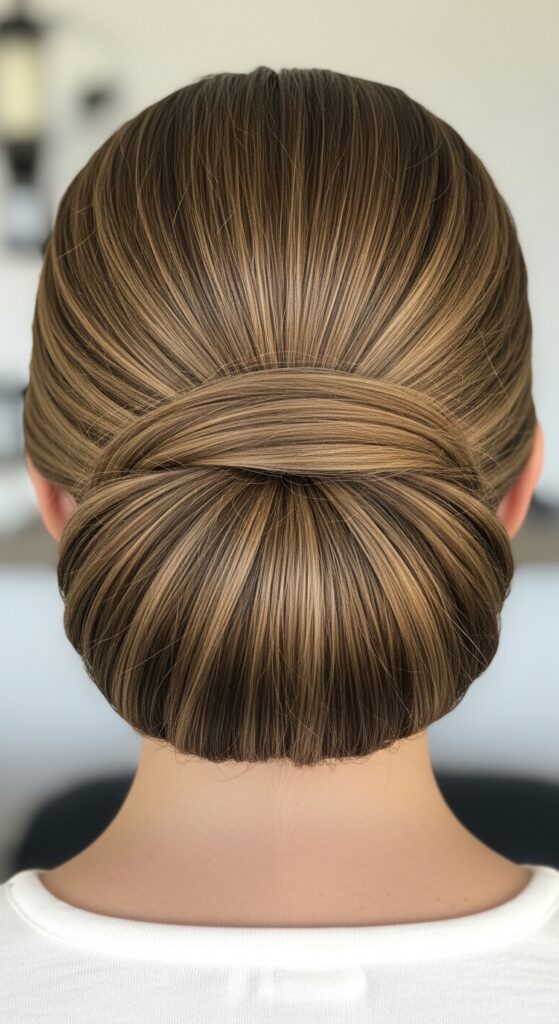
Perfecting The Slick Back For 2026 Hairstyles
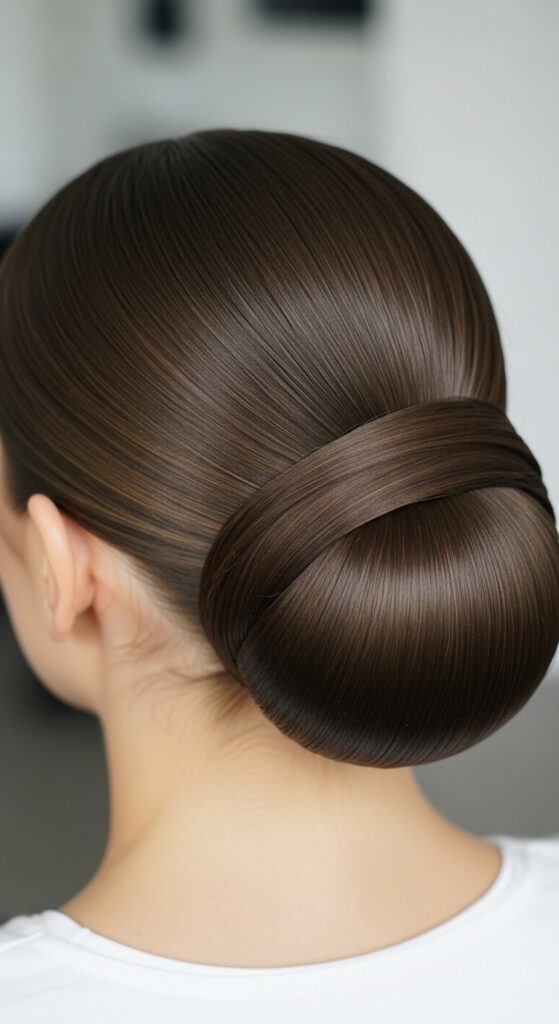
For a severe slick back or a polished bun, this technique is everything. After applying your gel at the root with the sponge, use the edge of the sponge to define the shape.
Then, take your brush and lay a satin scarf over the edges. Press down gently for 30 seconds. This sets it without adding more product, giving you that glassy, 2026 hairstyles look that’s all about precision.
Softening Edges On An Asymmetrical Lob
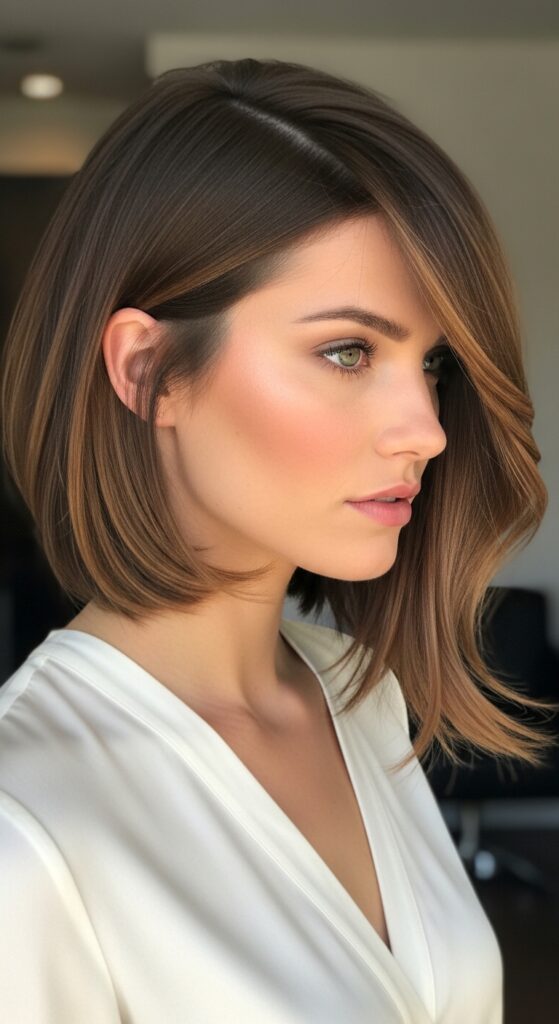
An asymmetrical lob often has a deep side part. You want those edges to be soft, not sharp. Use the sponge tip to apply a light cream just to the root of hairs around your part.
Blend them so they follow the curve of your cut. The sponge helps create a graduated, feathered effect that looks modern and effortless, not over-styled.
Creating Romantic Goth Hairstyles
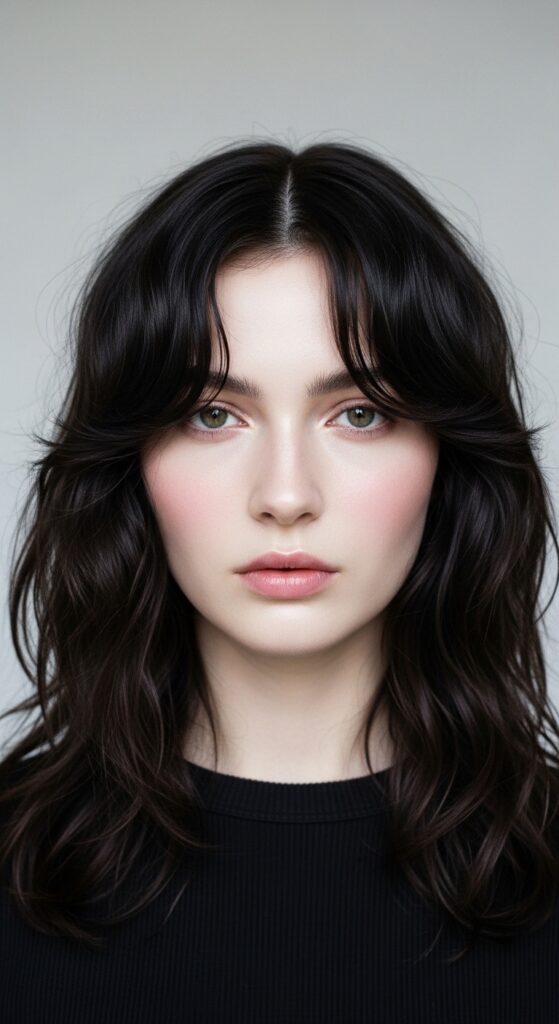
Romantic goth hairstyles are all about drama with a soft touch. Think deep waves with defined but touchable face-framing pieces. Use the sponge to apply a light-hold wax to the roots of these front pieces.
Twist them slightly and press into place. The sponge will give you separation and hold while keeping a lived-in, romantic texture. It avoids that “glued-down” feeling.
Mastering The Old Money Hair Vibe
Old money hair looks like you were born with it—perfect but not trying. The edges are the biggest tell. They should look like they naturally grow that way.
Use a *tiny* bit of clear gel with your sponge. Focus only on any true flyaways. The goal is integration, not a sharp line. The sponge’s soft touch is perfect for achieving this undetectable polish.
Styling The Vampire Haircut Front Pieces
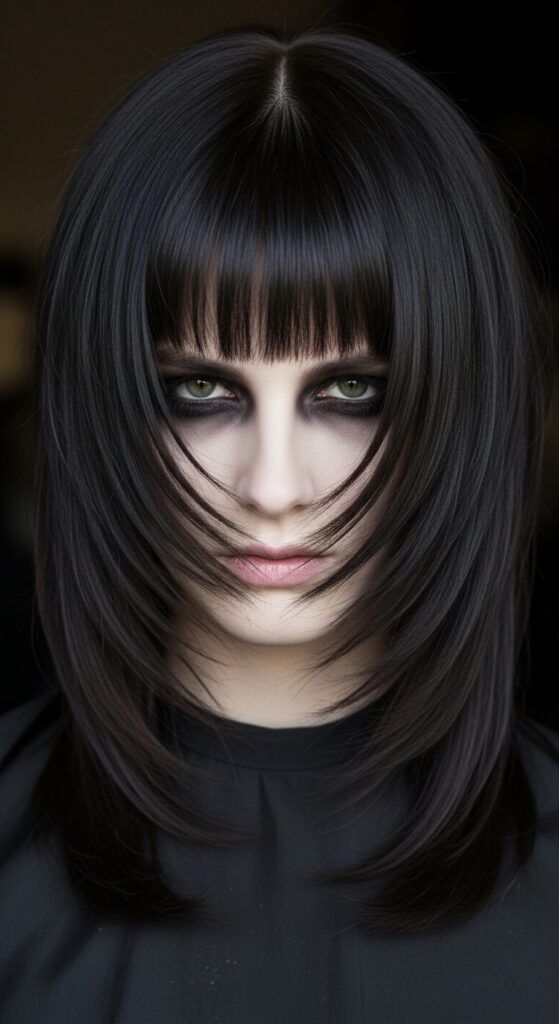
The vampire haircut is all about those dramatic, face-framing layers. To get that piece-y, separated look without crunch, skip the gel on these longer pieces.
Instead, use the dry sponge tip to gently separate and press the ends after you’ve styled. It removes excess product and creates definition, enhancing that intentional, undone texture.
Setting Your Hime Cut Bangs
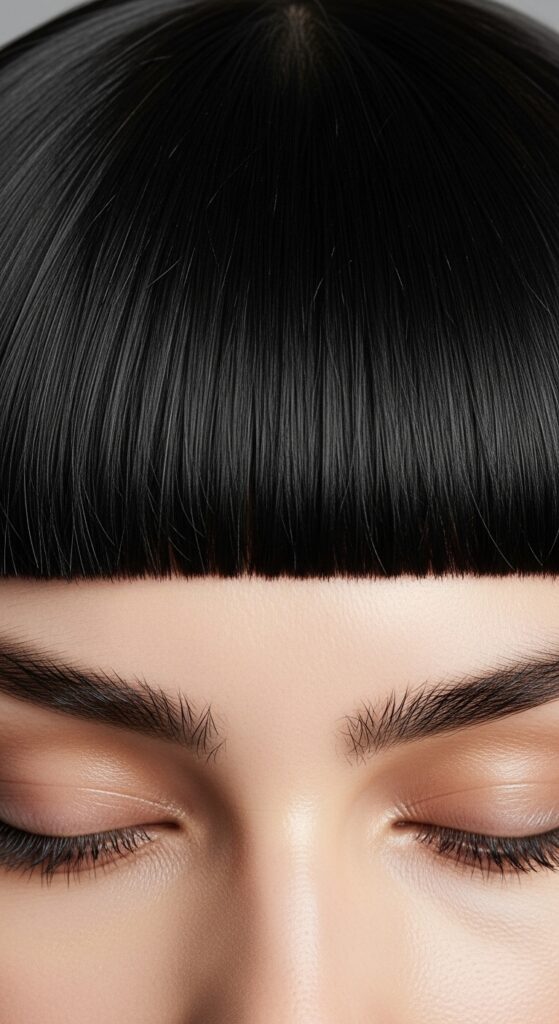
Hime cut bangs need to lie perfectly flat. After straightening, use the sponge tip to apply a minuscule amount of serum or light gel just at the very top of the bang line, under the hair.
Press down with the flat side of the sponge as your bangs cool. This sets them from the root, preventing any lift or gap throughout the day, for that iconic sharp line.
Adding Detail To Glitchy Glam Hair
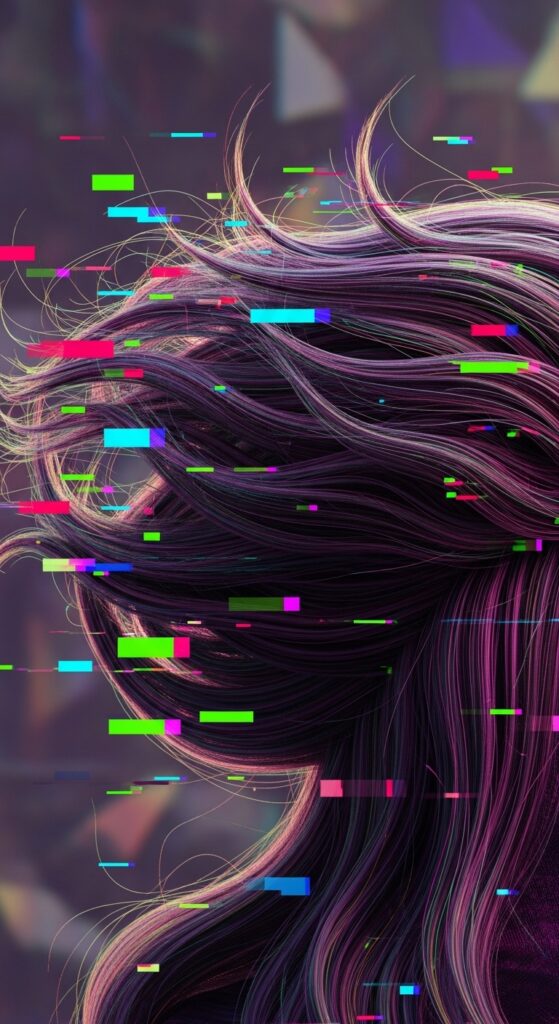
Glitchy glam hair plays with intentional imperfection. Here, you can use the sponge tip to *create* tiny, artistic wisps. Dampen the sponge tip slightly and use the point to lift and twist a few select baby hairs away from the hairline.
Let them dry. It gives you that controlled, deconstructed edge that’s full of personality and fits the aesthetic perfectly.
The No-Heat Setting Method
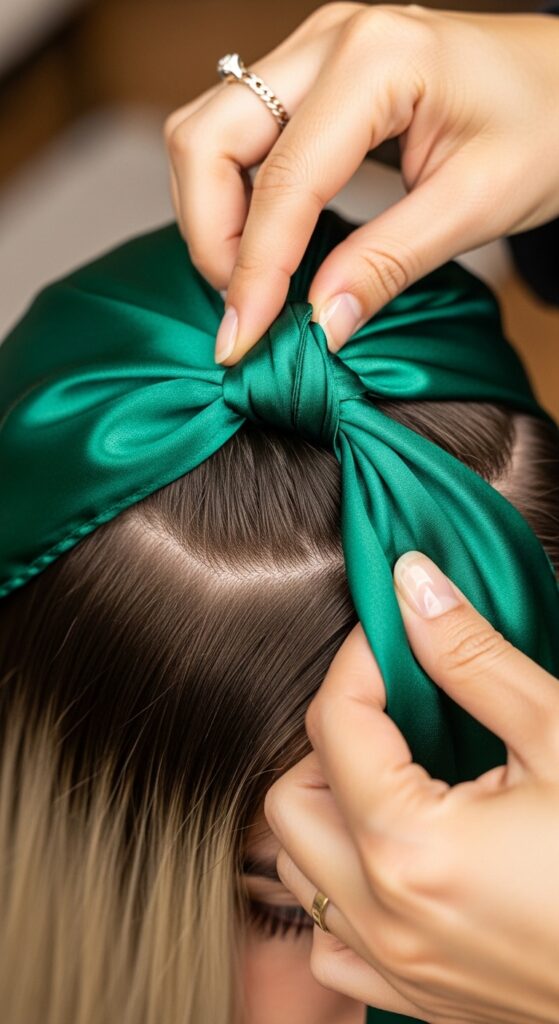
Heat can cause frizz. My favorite way to set is with tension and time. After blending with your sponge, immediately tie a satin scarf or headband over your hairline.
Leave it on for 15-20 minutes while you finish your makeup or get dressed. The gentle pressure trains the hairs to lay flat as the product dries, resulting in a super natural hold.
Fixing Mistakes In Seconds
Applied too much product? No problem. Take a *clean, dry* sponge tip and use it to gently buff the area. The dry sponge will absorb the excess gel or cream.
If it’s on your skin, the sponge tip can wipe it away without messing up the rest of your makeup. It’s your instant eraser for any edge control mishap.
Making Your Style Last All Day

Longevity starts with the right product amount—which the sponge helps control. For all-day hold, after your initial application and setting, carry a clean sponge tip in your bag.
If you see a flyaway later, just lightly press it back into place with the dry sponge. The residual product in your hair will reactivate with the pressure, restyling it without adding anything new.
Why It Works On Every Hair Type
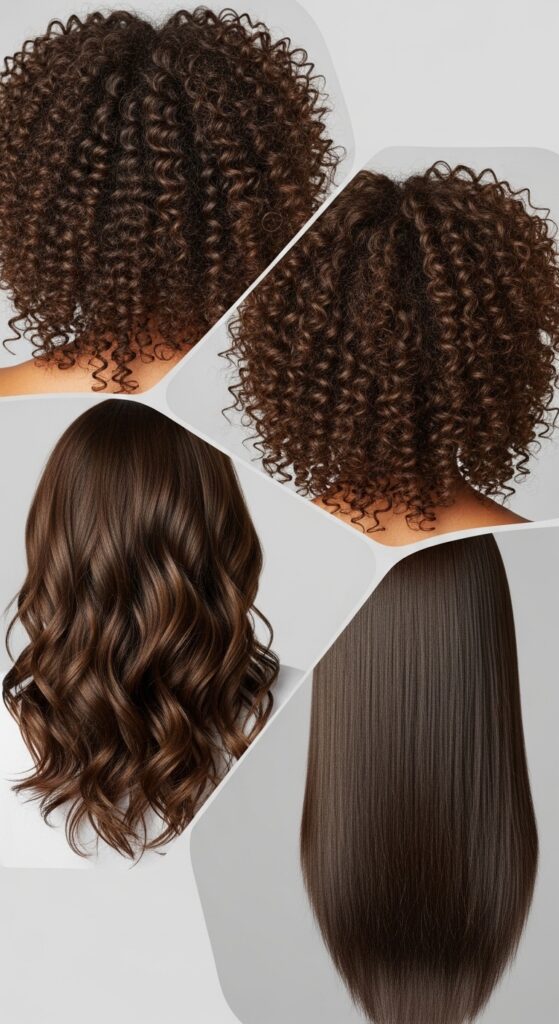
The principle is the same: precise application at the root. For coily and curly textures, it helps define without overwhelming the curl pattern. For straight and fine hair, it provides hold without crunch.
The tool adapts because you control the pressure and product. It’s about technique, not force, making it universally flattering and effective.
Your Quick-Start Step-by-Step Guide
Let’s break it down into a foolproof routine you can do in under two minutes.
- Prep: Brush edges smooth.
- Product: Dip sponge tip corner into gel.
- Apply: Dab product at the hair root.
- Blend: Use flat side to press/sweep hairs.
- Set: Press with scarf for 30 seconds.
That’s it! Consistency is key. Do this every time and it’ll become second nature.
Beyond Edges: Other Uses For The Sponge
This little sponge is multi-talented. Use it to apply hair gloss or serum precisely to your ends without getting it on your hands. It’s great for tidying up the perimeter of a high ponytail.
You can even use a clean one to blend root touch-up spray for a more natural look. It’s the ultimate detail-oriented hair tool.
Common Questions Answered
Can I wash and reuse the sponge? I don’t recommend it. They’re so inexpensive, and reusing can transfer bacteria. Use a fresh one every few styling sessions.
What’s the best product to use? A water-based, non-flaking edge control or a light styling cream. Avoid super thick waxes for this technique.
Will it work on very short hair? Absolutely. It’s actually easier on short baby hairs because of the precise tip.
My Final Pep Talk For You
Don’t let your edges stress you out anymore. That perfect, seamless blend isn’t reserved for hairstylists with magic hands. It’s about using the right tool for the job.
Those little sponge tips give you the control you’ve been missing. They turn the hardest part of your routine into the easiest. Your future of flawless hair days starts with this one simple swap.
So, there you have it. My not-so-secret secret for the kind of edges that make people ask, “How does your hair always look so perfect?” It wasn’t a fancy class or an expensive product. It was a $2 pack of sponges and a shift in technique.
The best part about this trick is how much time and frustration it saves. You can finally achieve that sleek, invisible finish on any style—whether you’re channeling quiet luxury or full romantic goth—without the fight. It just works.
Save this post to Pinterest so you always have the steps handy! And tell me in the comments—what hairstyle are you excited to try this with first? I love hearing from you!