Now 14 Laser Guided Part Tools Symmetrical Lines Guaranteed
Okay, let’s be real for a second. How many times have you tried to part your hair perfectly, only to end up with a crooked line that throws your whole vibe off? I’ve been there. It’s especially frustrating when you’re trying to nail those precise looks, like a sleek quiet luxury bob or a sharp asymmetrical lob.
That’s why I got so excited when I started seeing these new laser-guided part tools popping up everywhere. They promise symmetrical lines, guaranteed. But are they worth the hype, or just another gimmick?
I got my hands on one to test it out. This post is my totally honest, best-friend breakdown. We’ll talk about what it is, if it actually works, and how it can help you master everything from 2026 hairstyles to classic old money hair with way less stress.
What Is a Laser Hair Parting Tool, Really?
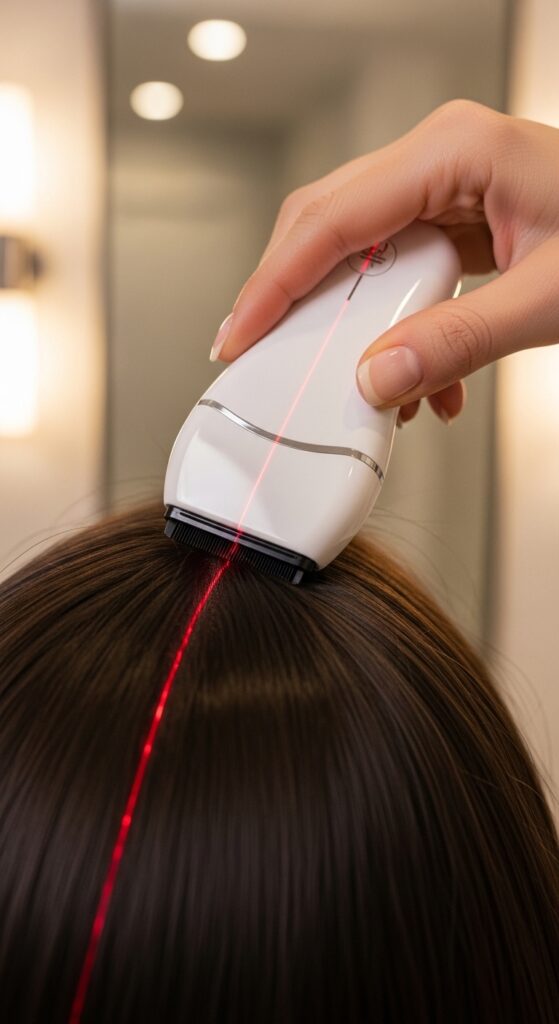
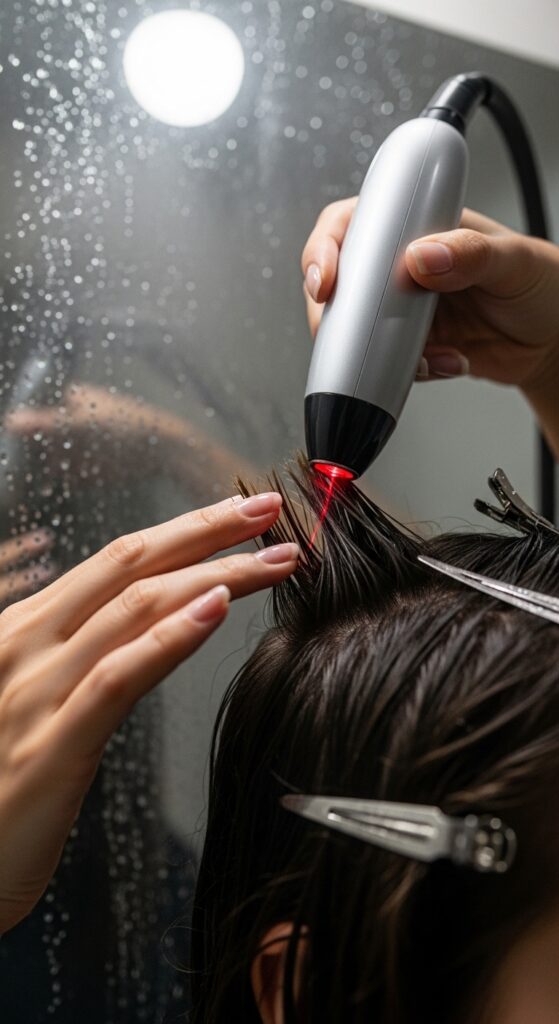
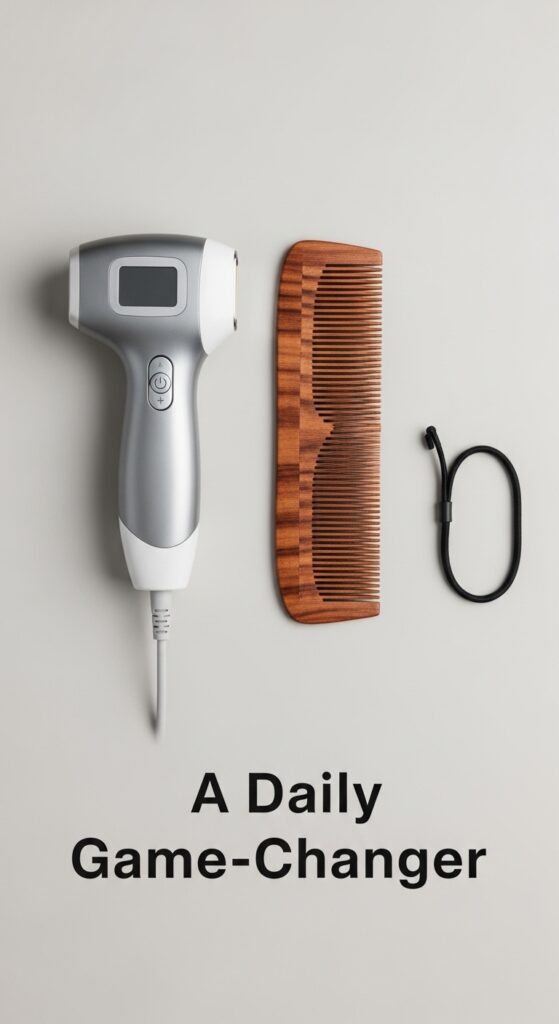
It sounds super high-tech, right? In reality, it’s a simple, handheld device. It projects a straight, thin laser line onto your scalp. You just follow that line with your comb or your finger to create a perfectly straight part every single time.
No more guessing, no more squinting in the mirror. It takes the visual guesswork out of the equation. Think of it like a level for your hair. If you’ve ever struggled with making a deep side part even on both sides, this tool is designed to solve that exact problem.
My First Impressions: Unboxing & Setup
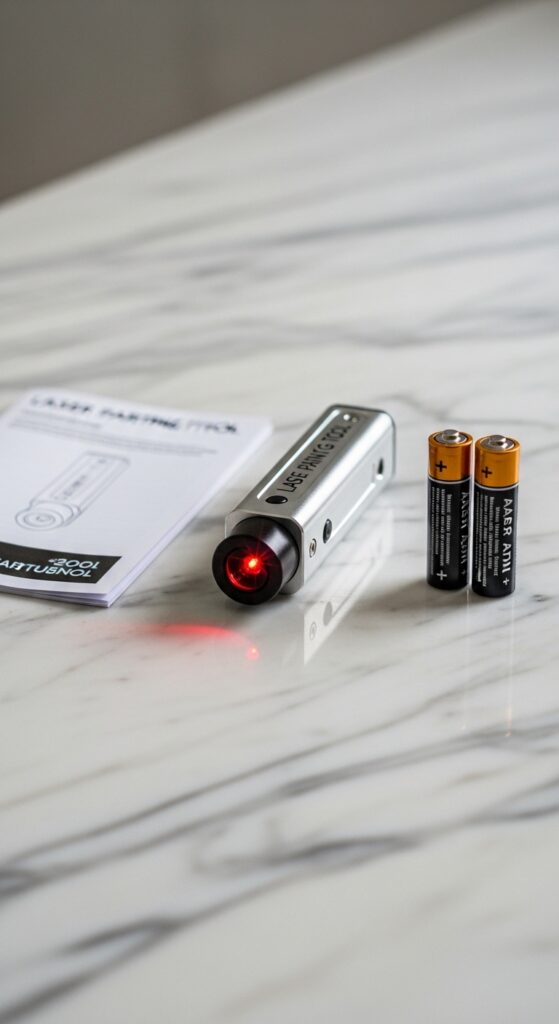
When mine arrived, I was surprised by how light and small it was. It’s about the size of a lipstick tube. Setup was dead simple: just pop in the included batteries, press a button, and the laser turns on.
Some models have a few different settings, like a blinking line or a solid one. I found the solid line easiest to follow. The initial quality feels decent—it’s not heavy-duty, but it doesn’t feel cheap and flimsy either. It’s a straightforward tool for a straightforward job.
The Big Test: Does It Actually Work?
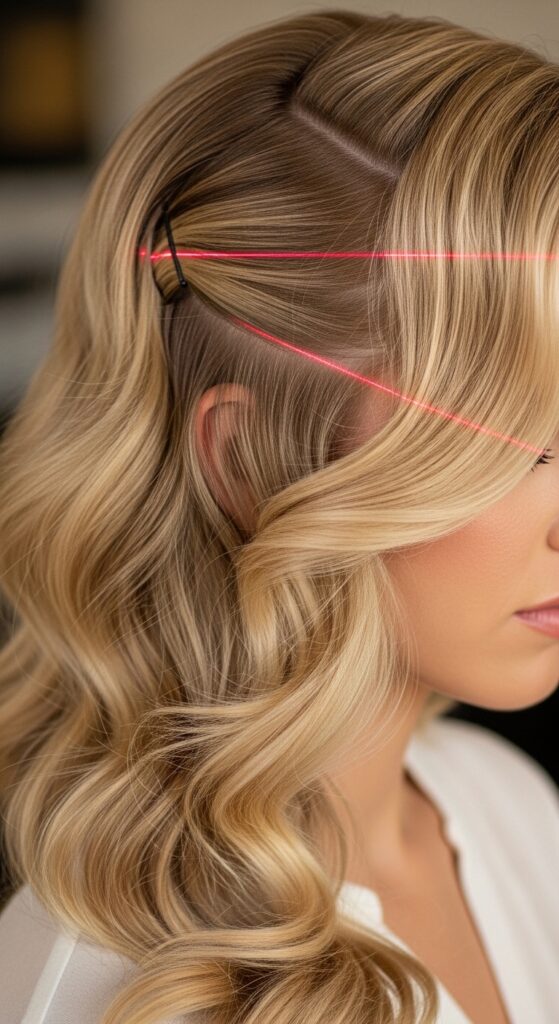
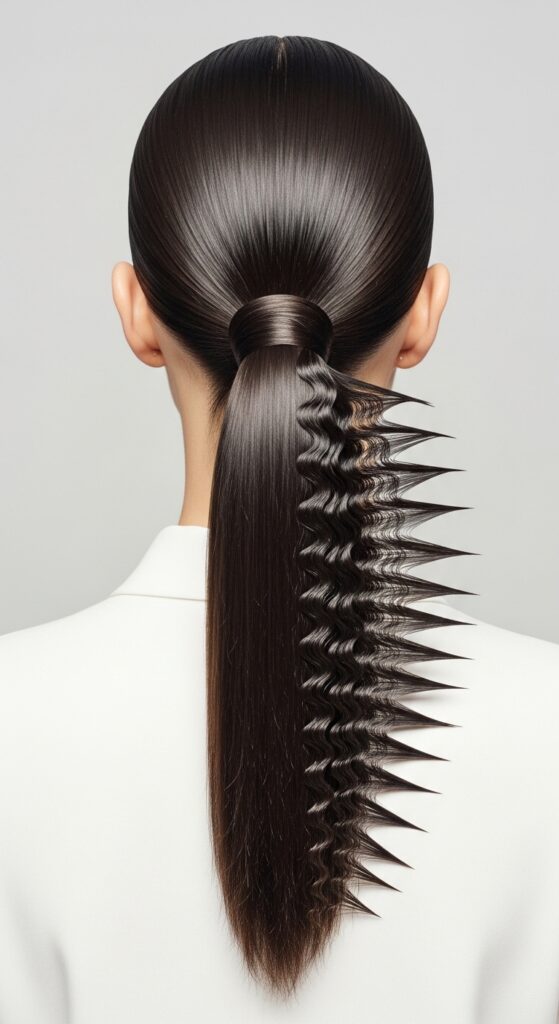
I tested it on my own hair first, which is long and wavy. I wanted a dead-center part for a sleek ponytail. I turned it on, held it above my head, and aligned the red line where I wanted the part. Then I used a tail comb to follow the light.
Verdict? It worked shockingly well. The part was ruler-straight. I then tested it on my friend with very fine, straight hair for a deep side part. Again, perfect symmetry. The laser is clear and easy to see, even in brighter bathroom light.
Why a Perfect Part Matters More Than You Think
A crooked part can subtly throw off your entire look. It can make a hairstyle look less polished or even make your face look asymmetrical. A perfect part, on the other hand, instantly elevates your style.
It’s the foundation. Whether you’re going for a polished old money hair look with a low bun or a bold vampire haircut with sharp layers, starting with a precise part sets the stage for everything else. It screams intention.

Mastering the Center Part for Modern Styles
The center part is huge right now, but it’s also notoriously hard to get perfectly even. This tool makes it a 10-second job. A sharp center part is key for so many trends.
It’s essential for the hime cut to keep those blunt bangs and lengths symmetrical. It also anchors the clean-girl aesthetic and is the starting point for many 2026 hairstyles we’re seeing, which focus on precision and structure.
Creating the Ultimate Deep Side Part
The deep side part is a classic for a reason—it’s glamorous and face-framing. But getting it placed correctly on both sides of your head is tricky. You want the diagonal line to be symmetrical from your crown to your hairline.
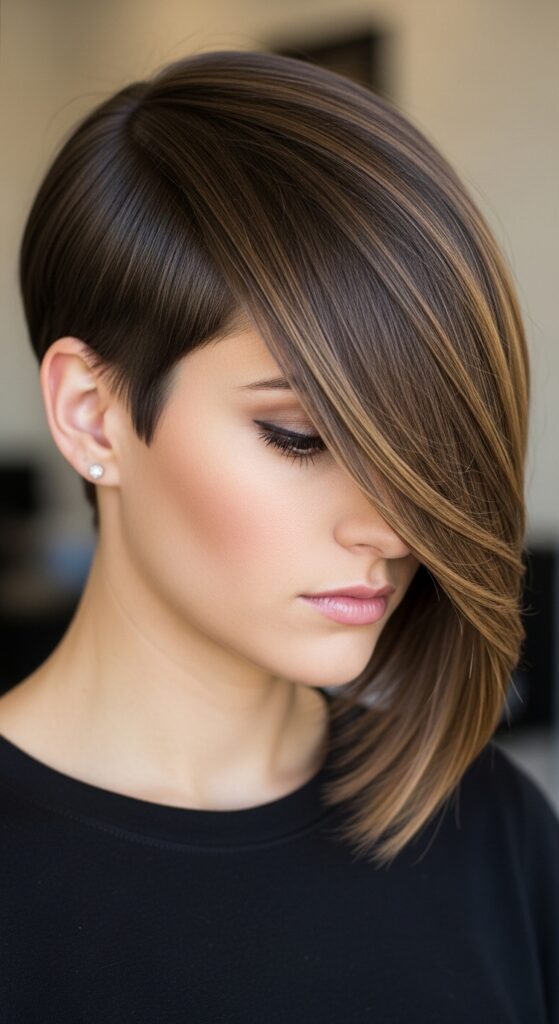
With the laser, you can project the exact angle you want and replicate it every day. This is a game-changer for voluminous blowouts or asymmetrical lob styles where the part defines the shape.
Is It Worth the Money? A Value Breakdown
These tools are generally pretty affordable, often under $30. When considering the value, think about how often you style your hair and how much you value that polished, salon-perfect look at home.
If you wear your hair parted every day and get frustrated with uneven lines, it’s absolutely worth it. It’s a one-time purchase that solves a daily annoyance. For someone who wears their hair up or messy often, it might be less essential.
Step-by-Step: How to Use It for a Basic Part
- Start with dry or damp, detangled hair.
- Turn on the laser tool and hold it 6-8 inches above your head.
- Position the red line where you want your part to go, from forehead to crown.
- With your other hand, use a tail comb or your finger to gently separate the hair along the laser line.
- Turn off the tool and style as usual!
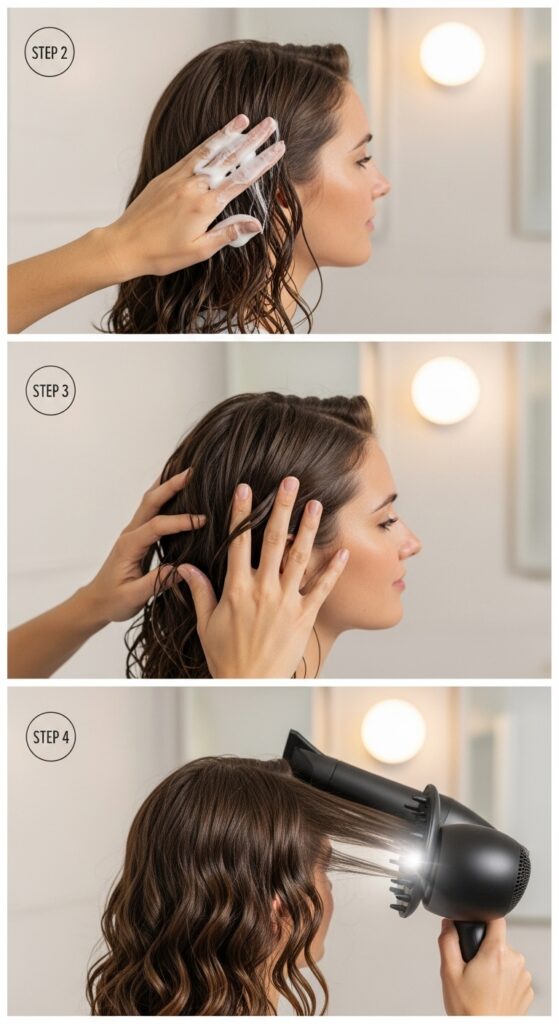
Pro Tip: Using It for Wet Hair Styling
This is where it can really help your blowout. After washing, use the laser to create your perfect part while your hair is still wet. Then, clip each section aside.
When you blow-dry, you’re working with a perfect guideline from the start. This helps create volume exactly where you want it and ensures your style dries with the correct, symmetrical shape locked in.
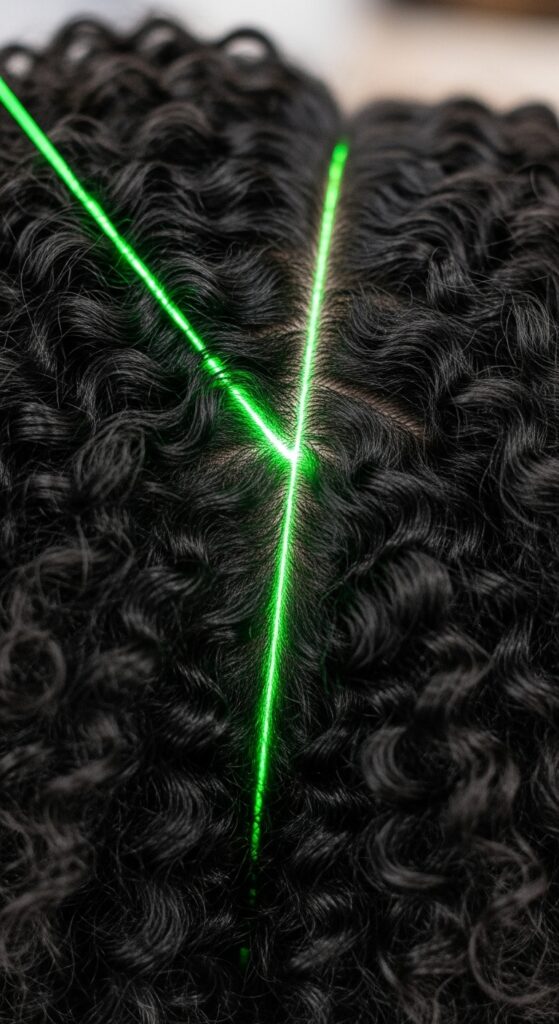
How It Helps with Tricky Hair Types
If you have curls, coils, or very thick hair, finding a straight part can feel impossible. The laser cuts through the bulk and gives you a visual path to follow.
It’s also brilliant for hair with multiple colors or highlights, as it helps you part in the same spot every time to show off your color placement consistently. This precision is a curl-care and color-care game-changer.
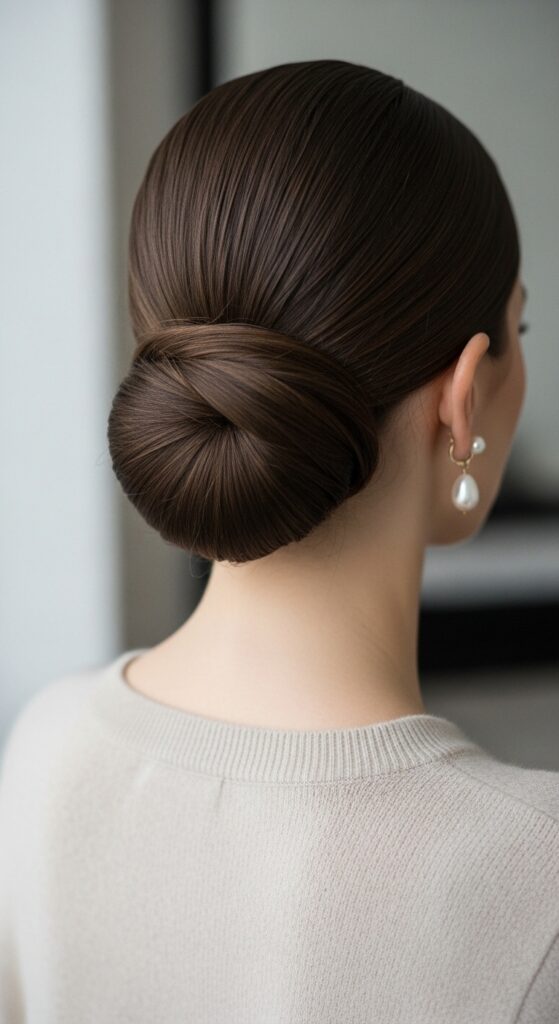
Beyond the Basics: Styling for “Old Money” Hair
The old money hair look is all about impeccable, effortless grooming. Think low chignons, sleek ponytails, and soft waves. Every one of these styles starts with a clean, intentional part.
Use the laser tool to get that part flawless. For a low bun, a center part adds symmetry. For soft waves, a deep side part adds romance. The tool gives you that “I woke up like this, but perfect” foundation.
Creating the Perfect “Quiet Luxury Bob”
A quiet luxury bob is defined by its sharp, clean lines and supreme polish. A crooked part ruins the entire geometric effect. To get this look, use the laser to create a sharp center or side part.
Then, blow-dry with a round brush, following the precise line. The laser ensures both sides of your bob are balanced and that the blunt ends frame your face symmetrically. It’s the secret to that expensive look.

Nailing the Asymmetrical Lob Precision
The asymmetrical lob is a style where the part is everything. The hair is often longer on one side, and the part emphasizes that cool, off-kilter shape. But the part itself still needs to be a clean, deliberate line.
Use the laser to map out your deep side part before you cut or style. This ensures the asymmetry looks fashion-forward, not like a mistake. It helps your stylist or helps you maintain the line at home.
Setting the Stage for Romantic Goth Hairstyles
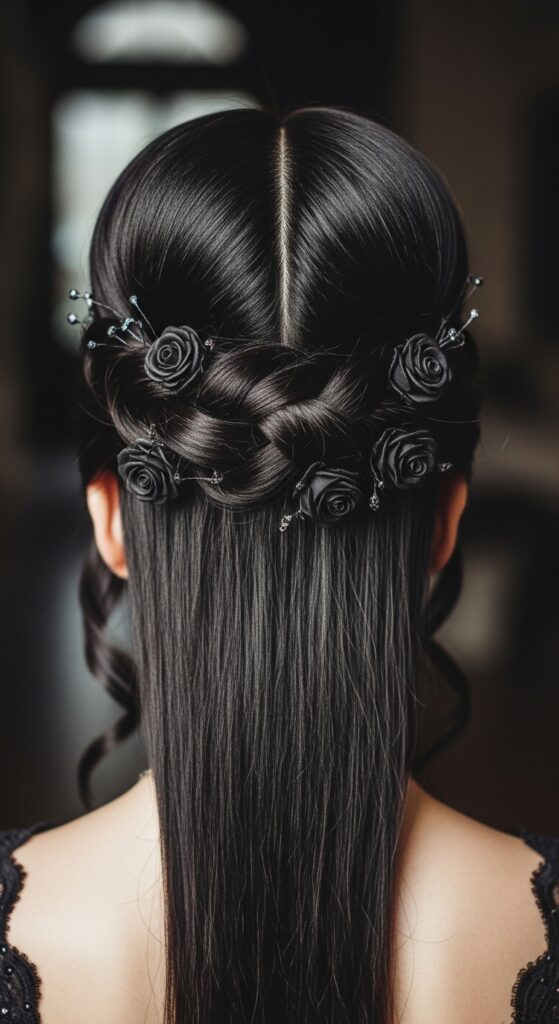
Romantic goth hairstyles often involve intricate braids, twists, and dramatic volume. These detailed styles need a solid foundation. A perfectly straight center part or a severe side part adds to the dramatic, elegant effect.
Imagine a long, dark waterfall braid starting from a laser-straight part—it instantly looks more intentional and elaborate. The tool helps you achieve that structured base for your more creative styling.
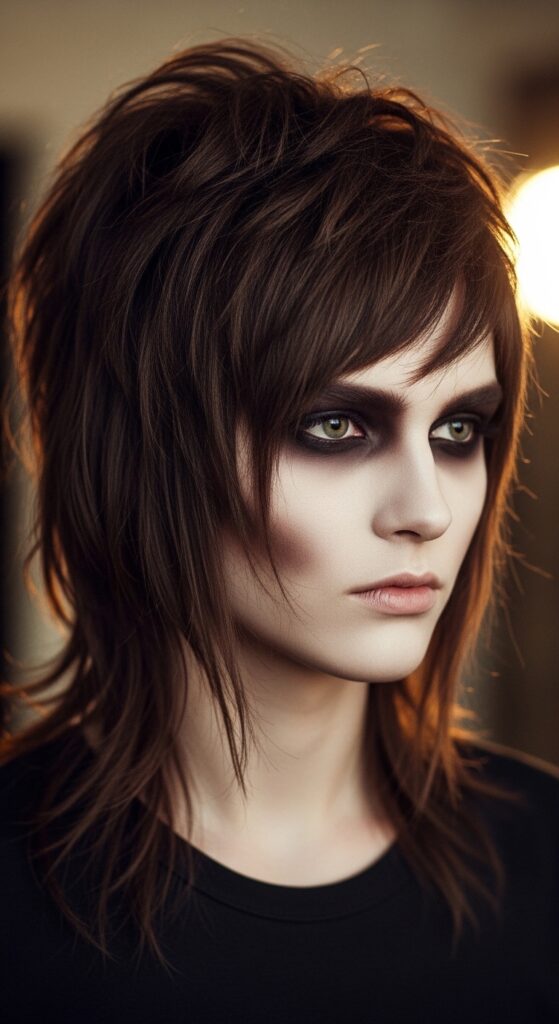
Mapping Out a Dramatic Vampire Haircut
The vampire haircut is all about sharp, piecy layers and a generally undone-yet-done texture. But even “undone” looks need some planning. A deep, precise side part is often the anchor of this style.
Use the laser to find the perfect angle for your part, which will dictate how those shaggy layers fall around your face. It gives the edgy cut a touch of polished intention right at the roots.
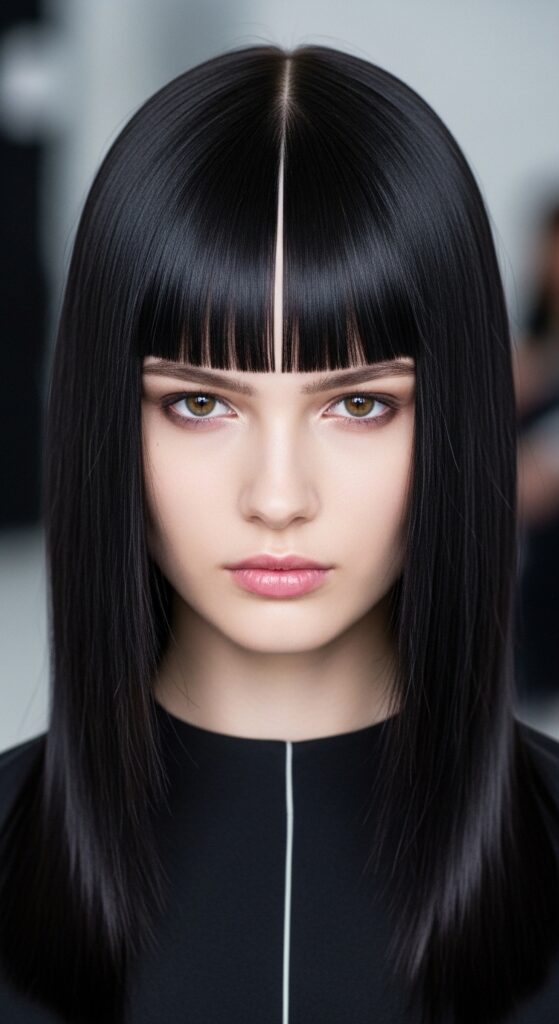
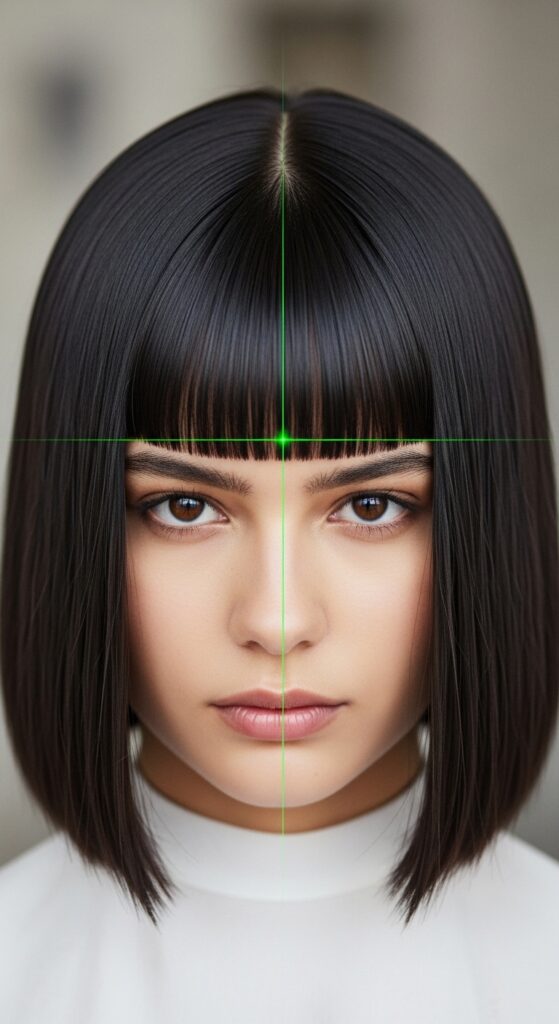
Precision for the Hime Cut & Blunt Bangs
The Japanese-inspired hime cut relies on absolute symmetry. The straight-across bangs and the long, blunt side sections need to be perfectly balanced by a center part. Even a millimeter off is noticeable.
This tool is practically made for this style. Use it to not only part the hair but also as a guide to check that your bangs are lying straight and even. It’s a must-try for anyone with or considering this bold cut.
Experimenting with Glitchy Glam Hair Parts
Glitchy glam hair is a fun, emerging trend that plays with disruption—like a perfectly sleek style with one intentionally “glitched” section. How do you make that glitch look deliberate? Start with a perfect part.
Use the laser to create a flawless base. Then, you can strategically mess up one small section. The contrast between the perfect part and the intentional imperfection is what makes the trend so cool and wearable.
Maintaining Your Tool for Longevity
To keep your tool working well, store it in a dry place. Don’t get it wet. The batteries last a long time since you only use it for seconds at a time, but it’s good to have spares.
Gently wipe the lens with a dry, soft cloth if it gets dusty. Avoid dropping it, as the laser mechanism could become misaligned. With basic care, it should last for years.
Common Mistakes & How to Avoid Them
- Holding it too close: This makes the line too thick and blurry. Keep it 6+ inches away.
- Using it on already heavily styled hair: It works best on detangled hair before major product application.
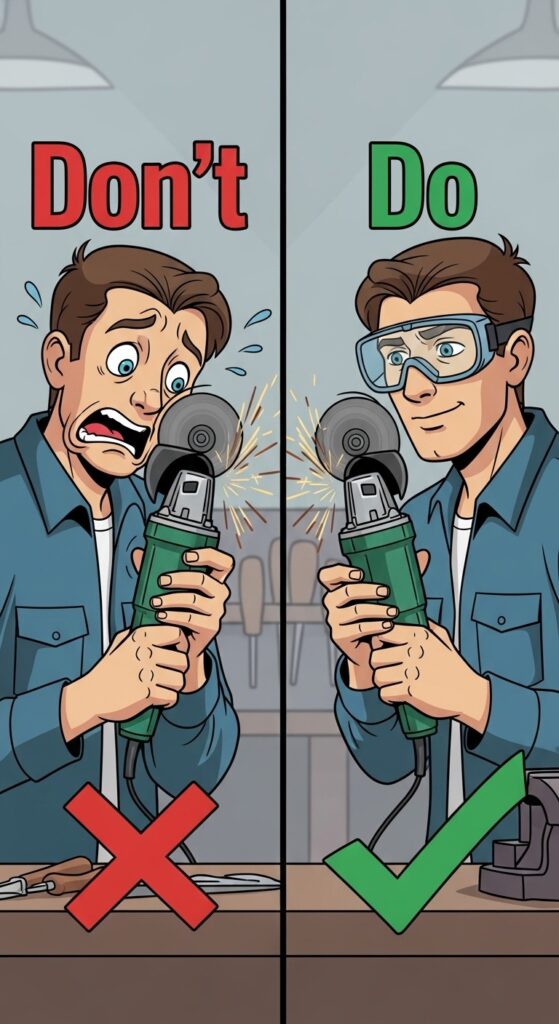
- Forgetting eye safety: Never look directly into the laser beam. It’s a class II laser, safe for indirect viewing, but be smart.
Can It Replace a Good Stylist?
In a word: no. This is a styling aid, not a replacement for professional cuts and color. A great stylist gives you the shape and texture that makes styling easy.
Think of the laser tool as your at-home assistant that helps you execute your stylist’s vision perfectly every single day between appointments. It maintains their precision work.

My Final Verdict & Who Should Buy One
I genuinely love this little tool. It solves a specific, common problem brilliantly. It’s fast, it works, and it takes the frustration out of my morning routine.
You should get one if: you crave perfectly parted hair daily, you love structured styles (bobs, lobs, bangs), or you have trouble getting parts even. You can probably skip it if you exclusively wear your hair in a messy bun or full fringe.
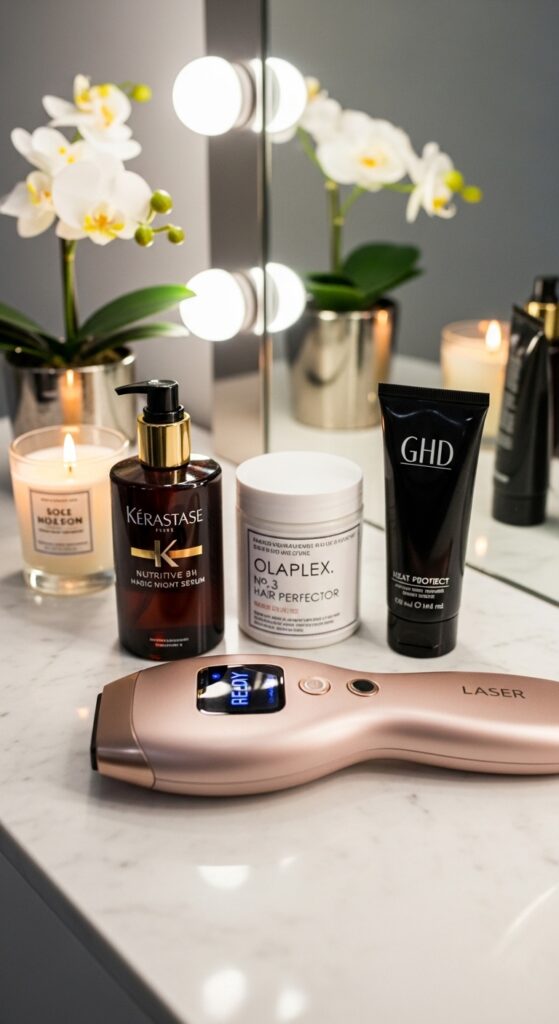
Where to Find a Good One & What to Look For
You can find them easily on Amazon, at beauty supply stores, or directly from hair tool brands. Look for one with good reviews about line clarity. A simple, one-button operation is best.
Some come with magnets to stick to your mirror, which is handy. You don’t need the most expensive one—the basic technology is the same. Just read the reviews to ensure it’s reliable.
So, there you have it—my deep dive into the world of laser hair parting. It’s one of those simple tools that just makes life a little easier. In a world of complicated beauty gadgets, I appreciate something that does one job and does it perfectly.
It’s helped me get ready faster and feel more put-together, whether I’m aiming for a simple, clean look or experimenting with more dramatic styles. Sometimes, the smallest tweak in your routine makes the biggest difference in your confidence.
I’d love to hear from you! Have you tried one of these tools? What’s your biggest hair-parting struggle? Let me know in the comments below! And if you found this helpful, save this post to Pinterest to keep these tips handy and share them with your friends!