Fulani Braids Tutorial: Everything You Need to Get It Right
Okay, let’s be real. We’ve all seen those stunning, intricate Fulani braids all over our feeds and thought, “I want that, but how?!” They look complex, but I promise you, with the right prep and a bit of patience, you can absolutely do this at home.
This isn’t just another braid tutorial. This is your complete, start-to-finish guide to getting authentic, beautiful Fulani braids that last. We’re talking everything from the exact hair to buy to the parting technique that makes all the difference.
I’ve done the trial and error so you don’t have to. Whether you’re a braiding newbie or a seasoned pro looking to perfect the style, this guide has you covered. Let’s get your hair looking incredible.
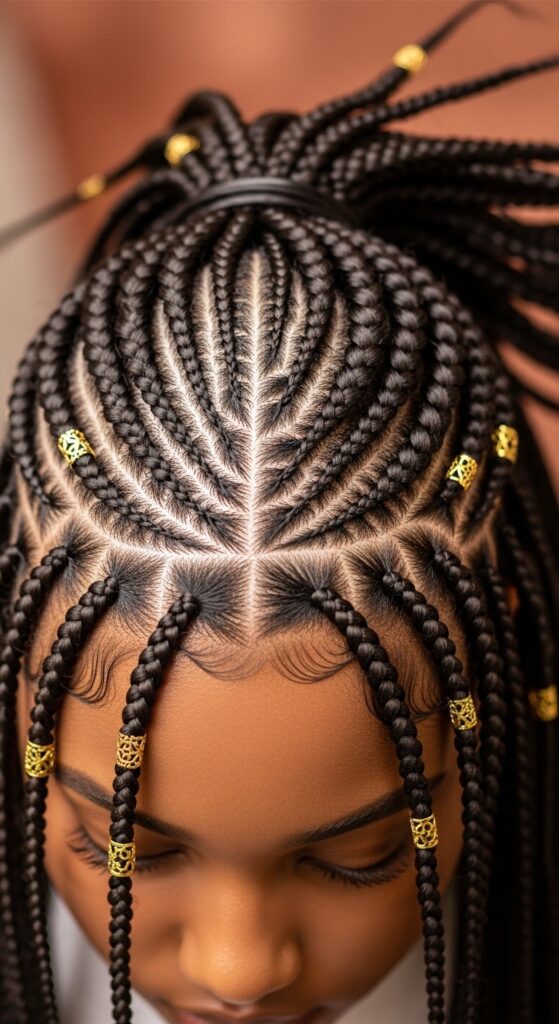
What Are Fulani Braids, Exactly?
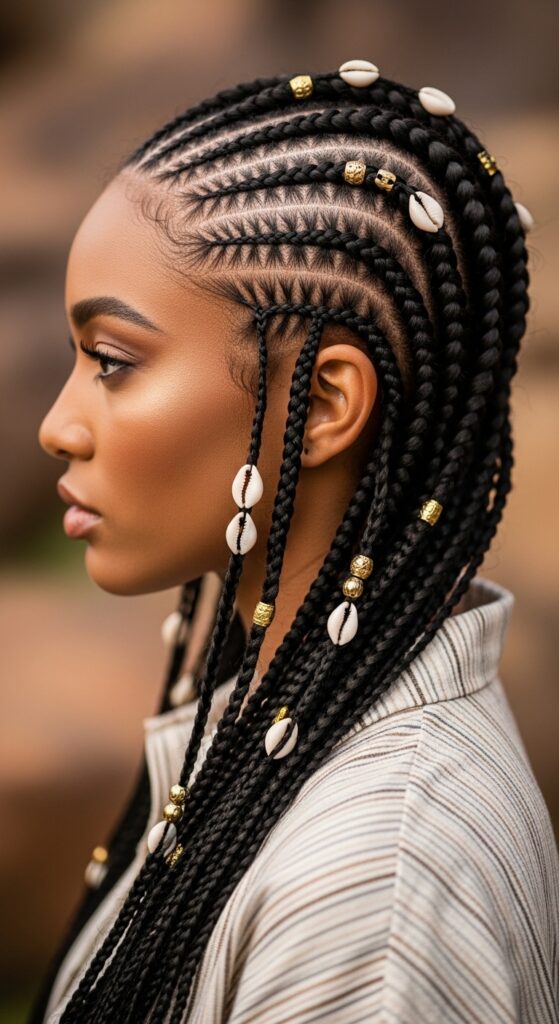
Fulani braids are more than just cornrows. They’re a traditional style from the Fulani people of West Africa, known for their signature center part, braids that hang along the sides, and beautiful, often ornate accessories like beads and cuffs.
The look is both protective and powerfully stylish. It’s a classic that feels fresh every time, blending cultural heritage with modern edge. It’s the kind of timeless style that stands apart from fleeting trends.
Why You’ll Love This Protective Style
First off, it’s a major time-saver. Once they’re in, your styling routine is basically zero for weeks. It’s perfect for giving your natural hair a break from daily manipulation and heat, allowing it to grow stronger underneath.
Beyond the protection, the style is incredibly versatile. You can wear it down, in a ponytail, or in a half-up style. It’s a low-maintenance, high-impact look that works for the gym, the office, or a night out.

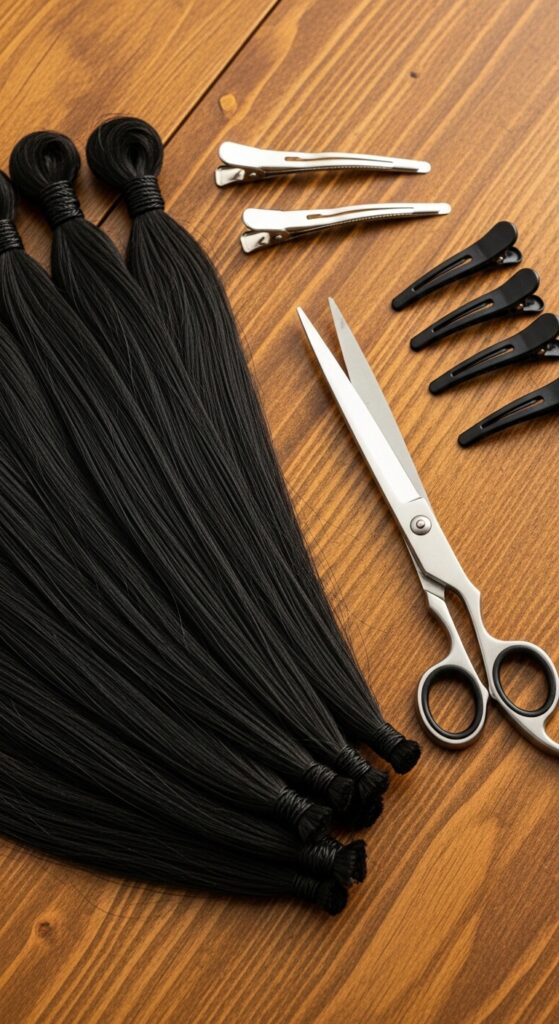
Hair You’ll Need: Type & Amount
For the most authentic look and feel, use pre-stretched braiding hair. It’s smoother, easier to work with, and gives a neater finish. Synthetic braiding hair like Kanekalon or Toyokalon is the standard choice.
How much? For a full head of medium-thickness braids, you’ll need about 4-6 packs of hair. If you want thicker braids or have very dense hair, grab 7-8 packs. It’s always better to have a little extra!
- Pre-stretched braiding hair (Kanekalon)
- 4-6 packs for medium density
- Scissors for cutting
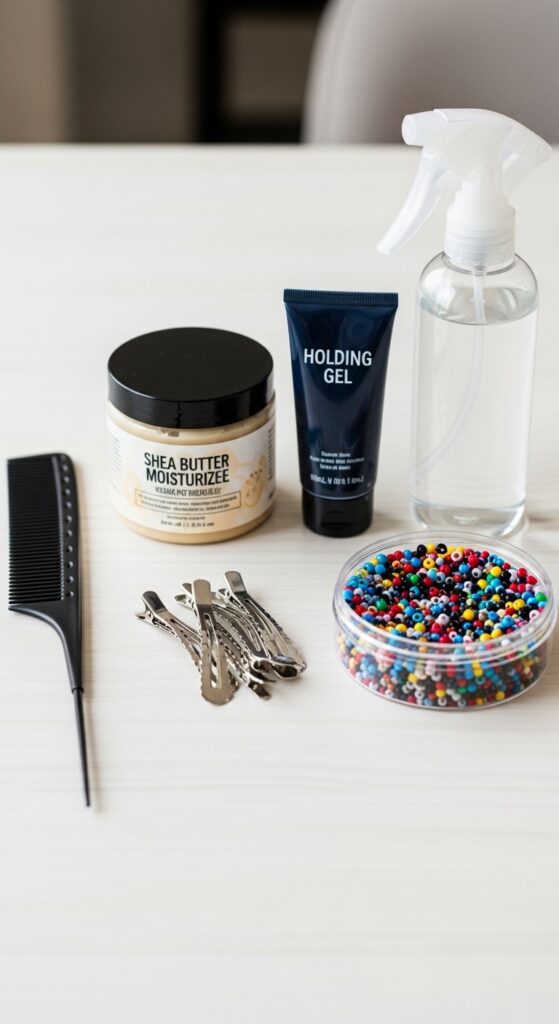
Essential Tools & Products Checklist
Gathering your tools before you start is key to a smooth process. You don’t want to be scrambling mid-braid! Having everything within arm’s reach makes the experience so much better.
Here’s your non-negotiable list: a rat-tail comb for parting, sharp hair scissors, hair clips or bands to section hair, a good holding mousse or gel, and a spray bottle with water. Don’t forget your accessories!
Prepping Your Natural Hair
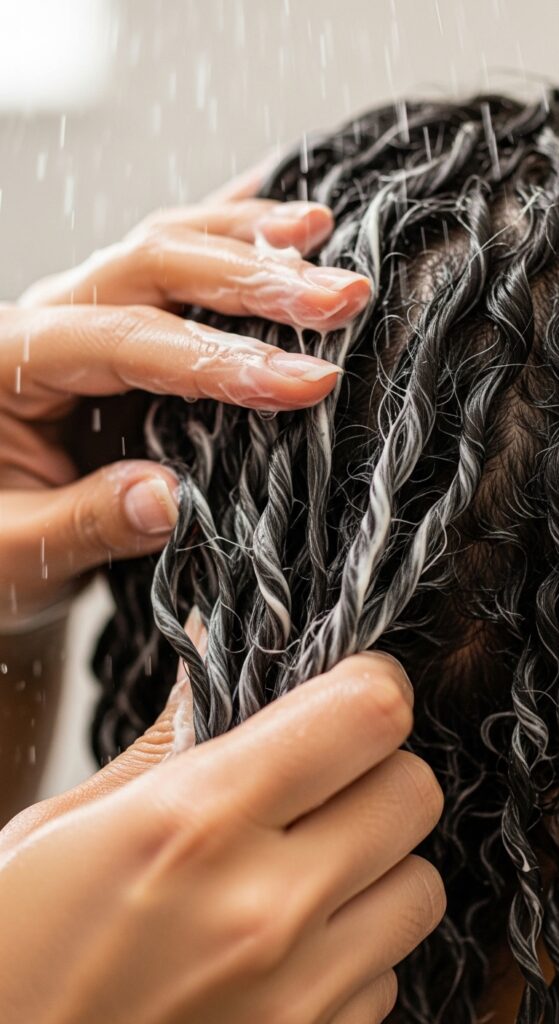
This step is crucial for the health of your hair underneath. Start with a clarifying shampoo to remove any product buildup. Follow with a deep conditioner to ensure your hair is hydrated and strong.
Once out of the shower, apply a lightweight leave-in conditioner and a heat protectant if you plan to blow-dry. Detangle thoroughly from ends to roots. Your hair should be completely dry before you start braiding to prevent mildew.
The Perfect Parting Technique
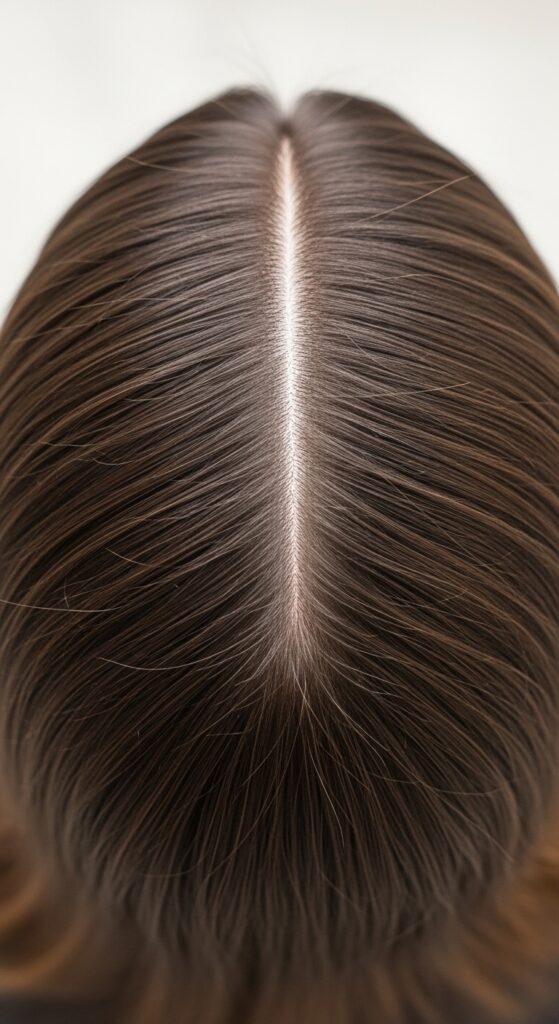
The center part is the foundation of the Fulani look. Use the end of your rat-tail comb to create a clean, straight part from the front of your hairline all the way to the nape of your neck. Take your time here.
Secure one side with a clip. On the other side, you’ll create your first braiding section near the temple. The parts don’t have to be micro-sized, but they should be neat and even for a polished result.
Starting Your First Braid: The Signature Side Braid
The braid that runs along the hairline is iconic. Take a small section at your temple on one side of the part. Apply a small amount of gel to the section and your added braiding hair for control.
Begin a three-strand braid, incorporating the extension hair. Braid tightly against the scalp, following the curve of your hairline back towards your ear. This braid frames the face and sets the stage for the whole style.

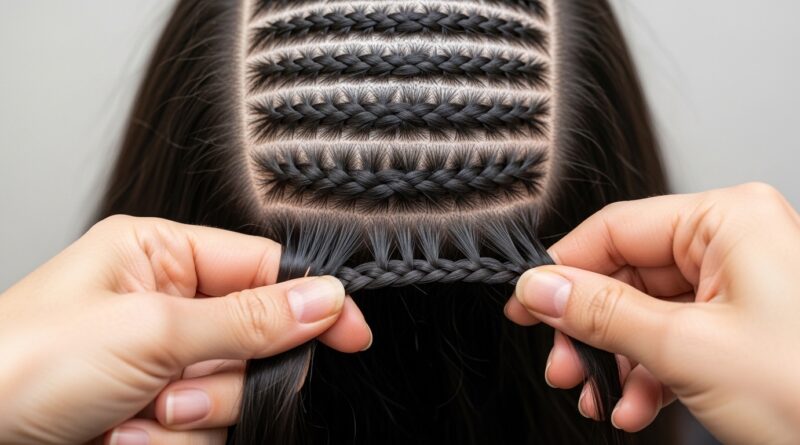
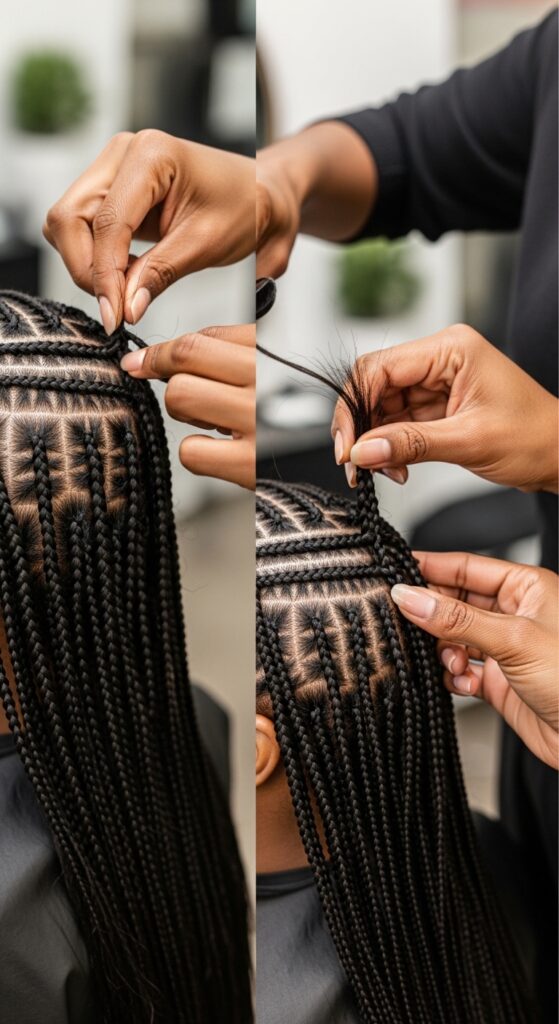
Mastering the Feed-In Braid Method
Feed-in braiding is how you get that seamless, gradual thickness. Instead of adding all the extension hair at once, you add small pieces as you braid down. This creates a natural, tapered look at the roots.
As you braid, pick up small pieces of your natural hair and small pieces of the extension hair simultaneously. It takes a little practice, but it’s the secret to a professional, non-bulky finish.
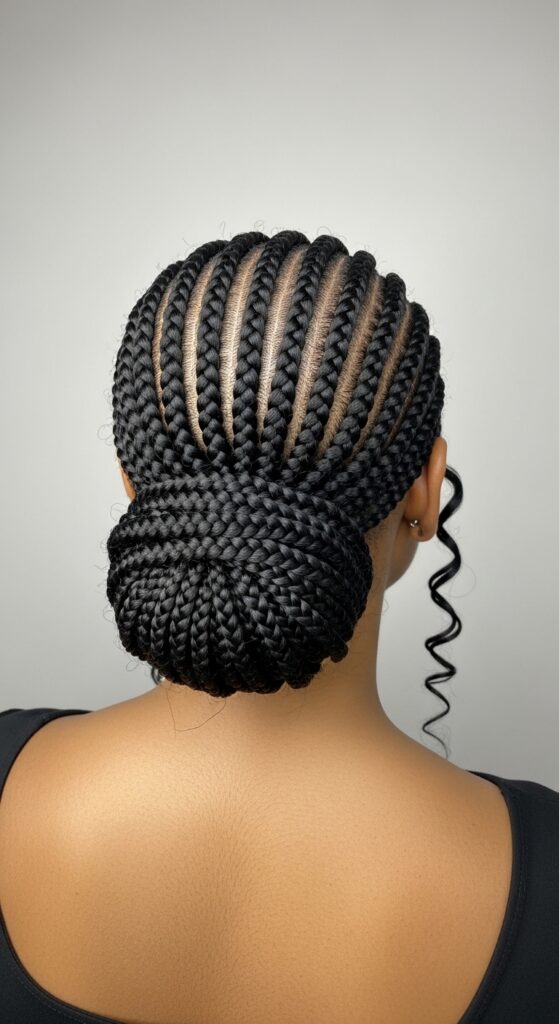
Creating the Cascading Side Braids
After the first braid, continue creating braids along the side of your head, working from the front hairline back. Each braid should be parallel to the first, cascading down the side of your head.
Typically, you’ll have 3-5 of these signature side braids on each half of your head. They can be all the same size, or you can make the front one slightly thinner for a more delicate look.
Braiding the Back Sections
Once the side braids are done, move to the back. Section the remaining hair into horizontal rows. These braids will be traditional individual braids (not necessarily feed-in from the scalp unless you want extra fullness).
Braid these sections straight down, adding all your extension hair at the root for a consistent thickness. Make sure the tension is even—not too tight on your scalp to avoid discomfort.

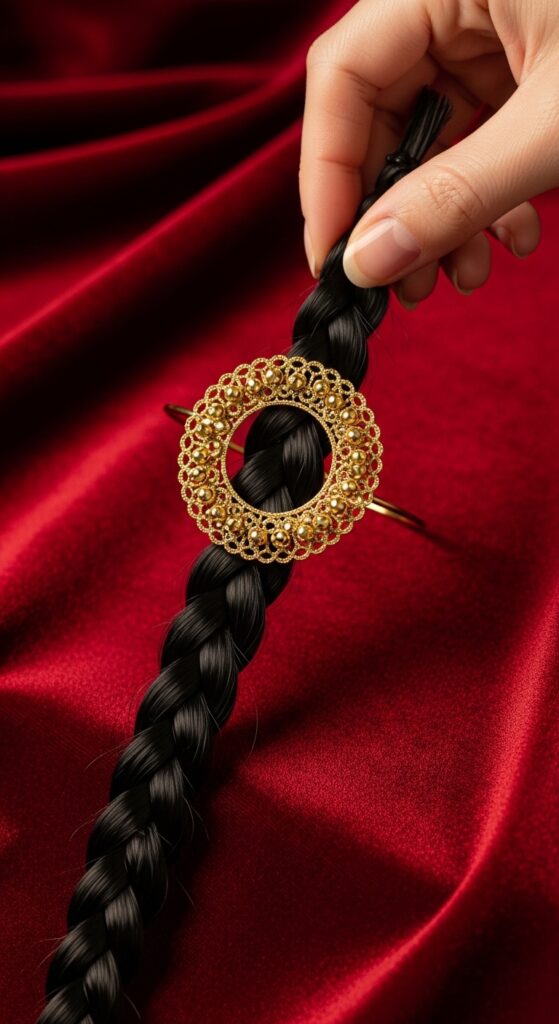
How to Add Beads & Cuffs
Accessories are the fun part! For beads, simply slide them onto the end of a braid before you secure it with a rubber band. You can also add them mid-braid by stringing them onto the extension hair before you start braiding.
For metal or wooden cuffs, gently press them onto the braid where you want them. Don’t force them too far down or they’ll be hard to remove. Space them out evenly for a balanced look.
- Add beads before sealing the braid end.
- Press cuffs on gently; don’t crush the braid.
- Mix gold and wood for a trendy look.
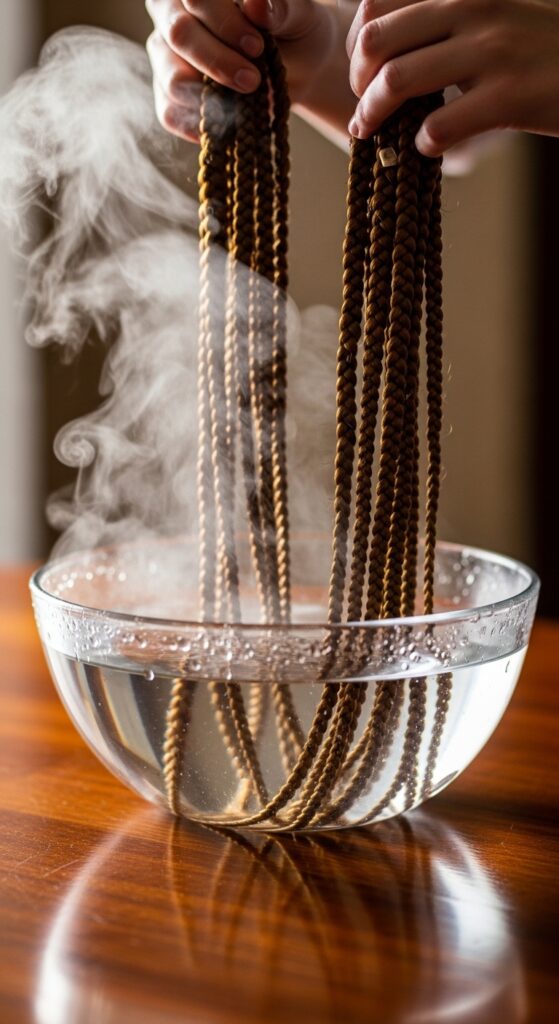
Sealing Your Braid Ends Neatly
To prevent unraveling and frizz, you need to seal the ends. The easiest method is the hot water method. Dip the ends of your braids into a bowl of very hot (not boiling) water for a few seconds.
Alternatively, you can use a small amount of hair glue or clear nail polish on the very tip of the braid. Let it dry completely. Then, you can trim any stray hairs for a clean finish.
Styling Your Fulani Braids Fresh
Once all your braids are in, you can play with the shape. Gently stretch the braids by pulling them downwards to encourage them to hang smoothly. You can also do a light braid-out for a wavy texture.
For a boho vibe, gently backcomb or rub the roots of a few braids for slight volume. The style already makes a statement, so often, less styling is more.

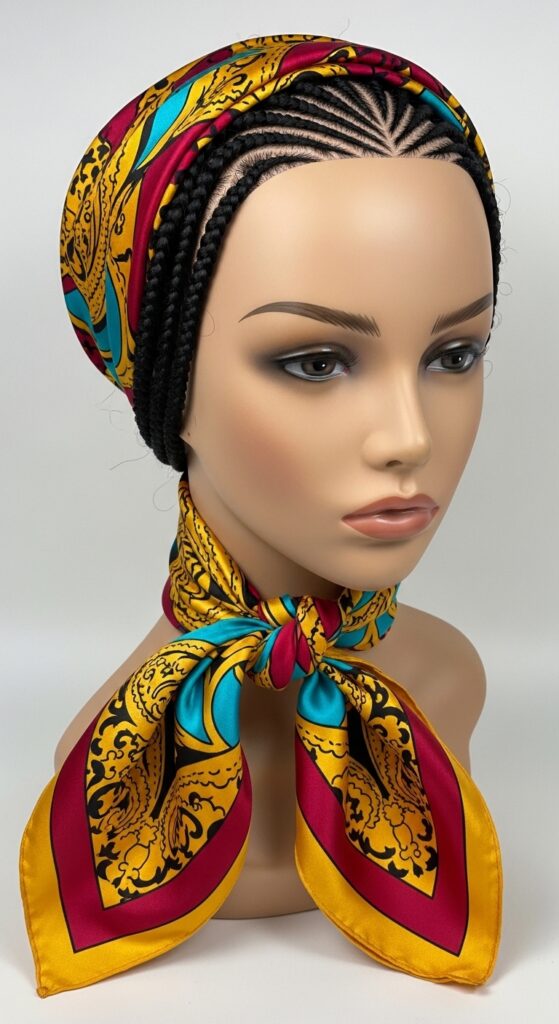
5 Easy Fulani Braid Updos
Updos are your best friend on day 5 or when you want a change. A simple high bun is always chic. Or, gather the side braids into a half-up, half-down style using a cute scarf.
You can also create a crown by wrapping the side braids across the top of your head and pinning them. Get creative! The multiple braids give you so much to work with.
- High Sleek Bun
- Half-Up with Scarf
- Braided Crown
- Low Ponytail
- Side-Swept across Shoulder
Nightly Maintenance Routine
Protect your style while you sleep! The best thing you can do is wrap your hair with a satin or silk scarf. You can also use a satin bonnet or sleep on a satin pillowcase.
This simple step reduces friction, prevents frizz at the roots, and keeps your braids looking fresh for weeks. In the morning, just take off the scarf, fluff your roots, and go.
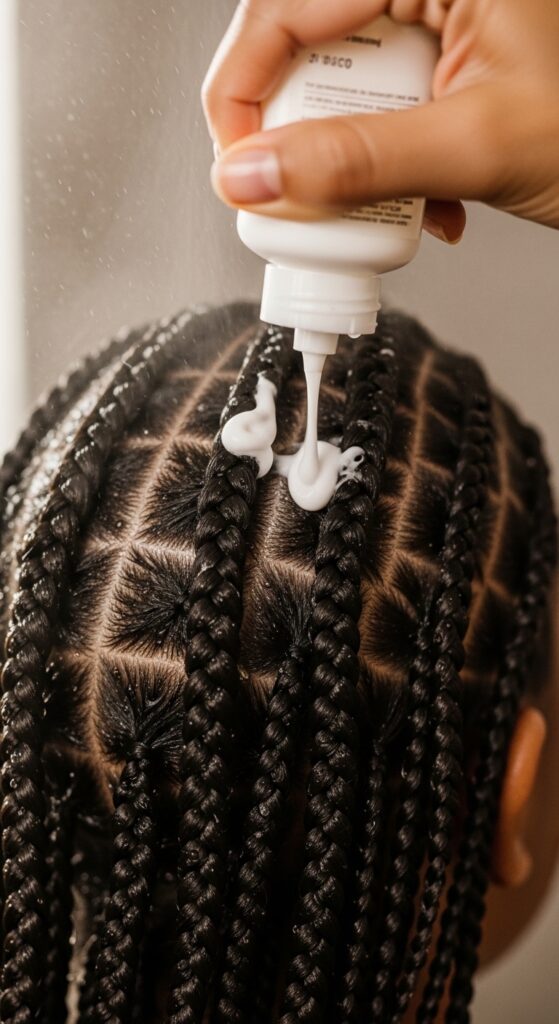
Washing Your Braids the Right Way
Yes, you can and should wash your braids! Mix a diluted shampoo in a spray bottle or applicator bottle. Gently apply it to your scalp, focusing on the parts between your braids.
Use the pads of your fingers (not nails) to massage your scalp. Rinse thoroughly with lukewarm water. Follow with a diluted conditioner spray on the length of the braids if they feel dry.
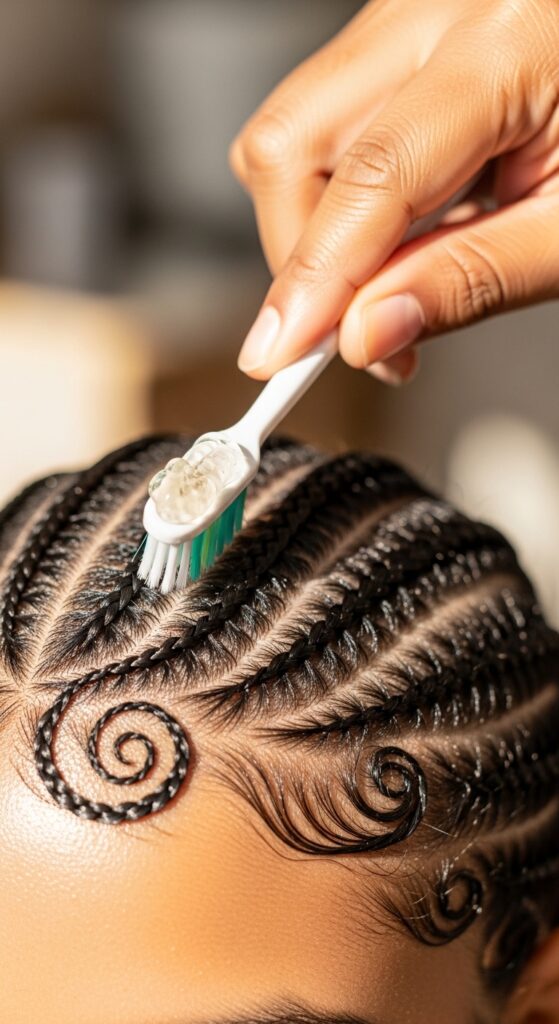
Fighting Frizz & Itchy Scalp
For frizz, a tiny bit of edge control or light hair gel on a toothbrush can tame flyaways along your part. For the braids themselves, a light oil sheen spray can add shine and smoothness.
For an itchy scalp, use a lightweight, alcohol-free moisturizing spray or a mix of water and a few drops of tea tree oil. Never scratch with your nails; use the tip of your rat-tail comb gently.
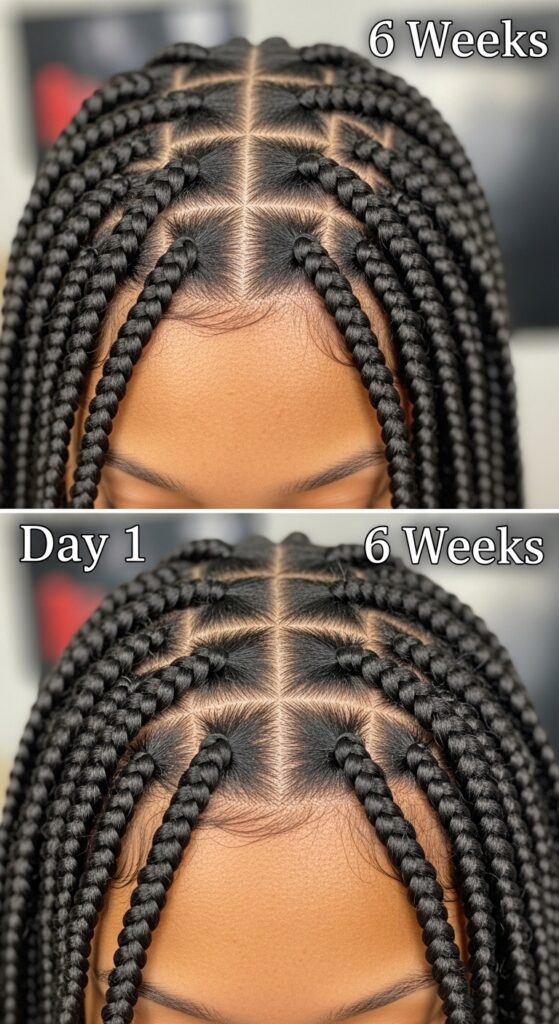
How Long Do They Last?
With proper care, Fulani braids can last 4 to 8 weeks. Listen to your hair and scalp. If your new growth is significant and your scalp feels constantly dirty or heavy, it’s time to take them out.
Don’t leave them in too long, as the weight of the new growth can cause tension. Setting a calendar reminder for 6 weeks out is a good practice to avoid overstaying.
Taking Them Out Safely
Be patient during removal! Use sharp scissors to carefully cut the braid just above the point where your natural hair ends. Unravel the synthetic hair from your own hair gently.
Work in small sections. Once all the braiding hair is out, detangle your natural hair slowly with lots of conditioner. Follow with a clarifying wash and a deep conditioning treatment.

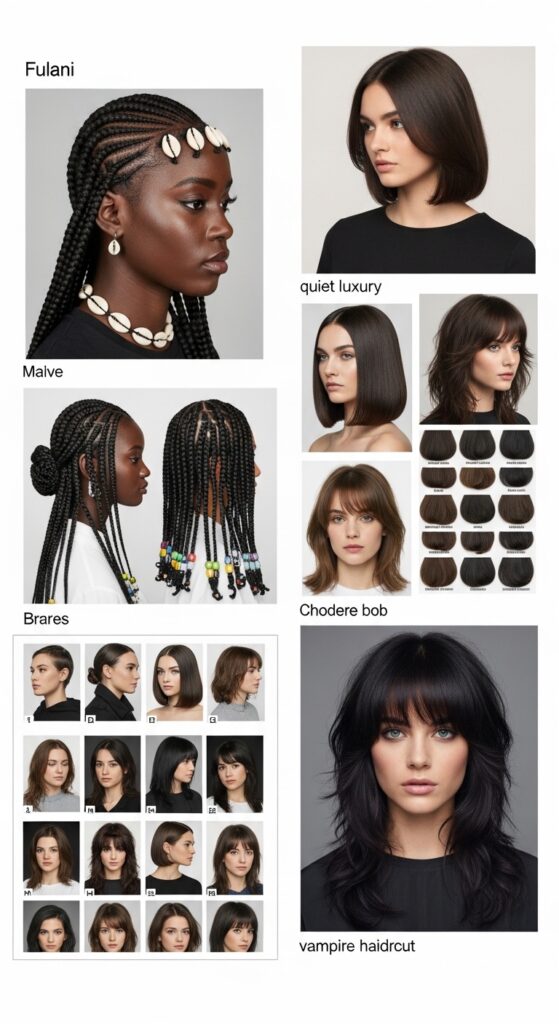
Fulani Braids vs. Other 2026 Hairstyles
While trends like the quiet luxury bob or asymmetrical lob are about sharp cuts, and romantic goth or vampire haircut leans on texture and color, Fulani braids are about artistry and protection.
They offer a different kind of statement than the hime cut or glitchy glam hair. They’re a wearable, lasting art form. Think of them as your foundational protective style that always feels current.
Common Mistakes & How to Fix Them
Mistake #1: Braiding too tight. This causes headaches and breakage. Fix it by braiding on slightly damp hair and keeping consistent, gentle tension. If it hurts, redo it.
Mistake #2: Using too much product. This leads to flaky buildup. Use gel and mousse sparingly. A little goes a long way for hold and sleekness.
Final Touches for a Polished Look
Go over your parts with the fine tip of your comb one more time to ensure they’re clean. Use a damp baby wipe or cotton swab to remove any gel residue from your skin.
Finally, apply a light oil to your scalp along the parts for shine and moisture. Step back, admire your work, and get ready to turn heads with your beautiful, hand-crafted style.
And there you have it! Your complete roadmap to gorgeous, authentic Fulani braids. It might seem like a lot of steps, but once you get into the rhythm, it becomes a relaxing, creative process. The most important thing is to be patient with yourself.
Remember, your first attempt doesn’t have to be perfect. Each time you try, you’ll get faster and more precise. The goal is to enjoy the journey of creating something beautiful for yourself.
I hope this guide gives you the confidence to try this iconic style. You’ve got all the knowledge you need right here. Now go on and create your masterpiece!
Save this post to Pinterest so you can easily find it when you’re ready to start your braiding session! Did you try this tutorial? Let me know how it went in the comments below—I love hearing from you and seeing your creations!