Crown Braid Tutorial That Works for Every Hair Length
Okay, let’s be real. The crown braid always looks stunning on someone else, right? It’s that perfect mix of elegant and effortless. But when you try it at home, it can feel like a wrestling match with your own hair. I’ve been there, with pieces sticking out everywhere and a sore arm from holding it up.
That ends today. I’ve cracked the code on a crown braid method that actually works, whether your hair is a pixie cut or down to your waist. It’s all about the technique, not the length.
This is the only tutorial you’ll need. We’re going to break it down into super simple, manageable steps. You’ll master this classic look in no time, and it might just become your new favorite for any occasion.
Why The Crown Braid Is Your Secret Weapon

This isn’t just a fancy updo. A crown braid is your ultimate hair hack. It keeps hair completely off your face, looks polished from every angle, and works for everything from a gym session to a wedding.
It’s the definition of “old money hair” – that timeless, quietly luxurious look that never screams for attention but always gets it. Plus, once you learn it, you can adapt it to fit any aesthetic, from romantic to boho.
What You Need Before You Start
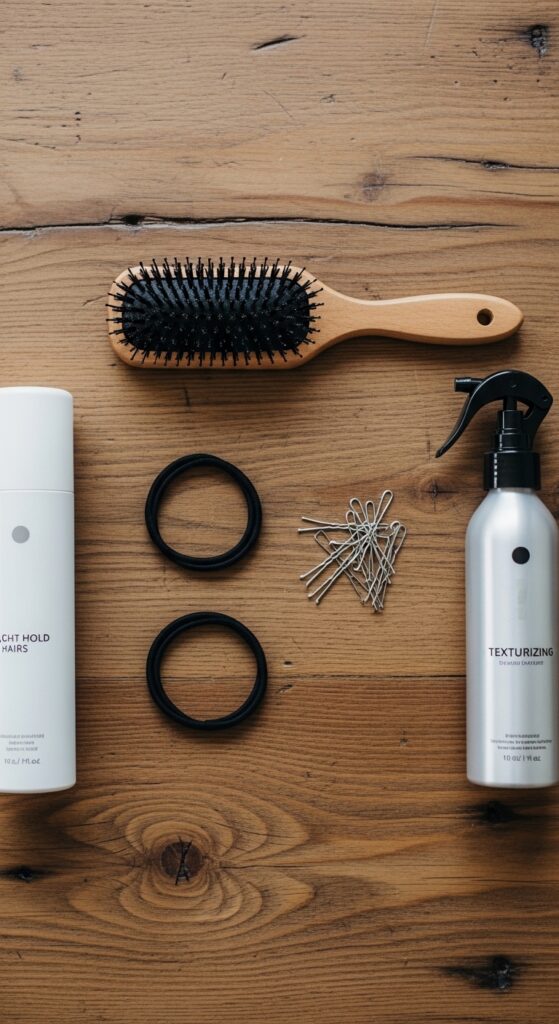
Gather your tools. You don’t need much! A brush, some clear elastics, lots of bobby pins (more than you think), and a light-hold hairspray are essentials.
For finer hair, a texturizing spray is a game-changer. It gives your strands a bit of grip so the braid holds better. For curly hair, a bit of curl cream will help manage frizz and define the pattern as you braid.
The Golden Rule for Every Hair Length
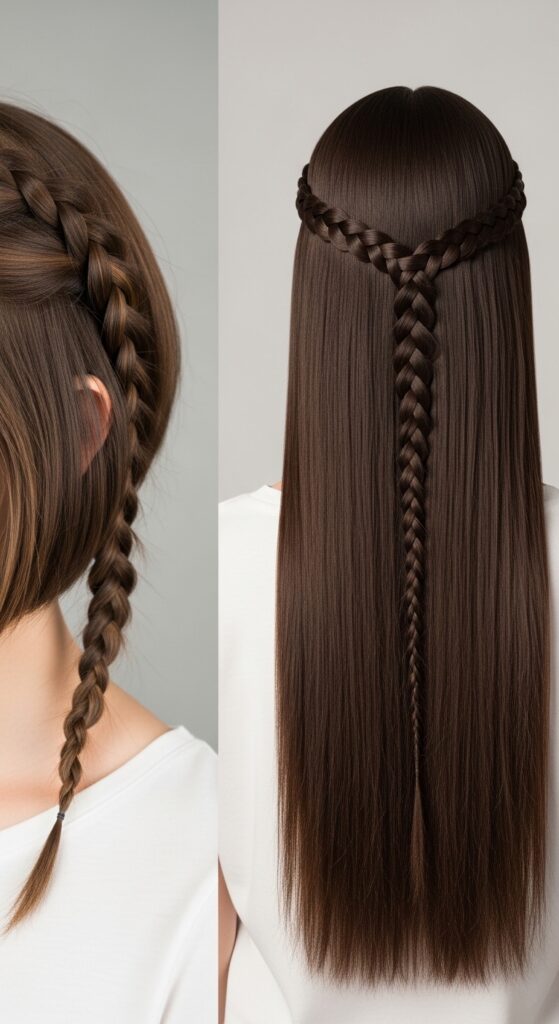
Here’s the big secret: it’s all about braid placement, not just the braid itself. For shorter hair, you’ll braid closer to the hairline and pin meticulously. For longer hair, you’ll focus on keeping the braid flat against the head.
The technique is identical. The difference is in how you secure it. So, no matter if you’re rocking an asymmetrical lob or waist-length waves, the following steps will guide you.
Step 1: Prep Is Everything
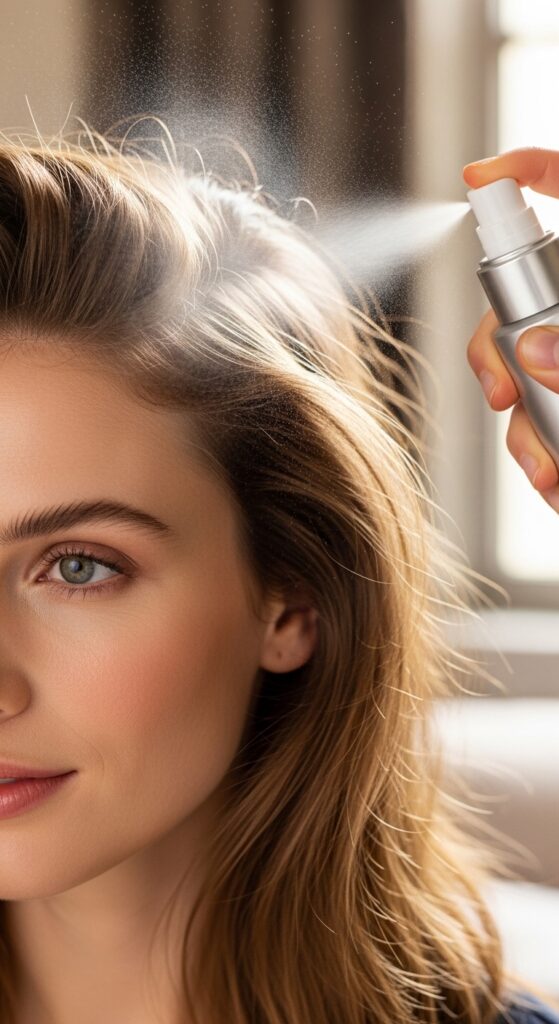
Start with day-old hair or add a bit of texturizing product. Slightly dirty hair has more grip. Brush through to remove any tangles. You want smooth sections to work with.
Don’t make it soaking wet or overly styled. We’re going for a soft, lived-in feel. If your hair is super slippery, a light dusting of dry shampoo at the roots will add the perfect amount of hold.
Step 2: Find Your Perfect Part
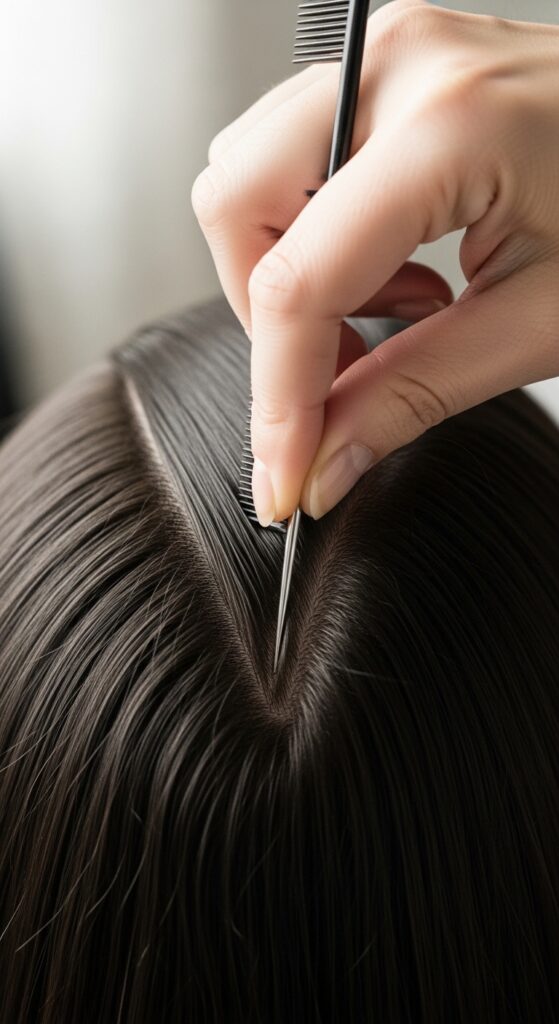
Your part sets the stage. A deep side part creates a dramatic, romantic look. A center part feels more modern and balanced. Choose what feels right for your face shape and the event.
For a true crown effect, I prefer a side part. It makes the braid look more organic as it wraps around. Use the end of a comb or your finger to create a clean line.
Step 3: Section Your Hair Correctly
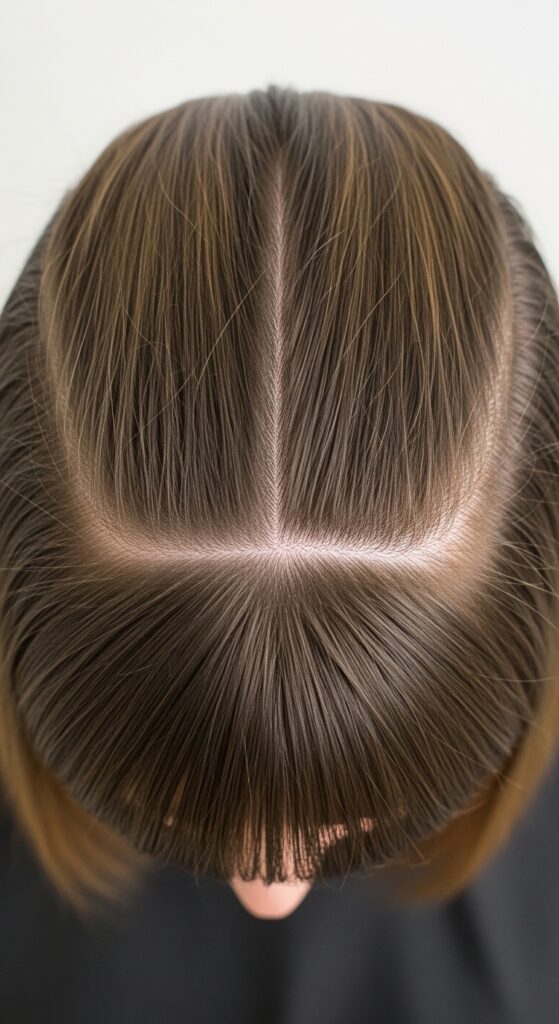
This is crucial. Isolate the hair you’ll braid first. Take a section from about ear to ear across the top of your head. Clip or tie the rest of your hair out of the way for now.
This front section is what will become the visible crown. The back hair will be incorporated later. Keeping it separate makes the whole process less overwhelming.
Step 4: Start Your First Braid
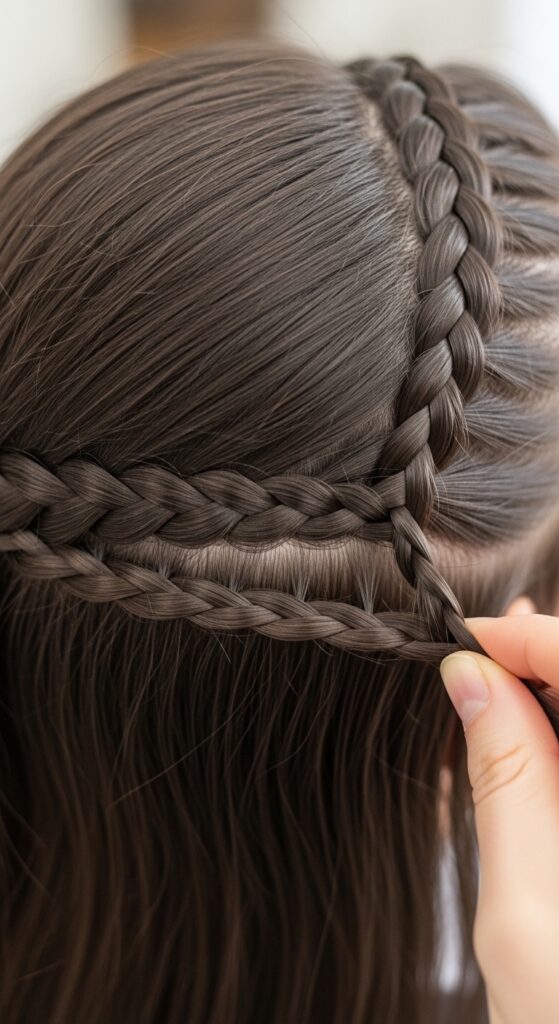
On the side where you have more hair (from your deep part), start a simple three-strand braid right at your hairline. Begin with a small section and add in more hair as you go, doing a basic Dutch or French braid.
Braid tightly at first to secure the base, then you can loosen it later for that soft feel. Keep the braid close to your head, following the curve of your hairline back towards your ear.
Step 5: The Adding-In Technique
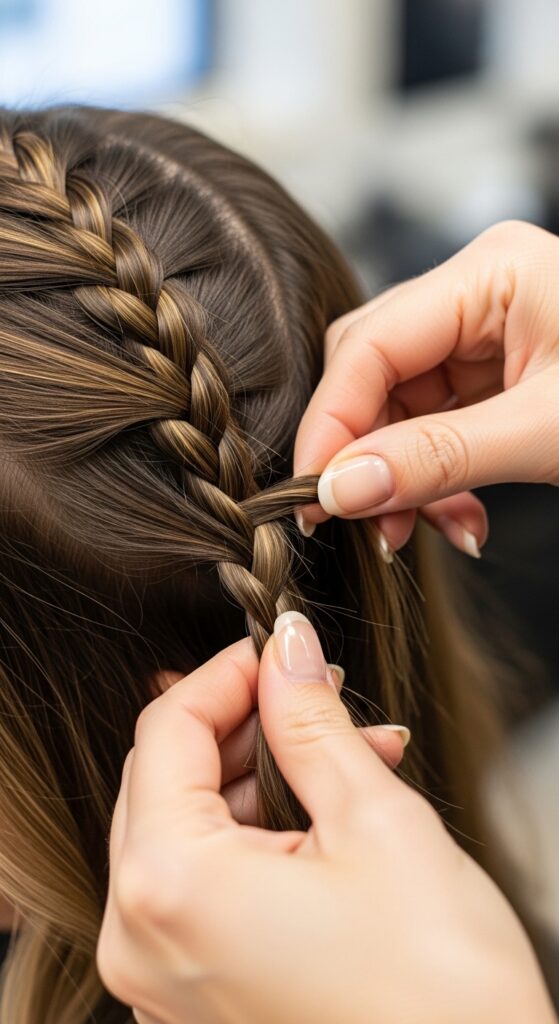
As you continue braiding past your ear, start adding in small sections of hair from the front section you isolated. Pick up about half-inch pieces as you go.
This is what creates the “crown” effect, lifting the braid up and onto the head. Keep your tension even. Don’t pull too tight, or it will be uncomfortable and look severe.
Step 6: Navigating the Back of Your Head
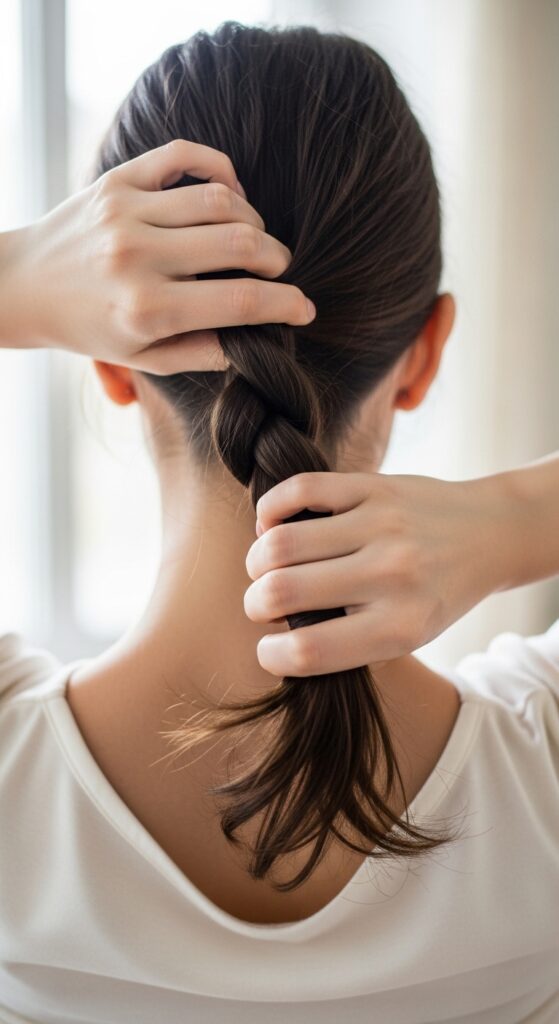
When you run out of hair from your top section, just continue with a regular three-strand braid with what you have. Braid all the way to the ends and secure with a clear elastic.
Now, let down the back hair you had clipped away. Gently combine it with the tail end of your first braid. This is your new starting point for the second half.
Step 7: Starting the Second Braid
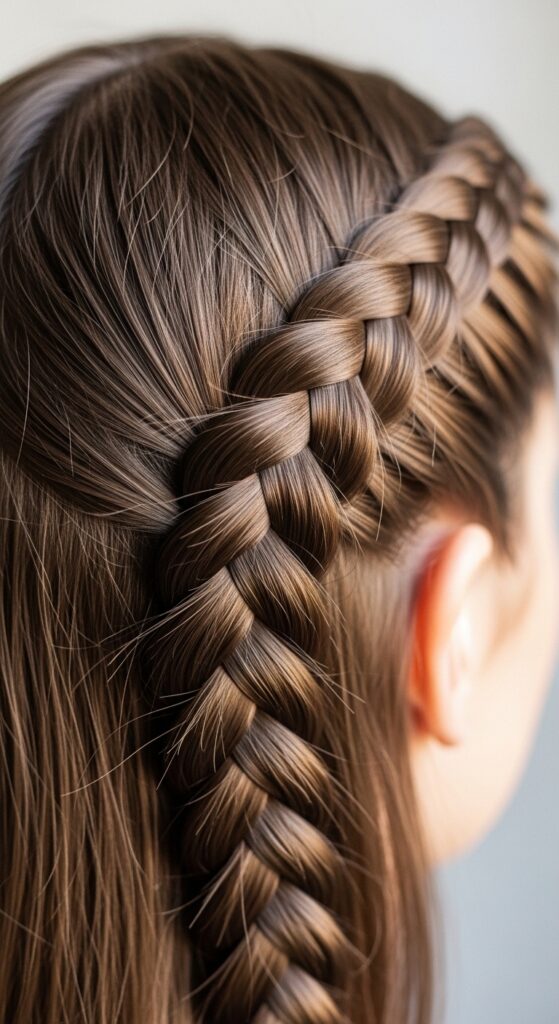
This part is clever. Use the tail of your first braid as the first strand of your second braid. Separate it into one section. Then, pick up two new sections of loose hair from the nape of your neck on the other side.
You are now essentially braiding backwards, up the other side of your head. This connects everything seamlessly.
Step 8: Braiding Up the Other Side
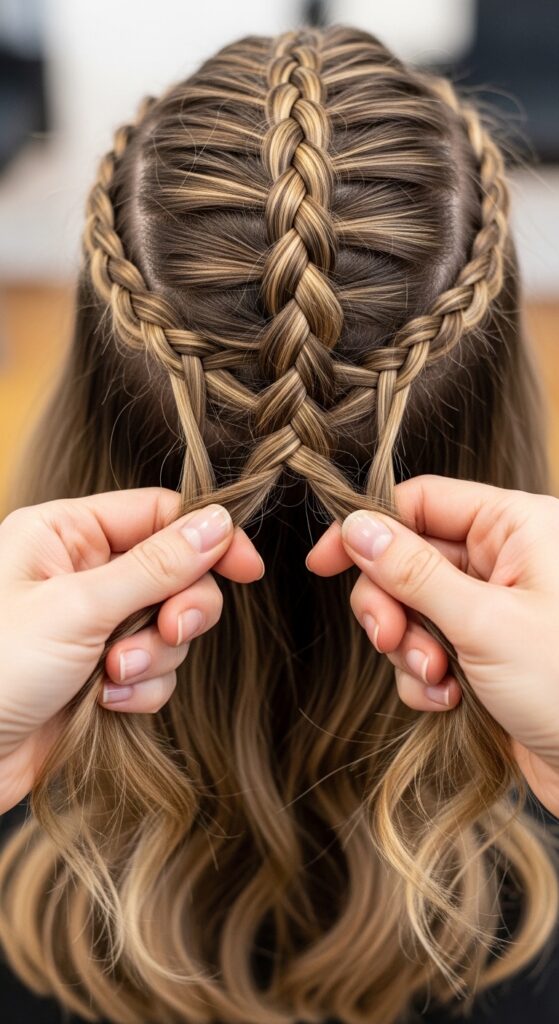
Continue this second braid, adding in small sections of the remaining loose hair as you work up towards your crown. Mirror the path of the first braid, just on the opposite side.
Your goal is to meet the starting point of your original braid. Keep the braid flat and close to the head. It might feel awkward, but just keep a firm hold.
Step 9: The Magic Connection
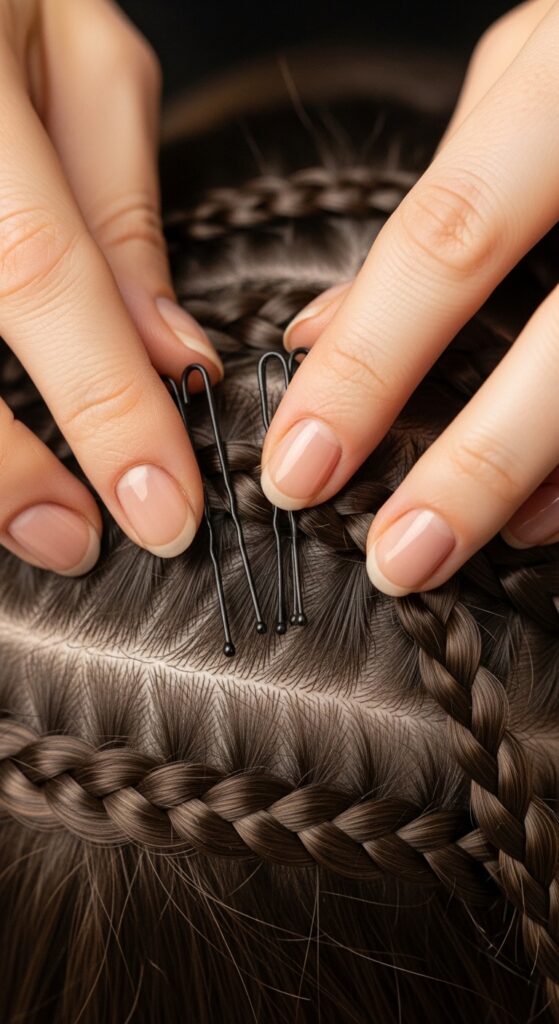
When you reach the starting point of your first braid, you’ll have a small tail left. Tuck this tail underneath the beginning of the first braid to hide it.
This is where the bobby pins come in. Securely pin the tail underneath. Use more pins than you think! Cross them for a stronger hold. This connection is the key to the infinite loop look.
Step 10: The Art of Loosening
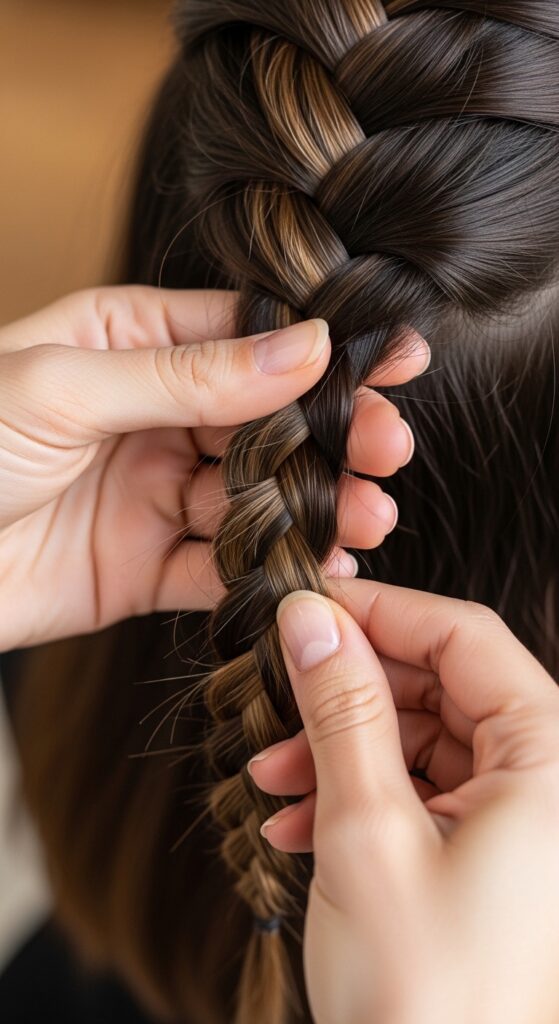
Now, make it pretty. Gently tug on the outer loops of the braid all the way around. Pull pieces out slightly to create a fuller, softer, more romantic look.
This step transforms it from a “schoolgirl braid” to that effortless, romantic style. Be gentle and even. Loosen from the top and the sides for a balanced, lived-in finish.
Securing The Look For All Day
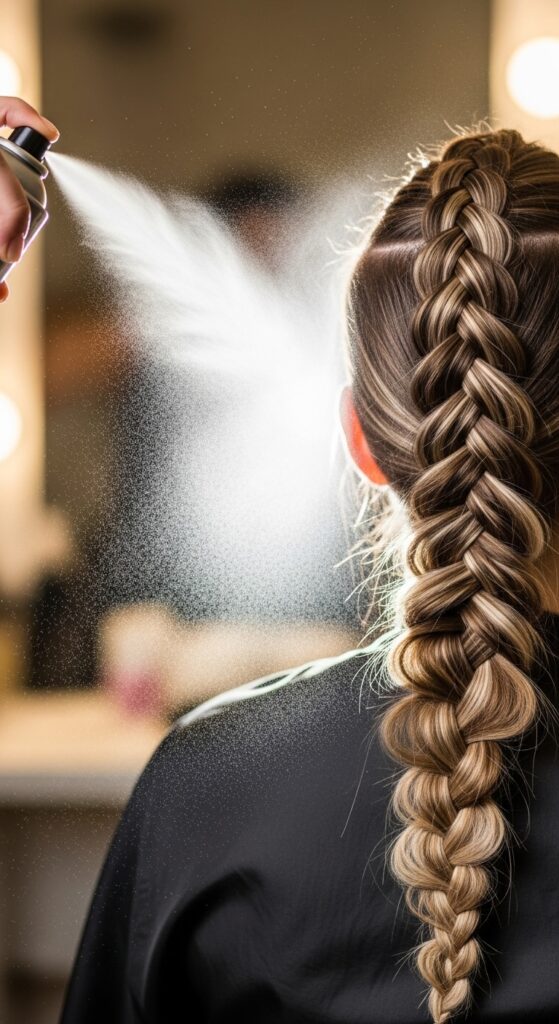
Lock it in. Hold a light-hold hairspray about 10 inches away and give the whole style a light mist. This tames flyaways without making the hair crunchy.
For extra security, slide a few more bobby pins into any spots that feel loose, especially near the connection point. Tuck them in under the braid so they’re invisible.
Adapting For Short Hair (Pixie to Bob)
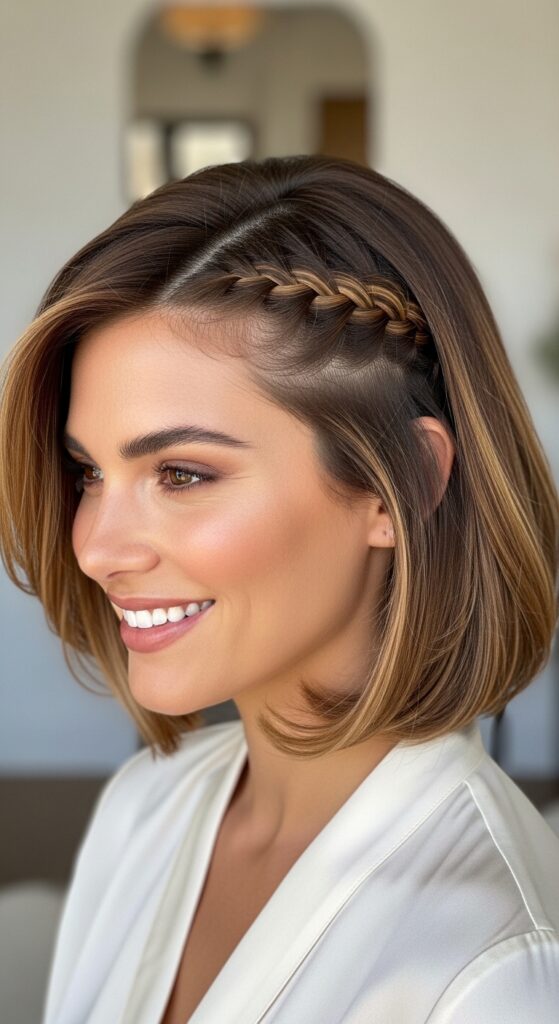
Short hair friends, you can do this! Focus on braiding just the front section of your hair, from temple to temple. Don’t try to wrap it all the way around.
Create a small, delicate braid along your hairline. When you finish, pin it back just behind your ear. It’s a subtle, elegant accent that works beautifully with a quiet luxury bob or even a vampire haircut.
Adapting For Mid-Length Hair (Lob & Beyond)
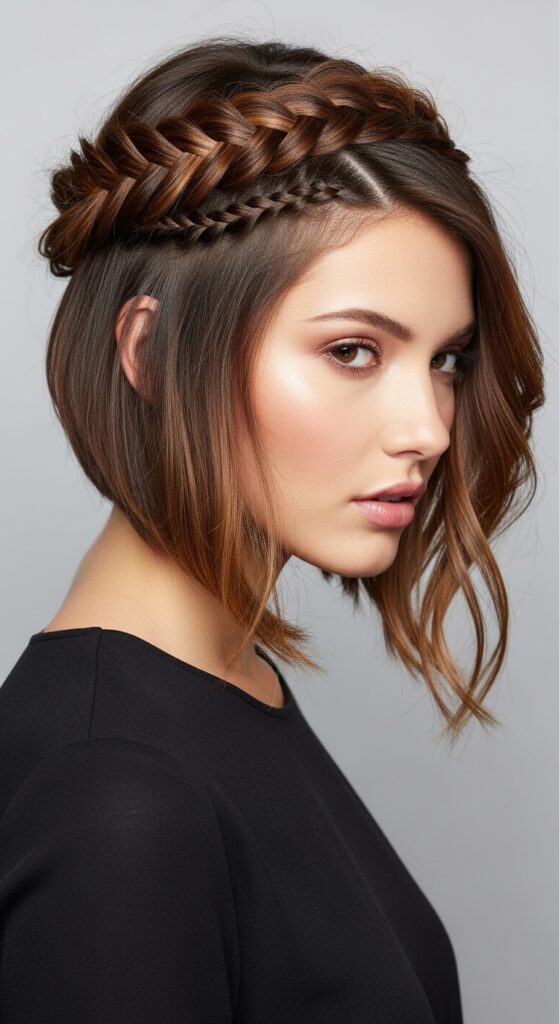
This is the sweet spot. Follow the main tutorial exactly. Your hair has the perfect length for a full wrap without being too heavy. If you have an asymmetrical lob, let the braid follow the longer side for a cool, glitchy glam hair effect.
You might have a bit of tail left after connecting. You can either tuck and pin it, or leave it out as a small, cute bun or twist at the back.
Adapting For Very Long or Thick Hair
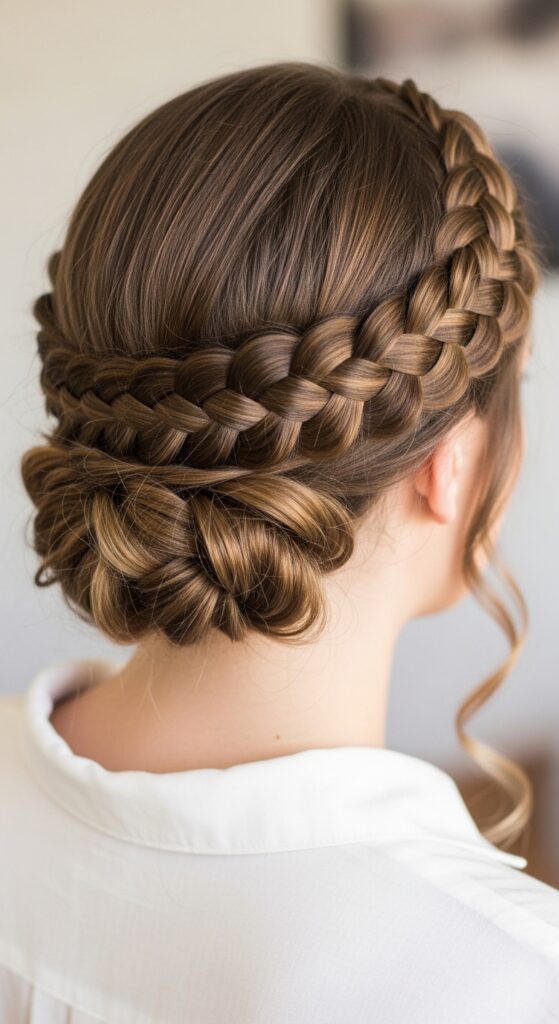
The challenge here is weight. To avoid a bulky braid, divide your front section into two smaller braids instead of one big one on each side. Create a double crown effect.
Or, braid all the way around, but make the braid itself tighter and flatter. The loosening step is extra important here to soften it up without making it fall.
Adding Accessories for Drama
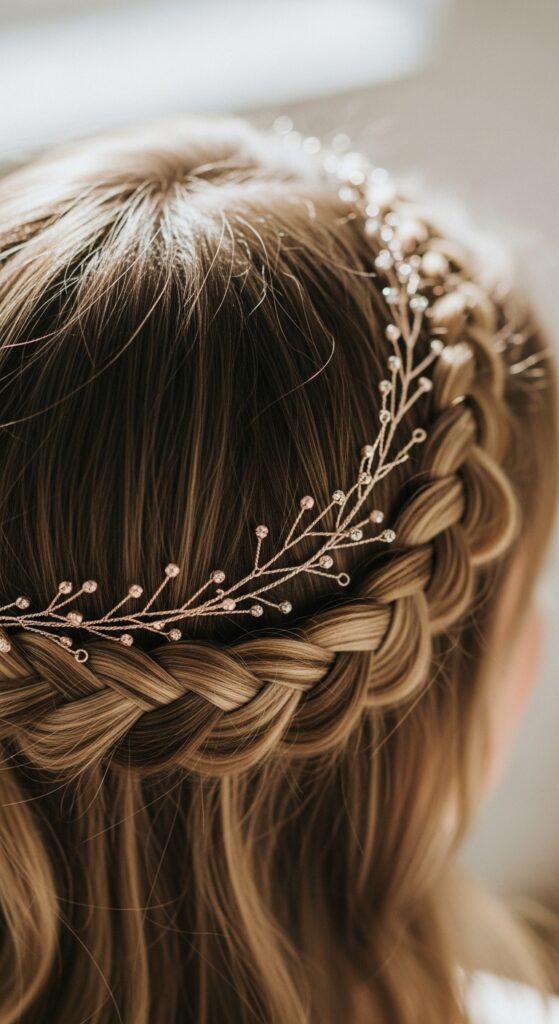
Take it to the next level. Weave a delicate chain or ribbon into the braid before you start. Or, after loosening, slide in a few pearl-ended pins. For a romantic goth twist, add a velvet ribbon or dark floral pins.
This is where you personalize it. Accessories can make this classic braid feel fresh and part of the 2026 hairstyles trend for unique detail.
Turning It Into a Half-Up Style
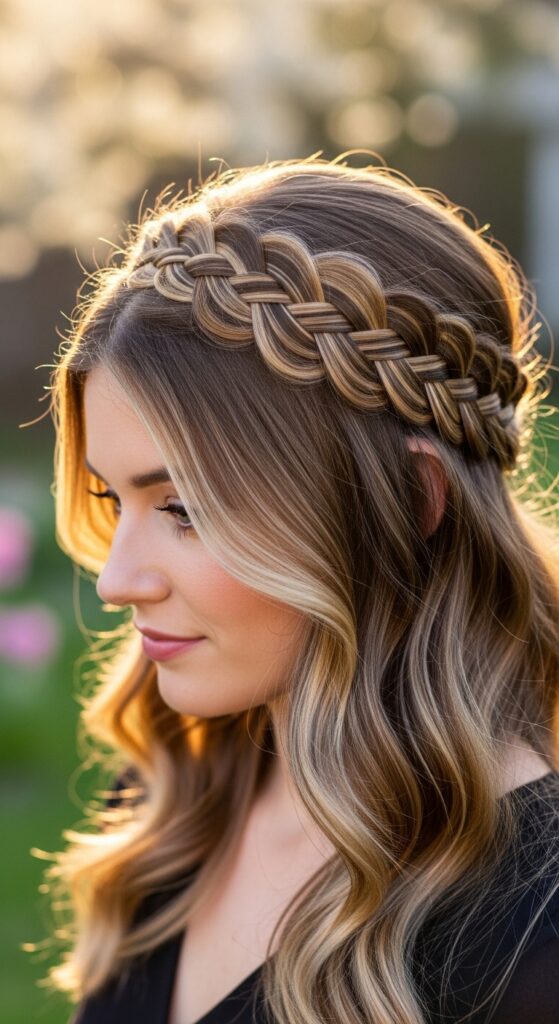
Don’t want it all up? Only do the front section braid from temple to temple. Once you’ve braided across the top, pin it and stop. Leave the rest of your hair down.
This gives you that regal, hime cut vibe—a beautiful half-up look that’s perfect for day-to-night. It’s less formal but just as stunning.
What To Do With Wispy Pieces
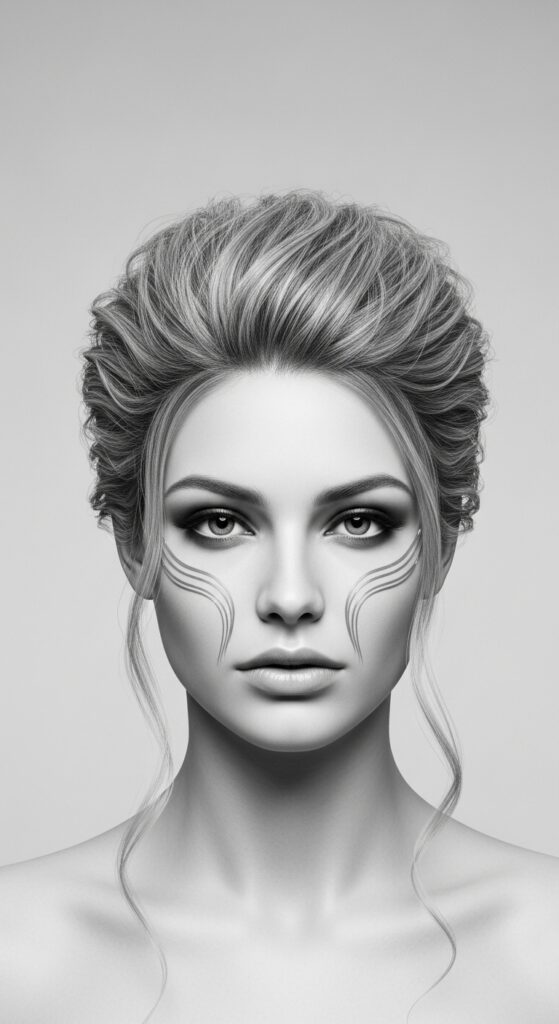
Don’t fight them; style them. If baby hairs or shorter layers pop out, use a tiny bit of gel on a toothbrush to sweep them into soft waves or curl them.
These pieces can actually make the style better. They frame your face and add to that effortless, just-done-it feel. It’s all about controlled texture.
Common Mistakes & How To Fix Them
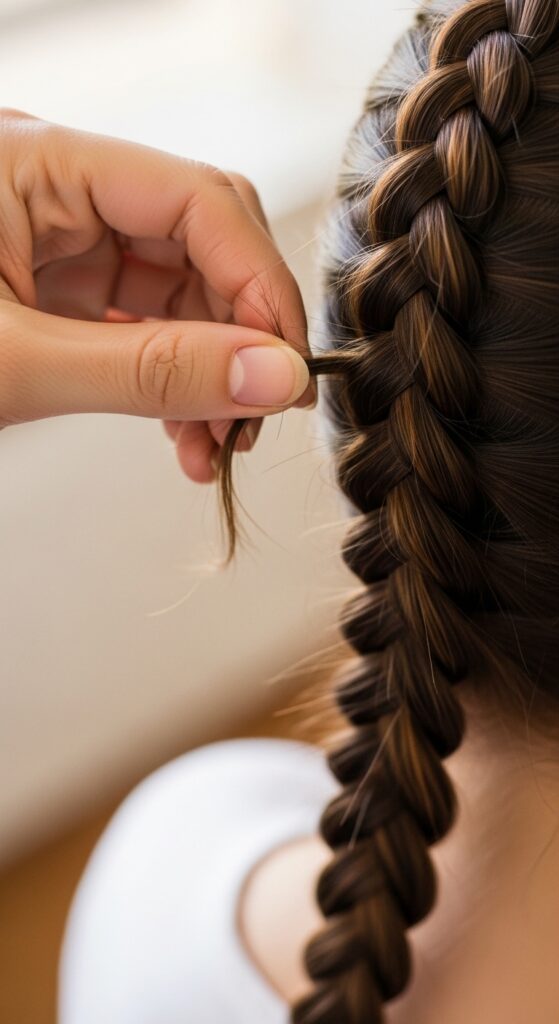
Mistake 1: Braiding too loose from the start. Fix it by tightening the first few inches. Mistake 2: Not using enough pins. Seriously, use more. Mistake 3: Pulling too hard when loosening and unraveling it.
If a section goes wrong, don’t panic. Pin it down, take a breath, and re-braid that small section. You can often hide fixes underneath.
From Day to Night in Seconds
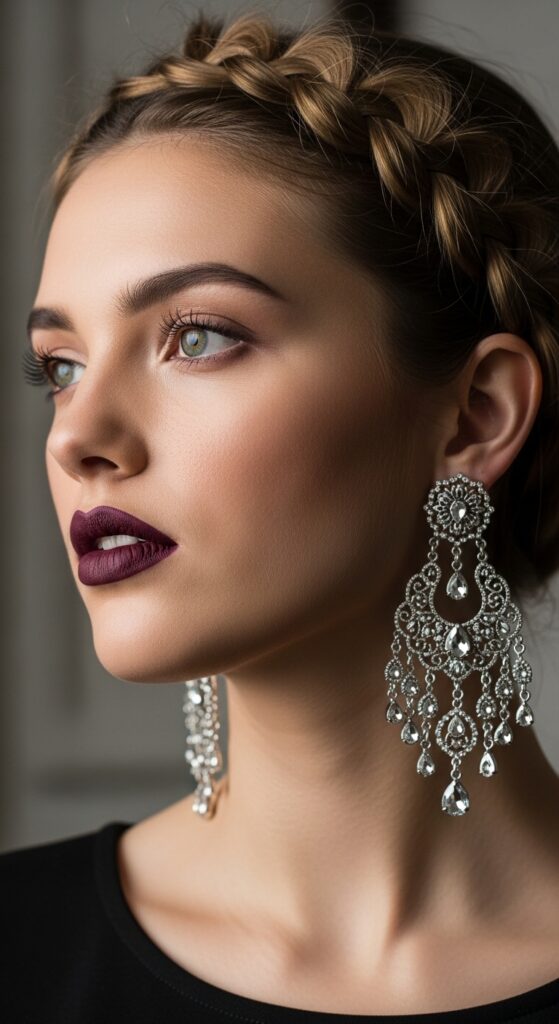
This style transitions perfectly. For evening, pull out a few more pieces around your face for a softer look. Add statement earrings or a bold lip.
You can also gently backcomb the very top of the braid for a bit more volume and a touch of vintage drama. It instantly feels more glamorous.
Why This Braid Feels So Current
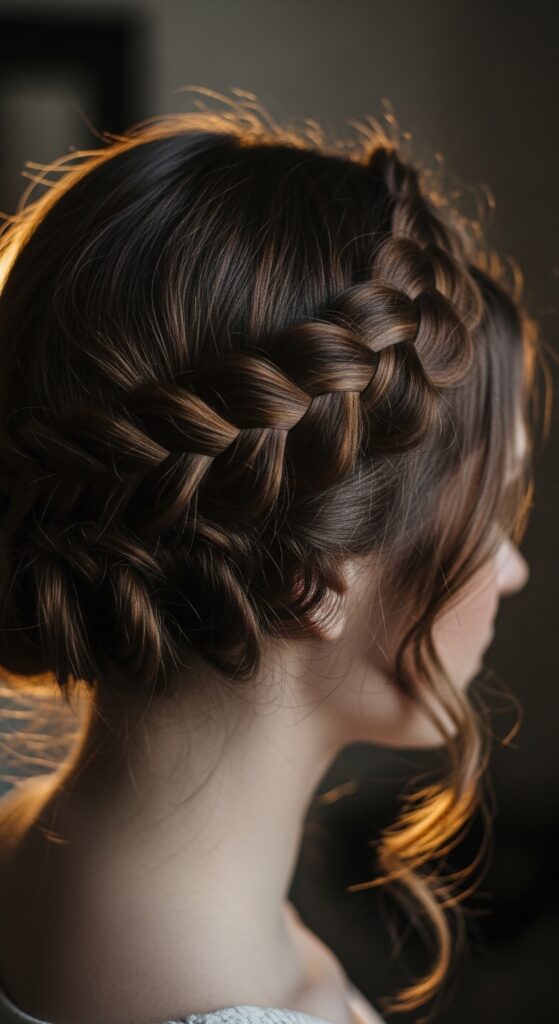
It hits all the right notes. It’s timeless but feels fresh because of the looser, textured finish we’re all loving. It fits the old money hair trend—quality and quiet confidence over loud trends.
It’s also incredibly versatile, allowing for personal twists that align with everything from romantic goth hairstyles to clean-girl aesthetics. It’s a true chameleon.
Your Final Checklist Before You Go
- Is the braid sitting flat against my head all the way around?
- Did I use enough bobby pins, especially at the connection point?
- Have I loosened it evenly for a soft, romantic look?
- Did I tame any major flyaways with a light spray?
- Do I feel good? That’s the most important part!
And just like that, you’ve got it. A beautiful, wearable crown braid that you did yourself. The more you practice, the faster and easier it will become. It’s a skill that pays off for years.
Remember, the goal isn’t perfection. It’s that lovely, lived-in elegance that looks like you just threw it together (even though we know the secret now). This is your go-to for bad hair days, hot days, or any day you want to feel a little extra special.
Save this post to Pinterest so you can always find the steps when you need them! Did you try it? Tell me in the comments—what was the trick that finally made it click for you?


