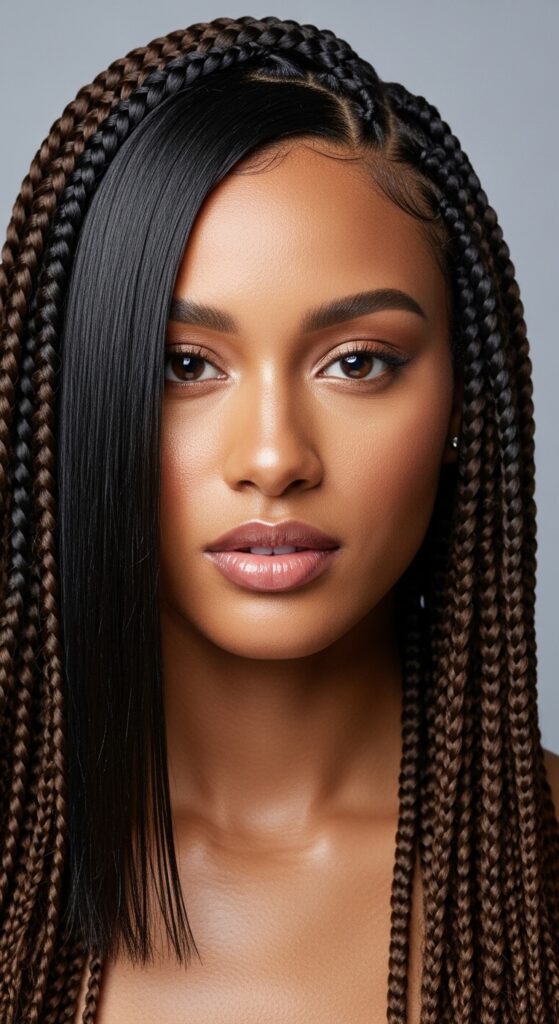
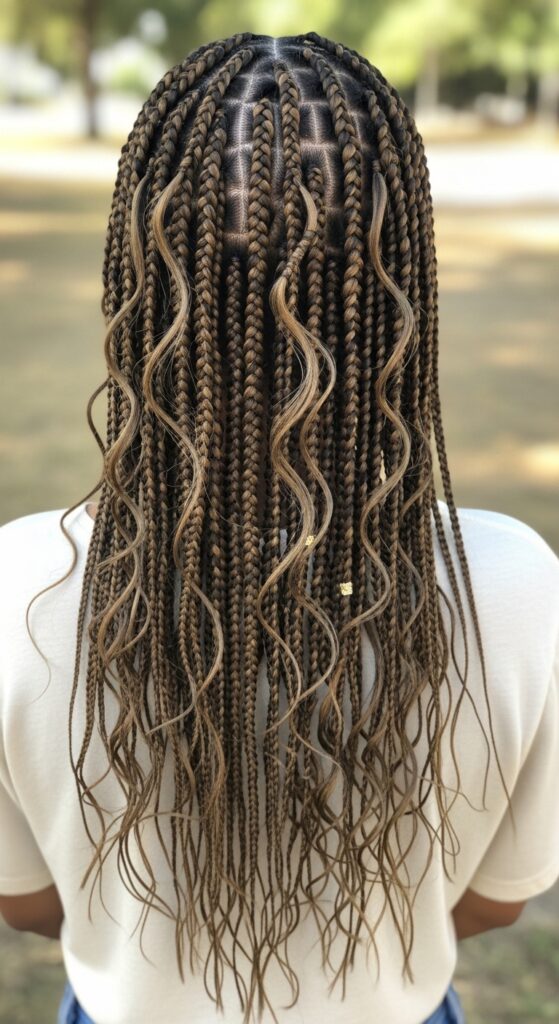
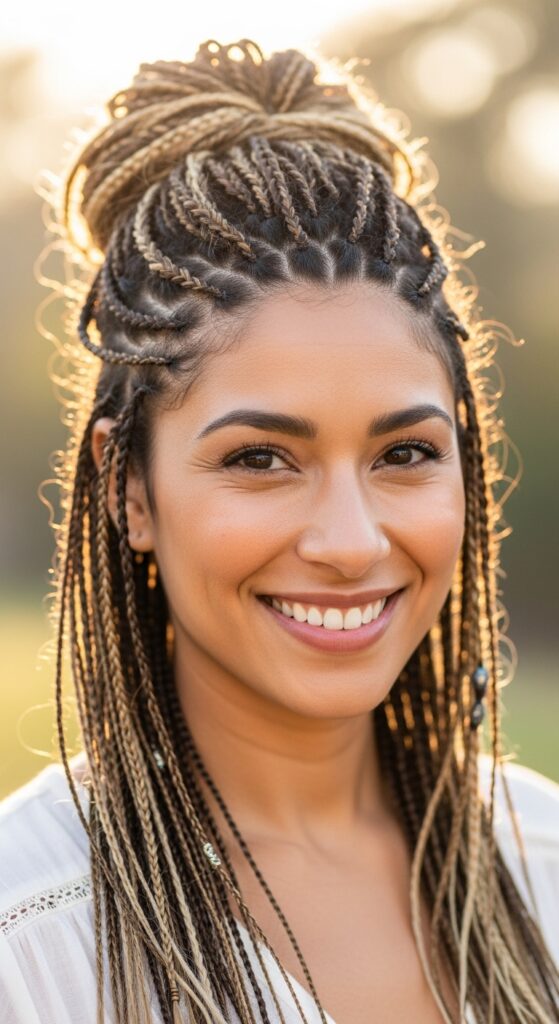
Bohemian Box Braids: Adding Loose Wavy Pieces the Right Way
Okay, let’s talk about one of my favorite ways to level up a classic protective style. We all love the neat, gorgeous look of box braids, but sometimes you want a little more movement, a touch of that effortless, breezy vibe. That’s where adding loose wavy pieces comes in.
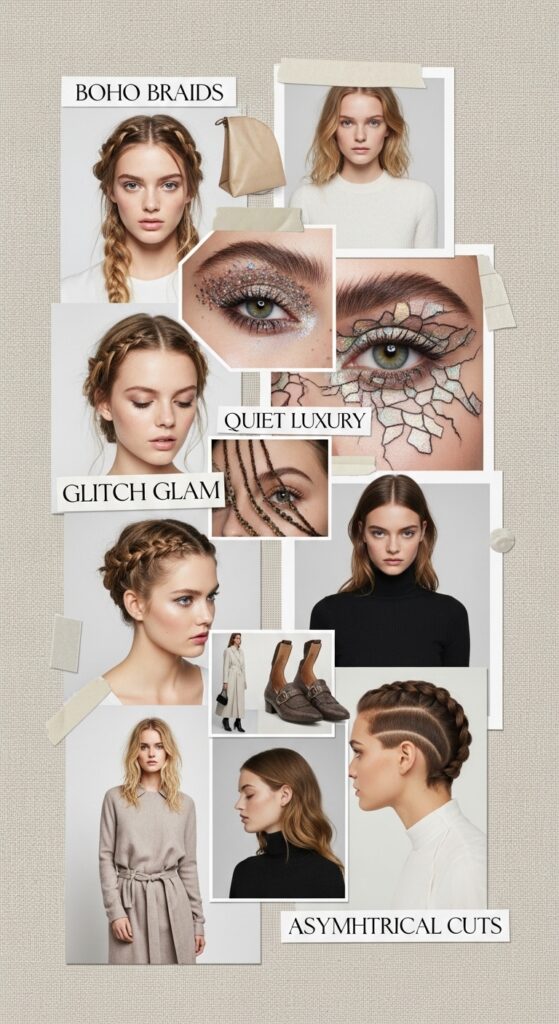
It’s the perfect trick to blend the structure of braids with the softness of bohemian waves. Think of it as the “quiet luxury” version of braids—polished but with a relaxed, romantic feel.
But if you do it wrong, those pieces can look messy or out of place. I learned this the hard way! So today, I’m breaking down exactly how to add them the right way for a look that’s chic, seamless, and totally you.
Let’s get into the details so you can nail this trend and make it your own.
Why Add Loose Pieces to Box Braids?
First, why even bother? Because it completely transforms the look. Traditional box braids are stunning, but they can feel a bit uniform. Adding strategic loose pieces creates dimension and a softer, more personalized style.
It gives you that face-framing magic and a touch of movement that feels alive and modern. It’s a subtle nod to trends like glitchy glam hair—mixing textures in an unexpected, cool way. This technique lets you enjoy a protective style while still playing with shape and flow.
Gathering Your Essential Tools
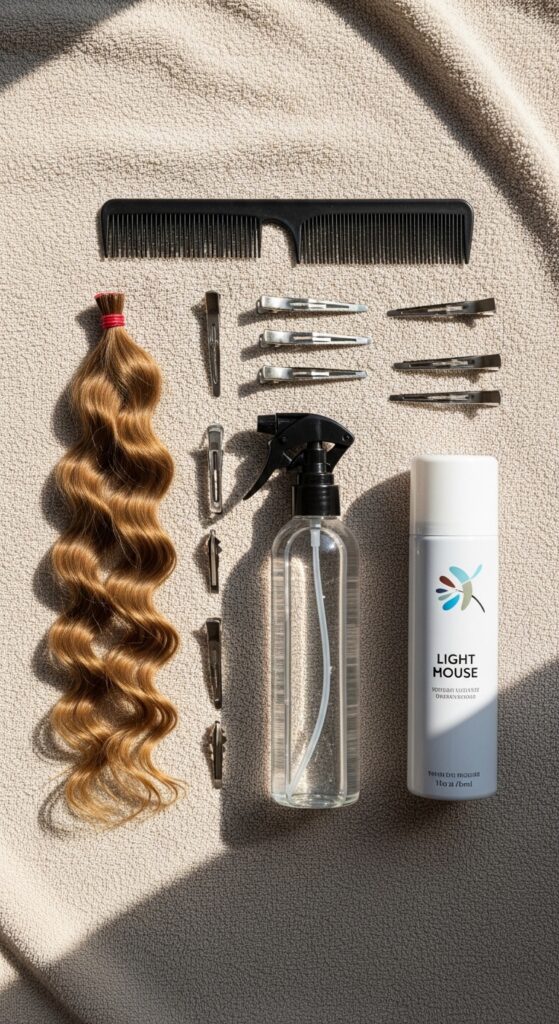
You don’t need much, but the right tools make all the difference. Here’s your quick checklist:
- Hair for the Loose Pieces: Use human hair extensions that match your texture or desired wave pattern. Yaki or loose wave hair often blends best.
- A Fine-Tail Comb: For precise sectioning.
- Small, Clear Elastic Bands: To secure the base.
- Light-Hold Styling Products: A mousse or foam to blend your natural hair with the extension.
Choosing the Perfect Hair Match
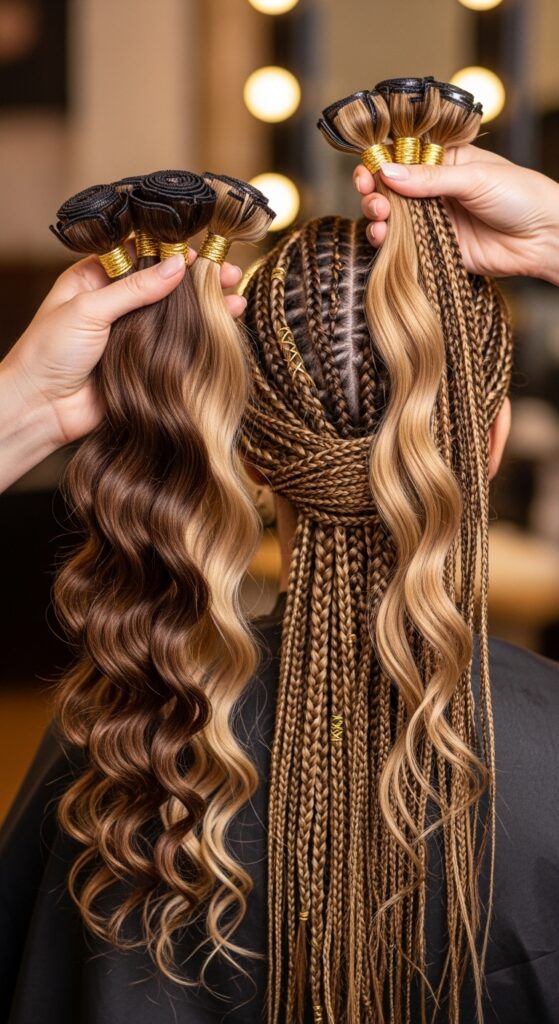
This step is crucial for a seamless blend. You want the loose pieces to look like they grew from your scalp. Match both the color and the texture as closely as possible.
If your braids are a solid color, this is easy. For highlighted or ombre braids, you might need two extension colors to mimic that effect in your loose pieces. The goal is “I woke up like this” perfection, a key element of that old money hair aesthetic—everything looks natural and intentional.
Prepping Your Natural Hair at the Roots
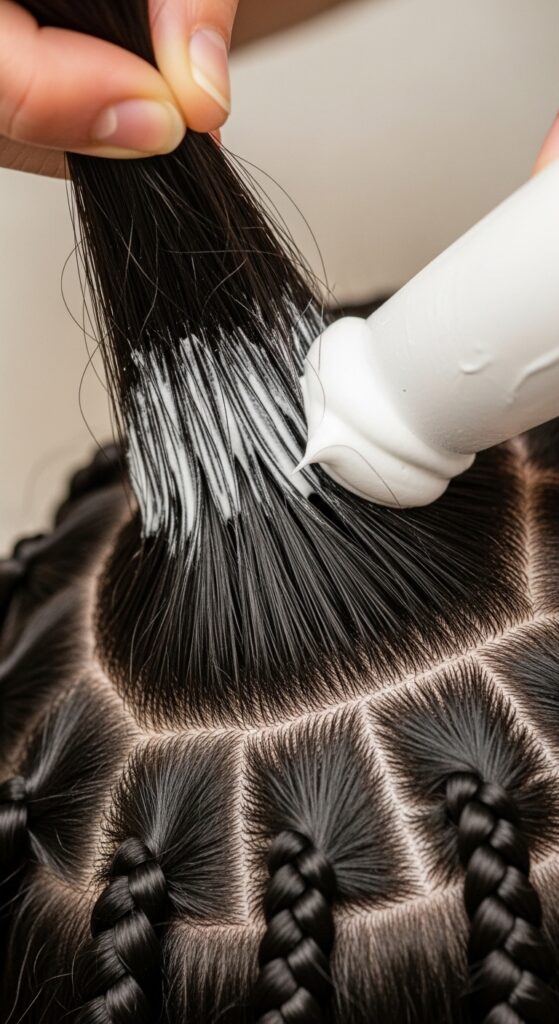
Where you add the loose piece, you’ll have a small section of your own hair out. This section needs to be clean and tangle-free. Apply a little leave-in conditioner or a light styling foam to your natural hair.
This helps it blend smoothly with the extension hair and prevents frizz. Smooth it gently but don’t saturate it. We want a soft, manageable base that won’t fight against the added hair.
Strategic Placement: Where to Add Pieces
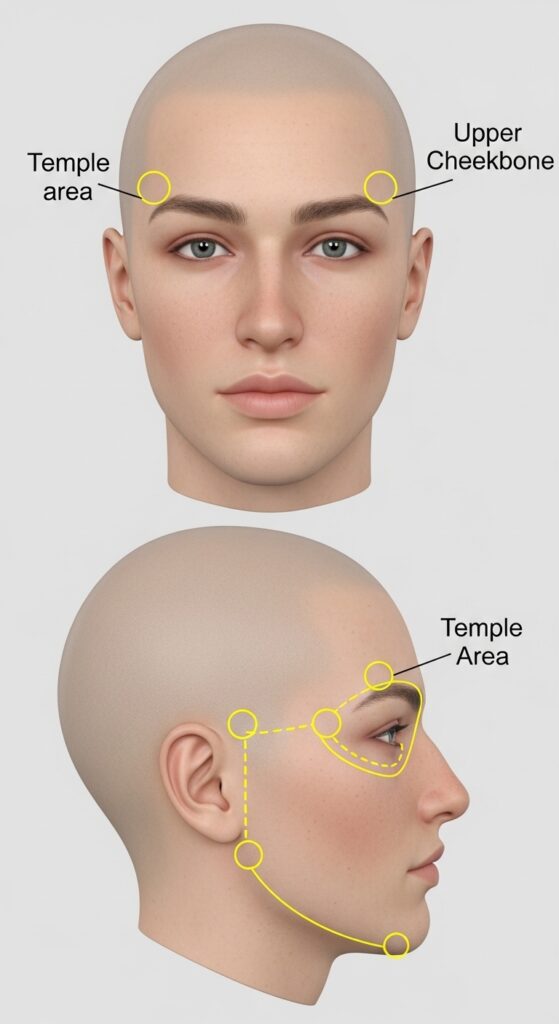
Don’t just add pieces randomly. Strategic placement gives you the most flattering, stylish result. The best spots are around the face for a framing effect.
- At the temples (like face-framing layers on a quiet luxury bob).
- Along your cheekbones.
- Maybe one or two pieces further back, near your part.
This placement softens your features and adds that bohemian, windswept feel instantly.
How Many Loose Pieces is Just Right?
Less is usually more. For a subtle look, start with 2-4 pieces total. For a more dramatic, full effect, you might go up to 6-8 pieces spread around your head.
I recommend starting small. You can always add more later. Too many can shift the style from “bohemian” to just undone. We’re aiming for elegant ease, a principle you see in everything from an asymmetrical lob to the best 2026 hairstyles forecasts.
The Sectioning and Braiding Base
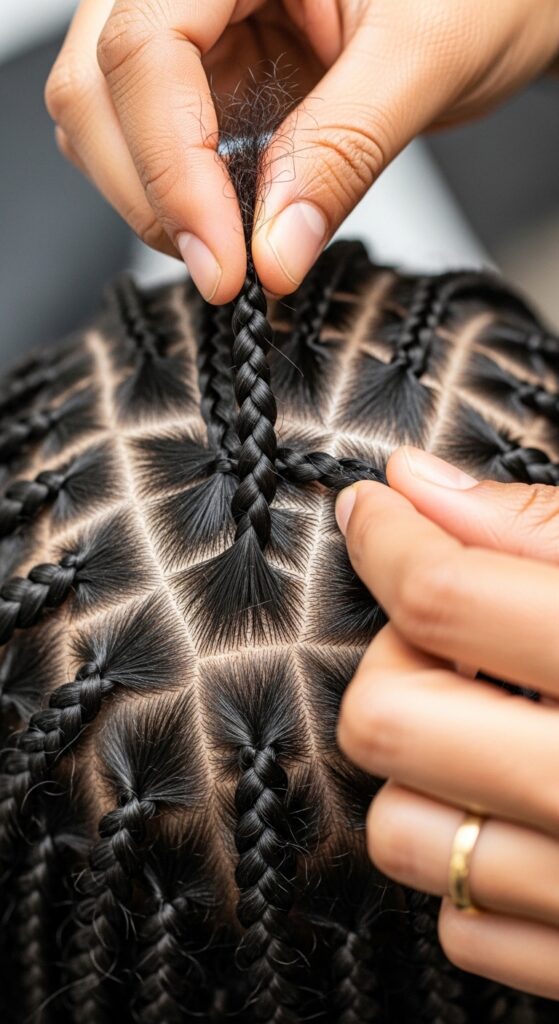
For each loose piece, you’ll create a tiny box braid at your root to anchor it. Take a very small, square section of hair where you want the piece to be. Split it into two.
Braid one half into a micro box braid (about 1-2 inches long) and secure the end with a small elastic. The other half is your loose natural hair we prepped earlier. This braid acts as a strong, hidden base.
Attaching the Extension Securely
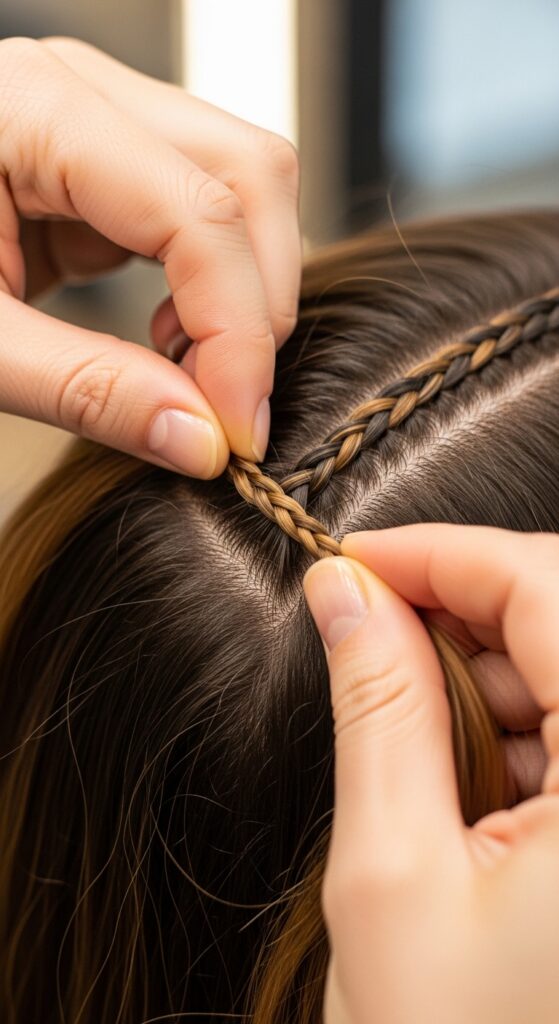
Now, take your extension weft. Cut a thin strand from it. Align the extension with your loose section of natural hair, right at the base where the tiny braid starts.
Use the natural hair and the extension strand together to wrap around the base of the tiny braid, covering the elastic. Secure this wrap with another tiny elastic or a small knot. This hides the join completely.
Blending Your Hair with the Extension
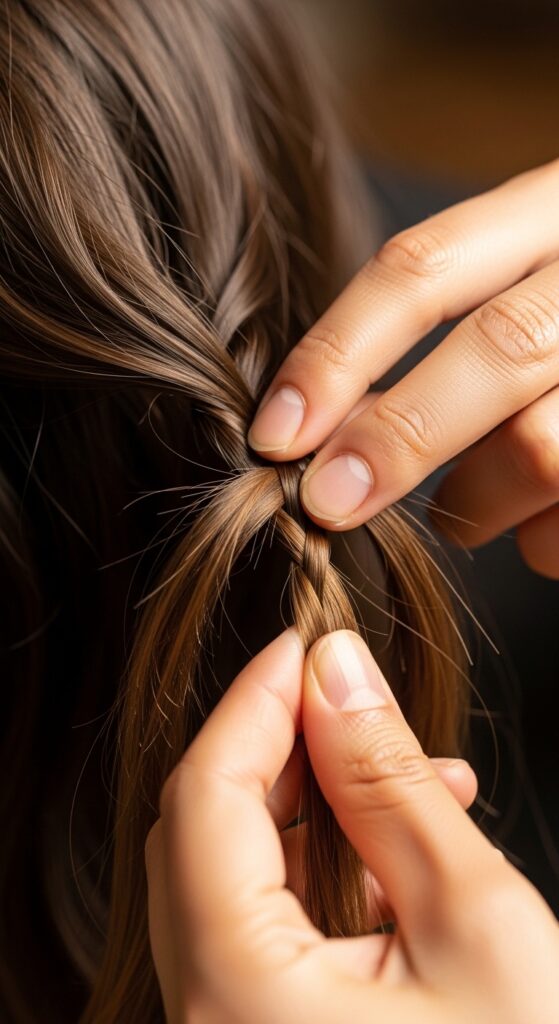
This is the magic step. Now you have your natural hair and the extension hair joined at the root. Gently twist them together down their entire length.
Then, rub the strand between your palms lightly. This helps the cuticles of both hairs catch and blend, making them look like one continuous piece of hair. It eliminates that obvious “add-in” line.
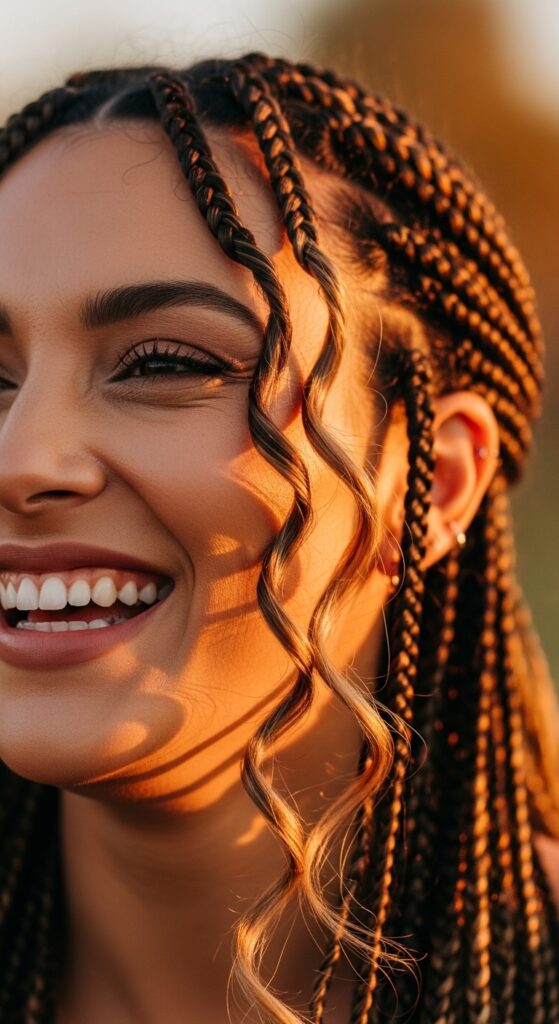
Creating the Perfect Bohemian Wave

For the classic bohemian wave, use a curling wand or flat iron. Wrap the blended piece around the barrel, but don’t clamp it tightly. Leave the ends out for a looser feel.
Alternate the direction of the curls—some away from your face, some toward. This creates a natural, undone wave pattern, not perfect uniform curls. It’s that romantic, soft texture we’re after.
Alternative: Sleek Straight Pieces
Waves aren’t your only option. For a chic, modern contrast, keep the added pieces sleek and straight. This creates a cool, edgy vibe.
It reminds me of the sharp lines in a hime cut or the dramatic flair of romantic goth hairstyles. Straight pieces against the braids add architectural interest and a touch of high-fashion gloss.
Using Braid-Outs for a Textured Look

Want zero heat? This is my go-to. After blending the piece, braid it while slightly damp into a small, tight plait. Let it dry completely, then unravel.
You’ll get a beautiful, textured wave that perfectly matches the vibe of your braids. It’s the ultimate low-maintenance, cohesive method and gives a gorgeous, organic texture.
Styling with the Loose Pieces Down
Wearing your braids down is the most common way to show off this style. Let the loose pieces fall naturally where you placed them. Run your fingers through them to separate the waves a bit.
They’ll move and bounce with you, adding life to the overall look. It feels very “model-off-duty” and is perfect for everyday wear.
Creating Half-Up, Half-Down Styles
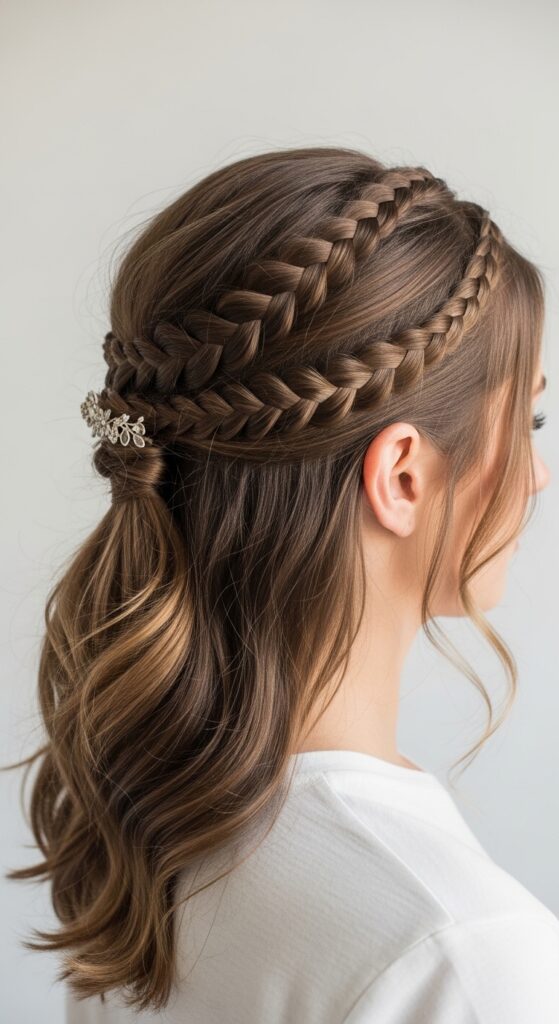
This is a gorgeous way to change it up. Gather the top section of your braids, including a few of your face-framing loose pieces, into a ponytail or clip at the back of your crown.
Leave the rest down. This style highlights your features and has a playful, feminine feel. It’s a great way to mix structure and softness in one look.
Incorporating Pieces into Updos
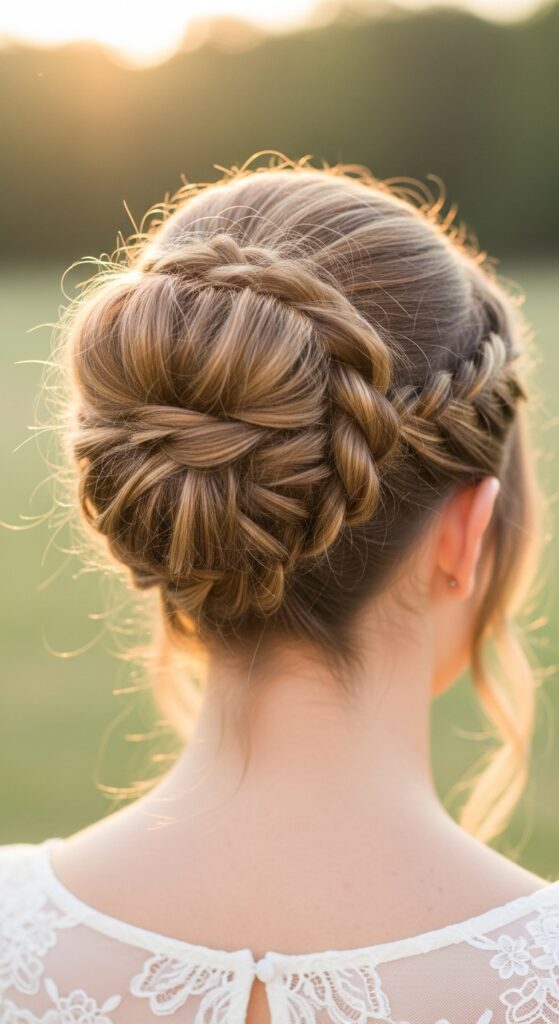
Don’t think you lose the loose pieces in an updo! When you put your braids in a bun or a chic upstyle, gently pull out one or two of your wavy pieces near your face and neck.
This prevents the updo from looking too severe and adds that soft, romantic touch. It’s a detail that elevates the entire style, much like the intentional pieces in a vampire haircut.
Nightly Care and Maintenance
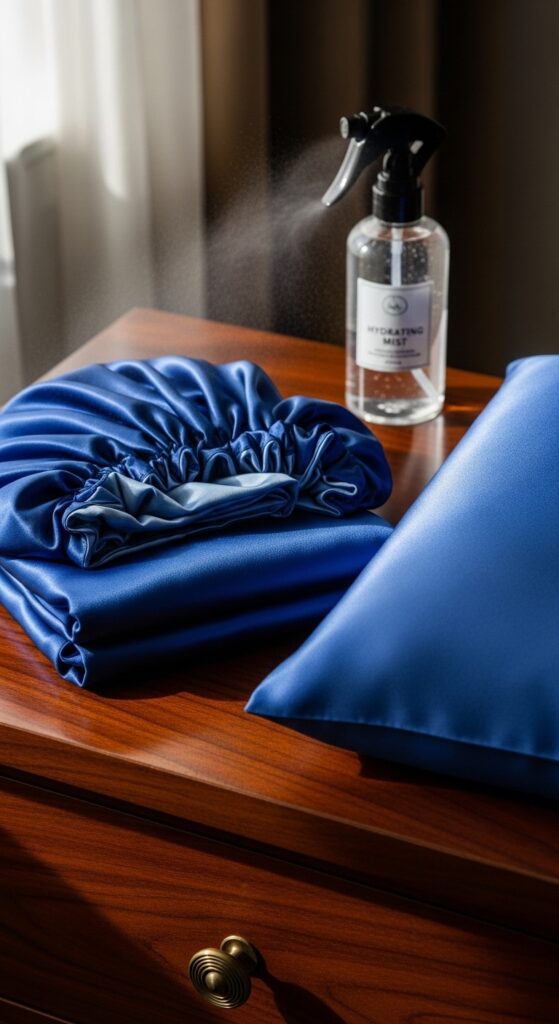
To keep your loose pieces looking fresh, protect them at night. I always recommend a silk or satin bonnet. You can also loosely gather the pieces and pin them up before putting the bonnet on.
In the morning, a light spritz of water and oil mix can revive the waves. Just scrunch gently. This routine keeps everything neat and extends the life of your style.
Refreshing the Waves Without Heat
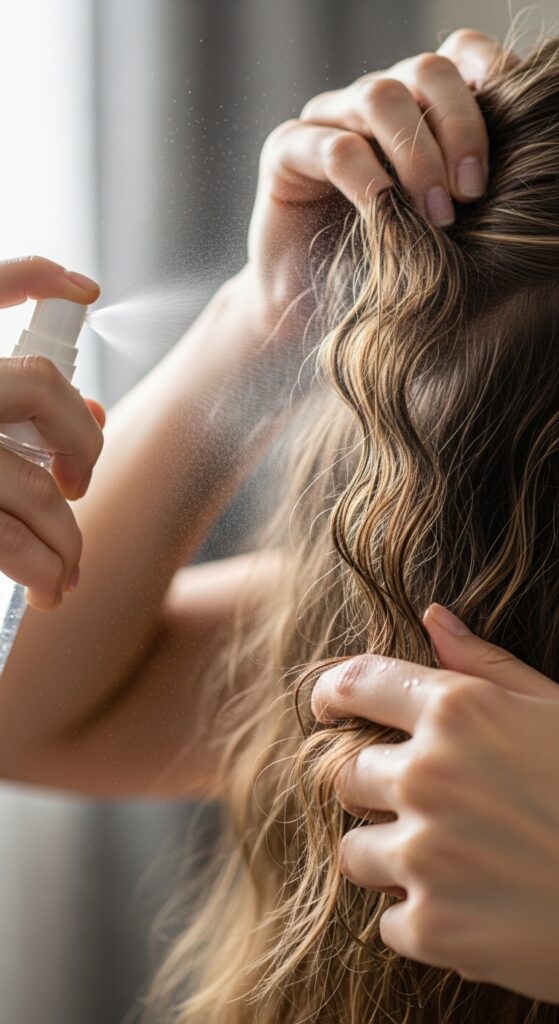
If the waves fall, you don’t always need heat. Dampen the pieces with a spray bottle (water mixed with a drop of leave-in conditioner).
Then, re-braid them into 2-3 small plaits. Let them air dry or use a blow dryer on cool air. When you unravel, you’ll have fresh, defined waves. It’s so easy and healthy for your hair.
Common Mistakes to Avoid
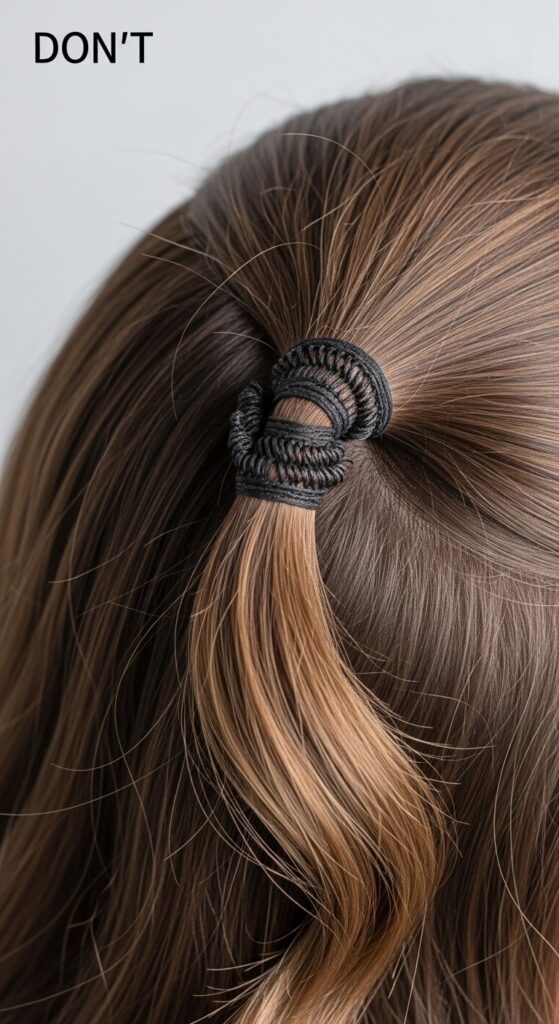
Let’s skip the frustration. Here are quick pitfalls to avoid:
- Using Too Much Hair: One loose piece should be a thin, wispy strand.
- Poor Blending: Not twisting your hair with the extension enough, leaving a visible line.
- Wrong Texture: Using a curl pattern that clashes with your braid style or desired wave.
How Long Do They Last?
With proper care, these loose pieces can last as long as your braids do—typically 4 to 8 weeks. They are attached securely at the root, so they withstand washing and styling.
You just need to refresh the wave pattern now and then using the no-heat method I mentioned. It’s a long-term style upgrade with minimal extra work.
Removing the Pieces Gently
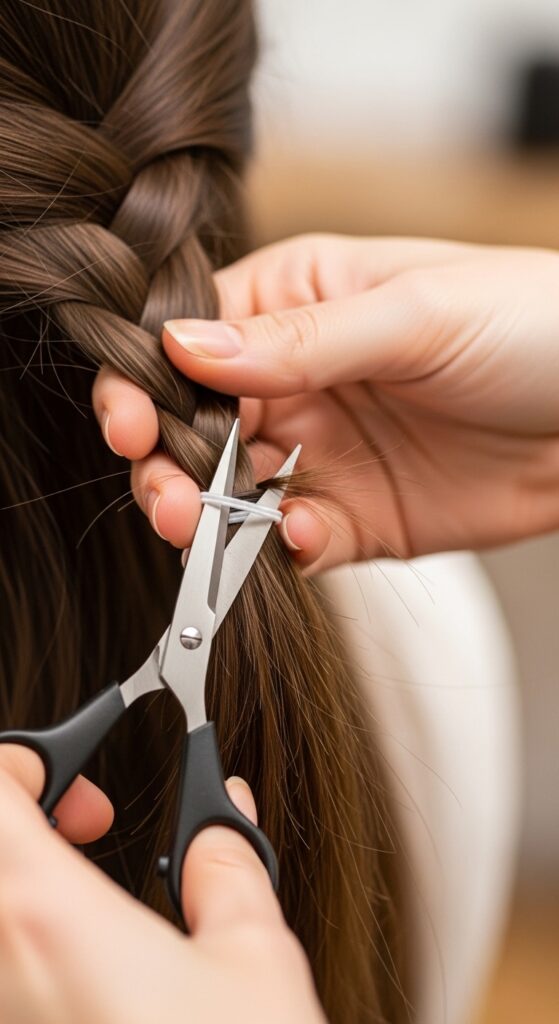
When it’s time to take your braids out, remove the loose pieces first. Simply locate the small elastic at the base. Carefully cut it with small scissors.
The piece should slide right out. Then, you can proceed to take down your braids as normal. There’s no extra damage or hassle if you remove them gently.
Inspiration: Mixing This with Other Trends
This technique is so versatile. Think of it as a base you can customize. Love the glitchy glam hair trend? Add a piece in a contrasting, shiny texture.
Into romantic goth hairstyles? Use deep-colored pieces for a dark, romantic frame. It’s a way to tap into the forecasted 2026 hairstyles—all about personalization and mixed textures.
Your Questions, Answered
Can I wash my scalp with them in? Absolutely! Just be gentle when shampooing the roots. Smooth the loose pieces back with the rest of your hair.
Will they cause breakage? Not if installed and removed correctly. The key is a secure but not too-tight base and using your own hair to wrap and blend, which distributes any weight.
And there you have it—your complete guide to nailing bohemian box braids with those perfect, wavy loose pieces. It’s a simple change that makes a huge difference, letting you express your personal style while keeping your hair protected and healthy.
I love how this look lets you play with texture and movement. It feels fresh, modern, and totally “you.” Whether you’re going for a soft romantic day or a night out with a bit of edge, these pieces add that special touch.
Did you try it? I’d love to see your creation! Tag me on Instagram so I can share your style. And if you found this guide helpful, save this post to Pinterest to keep these tips handy for your next braid appointment. What’s the first hairstyle you’re trying this with? Let me know in the comments below!