How to Do a Sleek High Bun That Actually Stays All Day
Okay, let’s be real. We’ve all been there. You spend 20 minutes crafting the perfect sleek high bun, it looks amazing for the first hour, and then… the flyaways attack. By lunch, it’s a loose, sad little knot. I feel you. That used to be my everyday story.
But after years of trial and error (and some serious hairspray fails), I finally cracked the code. This isn’t just a bun; it’s a fortress. It survives spin class, windy commutes, and long workdays.
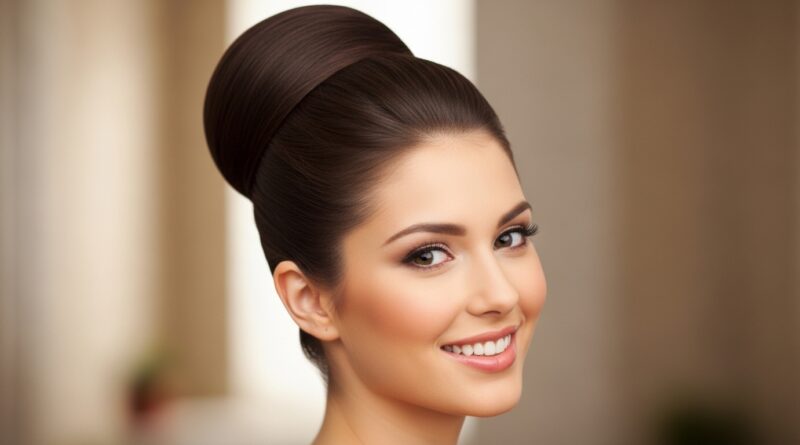
Whether you’re aiming for that clean “old money hair” vibe or just need a reliable, elegant updo, this step-by-step guide is your new best friend. It’s easier than you think, and I promise it actually stays put. Let’s get that perfect bun.
Why Your Bun Falls Apart (And How to Fix It)
The main culprits are usually slippery hair and not creating enough tension. If your hair is very smooth or freshly washed, it lacks the grip to hold itself together. The other mistake is just twisting and pinning without a solid base.
We’re going to tackle both. The secret is in the prep and the technique. A few small changes make all the difference between a bun that lasts an hour and one that lasts all day and night.
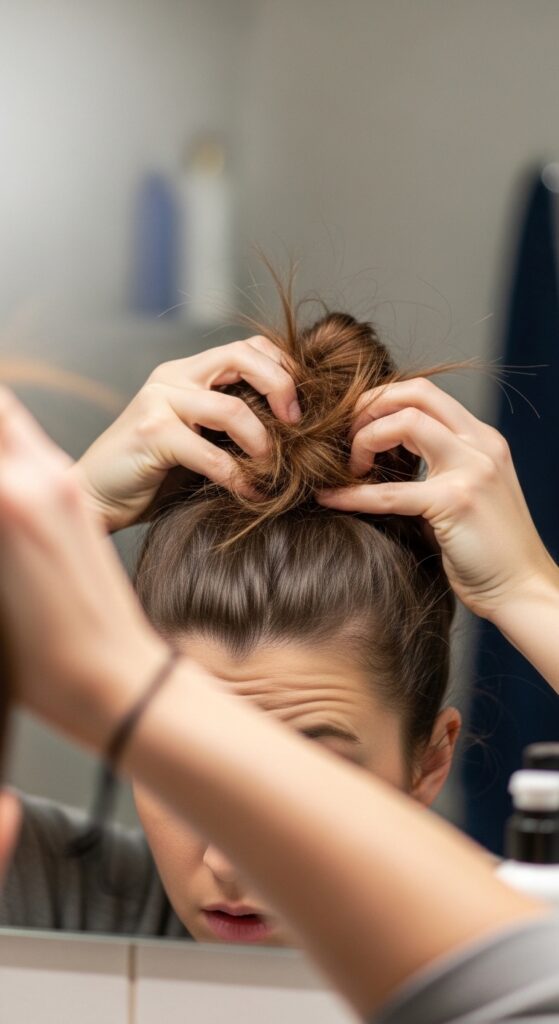
Gather Your Tools: You Don’t Need Much
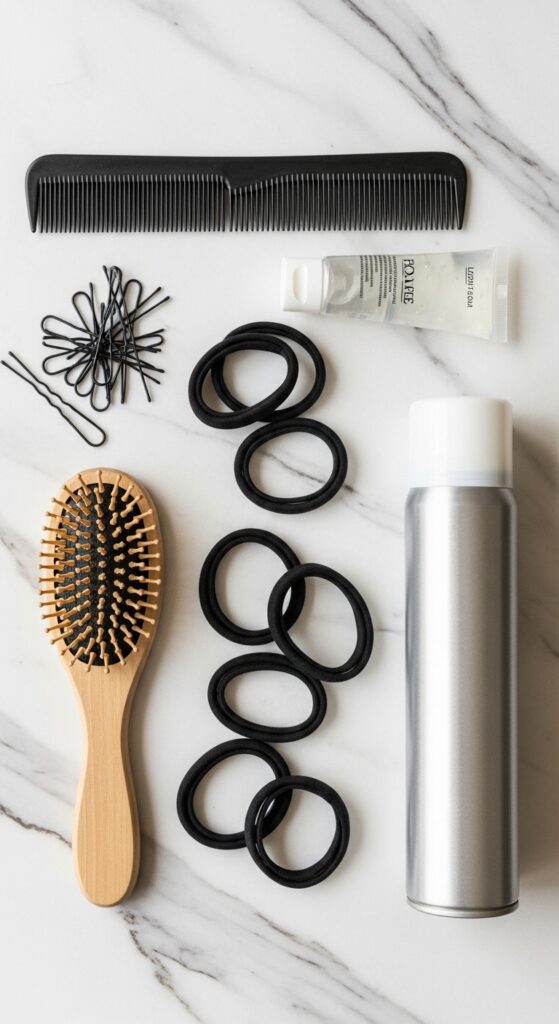
You likely have everything already. Here’s your simple toolkit:
- A fine-tooth comb (this is non-negotiable for sleekness)
- Strong-hold hair elastics (I like the thin, matte ones)
- U-shaped hair pins (not bobby pins—these are game-changers)
- A light-hold styling gel or a smoothing cream
- A strong-hold hairspray (aerosol works best)
- A boar bristle brush for final smoothing
Start with Day-Old Hair (Seriously)
If you can, do this style on hair that hasn’t been washed that morning. Day-old hair has natural texture and oils that help with grip. If you must use clean hair, spray a little dry shampoo at the roots for volume and texture.
This extra grip is the foundation. It’s the same principle that makes many 2026 hairstyles look lived-in and effortless, yet polished. We’re building from a stable base.

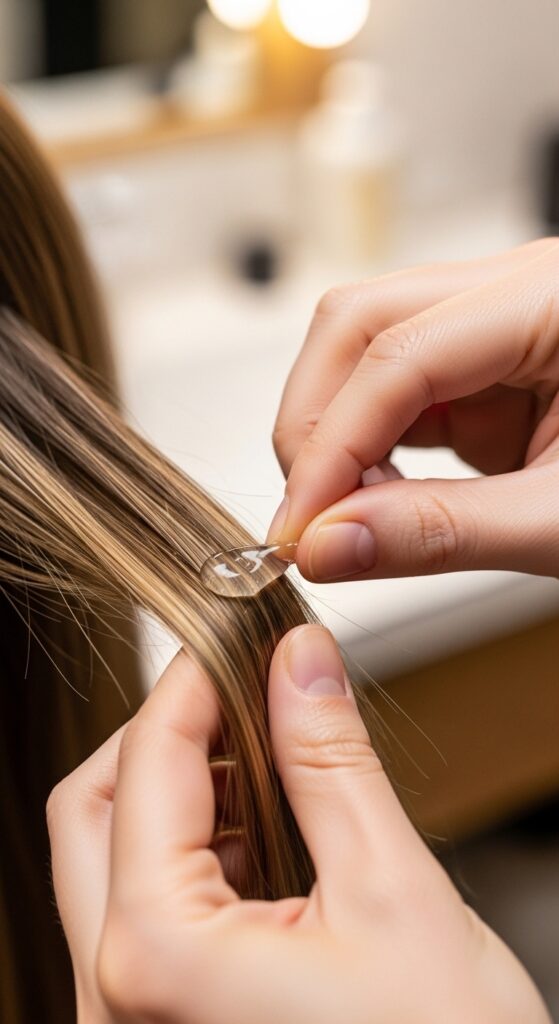
Apply a Light Smoothing Product
Work a small amount of styling gel or smoothing cream through your mid-lengths and ends. This helps control flyaways before they even start. Avoid the roots—you still want volume there.
The goal is to coat the hair shaft slightly for control, not to make it crunchy or wet-looking. This step is key for that “quiet luxury bob” level of polish, even in an updo.
Comb Through for Perfect Slickness
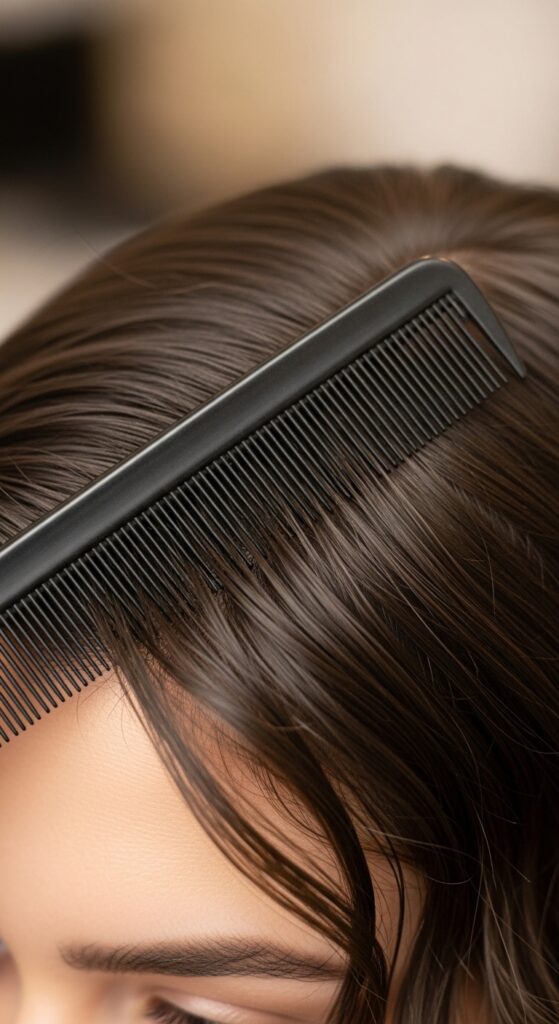
Using your fine-tooth comb, brush all your hair back into a high ponytail position. Don’t pull it tight yet. Comb from the hairline all the way back, ensuring every strand is aligned.
This is where you eliminate bumps. Go over the sides and crown multiple times. For a super severe look, you can even use a bit of gel along the hairline before combing.
Secure a Tight, High Ponytail
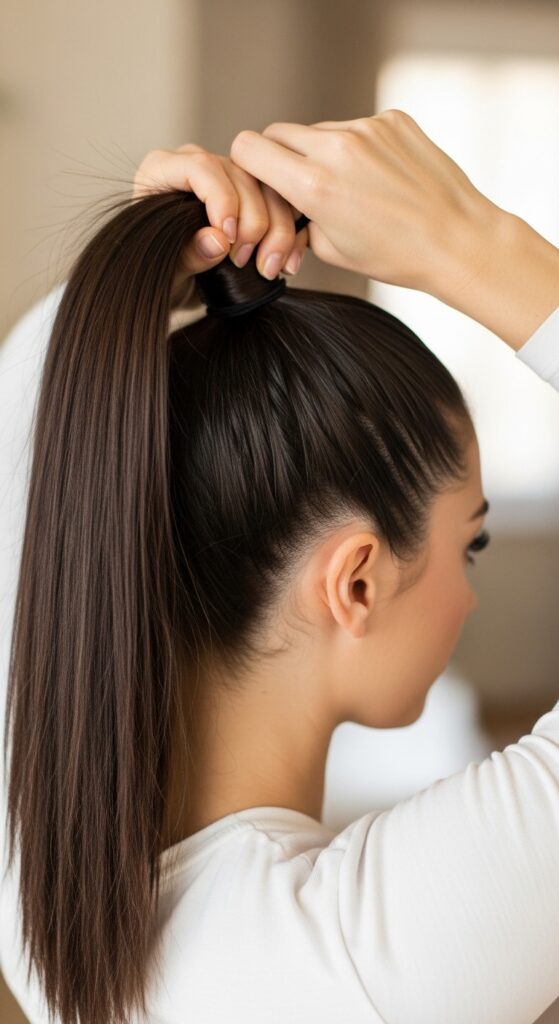
Now, gather all your hair at the crown of your head. Look straight ahead—you should be able to see the tail in your peripheral vision. This is high enough.
Use a strong elastic to secure it. Wrap it as many times as you can for a super tight hold. The tighter the ponytail, the more stable your bun will be. This is not the time for a gentle touch.
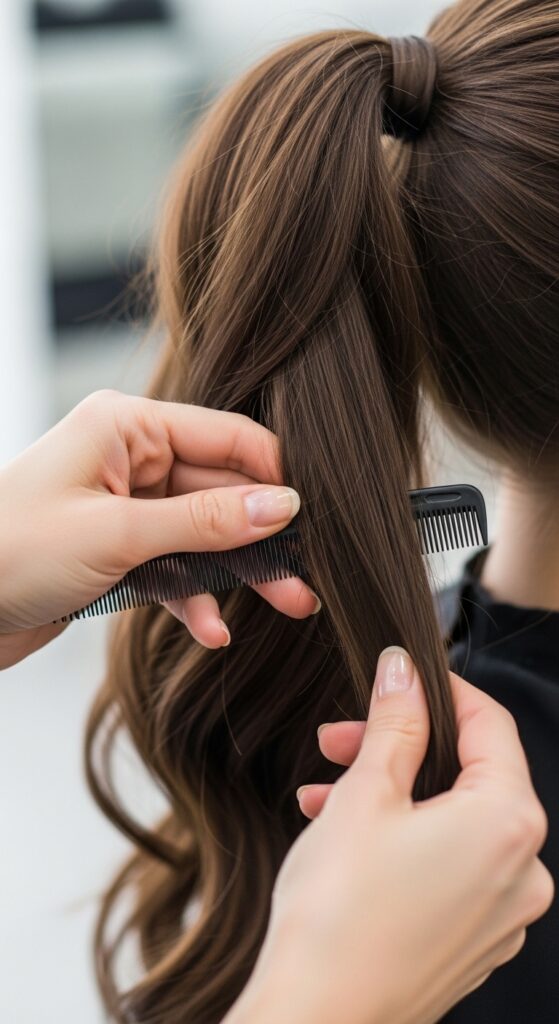
Tease the Ponytail for Grip
Lightly backcomb or tease the length of your ponytail. Just a few strokes to create some friction and texture. This gives the hair something to grip onto when you wrap it around itself.
If you have very fine or slippery hair, this step is a lifesaver. It adds bulk and hold without needing a ton of product.
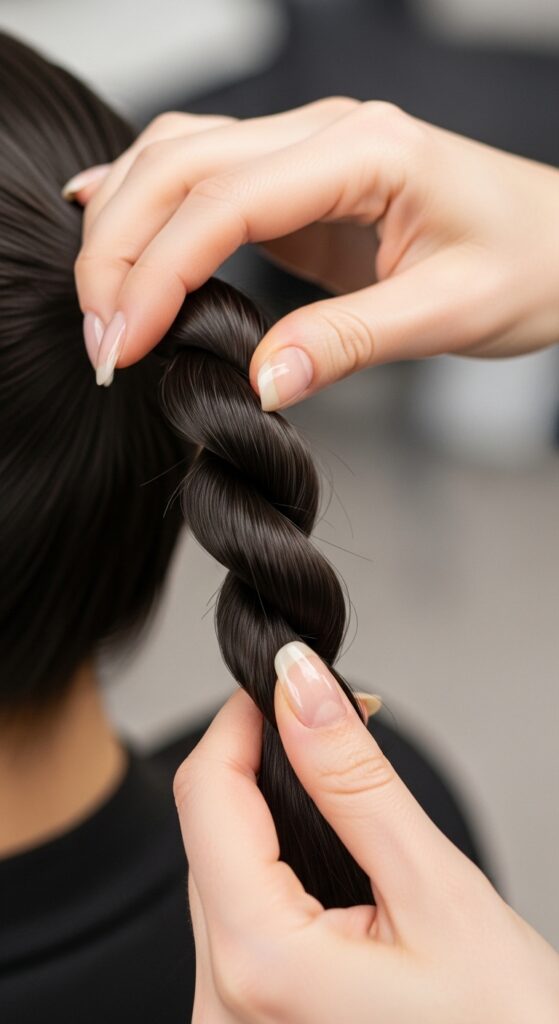
Twist the Hair Firmly
Take your ponytail and twist it tightly in one direction, like you’re wringing out a towel. Keep twisting until the entire length is a firm, twisted rope. This creates structure.
As you twist, the hair will naturally want to coil around itself. That’s exactly what we want. Hold the twist firmly at the end.
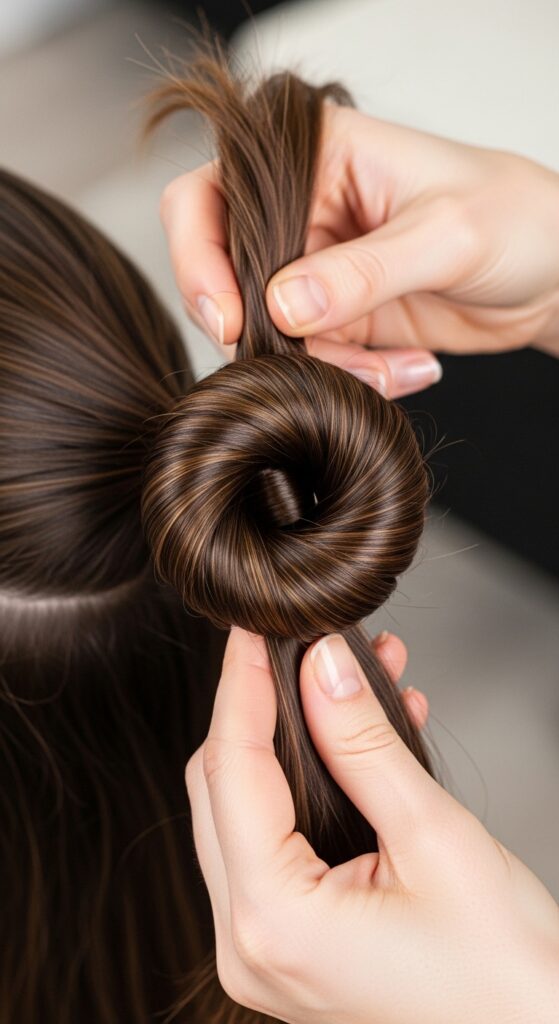
Wrap the Twist Around the Base
Now, coil the twisted rope around the base of your ponytail. Keep it tight and flat against your head. Don’t let it puff out. Follow the natural coil of the twist.
This creates a neat, spiral bun. As you wrap, tuck the very end of the hair under the base of the bun. We’ll secure it in the next step.
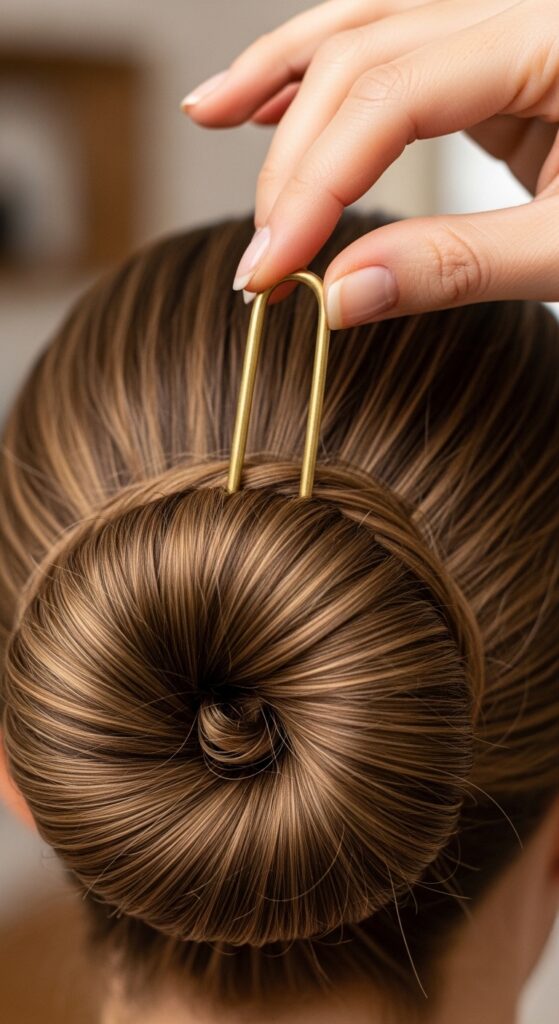
Secure with U-Shaped Pins (Not Bobby Pins)
This is the magic. Take a U-shaped pin and slide it through the outer edge of the bun, catching hair from the bun and the hair beneath it, then slide it back out. It acts like a staple.
Use 4-5 pins, placing them around the bun where it feels loose. Push them in until they disappear. They hold ten times better than bobby pins for this style.
Tame the Flyaways with Hairspray
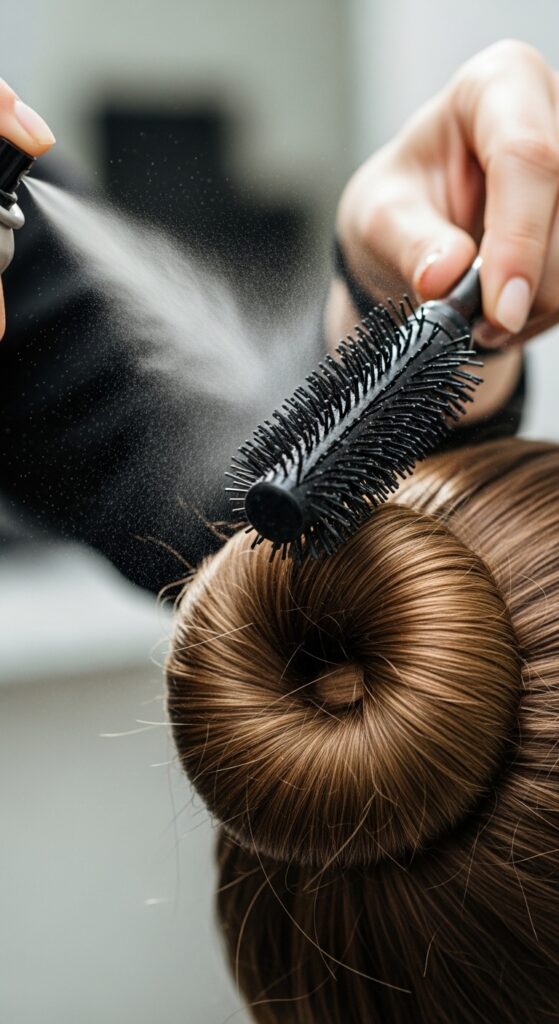
Lightly mist a soft-bristle brush (like a boar bristle) with hairspray. Gently brush over the surface of the bun and any edges. This lays down flyaways without making your hair crispy.
Then, do a final all-over mist from about 10 inches away. Let it dry completely before touching it. This is your sealing layer.
Lock It All In with Strong Hold Spray
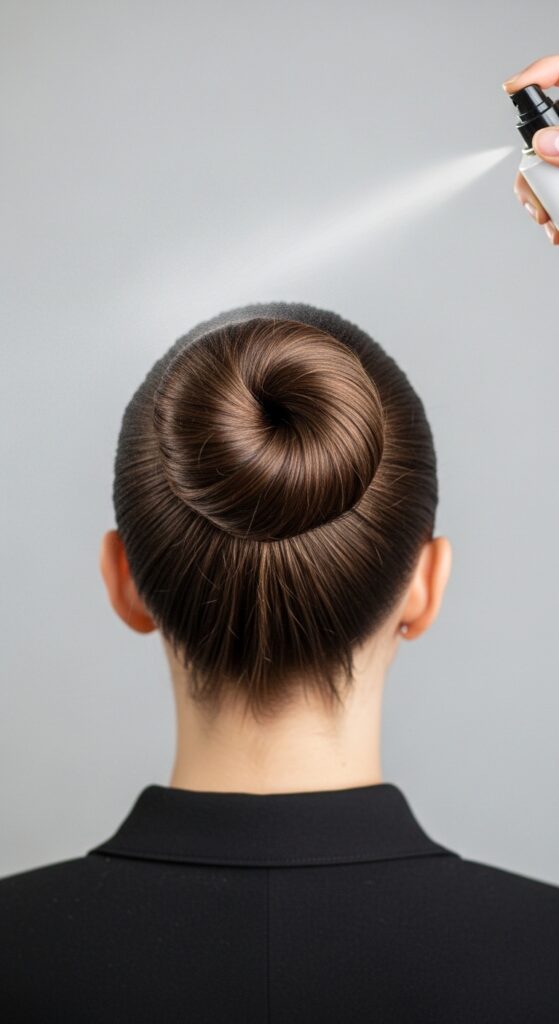
For the ultimate hold, give your entire head a final spray with a strong-hold aerosol hairspray. Pay extra attention to the front and sides where bumps like to form.
Hold the can far enough away so you get a fine mist, not big droplets. This final step is what carries you from morning to night, no touch-ups needed.
How to Hide the Hair Elastic
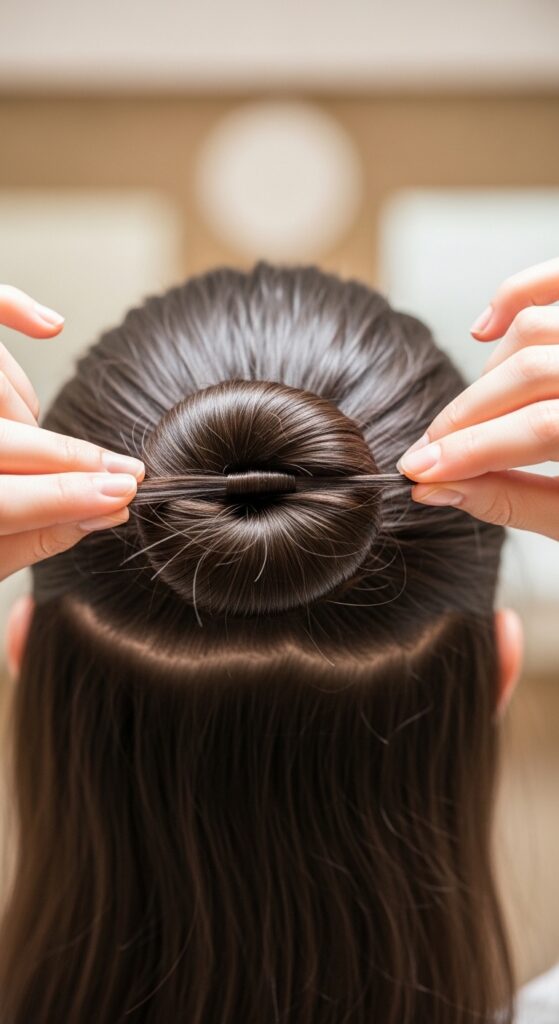
If you don’t like the look of the elastic, take a tiny section of hair from underneath the bun. Wrap it around the base to cover the elastic, and secure the end with a tiny U-pin.
This gives a seamless, polished finish. It’s a small detail that makes the bun look professionally done, like something you’d see with an asymmetrical lob or other precision cut.
Make It Look Fuller & Softer
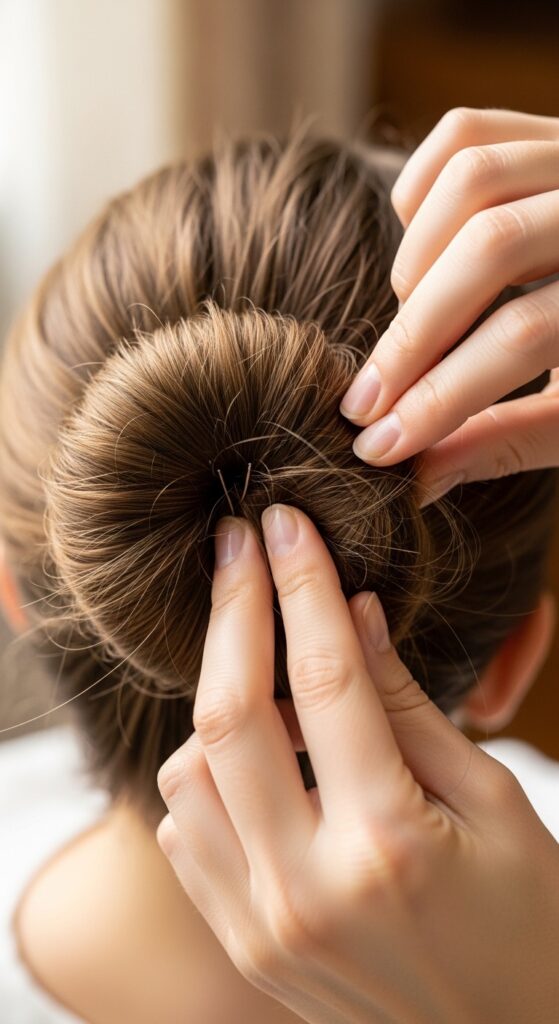
For a fuller, less severe bun, gently pull at the sides of the bun with your fingertips after it’s pinned. Loosen small sections to create a softer, more romantic shape.
This is a great way to adapt the look. It moves from boardroom to dinner seamlessly. It has a touch of that romantic goth hairstyles volume, but kept clean and chic.
Add a Hair Accessory for Glamour
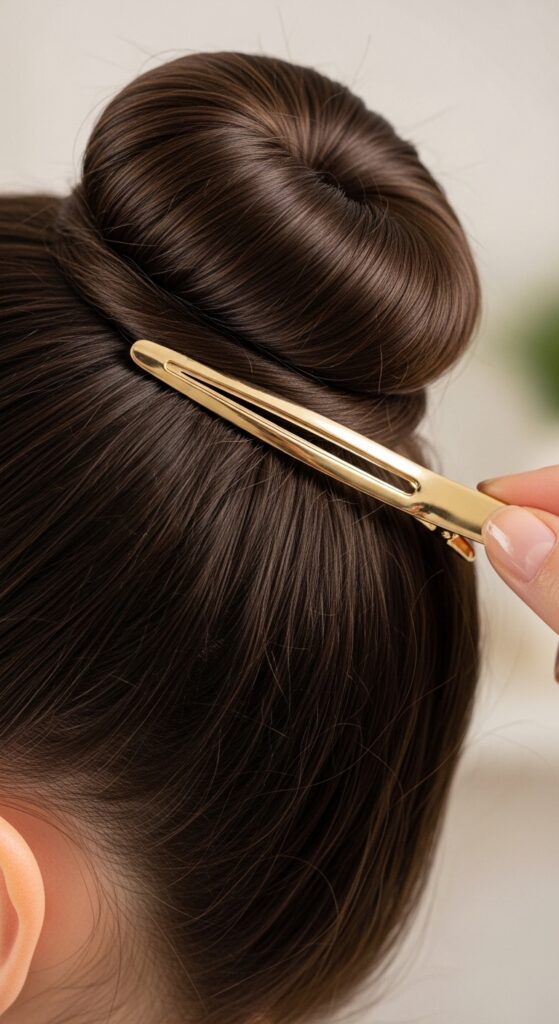
Slide in a decorative pin, a sleek barrette, or wrap a silk scarf around the base. This instantly elevates the look and can also help secure any stray pieces.
Accessories are a huge trend for 2026 hairstyles. Think minimalist clips for that old money hair aesthetic or something more dramatic for a glitchy glam hair moment.
Adapt It for Shorter Hair
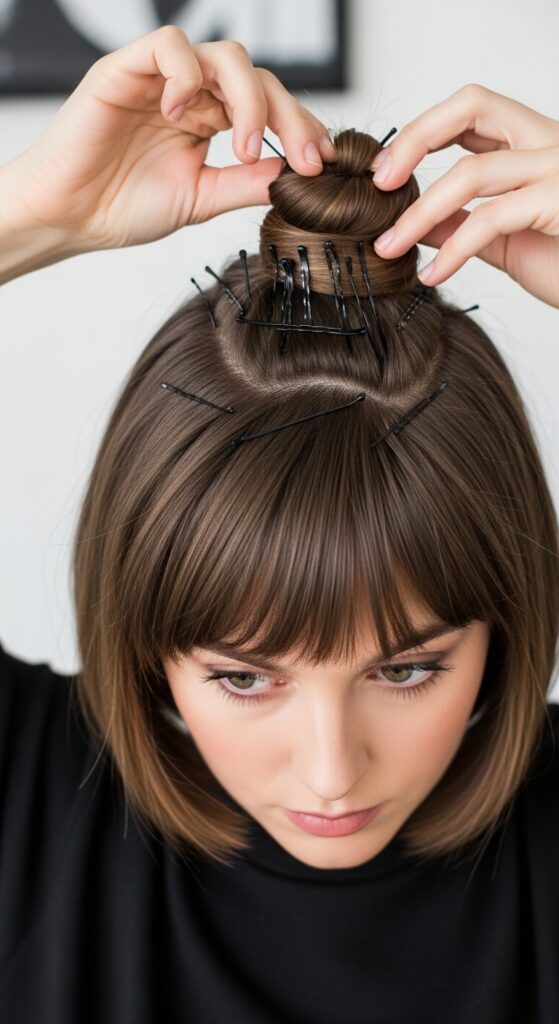
If you have a bob, lob, or even a hime cut, you can still do this! Use more pins and focus on twisting the shorter pieces into the core. Clear elastics and lots of gel are your friends.
You might get a smaller, more textured knot, but it’s just as chic. It works beautifully with the structure of a vampire haircut or a sharp asymmetrical lob.
Turn It Into a Messy Bun Later
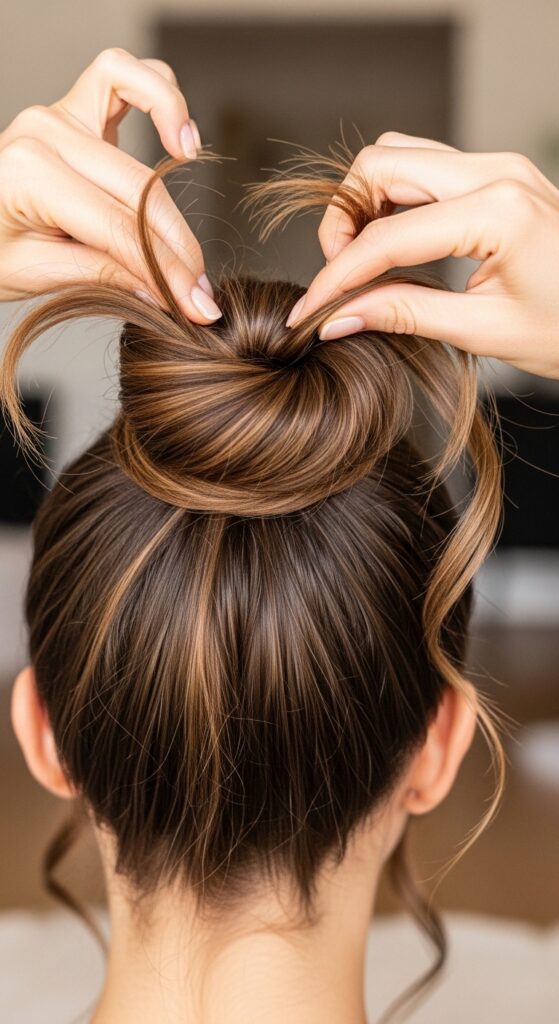
The best part? When your day is done, you can easily transform it. Gently pull out the pins, loosen the twist, and pull out a few face-framing pieces.
You’re instantly left with a perfect, lived-in messy bun with amazing texture and volume from being pinned all day. It’s a two-for-one style.
Common Mistakes to Avoid
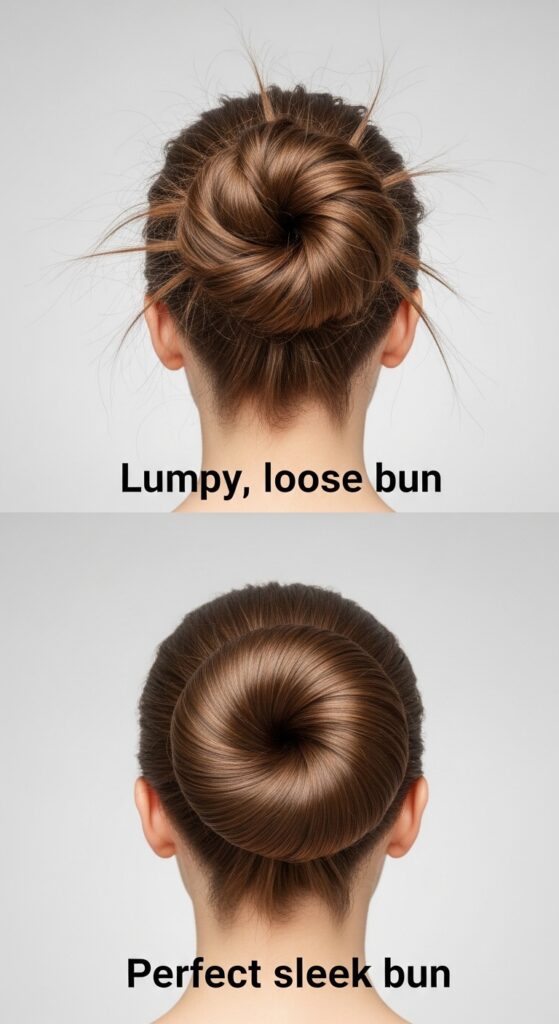
- Using a thick, bulky elastic: It’s harder to wrap hair around and looks lumpy.
- Pinning with bobby pins only: They pop out with tension. U-pins are superior for this.
- Skipping the teasing/grip product: This is what makes it stay on slippery hair.
- Spraying hairspray too close: It creates crispy spots and flakes.
My Favorite Products for This Style
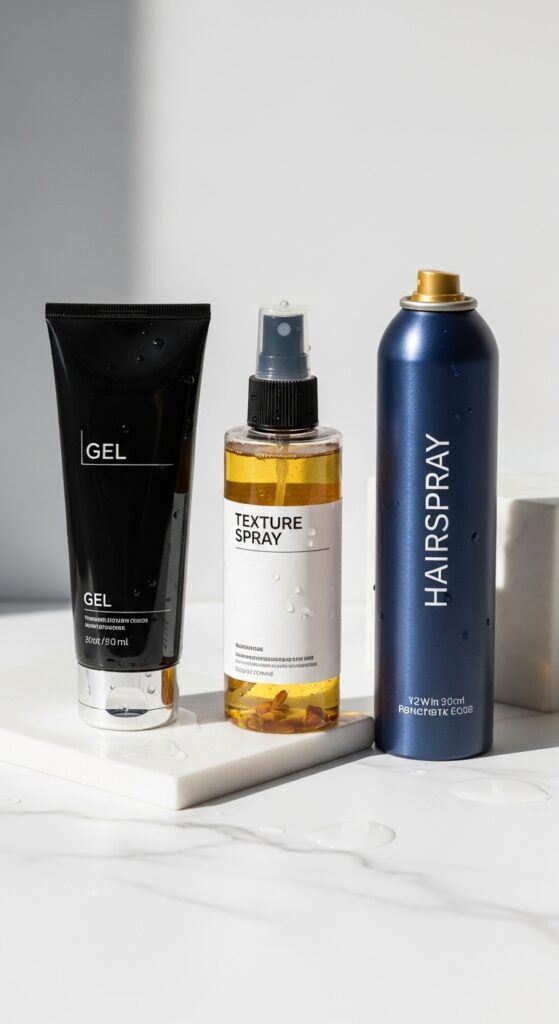
After testing countless things, I always come back to a few heroes. A strong-hold gel like Brand X Defining Gel for control. Brand Y Texture Spray for day-one grip. And Brand Z Maximum Hold Hairspray for the final, flexible lock.
You don’t need expensive stuff, but you do need strong hold. Drugstore brands have great options—just look for the words “maximum hold” or “invisible gel.”
How This Bun Fits Current Trends
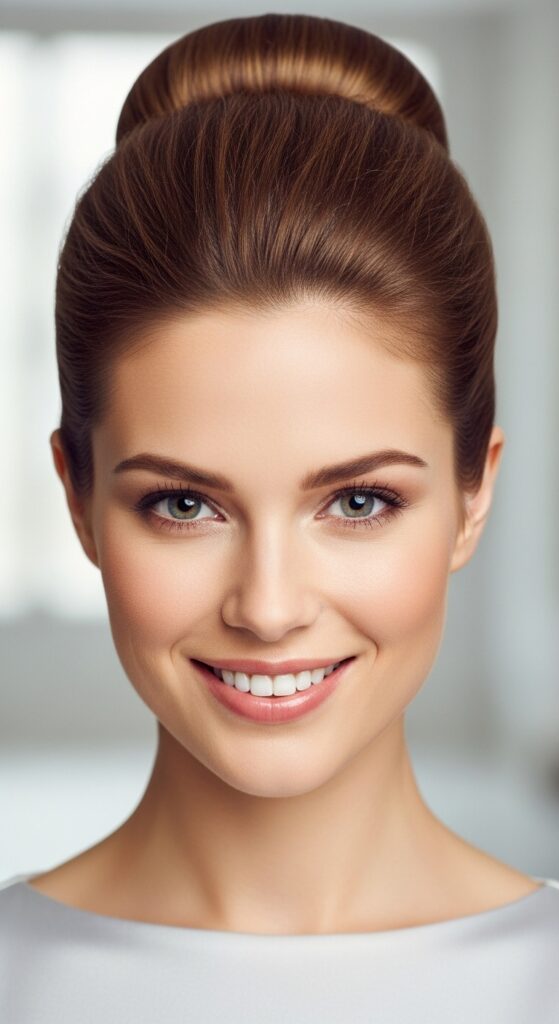
This sleek bun is the ultimate foundation. It’s the epitome of quiet luxury and old money hair—polished, effortless, and expensive-looking. But you can also edge it up.
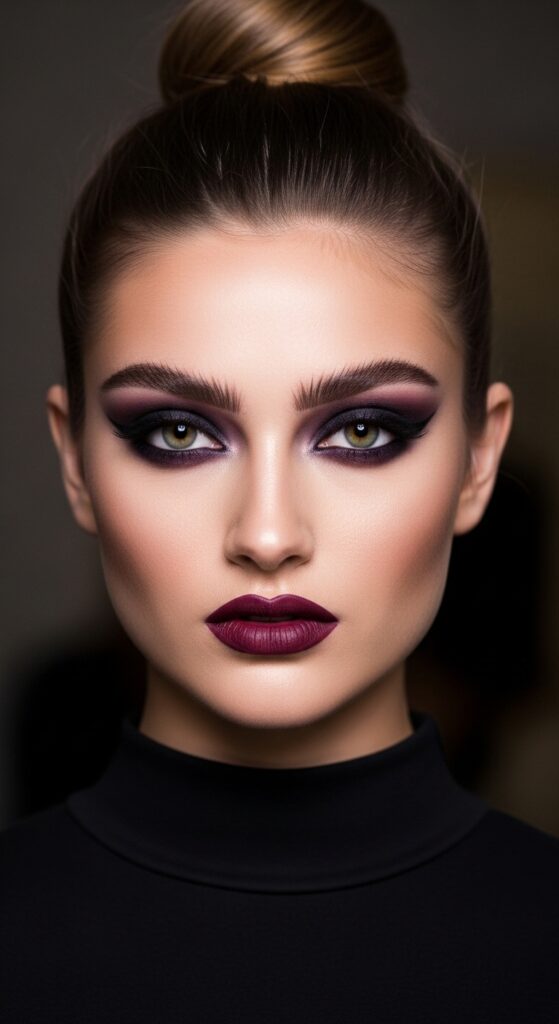
Add a middle part and severe slickness for a modern twist. Or pair it with bold makeup for a romantic goth or glitchy glam hair contrast. It’s incredibly versatile.
Your Questions, Answered
Q: Will this work on thin hair?
A: Absolutely! The teasing and pinning technique actually creates the illusion of more volume. It’s perfect for fine hair.
Q: Can I do this on wet hair?
A> I don’t recommend it. It won’t hold as well and can take forever to dry, leading to dampness and smell. Always start with dry or damp-dry hair.
Practice Makes Perfect
Your first try might take 10 minutes. Your fifth will take three. It’s a muscle memory thing. Don’t get discouraged if it’s not perfect immediately.
Try it on a lazy Sunday or before washing your hair. Once you have the wrap-and-pin motion down, it becomes the fastest, most reliable style in your arsenal.
And there you have it! The no-slip, no-fail, sleek high bun that truly lasts from your first coffee to your last scroll through your phone at night. It’s my most-requested how-to, and for good reason. Once you master it, it changes your hair game.
This bun is more than just a style; it’s a trusty tool. It’s for busy mornings, important meetings, hot days, and “I need to feel put-together” moments. It’s the quiet workhorse of hairstyles.
Did this guide work for you? Do you have your own bun secret? I’d love to know! Tell me in the comments below. And if you found this helpful, save this post to Pinterest so you can always find it when you need a perfect hair day.
Happy styling!
Hailey & Team