How to Create a Bridal Updo Without Going to a Salon
Hey friend. So you’re getting married? First of all, huge congratulations! That’s so incredibly exciting.
Now, let’s talk hair. I know the salon price tag for a bridal updo can be a serious shock. It feels like you’re paying for the stress of the appointment as much as the style itself.
What if I told you that with a bit of practice, some good products, and a lot of deep breaths, you can absolutely create a beautiful, lasting updo right at home? It’s true. This isn’t about being a professional. It’s about feeling confident and looking like you on your big day.
Let’s walk through it, step-by-step. I promise it’s more achievable than you think. Grab a coffee, and let’s get started.
Why a DIY Bridal Updo is Totally Doable
I get it. The idea of doing your own wedding hair sounds intense. But think about it: you know your hair better than anyone. You know how it behaves, what it needs, and what makes you feel most like yourself.
Doing it yourself removes the salon gamble. No last-minute stylist panic. You control the timeline, the products, and the final look. It’s a moment of quiet calm before the celebration.
Plus, mastering this skill is a serious confidence booster. Imagine the pride of saying, “Thanks, I did it myself!”
Gathering Your Essential Toolkit
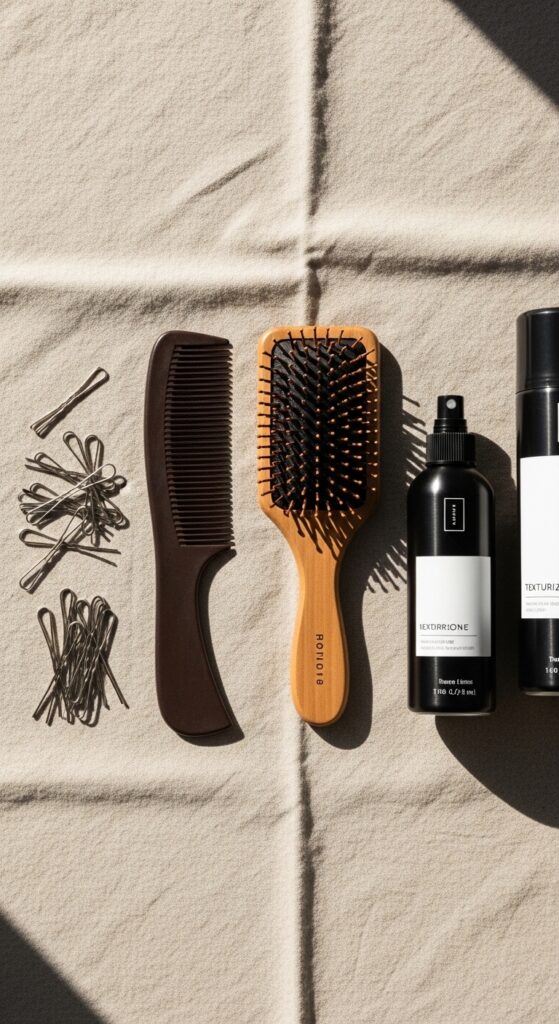
You can’t build a house without tools, and the same goes for your updo. Don’t worry, you don’t need a salon’s worth of gear. Just these key items:
- Quality Hairpins (Bobby Pins): Get the good, strong, matte-finish ones. You’ll need more than you think.
- U-Shaped Pins: These are secret weapons for securing thicker sections.
- A Fine-Tooth Comb & Paddle Brush: For smoothing and control.
- Strong-Hold Hairspray: A must for all-day wear.
- Texturizing Spray or Dry Shampoo: Gives grip to slippery hair.
- Clear Elastics: For creating hidden foundations.
The Magic of a Practice Run (or Three!)
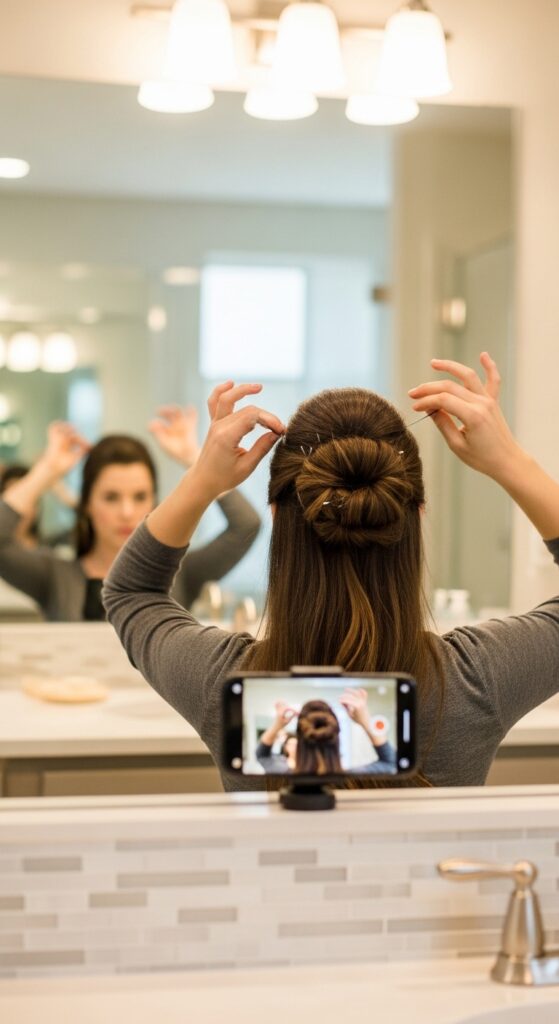
This is the most important step. Do not wait until your wedding morning to try this for the first time. Schedule a few “hair dates” with yourself.
Put on a white top, play your getting-ready playlist, and practice. Take photos from all angles—back, sides, front. See how it lasts through a few hours of moving around.
Each practice run will build your muscle memory and calm your nerves. By the big day, it’ll just be another familiar routine.
Start With the Right Hair Texture
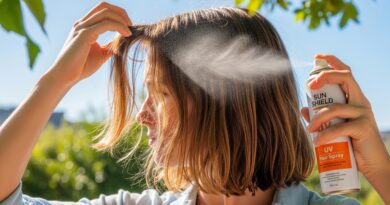
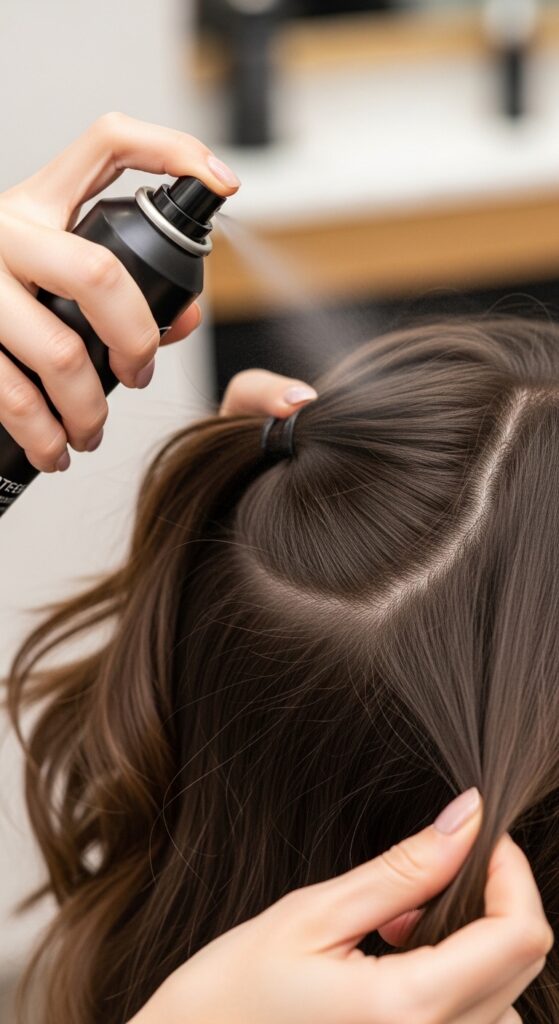
Day-old hair is your best friend. Freshly washed hair can be too soft and slippery. If you must wash, use a volumizing shampoo and skip the heavy conditioner at the roots.
Spritz dry shampoo or texturizing spray at your roots and through the mid-lengths. This creates the grit and volume needed for pins to grip and styles to hold.
If your hair is very fine or silky, a light mousse applied to damp hair before blow-drying can also add necessary body.
Mastering a Smooth Base
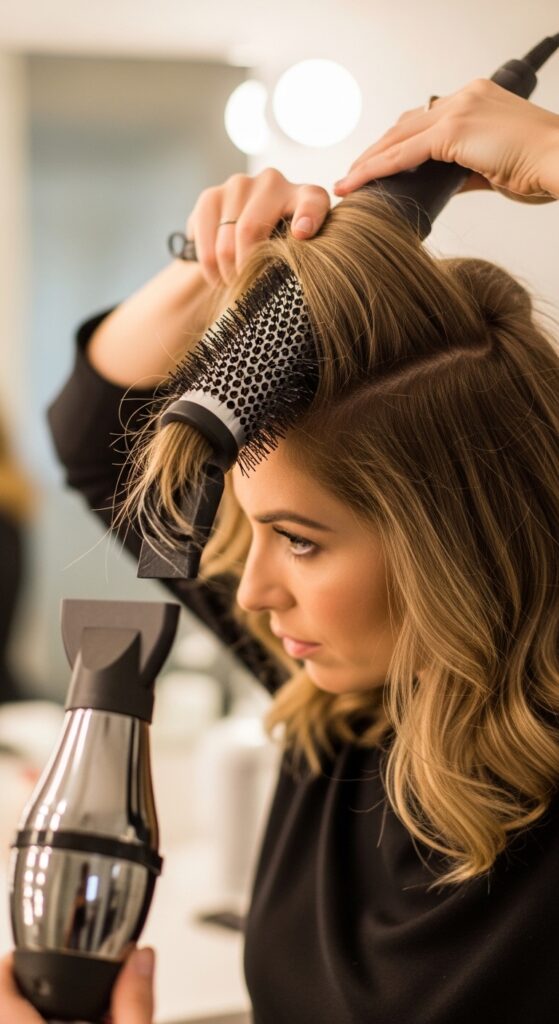
Every great updo starts with a polished base. After applying your texture products, blow-dry your hair straight or with a slight bend using a round brush.
The goal is to eliminate any major tangles or knots. Smooth hair is easier to control and will look more refined.
You can aim for a sleek “quiet luxury bob” kind of smoothness at the crown, even if you’re putting it all up. That polished feel starts here.
Creating Volume at the Crown
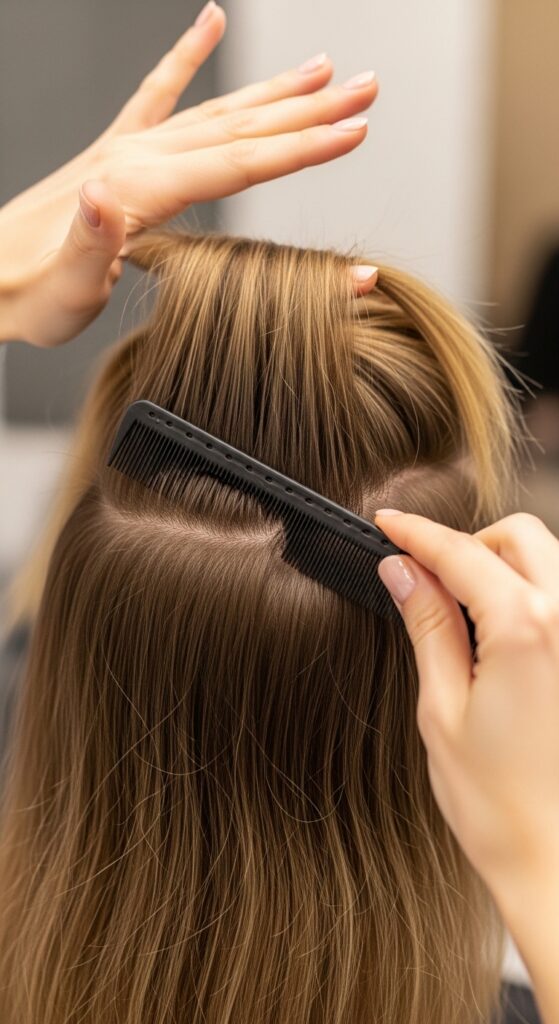
No one wants a flat updo. For instant lift, take a section at the very top of your crown. Lightly backcomb (tease) the root area with your fine-tooth comb.
Be gentle—you can always add more, but removing tangles is hard. Smooth the very top layer over the teased section to hide it.
This technique gives you that elegant, effortless height you see in so many 2026 hairstyle previews, full of romance and volume.
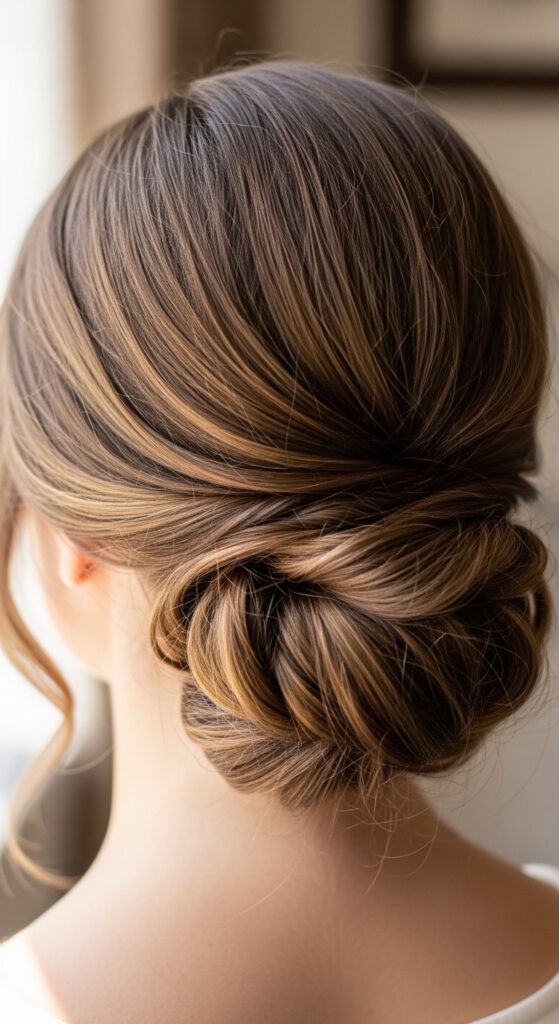
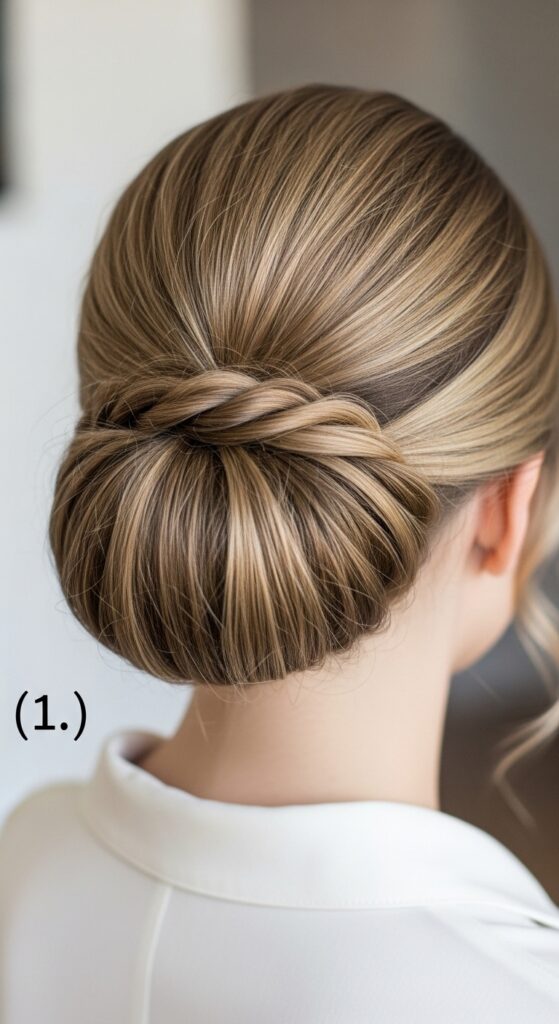
The Simple, Elegant Low Bun
This is a classic for a reason. It’s timeless and easier than it looks. Gather your hair at the nape of your neck as if making a low ponytail, but don’t pull it all the way through on the last loop of the elastic.
You’ll have a loop. Twist the loop and wrap it around the base, tucking the ends under. Secure with pins, weaving them through the base and into your scalp.
Pull gently at the sides of the bun to loosen and create a softer, more romantic feel.
A Romantic Twisted Chignon
For a bit more detail, try a twisted style. Create a low ponytail. Split it into two sections and twist them individually, then twist them together around the base.
Pin as you go. The key is to keep the twists a little loose for a soft, romantic effect. Don’t pull them too tight.
This style has a beautiful, old money hair vibe—effortlessly chic and perfectly undone in the best way.
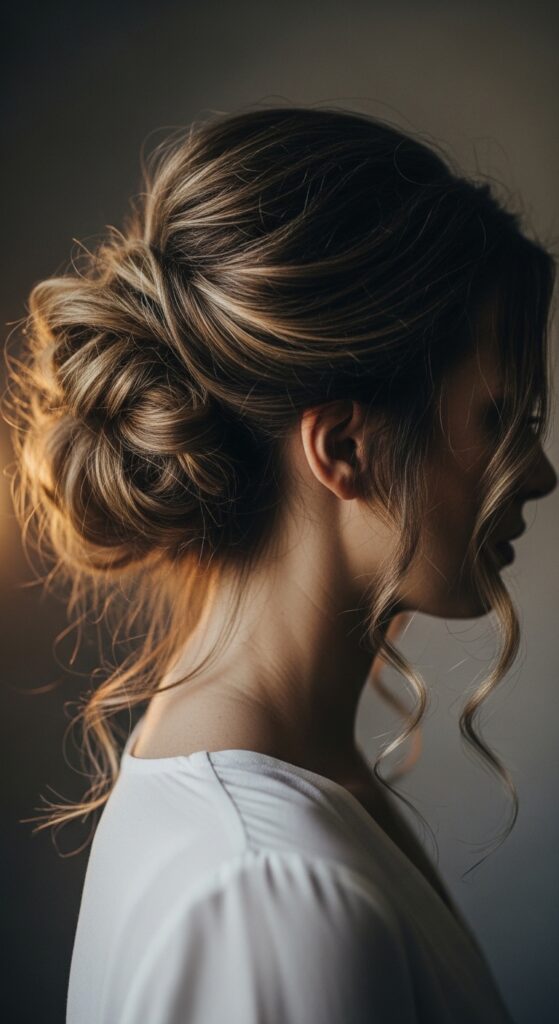
The Messy (But Intentional) Updo
If sleek isn’t your style, embrace the beautiful mess. Start with heavily textured hair. Pull it into a loose, high ponytail but leave out plenty of pieces.
Twist and pin sections loosely, allowing ends to escape. The goal is artful imperfection. Pull out face-framing pieces and small curls around your neck.
This style pairs beautifully with a romantic goth or vintage-inspired wedding look, full of personality.
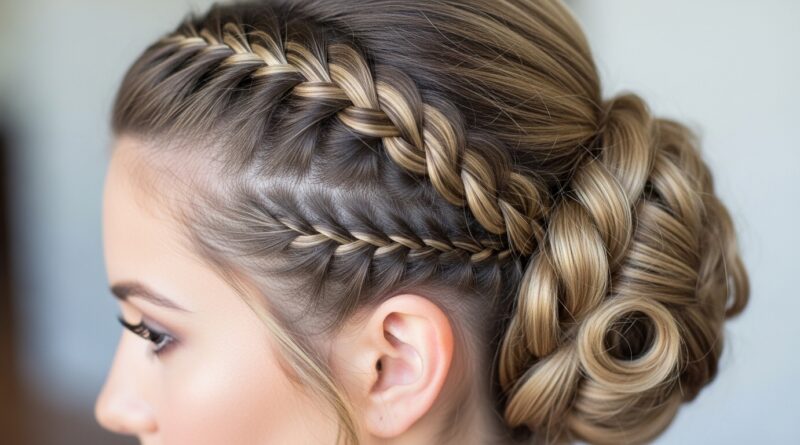
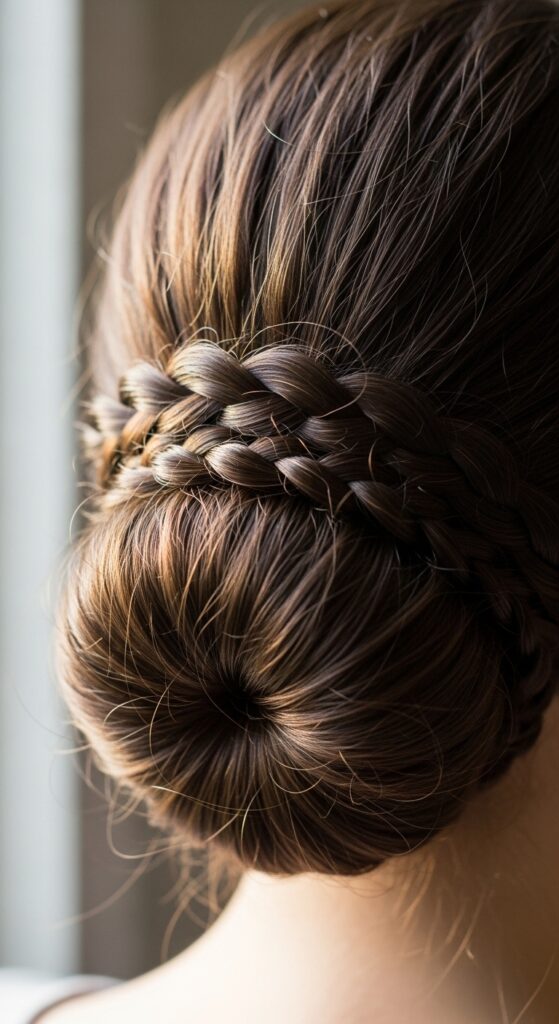
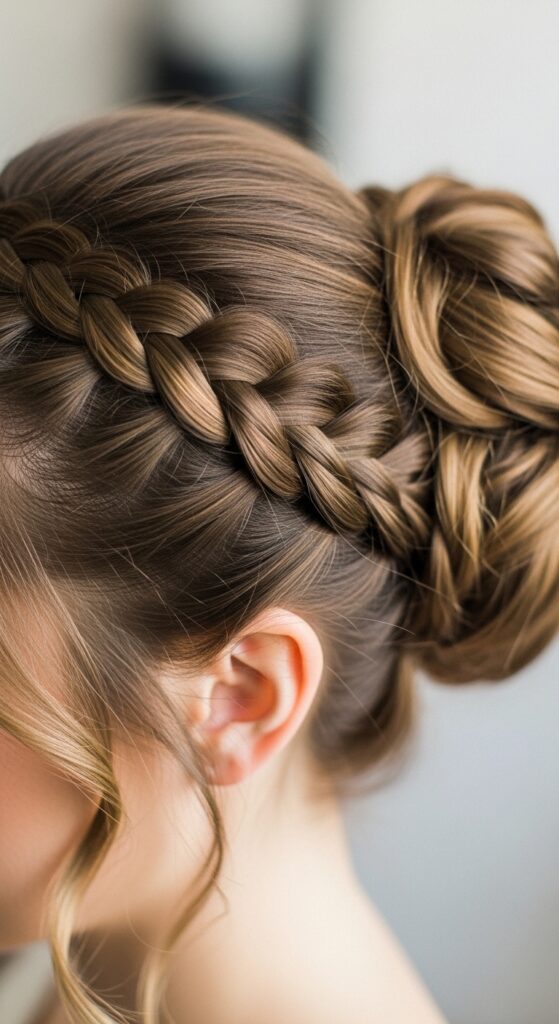
Incorporating Braids for Detail
A small braid can elevate a simple updo instantly. Try a Dutch braid along your hairline, starting at one temple and going back. Secure the end, then incorporate it into your bun or chignon.
Alternatively, create a simple three-strand braid with a section of hair before you start your updo, and wrap it around the base as a decorative element.
It adds a touch of boho, festival-ready charm that feels fresh and personal.
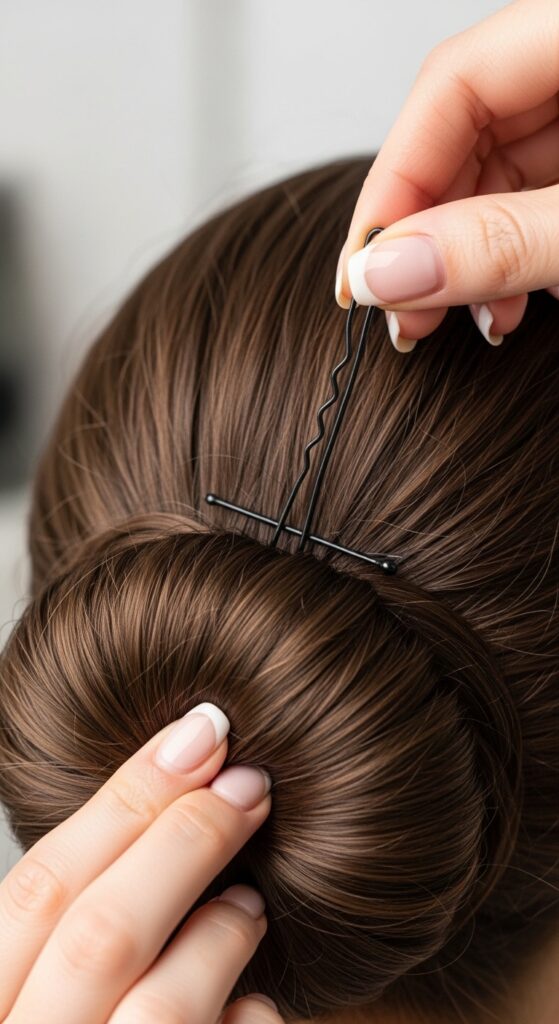
Securing Everything: Pin Like a Pro
Pinning is a technique. Never just slide a pin in flat. Open the pin, insert the wavy side against your scalp, and then slide it through a piece of the updo.
Always criss-cross your pins for maximum hold. Think of anchoring the style to your head, not just clipping hair to hair.
For heavy sections, use U-pins. Insert them straight in, then hook them back around to lock.
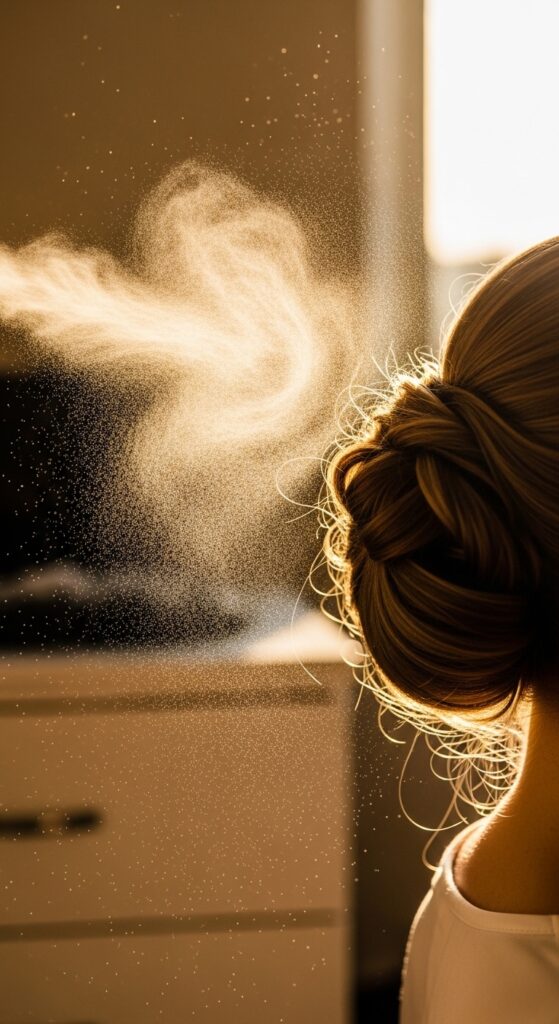
Setting It All With Hairspray
Hold the can about 10 inches away. Mist over the entire style, but don’t drench it. Let it dry for a minute.
Then, for extra hold and to eliminate shine, spray a light layer onto your hands, rub them together, and gently smooth over any flyaways or the surface of the bun.
This gives a sealed, finished look without the crispy “hairspray helmet” feel.
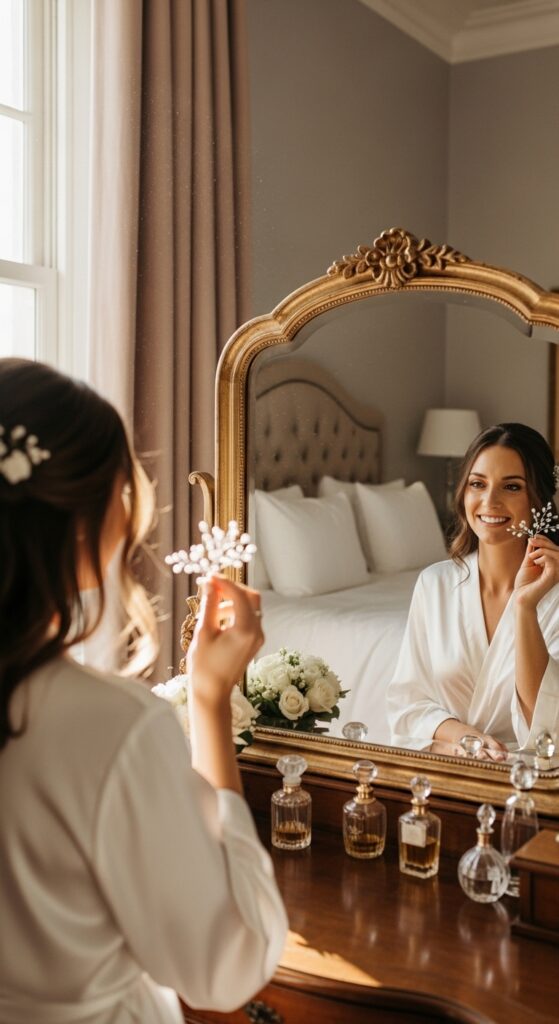
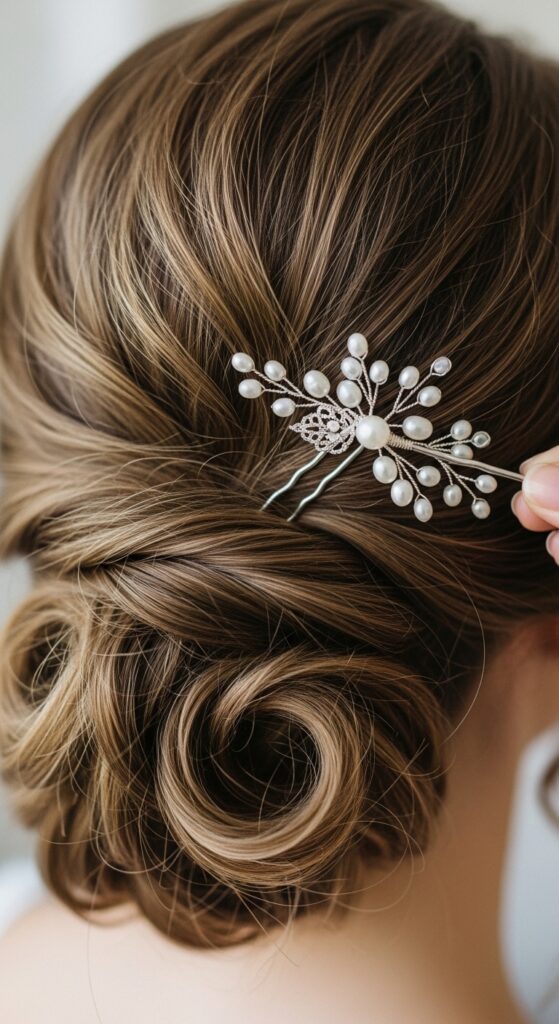
Adding Final Touches & Accessories
Now for the fun part. After your hair is set, add your accessories. A simple pearl pin, a delicate vine, or a sparkly clip.
Place them strategically where you’ve already pinned, to help hide pin heads. Less is often more. One stunning piece can be all you need.
Think of it like the final piece of glitchy glam hair—an unexpected but beautiful detail that makes the whole look pop.
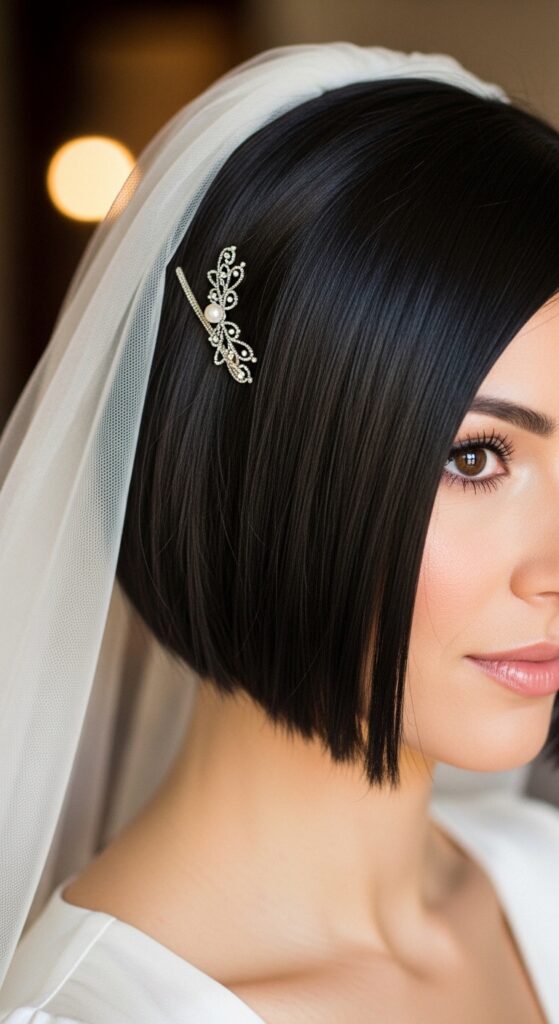
What If You Have Short Hair?
Short-haired brides, you have options! Use pretty pins and clips to create an elegant, pinned-back look. Embrace your natural texture.
Consider adding a clip-in hairpiece or a small fascinator for a bridal feel. A sleek asymmetrical lob can be stunning on its own with a veil attached at the back.
Or, play with bold accessories that complement a sharp vampire haircut or a graphic hime cut—own your unique style.
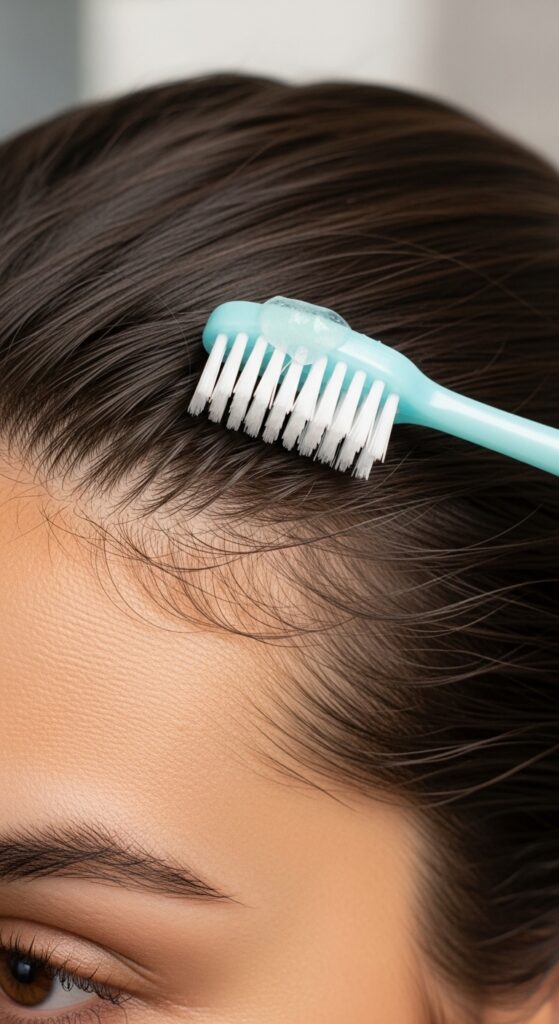
Managing Flyaways and Baby Hairs
Flyaways happen to everyone. A tiny bit of hairspray on a clean toothbrush or a mascara wand is perfect for taming them.
For baby hairs, you can slick them down with a bit of gel or pomade on that same toothbrush for a polished line, or let them be free for a softer look.
Embrace a few wispy pieces—they catch the light beautifully and make the style feel less rigid.
Making Your Updo Last All Day & Night
Your toolkit isn’t just for the morning. Tuck a few extra pins, a travel hairspray, and a mini brush into your emergency kit.
If you feel a section loosening, find a mirror, gently remove a pin causing slack, and re-pin it tighter. Don’t just add more pins on top.
Most of all, relax and enjoy yourself. A happy, confident bride is the best accessory.

Troubleshooting Common Problems
Problem: The bun feels loose and wobbly.
Fix: The base (your ponytail) wasn’t tight enough. Take it down and start again, ensuring the anchor is secure.
Problem: Pins keep slipping out.
Fix: You’re not catching enough scalp hair. Each pin should anchor into your actual hair roots, not just the style.
Problem: It looks too tight and severe.
Fix: Gently pull at the sides of the bun and at the hair around your face. Looseness is key to a romantic look.

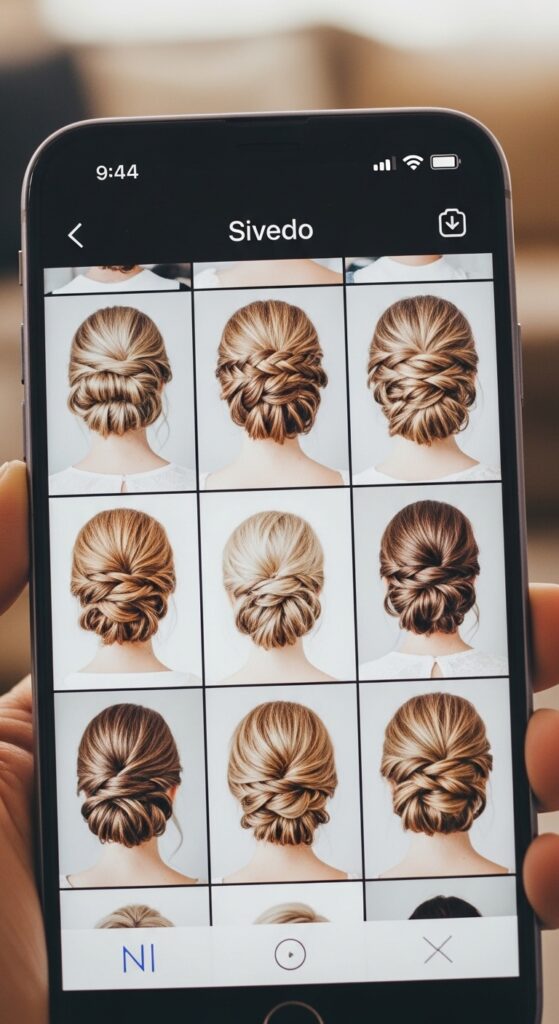
Finding Your Inspiration Photos
Don’t just save one picture. Save 3-5 that show the same style from different angles: back, side, and front.
Look for models with a similar hair type and length to yours. This sets realistic expectations.
Notice the common elements in your saved photos. Is it the volume? The looseness? The braid detail? That’s your core style goal.
The Mindset for Your Wedding Morning
Give yourself plenty of time. Rushing is the enemy of a DIY updo. Put on a comfortable robe, play your favorite music, and maybe have a helper hand you pins.
This is part of your wedding experience. Make it peaceful and enjoyable. If a strand isn’t perfect, let it go. No one will notice but you.
You are capable of this. Take a deep breath, look in the mirror, and see the beautiful bride looking back at you.

Adapting Styles for Different Hair Types
For Fine Hair: Texture is everything. Use volumizing products and don’t be afraid of backcombing. Smaller, tighter pinning will create the illusion of more fullness.
For Thick Hair: Use strong-hold products and more pins, especially U-pins. Work in smaller sections for control. A braided element can help manage bulk beautifully.
For Curly Hair: Enhance your natural pattern! Use a curl-defining cream. An updo on day 2 or 3 hair will have amazing hold. Let your curls be the star of the style.
When to Consider a Professional
If, after a few practice runs, you’re feeling more stress than excitement, it’s okay to call a pro. Your peace of mind is priceless.
Consider a hybrid approach: have a stylist do a trial and teach you the final style, or hire them just for the day-of.
There is no “right” way. The goal is to feel amazing. Whether it’s DIY, pro, or somewhere in between, choose the path that brings you joy.
And just like that, you’ve got a plan. See? It doesn’t have to be a mystery or a bank-breaking expense. Your perfect wedding hair is within your own two hands.
Remember, this day is about you and your love. Your hair should reflect your style, whether that’s a classic chignon or something with a little more personal flair. The confidence of doing it yourself (or even just knowing you could) is the most beautiful accessory you can wear.
I’m so rooting for you. Now, go practice, have fun with it, and get ready to walk down that aisle feeling absolutely incredible.
Save this post to Pinterest so you can easily find these steps again during your practice runs! Did you decide on a style yet? Tell me in the comments—I love hearing about your plans!