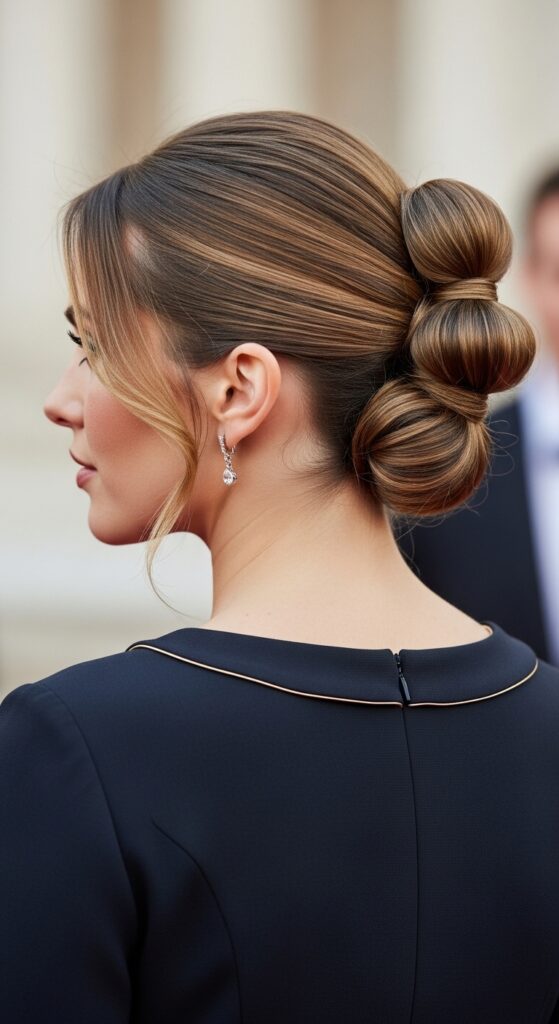
22 Sleek Low Bun Hairstyles Professional Polished Weddings Events Elegant Finish
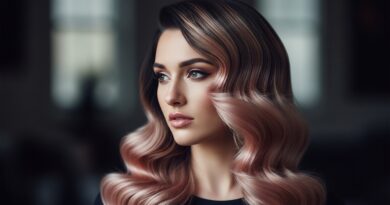
Hey friend. You know that feeling when you have a big event and your hair just… works? It feels like a secret superpower. A sleek low bun is that power move. It’s the ultimate hairstyle for looking polished, professional, and elegantly put-together in minutes.
Whether it’s a wedding, a board meeting, or a fancy dinner, this style is your go-to. It whispers “quiet luxury” without saying a word. And the best part? It’s surprisingly simple to master.
I’ve rounded up 22 stunning variations, from classic to modern twists. Think of this as your visual playbook. Let’s find your perfect, polished finish.
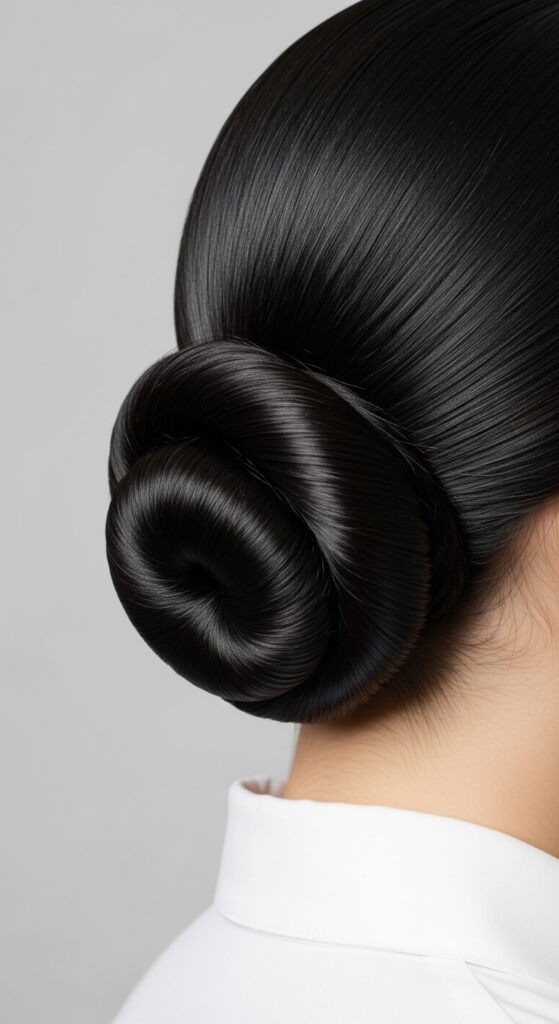
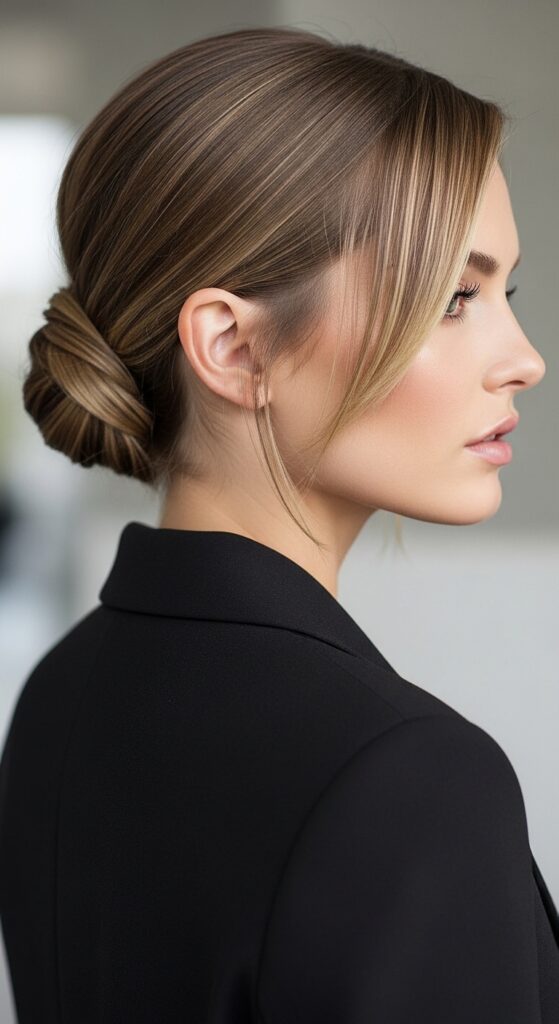
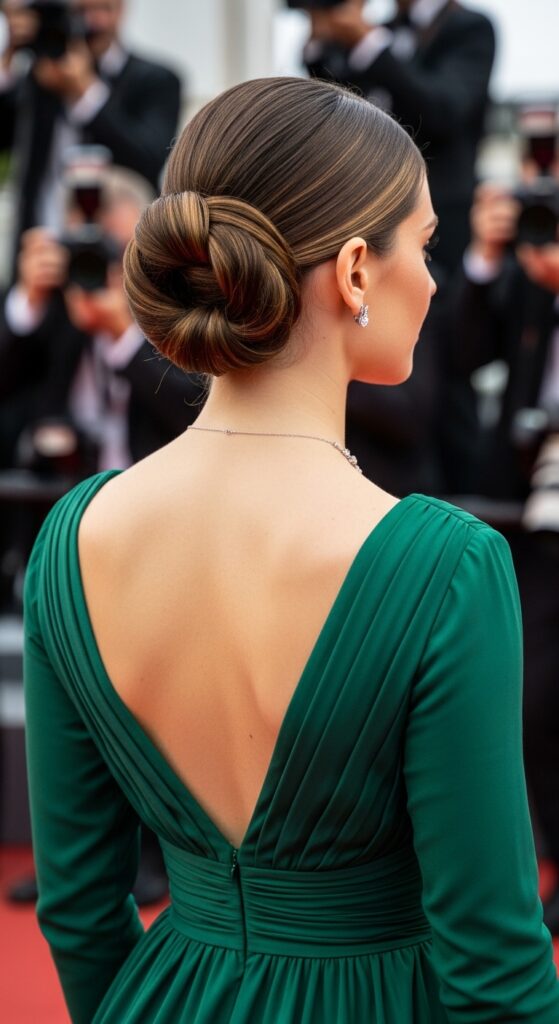
The Classic Smooth Low Bun
This is your foundation. A perfectly smooth, tight low bun at the nape of your neck is timeless. It’s the definition of professional polish and works with any hair texture when prepped right.
Start with a good blow-dry or use a smoothing serum on damp hair. A fine-tooth comb is your best friend here.
- Pull hair into a low, tight ponytail and secure.
- Twist the ponytail tightly and wrap it around the base.
- Use bobby pins in a criss-cross pattern to secure the coil.
- Finish with a strong-hold hairspray on a brush to slick down any flyaways.
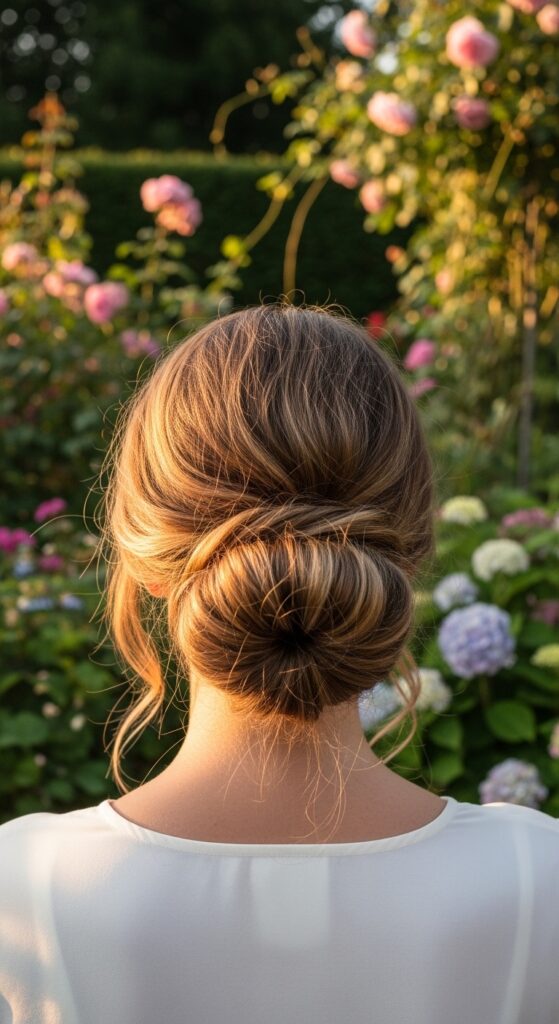
The Textured, Lived-In Bun
For a softer, more romantic take, add some texture. This version feels less severe and is perfect for garden weddings or daytime events. It’s relaxed elegance.
You actually want a bit of texture here. Use a texturizing spray on dry hair or braid your hair the night before for natural waves.
- Pull hair into a loose, low ponytail, leaving some face-framing pieces.
- Twist the ponytail loosely and wrap, allowing ends to poke out slightly.
- Gently pull at the sides of the bun to create a fuller, messier shape.
- Use pins to secure, focusing on the base. Leave it imperfect!
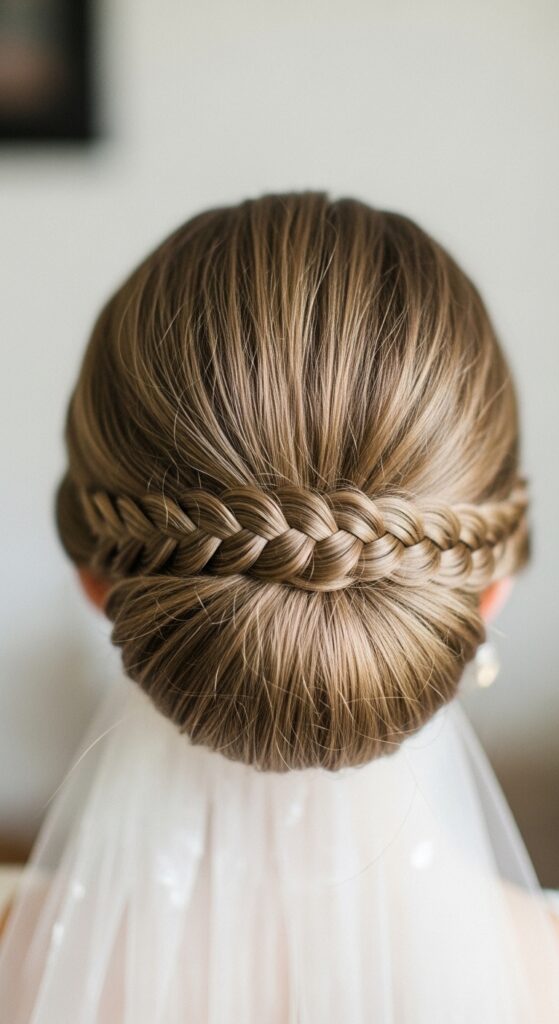
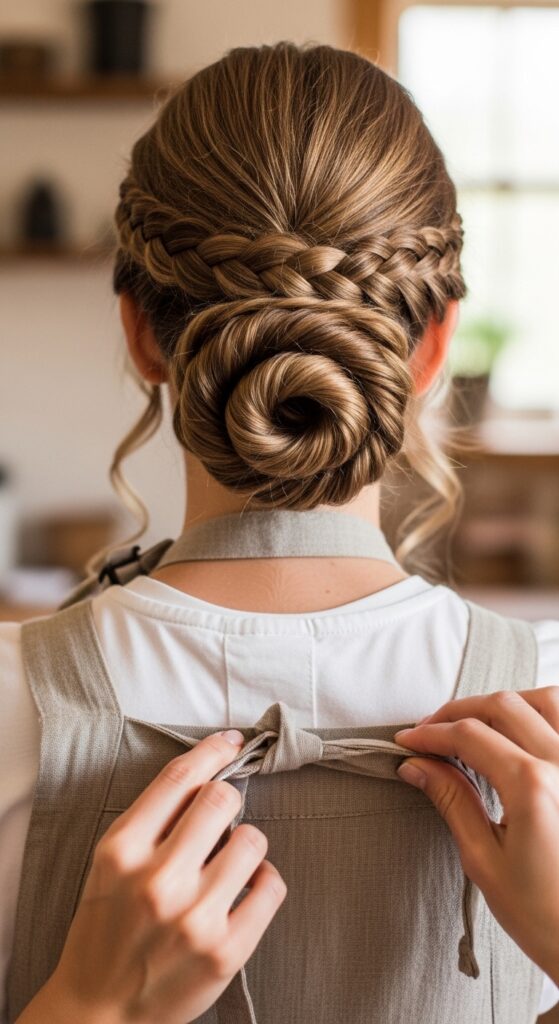
The Braided Crown Low Bun
This style combines two elegant elements. A small braid woven into the bun adds incredible detail and a fairytale touch. It’s perfect for the bride or anyone wanting extra special flair.
It looks complex but is just a simple braid integrated into your classic bun steps. Practice the braid separately first.
- Create a small section of hair near your temple and braid it back towards your ponytail point.
- Gather all hair, including the braid tail, into a low ponytail.
- Create your bun as usual. Wrap the remaining braid length around the bun base and pin.
- Tuck in the end of the braid for a seamless finish.
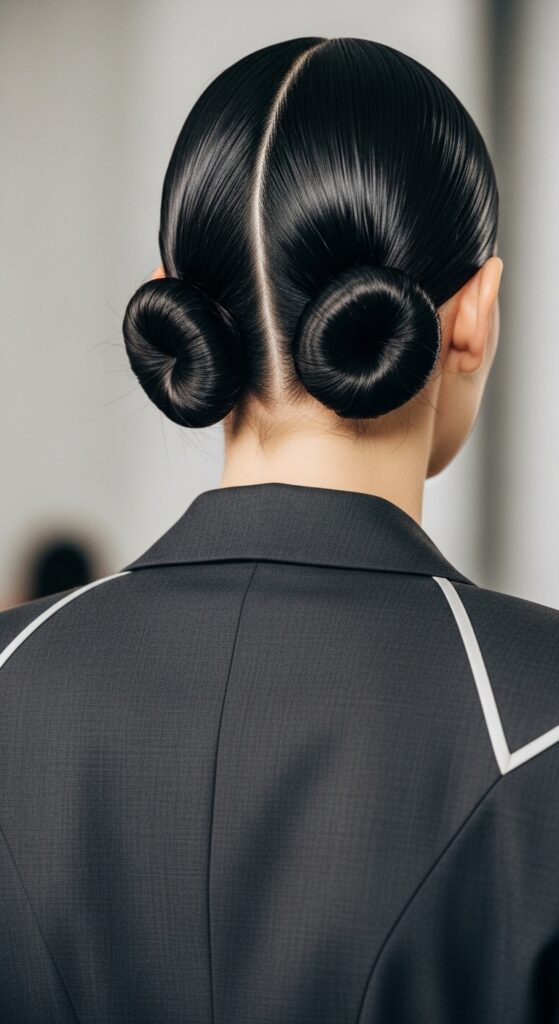
The Low Double Bun (Space Buns, Grown Up)
Yes, space buns can be elegant! Positioned low at the nape, two small buns side-by-side create a modern, fashion-forward look. It’s a playful twist on the classic that still feels polished.
This works best on medium to thick hair. Part your hair down the middle for a symmetrical look, or do a deep side part for asymmetry.
- Divide your ponytail into two equal sections.
- Twist each section individually into a tight coil.
- Wrap each coil into a small bun, pinning them close together.
- Ensure both buns are the same size and height for balance.
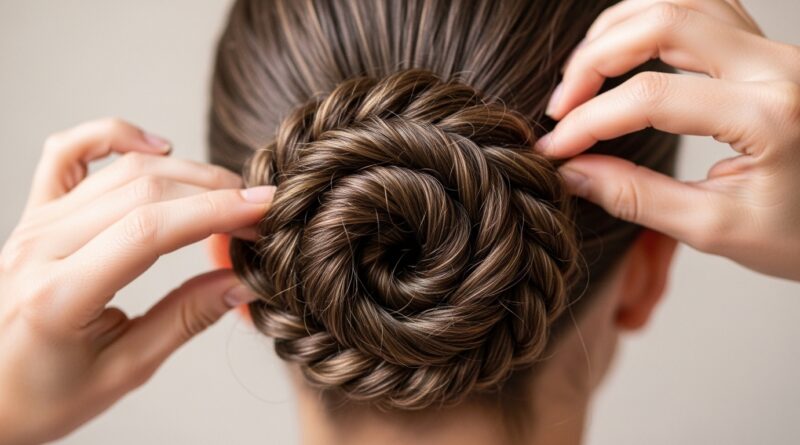
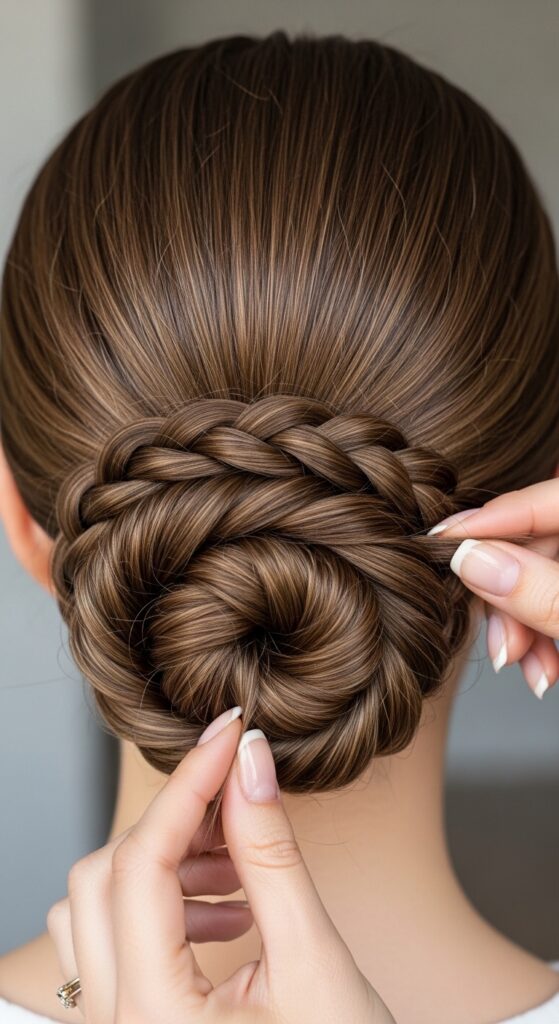
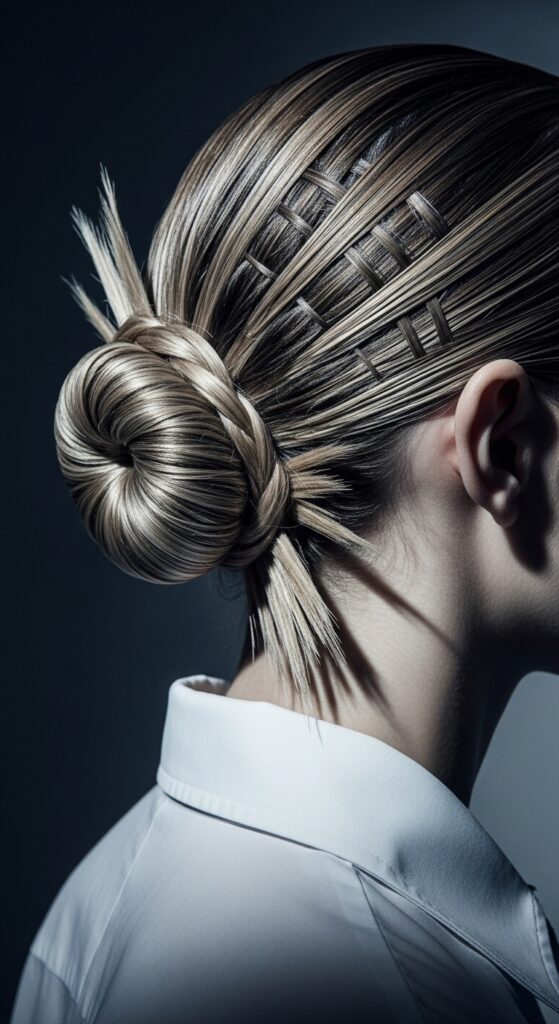
The Twisted Rope Bun
This technique creates beautiful visual interest. Instead of a simple twist, you create a rope-like effect before coiling. It gives the bun a intricate, woven appearance without any braiding.
It’s all in the two-strand twist. Make sure the sections are even for a uniform rope look.
- Create a low ponytail and split it into two even sections.
- Twist each section clockwise, then twist them together counter-clockwise.
- Wrap this twisted rope around the ponytail base.
- Secure with pins. The texture of the twist will hold the style well.
The Bubble Bun Accent
Add a touch of playful glamour. Before making your bun, create a few “bubbles” in your ponytail. This adds volume and a cool, modern edge that’s perfect for cocktail parties.
This is a great way to add volume to fine hair. Don’t pull the bubbles too tight—gentle teasing is key.
- Make a low ponytail and secure with a clear elastic.
- Add another elastic 2 inches down, then gently pull the section between elastics to puff it out.
- Repeat down the length of the ponytail 2-3 times.
- Take the bubbled tail and tuck it under to form a bun, pinning at the base.
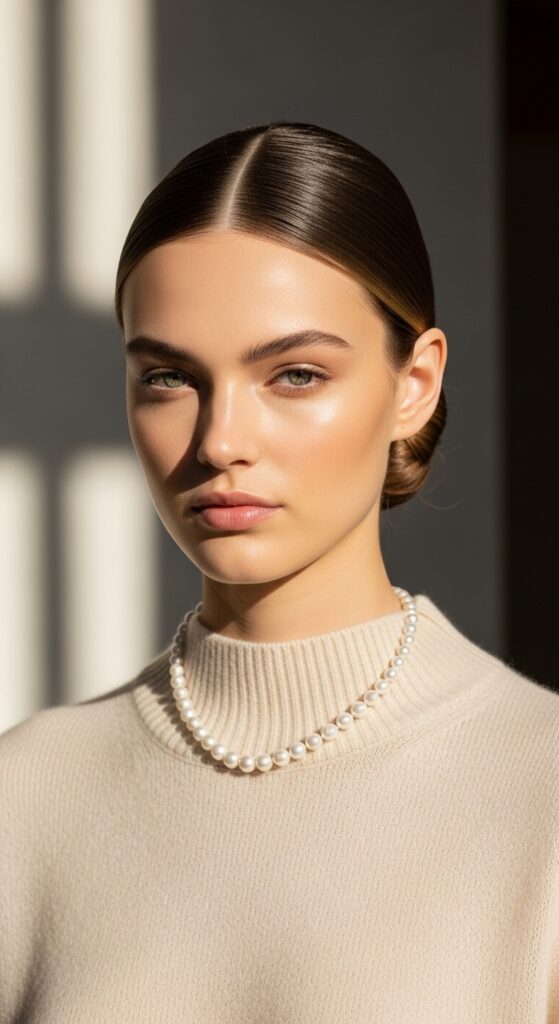
The “Old Money Hair” Low Bun
This is the essence of quiet luxury hair. It’s impeccably smooth, often with a center part, and looks inherently expensive and effortless. Think timeless, not trendy.
The key is flawless preparation. A high-quality shine spray is non-negotiable to achieve that healthy, glossy finish.
- Start with a deep-conditioning treatment the night before.
- Blow-dry with a round brush for maximum smoothness.
- Create a precise center part and comb all hair back neatly.
- Form a low, tight bun using the classic method. Perfection is the goal.
The Asymmetrical Lob into a Low Bun
If you have an asymmetrical lob or a sharp bob, you can still rock a bun! This style celebrates the shorter layers by creating a twisted, architectural shape at the nape.
It’s more of a “knotted” or “twisted” bun than a full one. Use plenty of pins and texture paste to grip shorter pieces.
- Gather hair at the nape. Twist all material tightly upwards.
- Fold the twist back onto itself, creating a small knot or bundle.
- Secure with multiple criss-crossed bobby pins.
- Allow the front and side layers to remain loose and frame the face.
The Hime Cut with a Low Bun
The hime cut, with its dramatic face-framing and blunt sections, creates a stunning look when paired with a low bun. It highlights the cut’s beautiful structure and bold lines.
The bun should be neat to contrast the striking front pieces. Keep the bang and cheek sections perfectly styled.
- Style the blunt hime bangs and side locks first (straight or with a slight curve).
- Pull the remaining back hair into a very sleek, low bun.
- Ensure the transition from the dramatic front to the polished back is clean.
- This look is a beautiful blend of edgy and elegant.
The Romantic Goth Influence
Inspired by romantic goth hairstyles, this bun incorporates dark romance. Think deep side parts, subtle backcombing for volume at the crown, and maybe a single dramatic accessory.
It’s polished but with a moody, poetic vibe. Velvet ribbons or a dark, ornate hairpin complete the look.
- Create volume at the crown with light backcombing.
- Pull hair into a low, loose bun at the nape, not too perfect.
- Pull out a few wispy strands to frame the neck and face.
- Add a single, statement hair accessory like a black velvet bow.
The “Glitchy Glam Hair” Twist
Glitchy glam hair is about intentional imperfection and texture. For a low bun, this means pieces that seem to escape in a stylish way, and a slightly deconstructed shape.
Use a wax or pomade to piece out specific strands. The goal is artful, not messy.
- Apply texturizing product to dry hair and tousle.
- Gather hair low, but don’t catch all the shorter layers.
- Form a bun but leave the ends untucked and piece them out with product.
- Intentionally pull out a few strategic, waxy strands around the ears and neck.
The Low Bun with a Hair Stick
Swap your pins for a beautiful hair stick or chopstick. It’s a stunning, ancient technique that feels incredibly chic and modern. It also tends to feel more secure for thick hair.
The trick is in the twist-and-pierce motion. You’ll create a figure-eight with your hair that the stick threads through.
- Make a low ponytail and twist it tightly.
- Wrap the twist around the base to form a bun, but don’t pin it.
- Hold the bun with one hand. With the other, push the hair stick through the base of the bun from one side.
- Angle it so it goes through the bun and a small section of hair on your scalp, then out the other side.
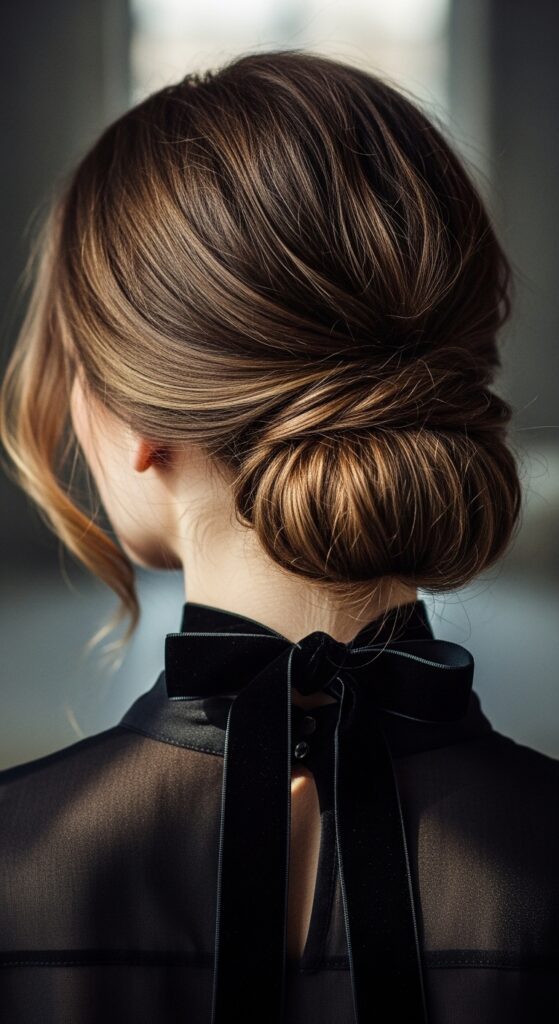
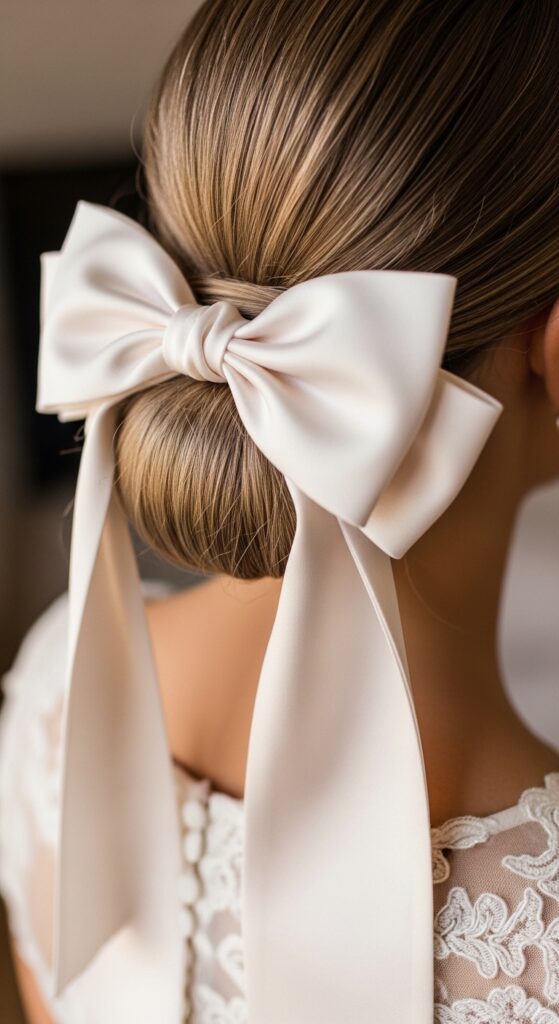
The Bowed Low Bun
Add the ultimate feminine finish. After creating your bun, tie a ribbon (satin, silk, or velvet) around the base into a beautiful bow. It’s instantly festive and perfect for weddings.
Choose a ribbon that complements your outfit. You can let the tails hang long or keep them short.
- Create your chosen low bun and secure it firmly with pins.
- Take a length of ribbon and tie it around the base of the bun, covering the hair elastic.
- Tie it into a neat bow or a simple knot.
- Adjust the loops and tails to your liking. Spritz lightly to hold.
The “Vampire Haircut” Low Bun
The vampire haircut, with its sharp layers and shaggy texture, makes for an incredibly cool, undone low bun. It’s full of movement and attitude, perfect for an edgy event.
Embrace the layers and texture. This bun should look gathered, not perfect.
- Work a texturizing spray through your dry, layered hair.
- Roughly gather hair at the nape, allowing shorter layers to fall free.
- Twist once and loosely coil, pinning just enough to hold.
- Pull out face-framing layers and the wispy pieces at the neck aggressively.

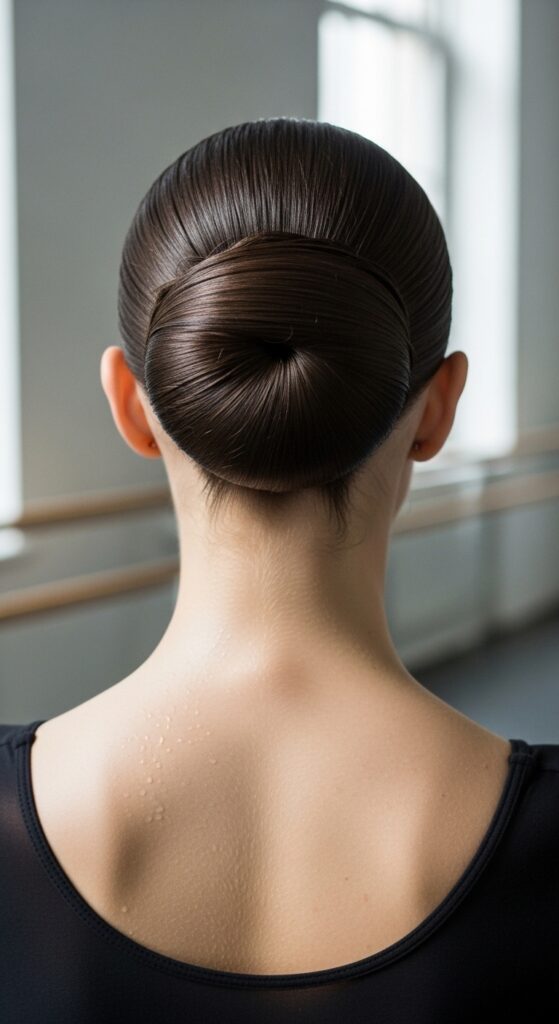
The Ballerina Chic Bun
Inspired by dancers, this bun is positioned slightly lower than the classic ballerina bun, but has the same flawless, seamless finish. It’s the peak of elegant sophistication.
A bun form or “donut” is the secret tool here. It creates that perfect, round shape every time.
- Pull hair into a tight, low ponytail and slide the bun form over it.
- Spread your hair evenly over the form, covering it completely.
- Secure with a second elastic around the form.
- Tuck the ends under and pin them, then wrap and pin any remaining hair around the base.
The Tucked Braid Low Bun
For a hidden detail you’ll love, start with a braid. A Dutch or French braid leading into the bun adds security and a beautiful surprise when hair is down later.
Braid only the top section of your hair. It’s a great style for second-day hair, hiding any oiliness at the roots.
- Starting at the crown, do a loose French or Dutch braid back to about ear level.
- Gather the braid and all remaining hair into a low ponytail.
- Create your bun as usual. The braid will be woven into the top of the bun.
- This adds gorgeous texture and holds all pieces securely.
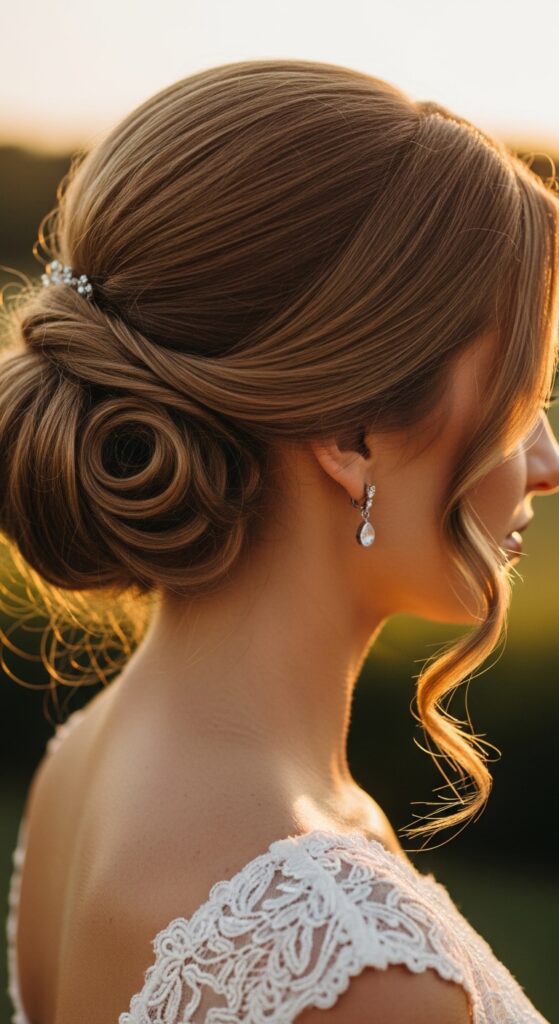
The Low Bun with Curled Tendrils
Soft, face-framing tendrils transform any bun from strict to soft and romantic. It’s a universally flattering trick that adds a touch of youthfulness and frames your features beautifully.
Curl these pieces with a small-barrel iron after the bun is done. Direction is key—curl away from the face.
- Create and secure your sleek low bun first.
- Select 4-6 small sections around your hairline and temples.
- Curl each piece away from your face, holding for a few seconds.
- Gently finger-comb the curls into soft, piecey tendrils.
The Modern Chignon
A chignon is essentially a low bun, but often implies a slightly more twisted, folded technique. It’s a classic for formal events and often looks more intricate than it is.
The fold is the key move. Think of creating a loop with your ponytail before pinning.
- Make a low ponytail but on the last wrap of the elastic, don’t pull the hair all the way through. You’ll have a loop.
- Split the loop in half and spread it gently to create a fuller shape.
- Tuck the tail end of the ponytail under the loop and pin it securely underneath.
- Adjust the loop to be symmetrical and smooth.
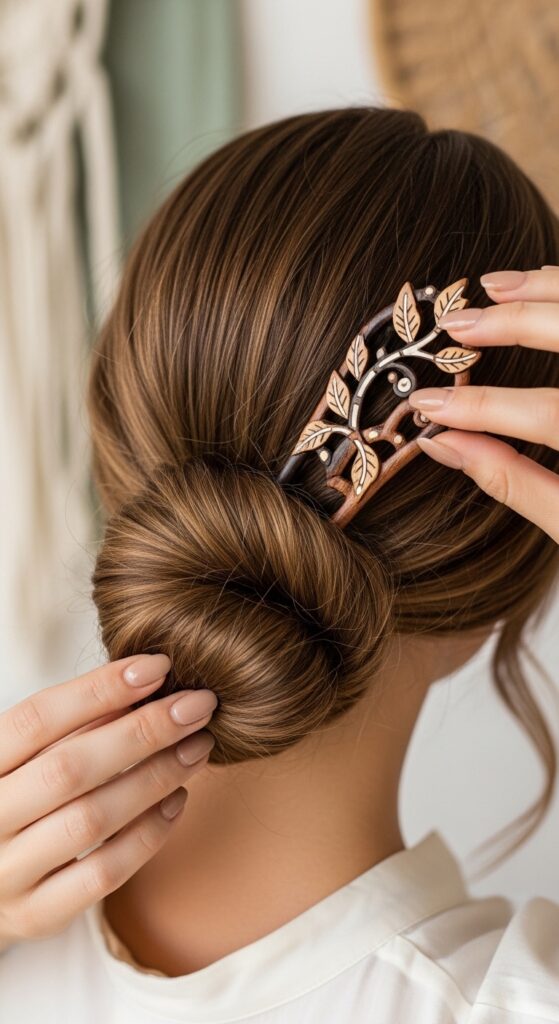
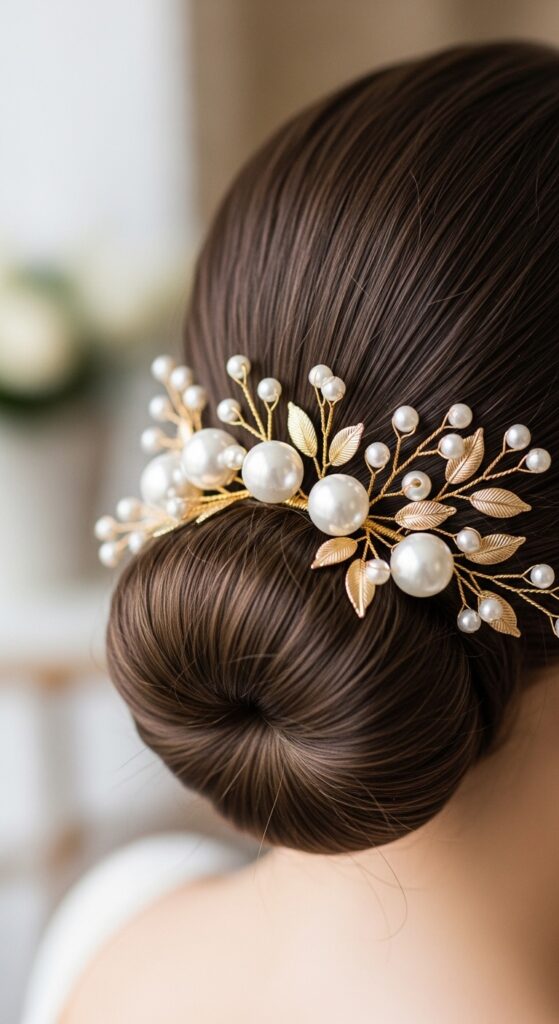
The Accessorized Bun (Clips & Pins)
Go beyond the bow. Decorative hair clips and pins are huge for 2026 hairstyles. Place them strategically around your bun for a personalized, jeweled effect.
Less is often more. Choose a theme—like pearl clusters or minimalist gold bars—and stick to it.
- Create a simple, smooth low bun as your canvas.
- Choose 2-4 complementary accessories.
- Place them in a small cluster near the bun, or flank either side of it.
- You can also line a few small pins along a braid leading into the bun.
The Low Bun for Fine Hair
Fine hair can feel limiting, but with the right tricks, your low bun will look full and last all night. The secret is in creating the illusion of thickness before you even make the bun.
Teasing and texture are your allies. Don’t be afraid to backcomb gently at the crown and ponytail base.
- Lightly tease hair at the crown for root lift.
- Make a ponytail, and lightly tease the tail before wrapping.
- When wrapping, coil the hair loosely before pinning—tight coils look smaller.
- Use a bun form or a “sock bun” helper for instant volume.
<strong