Magic 15 Interlocking Knotless Methods Minimizing Install Time Dramatically
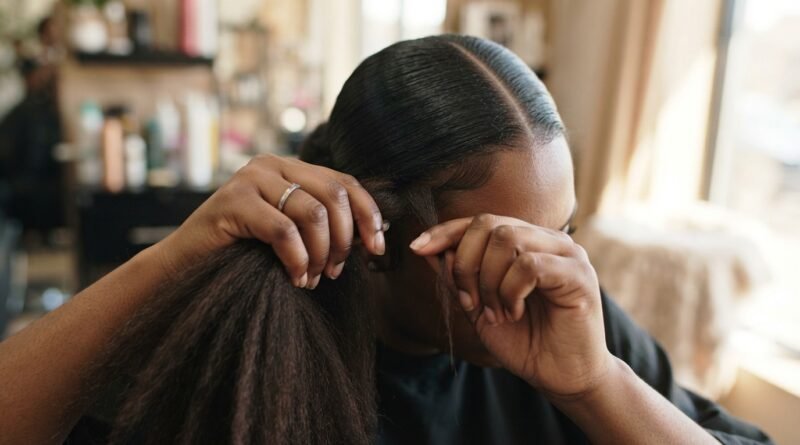
Okay friend, let’s be real. I love the look of knotless braids, but sitting in a chair for six hours? Not my idea of a good time. I have a blog to run, a social life to pretend I have, and laundry that has been judging me for a week. That is why I went down a rabbit hole to find the absolute fastest methods to get that flawless, installed look without losing my entire Saturday.
I found fifteen techniques that genuinely cut install time dramatically. We are talking about shaving off hours, not minutes. These aren’t shortcuts that look cheap—they are smart, strategic moves that give you that “old money” quiet luxury vibe without the old money wait time. Ready to save your back and your weekend? Let’s get into it.
Why Speed Matters for 2026 Hairstyles
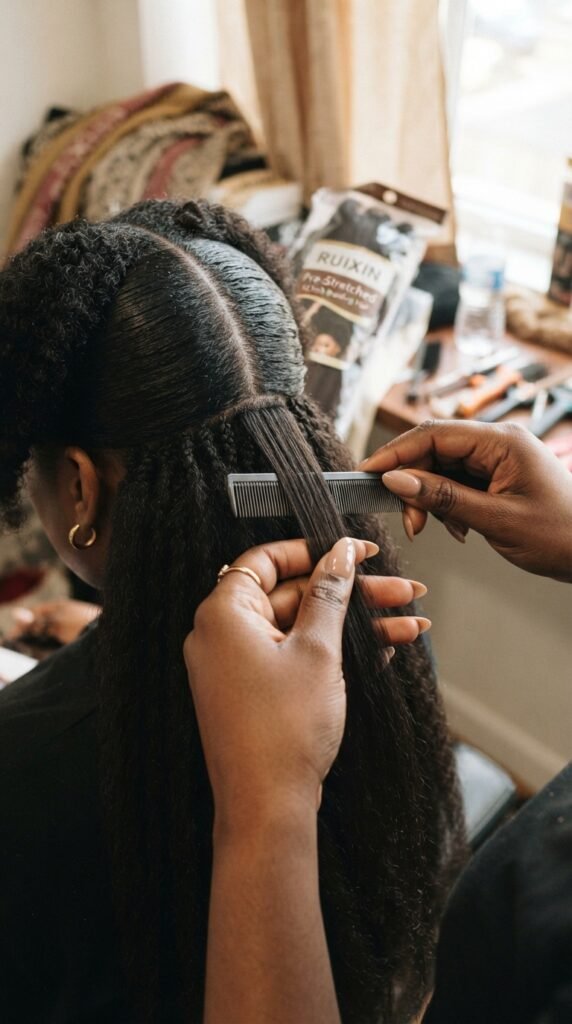
Let’s face it: time is our most expensive currency. The biggest trend in 2026 hairstyles is efficiency without sacrifice. We want the look that takes five seconds to style in the morning, but we don’t want to spend five hours getting it done.
By using these interlocking knotless methods, you cut down tension on your edges, reduce the time your arms are in the air, and get a finish that looks like you just left a salon. It’s the ultimate hustle hack for the girl who wants to look expensive but live practically.
The Pre-Stretch Game Changer
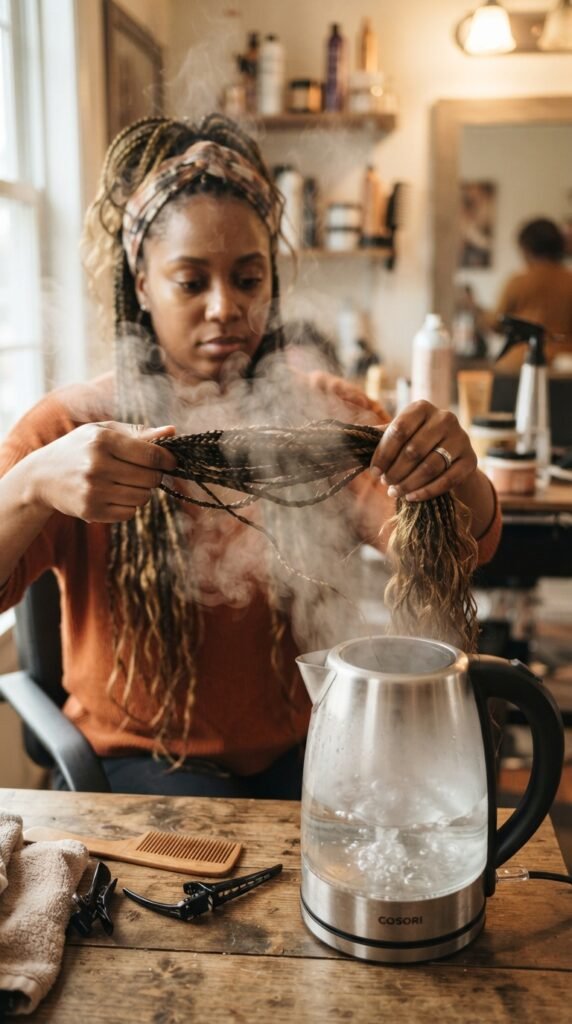
This is step zero. If you skip pre-stretching your hair, you are adding an extra hour to your install time. Pre-stretched hair lays flatter and feeds through your natural hair way faster.
- Use hot water or steam to stretch the braiding hair overnight.
- It creates less bulk at the root, which is key for a knotless finish.
- It also reduces frizz before you even start, giving you that “glitchy glam” smoothness.
The “Feed It” Method for Speedy Roots
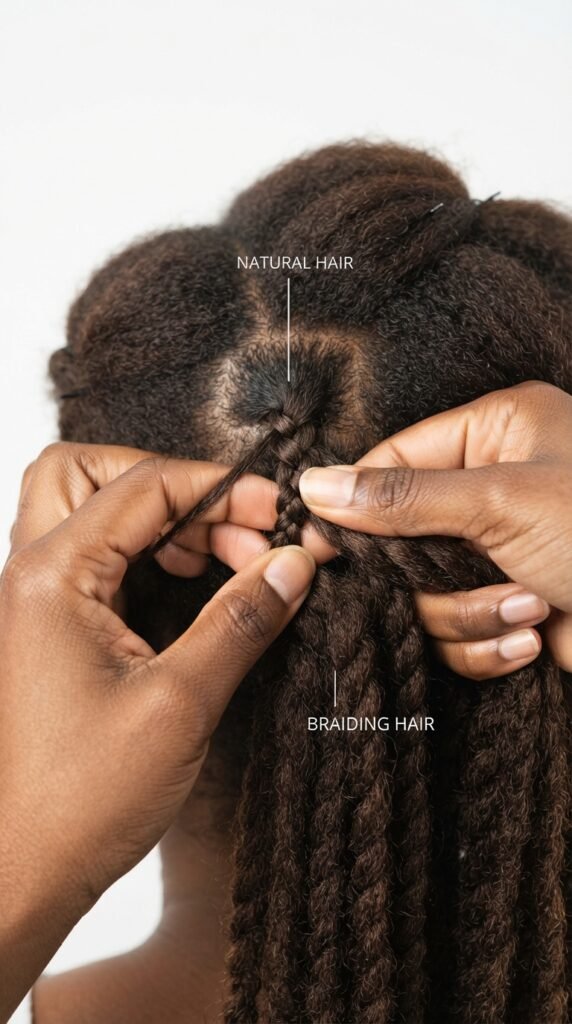
The classic knotless technique relies on feeding small amounts of hair continuously. Most people feed too much at once. To speed this up, only feed a thin piece of hair for the first two rotations.
- Part a very small square at the front.
- Start braiding your natural hair for two twists.
- Feed in the pre-stretched hair. Keep it thin so the root lays flat immediately.
This prevents the “bump” that happens when you add too much hair too soon, and it keeps you moving fast.
Using Wavy Hair for a Hime Cut Finish

If you love the sharp, blunt lines of a hime cut but want the longevity of braids, this is your trick. Instead of using straight braiding hair for the entire length, switch to a wavy texture for the last six inches.
This makes the install faster because you don’t have to fight to keep the hair straight while feeding. Plus, it gives a romantic, soft finish that hides the ends beautifully. It looks like a cut, but it’s just smart styling.
The “Middle Part First” Rule
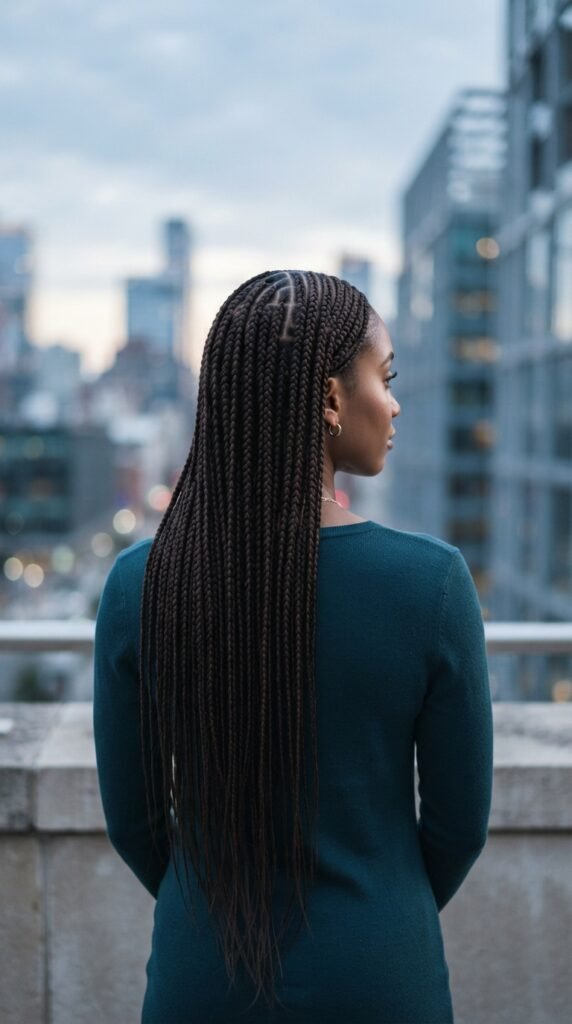
Here is a universal truth: the middle part is the hardest and slowest part to get perfect. Do it first, while your arms are fresh.
- Part down the center of your head immediately.
- Finish five braids on each side of the part completely.
- Use a mirror to check the part is straight. Fix it now, not later.
By locking in the most visible part first, you build confidence and momentum for the rest of the head. It also ensures you get that old money, symmetrical polish.
Small Sections, Big Savings
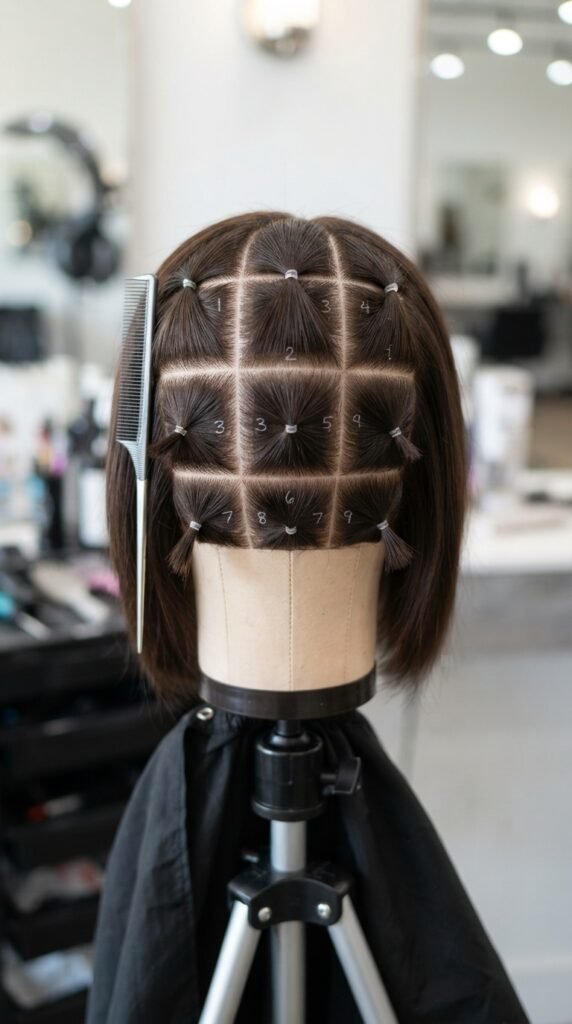
I know it sounds counterintuitive, but smaller sections actually save time in the long run. Why? Because each braid takes less time to complete and dries faster if you use mousse. Larger sections are clumsy and tangle easier.
Stick to sections that are half an inch wide. You will thank me when you hit the back of your head and don’t have to rip out a tangled mess. It’s a speed hack for the patient.
Rubber Band Anchors (Yes, Really)
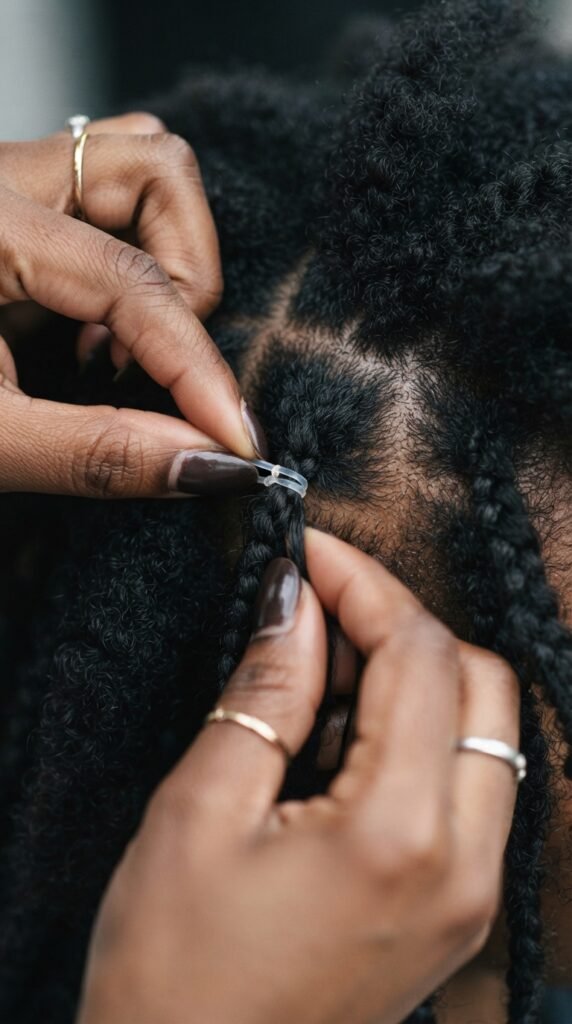
This sounds old school, but it’s a lifesaver for speed. Instead of perfecting the feed every single time, use a miniature rubber band to anchor the braiding hair to your natural hair at the very root.
- Braid your natural hair twice.
- Add the braiding hair, but secure it with a tiny band.
- Cover the band with a quick braid over it.
You can install a whole head in half the time. The band is hidden, and you don’t have to stress about the grip slipping. It’s the silent partner of the glitchy glam hairstyle.
Dry Shampoo for Grip
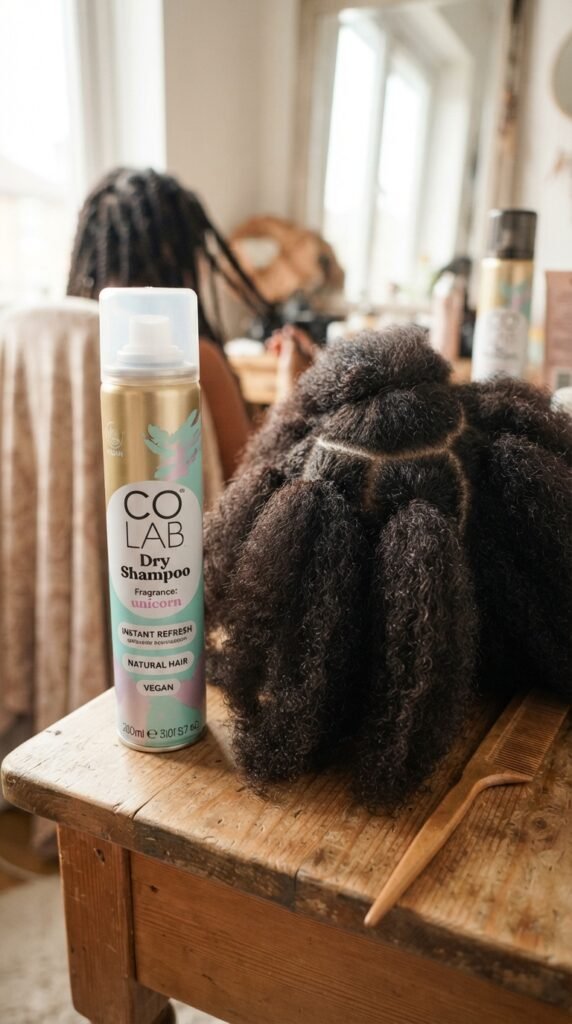
Nothing slows you down like slippery hair. If you have fine or silky natural hair, it’s hard to get the friction needed for a tight start. A quick spritz of dry shampoo on your roots right before you section changes everything.
- It adds texture without making it sticky.
- It absorbs any leftover oils from your scalp.
- It lets you use less gel, meaning less buildup later.
This trick is huge for the quiet luxury bob trend, which relies on a clean, sleek foundation.
Pre-Measured Hair Lengths
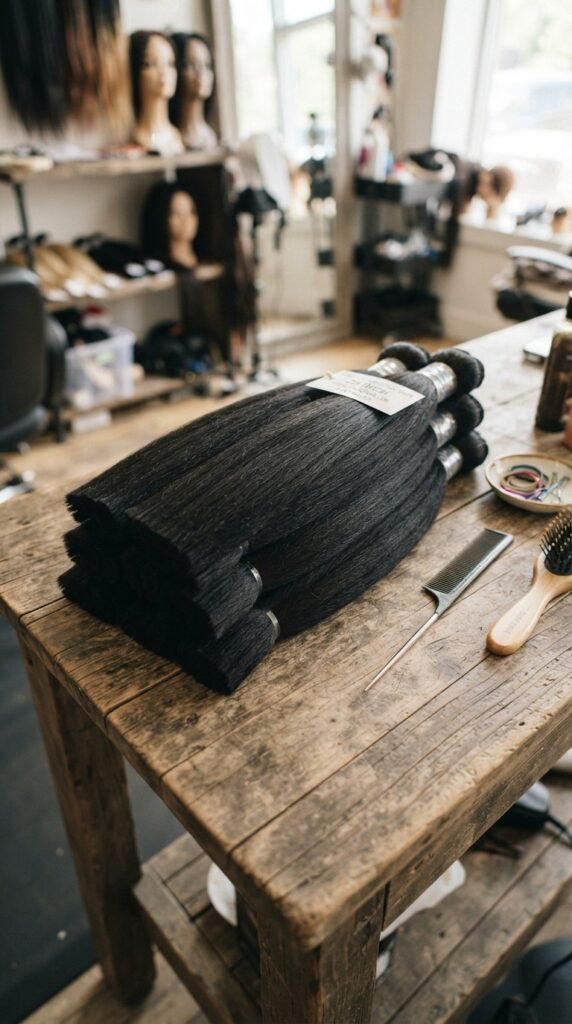
Stop cutting your braiding hair as you go. That breaks your flow and kills your rhythm. Before you start, cut all of your braiding hair into the lengths you will need.
For a typical install, cut pieces that are 24 inches long. For the back, cut them slightly shorter, around 20 inches. By having a stack of pre-cut pieces, you pick up and feed without thinking. It turns the process into a simple assembly line.
The “Skip the Back” Method
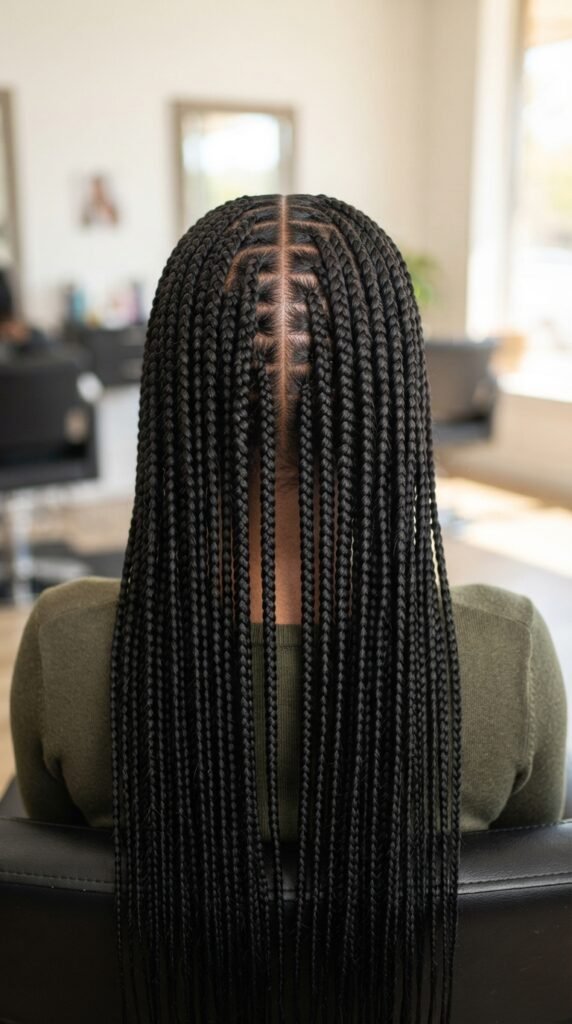
Okay, this one is a little controversial, but it works. If you are running low on time, skip the intricate back diamond patterns. Stick to straight rows from front to back.
Straight rows are faster to part, faster to braid, and look just as clean. Nobody sees the back of your head in detail unless you are at a concert. and even then, straight rows look incredibly polished. This pairs beautifully with an asymmetrical lob silhouette if you keep the braids short.
Use a Medium Hold Gel for Edges
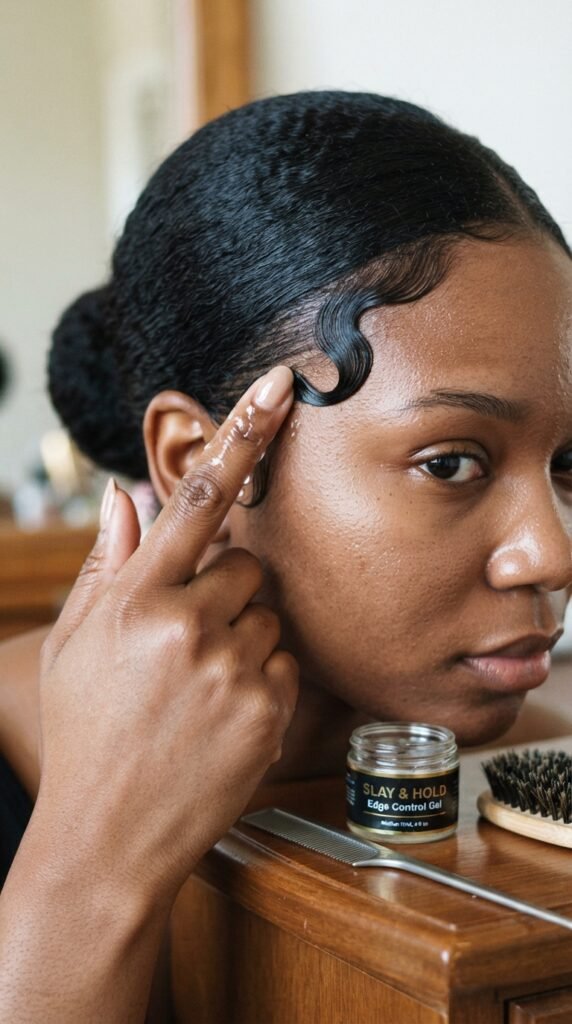
Strong gel feels good at first, but it flakes and slows you down. It also dries hard, making it difficult to tuck in loose hairs or fix a mistake. Switch to a medium hold gel.
- It gives you a 15-minute window to fix mistakes.
- It dries to a flexible hold, perfect for old money hair.
- It doesn’t crack or white-out on your scalp.
Using the right gel means you don’t have to redo braids that got crunchy too fast. It keeps your pace steady.
Romantic Goth Color Blocks

Here is a fun way to save time: skip the perfect color transition. The romantic goth hairstyles of 2026 love sharp color blocks. Instead of blending two colors slowly, use one color for the top half and a contrasting color for the bottom half.
You install the top half fast, and then switch to a new color for the bottom. No blending required. It looks intentional, edgy, and takes half the time of a color melt. Plus, it makes the braids look thicker.
The “Vampire” Feed Technique

If you love the vampire haircut look, this feed method is for you. Instead of feeding hair consistently throughout the braid, feed heavily at the top and then taper sharply to nothing at the ends.
- Feed a thick piece of hair for the first four rotations.
- Then feed nothing for the last two inches.
- The result is a thick root and a super thin, sharp tip.
This is incredibly fast because you stop feeding hair entirely halfway through. It creates that dramatic, stiletto nail shape that is so hot right now.
Clip the Middle Row
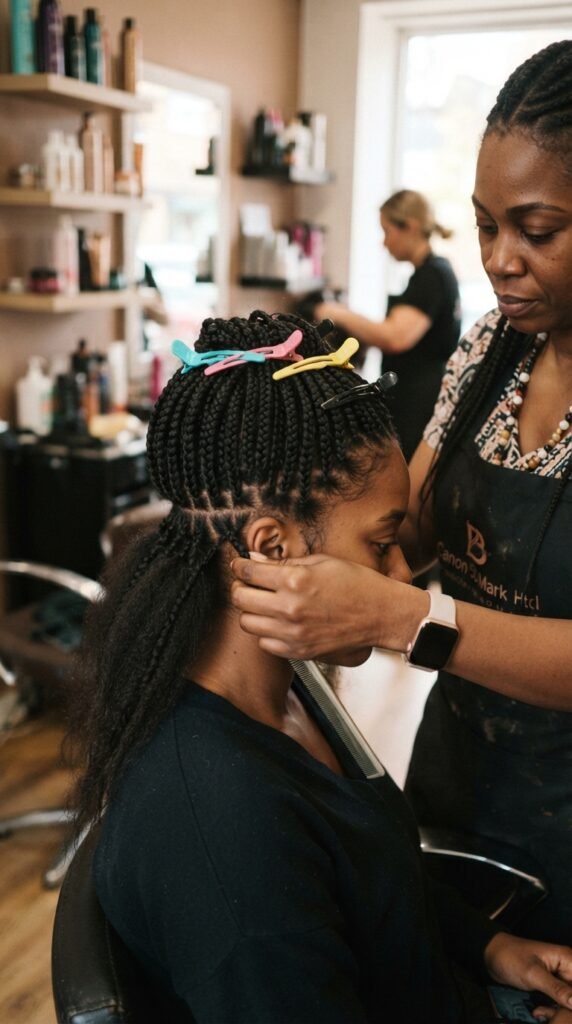
When you are braiding the back, your working braids can fall all over the place. Use clips to corral them. This sounds silly, but it saves actual minutes because you aren’t constantly brushing braids out of your face.
- Clip up the braids you have already done on the left side.
- Clip up the braids on the right side.
- Work on the middle section freely.
It keeps your workspace clean and your speed high. A tidy installation area is the secret to a fast finish.
Finish with Hot Water Dip
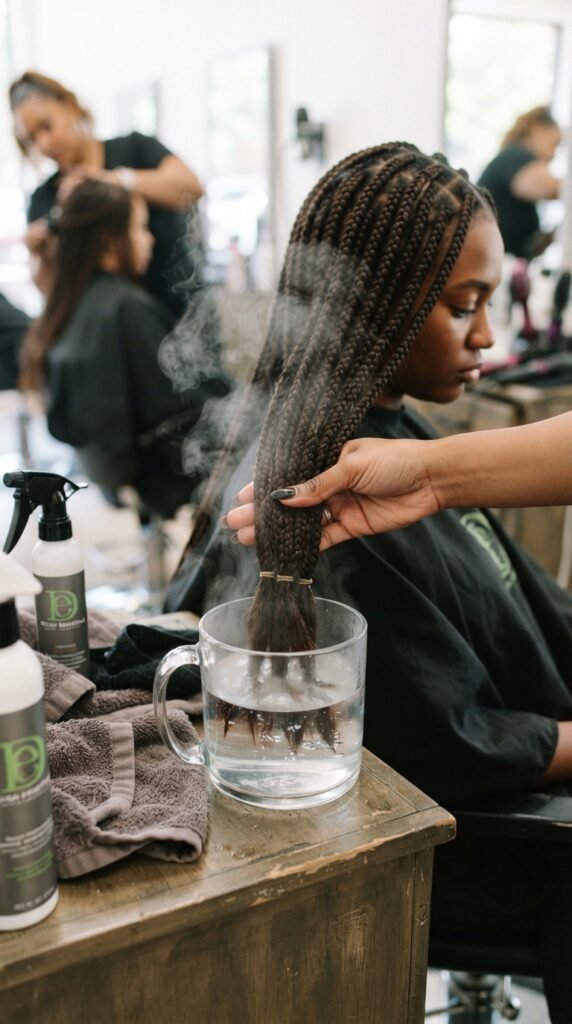
Do not take the time to individually seal each tip. That is slow work. Instead, gather the ends of all the braids in the back and dip them into hot water for 10 seconds.
This seals all ends instantly and gives the braids a unified, shiny finish. It is the final step for the quiet luxury aesthetic: clean, neat, and effortlessly polished. It also prevents any unraveling while you sleep.
Silk Press the Base
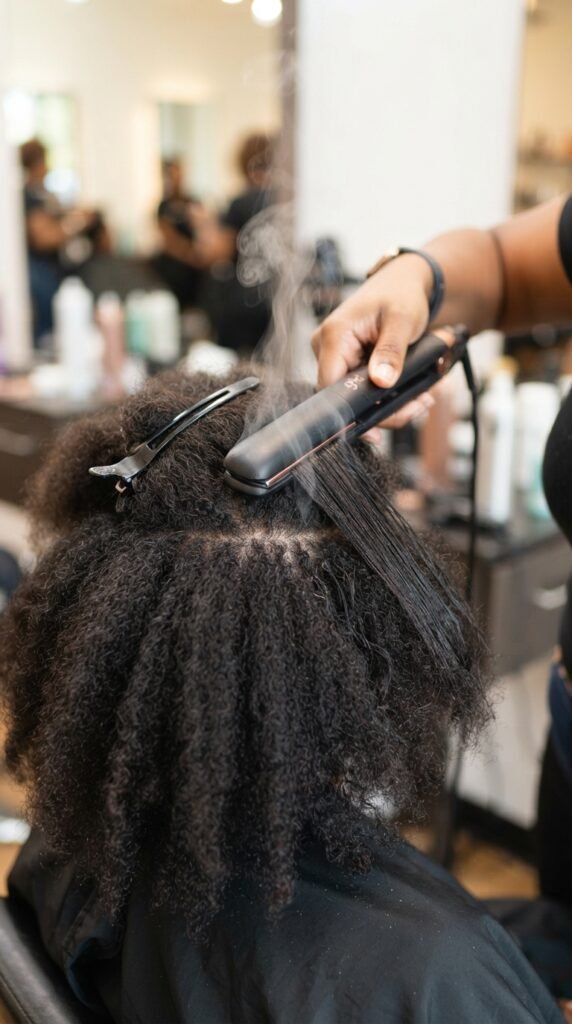
If you have super coily or kinky hair, the base can be bumpy. Bumpy roots make feeding hair slow and uneven. Take ten minutes to flat iron the first inch of your natural hair.
This creates a slippery, flat base that the braiding hair will glide onto. It is a huge time saver. Plus, it eliminates the need for heavy edge control. It is the foundation of any good asymmetrical lob or sleek bob.
The “Two Hands” Rhythm
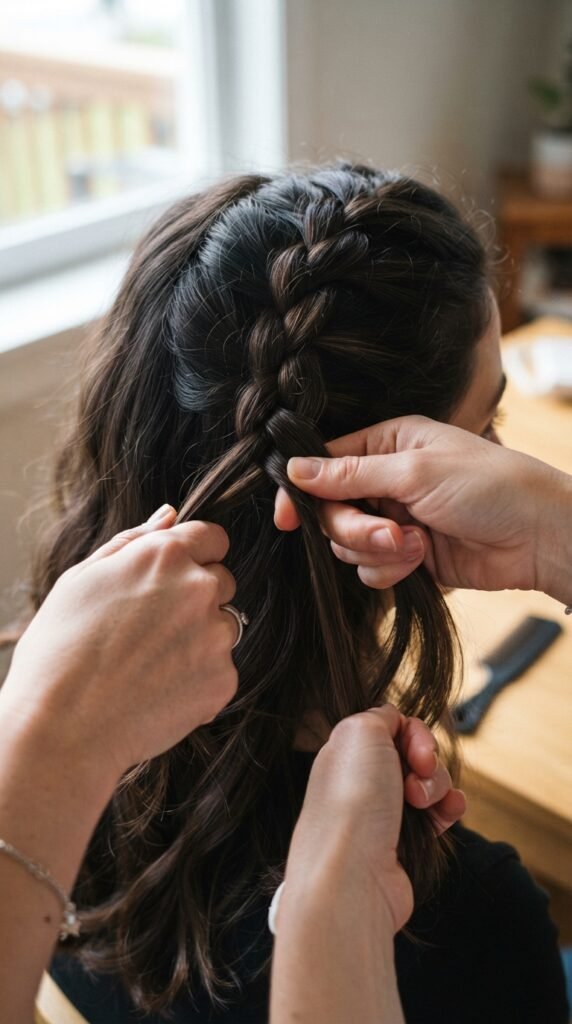
Most people braid with one hand doing all the work. To speed up, you have to train your hands to work together. Try this: hold the left piece with your left hand, the right piece with your right hand.
- Cross left over middle, then right over middle.
- Do this ten times, slowly, building muscle memory.
- Feel the rhythm. It should be smooth, not jerky.
Once your hands sync, your install time drops by about 30%. It feels like magic the first time it clicks.
Avoid the “Just One More” Trap

Here is a pro tip: do not go back to fix a braid that looks okay. If the braid is neat and secure, move on. Many of us waste 20 minutes redoing a braid that nobody else will ever inspect.
Trust the process. If it lays flat and is secure, it is good enough. Perfectionism is the enemy of speed. You can always fix one braid later, but you cannot get the hour back you spent fixing five.
Keep Your Tools Close
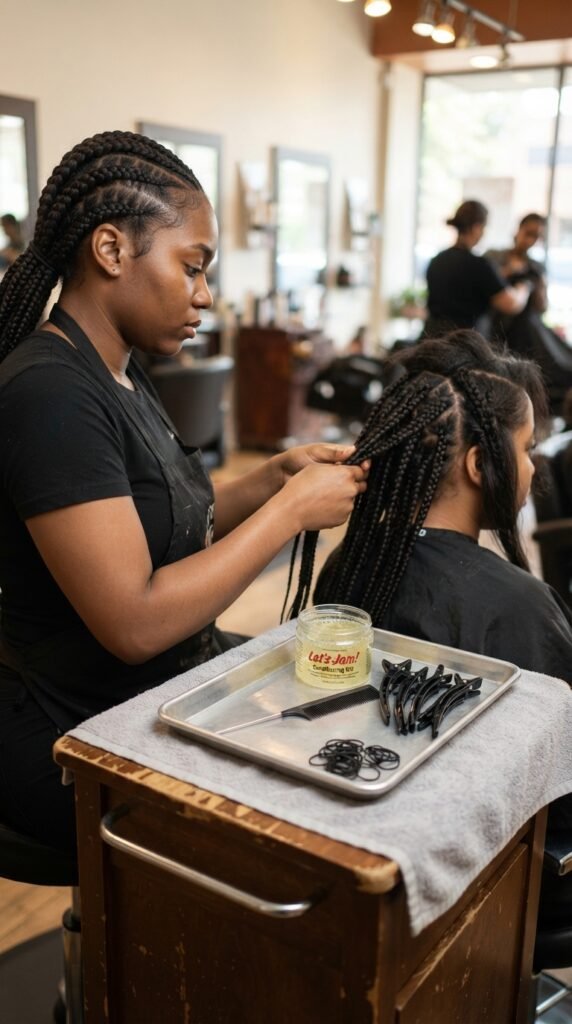
This is basic, but I still see people getting up to grab a comb. Do not do that. Have all your tools within arm’s reach. Create a little station for yourself.
Your tools should include: comb, clips, rubber bands, gel, scissors, and your pre-cut hair. When you don’t have to stop and search, your flow stays unbroken. This keeps your install time low and your vibe high.
Listen to a Fast Playlist
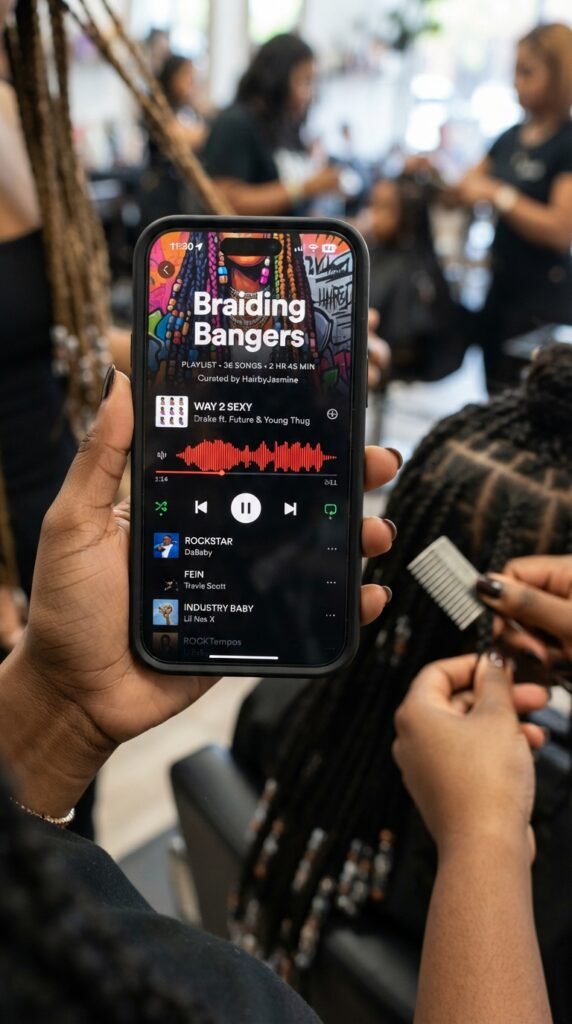
This sounds silly, but music matters. Put on a playlist with a fast tempo, like 130 BPM. Your body will naturally sync to the beat. It makes your hands move faster without you even realizing it.
I have tried this with slow R&B and it took me an extra 45 minutes. Swap out the slow jams for some high energy tracks. It turns the install into a fun, dance-worthy activity rather than a chore.
Final Pat Down with Oil
Once you are done, do not spend 20 minutes trying to sleek down flyaways with gel. That takes forever. Instead, put a small amount of lightweight oil on your palms and pat down the edges and roots.
It smooths the hair instantly, adds shine, and takes ten seconds per section. It gives you that glitchy glam finish without the sticky mess. It also smells amazing and feels lightweight.
Okay friend, so here is the honest truth. You do not need to spend eight hours in a chair to get a look that costs a million bucks. With these fifteen methods, you can cut your install time dramatically and still walk out with hair that screams quiet luxury.
The key is to prepare ahead, use the right tools, and trust the speed techniques. Whether you are going for a romantic goth vibe, a sharp vampire haircut, or a sleek asymmetrical lob, these tricks work. You deserve to have great hair and a free weekend.
Save this post to Pinterest so you have it for your next install. And tell me in the comments: what is the longest you have ever sat for a braid install? I want to hear the confessions.