
Gracefully 19 Seamless Lace Front Adjustments Fitting Perfectly Everyday
You know that feeling when you put on a wig or a lace front and you just know it’s not sitting right? The hairline looks a little too sharp, the cap feels a bit loose, or there’s that tiny gap that just screams “fake”? I’ve been there more times than I can count. But after years of trial and error (and a few bad selfie days), I’ve nailed down the exact adjustments that make a lace front look like it’s growing straight out of your scalp. These are the tweaks that take less than 10 minutes but change everything. Let’s get into the 19 seamless adjustments that will make your everyday lace front feel like it was made for you.
1. Start with a Clean, Dry Base

Before you even touch your lace front, make sure your scalp and hairline are clean and completely dry. Oil or leftover skincare will make the glue or tape slide right off. I like to wipe my forehead with an alcohol wipe right before applying anything. It sounds simple, but this one step prevents about half of my lifting issues. If you’re using a wig grip or band, make sure it’s washed regularly too. Grease is the enemy of a seamless fit.
2. Trim the Lace Closer to the Hairline
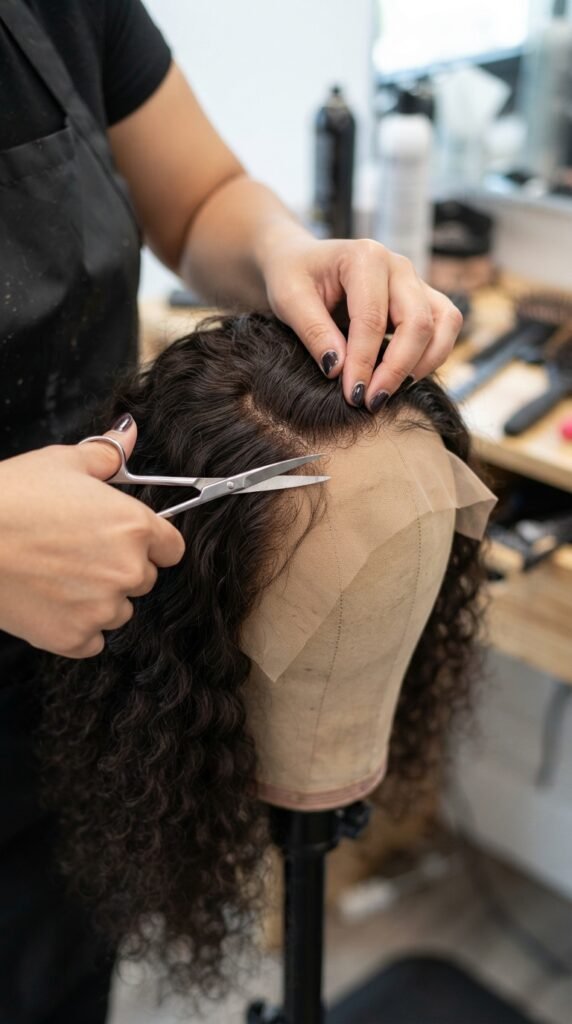
Most lace fronts come with extra lace that looks bulky under direct light. Grab a pair of sharp, small scissors and trim the lace as close to the hairline as you can—but leave about a 1/16th inch. Cutting too close can cause the hairs to shed, but leaving too much creates a visible edge. Go slow and follow the natural curve of your head. For the 2026 hairstyles trend, this clean hairline is everything, especially with sleek bobs.
3. Melt the Lace with a Good Quality Spray
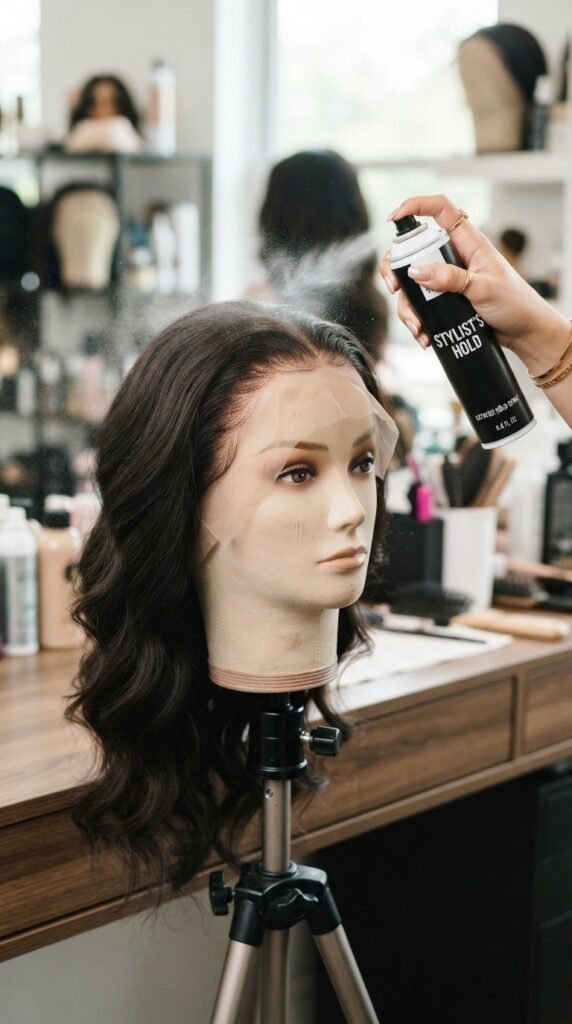
There’s a reason lace melt sprays are popular. After you apply your glue or tape, spray a little bit of lace melt directly onto the lace and gently press it into your skin. This eliminates any white or gray cast from the material. For a quiet luxury bob or a sleek asymmetrical lob, this step makes the hairline look like skin. Give it a second to dry before moving on. It’s a small step, but it makes a huge difference in photos.
4. Use a Knot Sealer for the Baby Hairs
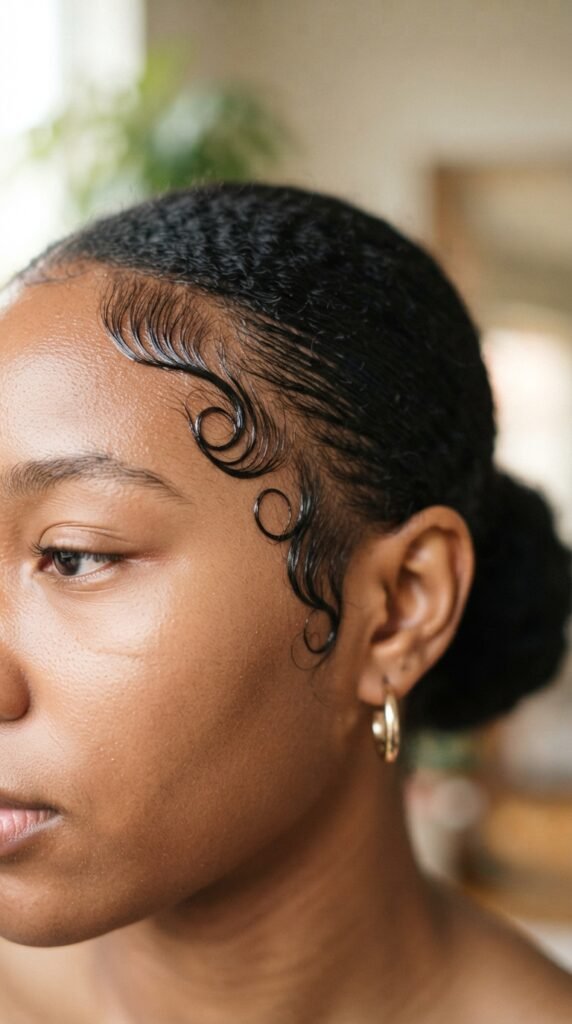
You know those tiny little knots at the front of the lace? They can look like tiny black dots if the lace is light. A clear knot sealer (or a bit of foundation) can tone them down. Just dab a little on the back of the lace with a makeup brush. This trick is amazing for romantic goth hairstyles where the hairline is dark and dramatic—it keeps the illusion of a natural scalp.
5. Choose the Right Adhesive for Your Skin Type
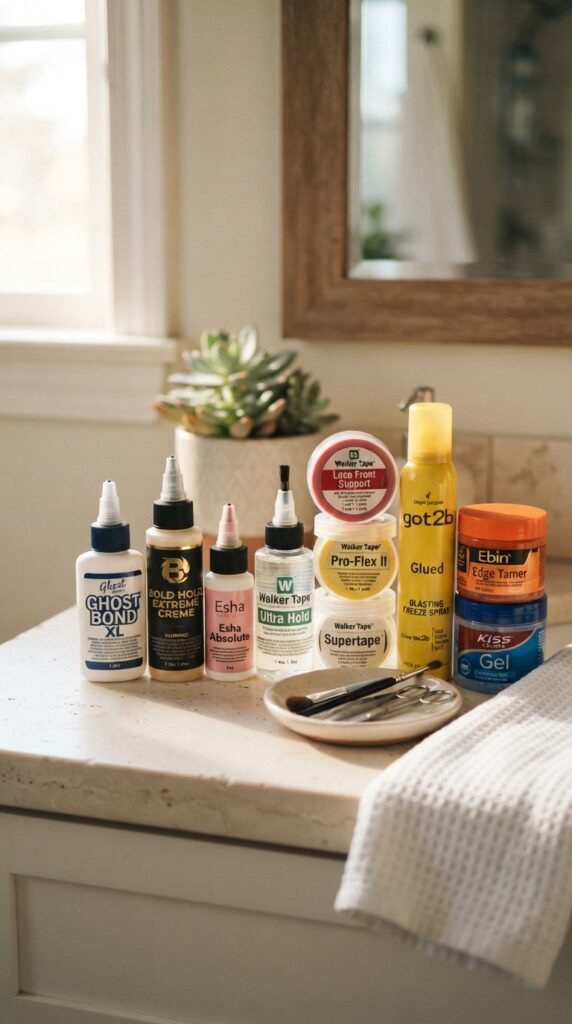
I’ve learned the hard way that not all adhesives work for every person. If you have oily skin, go for a strong tape or a gel-based glue. Dry skin? A liquid adhesive holds better. Always do a tiny patch test behind your ear first. The goal is something that stays put for 12 hours but still peels off without pulling your skin. For a daily wear like the hime cut or glitchy glam hair, comfort is key.
6. Adjust the Ear Tabs for a Snug Fit
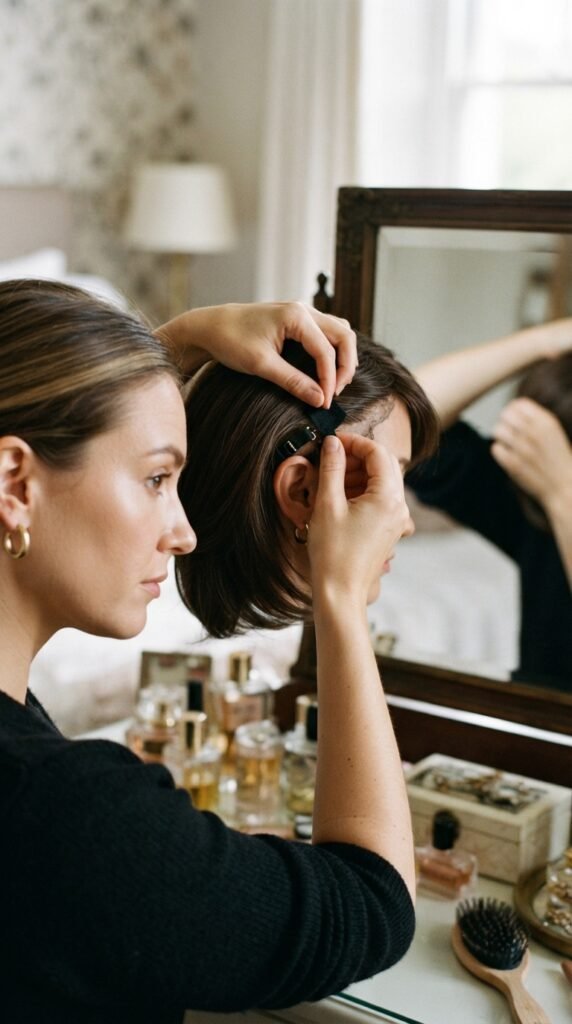
The tabs over your ears are often the first thing to pop up. I like to fold them under or cut them slightly shorter so they sit flat. Apply a tiny strip of tape on the inner side and press them down. This keeps the whole unit from shifting when you move your head. For a vampire haircut or any style with volume at the sides, this creates a smooth, seamless edge.
7. Sew in Combs or Clips for Extra Security
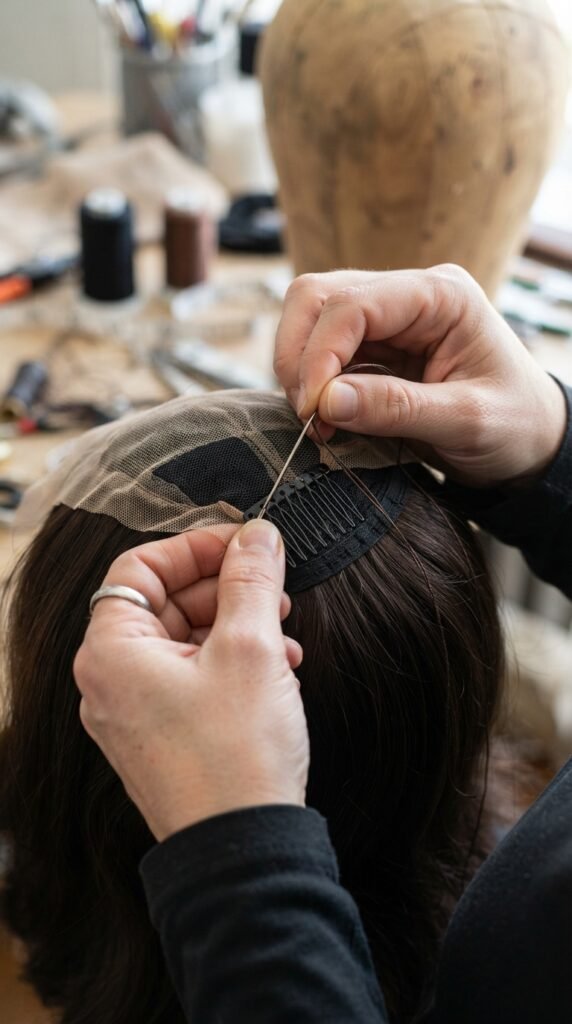
If your wig feels like it’s sliding backward after an hour, add a couple of small combs or clips inside the cap. Sew them at the temples and at the nape. It sounds like work, but it takes ten minutes. This is a non-negotiable for active days or windy weather. Plus, for a 2026 hairstyle like the asymmetrical lob, you want the structure to stay put so the sharp lines look intentional.
8. Flatten the Top of the Cap

A lot of lace fronts have a weird bump at the crown. You can fix this by adding a thin piece of foam or a folded sock underneath the cap before you put it on. Or, spritz the inside with water and flatten it with a hot comb. This is especially important for the old money hair look, where a sleek, round top makes the whole silhouette look expensive and polished.
9. Customize the Part with a Hot Comb
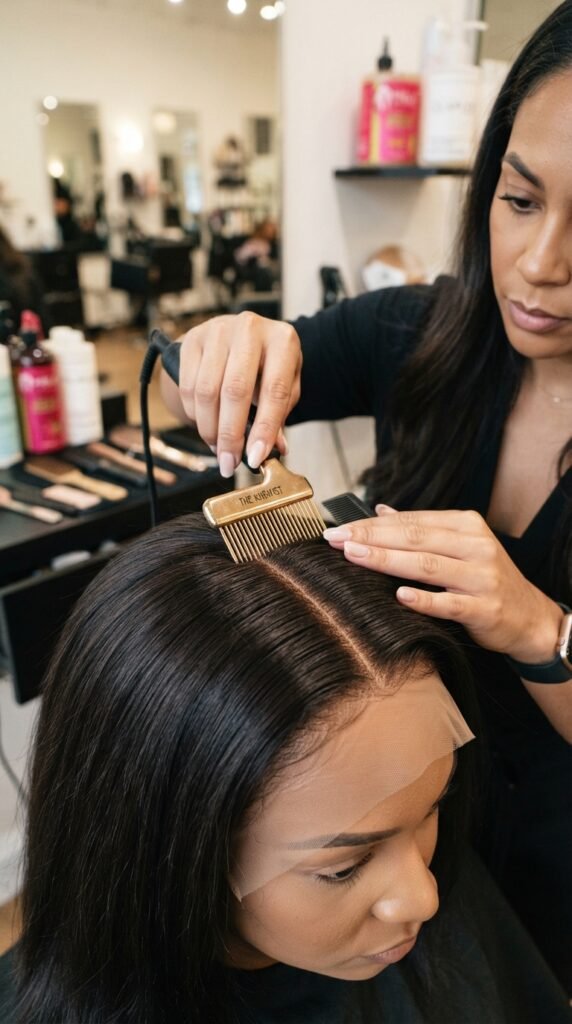
Many lace fronts come with a pre-made part that looks too obvious. Use a hot comb or a blow-dryer on low to create your own parting space. Add a dab of concealer in that part to match your skin tone. It creates the illusion that the hair is growing from your actual scalp. For a quiet luxury bob, a slightly off-center part feels fresh and effortless.
10. Stick the Lace Down with a Blow-Dryer
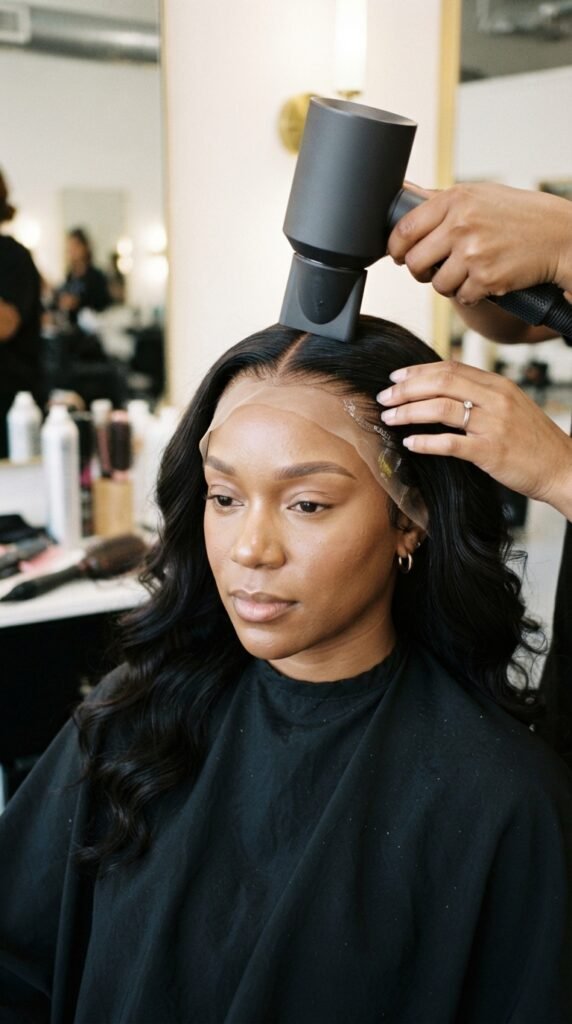
After you apply your adhesive and place the lace, blast the hairline with a cool shot from your blow-dryer. This activates the glue and sets the lace into your skin. Hold it for about 15 seconds. It helps the lace melt in so it looks like part of your forehead. This trick is gold for any 2026 hairstyles that require a clean, baby-smooth hairline, like the hime cut.
11. Use a Scarf for the First 10 Minutes

Right after you apply your wig, wrap a soft scarf around your head for about 10 minutes. The pressure helps the adhesive bond better and flattens any air bubbles. I do this every time I wear a lace front, even for quick outings. It gives a secure hold without needing extra glue. For a romantic goth hairstyle, this step helps keep the dramatic front lace detail in place.
12. Pluck the Hairline for Realism
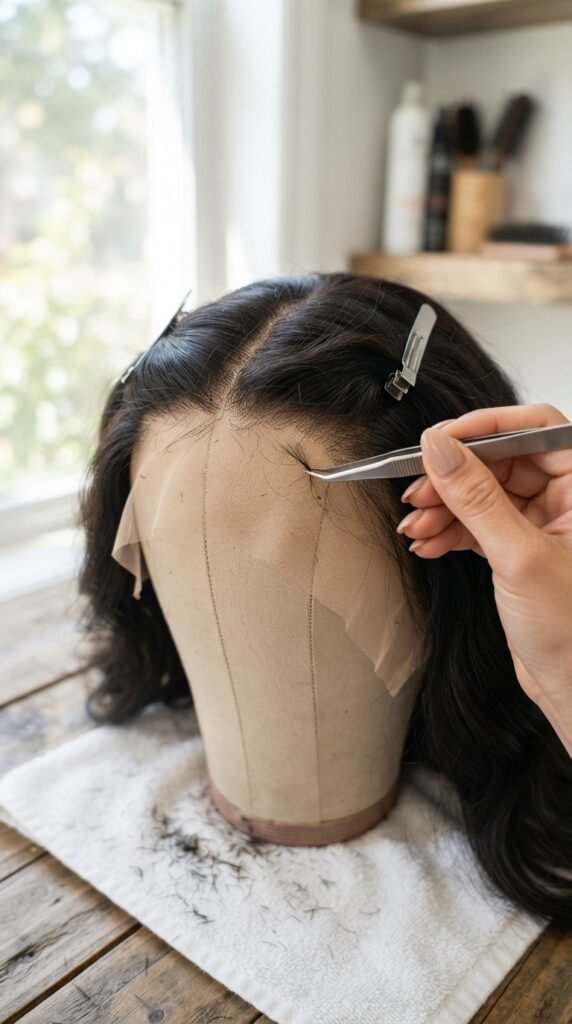
Wigs come with way too many hairs packed at the front. Take a pair of tweezers and pluck a few strands here and there—never a straight line. You want a staggered, sparse look. This instantly makes the wig look real. Spend about 5 minutes doing this. For a vampire haircut or a soft asymmetrical lob, this little detail is what separates a costume from a hairstyle.
13. Match the Lace Color to Your Skin

Most lace fronts offer a few different lace colors. If you’re between shades, go for the next shade lighter—you can always darken it with foundation. Transparent lace is ideal, but not always available. A tinted lace that matches your skin eliminates the need for heavy makeup at the hairline. This is a must for the glitchy glam hair trend, where the look is high-tech but the finish must be flawless.
14. Set the Baby Hairs with Hairspray
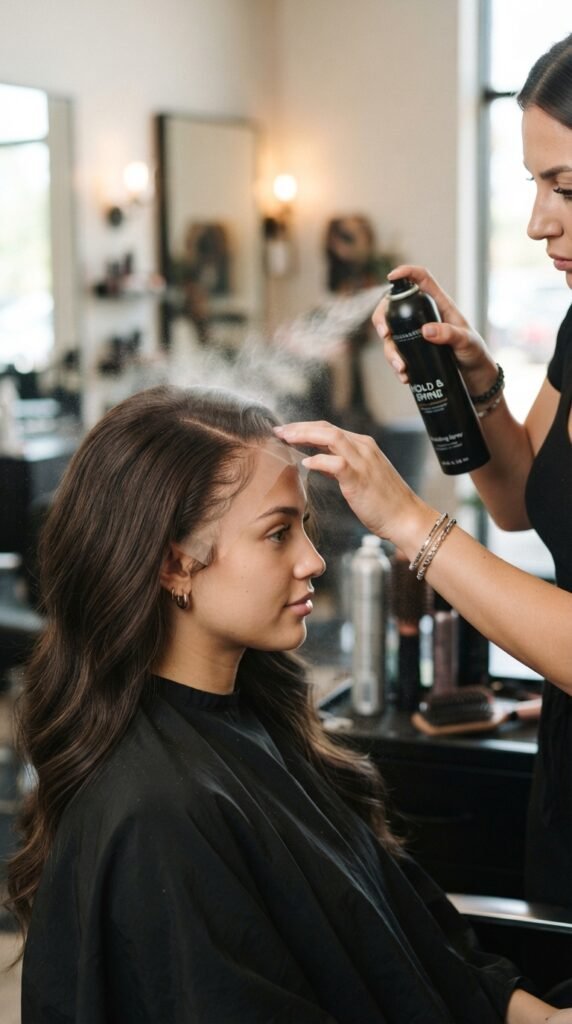
Baby hairs are cute, but they can get messy. After you style them, give them a light spritz of flexible hold hairspray. Don’t use the strong stuff—you want them to move a little. Use a small toothbrush to lay them down flat. This keeps the hairline tidy all day. For a clean old money hair look, neat baby hairs make the whole thing feel polished without being stiff.
15. Use Tinted Powder on the Part
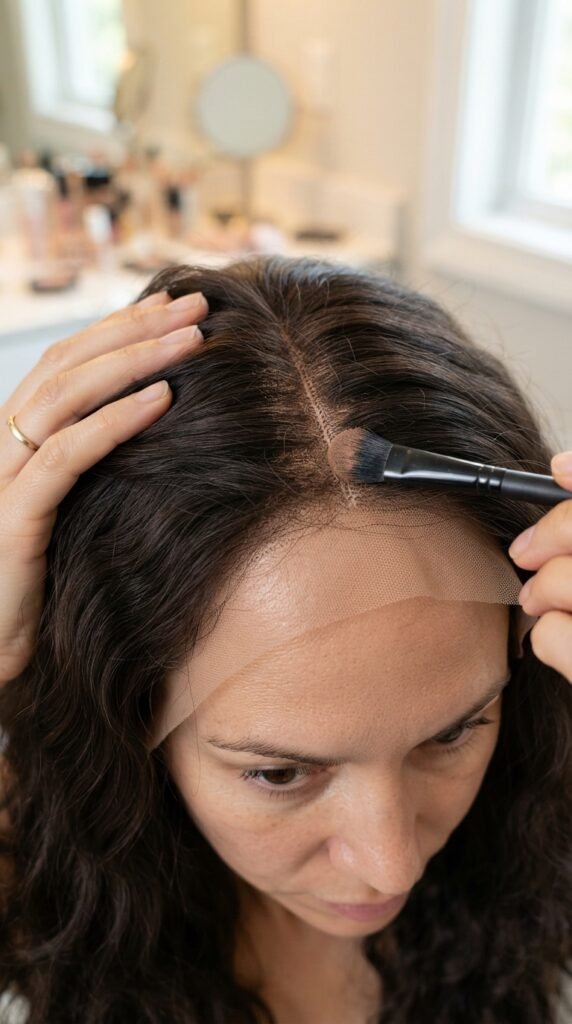
Even after you melt the lace, the part can still look a little too white. Use a small eyeshadow brush to apply a powder that matches your scalp color. This masks the mesh and makes the part look like real scalp. It’s a tiny step with a big payoff. This works beautifully for the quiet luxury bob, where a clean, natural part is part of the elegant vibe.
16. Adjust the Tension with the Straps
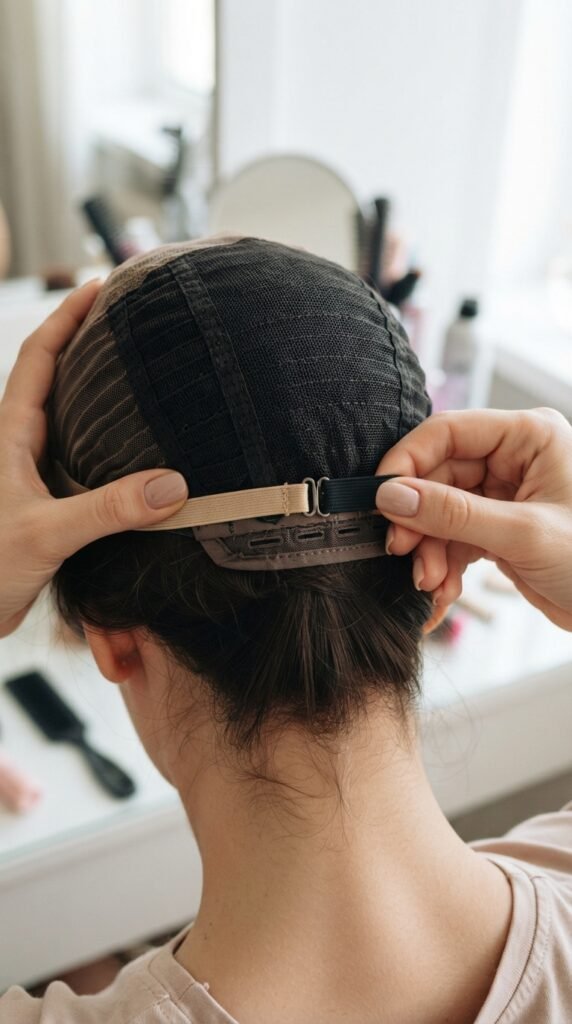
Most wigs have adjustable straps at the back. Don’t skip these. If the wig feels too loose, tighten them. If it feels like it’s pulling your hair, loosen them. You want the cap to sit snugly without creating a headache. For a full day’s wear—like for a vampire haircut with long layers—comfort is just as important as looks. A comfortable wig sits better.
17. Add a Silk or Cotton Liner
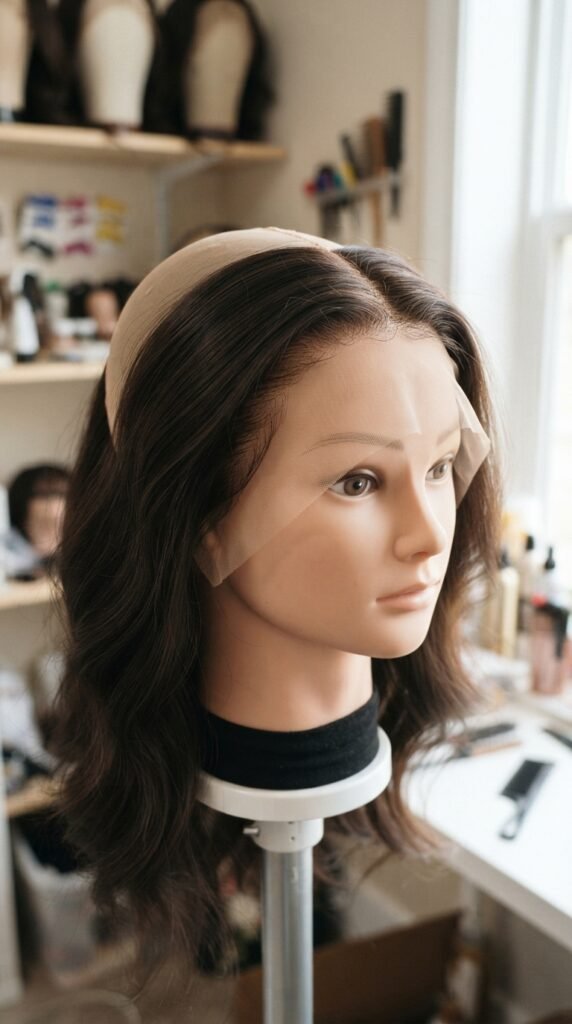
If the cap feels scratchy or causes itching, add a thin silk or cotton liner underneath. You can get these for cheap online. They also help absorb sweat, which keeps the lace from lifting. For daily wear, especially for romantic goth hairstyles that have heavy bangs, this liner keeps your natural hair safe and the wig secure.
18. Avoid Too Much Product on the Lace
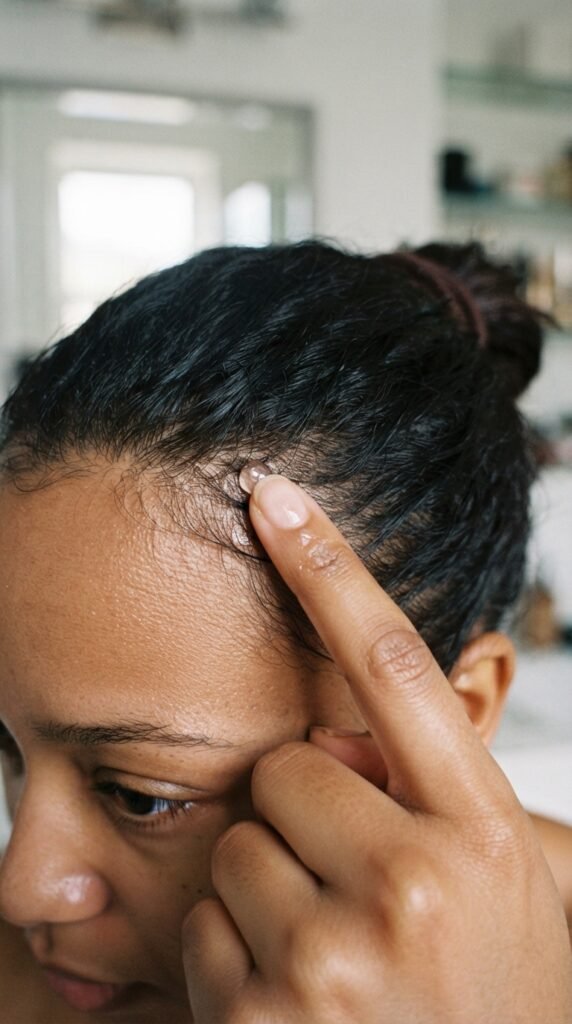
More glue does not mean more hold. In fact, too much product makes the lace stiff and shiny. A thin, even layer is all you need. Apply it with a small brush or spatula. Let it get tacky before pressing the lace down. This prevents that obvious glue line. For any 2026 hairstyles, especially the glitchy glam hair, a clean finish is everything.
19. Set It and Forget It with a Final Spray
Once everything is in place, give the whole wig a light mist of a flexible hold spray. This locks in the style and prevents flyaways. Don’t saturate it—just a light dusting. Then, let it sit for 5 minutes before you go anywhere. These 19 adjustments will make your lace front feel like a second skin, whether you’re rocking a hime cut, an asymmetrical lob, or the quiet luxury of old money hair.
And really, that’s the whole secret. It’s not about buying the most expensive wig or the fanciest glue. It’s about taking a few minutes to tailor the fit to your own head. Every time I do these steps, I feel a little more confident walking out the door. The best hairstyles are the ones that let you forget you’re even wearing a wig.
If you found this helpful, save this post to Pinterest so you have it handy the next time you’re doing your hair. And drop a comment below—what’s your biggest lace front struggle? I’d love to hear what works for you.