Craft 20 Overhand Knot Rows Creating Rope-Like Textured Effects
You know that feeling when you want a hairstyle that looks complicated and expensive, but you’re pretty sure you can do it with zero talent and maybe one stray bobby pin? That’s exactly the vibe of rope-like textured effects. It’s the kind of look that screams “I woke up like this” but actually came from 20 simple overhand knots. No braiding, no tight twisting, just a bunch of tiny knots that turn into this cool, chunky rope texture. Think old money hair meets a little bit of romantic goth edge. I’m going to walk you through exactly how to craft 20 rows of these knots, and I promise it’s easier than deciding what to watch on Netflix. This is the perfect low-commitment style for 2026 hairstyles that still looks like you put in major effort.
Why Overhand Knot Rows Work for Everyone
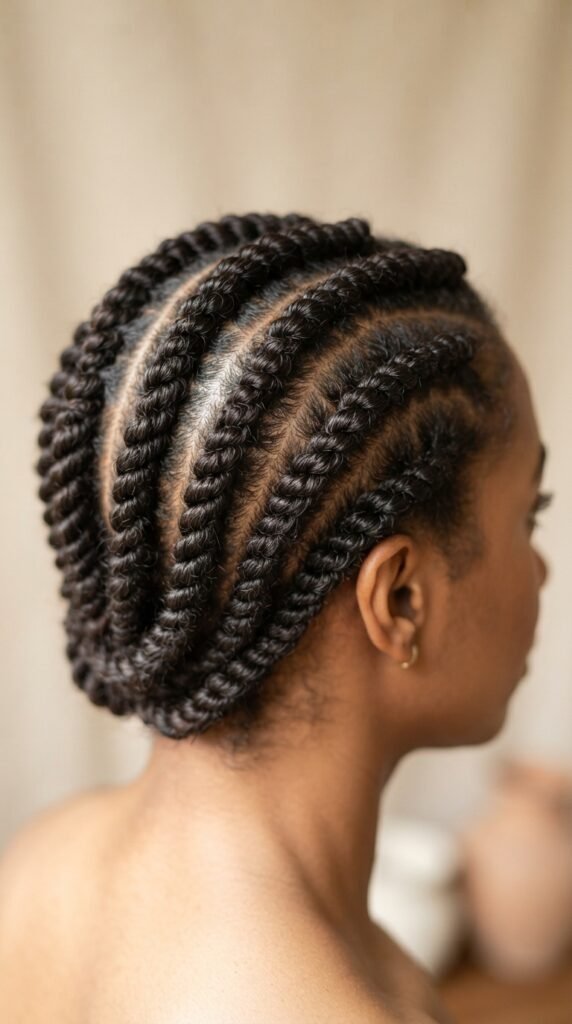
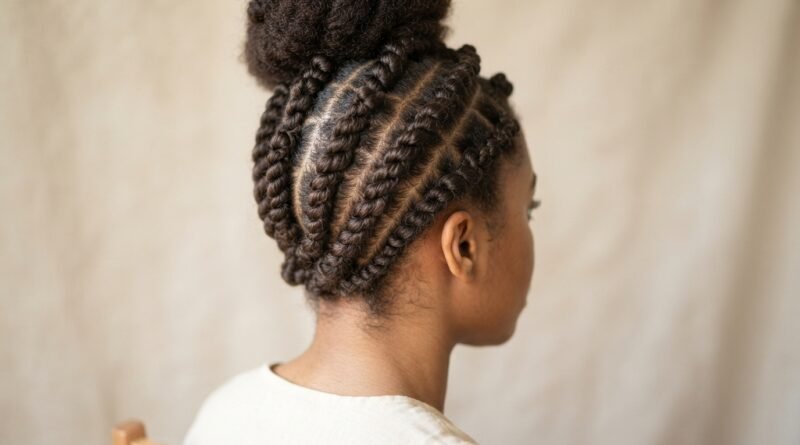
This technique is basically the secret handshake of cool hair. Overhand knots are the simplest knot you’ll ever tie—way less intimidating than a French braid. When you stack them in rows, they create this gorgeous, almost woven effect that instantly adds volume and texture.
- Works on straight, wavy, or curly hair
- No heat damage, just your hands and a little patience
- Gives off that quiet luxury bob vibe, even if your hair is long
You don’t need a salon appointment. You just need 10 minutes and a mirror. It’s the kind of style that makes people ask, “Did you get extensions?” when you just tied a bunch of knots.
Tools You Actually Need to Start
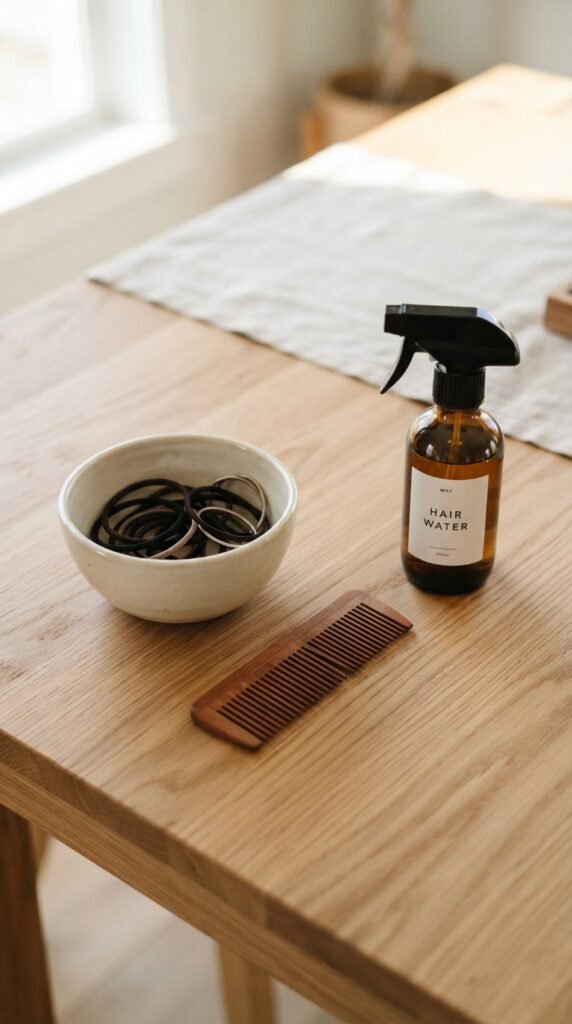
Let’s keep it real. You don’t need a fancy kit. For 20 rows of overhand knots, you’ll want:
- A rat-tail comb (makes sectioning so much easier)
- Small, clear elastic bands
- A spray bottle with water (damp hair knots better)
- A bit of light-hold gel or mousse if your hair is super slippery
That’s it. No curling iron, no backcombing, no drama. If you’ve got these on hand, you’re ready to go. This is practical styling, not a science project.
Prepping Your Hair for Knot Success
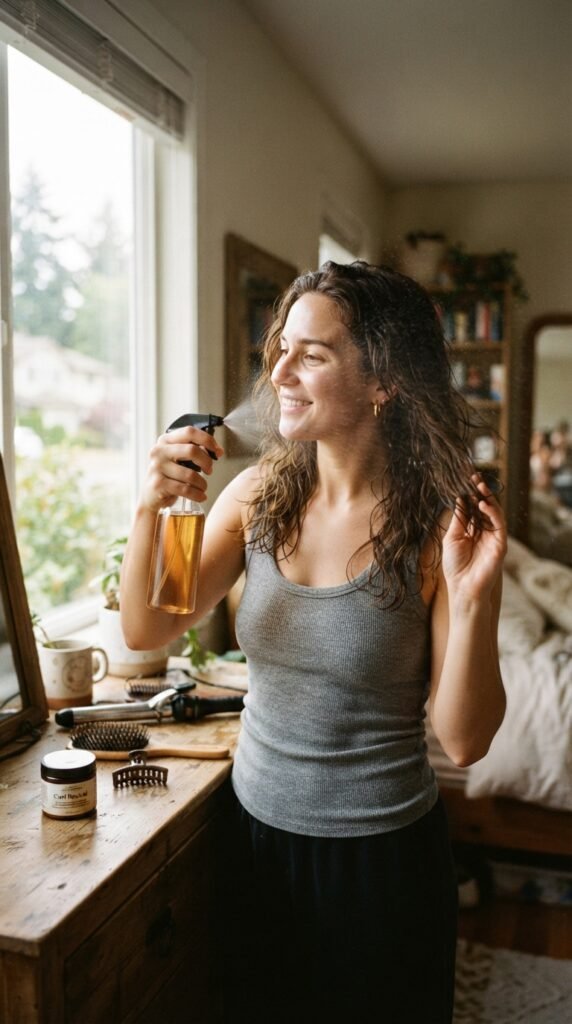
Start with clean, dry-ish hair. You don’t want it soaking wet, but lightly damp works best. Overhand knots hold way better when the hair has a little grip. If your hair is super smooth, run a tiny bit of texturizing spray through it first.
- Spritz until your hair feels slightly cool to the touch
- Brush everything smooth so there are no tangles
- Part your hair however you like— middle, deep side, or even a half-up
This 30-second prep step makes the difference between knots that stay and knots that slide out by lunch. Trust me on this one.
Sectioning: The Make-or-Break Step
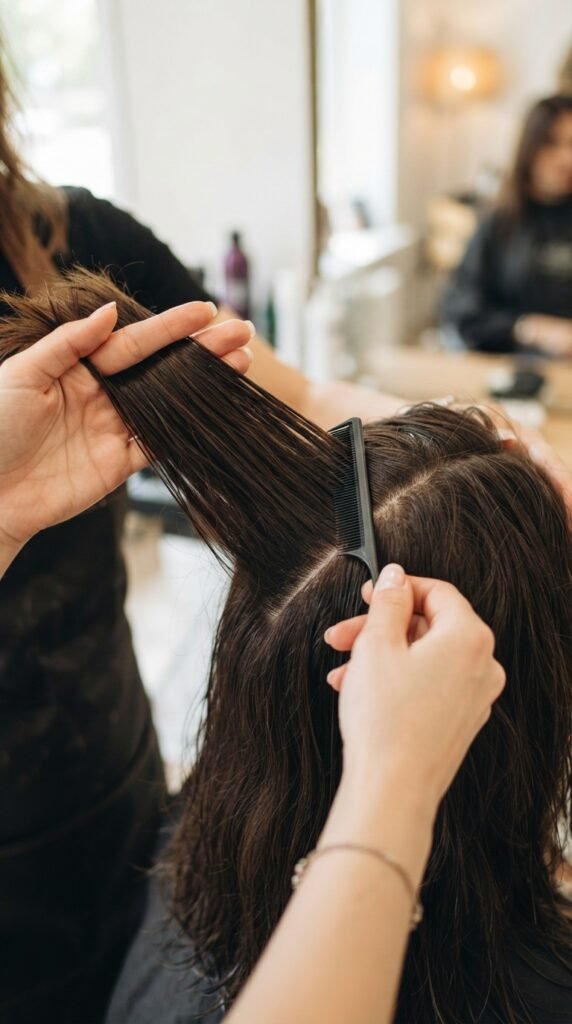
You’re going to create 20 rows, so proper sectioning is key. Use the tail of your comb to draw neat, horizontal sections from your temples to the back of your head. Each row should be about half an inch wide.
- Start at the nape of your neck and work upward
- Clip the top sections out of the way as you go
- Keep your parts clean and straight for a professional look
It feels a little tedious, but this is what gives you that 2025 quiet luxury sleekness. Sloppy sections create sloppy knots, and we’re going for the opposite.
How to Tie the Perfect Overhand Knot
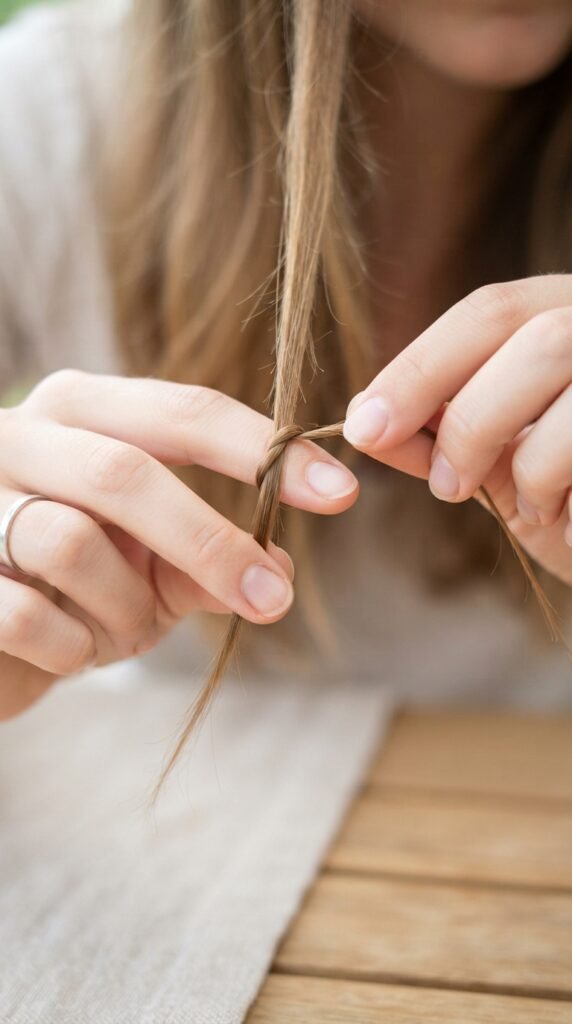
This is the part people overthink. An overhand knot is literally just taking a small section of hair, looping it over itself, and pulling through. That’s it. You’re basically tying a single knot like you would with a shoelace, but with hair.
- Take a 1-inch section of hair
- Split it into two equal pieces
- Cross the right piece over the left, pull through the loop
- Tighten gently—don’t yank!
That’s knot number one. Repeat this for every row. You’ll get faster after the first three knots, I promise.
Row 1: Start at the Nape
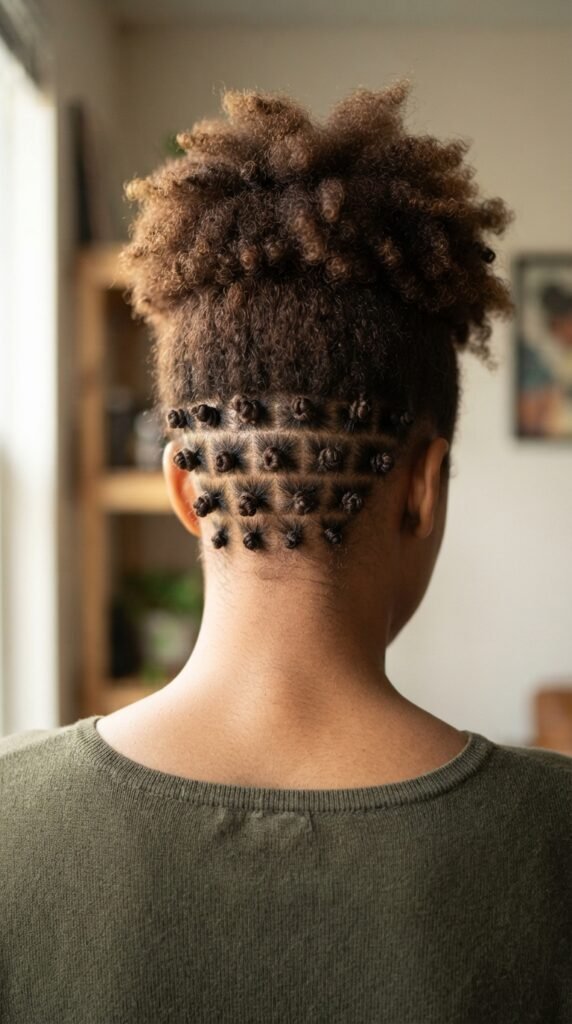
Your first row sets the tone. Section off a thin horizontal strip at the nape. Brush it downward. Then, tie 4 to 5 small overhand knots across that row, spacing them about an inch apart.
- Keep the knots tight but not painful
- Use a mirror or take a picture to check spacing
- Don’t worry if it looks loose—you can tighten later
Once that first row is done, you’ll feel like a pro. The rope-like effect starts to show immediately, and it looks so much cooler than you expect.
Row 2: Up and Over
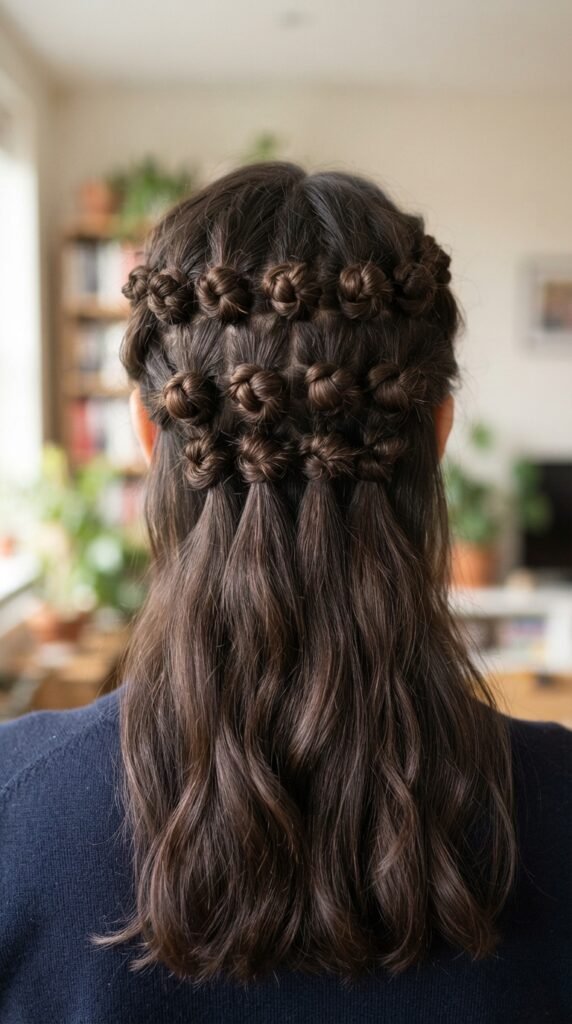
For row 2, you’re going to work about half an inch above the first row. Section it off and repeat the same process. A good trick is to stagger the knots slightly so they don’t line up perfectly.
- Section hair horizontally above row 1
- Knot each section so it sits between the knots of row 1
- This creates a brick-lay pattern that looks intentional
This staggered placement is what gives you that textured, rope-like weave effect. It’s the difference between “I tied knots” and “I did a whole hairstyle.”
Row 3: Keep Your Rhythm Going
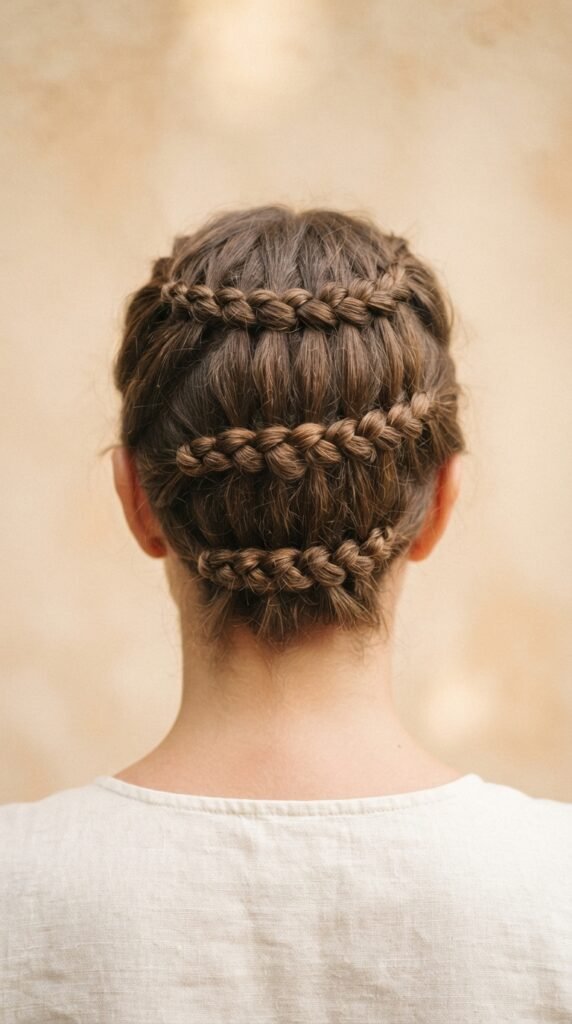
By row 3, you should be in a flow. Section, separate, knot, repeat. Each knot takes about 10 seconds once you get the hang of it. Don’t rush, but don’t overthink either.
- Tie each knot with the same tension
- Spritz a little water if hair starts to dry out
- Check the back with a mirror every few rows
This row is where you realize this style is actually relaxing. It’s almost meditative. Plus, it looks like you’re doing something way more complicated than you are.
Row 4: Add a Little Texture Variation
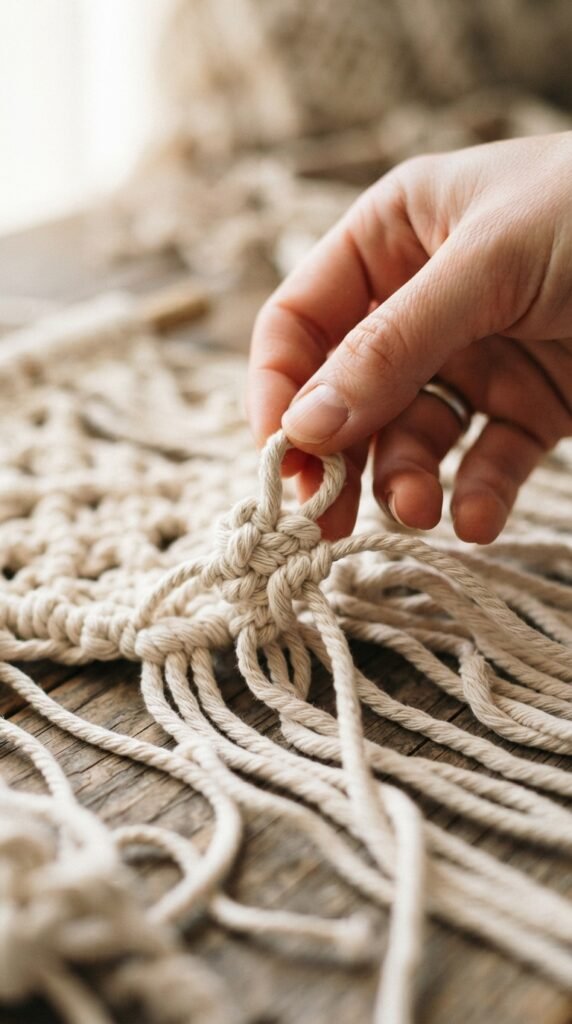
Now that you’re four rows in, you can start playing with the look. For a more relaxed, slightly messy vibe—think romantic goth hairstyles—gently tug the sides of each knot to make them a little puffier.
- Pinch the knot between thumb and forefinger
- Pull outward very gently
- Repeat on a few knots for asymmetry
This softens the whole style. It’s great if you want something that feels a little more lived-in and less rigid. Perfect for a date night or a coffee run where you still want to look put-together.
Row 5: Check Your Tension
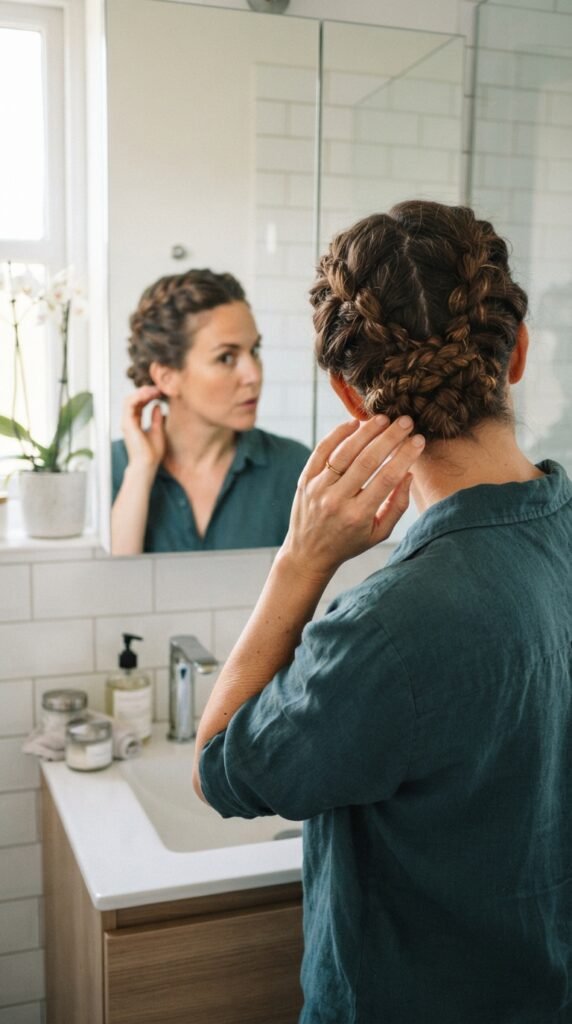
Halfway there! Row 5 is a good time to pause and check your tension. If the knots are too tight, they’ll pull at your scalp. Too loose, and they’ll disappear by the end of the day.
- You want the knot to feel snug, not tight
- If a knot slips, add a tiny dab of gel before retying
- Run your fingers over the rows to feel for consistency
Getting this right now saves you from having to redo everything later. It’s one of those small details that gives you that old money hair finish.
Row 6 to 10: Speed Up, Keep it Clean
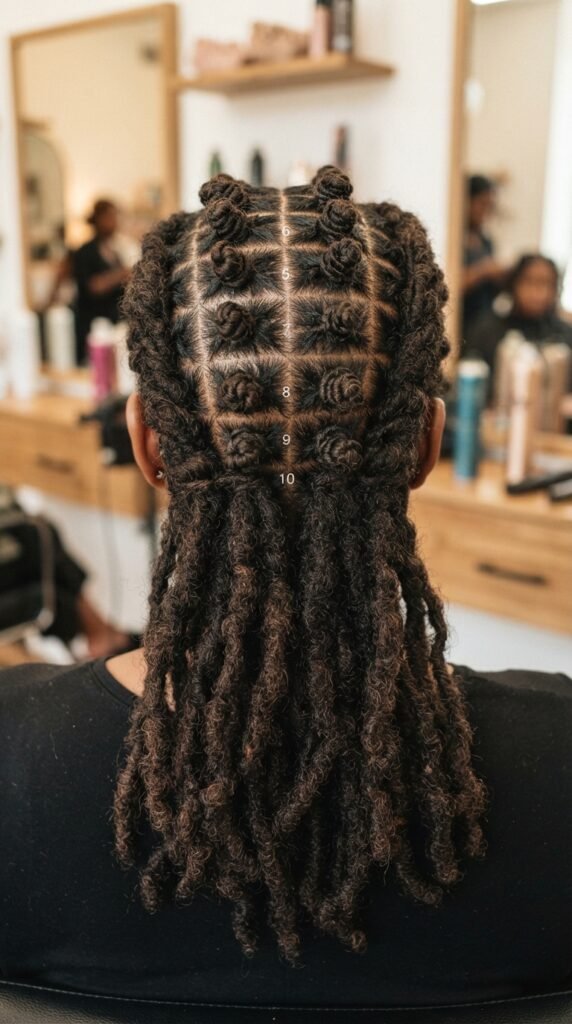
Rows 6 through 10 are where you build momentum. By now, your fingers know the motion. Each row should take about 2 minutes. Keep your sections consistent as you move up toward your crown.
- Use the same half-inch sections
- Stagger knots for that rope-like effect
- Don’t skip the mirror check after row 8
This is the sweet spot where the texture really starts to pop. You’ll see the rope-like pattern forming, and it’s honestly addictive. You might even want to go past 20 rows.
Row 11 to 15: Navigating the Crown
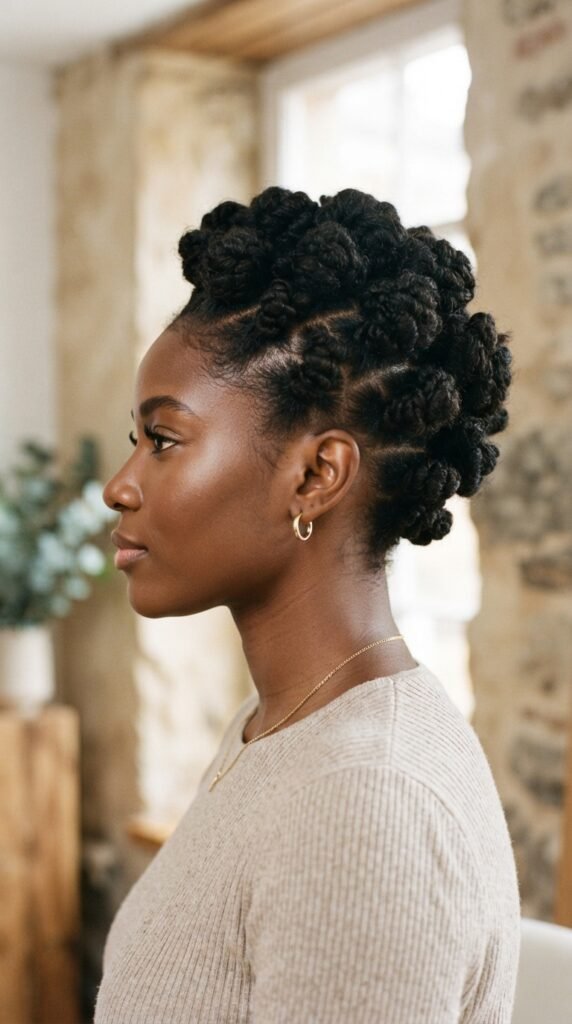
As you hit the crown, the hair gets thicker and more layered. That’s totally fine. Just adjust your section size slightly—maybe a tad smaller—so the knots stay neat.
- Work slower around the crown to avoid tangles
- Use the end of your comb to part cleanly through thick hair
- If hair is too bulky, split a section into two smaller knots
This area is where the asymmetrical lob or hime cut lovers will appreciate how the knots add volume without adding length. It’s a great way to fake a bob-like shape without cutting anything.
Row 16 to 19: Almost There
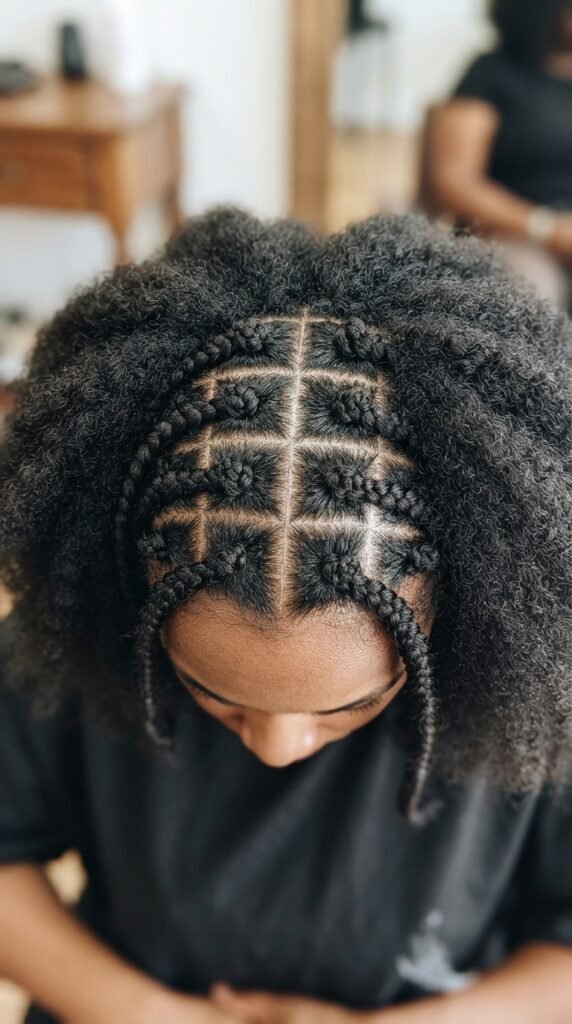
You’re nearly at 20 rows. Rows 16 through 19 are all about finishing strong. Keep your hand steady, and don’t rush just because you’re almost done. The last few rows are the most visible.
- Make sure knots are tight and even
- Check the front for any loose flyaways
- Mist with hairspray if you want extra hold
These rows near the top are what people see first, so give them a little extra love. They’ll frame your face and complete the whole rope-like look.
Row 20: The Grand Finale
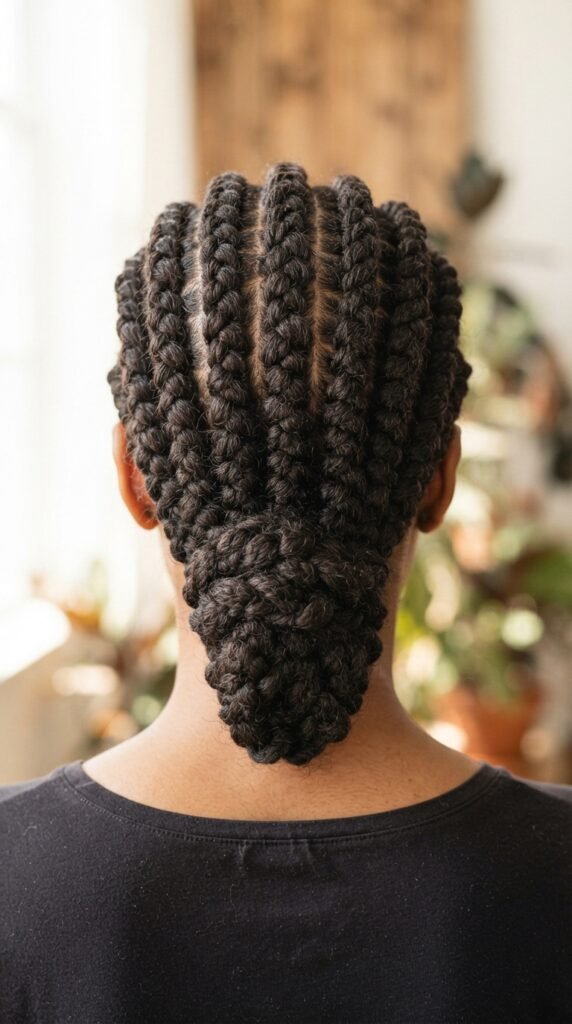
Boom, row 20. This is your victory lap. Tie the last knot, tighten it gently, and then take a second to admire your work. You just did 20 rows of overhand knots, and it looks incredible.
- Celebrate the accomplishment—this is not nothing!
- Run your fingers through the knots to soften them
- Take a photo from the back to see the full effect
This style is so versatile. It can go from casual day vibes to evening glamour in seconds. And you did it with just your hands and a little patience.
How to Style the Finished Rope Texture
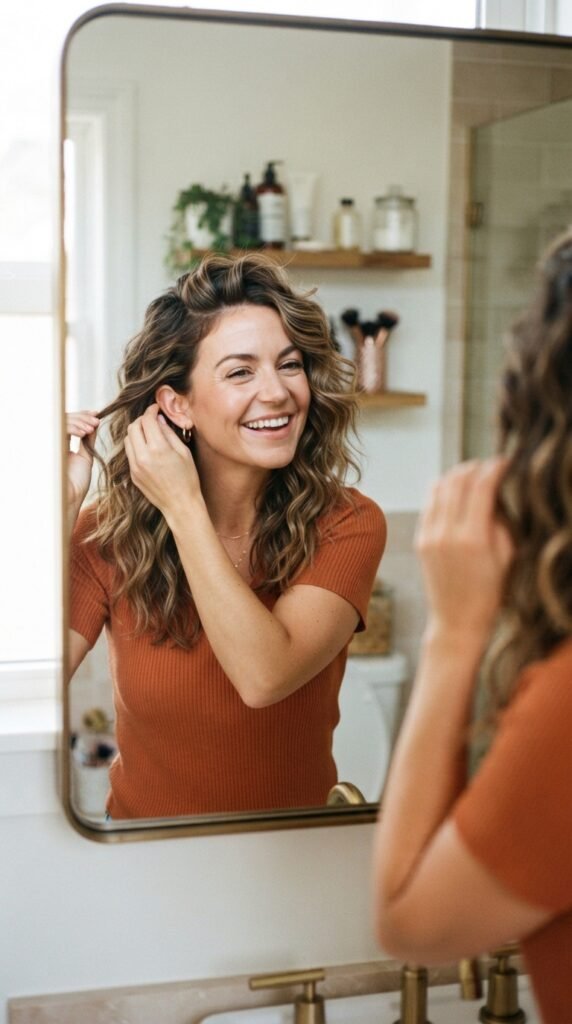
Once all 20 rows are done, you have options. You can leave the rest of your hair down, pull it into a low ponytail, or even gather the knotted section into a half-up style. The texture does all the work.
- Add a velvet ribbon for a romantic goth feel
- Pair with a sleek hair clip for old money vibes
- Let the knots show through for a subtle glitchy glam detail
The best part is how soft the texture feels. It’s not crunchy or stiff. It moves with you, which is why 2026 hairstyles are leaning into this kind of tactile, handmade look.
Make It Last All Day
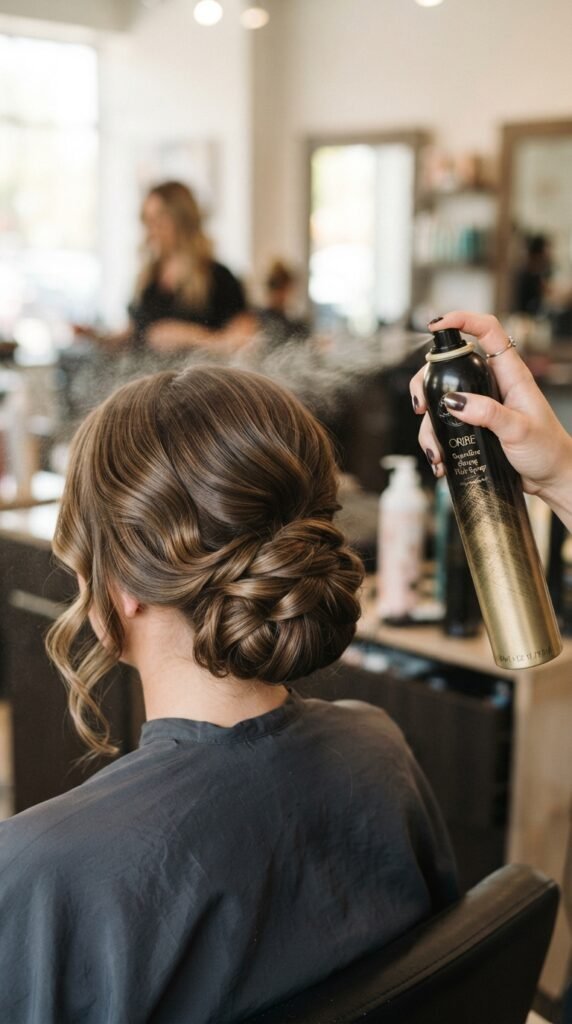
To keep your 20 rows looking good from morning to night, a little finishing spray goes a long way. Use a flexible hold hairspray so you don’t lose that rope-like movement.
- Spray from 12 inches away, not directly on the knots
- Use a silk scarf when you sleep to prevent frizz
- Finger-comb gently to refresh the next day
This style actually gets better with a little wear. Day-two hair with these knots has a soft, lived-in texture that feels very now. It’s low maintenance in the best way.
Try It With Different Hair Textures
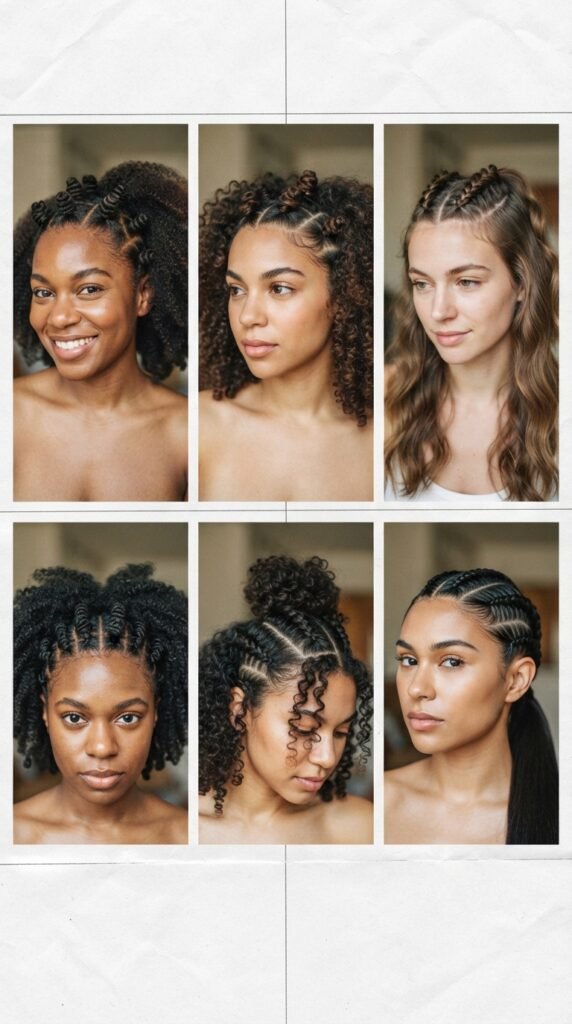
This technique isn’t just for one hair type. On curly hair, the knots create a beautiful, chunky rope effect that highlights your natural texture. On straight hair, it adds dimension and grit.
- Curly hair: Detangle well, knot when damp
- Fine hair: Use a tiny bit of dry shampoo for grip
- Thick hair: Smaller sections for more defined knots
Everyone’s version will look different, and that’s the point. It’s a technique that adapts to you, not the other way around. This is the inclusive vibe of 2026 hairstyles.
Pair It With a Vampire Haircut or Hime Cut
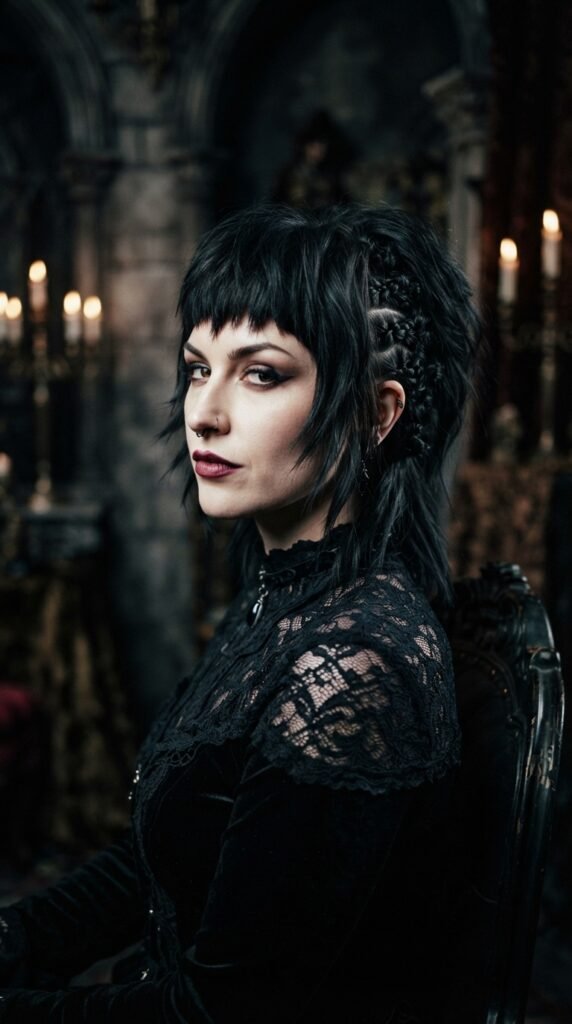
If you already have a vampire haircut with those face-framing layers, or a blunt hime cut, adding a few rows of knots at the nape or crown is a killer detail. It gives the style an extra edge without changing the cut.
- Focus the knots only on the back section
- Leave the front layers loose and sleek
- Contrast between sharp layers and soft knots looks incredible
This is a go-to for anyone who wants that romantic goth or quiet luxury feel. It’s subtle but intentional, and it shows you know your style.
Quick Fixes for Common Mistakes
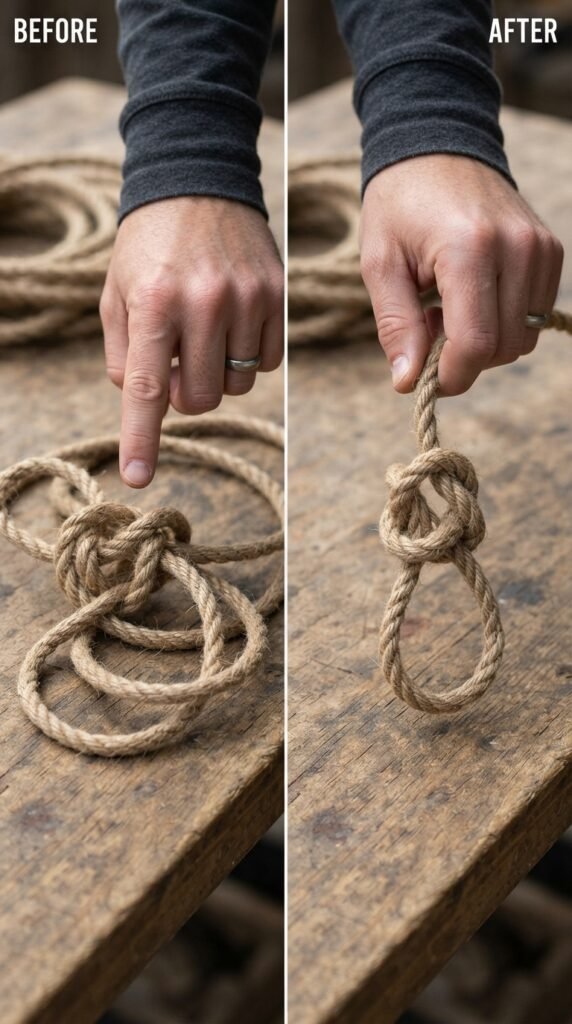
No one gets it perfect the first time. If a knot feels too loose, just untie it and re-tie with a little more tension. If it’s too tight, you can gently stretch it out with your fingers.
- Loose knot: Re-tie and tighten
- Uneven spacing: Add a small knot between them to balance it
- Frizz: Spritz with water and smooth down with a drop of oil
These fixes take 30 seconds. Don’t let a small mistake stop you. You’re literally creating art on your head, and art has room for adjustments.
How This Fits 2026 Hairstyles and Trends
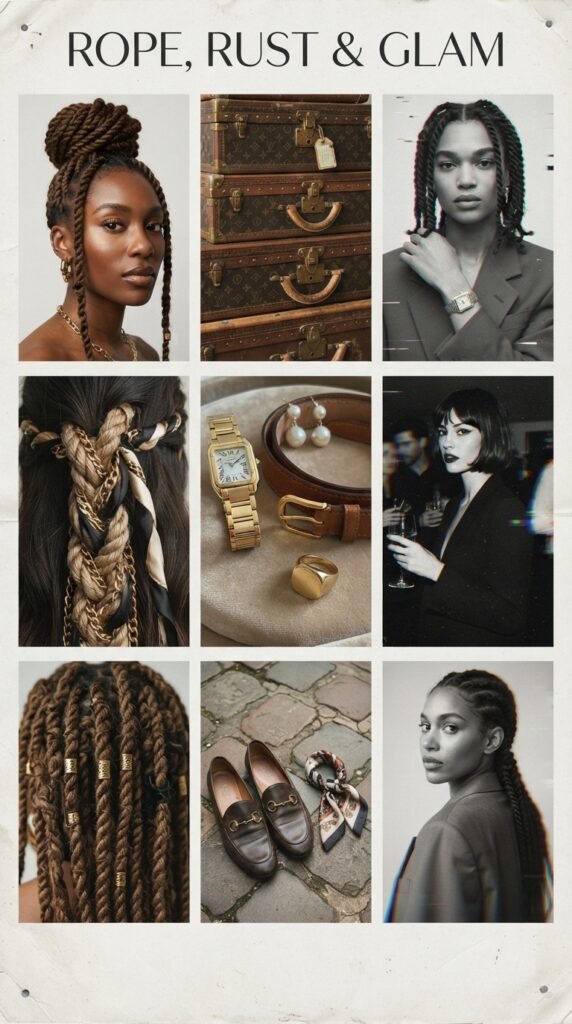
2026 hairstyles are all about texture that looks intentional but effortless. The quiet luxury bob, the asymmetrical lob, and even the romantic goth styles are leaning into handcrafted details. This knotting technique fits right in.
- It’s wearable, not fussy
- It works with hair accessories like ribbons and pins
- It’s the kind of detail that says “I tried” without screaming “I tried”
This isn’t a trend that’s going away. It’s a skill you can use over and over, for casual days or nights out. It’s part of the new wave of expressive but practical hair.
Final Thoughts Before You Try It
You don’t need to be a hairstylist to pull this off. You just need 20 rows of patience and a willingness to try something a little different. The first row might feel weird, but by row 10, you’ll be in the zone.
And honestly, if you mess up a row? So what. You can undo it in 5 seconds and start over. No damage, no heat, no pressure. That’s the beauty of overhand knots.
Save this post to Pinterest so you can come back to it next time you want to switch up your look. And seriously, leave a comment and tell me—what’s your favorite way to wear texture in your hair right now? I’d love to hear your version of this style.