Blowout 24 Volumizing Round Brush Techniques Lifting Roots High
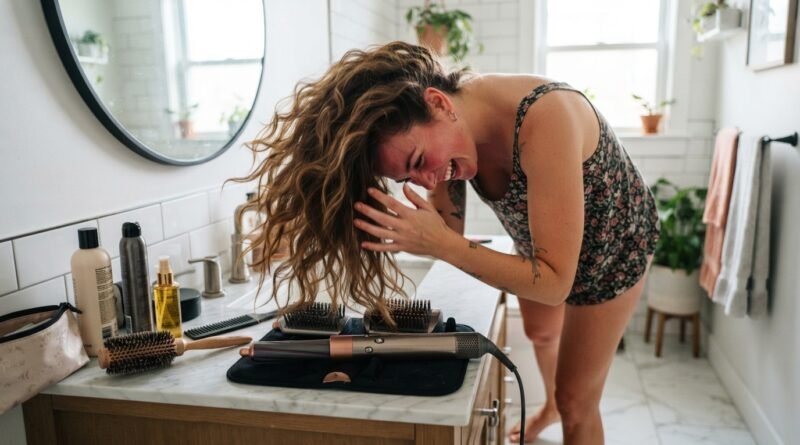
Hey babe. Let’s be real for a second: a great blowout can change your whole week. Not just your hair—your mood, your confidence, your entire vibe. I’ve tried every technique under the sun, and the 24 voluminous round brush method is the one that finally gave me that salon-root lift at home. No more flat roots, no more sad, droopy volume by lunchtime. I’m breaking down the exact moves so you can get that bouncy, high-volume blowout without burning your fingers or wasting an hour. Ready to feel like a million bucks from your own bathroom?
Why the 24 Volumizing Round Brush is your new best friend

The 24 round brush isn’t just a random size. It’s the sweet spot between creating big, loose curls and actually lifting your roots. Anything smaller gives you tight ringlets. Anything larger is too heavy for fine hair. This brush wraps your hair just right, letting you get that airy, “I woke up like this” volume. Plus, it’s forgiving for beginners. You won’t get tangled up as easily, and you can actually see what you’re doing. Trust me, once you switch to this size, you’ll wonder why you ever used anything else.
Prepping your hair for lift that lasts all day
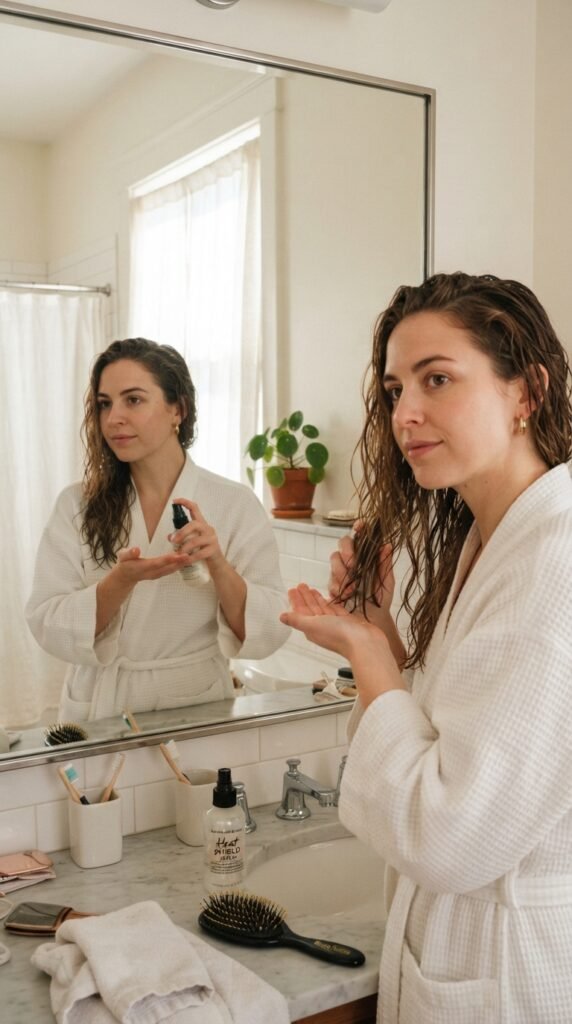
Volume starts before you even plug in the dryer. First, wash your hair with a lightweight volumizing shampoo. Heavy conditioners are the enemy of lift—keep conditioner to your mid-lengths and ends only. Then, gently towel dry until your hair is damp, not dripping. Spray a root-lifting mousse or spray directly onto your roots. A good trick? Flip your head upside down and blast the roots with the dryer’s cool shot for ten seconds to set the lift before you even touch the brush. Your scalp will thank you later.
Sectioning your hair like a pro
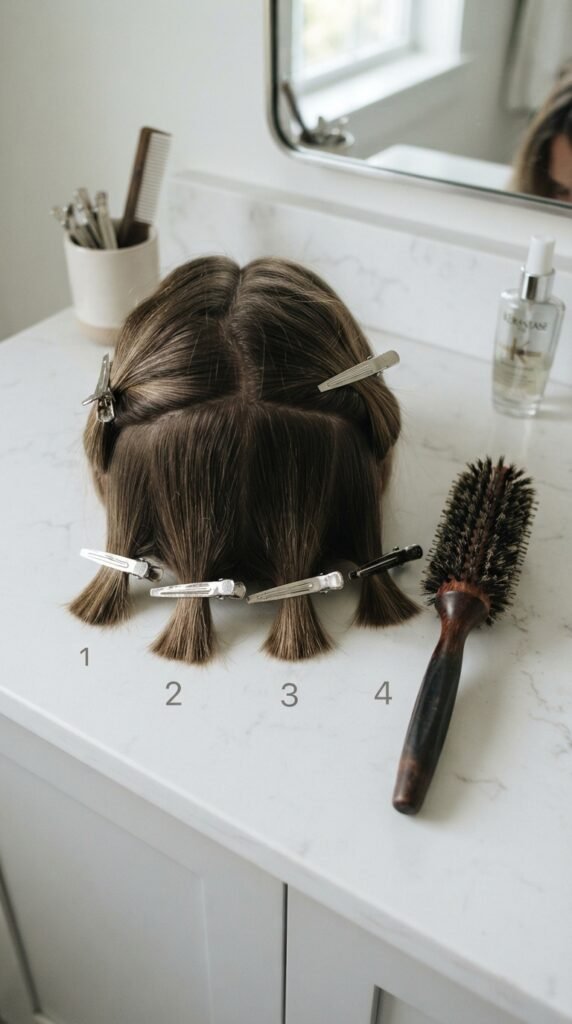
Don’t skip this step. It’s the secret sauce to an even blowout. Use a rat-tail comb to part your hair into four sections: two on top (crown area) and two on the bottom (nape of neck). Clip each section securely. Work from the bottom up—your roots will stay fresher, and you won’t accidentally flatten the top hair while drying the bottom. For thick hair, you might need six sections. The goal is to keep each piece small enough that the brush can glide through without tugging. Patience here saves you re-dos later.
The golden angle for root lift
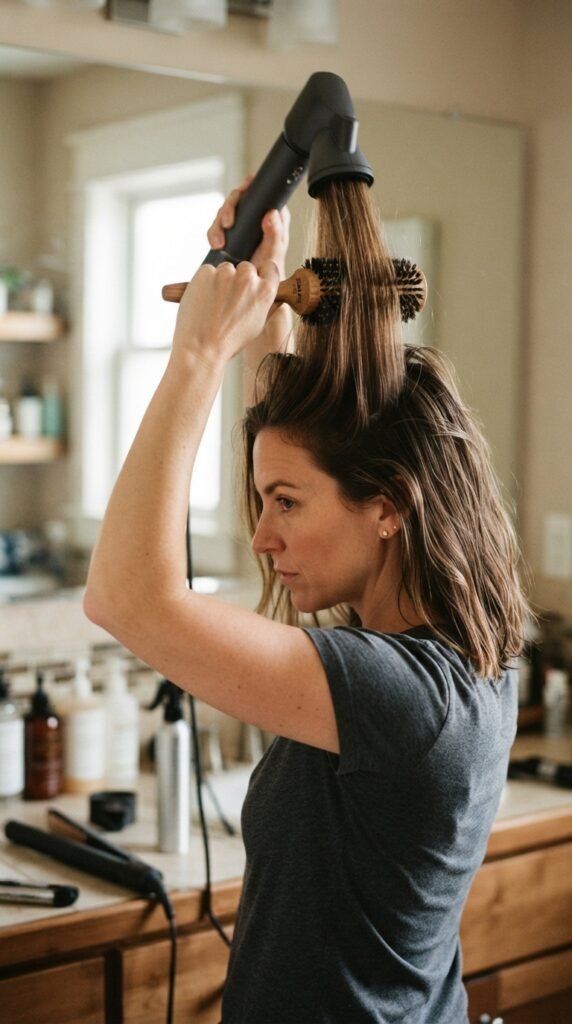
Here’s the magic move: instead of pulling your hair down or out to the side, pull the brush straight up from your part. This is called the “90-degree angle.” When you lift the brush up towards the ceiling, your roots naturally stand up and away from your scalp. Wrap the ends around the brush, then blow hot air directly onto the roots for about five seconds. Then, immediately hit them with the cool shot to lock the lift in place. That hot-to-cold transition is what makes the volume stay put for hours, even in humidity.
How to wrap hair around the brush for bouncy ends
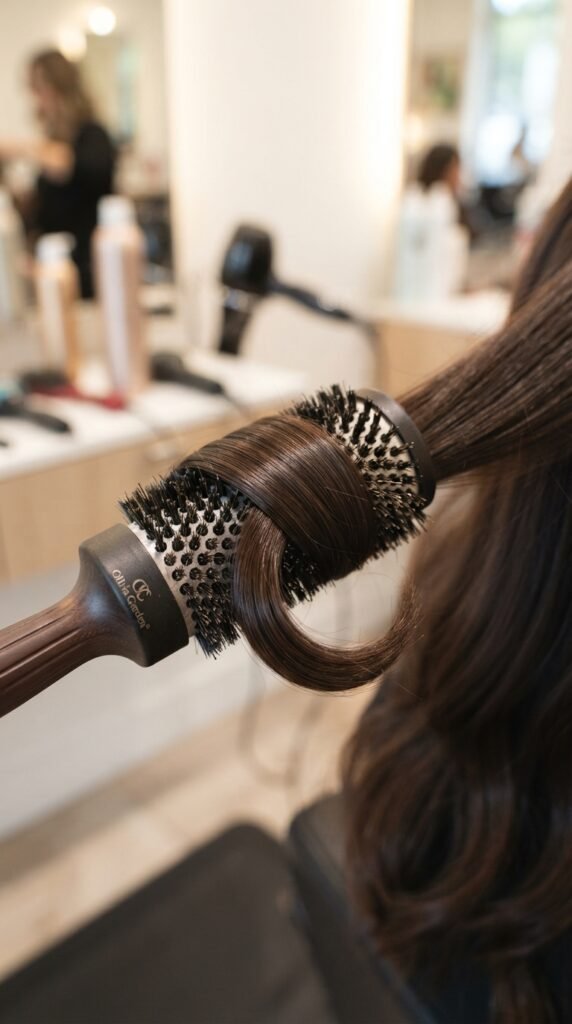
Once your roots are lifted, it’s time to shape the ends. Start at the bottom of the section. Slide the brush to the middle of the hair, then rotate the brush backwards (away from your face) while pulling down gently. This creates a smooth, inward curl at the ends. Don’t over-twist—two rotations max. Keep the dryer nozzle pointed downward to seal the cuticle and reduce frizz. You want soft movement, not a stiff curl. If you feel a lot of tension, you’re wrapping too tightly. Let the brush do the work, not your arm.
Drying each section completely before moving on

This is a non-negotiable rule. If you move to the next section while the previous one is even slightly damp, the whole blowout will fall flat. Hair traps moisture underneath the brush, so it can feel dry on the surface but still wet underneath. Test each section by touching the roots after the cool shot. If it feels cool to the touch, it’s dry. If it’s still cool and damp, give it ten more seconds of heat and another cool shot. Damp hair = pancake-flat roots. Dry hair = bouncy, lasting volume. Choose wisely.
Mastering the crown section for that “old money” lift

The crown is the star of the show. This is where you want that subtle, quiet luxury bob energy. Take a small section of hair directly from the top of your head (about an inch wide). Lift it straight up and dry the roots with the brush angled slightly forward, towards your face. This creates a gentle lift at the very peak of your head. It’s the difference between looking like you tried and looking effortlessly polished. Don’t overdo it—you want a soft curve, not a bouffant. Pair this with 2026 hairstyles like a sleek vampiric cut or a hime cut for that balanced, rich-girl vibe.
Flipping your hair to cool down
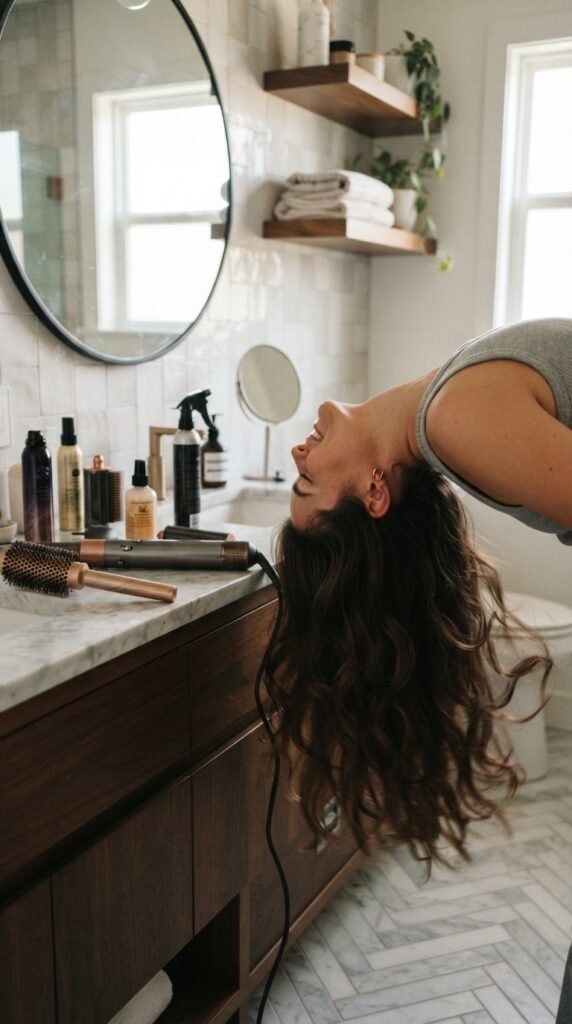
After you finish all sections, flip your head upside down. Let your hair fall forward and shake out the roots with your fingers. This breaks up any stiff lines from the brush and gives you that messy, “I didn’t try too hard” volume. Leave it down for about two minutes while you finish your skincare. The cool air naturally resets the lift. Then, flip back up and gently smooth the top layer with a wide-tooth comb. Don’t brush it out completely—just soften the shape. You want your hair to move, not sit like a helmet.
A cool trick for adding texture to fine hair
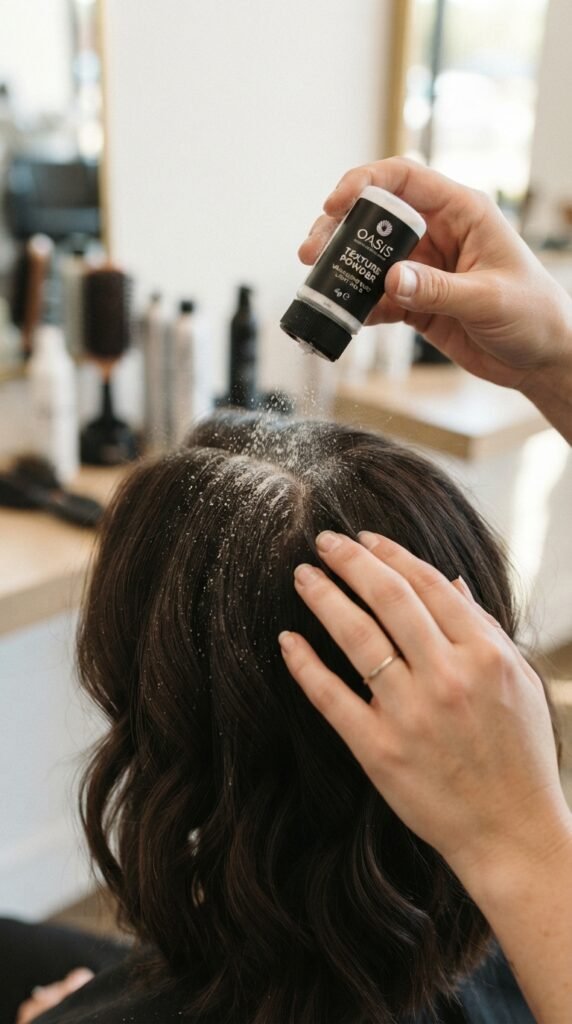
If your hair is fine like mine, volume can disappear by hour two. Here’s my hack: after the blowout, spritz a tiny bit of dry texture spray or dust a little volume powder onto your roots. Avoid the ends—they get sticky. Use your fingers to rub the product into your scalp, focusing on the crown and front hairline. This grit gives the hair something to grip onto. It’s the same trick used on shampoo ad sets. For a 2025-approved twist, try this with a romantic goth hairstyle or a glitchy glam hair look for extra edge that stays lifted all night.
Avoiding heat damage while chasing volume
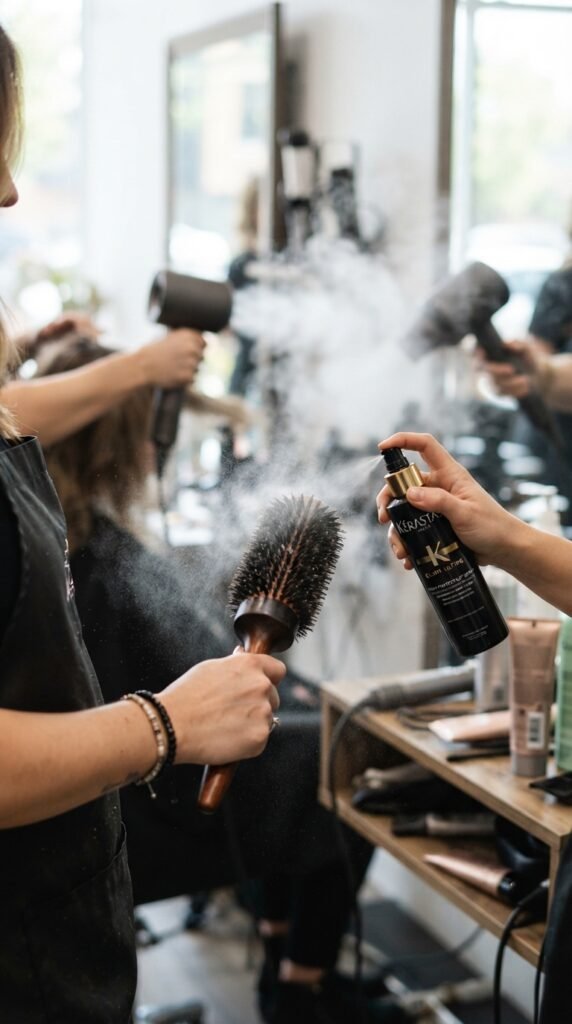
I know you want the lift, but don’t go full blast on max heat every time. Use medium heat (around 350°F) for fine or thin hair, and medium-high (400°F) for thick or coarse hair. Always, always use a heat protectant spray before you start. It coats the hair shaft and prevents the cuticle from burning, which causes frizz and breakage. The 24 brush helps here because the large barrel distributes heat more evenly, so you get the volume with less direct heat exposure. Your hair will thank you in the long run.
How to get volume without backcombing
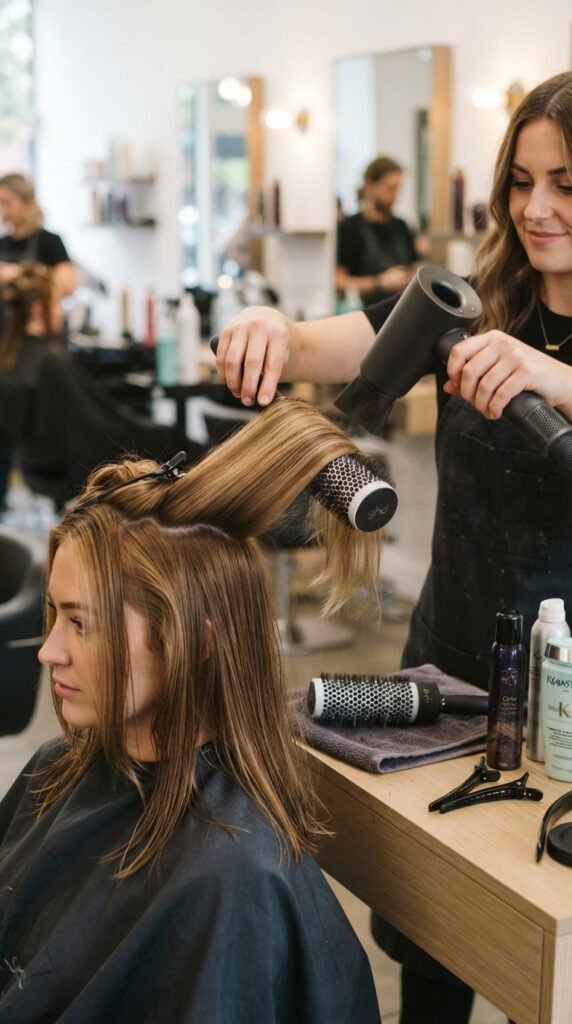
Backcombing is outdated and damaging. The 24 brush method gives you the same lift without the broken strands. Instead of teasing, use the brush to lift the root section, hold it with tension, and then use a “pull-back” motion. After drying the root, gently slide the brush out and use your fingers to press the root backward towards the scalp. This creates a tiny, invisible pocket of air underneath. It’s the same visual effect as backcombing but way healthier for your hair. For a quiet luxury bob or asymmetrical lob, this is the technique you want.
Quick blowout for short hair (silent luxury bob edition)

Short hair loves the 24 brush. Start at the nape of your neck, working small sections (half-inch wide). Lift the brush up and forward to create volume at the back of your head. For a silent luxury bob, focus on the ends flicking outward or inward—whichever suits your face shape. Use the cool shot on each piece to lock the shape. The whole process takes about 10 minutes flat. It’s perfect for 2026 hairstyles where minimal effort meets high-impact style. Your bob will look salon-fresh, not helmet-stiff.
Mastering the hime cut with a round brush
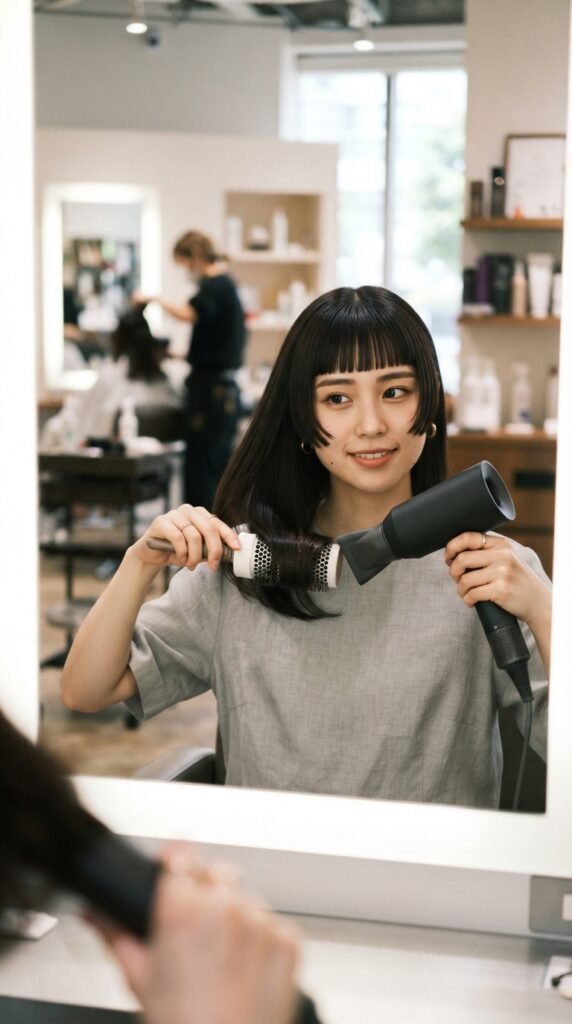
The hime cut is coming back in a big way for 2026 hairstyles. It’s bold, structured, and needs precise volume to work. Use your 24 brush on the longer face-framing pieces. Don’t over-blow the blunt bangs—keep them sleek and straight. Hold the brush vertically and pull the face-framing sections away from your face while drying. This gives that sharp, old money meets anime vibe. The volume in the back stays soft and round, while the front stays sharp. It’s a look that demands attention but feels wearable.
Achieving the vampire haircut look with extra lift
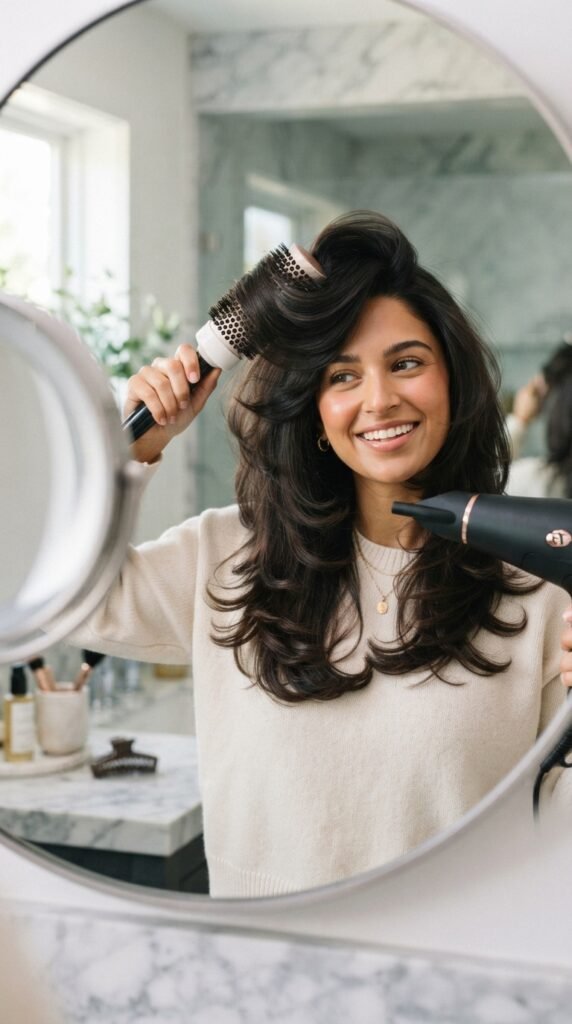
The vampire haircut is all about dramatic, swooping layers. To get that ethereal, romantic goth hairstyles feel, use your 24 brush on the top layers only. Keep the bottom layers straight and sleek. Focus the volume on the crown and sides, pulling the hair diagonally backward as you dry. The result is a soft, pointed shape that frames the face. It’s not heavy—just enough lift to make the layers look like they’re floating. A little texture spray at the ends keeps it from looking too polished. Think 90s vamp meets 2025 modern.
Fixing flat spots after your blowout
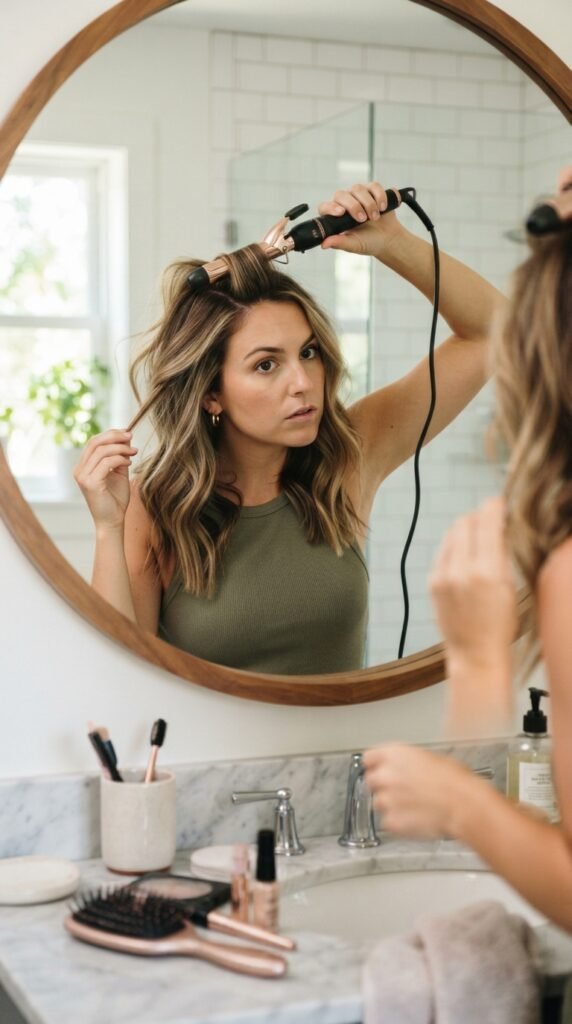
Don’t panic if you notice a flat spot an hour later. Take the same 24 brush (or a smaller one for precision), lift the flat section straight up, and blast it with hot air for three seconds. Then cool shot. That’s it. No need to re-wash. I keep my brush by the mirror for these quick touch-ups. It’s the easiest way to save a blowout without starting over. For a glitchy glam hair look, this quick lift at the crown adds a bit of modern, intentional chaos—like you just stepped off a runway.
The quiet luxury technique for smooth, shiny volume
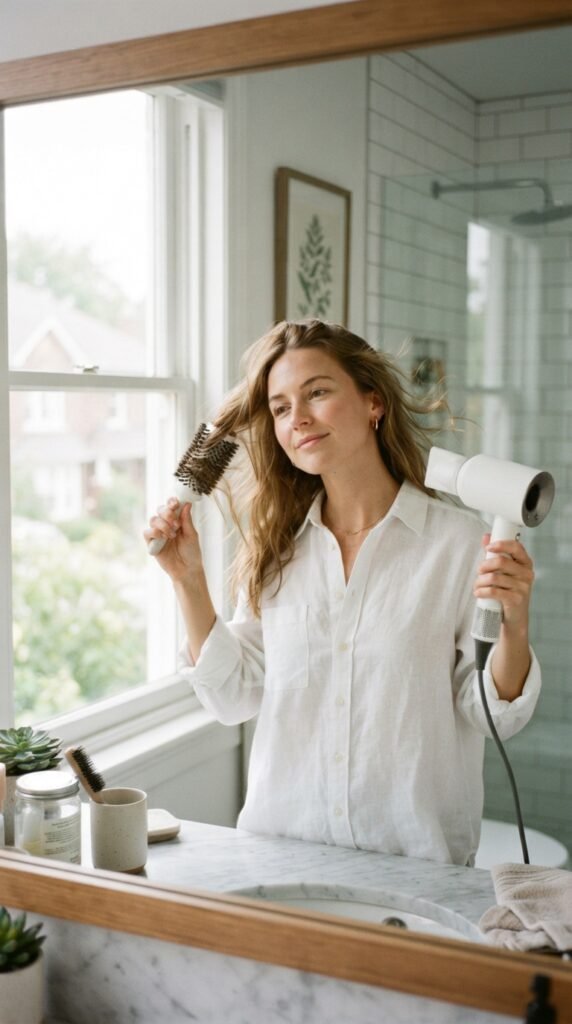
Quiet luxury isn’t about big, sprayed hair. It’s about radiant, healthy-looking volume. To get this, use the 24 brush on low heat with a concentrator nozzle. Keep the air flow pointed down the hair shaft. The round brush smooths the cuticle as it dries, adding insane shine. Focus on the mid-lengths and ends, not just the roots. The shine comes from the smoothness, not extra product. This is the exact technique used on models in 2026 hairstyles look books. Less is more, and the result is truly quiet wealth hair.
How to create a soft romantic goth volume

Romantic goth hairstyles need volume that’s soft and a little undone. Start by drying the roots as usual with your 24 brush. Then, instead of making a perfect curl, twist the brush only once at the end. Pull the brush out slowly, letting the ends fall loose. This gives you a soft, almost messy wave that looks effortlessly cool. Use a lightweight oil on your hands to smooth any flyaways, but keep the rest textured. It’s the perfect look for a cozy evening out or a coffee date with a dark lip.
Styling an asymmetrical lob with maximum root lift
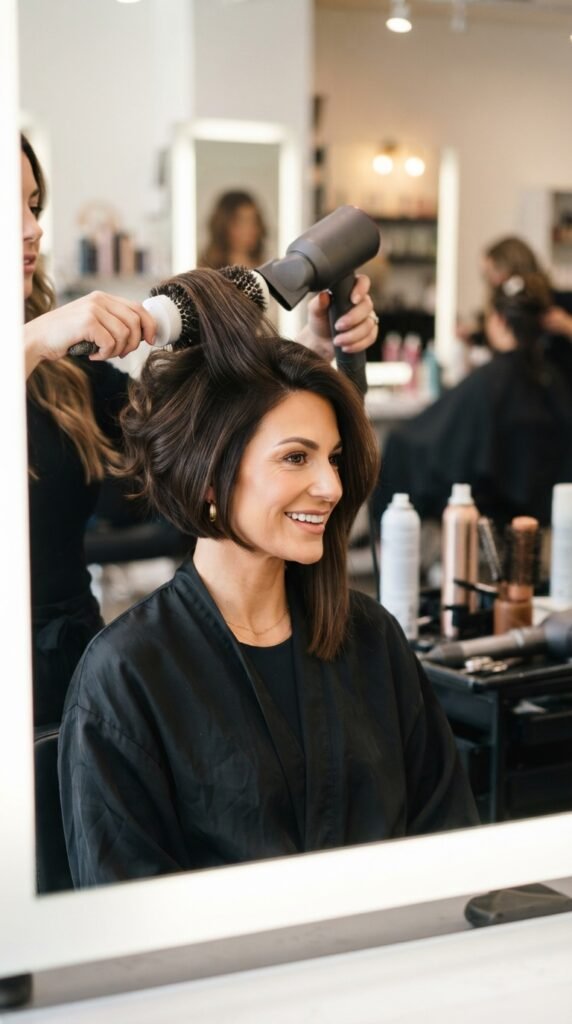
The asymmetrical lob is a powerhouse cut. To make it work, focus your volume on the shorter side. Use your 24 brush to lift the roots on that side, then dry the longer side straight and sleek. This contrast is what makes the asymmetry pop. The volume on top balances the weight of the longer side. Hold the brush at a 45-degree angle and dry the shorter section away from your face. Use a little paste to define the ends. It’s a modern take on classic shape, perfect for anyone who wants a sharp vibe with soft volume.
Final polish: How to set the volume overnight

If you want your blowout to last two days, wrap your hair in a high, loose pineapple bun (just like curly girls do) before bed. Use a scrunchie, not a hair tie. Sleep on a silk or satin pillowcase. In the morning, take it down and let the roots settle for five minutes. If they feel a little flat, put your 24 brush back in for a five-second touch-up. This routine keeps your volume alive without re-washing. You can get morning-of-salon results with absolutely zero effort. Just gentle heat and the right sleep setup.
Pairing your blowout with 2026 trend accessories
Once you’ve mastered the lift, don’t hide it. Try a half-up style with a claw clip to show off the volume at your crown. Or pin back one side with a barrette to highlight the smoothness of your blowout. The round brush volume acts as the perfect base for accessories. It holds shape without falling flat. In 2026, we’re seeing a lot of glamorous, minimal accessories paired with big, soft hair. A quiet luxury bob with a velvet headband? Perfect. A vampire haircut with a silver claw clip? Yes, please.
So there it is, friend. The 24 brush technique is your shortcut to hair that feels like you just walked out of a styling chair. No expensive tools, no complicated routines—just you, a brush, and a little know-how. Remember, practice makes perfect. The first few times might feel awkward, but stick with it. Your roots will rise, your ends will bounce, and your confidence will follow.
Save this post to Pinterest so you have the steps handy next time you’re in front of the mirror with wet hair and a dream. And seriously, drop a comment below and tell me: what’s your biggest struggle with round brush blowouts? I read every single one, and I’ve got more tricks up my sleeve for you. See you in the comments, babe.