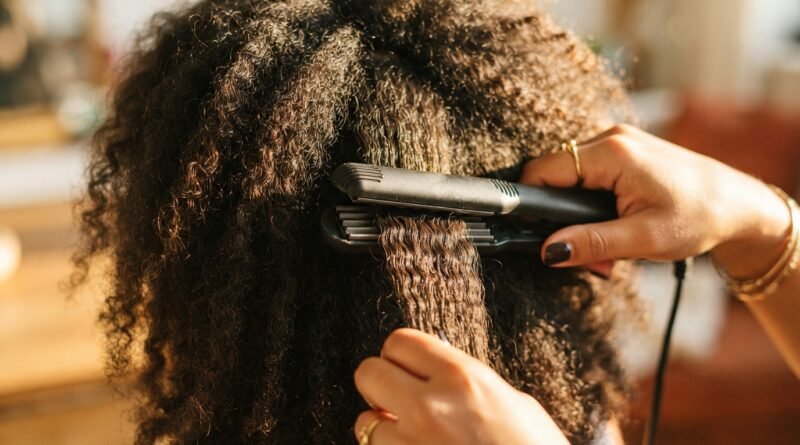
Braiding 22 Dry Strand Crimping Prepping for Grippy Texture
You know that feeling when you want braids that actually stay put without slipping or looking like a hot mess by lunchtime? I’ve been there too many times. Today, we are fixing that with a little trick called dry crimping. It’s the secret to grippy texture that makes braiding a breeze, even on super clean, shiny hair. No more fighting with strands that slide right out of your fingers. We are about to make braiding fun again, and I promise you will see results in your next five minutes of styling.
Think of dry crimping as giving your hair a little bit of attitude before you even start braiding. It adds that perfect amount of friction so each section stays locked in place. Whether you are going for a simple three-strand braid or a fancy fishtail, this prep step changes the game. Ready to get that hold without a single bobby pin? Let’s dive into the method that helps your braids look intentional, not messy.
Why Dry Crimping Matters for Braiding
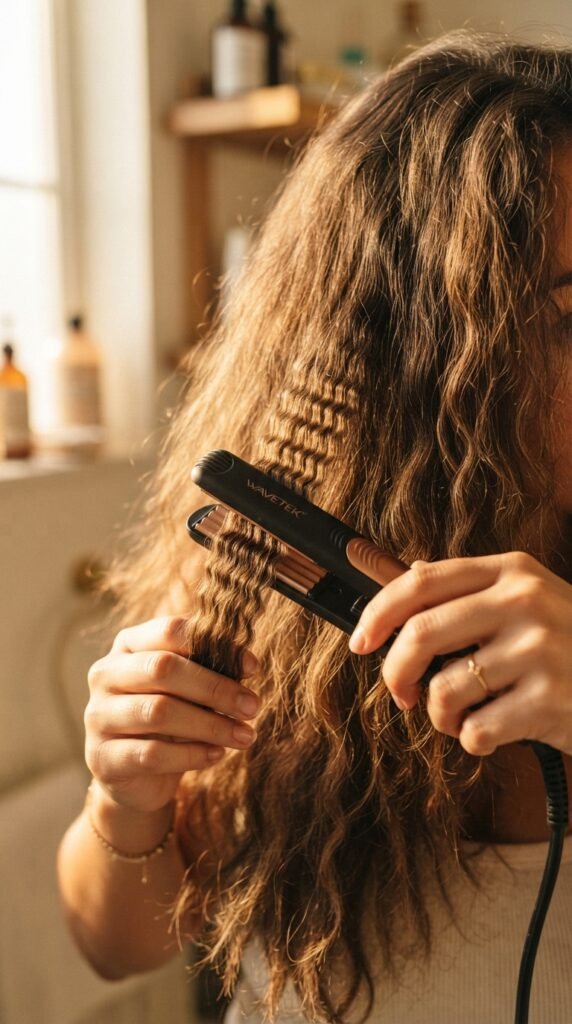
Clean, slippery hair is the enemy of a good braid. Dry crimping adds micro-texture that grabs onto itself. It’s like giving your hair tiny little teeth that hold each section together without any extra product.
This technique works best on hair that is completely dry. No water or spray needed. Just a little heat and a quick crimping motion. The result is volume and grip that lasts all day.
Tools You Actually Need (Keep It Simple)
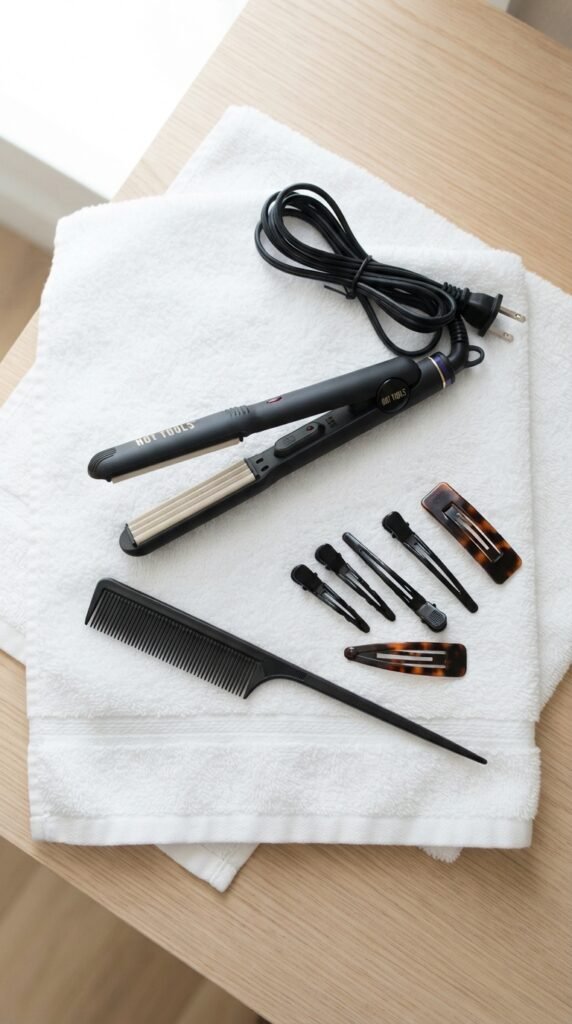
You don’t need a fancy salon setup. Here is what I use every time:
- A mini crimping iron (1-inch plates work great)
- Heat protectant spray
- Sectioning clips
- A soft bristle brush (optional)
That is it. No crazy gadgets. Just these basics and you are ready to prep for braids that stick.
How to Prep Your Hair for Dry Crimping
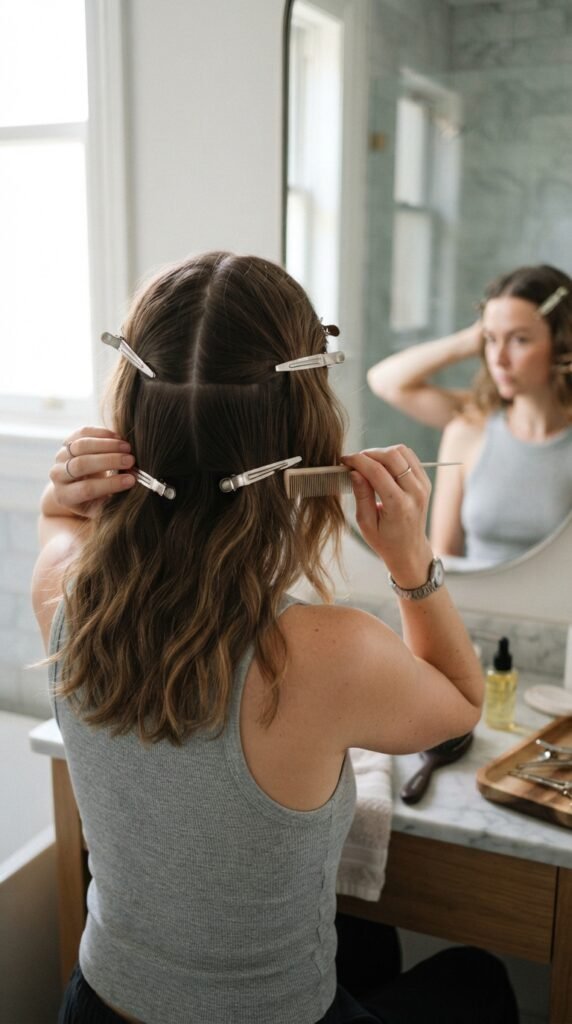
Start with completely dry, brushed hair. Section it into four parts: top, bottom, left, right. Clip the sections you aren’t working on out of the way.
Working one small 1-inch section at a time, spray a quick mist of heat protectant. Let it dry for ten seconds. This keeps your hair safe while we add texture.
The Crimping Motion That Works Best
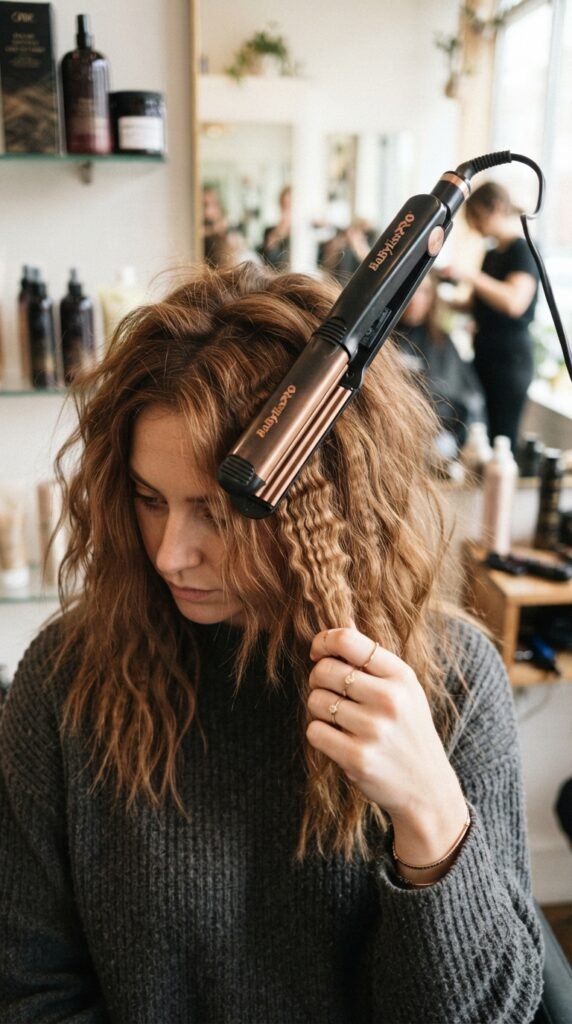
Open the crimping iron and clamp it near your roots. Hold for 5 to 7 seconds. Release and move down about half an inch. Repeat until you reach the ends.
Don’t overthink it. You want visible zigzag lines, not a perfect wave. The more random it looks, the better the grip will be. It’s about texture, not perfection.
Old Money Hair Meets Grippy Texture

Even the most luxurious looks need a little hold. For a quiet luxury bob, dry crimping the underlayer keeps the shape without looking crunchy.
If you are working with fine hair, this technique adds just enough volume to make a bob look expensive. It’s subtle but makes a huge difference in how the braid holds up over time.
The Quiet Luxury Bob and Braided Accents
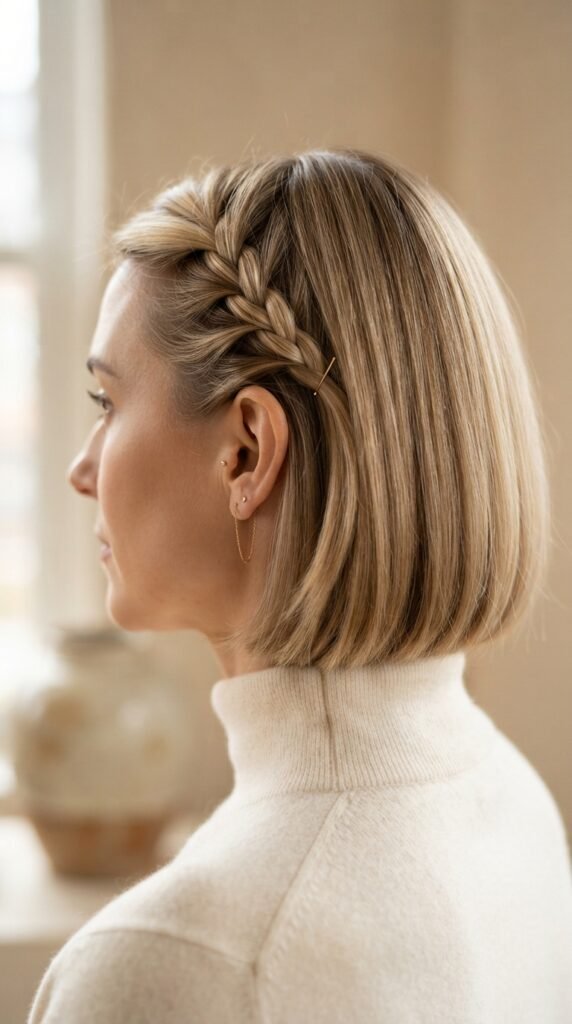
A quiet luxury bob is all about understated elegance. Add a tiny braid near your temple for a polished twist. The dry crimp keeps that braid from slipping out by lunch.
For a 2026 hairstyles update, try adding two small braids on each side and pinning them back. It’s a fresh take on a classic cut. No one will know your secret is a little heat and texture.
Romantic Goth Hairstyles Love Texture

Romantic goth hairstyles lean into messiness and volume. Dry crimping is perfect here because it gives you that effortless, “I just woke up like this” vibe while still holding structure.
Braids in this style look better when they are slightly loose. The crimp creates natural gaps that add dimension. Try it with a side braid and leave out a few face-framing pieces for that soft, dark romantic feel.
Glitchy Glam Hair for a Bold Statement
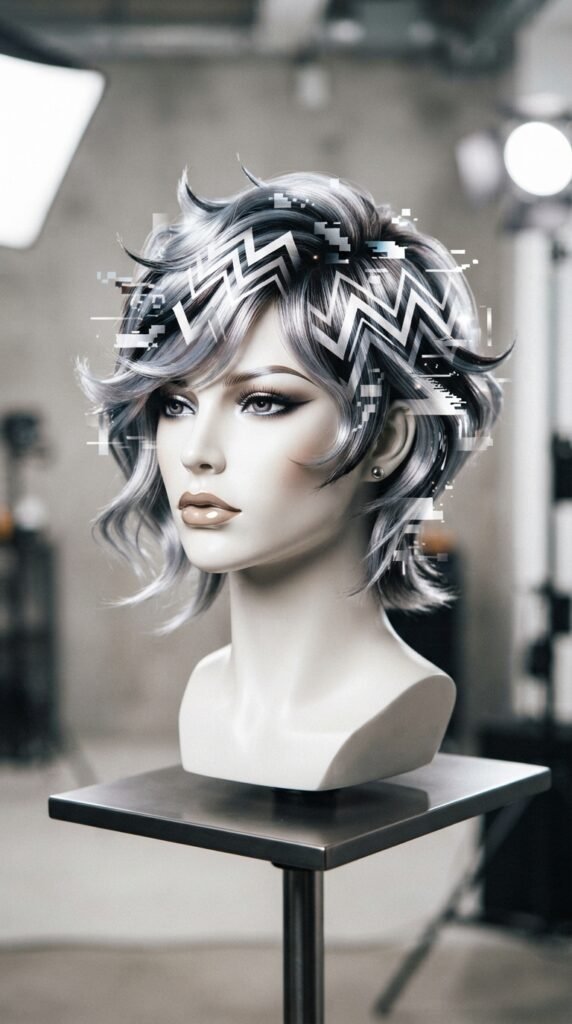
Glitchy glam hair is all about broken patterns and sharp lines. A dry crimp makes it easy to create those intentional “glitch” moments. Braid sections that look like digital errors are actually super doable at home.
Use small sections and alternate between crimped and sleek parts. It creates contrast that catches the eye. This is perfect for a night out or a festival where you want to stand out.
Asymmetrical Lob with a Braided Twist
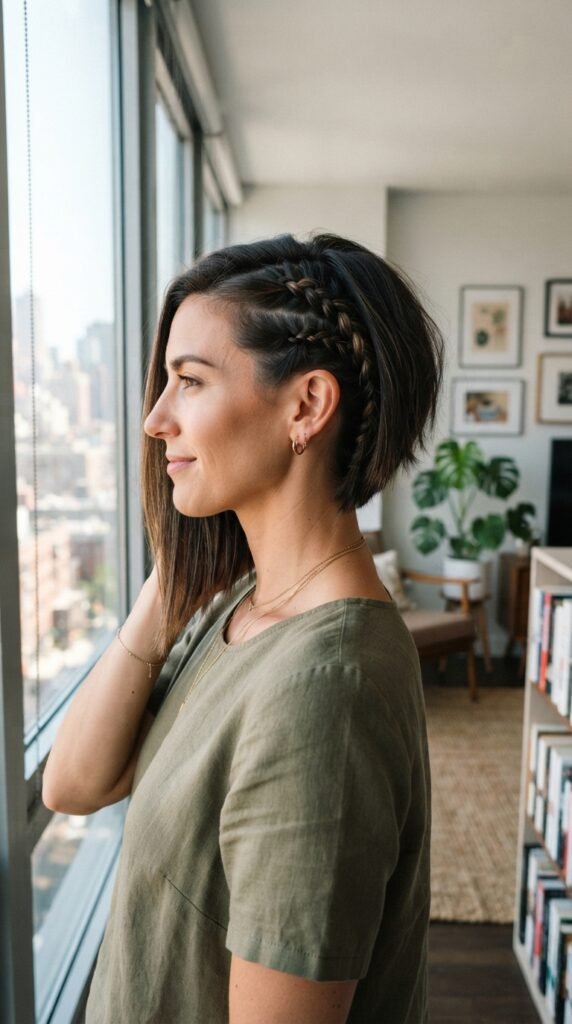
An asymmetrical lob is already edgy. Adding a braid on the longer side balances the cut and adds interest. Dry crimp the whole lobe first, then braid only one section near your ear.
This style works great for 2026 hairstyles because it mixes structure with softness. The crimp keeps the braid from looking too perfect, which makes the whole look feel modern and effortless.
Vampire Haircut with Braided Elements

A vampire haircut is dramatic and sharp. Dry crimping the ends before braiding gives them a more textured, lived-in feel. It softens the sharp edges just enough to keep the look wearable for everyday.
Try a tiny braid at the nape of your neck. It’s a hidden detail that only you know about. The grip from the crimp means it stays hidden and doesn’t pop out by mid-afternoon.
Hime Cut Braids That Stay Put

For a hime cut, precision is key. The braids near your cheeks need to stay flat and clean. Dry crimping the sections you intend to braid gives them enough friction to stay sleek without slipping apart.
Focus on the sections that frame your face. Crimp them first, then braid loosely. It looks delicate but feels secure. This is one of the most practical 2026 hairstyles for anyone with super straight hair.
Sectioning for Braid Success
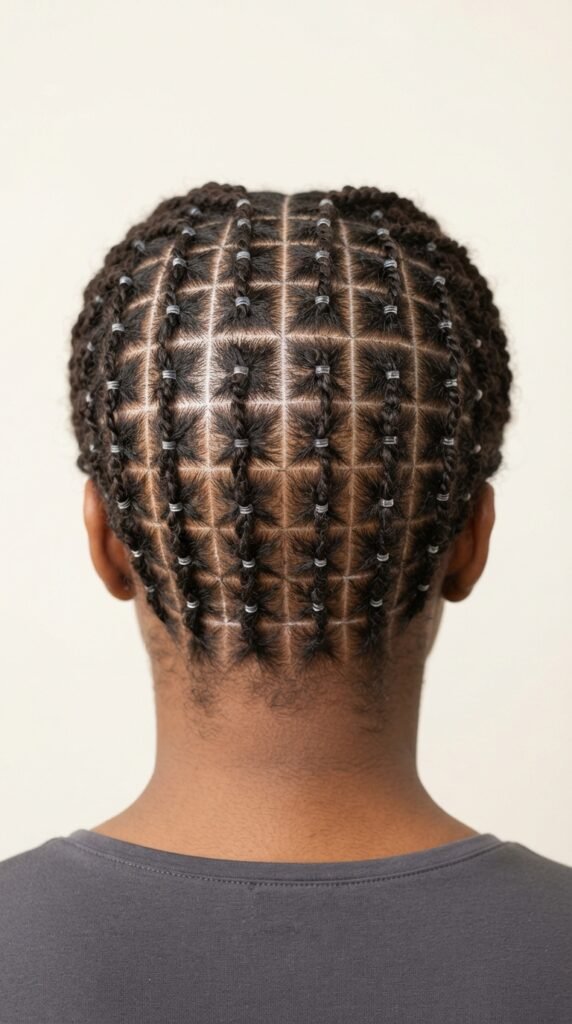
Take your time with this step. Use a tail comb to draw clean lines. Section your hair into four quadrants, then subdivide as needed for your braid pattern.
Numbered steps for clean sections:
- Part down the middle from forehead to nape.
- Part ear to ear across the crown.
- Clip three sections, work on one at a time.
- Crimp each section before unclipping the next.
The Best Braids for Crimped Texture

I find that Dutch braids and fishtails benefit the most from dry crimping. The crimp creates natural ridges that make the weave look more defined.
Simple three-strand braids also work great, especially if you want them to look chunkier. The texture fills in gaps and gives the braid a fuller appearance without needing extensions.
How Long Does the Grip Last?
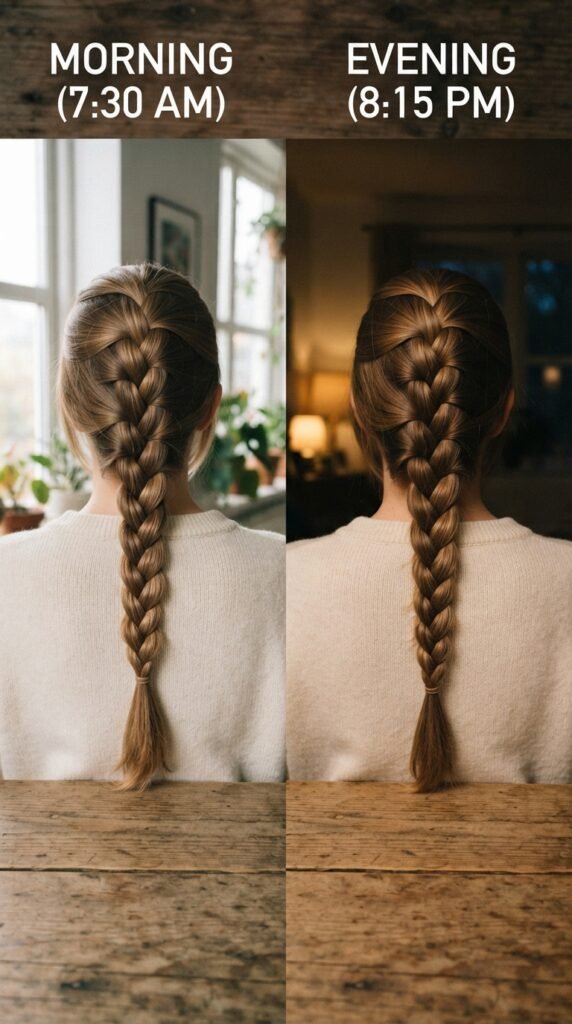
With proper dry crimping, your braid can last a full day. If you sleep on it, you might need to touch up the ends with a little more crimping in the morning.
It’s not a permanent hold, but it’s way better than relying on hairspray alone. Most people get a solid 8 to 12 hours of grip before things start to soften.
Product Pairings for Extra Hold
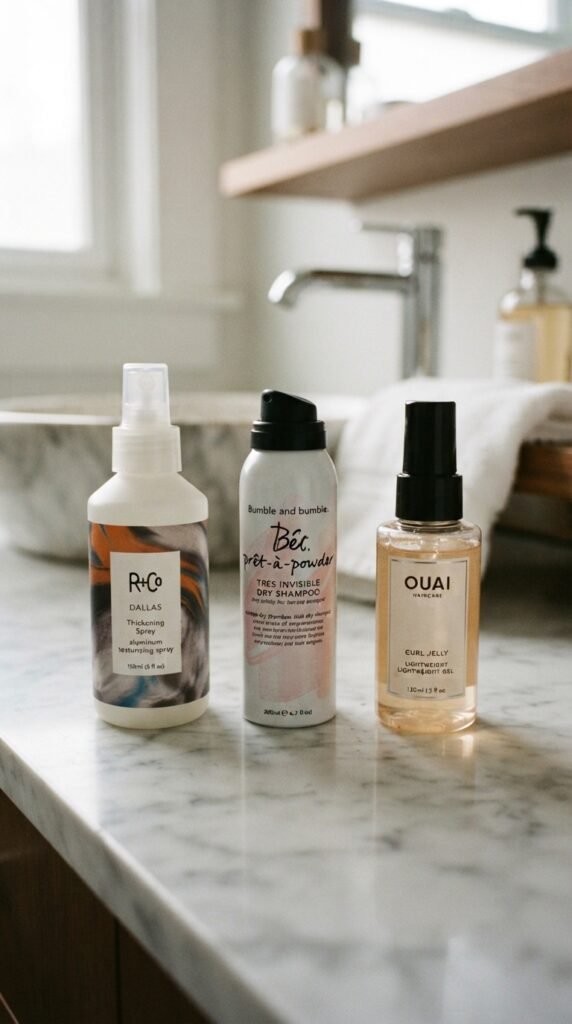
Dry crimping works as the base. Add a texturizing spray before crimping for even more grip. A little dry shampoo on the roots also helps if your hair is freshly washed.
For the braid itself, a tiny dab of lightweight gel on your fingertips helps seal flyaways. Keep it minimal. You want hold, not helmet head.
Heat Protection Is Non-Negotiable
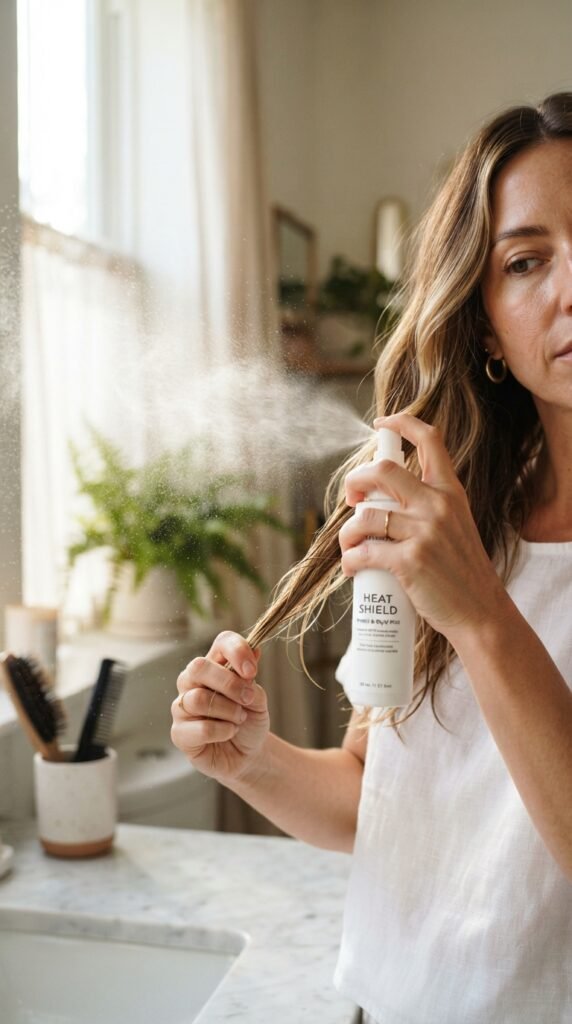
I know it’s tempting to skip this step, but your hair will thank you later. A good heat protectant creates a barrier between your strands and the hot plates.
Look for a spray that dries quickly. You want to be able to crimp right after you spray. Wet protectants can cause steam and damage, so let it dry for ten seconds first.
Avoiding Common Crimping Mistakes
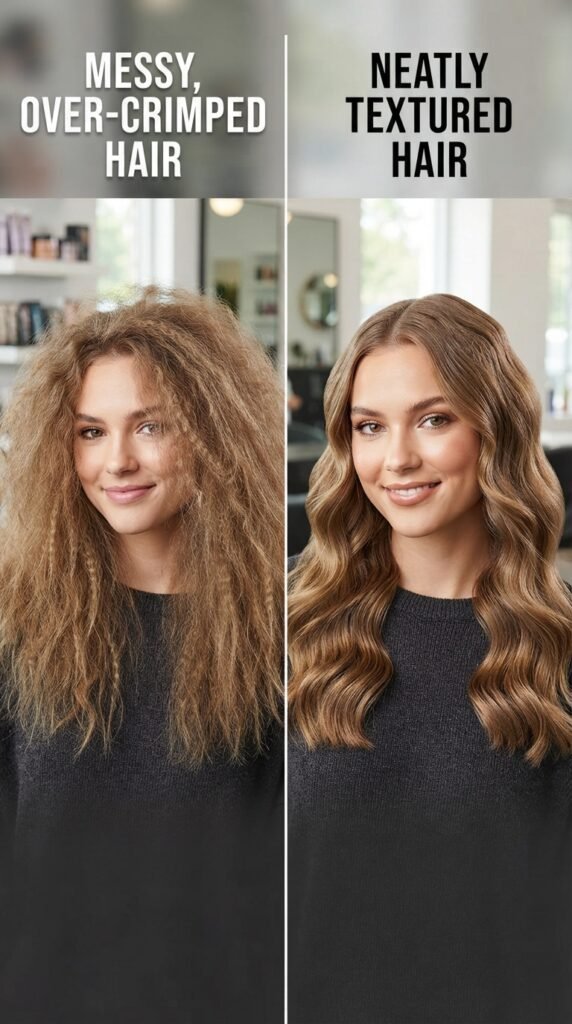
Too much crimping can make hair look fried. Keep each section small and don’t go over the same spot twice. One pass is enough.
If you get a crease you don’t like, gently brush it out with a soft bristle brush. It will soften the texture without removing all the grip. You want it subtle, not extreme.
2026 Hairstyles That Love This Prep

The 2026 hairstyles trends favor texture and movement. From romantic goth hairstyles to glitchy glam hair, every look benefits from a little prep work.
This dry crimping method is your backstage pass to making those styles look intentional. It’s the little difference between a good braid and a great one that stays all day.
Braiding After Crimping: Step by Step
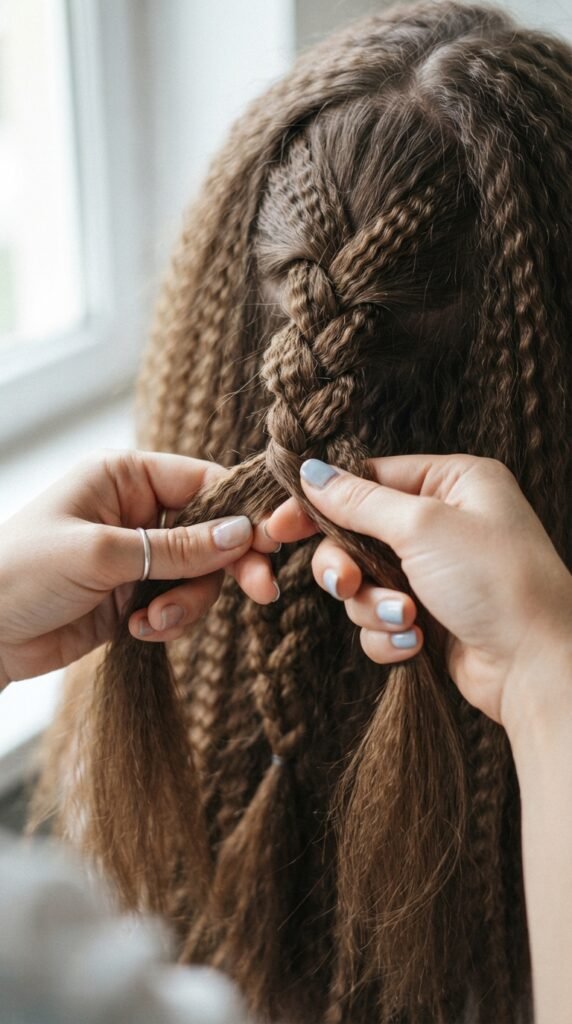
Once your sections are crimped, unclip one at a time. Braid as you normally would. You will feel the difference immediately. The strands grip each other.
If you want a tighter braid, pull gently as you go. If you want it loose, keep your tension light. Either way, the crimp works for you, not against you.
Refreshing Braids the Next Day

If your braid has softened overnight, just touch up the ends. You don’t need to redo the whole thing. A few passes with the crimping iron on the tail of the braid bring the texture back.
It’s a lazy girl’s dream. I do this all the time when I want a second day out of a style. A little refresh and I’m out the door.
Final Thoughts on This Game-Changing Trick
I honestly think dry crimping is one of those little tricks that changes how you approach braiding forever. It takes five extra minutes but saves you from a day of fixing slipping strands. You deserve braids that last through coffee runs, work calls, and everything else. This method just makes it easier, and I love that for you.
Give it a try on your next braid day. Start with a small section near your face and see how good it feels when that braid stays exactly where you put it. You’ve got this.
Save this post to Pinterest so you never lose this trick, and drop a comment below telling me your favorite braid style. I’d love to know what you’re planning to try first!