Minutes 25 Plopping Method Towels Accelerating Air Dry Curls
Let’s be real for a second. You want curly hair that dries faster, looks smoother, and actually holds its shape without you having to stand there with a diffuser for 45 minutes? That’s where the 25-minute plopping method comes in. I’ve been using this trick for years in my own morning routine, and it’s a total game-changer. It uses a soft cotton towel or an old t-shirt to gently squeeze out excess water and speed up your air-dry time, all while keeping your curl pattern intact. No frizz, no crunch, just soft, bouncy curls that look like you spent way more effort than you actually did. Let’s walk through exactly how to do it, plus I’ll weave in some of the coolest hairstyle trends for 2026 so you can daydream while your hair dries.
What Is the Plopping Method?
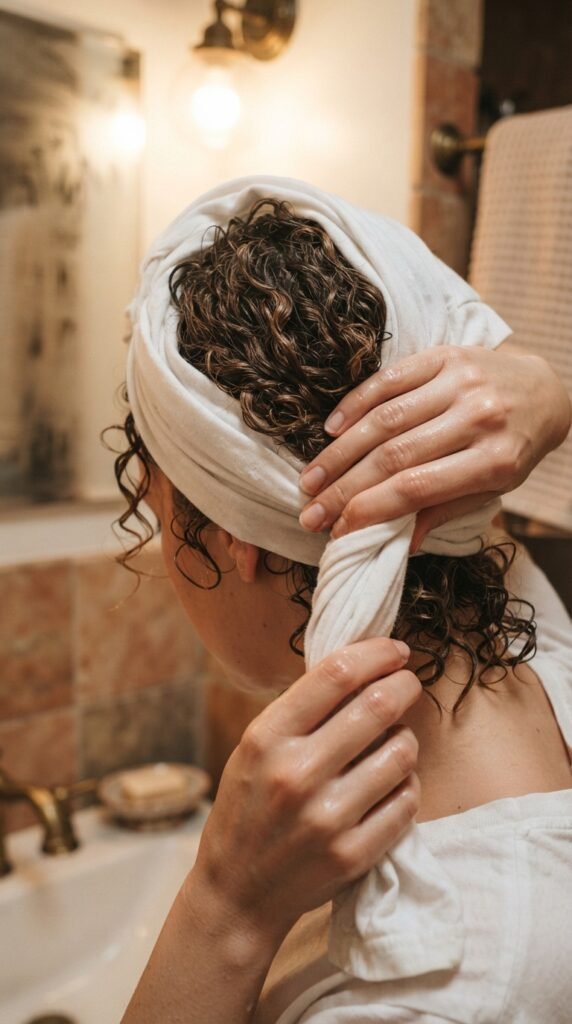
Plopping is basically a gentle way to dry your curls without rubbing or scrunching. You wrap your wet hair into a little “plop” or “pineapple” on top of your head using a soft towel or a cotton tee. The fabric soaks up excess water while the weight of the hair encourages your natural curl pattern to form. It’s way less harsh than a regular towel, and it cuts your air-dry time by a solid 15 to 20 minutes. I started doing this after a bad haircut left me with weird frizzy bits, and now I never skip it. It’s the lazy girl’s secret to salon-looking curls.
Why 25 Minutes Is the Sweet Spot

You might think longer is better, but 25 minutes is the perfect balance. Any less, and you’re still dripping water everywhere. Any more, and the towel can start to cause creases or pull out your curl shape. In my experience, 25 minutes leaves your hair damp but not soaking, so it finishes drying faster in the air without getting weighed down. If I try to air-dry without plopping first, my curls take almost two hours. With this method, it’s down to under an hour. That’s a win in my book.
What You Actually Need
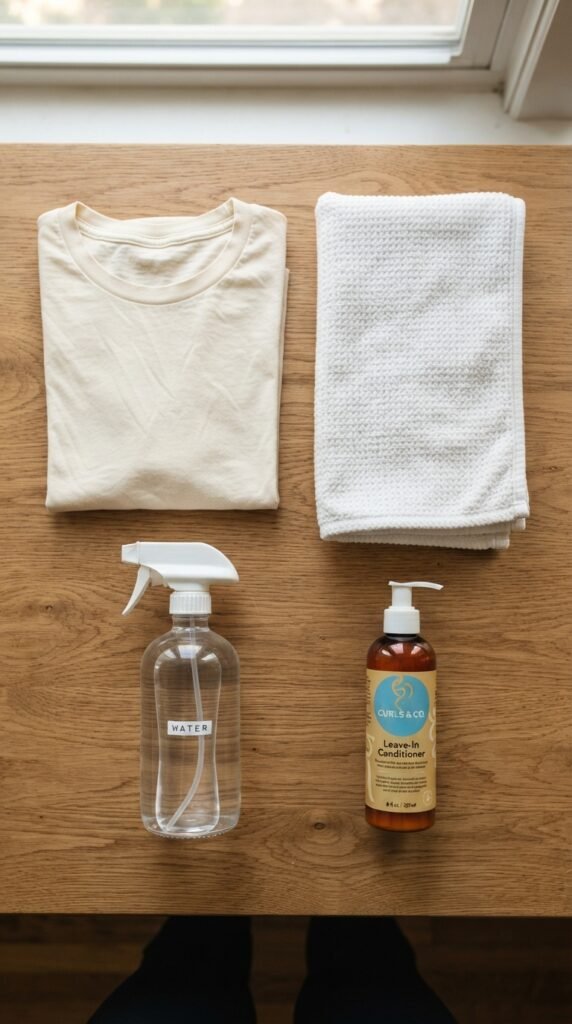
- A soft microfiber towel or a clean 100% cotton t-shirt (no terry cloth)
- Your favorite leave-in conditioner or curl cream
- A spray bottle with water (just in case your hair starts drying too fast)
- A few clips to hold the towel in place
That’s it. You don’t need special gadgets or expensive products. I use an old t-shirt I stole from my brother’s closet years ago. Seriously, the simpler the fabric, the better it works. The microfiber towels from the drugstore are great too, but cotton tees are free and just as good.
Step 1: Start With Soaking Wet Hair
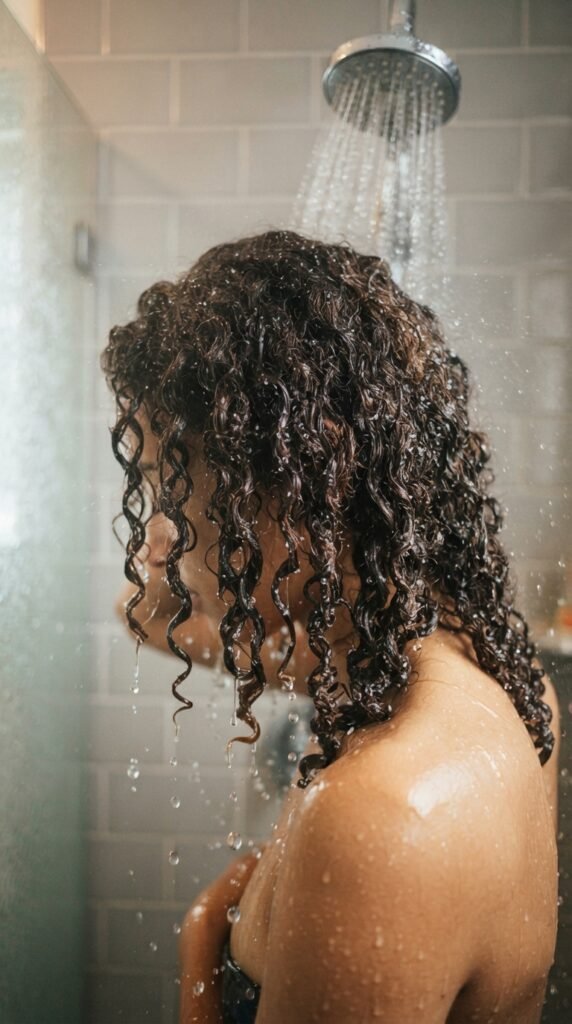
The biggest mistake I see? People try to plop when their hair is already half-dry. Don’t do that. Your hair needs to be soaking wet so the product and water can distribute evenly. I usually wash and condition first, then apply my leave-in while still in the shower. If you’re working with day-old curls, just spritz them until they’re damp again. The plopping method works best when water is doing the heavy lifting, not the towel.
Step 2: Flip Your Head Upside Down
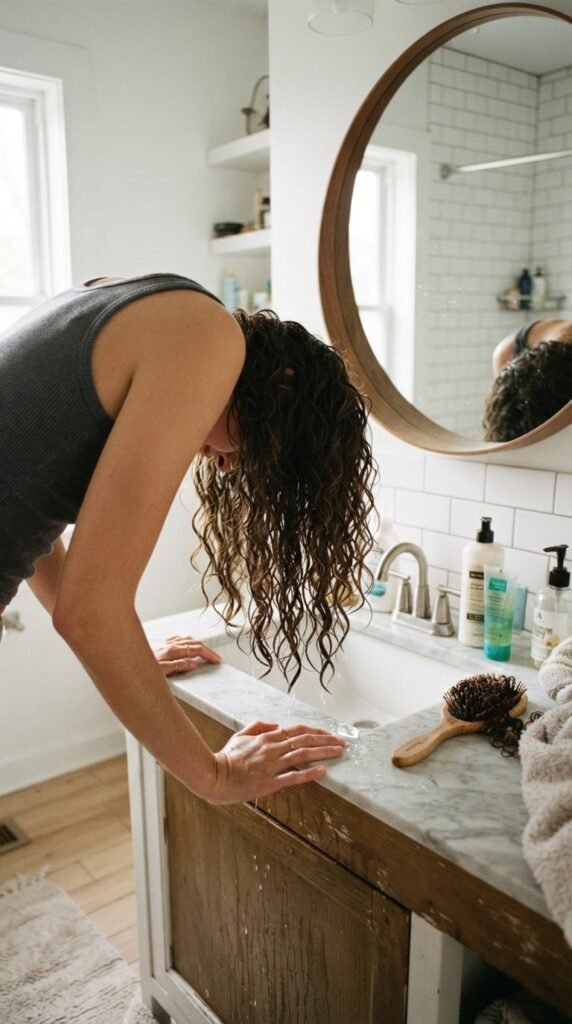
This step is key for volume. Flip your head forward so your curls hang straight down toward the floor. Gently scrunch a little bit of curl cream or gel into the ends if you need extra hold. Don’t rake through it—just cup your hands and press upward. You’re basically encouraging the curl to form without breaking the clumps. This is where I see people get impatient and start rubbing, but trust me, gentle pressure is your friend here.
Step 3: Lay the Towel Out Flat
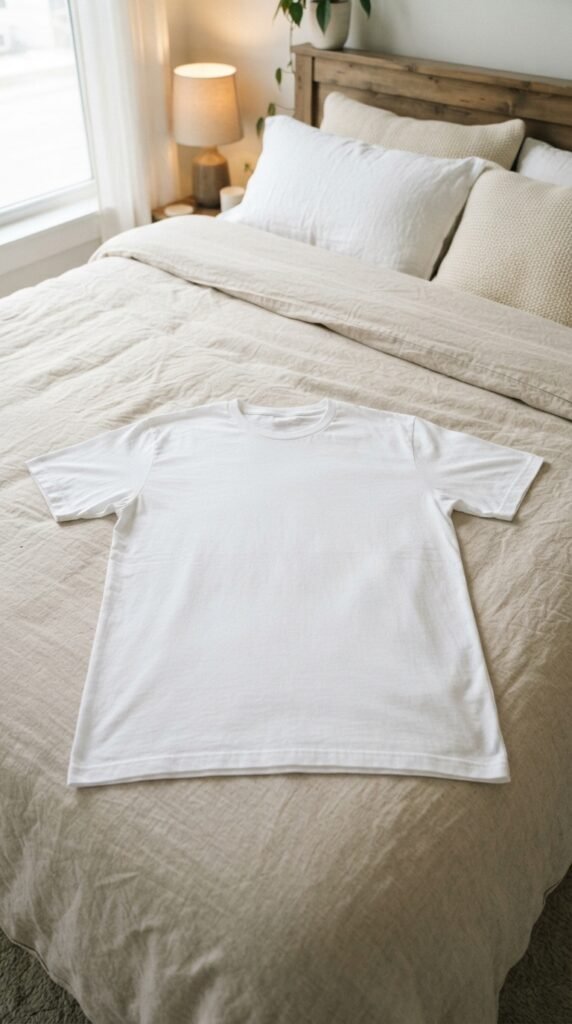
Take your t-shirt or towel and lay it out flat on a surface. If you’re using a t-shirt, place it with the neck facing you. The idea is to lower your wet hair right onto the center of the fabric. You want enough fabric to wrap completely around your head. I like to use a large t-shirt because it gives me more room to tuck. A microfiber towel works too, just make sure it’s big enough to cover your hair without squeezing.
Step 4: Lower Your Hair Onto the Fabric
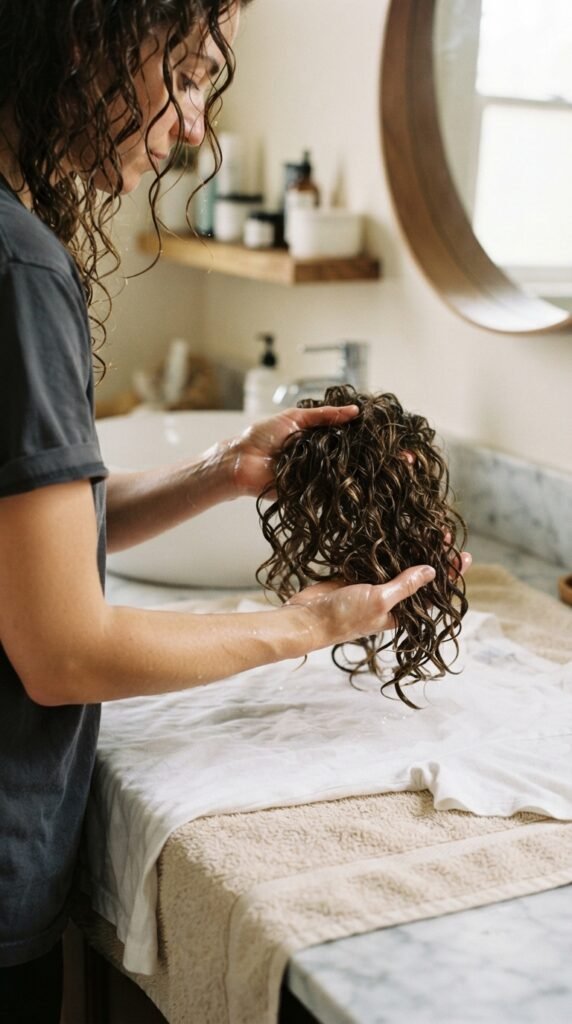
With your head still upside down, carefully lower your hair right onto the middle of the fabric. Don’t smash it down—just let it land naturally. This is the part where you want to be gentle. If your hair is long like mine, you might have to adjust so the ends are in the center. The goal is to keep your curl clumps intact. Think of it like placing a delicate flower onto a pillow. That’s the vibe.
Step 5: Wrap It Up Tight
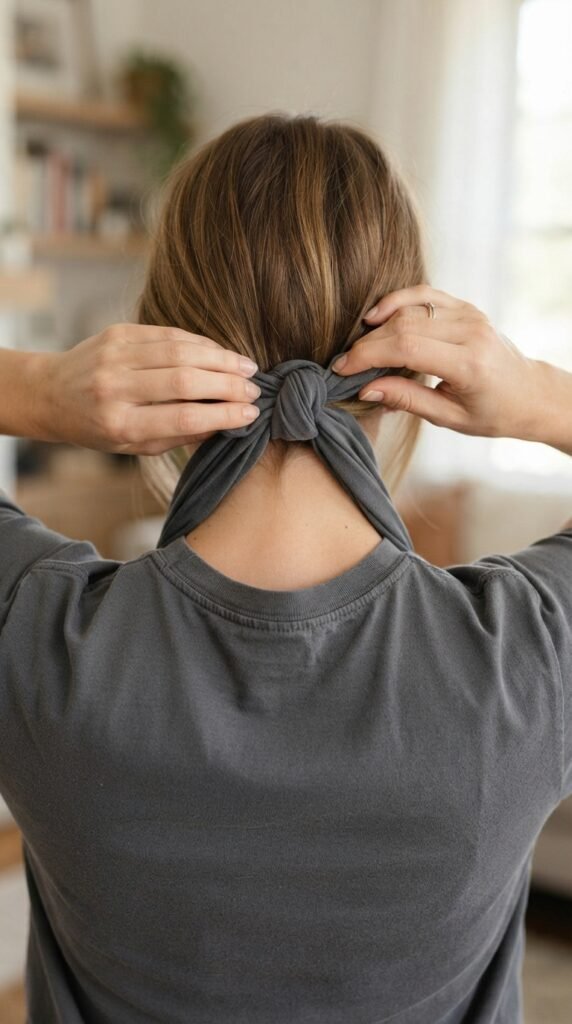
- Take the bottom edge of the shirt (closest to your neck) and bring it up over the back of your head.
- Grab the sides and bring them around, tucking everything in.
- Take the neckline and pull it down over your forehead like a little headband.
- Secure it with a knot or a hair clip at the top.
It should feel snug but not tight. If you feel pressure on your temples, loosen it a little. You’re going to wear this for 25 minutes, so you want it comfortable. I usually do this while brushing my teeth or making coffee.
Step 6: Set a Timer and Walk Away

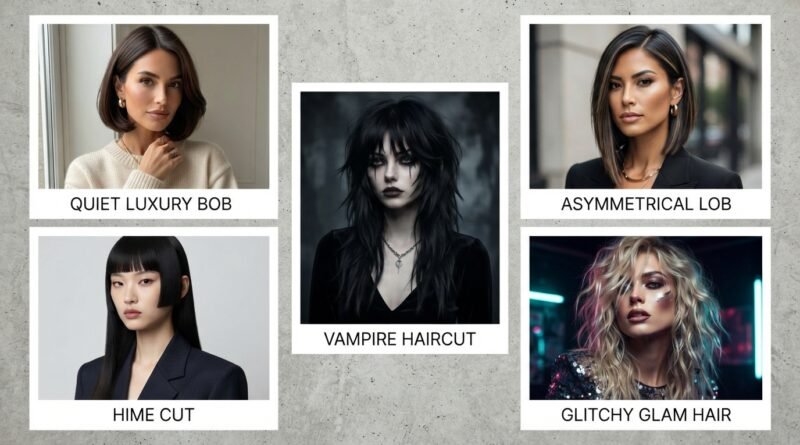
This is the easiest part: set a timer for 25 minutes and forget about it. Go make breakfast, check your email, or scroll through Pinterest. I love using this time to look up new hairstyle trends for 2026, like the quiet luxury bob or the asymmetrical lob. It’s a low-effort way to feel productive while your curls are doing the work. Do not peek under the towel. Let it do its thing.
What Happens During Those 25 Minutes
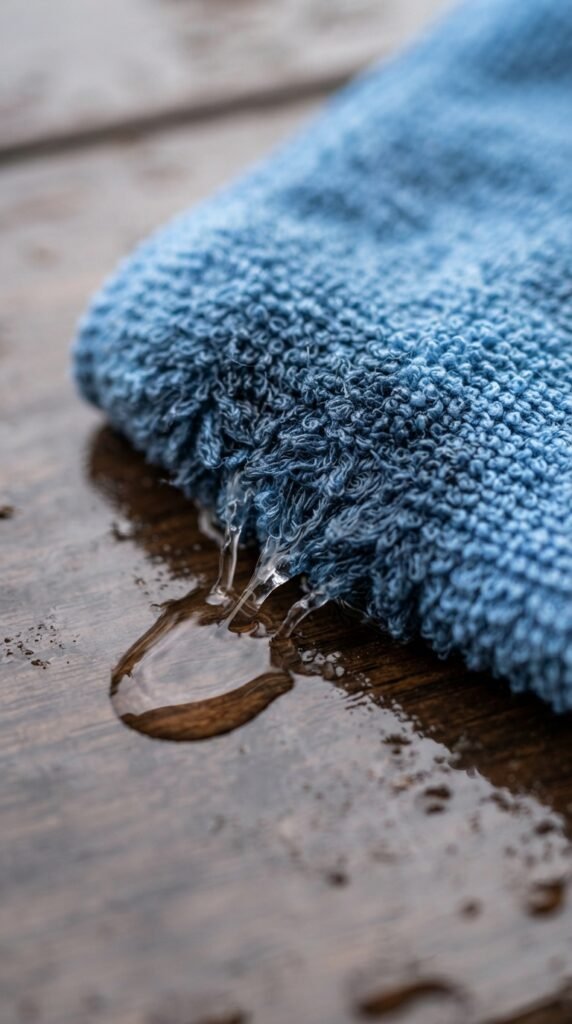
While you’re going about your morning, the towel is wicking away moisture from the core of your hair. It’s not drying your hair completely, just removing the excess water that would normally drip down your back. This reduces the time your curls spend in the wet, frizz-prone phase. Your hair also settles into its natural curl shape because it’s not being weighed down by water. By the time you unwrap, you’ll have defined clumps already forming. It’s like magic, but it’s just physics.
Unwrapping: The Big Moment
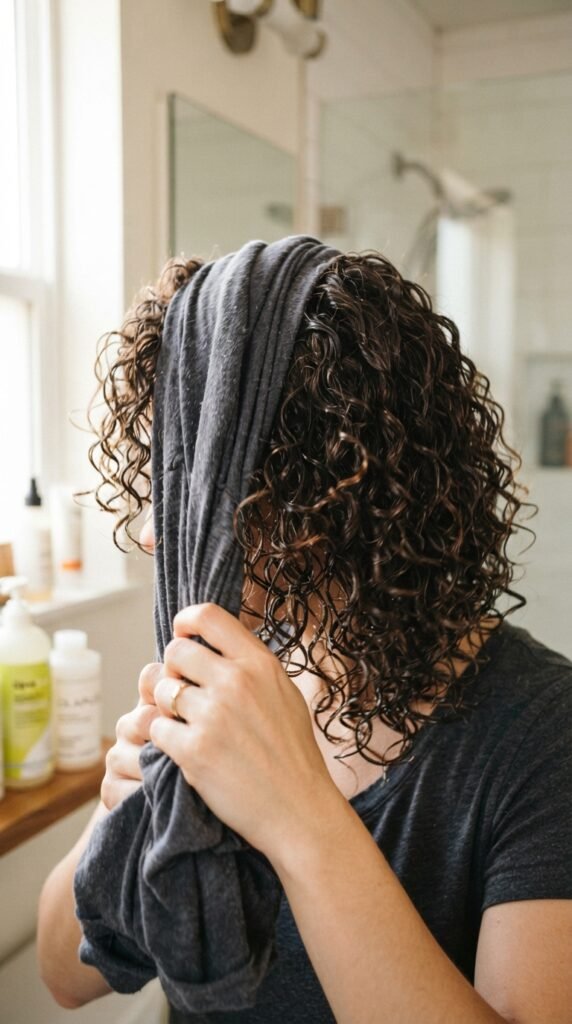
Once the timer goes off, carefully unwrap the towel or shirt. Do not just yank it off. Gently peel the fabric away from your hair, letting your curls fall forward. You’ll see they’re already starting to look bouncy and defined. If your hair is still a little too wet, that’s okay. Give it a few extra minutes in the air. If it feels too dry, just spritz a little water and scrunch. I like to flip my head back upright and let my curls fall naturally.
How to Finish Air Drying After Plopping
- Don’t touch your hair while it’s drying. I know it’s hard.
- If you need to speed things up, sit near a fan or an open window.
- Once it’s 90% dry, you can scrunch out any crunch with a drop of oil.
- Avoid brushing until it’s completely dry.
Air drying after plopping usually takes me about 30 to 40 minutes, depending on thickness. My curls come out soft and shiny, not frizzy. I’ve noticed a huge difference in how long my styles last, especially when I try out a romantic goth hairstyle or a vampire haircut for a night out.
Why This Works With Short Hair Too
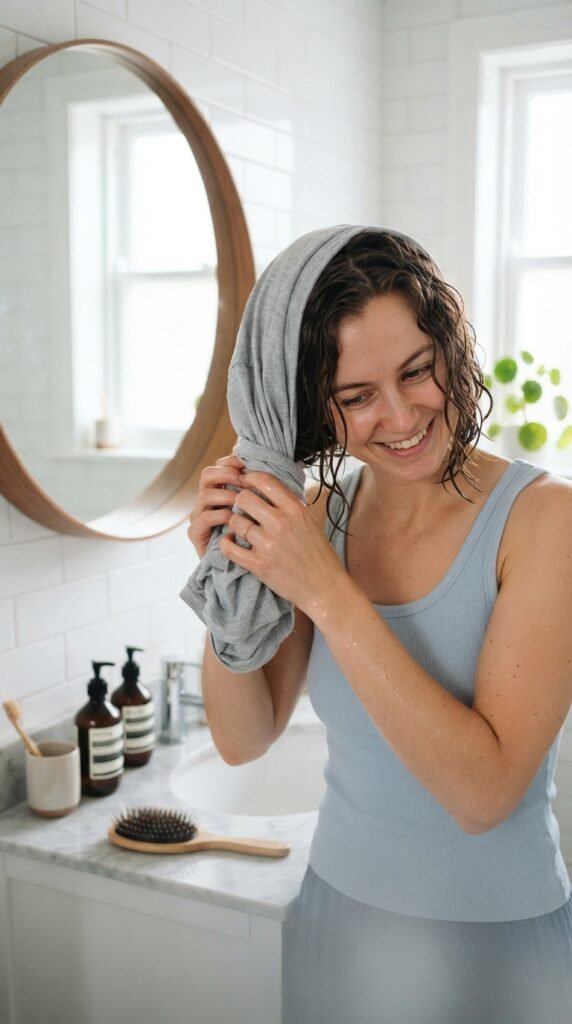
If you have a chin-length bob or an asymmetrical lob, plopping still works. You just use a smaller piece of fabric or a hand towel. The idea is the same: remove water without disturbing the curl pattern. Short hair can actually benefit even more because it dries faster anyway. I’ve seen the quiet luxury bob look incredible after this method—it keeps that sleek, expensive finish without the frizz. Just be careful not to wrap too tightly, or you’ll flatten your roots.
Plopping for the Old Money Hair Look

The old money hair trend is all about effortless elegance. Think polished but not stiff. Plopping helps achieve that by encouraging smooth, defined waves rather than frizzy chaos. If you’re going for a quiet luxury bob or a sleek lob, plopping keeps your ends from drying out and creating flyaways. I love how easy it makes my hair look, like I just walked off a yacht in a cashmere sweater. It’s the ultimate low-maintenance luxury trick.
Can You Plop With a Hime Cut?
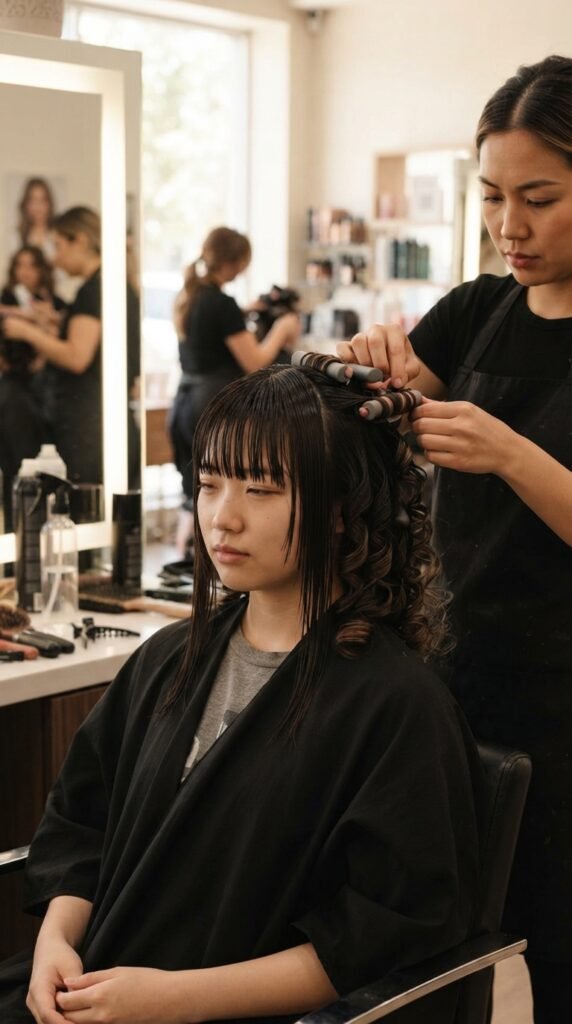
Yes, and it’s actually perfect for it. The hime cut has those blunt face-framing pieces that need to stay separate from the longer layers. When you plop, just make sure those front pieces are tucked lightly so they don’t get crinkled. I’ve done it myself, and the result is a clean, sharp line with soft curls underneath. It’s a great way to experiment with romantic goth hairstyles too, because the contrast between straight and curly is so dramatic.
Adding Glitchy Glam Hair Vibes
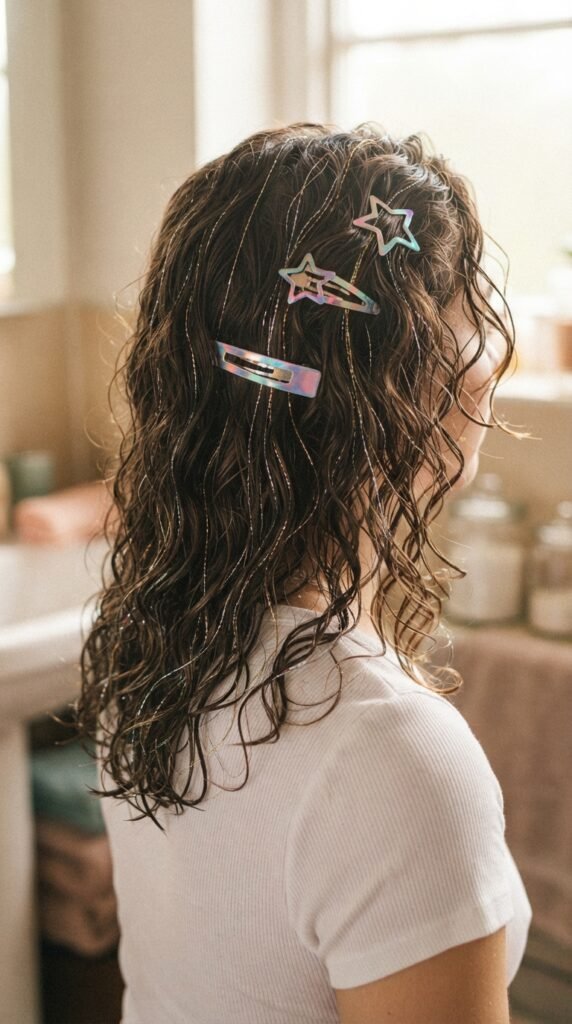
If you’re into the glitchy glam hair trend, plopping is your foundation. That modern, almost computer-generated look needs a smooth base to hold those holographic accessories and sharp clips. After plopping, your curls are defined but soft, so you can add metallic threads or iridescent clips without them sliding off. It’s a fun, futuristic twist on a classic method. I’ve been experimenting with tiny chrome hair rings and they stay put much better on plopped hair.
Romantic Goth Hairstyles Love Plopping
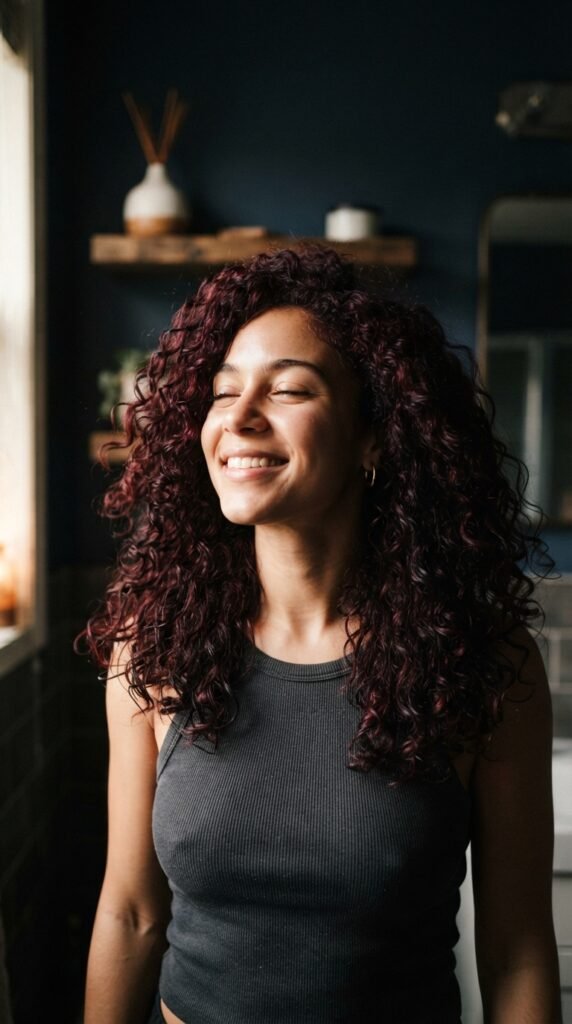
Romantic goth hairstyles are all about volume, texture, and a little bit of drama. Plopping gives you that voluminous root lift and soft, cascading curls that look fantastic with dark hair colors. I’ve been seeing this trend everywhere for 2026, and it works beautifully with the vampire haircut—think long layers with wispy ends. After you plop, you can add some texturizing spray for extra edge. It’s witchy but wearable.
What About the Vampire Haircut?

The vampire haircut is all about those sharp, dramatic layers that frame your face. Plopping helps keep those layers defined without getting mushy. When you unwrap, you’ll see the layers naturally separate, giving you that edgy, almost mystical look. I’d recommend using a light hold gel before plopping to lock in the shape. It’s one of my favorite trends for 2026 because it looks high-maintenance but takes very little work.
Common Mistakes and How to Avoid Them
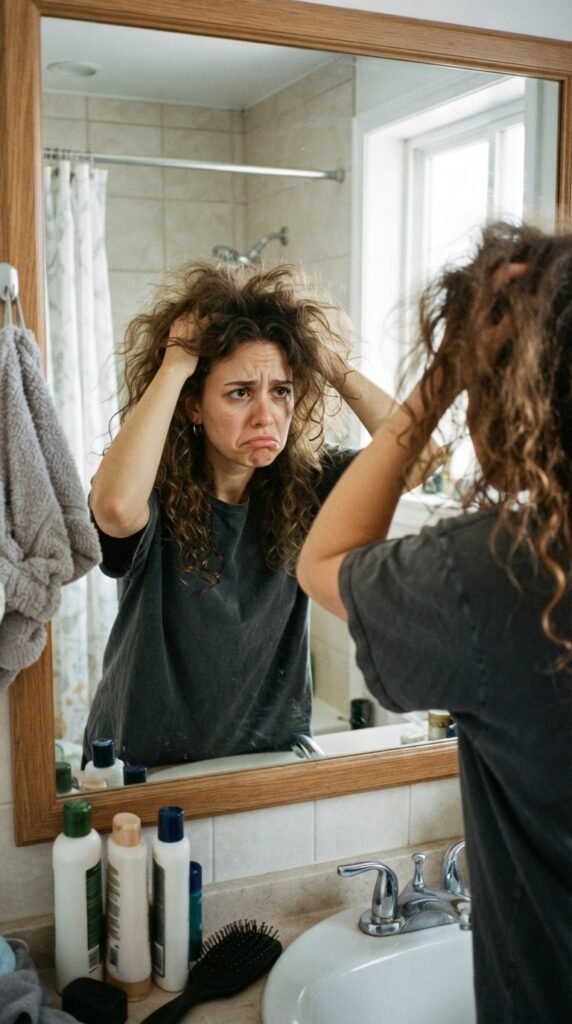
- Wrapping too tight: leads to creases and flattening.
- Using a rough towel: causes friction and frizz.
- Leaving it on too long: dries out your hair and pulls curls straight.
- Skipping product: your curls need something to hold onto.
I’ve made every single one of these mistakes. The biggest game-changer was switching from a bath towel to a soft t-shirt. Seriously, try it once and you’ll see the difference. If you’re in a rush, even 15 minutes of plopping can help reduce frizz, but 25 is ideal.
How to Make It Last All Day
After you air-dry, a lightweight hairspray or a bit of hair oil on your ends will keep the style intact. If you’re using the plopping method before a night out, try a small amount of mousse before you wrap. Your curls will hold their shape through dinner and dancing. I’ve worn my hair this way for a full day at the office and it still looked fresh by evening. It’s reliable, and that’s rare for curls.
Can You Sleep in a Plop?
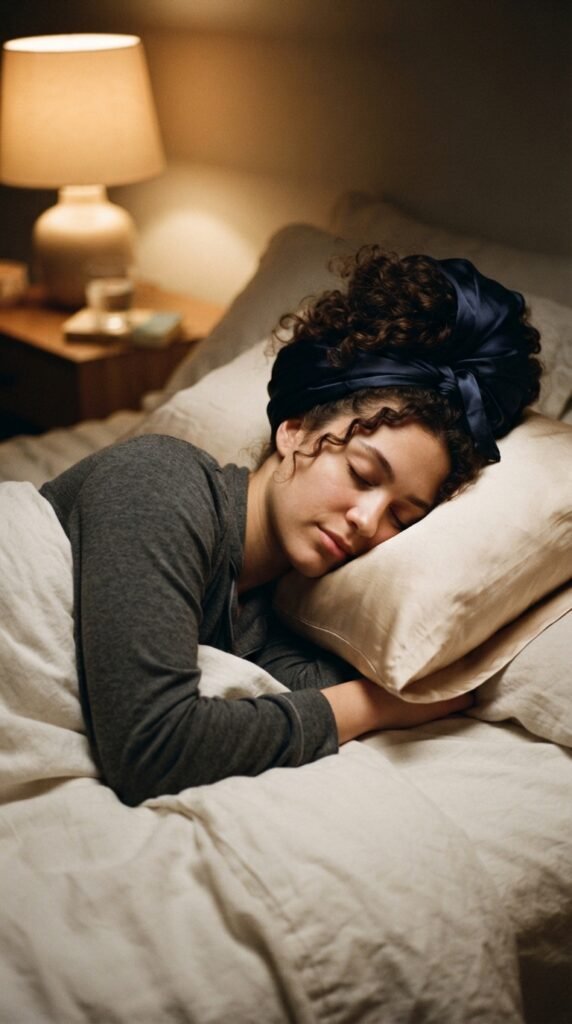
Technically yes, but I wouldn’t recommend it for the full 25-minute method. Overnight plopping can dry your hair unevenly and cause weird kinks. If you want to sleep in a plop, use a very loose wrap and a silk scarf. I prefer to plop in the morning while I’m getting ready. It’s a 25-minute investment that saves me an hour of drying time. Plus, you can’t beat waking up to mostly dry hair if you’re really in a pinch.
Final Thoughts on the Method
This 25-minute plopping method is one of those rare beauty tricks that actually delivers on its promise. It’s faster, gentler, and gives you better curls than air-drying alone. I’ve been doing it for years, and I still get excited when I unwrap and see those perfect, juicy clumps. It’s simple enough for a busy morning, but effective enough to make you feel like you actually tried. If you’ve been struggling with frizz or long drying times, give it a shot this week.
Try It With the 2026 Trends
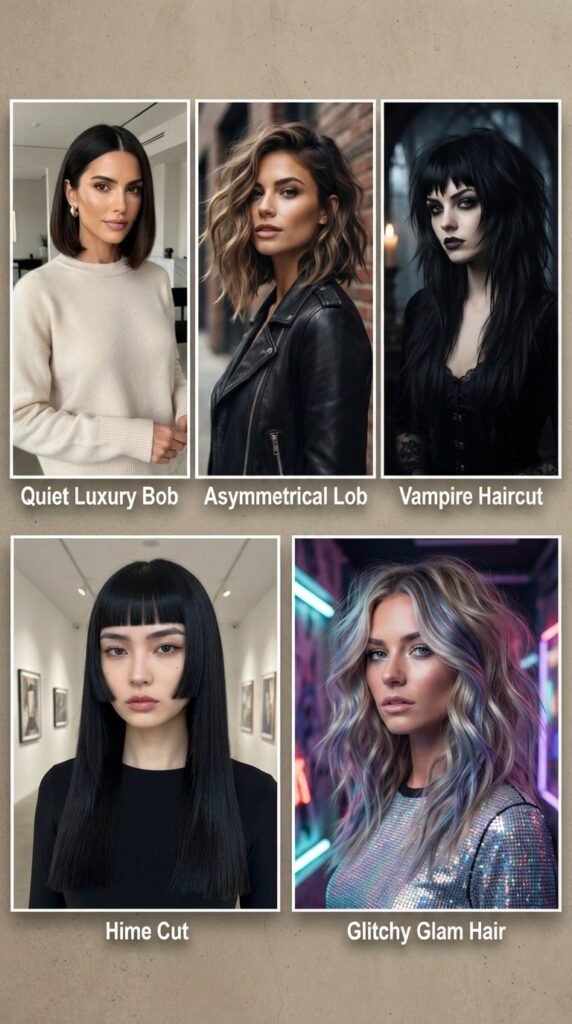
Whether you’re rocking an old money hair bob, a romantic goth hairstyle, or a glitchy glam look, plopping gives you a foolproof foundation. It works with any length, any texture, and any trend you want to try. I’ve been seeing the asymmetrical lob everywhere on Pinterest for 2026, and I can tell you it looks even better when you plop your curls first. So pick a trend, grab a t-shirt, and let your hair do the rest.
Save This Post to Pinterest
I’d love for you to keep this guide handy for your next wash day. Save it to your favorite hair board so you never lose the steps. Share it with a friend who’s always complaining about frizzy hair too. And if you try it, come back and tell me how it went—did your curls dry faster? What trend are you planning to try? Drop a comment below. I always read them, and I seriously love hearing what works for you.