18 Shea Butter Wash Day Hairstyle Routine 4C Natural Moisture Sealing
If you have 4C natural hair, you already know that wash day is not just a routine—it’s a ritual. And if you’re looking for the most hydrating, sealing-rich way to keep your curls defined and your ends happy, you’ve landed in the right spot. This 18-step shea butter wash day routine is my go-to for locking in moisture from start to finish, and it’s built for real life—not a perfect Pinterest board. I’ll walk you through every step, from pre-poo to final seal, so you can get that soft, bouncy, persistent hold without the fuss. Let’s get your hair feeling like butter, literally.
1. Start with a Good Pre-Poo to Soften Your Strands
Before you even touch water, give your hair a head start. A pre-poo is just a deep conditioning treatment you do before shampooing. It protects your hair from the drying effects of shampoo and helps detangle later.
- Coat your hair in raw shea butter mixed with a lightweight oil like jojoba or almond.
- Let it sit for 30 minutes under a warm cap or plastic bag.
- Rinse with lukewarm water—this softens the butter without melting it away.
2. Section Your Hair in 6–8 Parts for Easier Handling
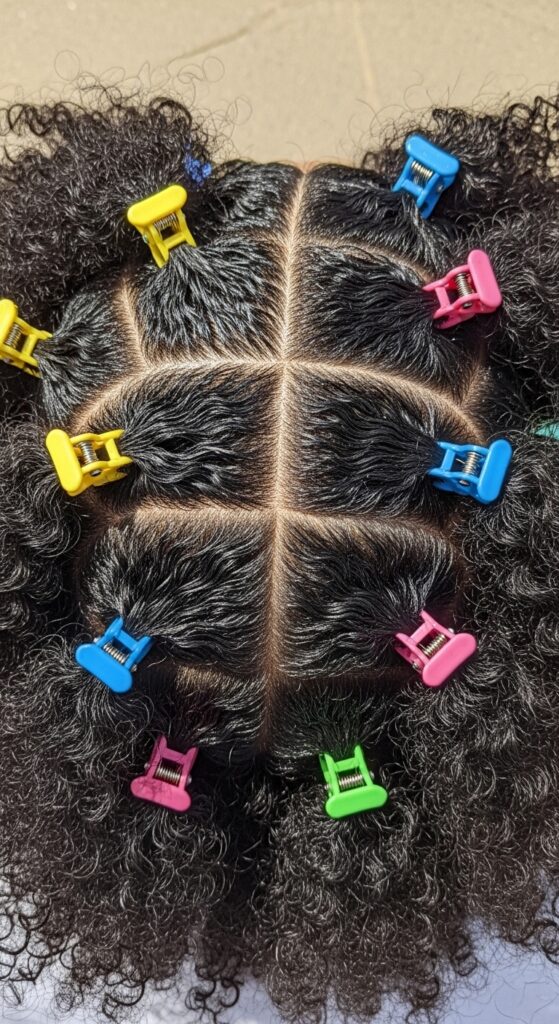
Trying to work with your whole head at once is a recipe for tangles and frustration. Sectioning makes every step faster and more thorough.
- Use wide-tooth plastic clips or hair ties.
- Each section should be about the width of two fingers.
- Spritz each section with water before you begin—this reactivates the shea butter.
3. Low-Poo with a Sulfate-Free Cleanser
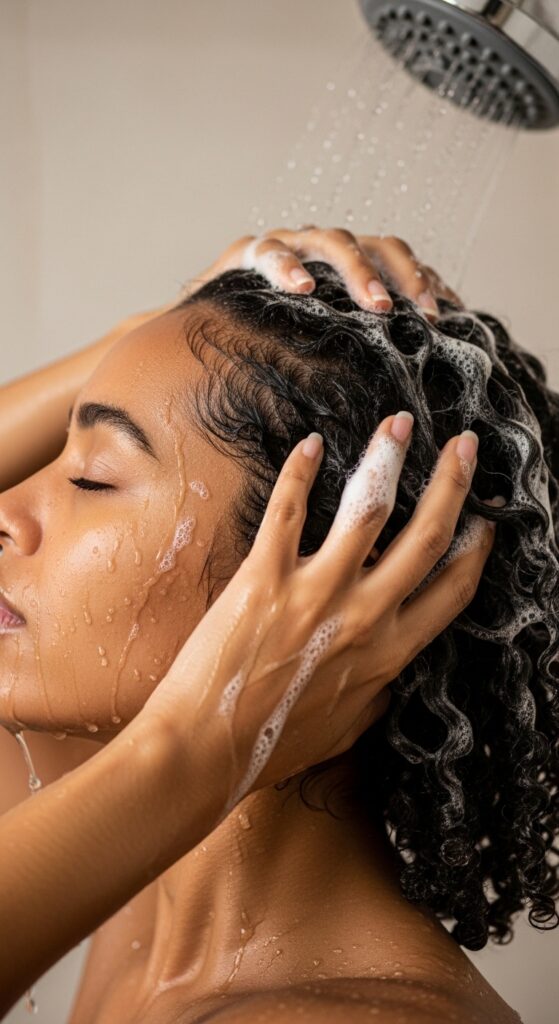
Skip the harsh shampoos that strip your natural oils. A gentle low-poo cleanses your scalp without removing the shea butter you just applied.
- Focus shampoo on your scalp only—let the suds run down your lengths.
- Rinse with cool water to seal the cuticle and keep moisture locked in.
- Pat dry with an old t-shirt, not a towel, to reduce frizz.
4. Deep Condition with a Rich, Slip-Providing Mask
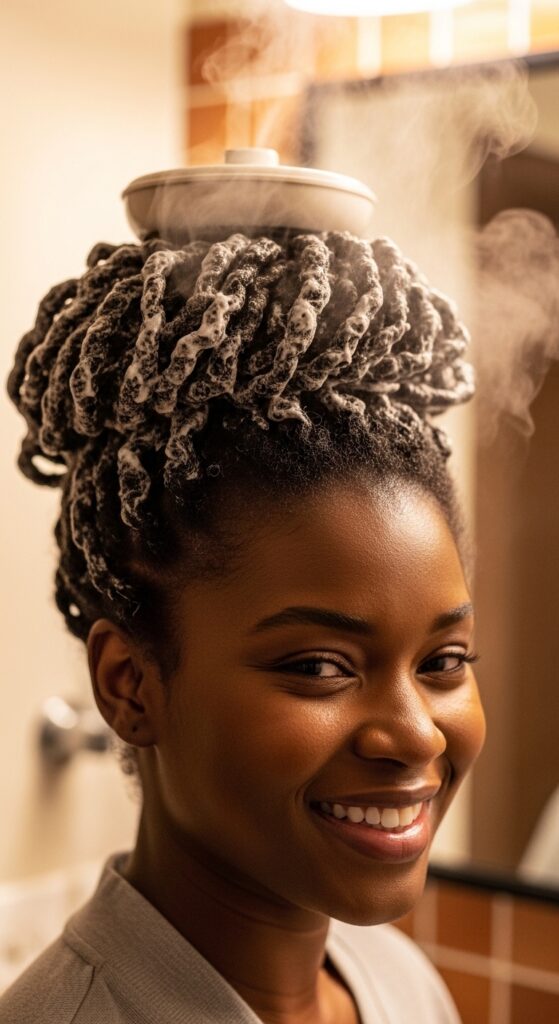
This is the hydration powerhouse of your wash day. A deep conditioner with lots of slip makes detangling easy and preps your hair for moisture sealing.
- Use a mask that lists shea butter or avocado oil as a top ingredient.
- Leave it on for 30 minutes under a heat cap.
- Rinse thoroughly, but leave in a tiny bit of the conditioner for extra moisture.
5. Detangle with a Wide-Tooth Comb While Your Hair Is Saturated
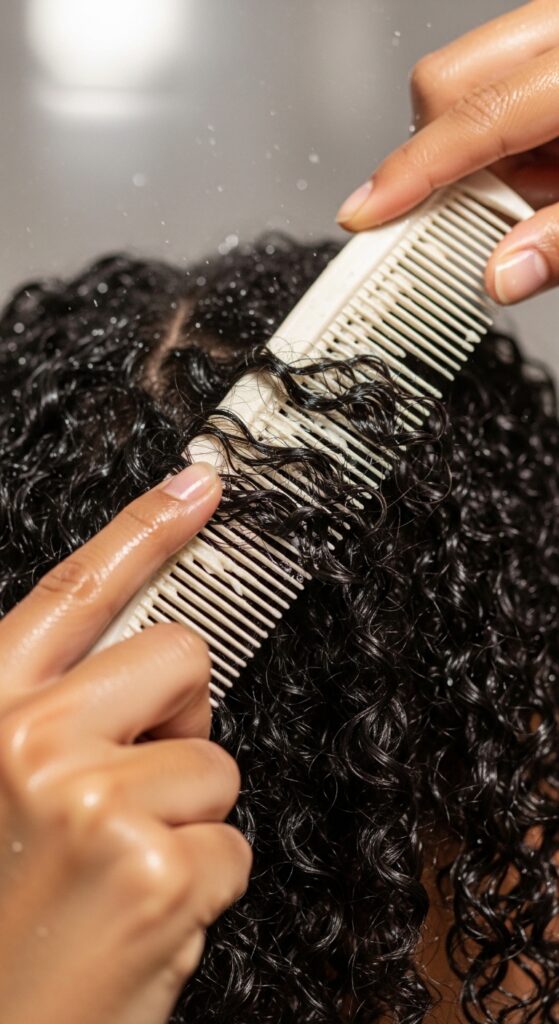
Detangling when your hair is fully wet and conditioned is key. You want to stretch your curls, not yank them.
- Start from the ends, working upward in small sections.
- Use a leave-in spray with shea butter for extra slip.
- Be patient—this step can take 15 minutes, but it will save you breakage.
6. Apply a Leave-In Conditioner to Damp Hair
Leave-in isn’t optional for 4C hair—it’s the base that holds moisture before you seal it in. It works best on soaking wet hair, not towel-dried hair.
- Use a quarter-sized amount per section.
- Rake it through with fingers, then smooth over the cuticle.
- Don’t skip this step if you want that old money hair shine later.
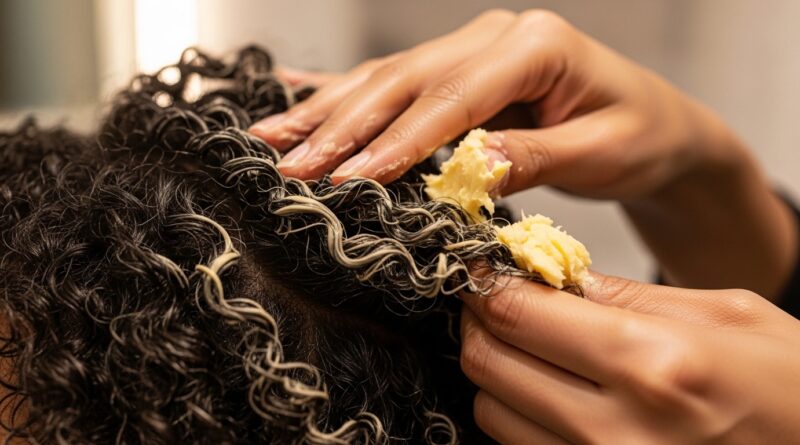
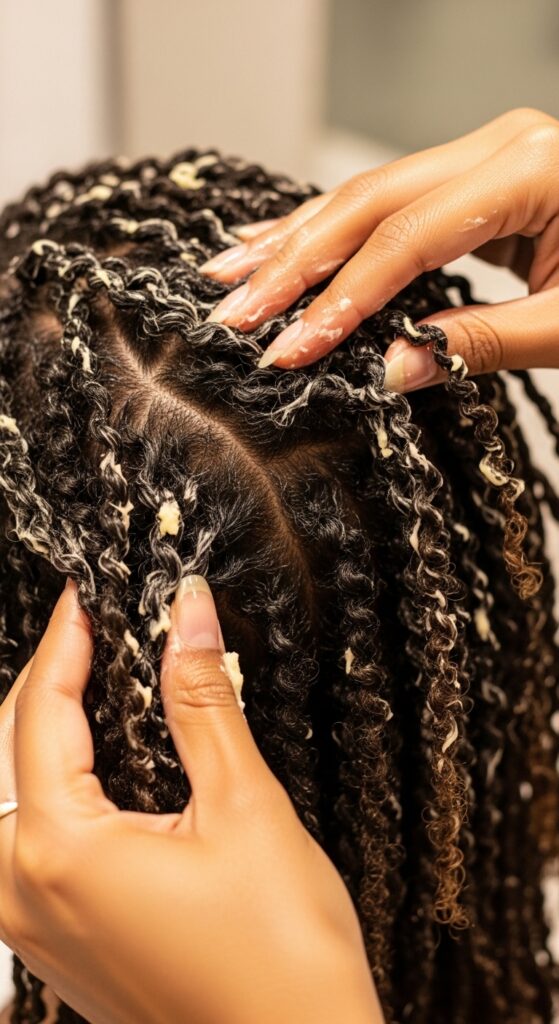
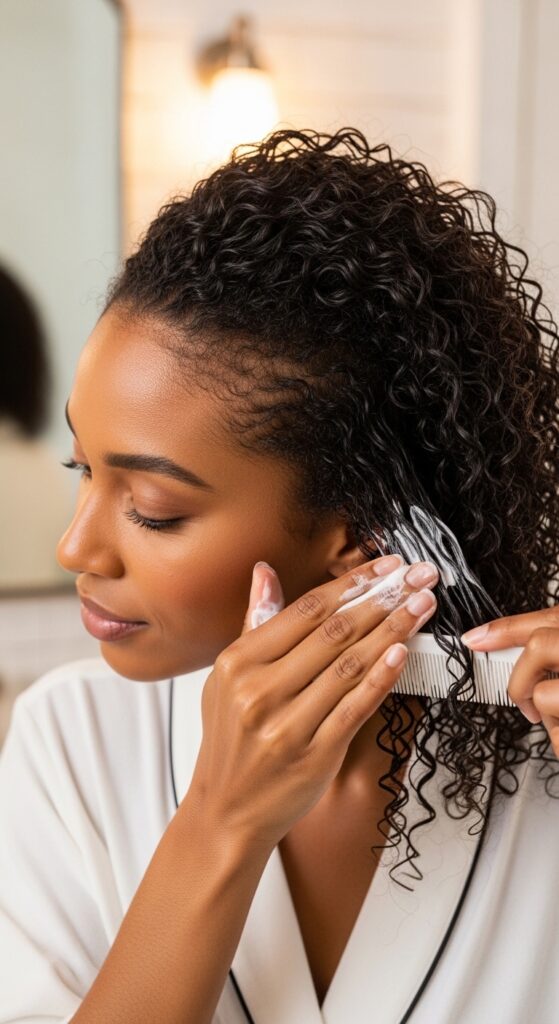
7. Seal Every Section with Raw Shea Butter
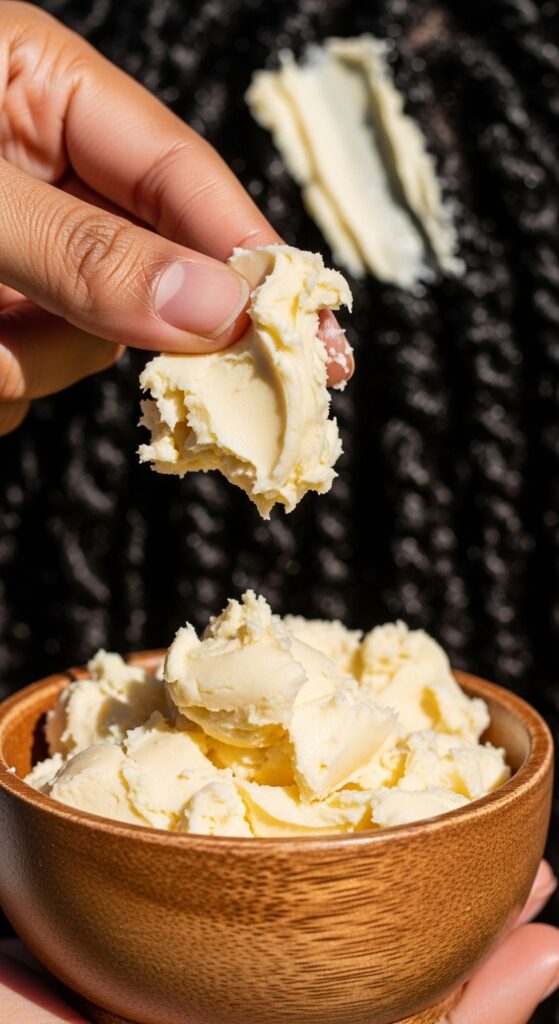
This is the core of moisture sealing. Shea butter acts as an occlusive, trapping the water from your leave-in inside your strands for days.
- Warm a pea-sized amount of shea butter between your palms.
- Apply in a downward motion from root to tip.
- Do this for each section before moving on.
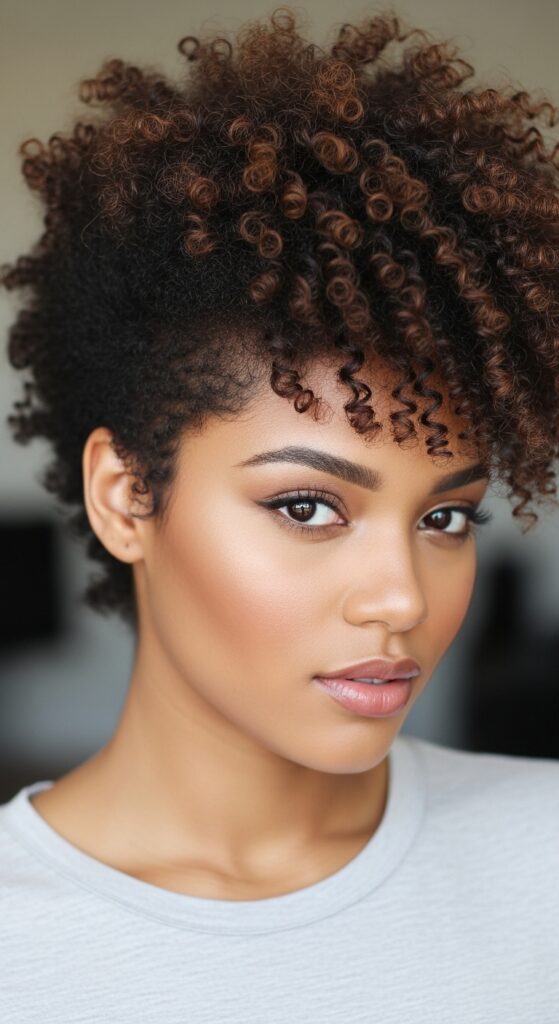
8. Try a Twist-Out or Braid-Out for Defined Curls
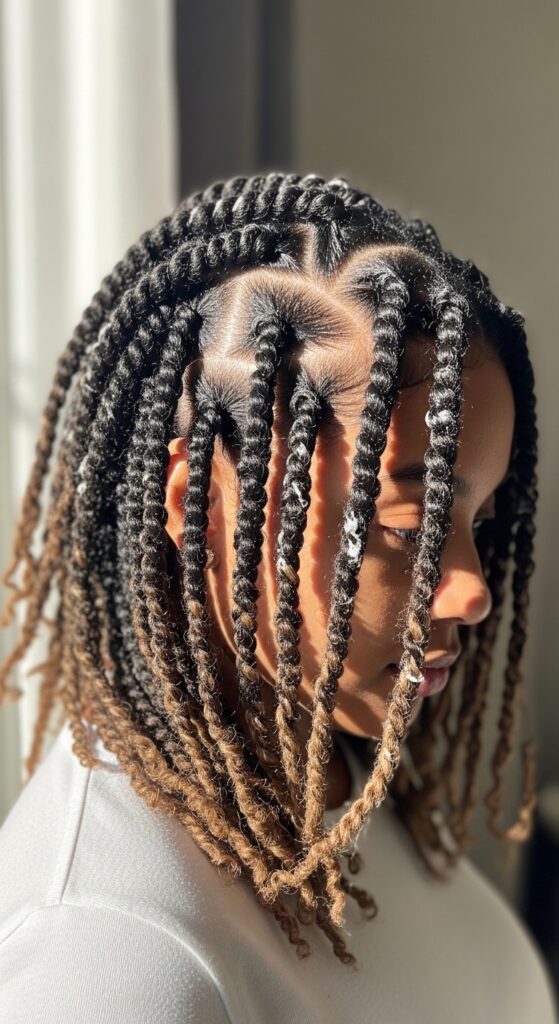
A twist-out is the easiest way to get consistent definition without heat. And the shea butter helps your curls hold their shape for days.
- Divide each section into two strands and twist them around each other.
- Keep twists small—index finger thickness—for tighter curls.
- Allow to air dry overnight, or use a hooded dryer on low.
9. Refresh with a Light Shea Butter Spritz Between Wash Days
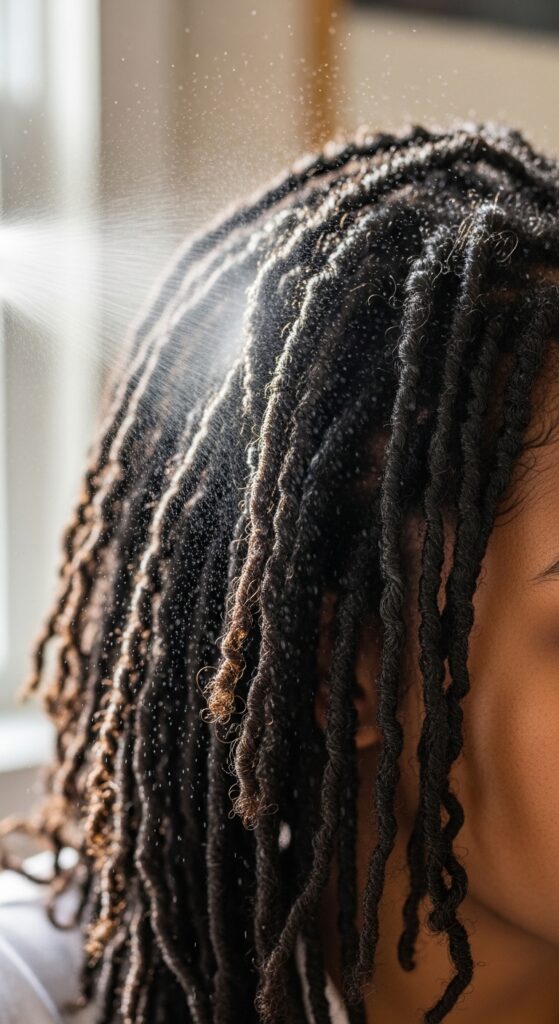
Wash day doesn’t mean you’re done for the week. A simple spritz reactivates the shea butter and brings back your curl pattern.
- Mix water with a drop of shea butter oil in a spray bottle.
- Shake well, then mist over dry hair sections.
- Scrunch gently with your hands to reform the curls.
10. Protect Your Edges with a Tiny Dab of Shea Butter
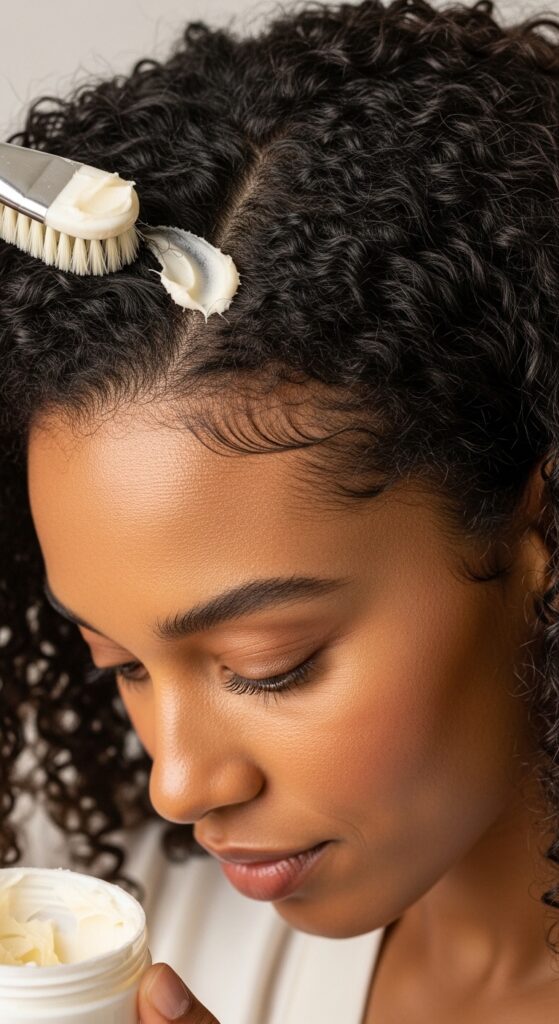
Your edges are the most fragile part of your hairline. Extra sealing keeps them from drying out and breaking off, especially if you wear slicked-back styles.
- Use the tiniest amount—less than a pea—per edge.
- Smooth with a soft toothbrush or your finger.
- Lay edges gently without pulling too tight.
11. Wear a Silk Bonnet or Scarf Every Night

This step protects the shea butter seal you worked so hard for. Cotton pillowcases absorb moisture and cause friction that frizzes your curls.
- Choose 100% silk or satin for the smoothest surface.
- Wrap your hair in sections inside the bonnet to preserve your twist-out.
- If you have long hair, use a silk scarf first, then the bonnet.
12. Avoid Heat—Try a Vintage Style Instead

Heat styling can undo all that moisture sealing. But you can still get a elegant, old money hair vibe using rollers or gentle stretching.
- Use flexi-rods or perm rods on damp, shea-buttered hair.
- Let them dry naturally or under a hooded dryer.
- The result: a quiet luxury bob with definition that lasts.
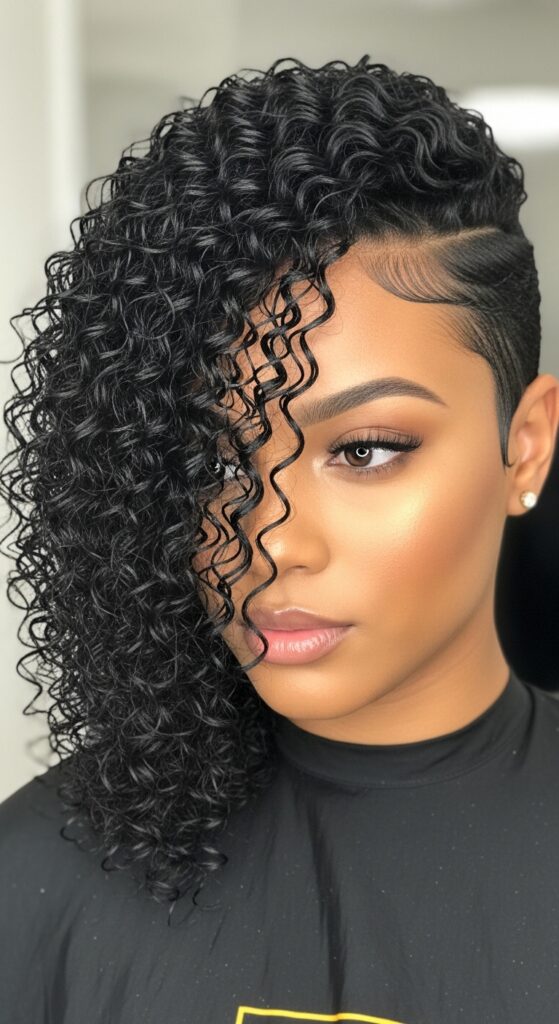
13. Try a Glitchy Glam Hair Moment for Fun Nights

If you’re heading out, add a little edge. The “glitchy glam” trend uses small hair clips, metallic pins, and sharp part lines for a futuristic look.
- Create a deep side part after your shea butter sealing routine.
- Add small spiral clips or thin metal barrettes along the part.
- Keep the curls defined but slightly tousled for that chic vibe.
14. Channel a Vampire Haircut Without Cutting Off Your Length
The vampire haircut trend is all about sharp, pointy layers that frame your face. You don’t need scissors—you can achieve it with careful styling.
- Section the front of your hair and twist each piece into a sharp point.
- Let the shea butter set to hold the shape.
- Pair with a dark lip for full romantic goth hairstyles energy.
15. For a Hime Cut Effect, Use Shea Butter to Define Curtains
The hime cut is a Japanese-inspired style with blunt front edges and shorter sides. On 4C hair, you can create the illusion using sectioning and shea butter to keep front pieces smooth.
- Keep your front sections separate from the back during setting.
- Twist front pieces to be slightly straighter using finger coiling.
- Seal with shea butter to hold the defined shape.
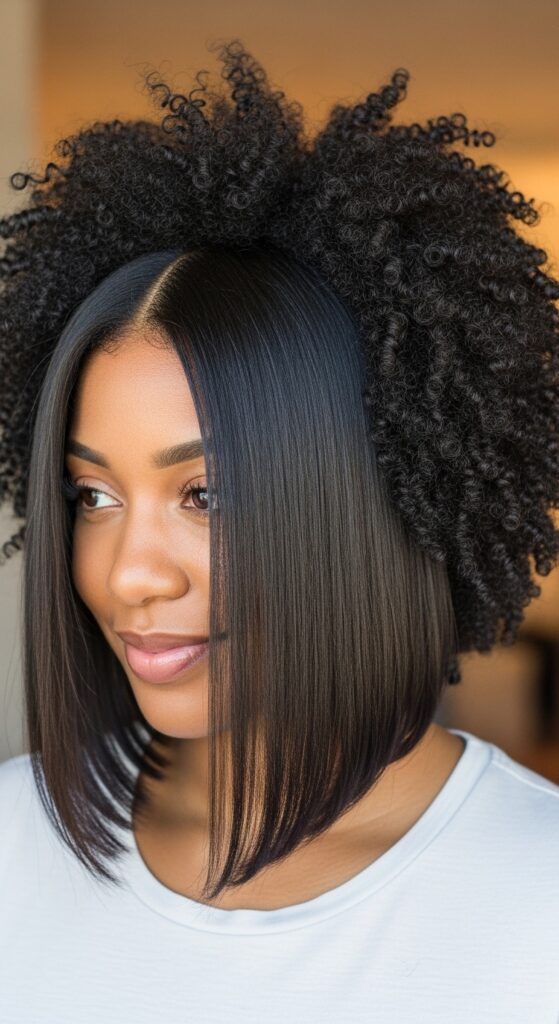
16. Refresh 2026 Hairstyles with a Soft Asymmetrical Lob
The asymmetrical lob is one of the biggest 2026 hairstyles trends. It works beautifully on 4C hair because it adds structure without extra weight.
- Pull your twists slightly to one side before undoing them.
- Smooth the longer side with extra shea butter for definition.
- Keep the shorter side rounded for a balanced silhouette.
17. Master Quiet Luxury Hair with Minimal Product

Old money hair is all about looking effortless. The key is using just enough shea butter to add a natural, healthy sheen without looking greasy.
- Use a quarter-size amount for your whole head.
- Smooth your twists or braids lightly for a polished finish.
- Let your hair fall naturally—less is truly more here.
18. End with a Light Shea Butter Mist for Next-Day Softness
Your wash day routine doesn’t stop when you take off the bonnet. A final mist the next morning seals the moisture and wakes up your curls.
- Mix 1/4 cup water with 1 tsp shea butter oil in a fine mist bottle.
- Shake well, then spritz evenly over your hair.
- Gently fluff with your fingers for volume without frizz.
All right friend, that’s the full 18-step journey to wash day success with shea butter. Your 4C hair deserves this kind of slow, careful care—it’s not about being perfect, it’s about being consistent. Once you get into the rhythm, you’ll notice your strands feeling softer, holding moisture longer, and looking shinier with every wash day.
Save this post to Pinterest so you can come back next wash day without hunting for it. And I’d love to hear—what’s your go-to step in this routine? Drop it in the comments below.