20 Transitioning Hairstyles Heat Free Natural Hair Journey Tips Protective Ideas
I get it. You want to give your hair a break from the heat, but you also don’t want to feel stuck in a boring rut. The good news? You absolutely don’t have to choose between healthy, growing hair and a cute, fresh look. This whole heat-free journey is about working smarter, not harder, and I’m here to show you exactly how to do that.
Whether you’re growing out a big chop, a color disaster, or just trying to protect your length, these 20 transitioning hairstyles will keep you feeling polished. No blow dryers, no flat irons, just lots of clever styling and a whole lot of patience. Let’s turn this awkward phase into your most stylish chapter yet.
The Secret to a Successful Heat-Free Transition
The biggest mistake I see? People trying to fight their texture. Transitioning hair has two different curl patterns, and that’s totally normal. Your new growth will be curlier or cozier than your old ends, and that’s a good thing.
My best advice is to be extra gentle when you detangle. Always start from the ends and work your way up. Use a wide-tooth comb or your fingers, and don’t skip a good deep conditioner once a week. That slip will save your sanity and your strands.
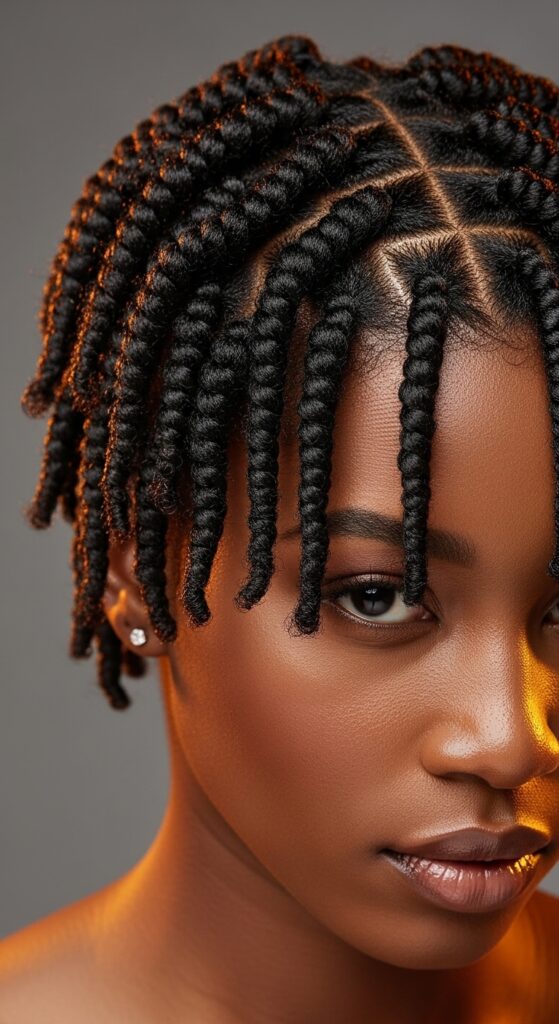
Two-Strand Twists: Your New Best Friend
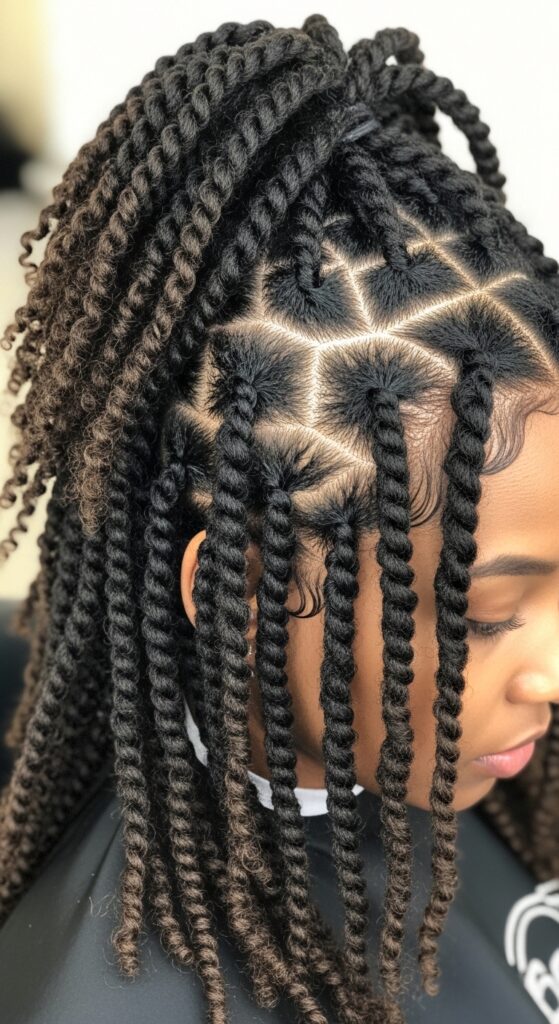
These are the absolute MVP of the heat-free journey. They give you a super defined look without any heat, and when you take them down, you get beautiful, stretched curls that last for days.
- Start with damp, detangled hair and a good setting lotion or leave-in.
- Twist each section tightly from root to tip.
- Let them dry completely before unraveling. Overnight is perfect.
You can rock them as twists for a full week, then wear the twist-out for another three days. That’s a whole week and a half of good hair from one session.
Flat Twists for a Sleek Look Without Heat
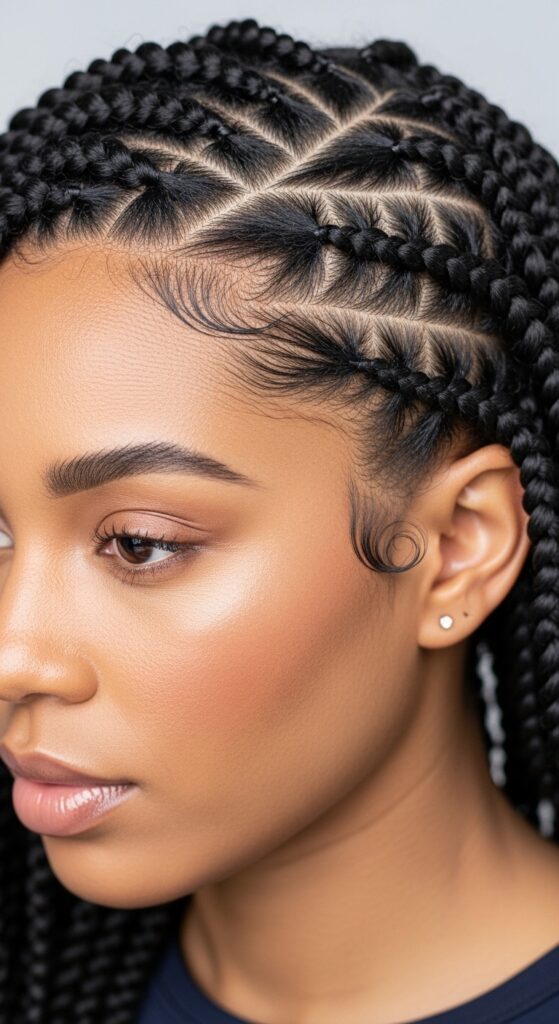
If you want something that looks a bit more polished and pulled together, flat twists are the way to go. They lie flat against your scalp, so they’re perfect for when you need a clean, professional look.
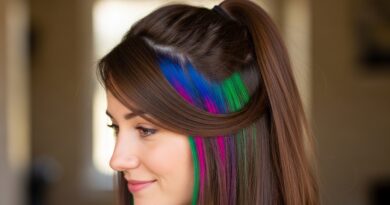
You can flat twist your whole head, or just do a few around your hairline for a quick style. The best part? They create amazing waves when you take them out. Just make sure to smooth your edges with a light gel for that *quiet luxury* finish.
The Classic Pineapple for Overnight Length
This isn’t just for sleeping. A high, loose pineapple is a legit daytime style for protecting your ends while showing off your length. It keeps your fragile ends away from your shoulders and pillowcase.
Use a satin or silk scrunchie to avoid breakage. If your hair is on the shorter side, you can still do a mini pineapple with just the front sections. It’s the easiest way to keep your ends safe while you sleep through the awkward transition phase.
Bantu Knots for Defined Curls and Volume
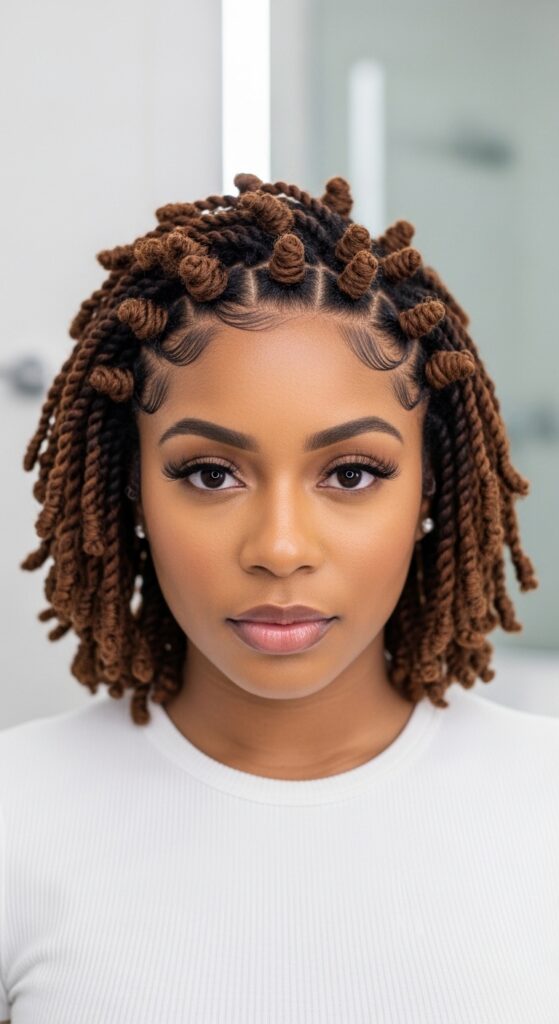
Bantu knots give you incredible curl definition and massive volume without a single tool. They work on all textures, even if your hair is just starting to grow out a perm. Small knots give tight curls, larger knots give soft waves.
- Section hair into small squares.
- Twist each section, then wrap it around itself into a knot.
- Secure with a small pin or clip.
- Sleep on them, unravel in the morning, and separate gently for big, bouncy curls.
This style is perfect for when you want that *romantic goth* vibe with lots of texture and drama.
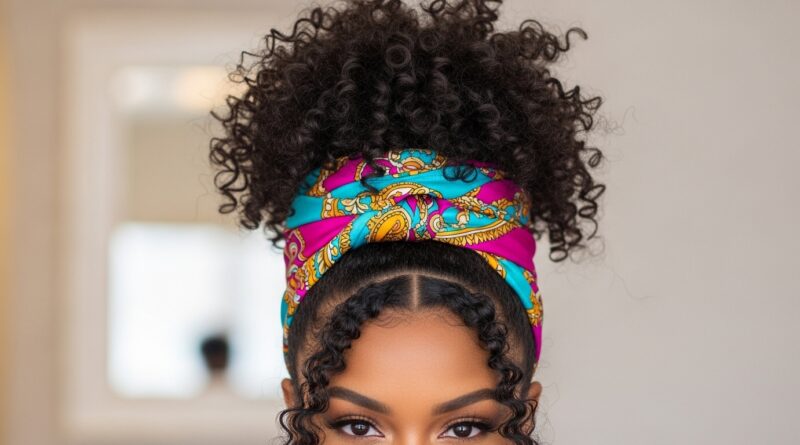
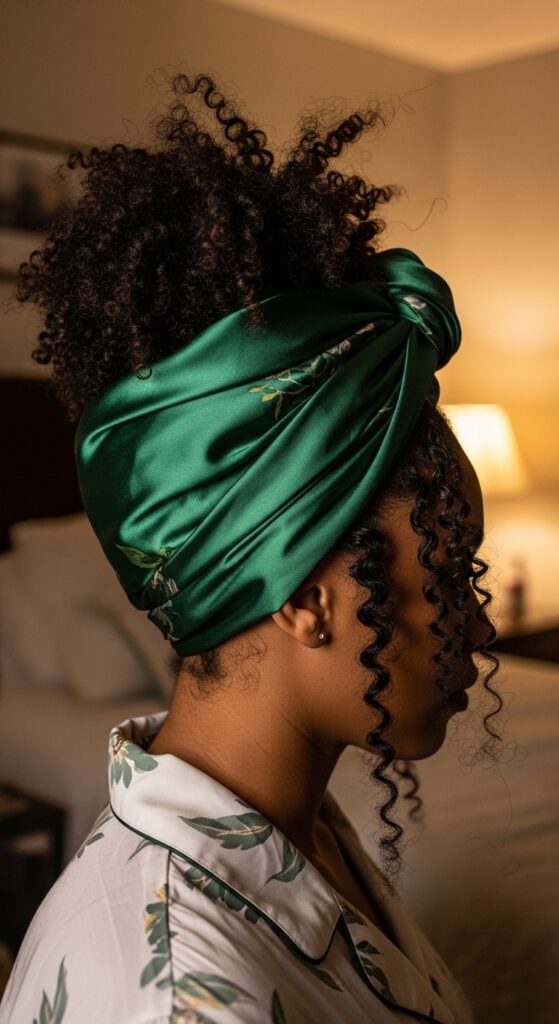
The Satin Scarf Headband: Five-Second Style
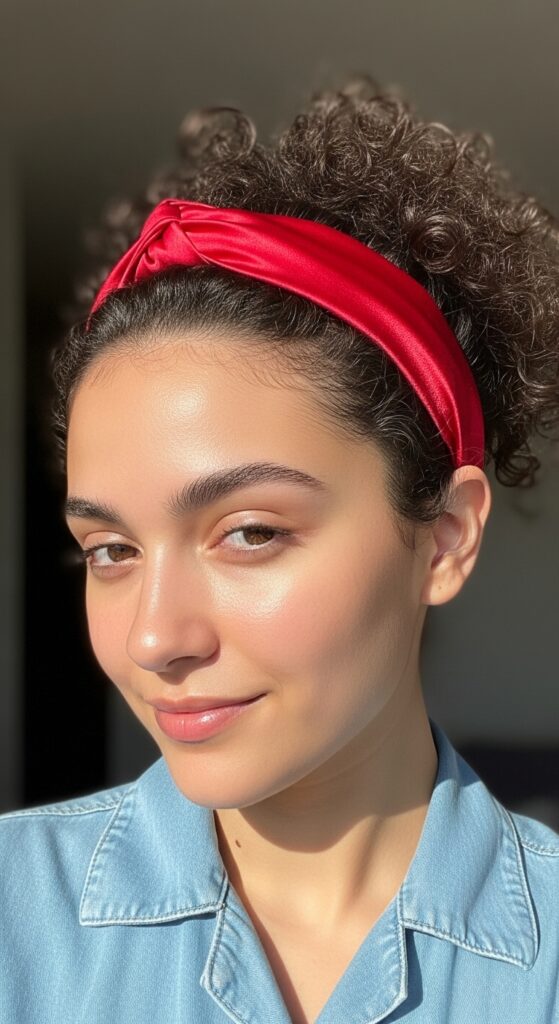
When you have zero time and your edges need a break, a satin scarf tied into a headband is your lifesaver. It hides the flat roots at your hairline and keeps everything looking intentionally cool.
Fold your scarf into a thick band, place it behind your ears, and tie it at the top of your head. You can let the ends of the scarf hang loose for a bohemian touch, or tuck them under. It instantly elevates a messy bun or pulled-back look. Plus, it’s zero heat on your delicate hairline.
Heatless Satin Rollers for Blowout-Like Volume
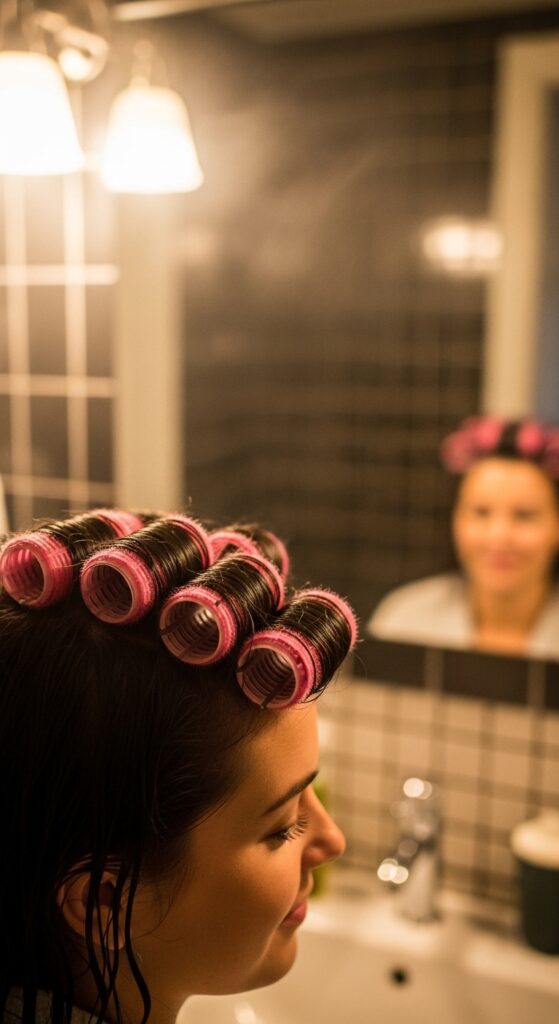
You can get that smooth, voluminous blowout without ever turning on a dryer. Satin or foam rollers give your hair a soft bend and lift at the roots. They are way gentler than velcro rollers and won’t snag your fragile ends.
Apply a heat protectant foam anyway—just in case you ever do use heat later—and roll sections while your hair is damp. Let them dry fully, or sleep on them. The result is a soft, bouncy look that feels very *old money* and effortless.
The Heatless Robe Curls Trend
You’ve seen this all over social media for a reason. It works. Take the tie from a silk or satin robe, tie it around your head, then wrap your damp hair around it on both sides. Sleep on it, and wake up to soft, heatless waves.
This is fantastic for elongated curls that look like you used a curling wand. It puts zero tension on your roots, which is key when you have two different textures growing in. It’s the quietest, most relaxed way to style.
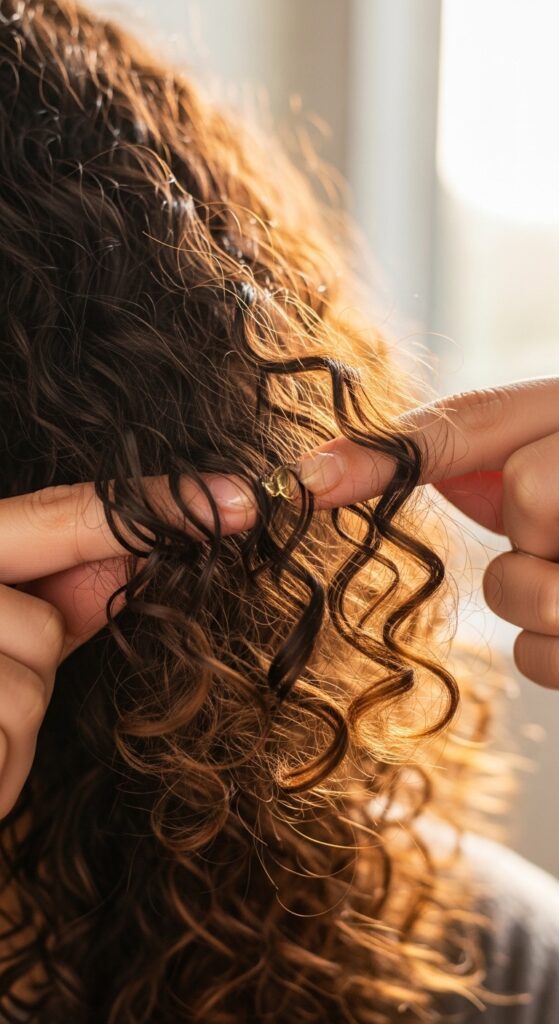
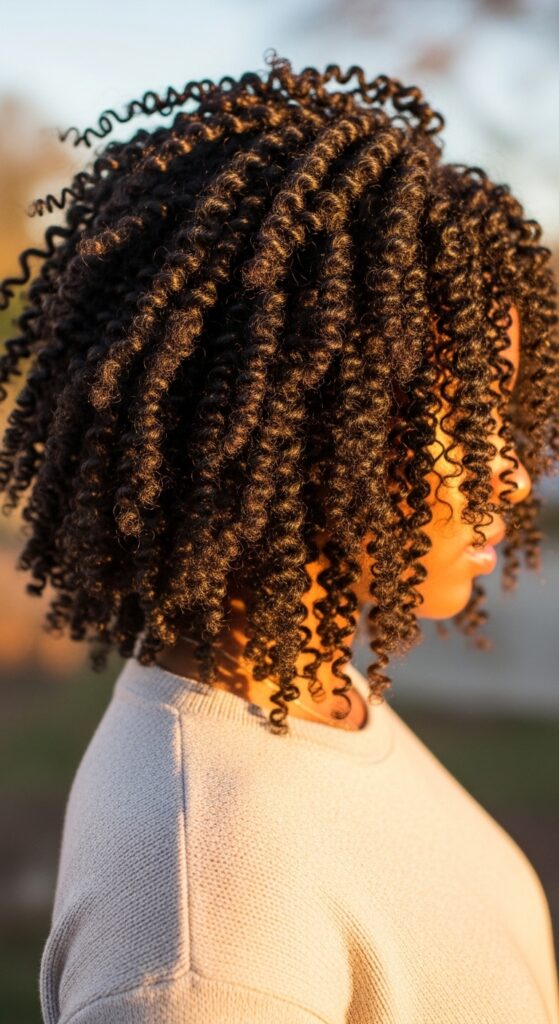
Finger Coils for Defined, Clumped Curls
This technique is perfect for shorter transitioning hair. Instead of a comb, you use your finger to coil each section around itself. It creates super defined, springy curls that last for days.
- Start with soaking wet hair.
- Apply a thick cream or gel.
- Coil each section around your index finger from root to tip.
- Let dry completely without touching.
It takes a little time the first go-round, but the payoff is unreal. This style looks incredible with an asymmetrical lob shape as you grow out the back.
Braid-Out: The Beginner-Friendly Classic
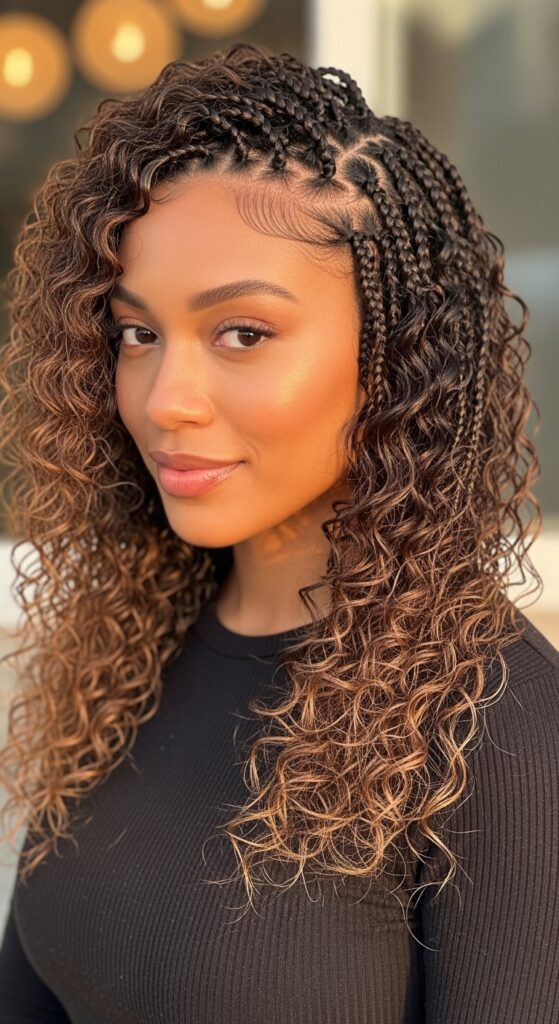
You can’t go wrong with a good braid-out. It’s literally just braiding damp hair at night and taking it down in the morning. The number of braids you do changes the size of your waves. The key is to braid from the root to the very tip.
For best results, braid on slightly damp hair with a lightweight curl cream. Sleep with a satin bonnet. In the morning, unravel each braid gently with a little oil on your fingers. You’ll get soft, touchable waves that look expensive and done.
It’s the perfect base for a quiet luxury bob if you’re growing out a shorter cut.
Twist-Out: Bigger Volume, Less Frizz
While braid-outs give you waves, twist-outs give you bigger, rounder curls. They are my personal favorite for adding instant volume. If your hair is acting stubborn, a twist-out stretches it slightly and masks the line of demarcation really well.
Use a heavier butter for twist-outs since they need more hold. Separate each twist gently once it’s dry. For extra volume, fluff the roots with a pick, but be very careful with the fragile ends.
This style pairs beautifully with a vampire haircut shape—lots of layers, lots of movement.
Faux Hawk with Braids
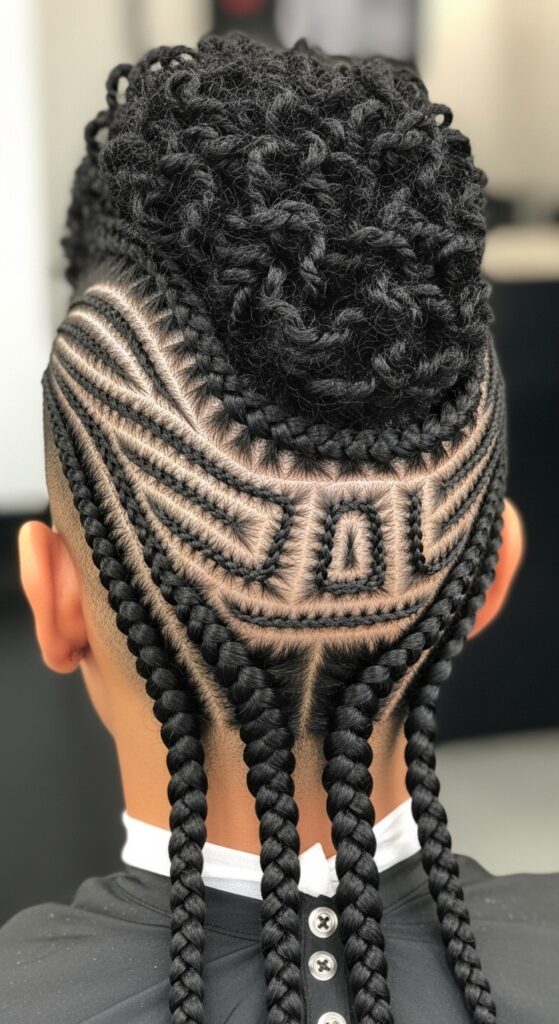
If you’re in the mood to feel a little edgy, a braided faux hawk is such a fun protective style. You cornrow or flat twist the sides of your head back, leaving the center loose or braided into a high line. It keeps your ends tucked away while looking super intentional.
You can do this even if your hair is on the shorter side. The sides get the most manipulation anyway, so tucking them away is smart. This is a great way to rock that glitchy glam aesthetic—sharp lines, cool patterns, total confidence.
Half-Up Space Buns
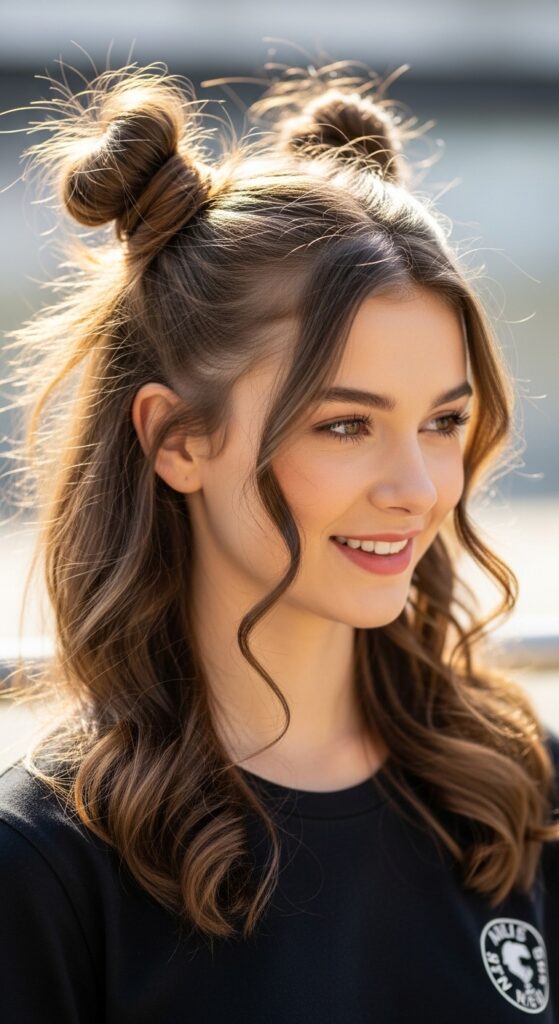
This is pure nostalgia, and I love it. It’s so easy to do. Just part your hair down the middle, pull the top half into two high ponytails, and twist each into a bun. Let the bottom half hang loose in its natural curly state.
It shows off the health of your hair while keeping the fragile ends from rubbing against your clothes. It’s also a great way to disguise uneven length if the back of your hair is shorter than the front. It just looks fun and youthful.
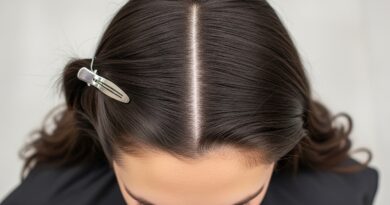
Side-Swept Deep Part
Sometimes the simplest trick is the most effective. A deep, dramatic side part instantly changes your silhouette. It hides any thinness on one side and makes your hair look thicker. Plus, it frames your face beautifully.
Use a little edge control on the shorter side to lay down any flyaways. Let the majority of your hair fall over one shoulder. This is a no-heat, five-second way to look like you have a whole new hairstyle. Very old Hollywood, very old money.
Mini Flat Twist Crown
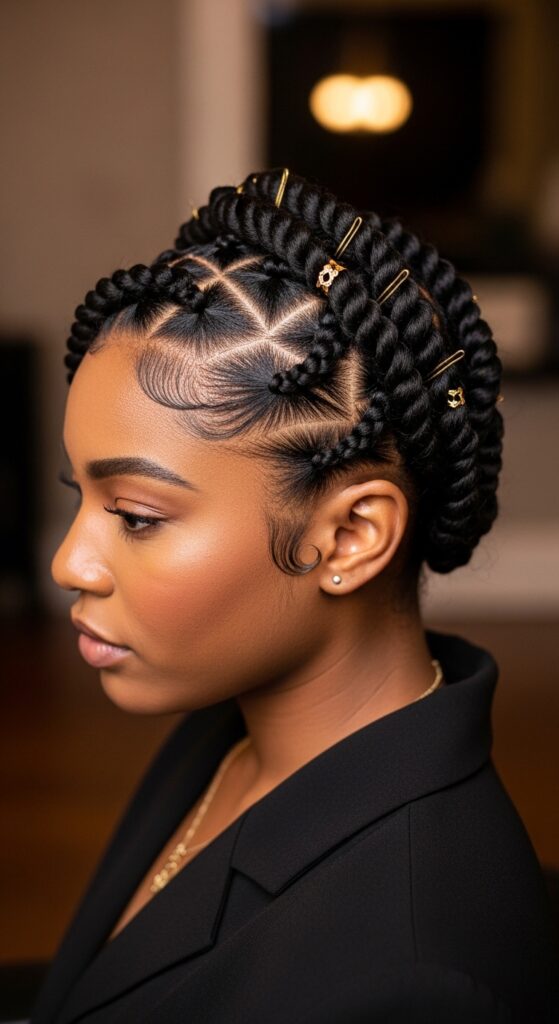
This is for when you want to feel like royalty. Section off the front portion of your hair from ear to ear. Flat twist those sections back towards your crown, then circle them around your head and pin them. The rest of your hair can hang free.
It keeps your edges laid and your length out. Add a few tiny gold or pearl pins for a really elevated look. It’s so easy but looks extremely high-effort. Perfect for a date night or a wedding guest look.
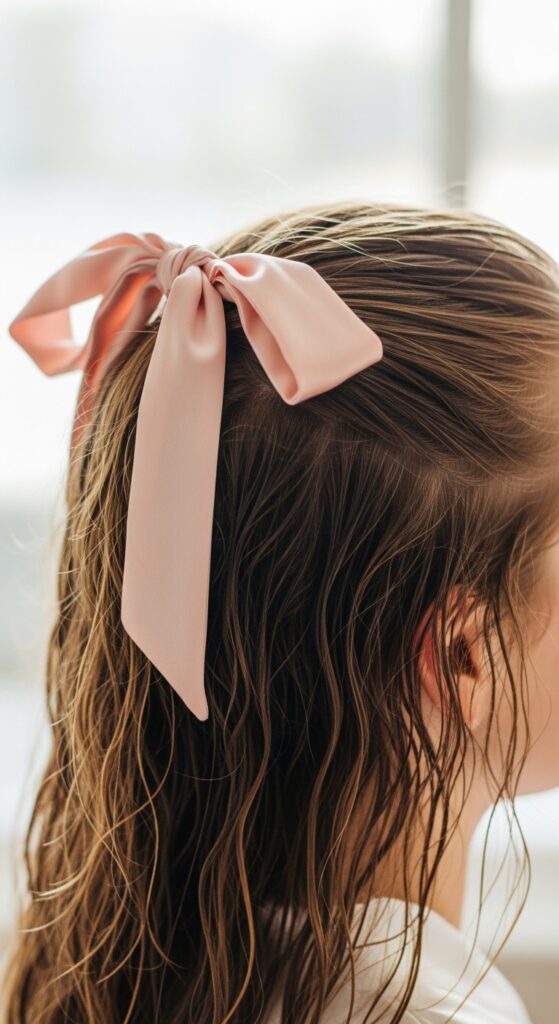
The High Puff with a Scarf Wrap
The high puff is a rite of passage. When you just can’t be bothered, pull your hair into a very high ponytail and let the curls do their thing. Use a satin scrunchie to avoid dents. The trick is to make it look intentionally messy and big.
Wrap a silk scarf around the base of the puff, or tie it in a bow on the side. This adds a pop of color and hides the elastic. It’s the ultimate “I woke up like this” look, even though you spent five minutes on it. A true heat-free win.
Chunky Cornrows with Beads
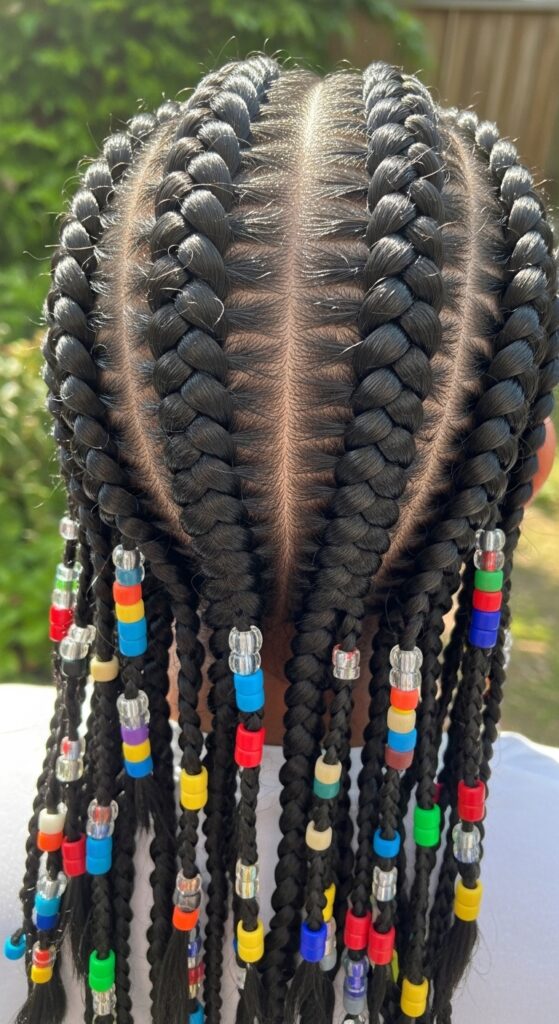
Cornrows are the ultimate protective style for growth. They keep your ends tucked for weeks and require zero daily styling. Chunky rows take less time to install and cause less tension than tiny ones.
Add a few beads at the ends for a playful, nostalgic touch. Keep your scalp moisturized with a light oil spray every few days. This style gives you so much freedom while your natural hair grows strong underneath. It also works beautifully with the hime cut shape if you add blunt side pieces.
The Sleek Low Bun
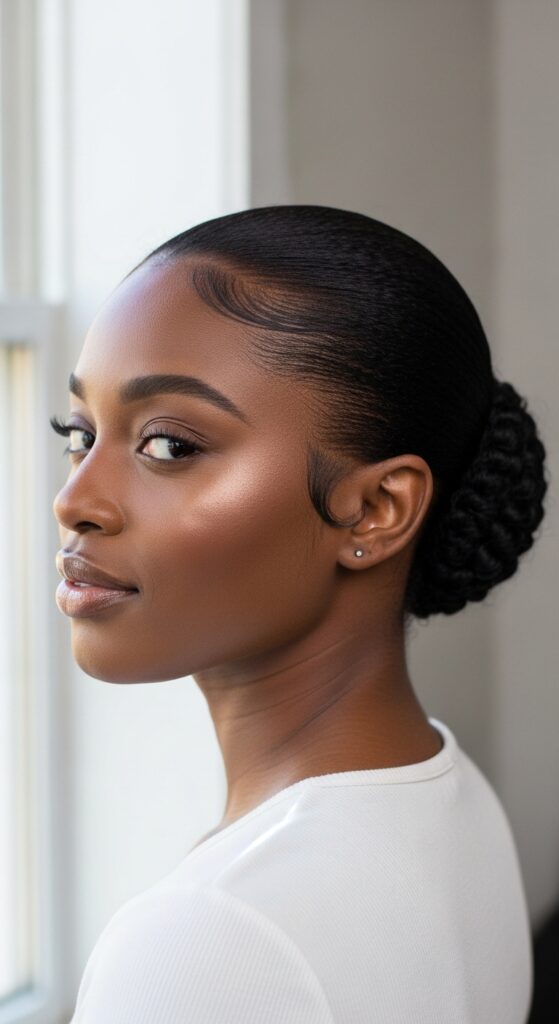
Don’t underestimate the power of a clean, smooth low bun. It’s the most professional, neutral style you can do. It protects your ends completely and takes less than two minutes.
Smooth your hair back with a gel or mousse. Twist it into a low bun and secure with pins. You don’t need it to be perfect. A few flyaways actually make it look more modern. This is the definition of quiet luxury—understated, clean, and expensive.
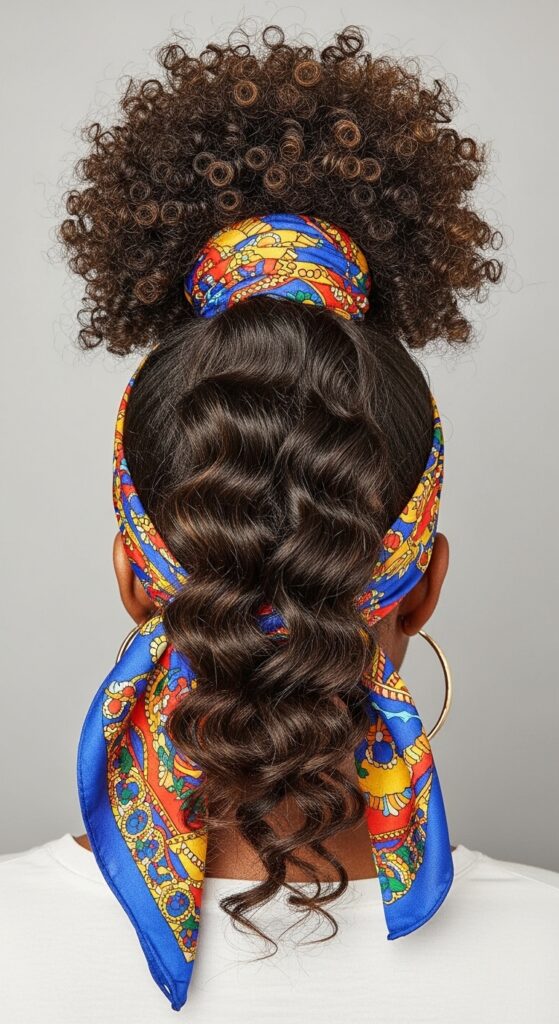
Scarf-Wrapped Pineapple
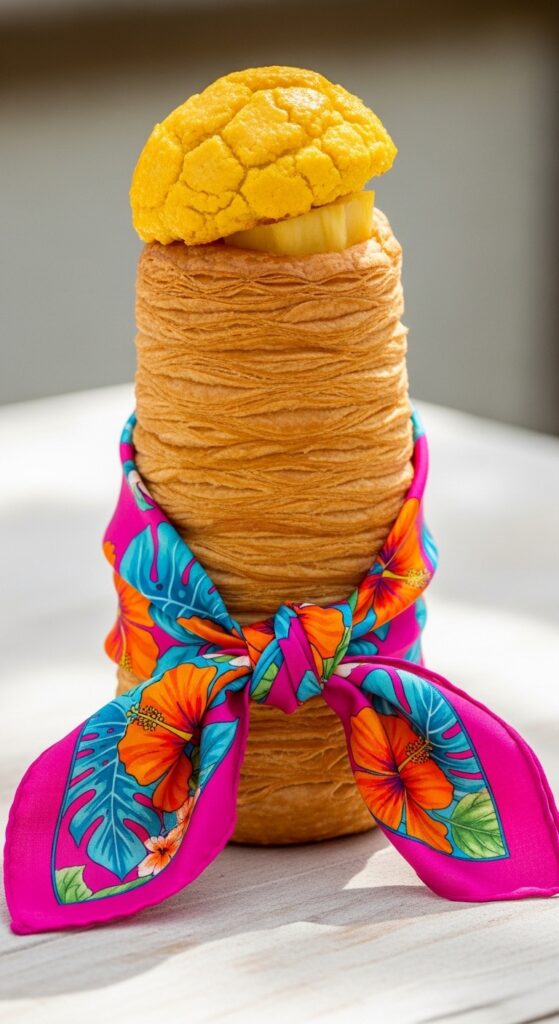
Take the classic pineapple and dress it up. Instead of leaving your hair exposed, wrap a large silk scarf completely around the puff. You’re essentially wearing a turban meets a high ponytail. It looks so chic and artistic.
It’s also the most protective thing you can do. Your ends are completely sealed away from the air. This is a go-to for days two, three, and four of a twist-out when you don’t want to refresh the curls. It folds into your routine like a dream.
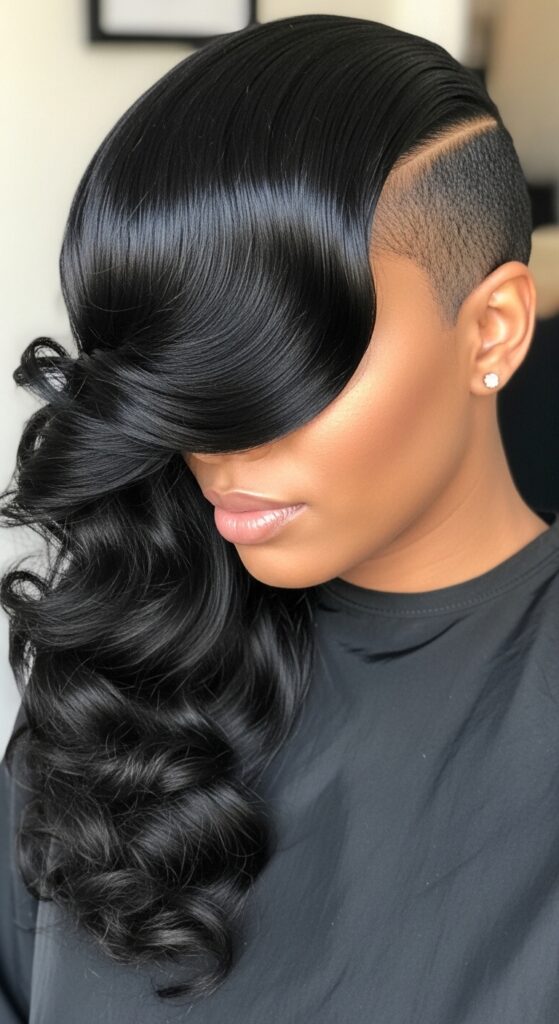
Curly Mohawk with Shaved or Tapered Sides
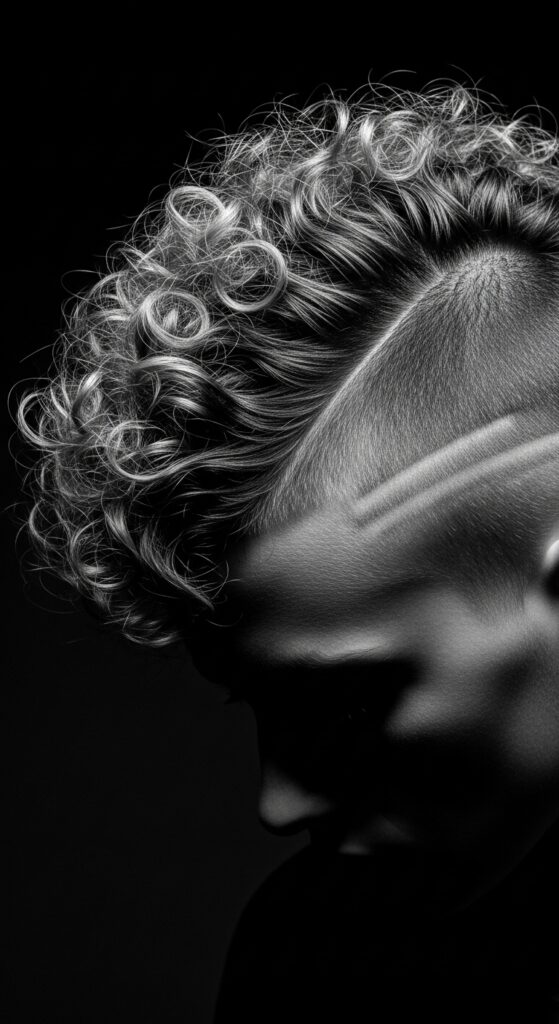
Okay, this one requires a little cut, but it’s a game-changer. If you’re tired of dealing with the back of your head, consider tapering or shaving the sides. It instantly removes the most damaged hair and lets your healthy curls be the star.
The top stays long and curly. You can style it with a simple wash-and-go. It’s low maintenance, high impact. This is a killer version of the vampire haircut—lots of drama, lots of attitude, and zero heat needed.
It also makes the asymmetrical lob shape look incredibly intentional.
Final Thoughts on Your Heat-Free Journey
I have been exactly where you are, staring at two different curl patterns wondering if you’ll ever have a consistent look. You will. Every twist, every braid, every protective style is a step toward the health you want. The growth isn’t always visible in the mirror, but it’s happening under the surface.
Your hair doesn’t have to be perfect to be beautiful. It just has to be yours. Don’t compare your transition timeline to anyone else’s. Your journey is your own, and it’s worth protecting.
Save this post to Pinterest so you can come back to it the next time you need a heat-free idea. And tell me in the comments—what’s your go-to protective style right now? I always love reading what you’re working with.