16 Open Loose Braided Hairstyles Relaxed Effortless Undone Daily Casual Chic
Let’s be real: we all want that “I woke up like this” vibe, but with just enough effort that it actually looks good. The open loose braid is the ultimate cheat code for that. It’s not too tight, not too perfect, and basically feels like pajamas for your hair while still looking like you tried. I’ve been wearing some version of this every other day for the past month, and I keep getting asked how I do it. So I pulled together 16 of my favorite relaxed, undone braids that work for coffee runs, casual dinners, and even a quiet office day. No fancy tools, no stress—just cute hair you can actually do.
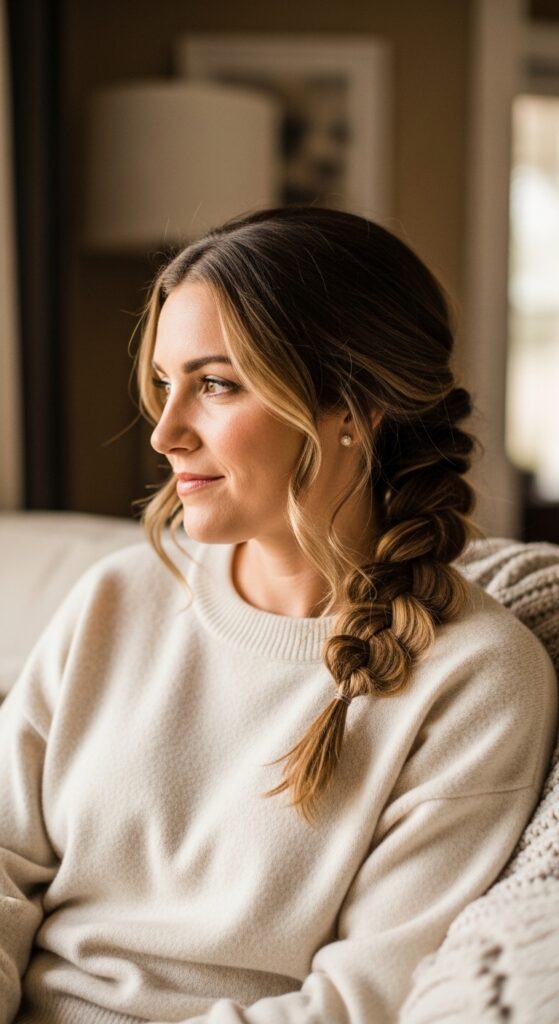
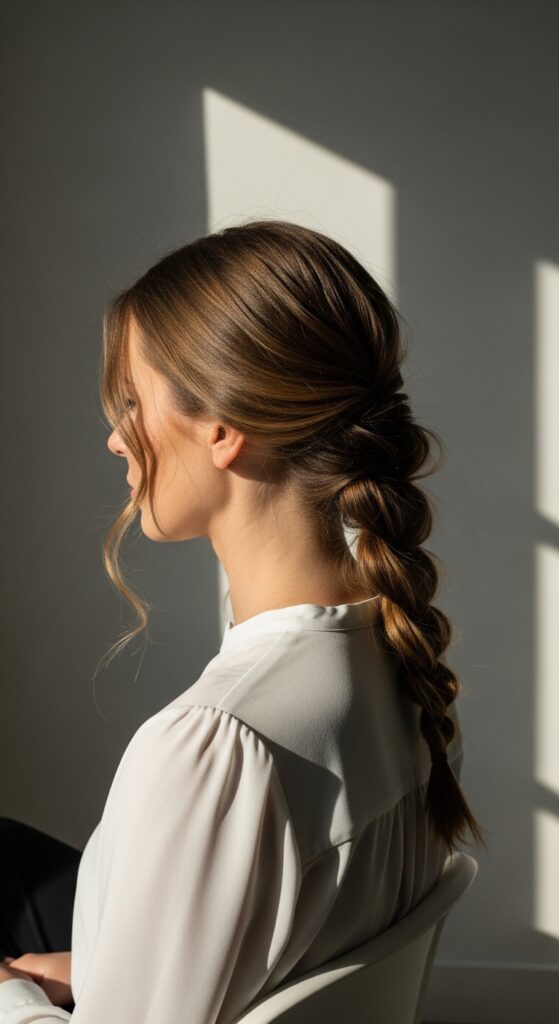
1. The Classic Side Swept Braid
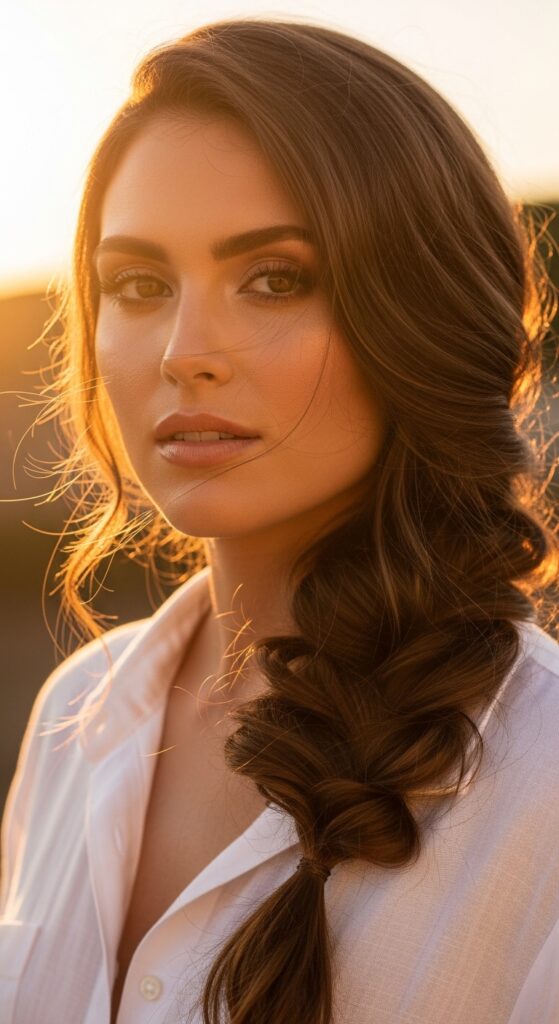
This one is the MVP of effortless style. You just sweep your hair to one side and braid it loosely, pulling out a few face-framing pieces. It’s so forgiving you don’t even need a brush.
- Perfect for medium to long hair
- Looks great even on second-day hair
- Takes less than 3 minutes
The key is to keep the braid a little chunky and not pull it tight. If you want a quiet luxury bob or shoulder-length hair, just tuck the ends under for a faux braided look.
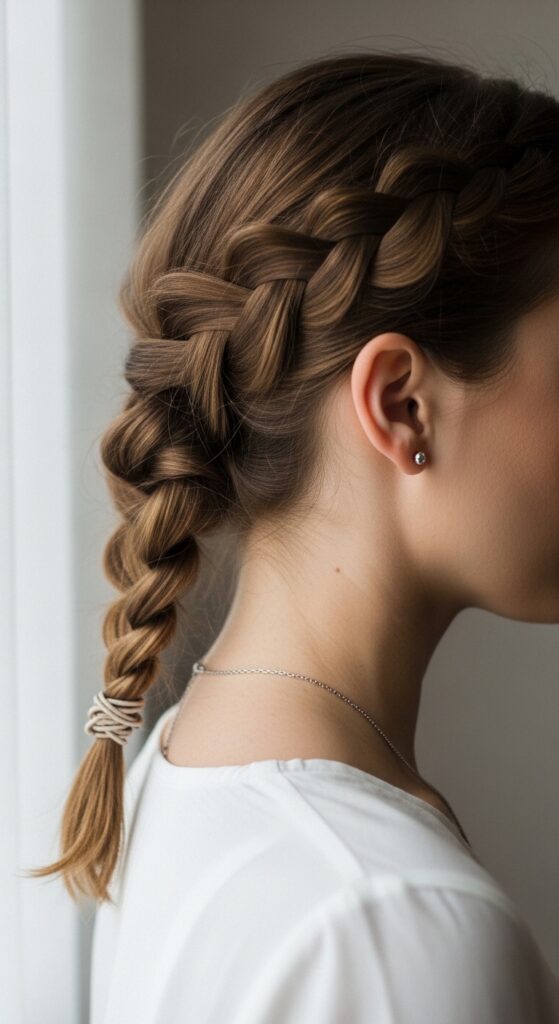
2. The Low Nape Braid
This is my go-to when I want my hair off my face but still feel like I have hair. It sits right at the nape of your neck and feels so gentle. No tugging, no headaches.
- Gather hair at the nape of your neck
- Braid loosely and secure with a clear elastic
- Tug the braid sides gently to widen it
It works amazingly with the asymmetrical lob because the shorter front pieces naturally frame your face while the nape braid keeps things tidy.
3. The Milkmaid Braid (Open Version)
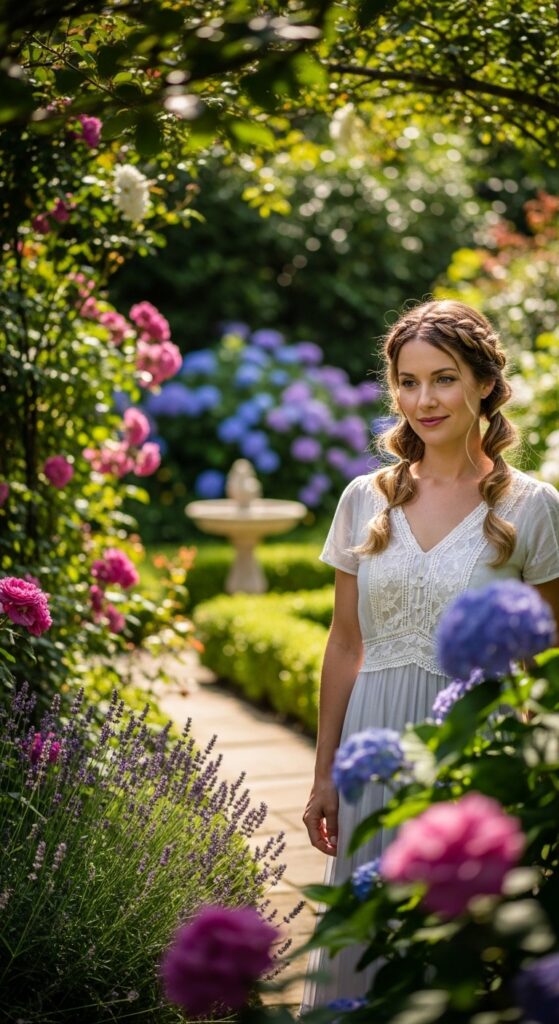
Don’t let the name scare you. This is just two loose braids you pin across the top of your head. It looks romantic and fancy but takes maybe 5 minutes. I do this on days when I want to look like I tried harder than I actually did.
- Start with a middle or side part
- Braid each section to the end
- Pin them across the crown, leaving the ends loose
For a touch of romantic goth hairstyles, add a few tiny dark ribbons or leave a few wispy strands out.
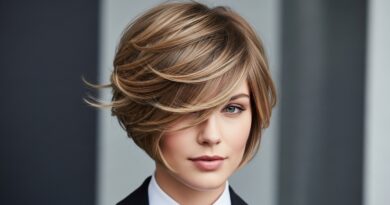
4. The Half-Up Braided Crown
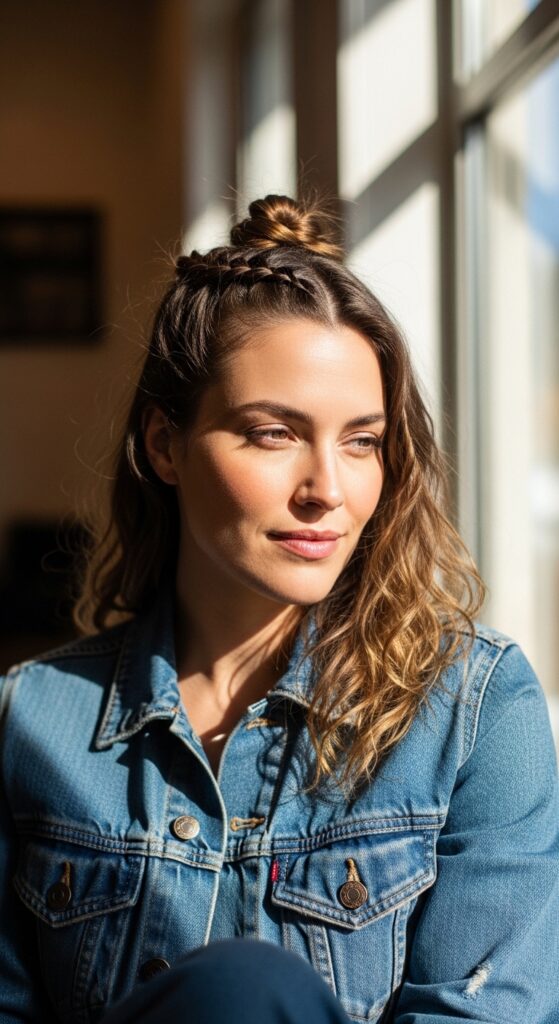
Half-up hairstyles are my comfort zone, and this one is the upgraded version. You just take two small sections from above your ears, braid them, and pin them at the back. The rest of your hair stays down and free.
- Section off top hair from ear to ear
- Braid each piece toward the back
- Pin them together at the crown
If you’ve got a vampire haircut (those sharp, face-framing layers), this style lets the drama of your layers show while keeping the top neat.
5. The Side Fishtail That Looks Harder Than It Is
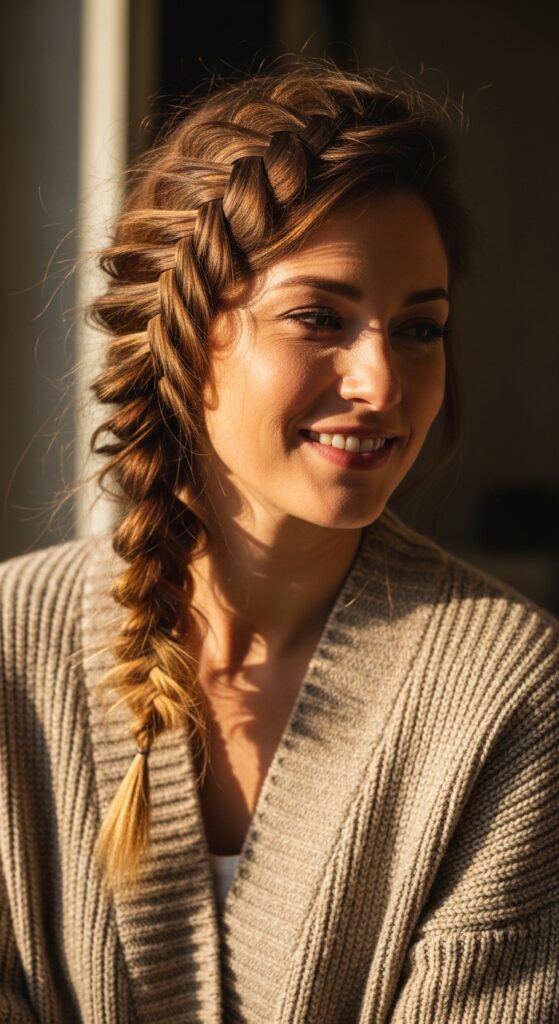
Okay, I know fishtails sound fancy, but the loose version is actually easier than a regular braid. You just take tiny pieces from each side and cross them over. The looser you go, the more effortless it looks.
- Works on both straight and wavy hair
- Looks better when slightly messy
- Takes about 2 minutes more than a normal braid
This is one of those 2026 hairstyles that feels current without being trendy. It’s just pretty and timeless.
6. The Twisted Rope Braid (No Braiding Required)
If you can twist, you can do this. It’s basically two sections of hair twisted together instead of braided. It gives a different texture and feels super modern.
- Split hair into two equal sections
- Twist each section individually
- Twist them around each other
I love this for glitchy glam hair vibes because the twisted texture catches the light in a cool, almost digital way. Add a tiny clip or pin at the end for extra flair.
7. The Messy Side Braid for Bedhead Days

This is the braid I do when I wake up late and don’t have time to brush. Yes, really. Just comb your hair with your fingers, pull it to one side, and braid it as messily as possible.
- No brush needed
- Use dry shampoo for extra texture
- Pull out strands randomly
The messier it is, the better. It’s pure old money hair energy because it looks like you rolled out of bed looking perfect.
8. The Front Braid Headband
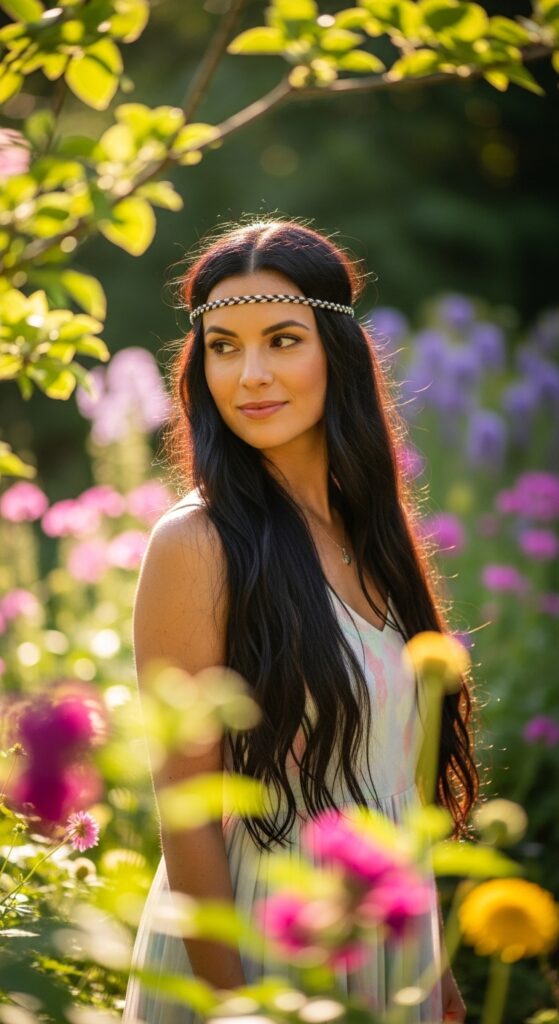
This is such a sweet, feminine style. You just take a small section from behind one ear, braid it, and wrap it across your head like a headband. Pin it behind the other ear.
- Take a 1-inch section from behind your ear
- Braid to the end
- Pin it across the top of your head
It works beautifully with a hime cut because the braided headband contrasts with the straight, blunt sides. Very anime chic meets casual.
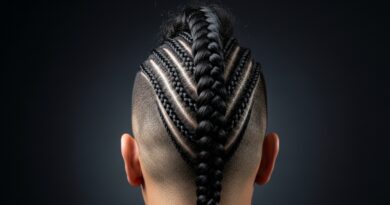
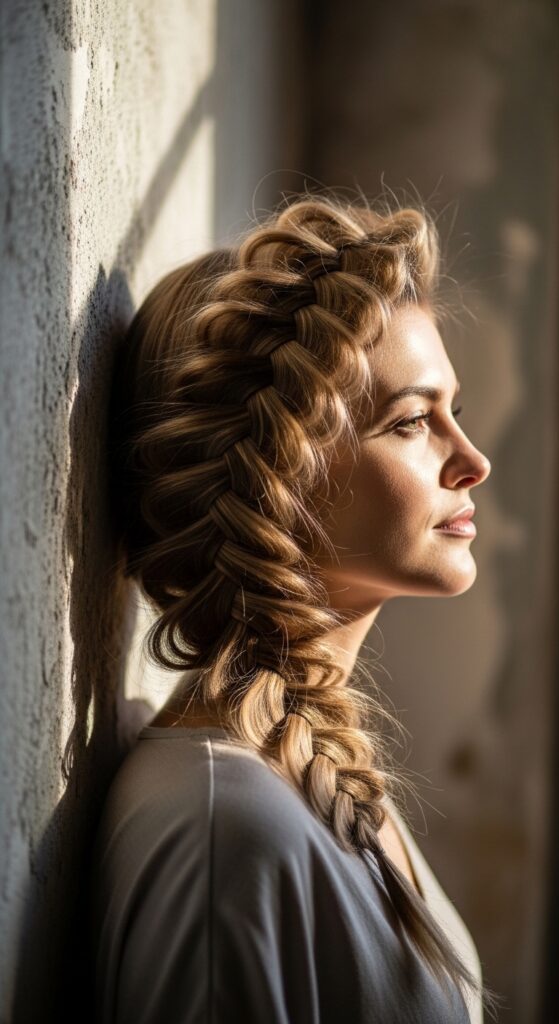
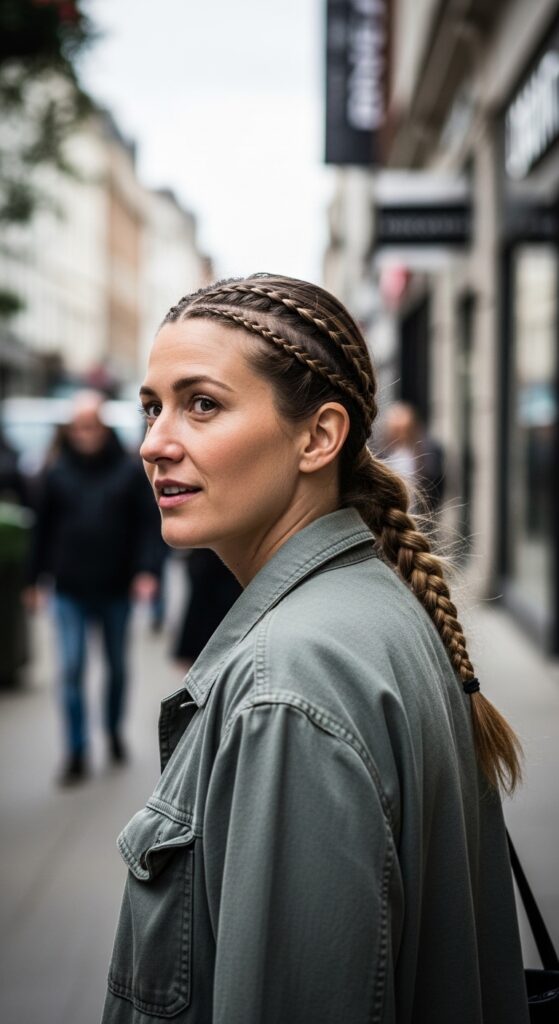
9. The Double Dutch Braids (Loose and Wide)
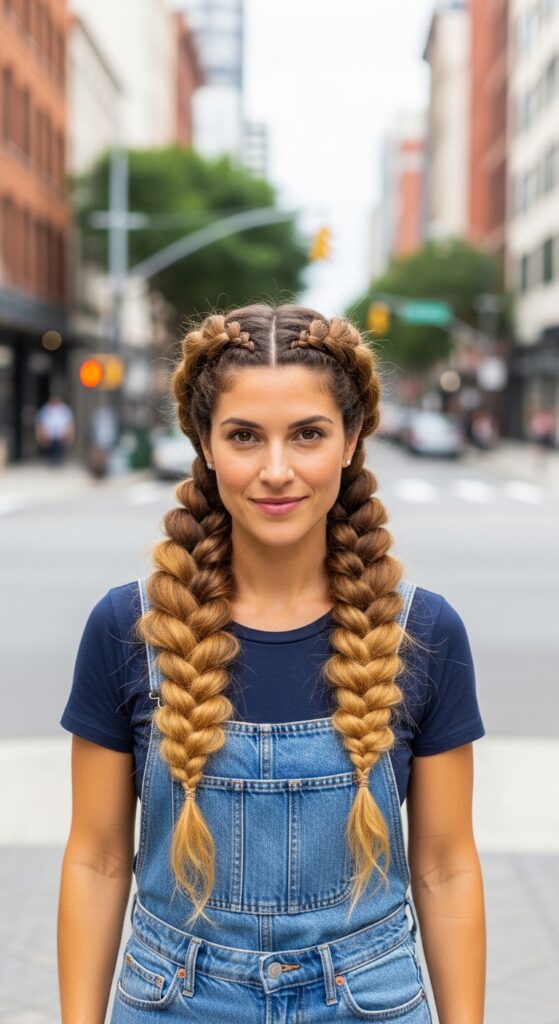
Dutch braids can look really intense when done tight, but the loose version is incredibly soft and wearable. Just braid them inward (underneath) and pull the sides to make them chunky.
- Start at the crown, not the hairline
- Keep your grip loose
- Pull sections wide after braiding
These are great for a weekend farmer’s market or a casual brunch. They also pair really well with quiet luxury bob variations if you have shorter hair that you’re growing out.
10. The Bottom-of-the-Neck Knot Braid
This one sounds weird but looks so cool. You braid your hair normally, but when you get to the ends, you knot them instead of using an elastic. It keeps the braid from unraveling without looking overly neat.
- Braid until you have 2 inches left
- Tie the ends into a small knot
- Tuck the knot under the braid
This is such a practical hack for anyone who hates dealing with tiny elastics. And it adds a little “undone” charm that feels very 2026 hairstyles.
11. The Single Loose Braid with Ribbon
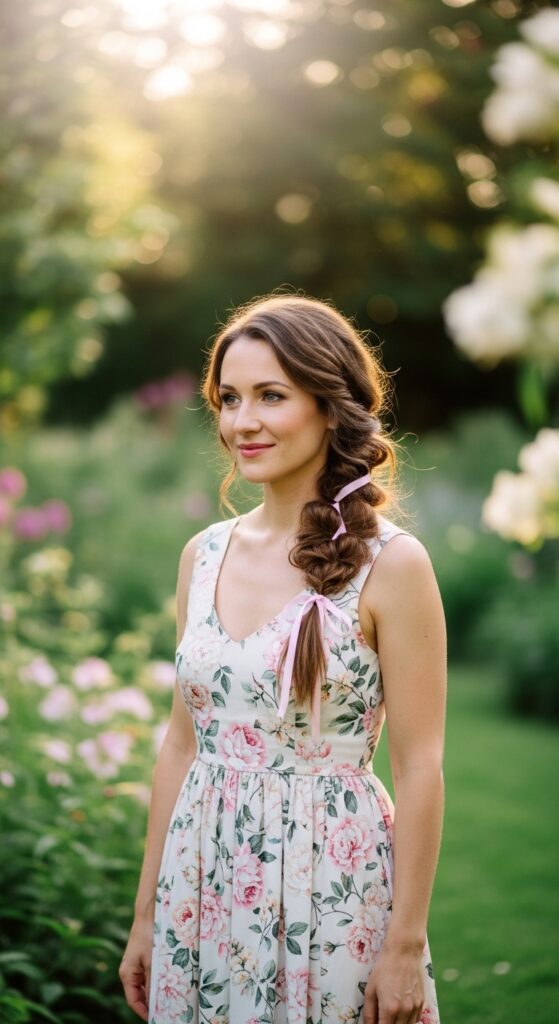
A ribbon makes everything feel special, but it’s not complicated. Just tie a thin ribbon around the base of your braid or weave it through as you go. I use old shoelaces or scraps from sewing projects.
- Use a ribbon that matches your outfit
- Weave it through for a preppy look
- Tie it at the end for a quick pop
This is a tiny nod to romantic goth hairstyles if you choose velvet or dark colors. But a soft satin ribbon keeps it light and sweet.
12. The Inside-Out Braid
This is just a regular braid that you flip. You braid normally, then push the braid up from the bottom so the inside becomes the outside. It creates this amazing puffy texture.
- Braid from top to bottom
- Pinch the bottom and push the braid up
- It fluffs out like magic
I wear this all the time because it takes zero skill but looks like I went to a salon. Totally fits the old money hair vibe of effortless elegance.
13. The Side Braid with Face-Framing Tendrils
Leaving a few thin pieces out makes any braid look instantly more romantic. Just don’t tuck everything in. Pull out two tiny strands from each side of your face before you start braiding.
- Keeps the look soft and feminine
- Works on all face shapes
- Adds movement to the style
If you’ve tried a vampire haircut, those sharp layers are perfect for this. The tendrils will naturally fall in a very flattering way.
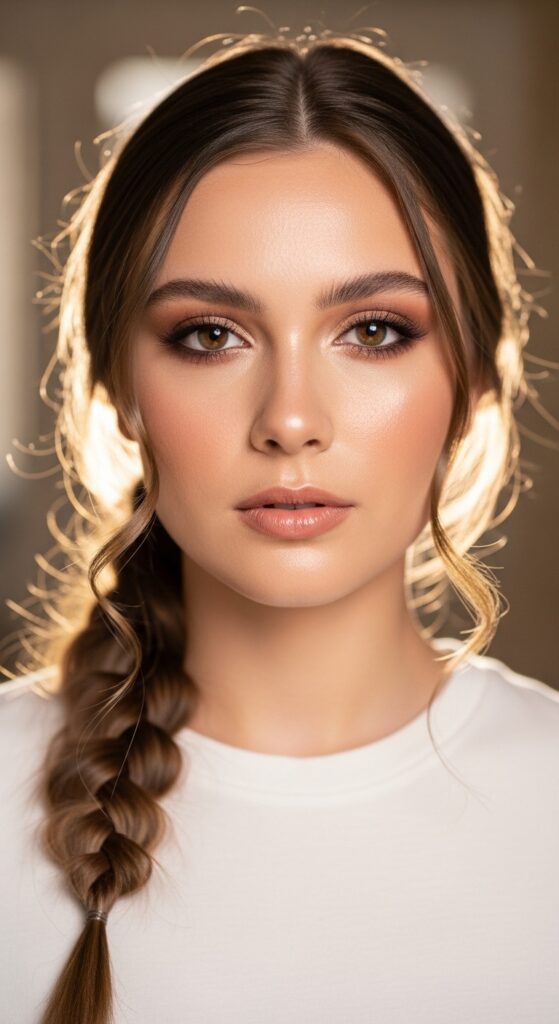
14. The Low Ponytail Braid Wrap
This is the easiest way to upgrade a basic low ponytail. Just take a small section from your ponytail, braid it, and wrap it around the hair tie. It hides the elastic and adds texture.
- Put your hair in a low ponytail
- Take a 1-inch piece from the ponytail
- Braid it and wrap it around the base
It’s a tiny detail that looks so intentional. For a more glitchy glam hair feel, add a metallic ribbon or a tiny charm to the wrap.
15. The Scarf Braid (Open and Airy)

A scarf is basically a built-in accessory. Fold a thin silk scarf and braid it right into your hair. Let the ends hang loose for that free-spirited look.
- Fold scarf to about 1 inch wide
- Braid it in as the third strand
- Let the ends dangle
This is so easy and makes any outfit feel more put-together. It’s a favorite for romantic goth hairstyles if you use a dark, patterned scarf with lace edges.
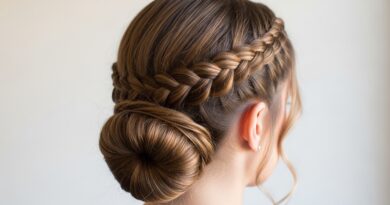
16. The One-Minute Braided Bun
Last but not least: the braided bun that takes exactly one minute. Braid your hair loosely, then wrap the braid around itself into a low bun. Secure with pins and let a few pieces fall out.
- Braid your hair normally
- Twist the braid into a bun at the nape
- Pin and pull to soften
This is my lazy-day hero. It’s structured but messy, and it works with everything from asymmetrical lob to long hair. You’ll look polished in seconds.
And that’s the whole list, friend. I hope you found at least two or three new ideas to try this week. These braids are meant to feel like you, not like you’re fighting your hair. The secret is just to let go of perfection a little and enjoy the process.
Save this post to Pinterest so you can come back to it when you need a quick hairstyle idea. And seriously, tell me in the comments which braid you’re trying first. I’d love to hear if you have a go-to style I missed.