
22 Reverse French Braid Hairstyles Dutch Inside Out Technique Tutorial Steps
I know that moment when you see a braid online and think, “That’s gorgeous, but I could never do that on myself.” Trust me, I have been there more times than I can count. That is exactly why I am walking you through the reverse French braid—also called the Dutch braid—with the inside out technique. It sounds fancy, but once you get the basic movement down, it becomes your new secret weapon. You can take it from a messy brunch look to a polished dinner braid in minutes. I have broken down every single step so it feels like I am sitting right next to you, holding your hair tie and cheering you on. No confusing diagrams, just real talk and practical moves that actually work.
What Makes a Reverse French Braid Different
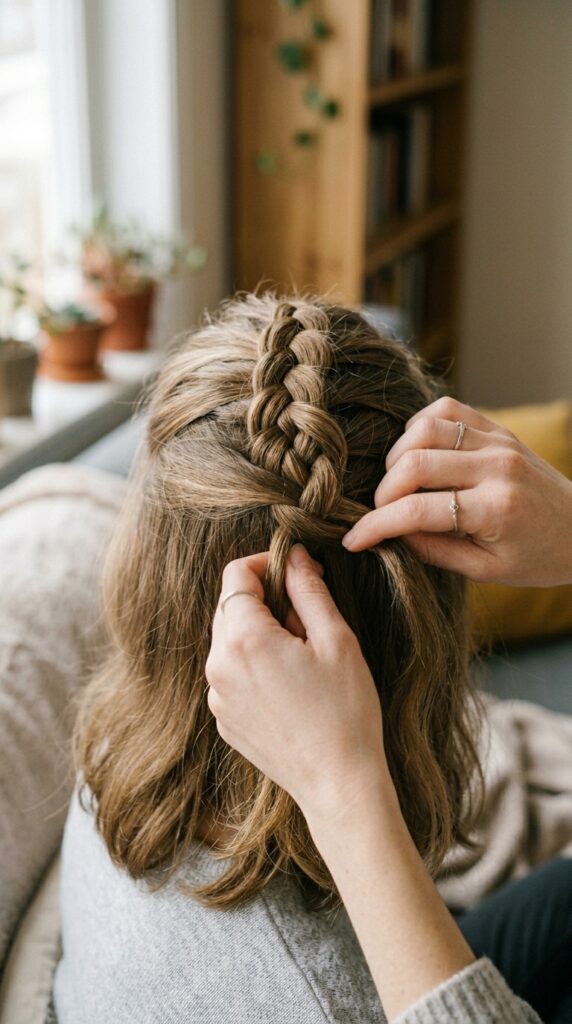
The reverse French braid is the sibling that plays by its own rules. Instead of crossing the strands over the middle section, you cross them under. This makes the braid pop outward instead of lying flat. It gives you that beautiful, 3D texture that looks like woven ribbon against your head. The inside out technique takes this one step further by gently tugging at the edges after you finish the braid, creating a soft, lived-in fullness. Here is the thing—once you master crossing under instead of over, every braid in your life will change.
What You Need to Start
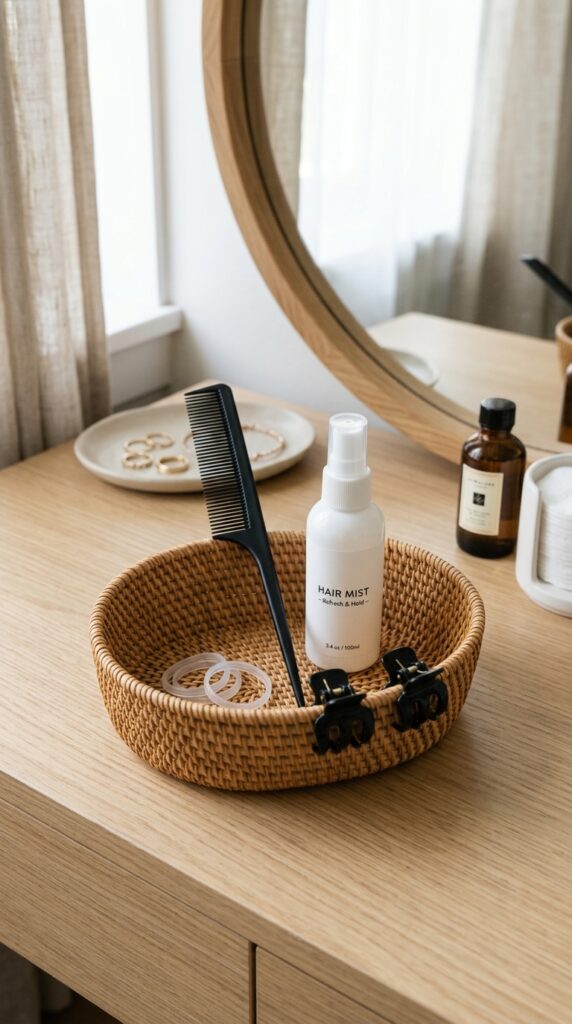
You do not need a salon cabinet for this. Grab a few clear elastics that match your hair color, a comb with a pointed tail for clean parts, and a spray bottle with water. If your hair is silky, use a light texturizing spray first. Damp hair is actually easier to grip, so do not be afraid to mist it. I always keep two small claw clips nearby to hold sections out of the way. That is it. No special tools, no expensive products. Just you and your hands.
Section Your Hair Like a Pro
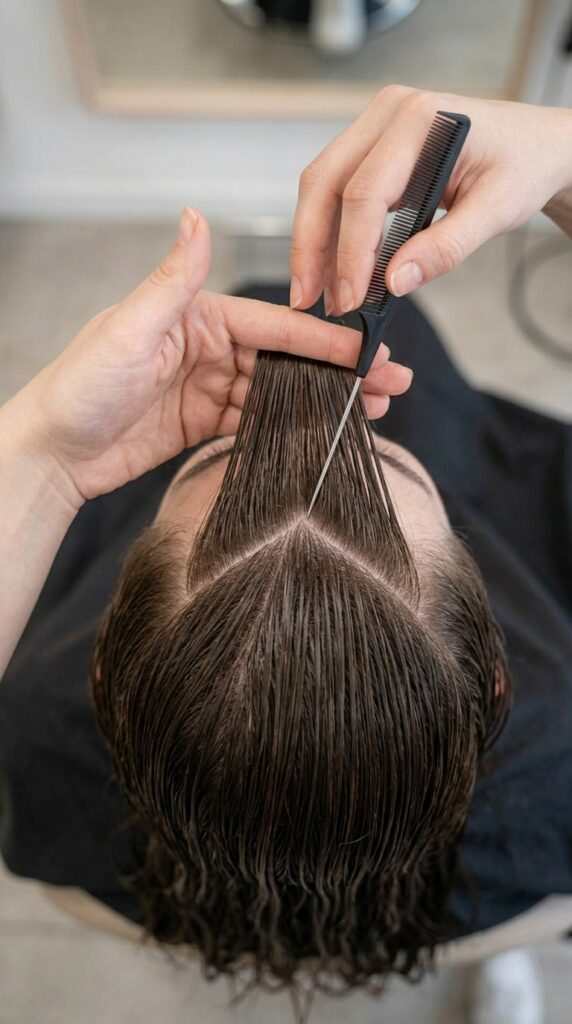
Start by brushing your hair completely smooth. Take a triangular section at the very top of your head, from your forehead to your crown. This triangle is the seed of your braid. Clip the rest of your hair down so it does not join the party too early. A clean section is everything here. If your part is messy, the whole braid will wobble. Take your time on this step. It sets the tone for the entire look.
Divide Into Three Equal Strands
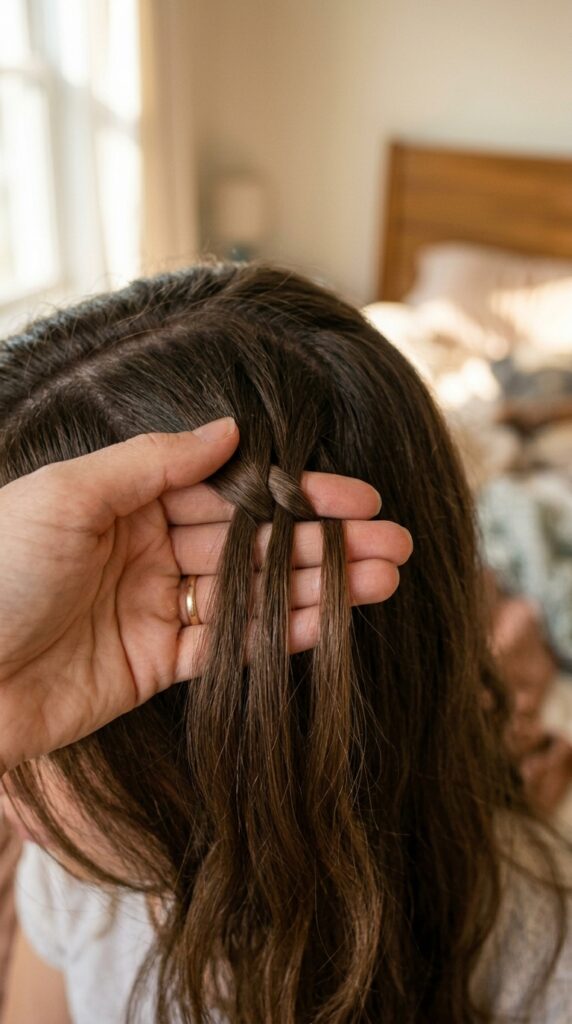
Split your triangle section into three equal pieces. Left, middle, right. This sounds easy, but it is the most common place people mess up. If one strand is thicker than the others, your braid will look lopsided. Use your fingers to feel the thickness. The middle strand should feel the same as the left and right. Give each strand a little tug to create tension. You want them tight and ready.
The First Cross Under
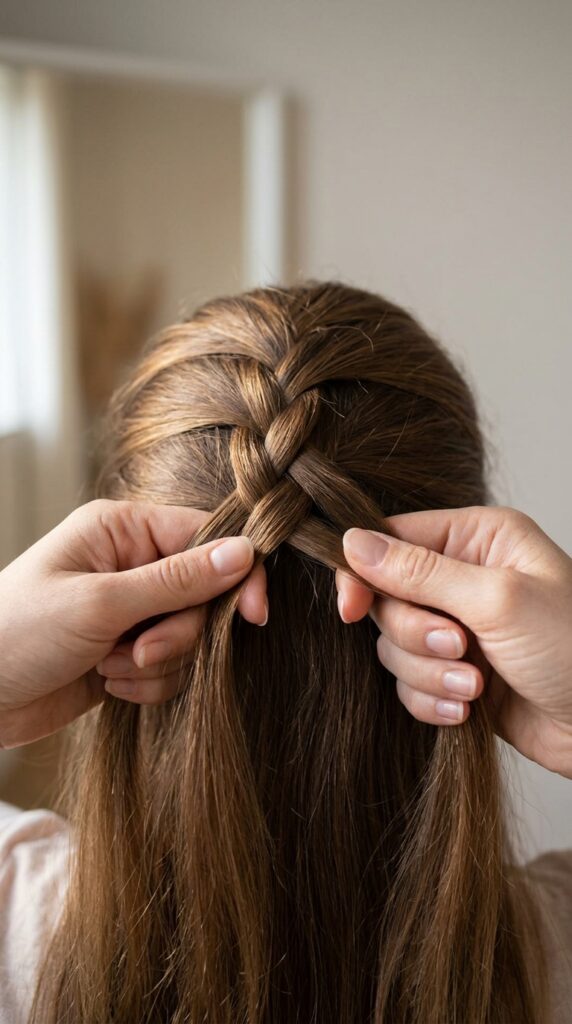
Now for the magic. Take the right strand and cross it under the middle strand. The right strand becomes the new middle. That is the key difference with a Dutch braid. You are diving under, not going over. It might feel backwards at first, but that is exactly right. Do not rush this first move. Let your hands learn the motion. Once you feel that strand slide underneath, you are officially doing a reverse French braid.
Add Hair from the Left Side
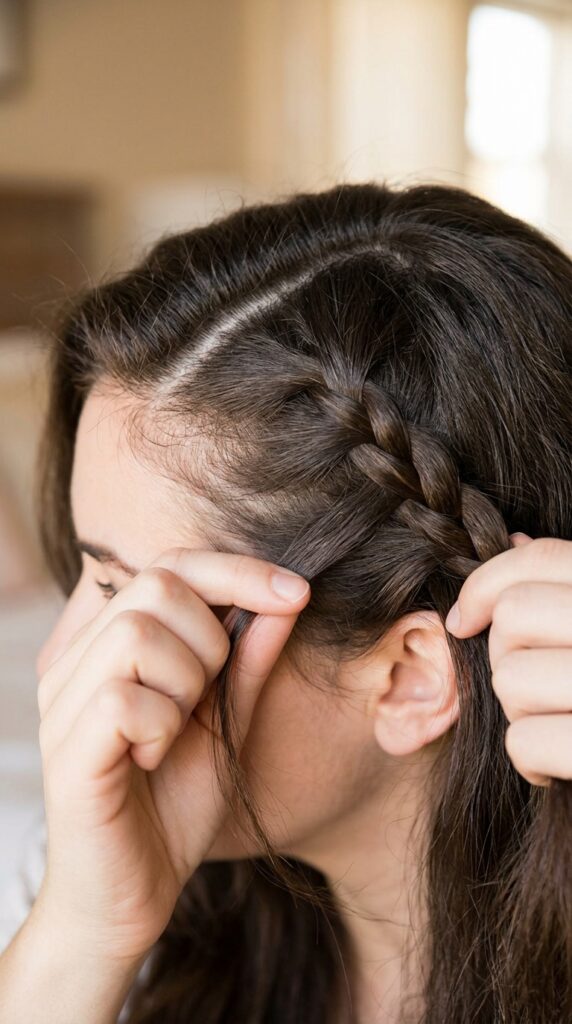
Now pick up a small section of hair from the left side of your head, right along your hairline. Add it to your left strand. Cross that combined left strand under the middle strand. The left strand now becomes the new middle. You are adding hair on the side before you cross. This is the rhythm: pick up, combine, cross under. Left side first. Keep your pinch gentle so you do not yank yourself.
Add Hair from the Right Side
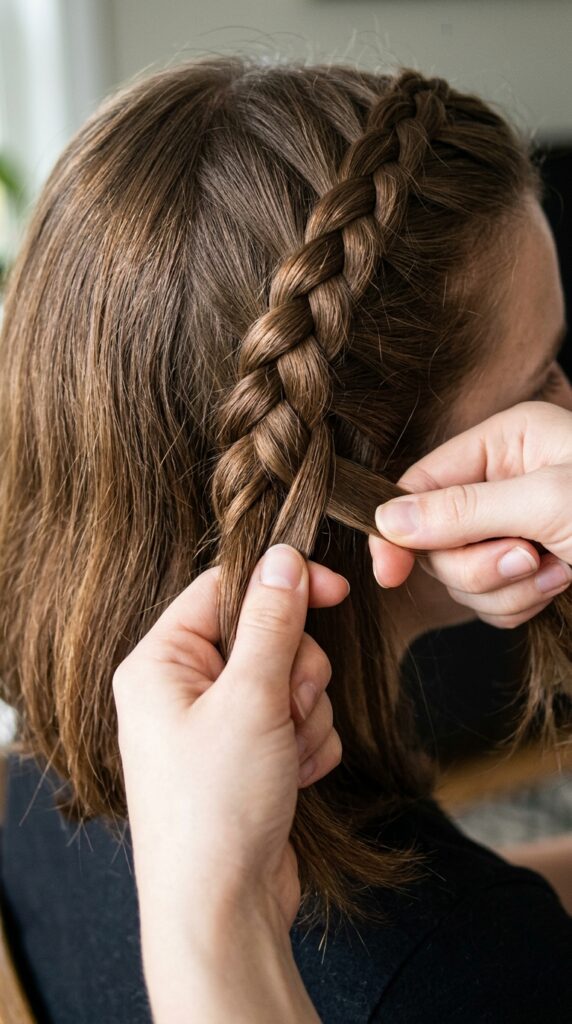
Mirror the same move on the right side. Scoop a section of hair from your right hairline, add it to your right strand, and cross that combined strand under the middle. Now your right strand becomes the new middle. This is the repeating pattern. You are essentially building the braid by feeding in hair from the sides. Keep your hands close to your scalp. If you pull outward, the braid gets loose fast.
Keep the Tension Even
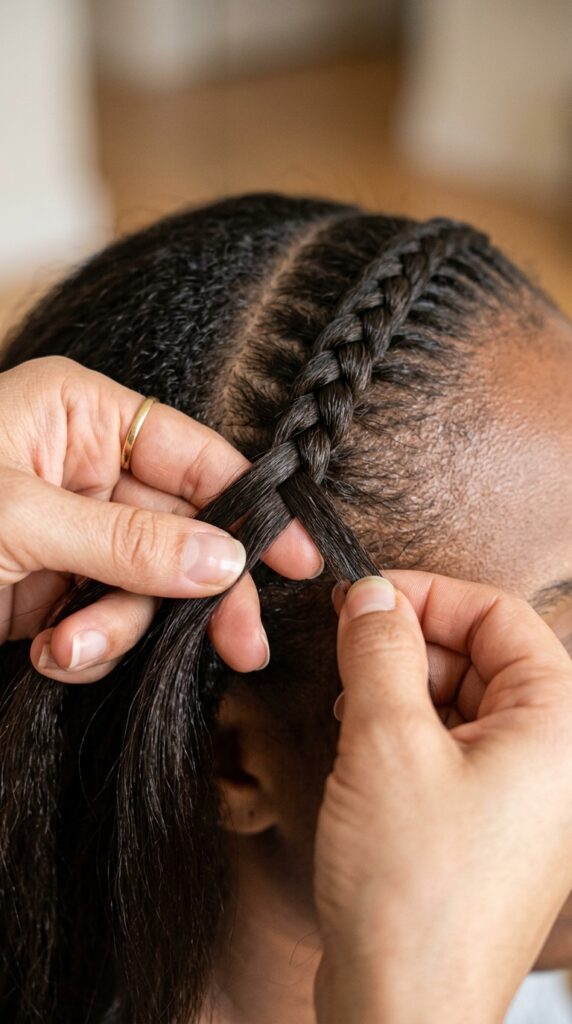
Tension is your best friend here. If you pull too loose, the braid will look sloppy and fall apart. Too tight and you will get a headache by lunch. I hold the three strands in a triangle between my fingers and gently pull outward as I work. This keeps everything snug without being painful. Think of it like holding a ribbon—firm but not choking it. If you feel a loop forming, stop and tighten it before moving on.
Continue Down the Back of Your Head
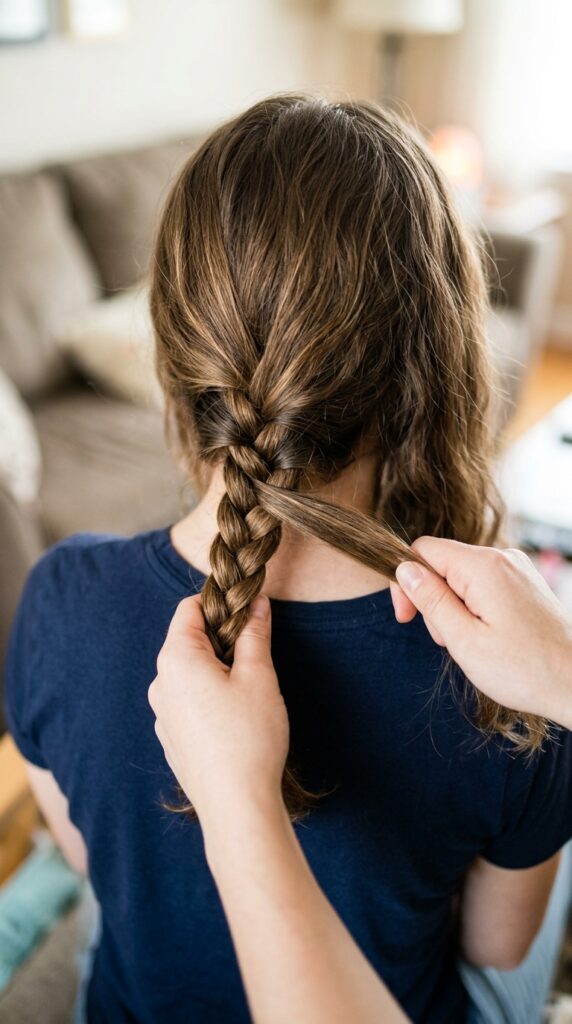
Keep the pattern going all the way down to your nape. Left add, cross under. Right add, cross under. You will feel the braid start to sit on top of your hair like a beautiful ridge. When you reach the nape of your neck, you will run out of hair to add. That is the signal to finish the braid as a basic three-strand. This part is the most repetitive, but it is also where the muscle memory kicks in.
Finish with a Regular Three-Strand Braid
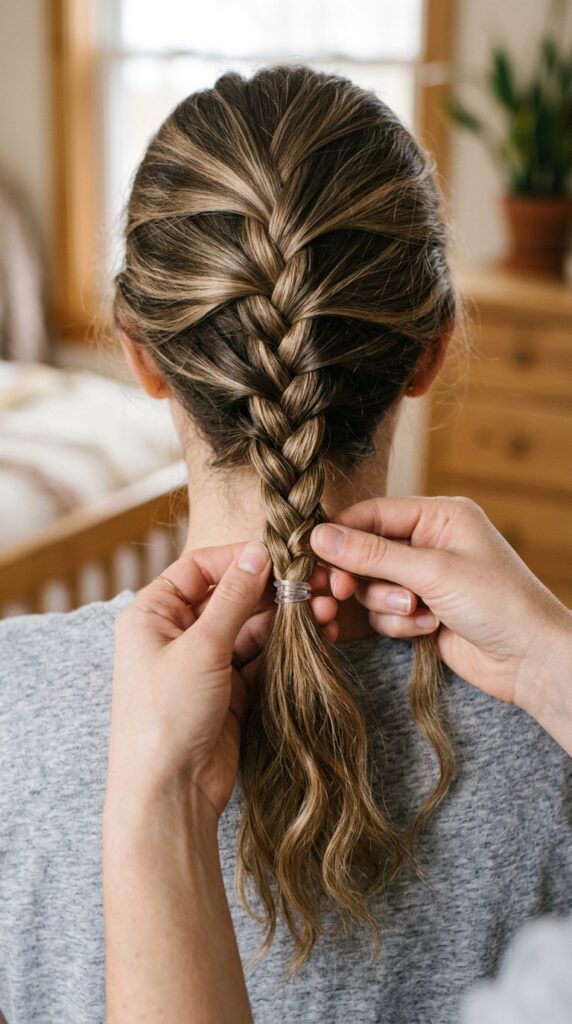
Once all the hair from your head is woven in, just braid the remaining length like you did in middle school. Left over middle, right over middle. This tail can be long or short depending on your hair length. Secure it with a clear elastic. Do not use a thick fabric band right away because it might slip. A clear elastic gives you grip and disappears into the color of your hair. Give the tail a gentle tug to flatten it.
The Inside Out Tugging Technique
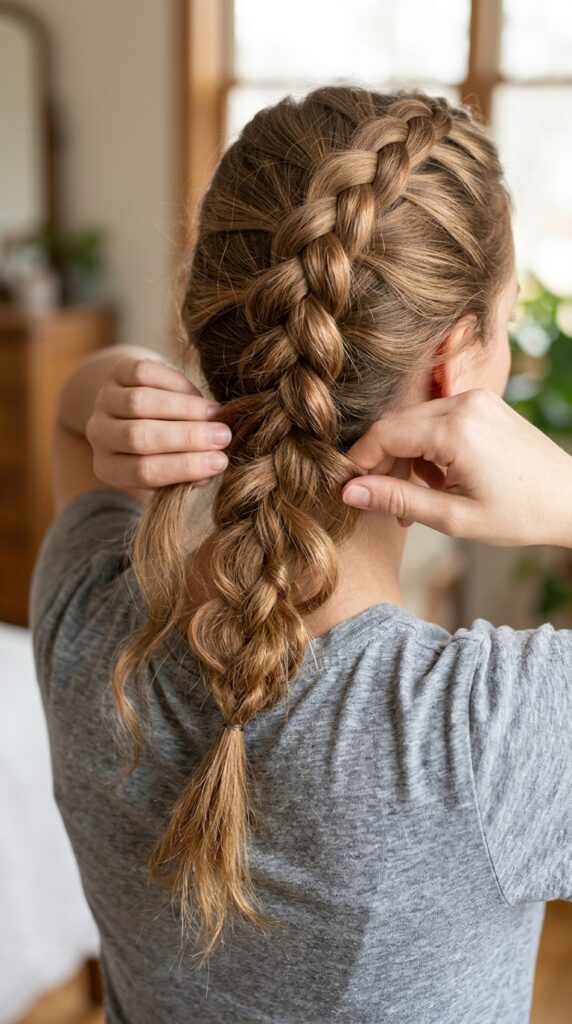
This is where the “inside out” magic happens. Take the finished braid and gently pinch the outer edge of each braid segment. Pull outward, not upward. This loosens the weave and makes the braid look wider and softer. Start from the bottom of the braid and work your way up. I do this in front of a mirror because the back is hard to see. Go slowly. You want a romantic, undone look, not a pulled-apart mess.
Make It an Old Money Hair Moment

If you want that old money hair vibe, keep the braid neat and tight. Use a boar bristle brush to smooth flyaways before you start. The inside out tugging should be minimal. This braid looks incredible with a cashmere sweater and simple gold hoops. It whispers elegance without screaming for attention. The key is clean sections and a low, polished tension. It is the kind of hair that says you have everything together, even if your car is a mess.
Try a Quiet Luxury Bob Version
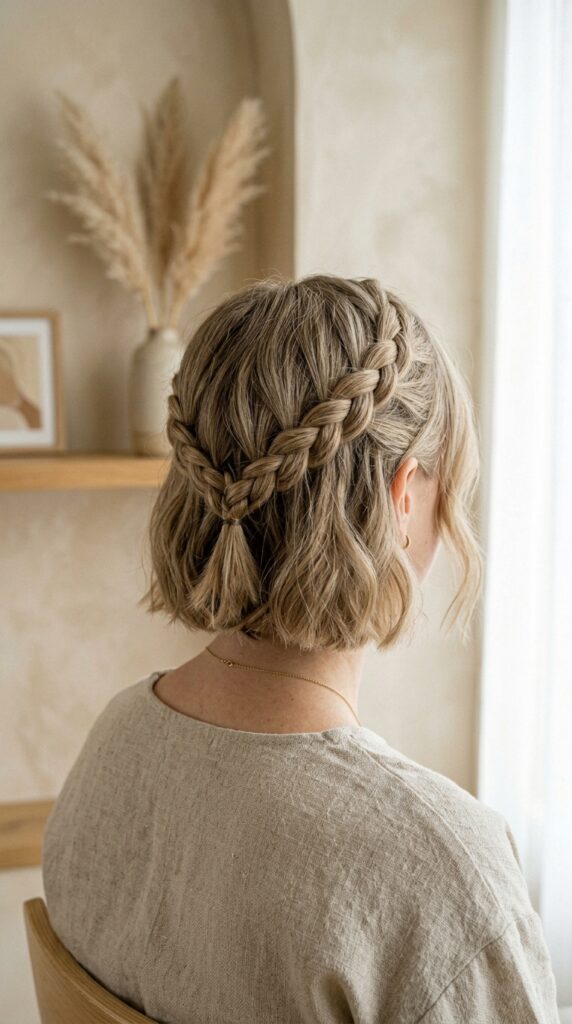
Yes, you can do this on a bob. For a quiet luxury bob, you will only have about three to four sections to add before you run out of length. That is perfectly fine. The braid will be short and cute, sitting right at the nape of your neck. Use a smaller section to start. The braid acts like a delicate headband detail from behind. I love this for a second day hair refresh. It hides greasy roots and looks intentional.
Romantic Goth Hairstyles with Dark Depth
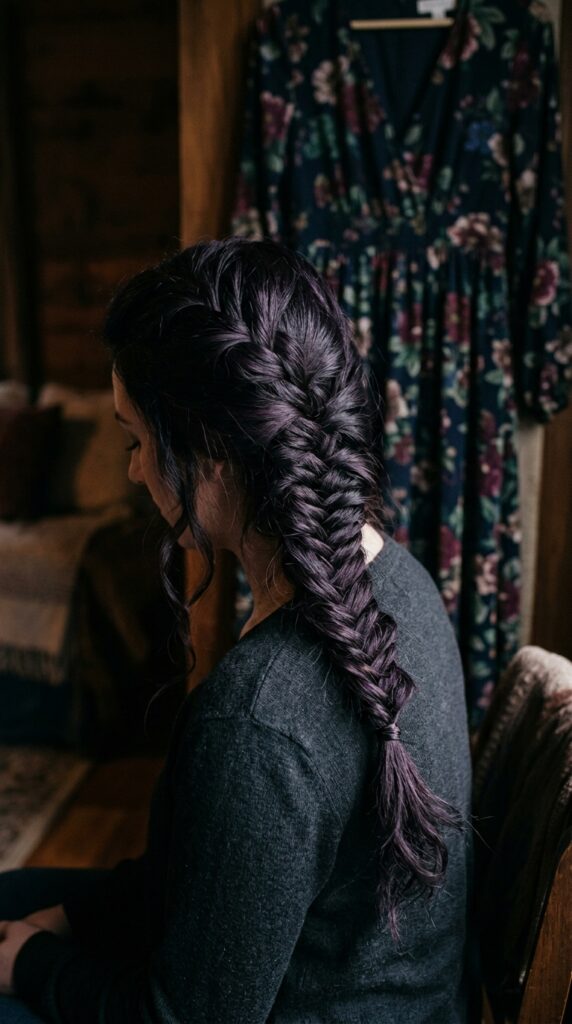
For romantic goth hairstyles, this braid is a dream. Do the inside out tugging more dramatically so the braid looks chunky and undone. Pair it with dark red or violet hair dye. The texture from the reverse braid catches the light differently on dark hair, giving it a velvet look. You can add a small black ribbon at the end of the braid. This style works for dinner dates, concerts, or just feeling a little mysterious at the grocery store.
Glitchy Glam Hair with Mix-Ins
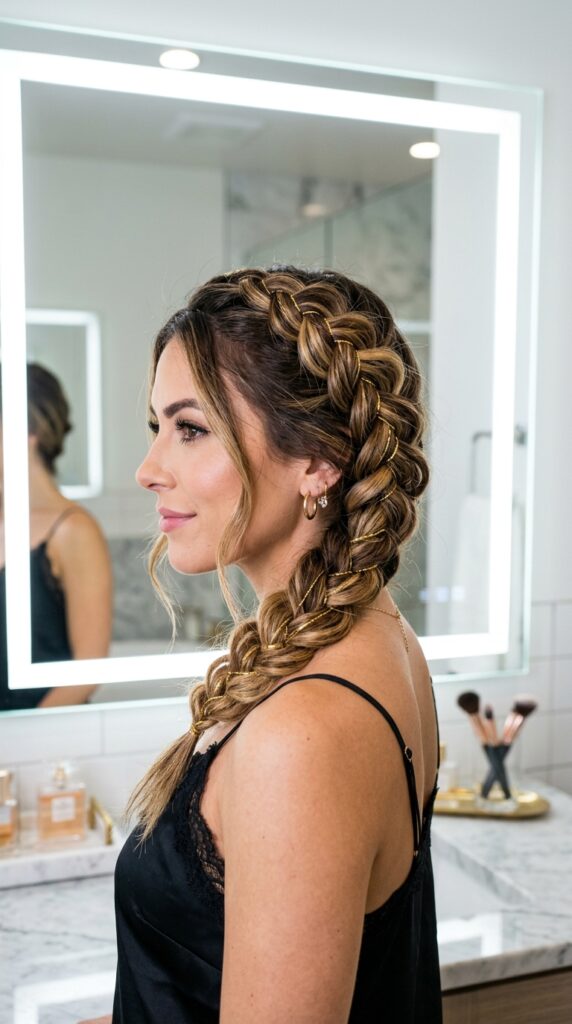
Let us get playful with glitchy glam hair. As you section each part, weave a thin metallic thread or a tiny ribbon into the strand before you cross it under. This creates little flashes of gold or silver that look like digital interference in your braid. It is surprisingly easy and adds a high-fashion edge. I use sewing thread or thin embroidery floss. Just make sure it is long enough to tuck into the braid ends so it stays put.
The Asymmetrical Lob with a Side Sweep
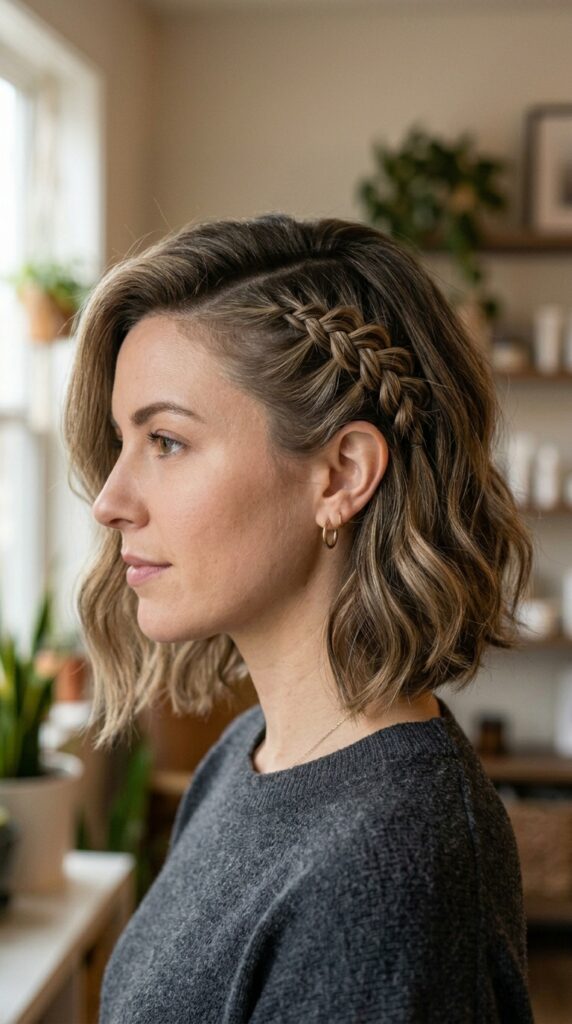
An asymmetrical lob works beautifully with this braid. Part your hair deeply on one side. Start the reverse French braid right at your temple, following the curve of your head down toward your ear. The braid will hug your head like a headband. The shorter side of your lob will naturally fall in soft waves. This look is so fresh for 2026 hairstyles. It takes five minutes but looks like you spent an hour at a salon.
Vampire Cut Inspired Braid

The vampire haircut loves a Dutch braid. Those sharp layers and face-framing pieces make the braid look intentional rather than messy. Start the braid at the crown and let the shorter layers stick out slightly. Do not tuck every piece in. The choppy texture adds that dark, romantic energy. I recommend using a tiny bit of hair wax on your fingers to keep the ends from frizzing. This is a quick way to elevate a shaggy cut without losing its edge.
Hime Cut with a Braided Crown

If you rock a hime cut with those signature blunt bangs and long side pieces, a braided crown changes the game. Part your hair in the center. Start the Dutch braid at one ear and bring it across the top of your head like a halo. Pin the end behind your opposite ear. Your bangs stay down, and the side pieces frame your face. It is delicate and strong at the same time. The contrast between the blunt cut and the soft braid is stunning.
Quick Morning Routine Step-by-Step
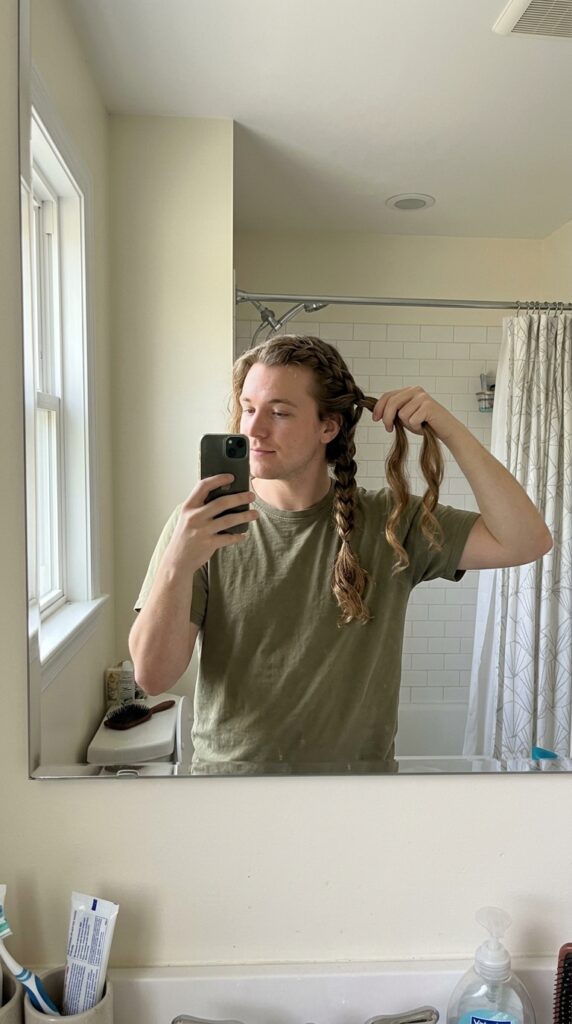
Here is the fastest version for busy mornings. Brush your hair, spritz it with water, and part a small triangle at the top. Cross right under middle. Add from left, cross under. Add from right, cross under. Repeat until the nape. Finish with a three-strand braid. Tug the edges. Done. The whole thing takes under five minutes when you practice. I do this while my coffee is brewing. It saves me from the messy bun rut.
How to Keep the Braid from Frizzing
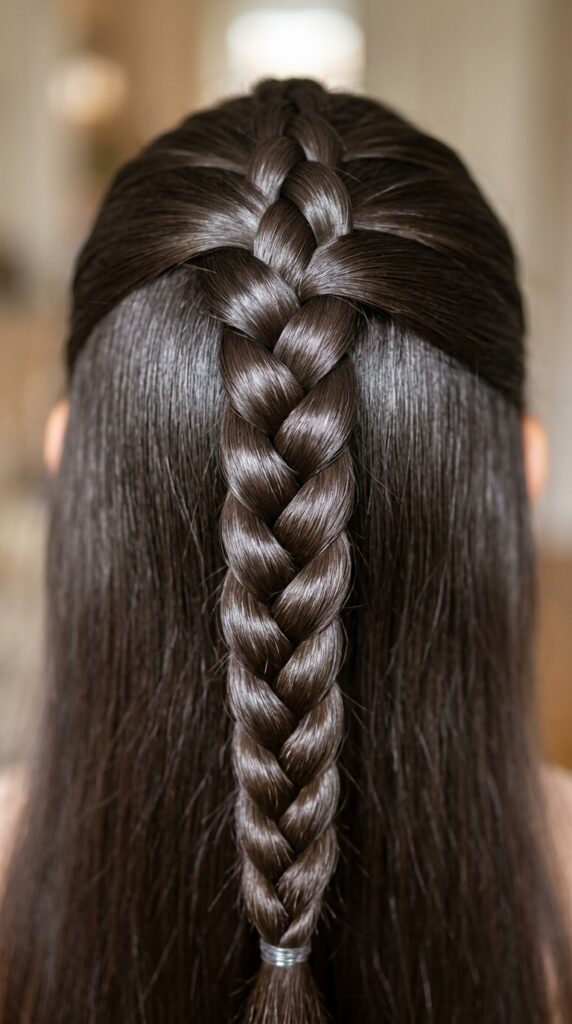
Frizz is the enemy of a clean Dutch braid. Before you start, run a tiny drop of hair oil between your palms and smooth it over your hair. Focus on the top section. During the inside out tugging, use a fine-tooth comb to gently smooth any bumps. If a strand sticks out, dampen your finger and press it into the braid. A little bit of hairspray on a toothbrush works wonders for baby hairs. You want texture, not chaos.
Braiding Wet Hair vs. Dry Hair
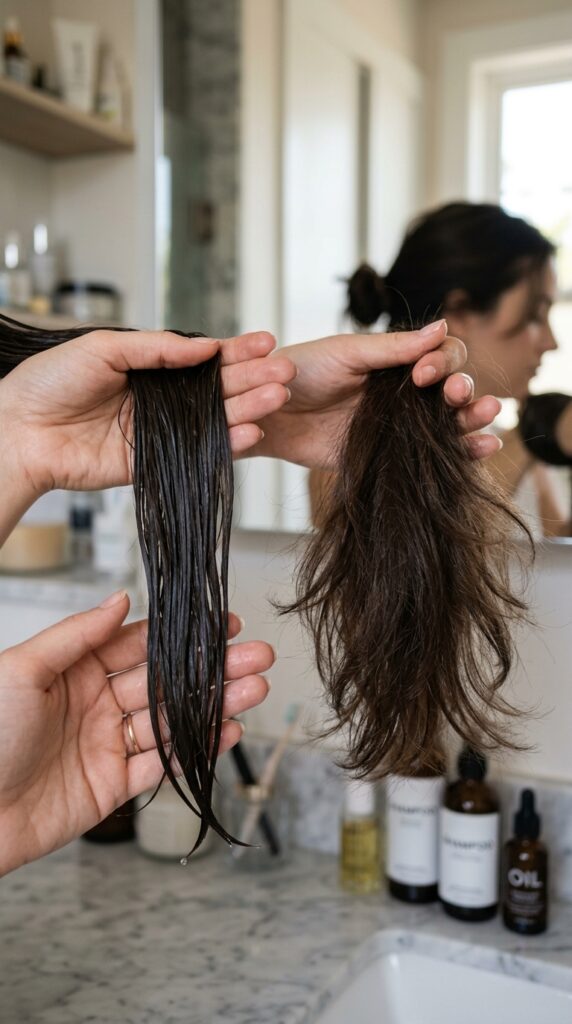
Wet hair gives you a sleeker, tighter braid that stays put all day. Dry hair creates more volume and a softer, more romantic goth hairstyle vibe. I prefer damp hair for the first few practice tries because it is easier to grip. But if you want that lived-in, boho texture, start with dry hair and use a bit of texturizing spray. The braid will look more undone and effortless. Both are valid. It just depends on your mood.
Fixing a Wobbly Braid Mid-Way
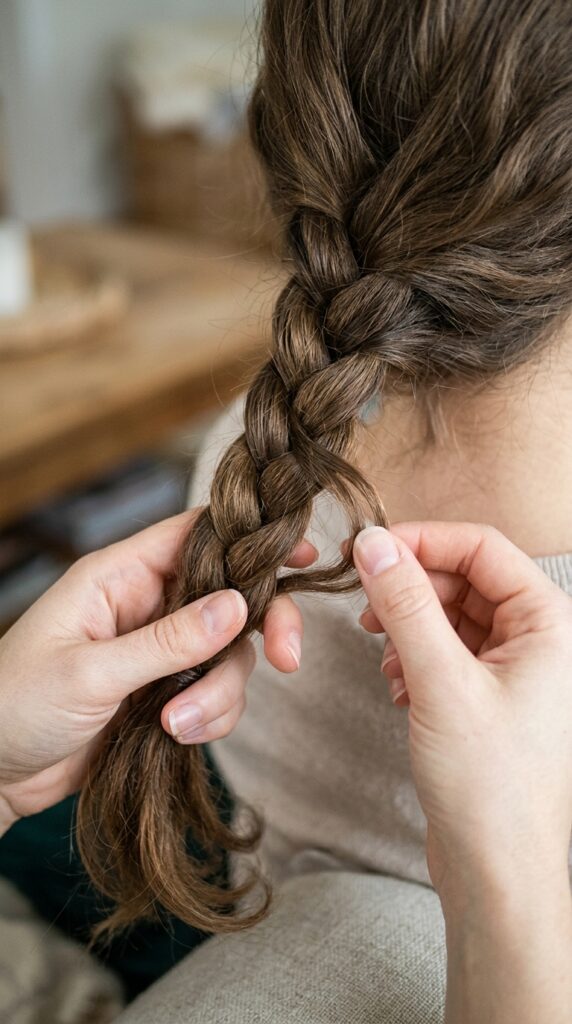
We all mess up. If your braid gets wobbly, do not rip it out. Gently tug on the loose loop to tighten it. If that does not work, use a small bobby pin to pin the loop flat against your head. The inside out tugging at the end will hide most small mistakes. I promise, nobody is examining your braid with a magnifying glass. They just see a pretty hairstyle. Breathe and keep going. A little imperfection is part of the charm.
2026 Hairstyles You Need to Try
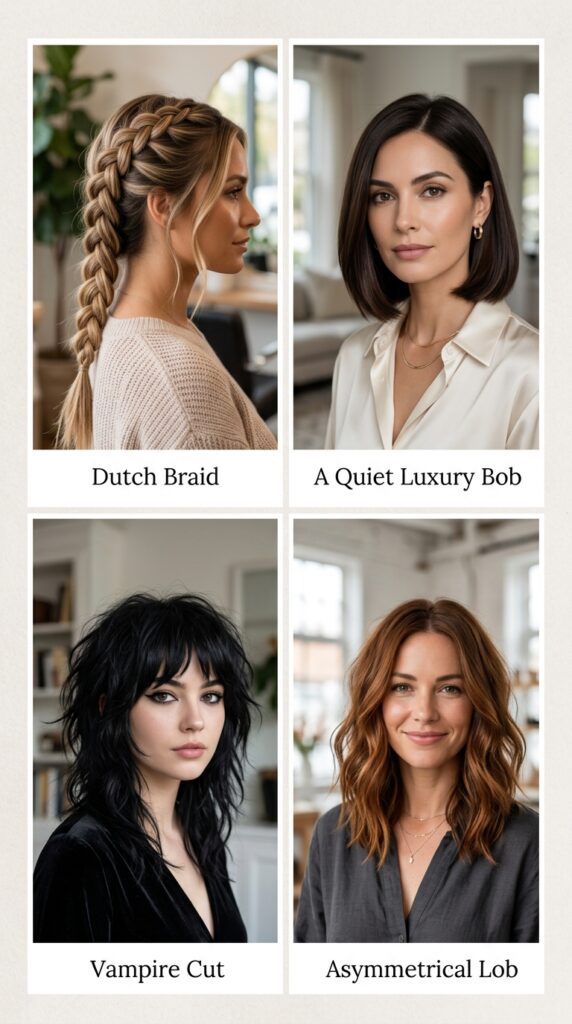
Looking ahead at 2026 hairstyles, the reverse French braid is having a serious moment. It works with the quiet luxury bob, the vampire haircut, and the asymmetrical lob. It fits into the romantic goth aesthetic and even the glitchy glam trend. This one technique opens the door to so many looks. You are not just learning one braid. You are learning a whole set of keys to your style. Keep practicing, and it will become second nature.
Braid Like You Mean It
That is the whole walkthrough. Twenty-two steps, one beautiful braid, and a whole lot of confidence to show for it. I hope you try this on a lazy Sunday afternoon or right before you head out the door. The reverse French braid is one of those skills that keeps giving back. Once your hands remember the movement, you can do it while watching TV, talking on the phone, or waiting for your coffee to brew. It becomes a little moment of calm in a busy day.
Save this post to Pinterest so you can find it next time you need a quick hair refresh. And tell me in the comments—what is your go-to braid when you are in a rush? I would love to hear which step clicked for you first. You have got this, braid queen.