How to Create Salon Worthy Blowouts at Home Using Minimal Heat and Effort
Hey friend! Let me guess. You love that fresh salon blowout but hate the price tag and the time it takes. I feel you. That bouncy, glossy finish feels like magic, but who has two hours and eighty bucks just for hair? Good news: you don’t need any of that anymore.
I’ve spent years testing every shortcut, trick, and product to figure out how to get that salon-ready look right at home. And guess what? You only need minimal heat and even less effort. Seriously.
In this post, I’m breaking down the exact routine I use, the tools that save my sanity, and the styling secrets that work with all the coolest 2026 hairstyles. From old money hair to a quiet luxury bob, we’re covering it all. Grab your brush, and let’s get started.
Why You Don’t Need a Salon for a Perfect Blowout
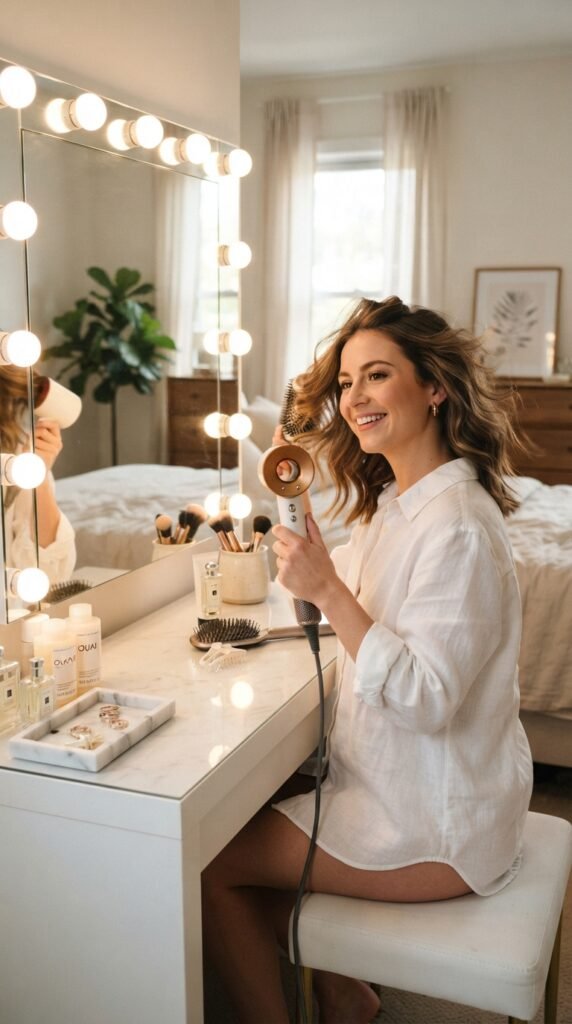
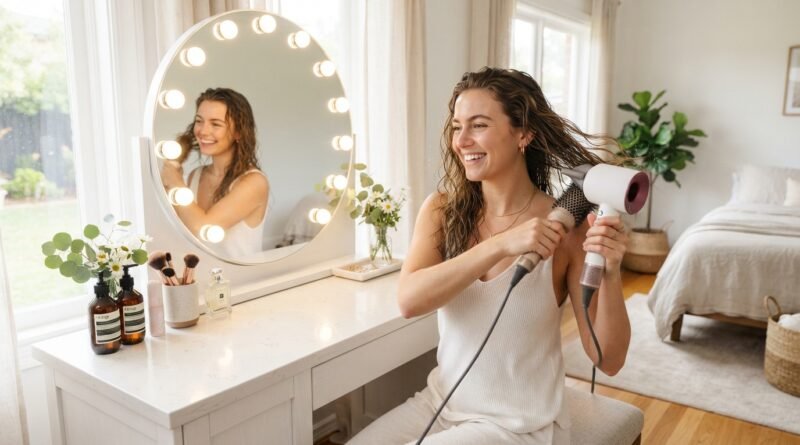
I used to think salon blowouts were some secret art only the pros knew. Turns out, it’s all about technique, not talent. Once I learned a few simple moves, my at-home results looked just as good. And the best part? You control the heat, so your hair stays healthier.
You don’t need fancy equipment either. Just a good dryer, one round brush, and a heat protectant. This routine takes less than twenty minutes, and honestly, it’s almost too easy. I promise, once you get the hang of it, you’ll cancel that next salon appointment.
- Start with towel-dried hair, not sopping wet.
- Use a heat protectant from root to tip.
- Keep your dryer moving to avoid hot spots.
- Always dry the roots first for extra lift.
- Don’t forget to use a nozzle for focused airflow.
The Minimal Heat Promise
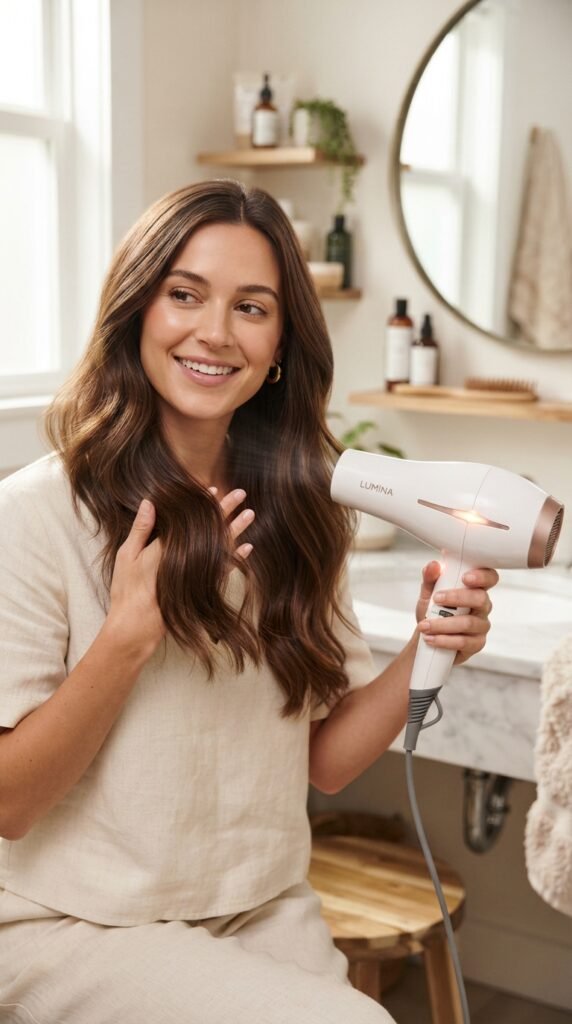
Here’s the deal: minimal heat is my love language. You don’t need to blast your hair on high to get a salon blowout. In fact, using lower heat and more airflow gives you the same bounce with way less damage. That’s the promise: a perfect blowout without the frazzle.
I always start with the cool or low setting. It takes a couple extra minutes, but your future self will thank you. Your hair keeps its moisture, looks glossier, and feels softer. I never used to believe it either, but now I’m totally obsessed.
- Use low heat for thinner hair, medium for thicker.
- Let the dryer do the work, not the hottest setting.
- End every session with a blast of cool air.
Tools That Do the Heavy Lifting
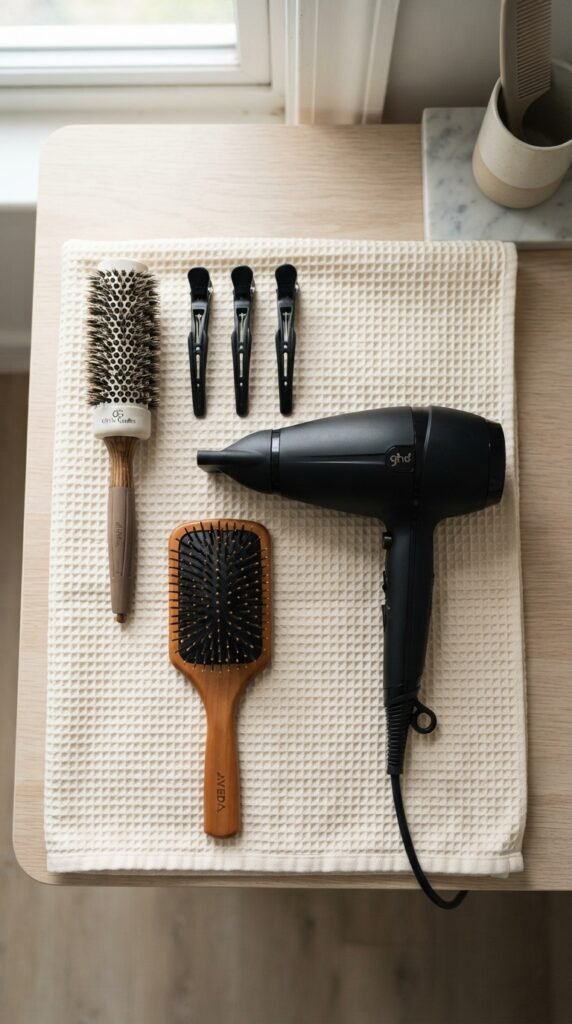
You seriously don’t need a million gadgets. These five tools have saved my hair and my mornings. Trust me, if you have these, you’re already 90% there. And the best part? Most of these are already hiding in your bathroom closet.
- A blow dryer with a narrow nozzle for focused airflow.
- A round ceramic brush for smoothing and curling ends.
- A paddle brush for quick detangling and rough drying.
- Two or three claw clips to hold sections.
- A heat protectant that works with your hair type.
That’s it. No rotating hot brushes or expensive systems. Just the basics, used the right way, give me a salon finish every single time.
Pre-Blowout Prep: Your Hair’s Best Friend
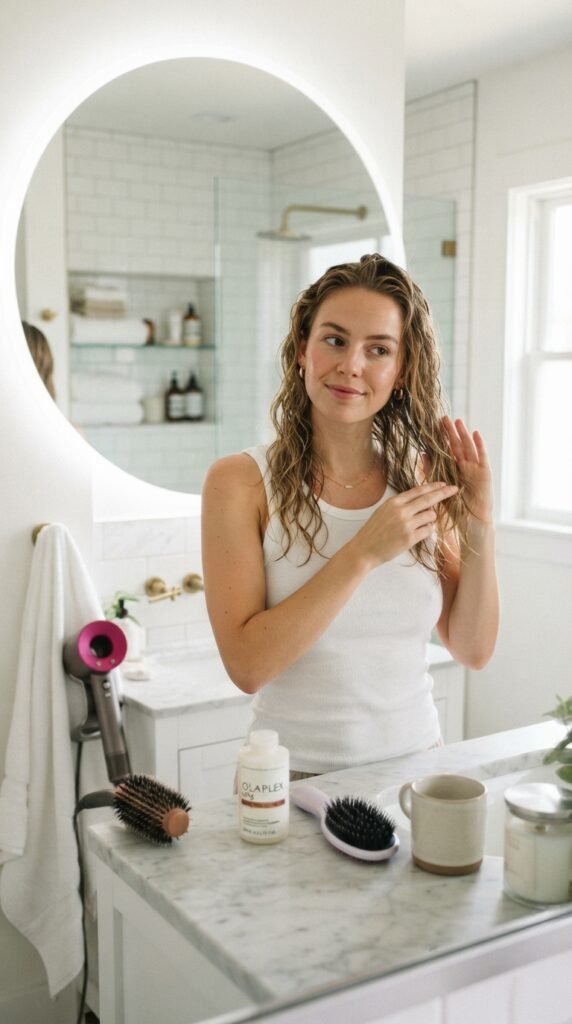
Before any heat touches your strands, you need a little prep. This is the secret that separates an okay blowout from a jaw-dropping one. It’s not glamorous, but it’s life-changing. This tiny step takes two minutes and makes your hair so much more cooperative.
I squeeze out extra water from my hair with a microfiber towel, then apply a lightweight leave-in conditioner from mid-length to ends. If I want extra volume, I add a small dollop of mousse at the roots. Give it a shot tonight and thank me tomorrow.
- Never skip heat protectant.
- Brush through to distribute the product evenly.
- Let hair air dry for five minutes before drying.
The Perfect Sectioning Secret
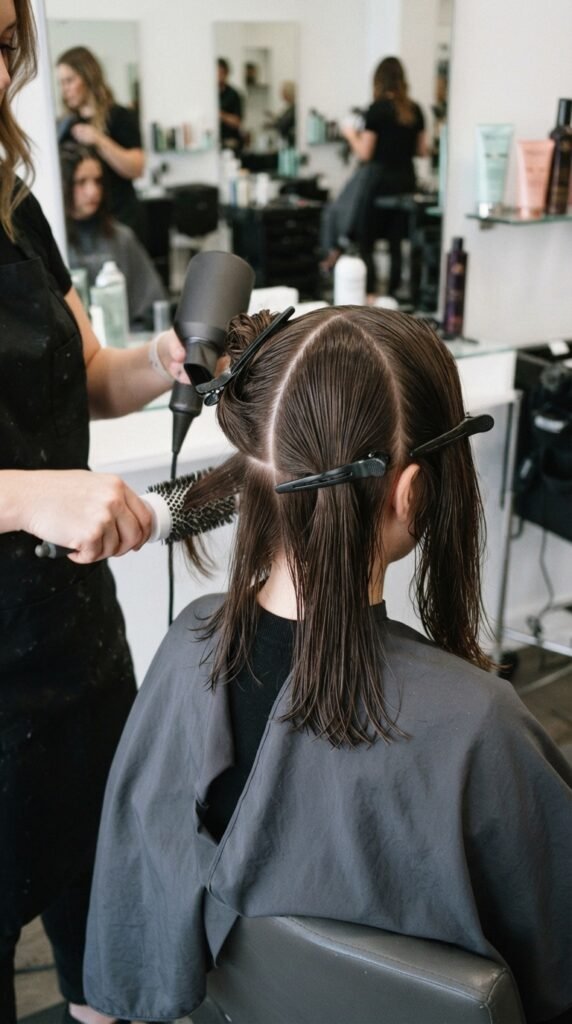
Randomly waving your dryer around won’t get you anywhere. Sectioning is the reason your hair looks uneven and takes forever. Once I started clipping my hair into manageable pieces, my blowout game changed completely. It sounds fussy, but it only takes thirty extra seconds. So worth it.
Here’s exactly what I do:
- Part your hair down the middle, then divide into four quadrants.
- Clip three sections away, leave the bottom section free.
- Work from the back to the front, releasing clips as you go.
- Keep each section about one to two inches thick.
Rough Drying Like a Pro
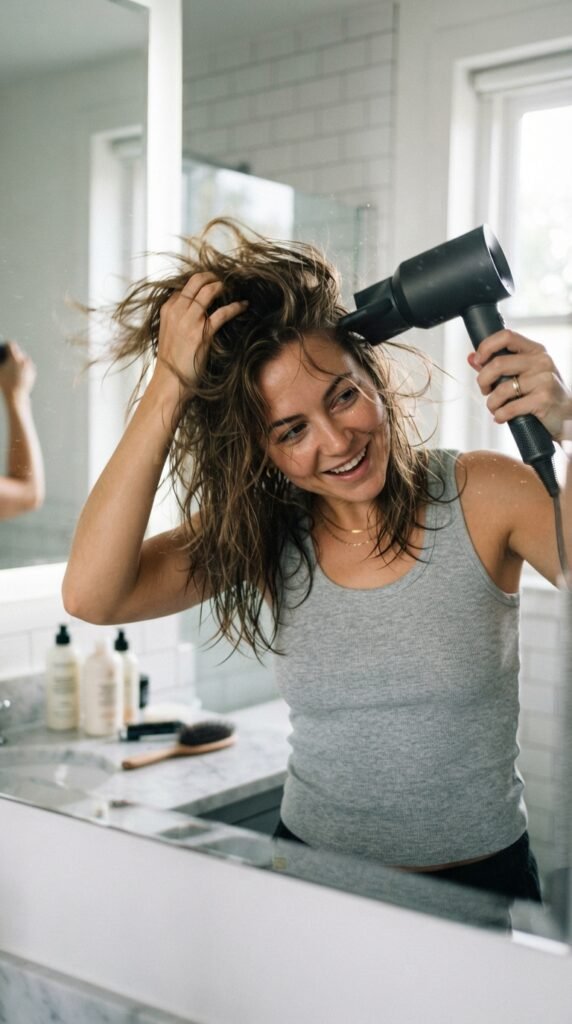
Rough drying is exactly what it sounds like. You don’t do it to look pretty; you do it to speed things up. I flip my head upside down and use my hand to shake my roots while the dryer works on low heat.
You want to get hair about 70% dry. At that point, it’s still slightly damp but no longer soaking. This cuts the time you need with a round brush in half. And the upside-down motion gives you instant root lift.
- Keep the nozzle moving or you’ll risk hot spots.
- Flip your head back up, then section.
- Rough drying is for the roots, not the ends.
The Cool Shot Trick
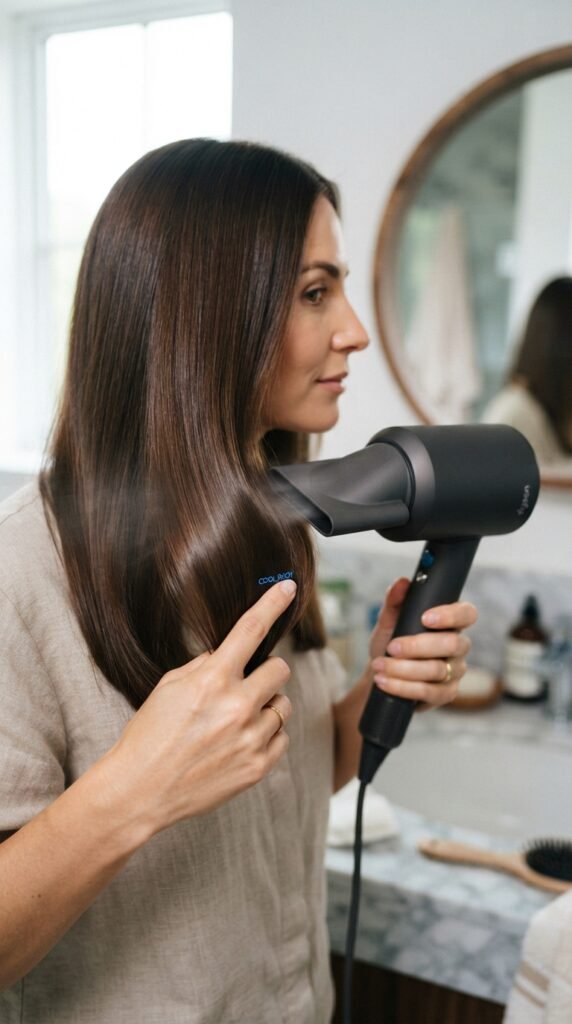
This might be the easiest trick in the whole routine. Most dryers have a cool button, but no one uses it. Big mistake. Cool air sets your style and seals your hair cuticle, which makes everything look shinier. It’s like hitting the save button on your hairstyle.
After I finish each section, I give it a quick blast of cool air. If I’m being honest, this one step is why my blowouts last longer and keep their bounce.
- Finish each section with 5 seconds of cool air.
- For flat areas, point the cool air upward at the roots.
- Spray a little hairspray after cool air for extra hold.
Round Brush Basics Without the Struggle
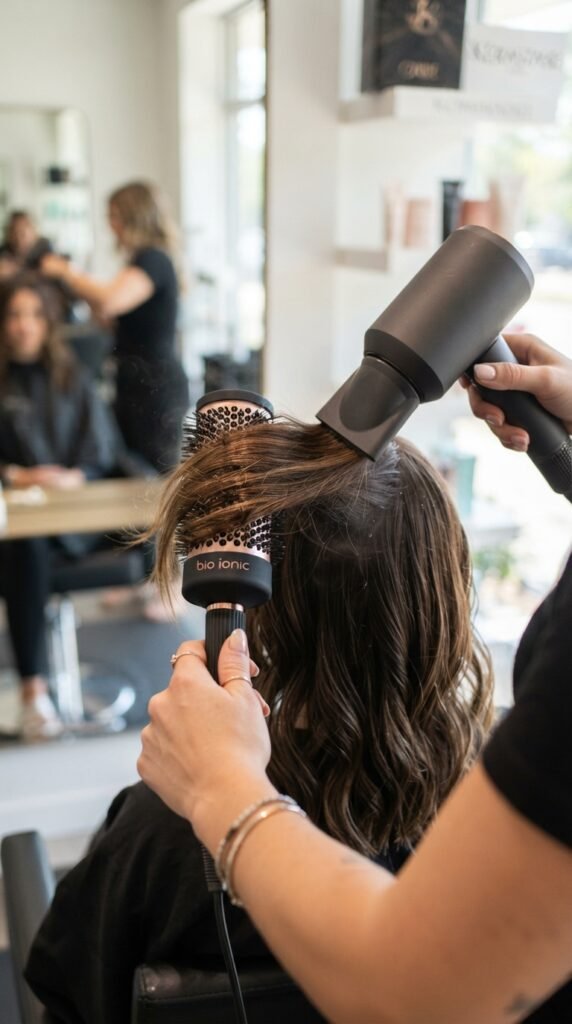
Round brushes can feel intimidating, but I promise they’re simple. The key is tension. Place the brush underneath the section, wrap your hair over it, and pull taut while you dry.
You don’t need to spin the brush wildly like the pros do. Small, slow movements work best. For waves, lift the brush up at the ends and hold for a few seconds. For a sleek look, just pull straight down.
- Use a smaller round brush for tighter curls.
- A larger one gives gentle volume and bend.
- Always dry from the root to the tip.
How to Get Old Money Hair at Home
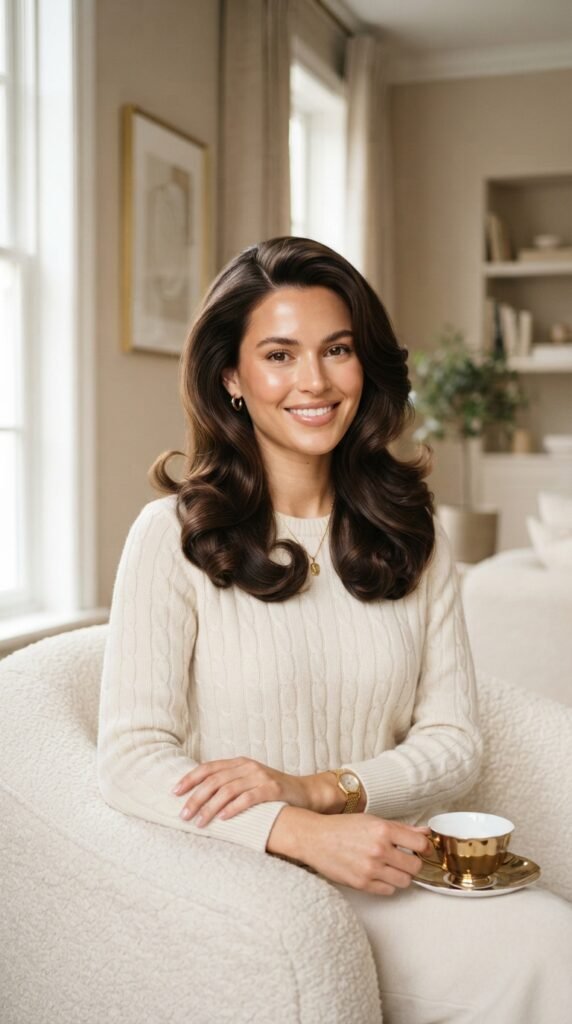
Old money hair is all about looking effortless and rich. Think super glossy, soft waves, and that “I woke up perfect” vibe. The best part? You don’t need a yacht or a trust fund to get it.
For old money hair, I focus on smoothness. I blow dry in big sections with a large round brush, from the crown to the ends. I finish with a pump of shine serum on my mid-lengths and ends. No crunch, no stiffness, just pure gloss.
- Use a paddle brush for the main dry, round brush for the edges.
- Keep the hair dryer pointed downward to seal the cuticle.
- Don’t touch your hair while it cools. Let it settle.
Quiet Luxury Bob? Here’s Your Blowout Hack

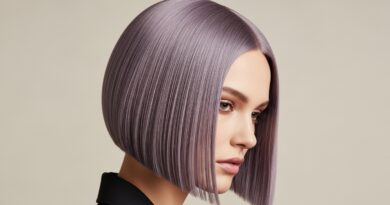
The quiet luxury bob is having a serious moment, and for good reason. It’s chic, low-key, and looks expensive no matter what. But with the wrong blowout, it can fall flat or get too fluffy. This trick keeps the bob looking polished without trying too hard.
Here’s my hack: blow dry your bob with a medium round brush, and aim for a soft curve inward at the ends. No sharp curls, nothing dramatic. Just a gentle tuck that frames your face.
- Section your bob into four parts.
- Dry each section straight, then turn the brush inward at the ends.
- Finish with a light hairspray and a cool shot.
Romantic Goth Hairstyles Need Soft Waves Too

If you’re into romantic goth hairstyles, you know the vibe: dark, soft, and just a little mysterious. A good blowout is the foundation for those dreamy waves, but you don’t need a curling iron to get them.
Use a larger round brush and blow dry your hair in loose sections. When you hit the ends, wrap them around the brush and hold for a slow count of five. That creates a soft, bendy wave without any extra heat.
- Add a drop of argan oil for that luminous, moody finish.
- Keep the roots a bit texturized for a lived-in feel.
- Try a side part for extra romantic drama.
Glitchy Glam Hair: Adding Texture the Easy Way

Glitchy glam is all about modern, edgy texture with a hint of metallic shine. It sounds complicated, but you can fake it with your blowout and a little product. The result is the kind of cool-girl hair that feels totally 2026.
After blow drying the base, I spray a salt spray or texturizing spray onto my roots and lengths. Then I tousle with my fingers while diffusing on low heat. It roughs up the shape in a good way, without any of that crunchy feel.
- Blowout as usual, but skip the perfect brush work.
- Spray texture from a few inches away.
- Scrunch gently and let it air dry for two minutes.
The Asymmetrical Lob Blowout Formula

The asymmetrical lob is bold, but a blowout can make it look even more intentional. The key is to play up the longer side with extra shine and smoothness. It’s my favorite way to make a geometric cut feel soft.
I dry the shorter side with a paddle brush for sleekness. Then I take the longer side and use a round brush to flip the ends slightly outward. That asymmetry is what makes the haircut shine. Try it with a side part for extra edge.
- Use a heat protectant on the tips more than the roots.
- Keep a light hand with product so the cut stays sharp.
- Cool shot everything to lock in the shape.
Vampire Haircut? Yes, It Blowouts Beautifully

The vampire haircut is having a moment, and with those sharp layers and face-framing pieces, it’s actually perfect for a home blowout. You just need to treat each layer with intention. No salon visit required for this dark, romantic style.
My trick is to dry the bangs first, pulling them straight down with a brush and using the cool shot immediately. Then I dry the layers, aiming the airflow downward to keep everything flat and polished.
- Section the bangs and front pieces separately.
- Dry them straight and set them with a cool blast.
- Then dry the rest, blending the layers with a round brush.
Hime Cut: Blowout Your Face-Framing Pieces
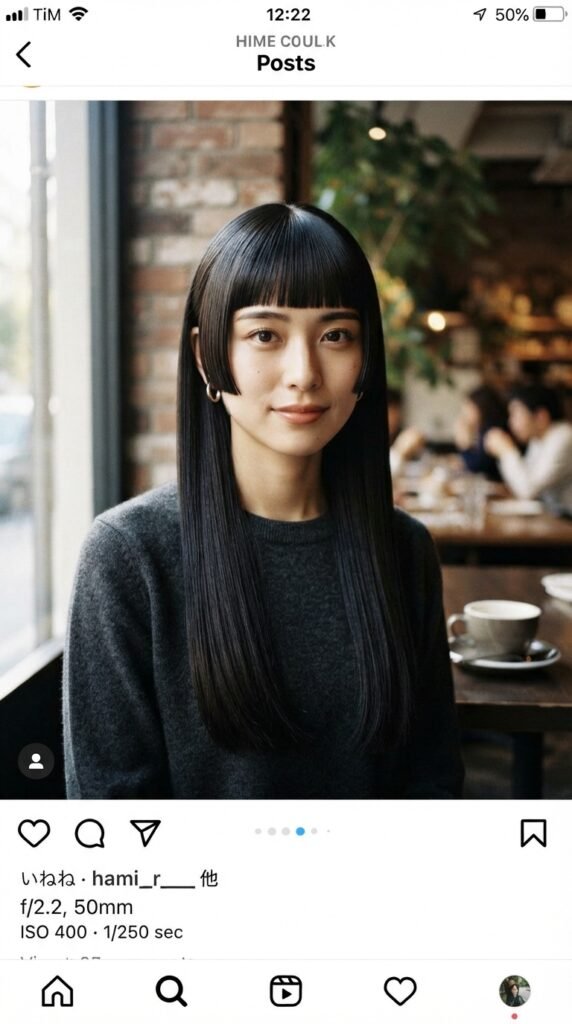
The hime cut is all about straight, blunt lines and those cute face-framing pieces. For a blowout, you want to keep everything super sleek and shiny. That actually makes this an easy one.
I use a paddle brush and dry the long sections straight down in one pass. Then I take the short frame pieces around my cheekbones and use a flat brush to pull them straight and slightly under.
- Never curl the frame pieces. Keep them believable and straight.
- Finish with a shine spray for that iconic anime-inspired gloss.
- A cool shot is your best friend to hold the blunt shape.
2026 Hairstyles? These Blowout Styles Work for All

If you’re wondering what’s coming next, the 2026 hairstyles are all about personality. From old money hair to romantic goth and glitchy glam, there’s a blowout for every vibe. The best part? You can change your finish without changing your cut.
Start with the same salon-worthy base. Then add texture for glitchy, smoothness for old money, or soft waves for romantic goth. This one routine branches into every trend you’re seeing.
- Master the basic blowout and you’ll never be stuck with boring hair.
- Play with your part and product to switch the whole mood.
- The 2026 vibe is playful, individual, and very doable at home.
The “Air Dry First” Method to Save Heat

One of my favorite low heat tricks is letting the hair air dry first. Not all the way, just until it’s about 80% dry. This cuts your blowout time and limits heat exposure significantly. This is perfect for the days you want to chill.
I usually do my makeup in this time. Then I come back, mist my hair with a little water, and blow dry it quickly. It saves electricity, saves heat damage, and honestly, it gives me better volume.
- Put your hair in a loose twist while it air dries.
- Don’t let it fully dry or it’ll be hard to reset the shape.
- Use the low heat setting for the final pass.
Heat Protectants That Actually Work
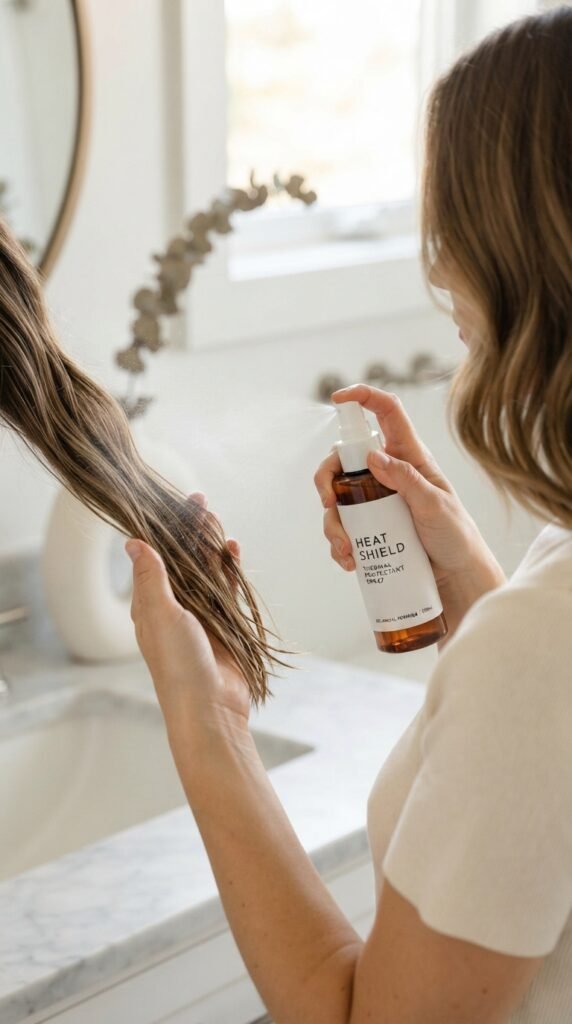
Choosing the right heat protectant is more than just picking a cute bottle. You need a formula that sits on the hair shaft and takes the blunt force of the heat. I’ve tried a bunch, and lightweight sprays always win for me.
Look for ingredients like protein or silicone, which create a shield. Create your own by spraying a small section and combing it through. Then you’re ready to blowout, no worries.
- Spray each section lightly as you go.
- If you have fine hair, choose a mist over a cream.
- Reapply only if you re-wet your hair later.
Finishing Products for That Salon Gloss
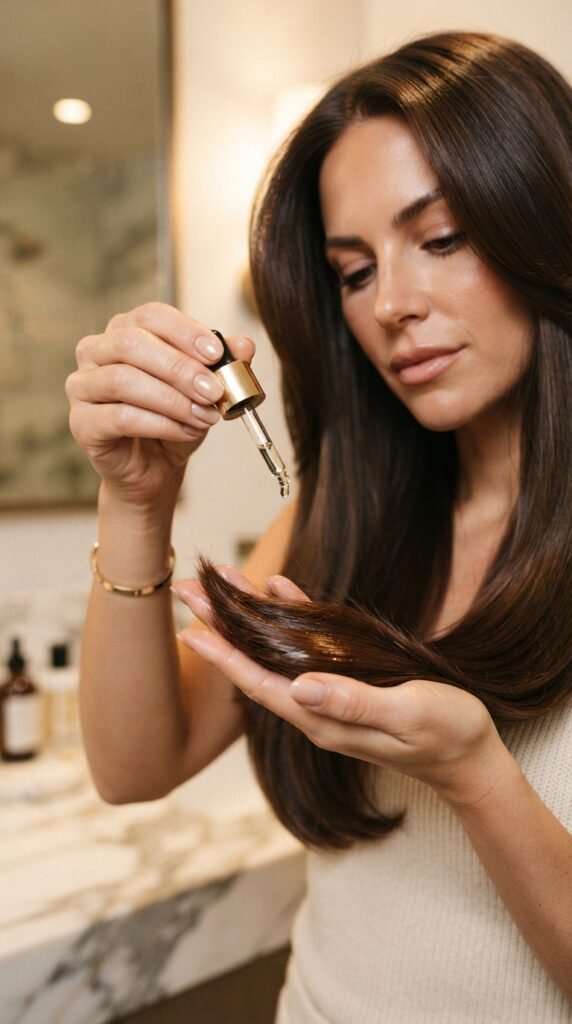
Ever wonder why your blowout doesn’t look like it came from a salon? It’s that last gloss. A tiny drop of hair oil brushed through the ends creates the perfect shine. But careful: too much turns you into a greaseball.
I put a pea-sized amount on my hands, rub them together, and gently press the oil onto my ends. Then I spray a light hairspray to hold the style without giving me that crunchy helmet look. That’s the exact same secret my stylist uses.
- Use oils with argan or marula for high shine.
- Apply from mid-length down, never the roots.
- Finish with a shine mist for extra glow.
How to Make It Last More Than One Day

Salon blowouts aren’t much fun if they die after one sleep. I’ve learned that a little forecast can make your blowout last two, even three, days. It’s all about smart sleeping and a few quick moves.
At night, I put my hair in a loose pineapple or a low silk scrunchie. I sleep on a satin pillowcase and do a quick refresh in the morning with dry shampoo at the roots and a cool shot around the rest.
- Skip the fabric hair ties. They cause dents and damage.
- Don’t sleep with wet hair. It screams frizz city.
- Spray some dry shampoo before bed for extra volume tomorrow.
Blowout Mistakes We All Make (and How to Fix)
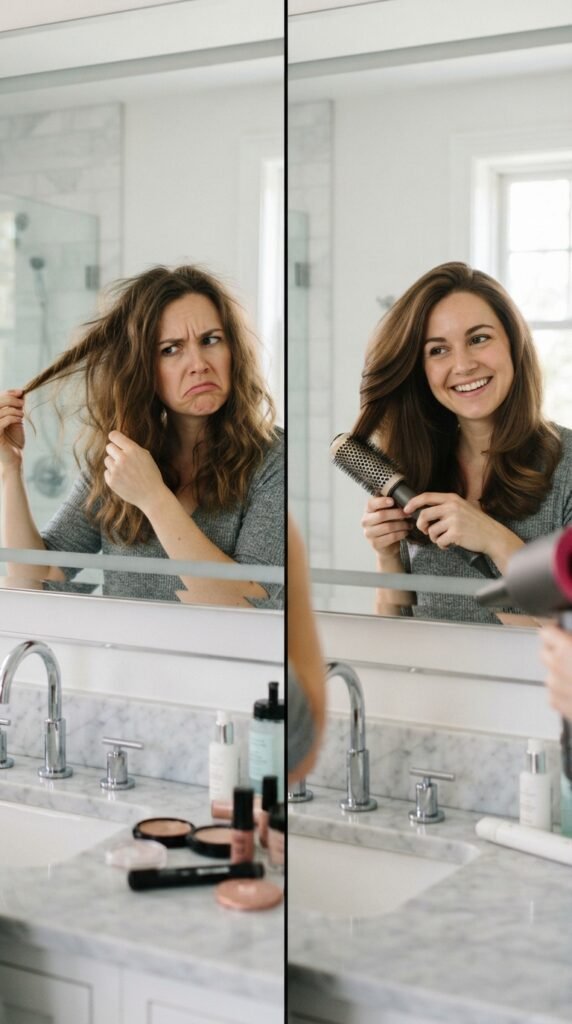
Listen, I’ve had plenty of bad blowout days. The good news? Most mistakes have an easy fix. Once I knew what to look for, I stopped wasting time on wrong turns.
The biggest mistake is using that round brush on sopping wet hair. It clings and creases. Instead, rough dry until damp first. Another classic is blasting your roots while your head is upright, which flattens your volume.
- Mistake: too much product. Fix: less than you think.
- Mistake: still hair when drying. Fix: keep the nozzle moving.
- Mistake: skipping the cool shot. Fix: never skip it again.
Five-Minute Touch-Up Routine
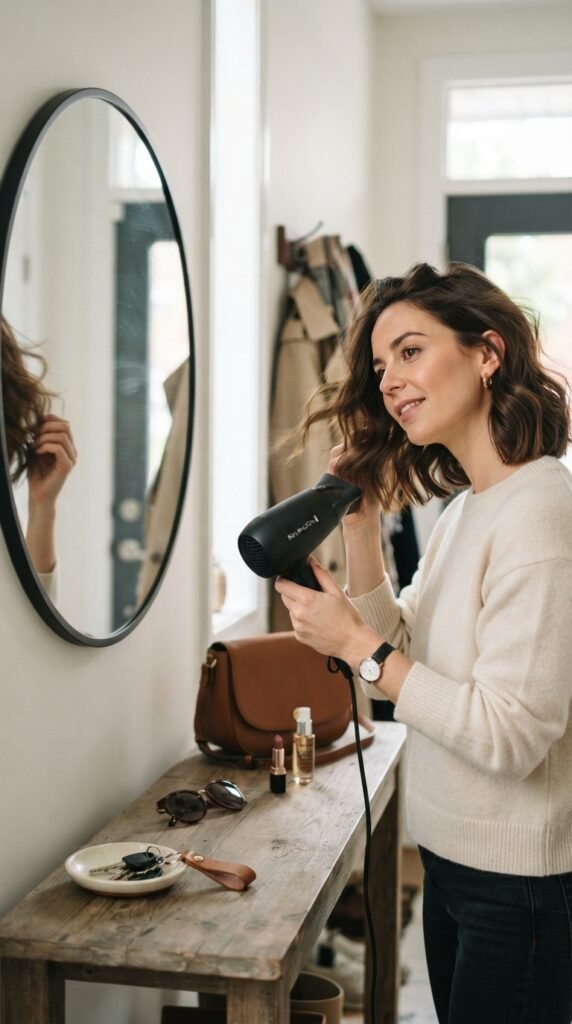
If you’re in a hurry, this is your new best friend. A five-minute touch-up can revive even the flattest blowout. It’s the same routine, just shorter. Try it tomorrow morning and thank me.
I start with dry shampoo at the roots while my hair is dry. Then I take a round brush and re-curl only the front pieces and the ends. No need to wash or fully redo anything.
- Lift the roots with a fine-tooth comb and spray.
- Use a round brush on your face frame sections for a few seconds.
- Hit everything with a cool shot once done.
Final Thoughts
We just went through a whole salon routine that actually works. With minimal heat, a few smart tools, and a cool shot or two, you can have beautiful hair without leaving your bathroom. Whether you’re into 2026 hairstyles, old money hair, or a romantic goth look, this blowout foundation has you covered.
I’m genuinely excited for you to try these tips. Start with one section, maybe the cool shot trick, and build from there. You’ll notice the difference immediately.
Save this post to Pinterest so you have it next time you wash your hair. And tell me below: which blowout trend are you most excited to try? I’d love to hear your favorite.