This Lightweight Styling Method Creates Bigger Hair Without Sticky Product Residue Ever
Hey friend! I have to tell you about my favorite little trick for getting big, bouncy hair that actually feels clean. You know that sticky, tacky feeling some hair products leave behind? I can’t stand it either. It always ruins the whole look for me.
The good news? There’s a super lightweight way to style your hair that gives you all the volume without any of the residue. It uses just one styling product, a little bit of heat, and a cool shot of air.
In this post, I’m walking you through the whole method step by step. It takes less than ten minutes, works on most hair types, and pairs beautifully with all the biggest 2026 hairstyles.
Let’s get those roots lifted!
What Is the Cloud Lift Styling Method?
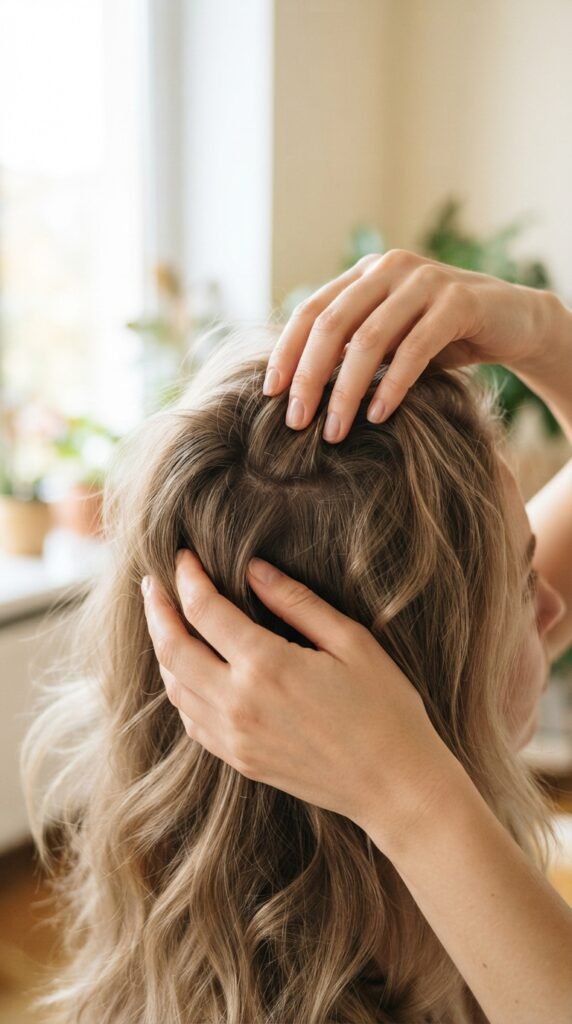
Cloud lift is just my fun name for a simple way of lifting hair at the roots using only lightweight foam and heated air. No heavy gels. No waxy pastes. No thick creams. The whole idea is to build volume from the root, not from heavy product coating.
Here’s why it works:
- Lightweight foam evaporates quickly and leaves no film
- Heat sets the shape so you don’t need a stiff spray
- A cool shot locks the lift without crunch
The result is big, bouncy hair that feels like you barely did anything. You can touch it, run your fingers through it, and it still moves naturally. Honestly, it’s the easiest styling routine I’ve found in ages.
Why Your Hair Feels Sticky After Styling

Most sticky hair comes from heavy ingredients like wax, gum, and silicone. They coat every strand to create hold, but they also leave a film that gathers dust, gunk, and that annoying tacky feel.
Some common culprits:
- Thick styling gels
- Hard hold pomades
- Heavy hair oils applied too close to the scalp
- Hairsprays with lots of fixatives
This lightweight method avoids all of them. By using only a tiny bit of foam, you get hold at the root without layering heavy ingredients over your whole head. So your hair stays soft, smooth, and residue-free from morning to night. Much better, right?
The Only Product You Need: A Lightweight Foam
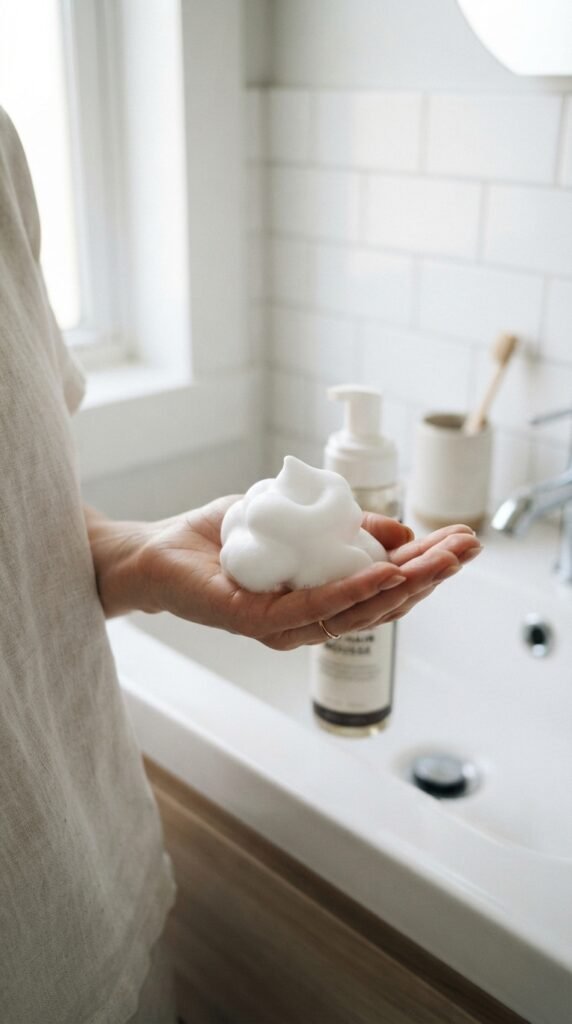
Go grab a good hair foam, sometimes called a mousse. Look for one labeled “volumizing” or “air” and skip anything that warns “strong hold” or “extreme.” Alcohol-free is a big plus.
What to look for:
- Lightweight, whipped texture
- Volume or lift on the label
- No sticky ingredients like beeswax or hard resins
Pro tip: foam goes a long way. A pump the size of a golf ball is enough for most of us. If you have thick hair, use a little more. But remember, the secret is keeping it close to the roots only. That way you get lift where you want it, not sticky strands all over.
Step One: Start With Fresh, Dry or Damp Hair

The best hair for this method is clean and lightly dried. I like to towel dry my hair first and let it air dry for a few minutes until it’s about eighty percent dry. That helps the foam spread evenly without weighing things down.
If you’re starting with fully dry hair from day two, no worries. Just spritz your roots with a tiny bit of water to make them slightly damp. You only need a light mist.
This pre-step makes a real difference. It preps the hair to lift and hold, while keeping the product light. Plus, it keeps that fresh, clean feeling you get right after washing.
Step Two: Flip Your Head Upside Down
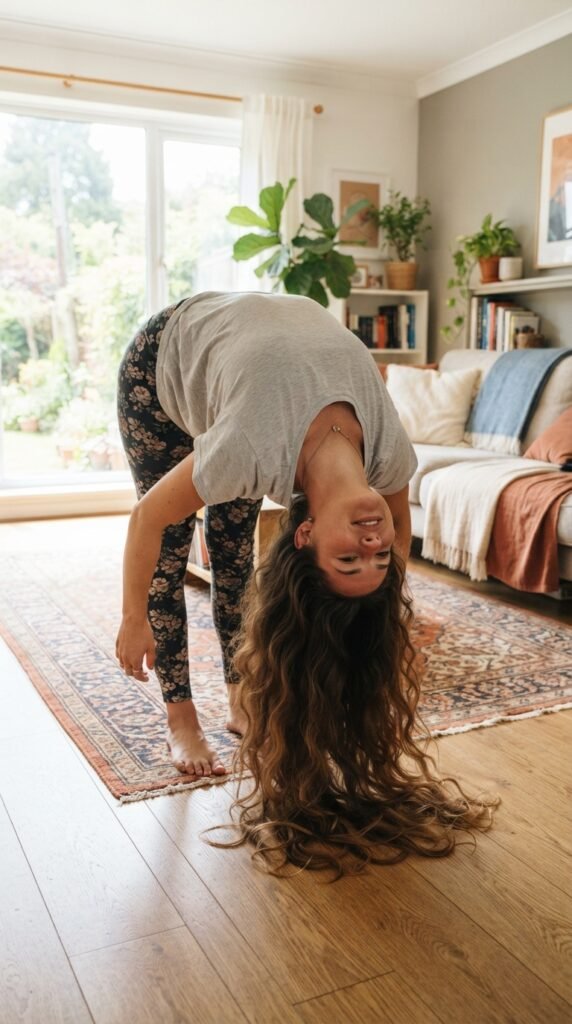
Here comes the fun part. Lean forward so your head is upside down, like you’re trying to touch your toes. Let your hair fall forward naturally.
Why this matters:
- Gravity works in your favor
- The roots separate from the scalp
- Air can reach areas that usually lie flat
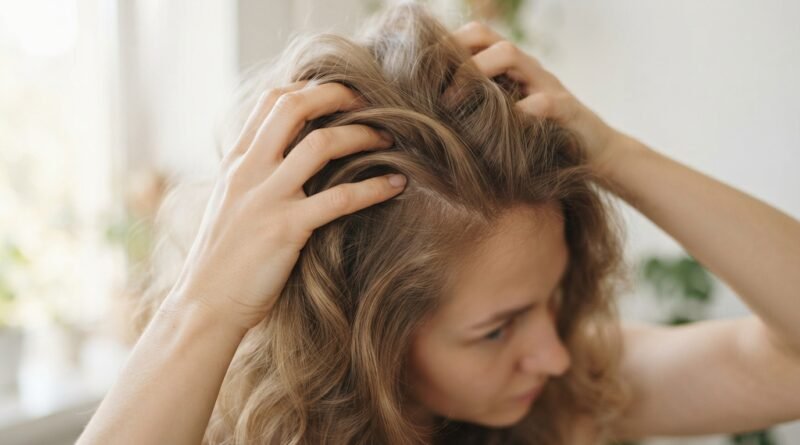
While you’re down there, give your scalp a little shake with your fingertips. Just gently move your roots around to break up any flat spots. This little step takes five seconds and it makes such a difference. Your hair is now ready for the product and heat.
Step Three: Apply Foam to Your Roots
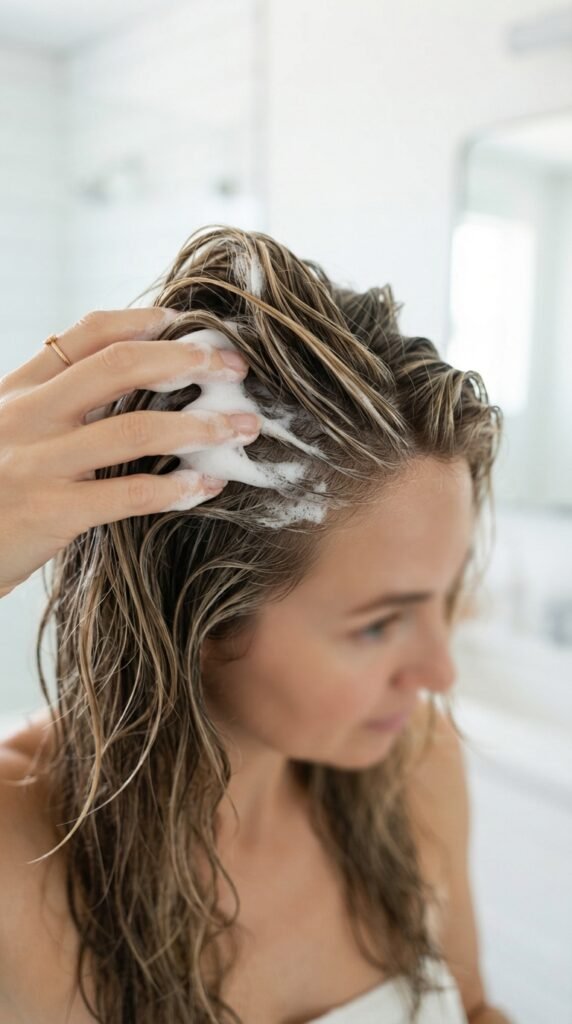
While your head is still upside down, apply the foam directly at the roots. Use your fingertips to massage it in, really working it into the scalp area.
Focus on zones:
- The crown of your head
- Along your hairline
- Around your ears
Don’t pull the foam down to the ends. Keep everything concentrated at the top. That’s how you get bigger hair without that sticky, product-loaded feel on the rest of your strands. The foam should almost disappear as you massage it in. If you can still see white residue, you’ve used too much.
Step Four: Blow-Dry With Your Head Down
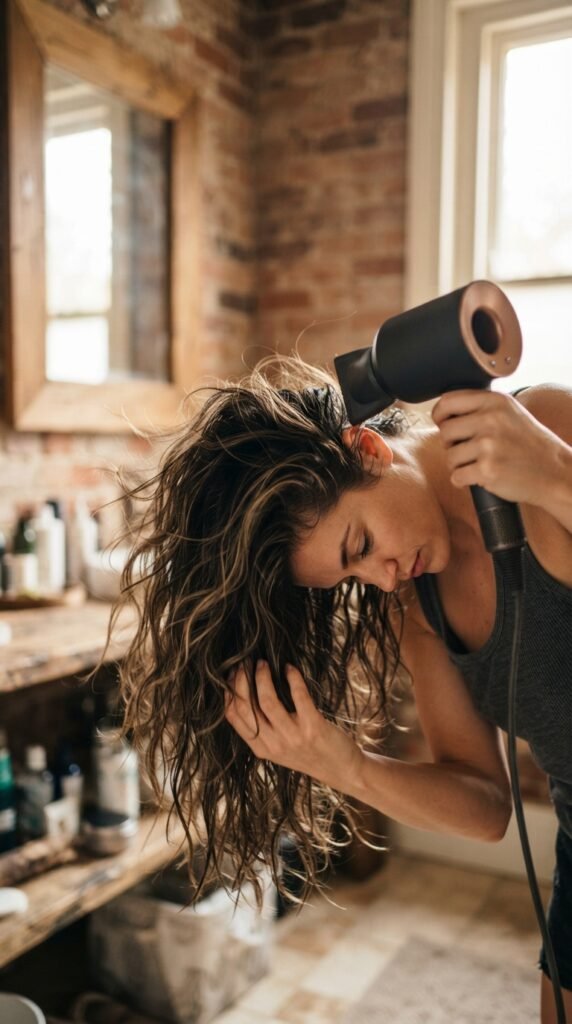
Grab your blow dryer and set it to low heat and medium speed. Keep your head flipped down and dry your roots while holding the dryer a few inches away.
A few tips:
- Move the dryer slowly side to side
- Use your free hand to shake your roots
- Point the nozzle down toward your hairline
You want the roots to feel warm and slightly dry before you flip back up. This sets the lift in place. The whole thing takes about two minutes, depending on your hair. It feels a little silly, but trust me, the results are so worth it.
Step Five: Cool Shot to Set the Lift
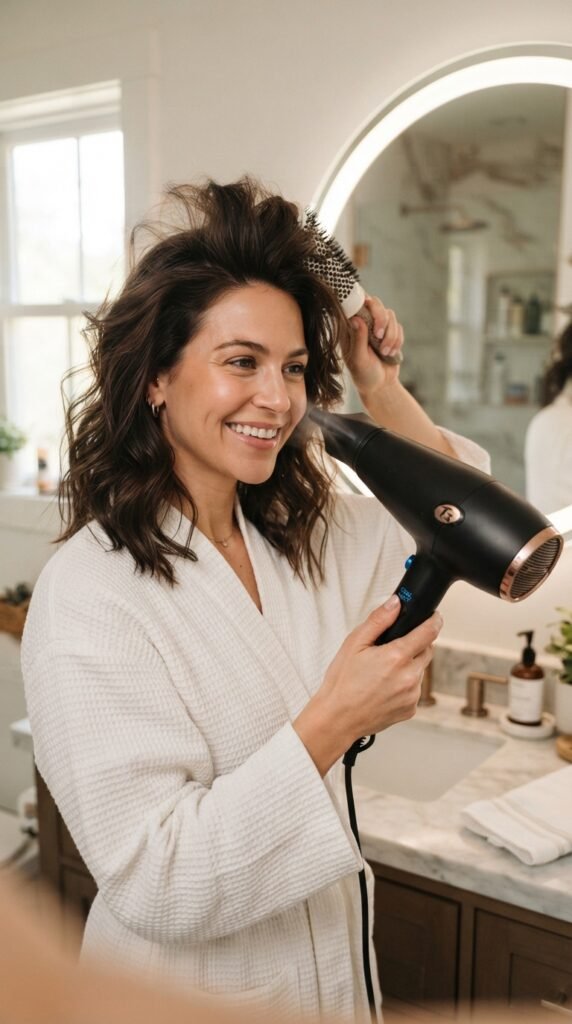
Once your roots feel dry, switch the blow dryer to the cool shot button. That’s the little burst of cold air that locks the style in place.
Here’s the order:
- Warm air lifts the roots
- Cool air sets them in that lifted position
- Heat from styling alone won’t hold for long
Give your roots a quick cool burst for about thirty seconds. This makes the lift flexible but long-lasting. You still won’t feel any sticky residue. It just feels like hair. Honestly, this step is the one most people skip, and it’s also the one that keeps volume alive through a busy day.
Step Six: Brush Through and Fluff

Flip your head back up and let your hair fall where it wants. Now you get to have fun with it.
Take a wide-tooth comb and gently brush through the ends, not the roots. Then use your fingers to fluff your roots at the crown.
This does a few things:
- Removes any small tangles
- Breaks up the root lift so it looks natural
- Adds that soft, touchable finish
You should end up with hair that feels light, moves freely, and still has plenty of volume. No crunch, no shine overload, no sticky feel. Just big, pretty hair you actually want to touch.
How to Use This With 2026 Hairstyles
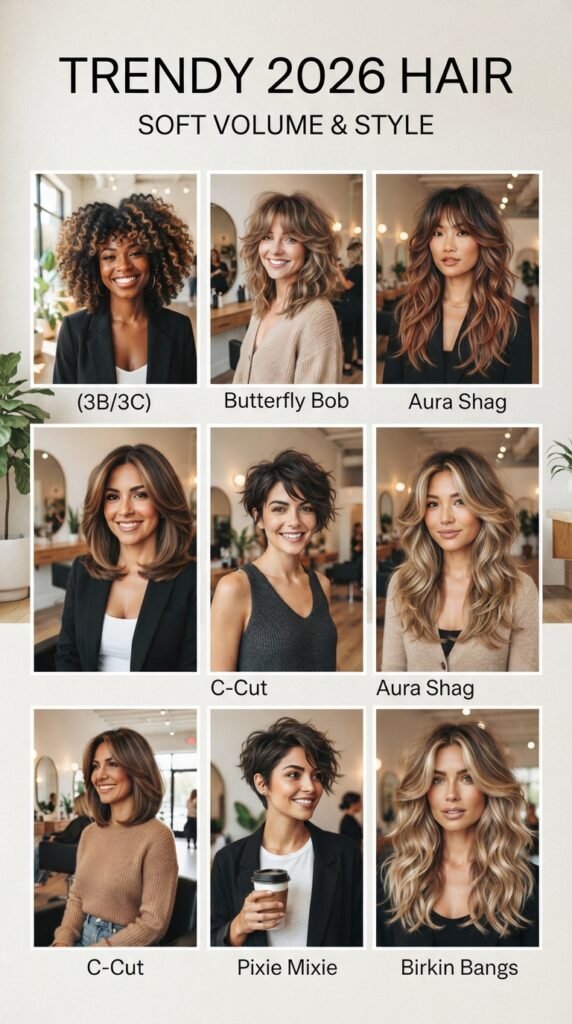
Volume never goes out of style, and 2026 hairstyles are all about texture and movement. This lightweight styling method is perfect for all the trendy cuts everyone is asking for.
It works especially well with:
- The quiet luxury bob
- The asymmetrical lob
- Romantic goth hairstyles
- The vampire haircut
- The classic hime cut
Because the method adds volume without stiffness, it keeps these styles looking current and effortless. Your hair still holds its shape, but it also moves and breathes. That’s exactly where hair trends are heading in 2026. Soft, groomed, and never overly done.
Big Volume Meets Old Money Hair

Old money hair is all about that polished, expensive look. Think clean lines, soft shine, and a settled elegance. But that doesn’t mean flat.
This method gives old money hair a fresh boost without taking away its classy vibe. The key is to lift the crown just a little and brush everything so smooth.
Try this:
- Lift the roots a bit more than usual
- Brush the lengths into a soft, sleek finish
- Let the ends lie naturally
The result looks rich, effortless, and very put together. It’s the kind of hair that looks good in daylight and at dinner. And it never feels heavy or sticky.
The Quiet Luxury Bob Just Got Softer

The quiet luxury bob is a favorite 2026 hairstyle, and it loves this method. The bob’s clean shape pairs beautifully with soft root movement.
Why it works:
- The bob already has great structure
- Light root lift makes it look more alive
- Soft volume keeps it from feeling too severe
To style it this way, apply the foam to your roots and follow the same upside-down blow dry method. Then brush the bob into place and tuck the ends slightly inward. You’ll get that expensive-looking, low-maintenance finish that never feels stiff.
Volume for the Asymmetrical Lob

The asymmetrical lob is another 2026 hairstyle that benefits from a little root lift. Because the cut has different lengths on each side, the volume adds drama and movement.
Tips for this cut:
- Focus extra foam at the shorter side
- Blow-dry that side upside down for a good lift
- Let the longer side fall freely
This creates a soft, sculptural effect. You get the trendy vibe of the asymmetrical lob without any weight pulling it flat. And because the method is so lightweight, the shape stays sharp all day. No sticky goop ruining those beautiful lines.
Romantic Goth Hairstyles Need This Too

Romantic goth hairstyles are dreamy, dark, and full of personality. They often feature lots of textured waves and dramatic shapes. This method gives them a soft lift that makes the whole look more ethereal.
How to adapt it:
- Use the foam on damp roots
- Blow dry with your head upside down for extra volume
- Finger style your waves instead of brushing
You’ll get gorgeous, slightly wild volume that fits the romantic goth aesthetic perfectly. It still moves and flows, which is a big part of the vibe. Plus, the residue-free finish means your goth waves keep their soft texture all evening.
The Vampire Haircut Loves Root Lift

The vampire haircut is one of those statement styles for 2026. It’s dramatic, sharp, and very cool. But even a dramatic cut needs softness to look modern.
This method gives the vampire haircut a lifted, bouncy shape that makes it feel more wearable.
Why it works:
- Root lift softens sharp angles
- Volume adds movement to long layers
- No sticky finish keeps the style sharp
Apply the foam at the roots, flip your head over, and dry. Then shake out your hair and let the layers fall into place. You’ll get that bold, witchy look without any crunchy residue.
Giving the Hime Cut a Bouncy Refresh

The hime cut is a classic Japanese style with straight, blunt ends and long side pieces. It’s gorgeous, but it can lie flat if your hair is heavy. This method is the perfect fix.
Here’s what to do:
- Focus foam only at the crown
- Blow-dry upside down for gentle lift
- Leave the blunt ends completely product-free
This keeps the hime cut’s sharp lines while adding a soft, subtle bounce at the top. The contrast between the lifted crown and straight ends is so pretty. And because there’s no heavy product, the hair still swings and moves when you turn. It’s a small change that makes the whole style feel fresher.
Glitchy Glam Hair Without the Crunch

Glitchy glam hair is a bold 2026 trend with sleek, futuristic touches and almost metallic texture. It loves volume, but it hates sticky residue.
This method lets you build serious lift that supports a glitchy glam vibe. You can still add a little shine spray at the ends if you want, but the roots stay clean.
Best parts:
- Volume lifts the look
- Soft roots balance the edgy style
- Zero crunch means it feels like regular hair
Give it a try the next time you’re going for that trendy, slightly otherworldly finish. Fresh volume plus a touch of shine is all you need to nail the glitchy glam aesthetic.
The Best Lightweight Products for Big Hair
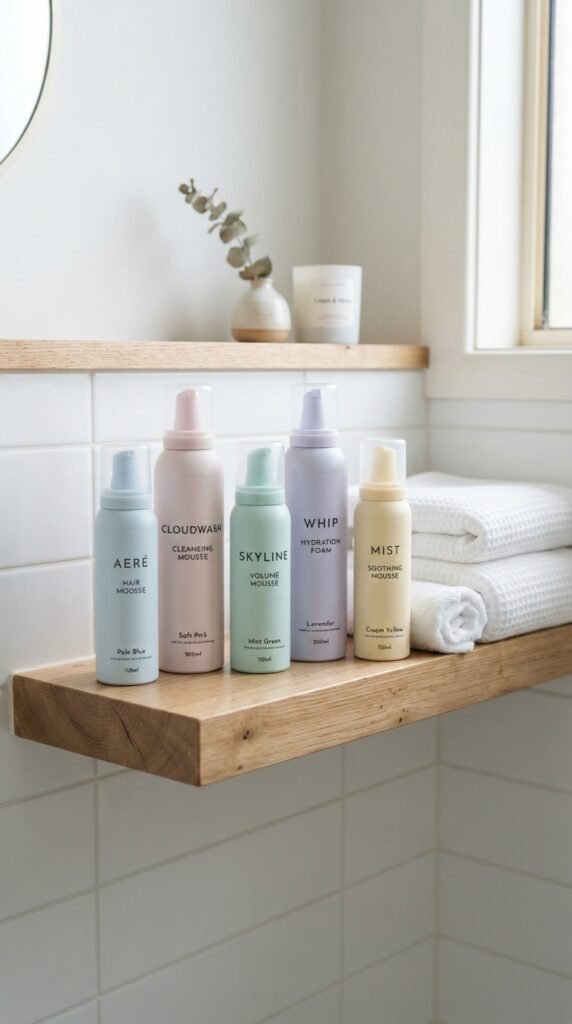
If you’re not sure which foam to pick, start with a basic volumizing mousse from the drugstore. Lightweight formulas are usually white and fluffy, like a soft cloud.
My favorites to look for:
- Volumizing foam
- Root lifting mousse
- Airy texture spray, but use it sparingly
Stay away from waxes, pastes, and thick creams for this method. They’ll weigh your roots down and leave that sticky feel we’re trying to avoid. The right product makes all the difference. Once you find your favorite, this becomes a ten-minute routine you’ll actually look forward to.
What to Avoid: Sticky Product Traps
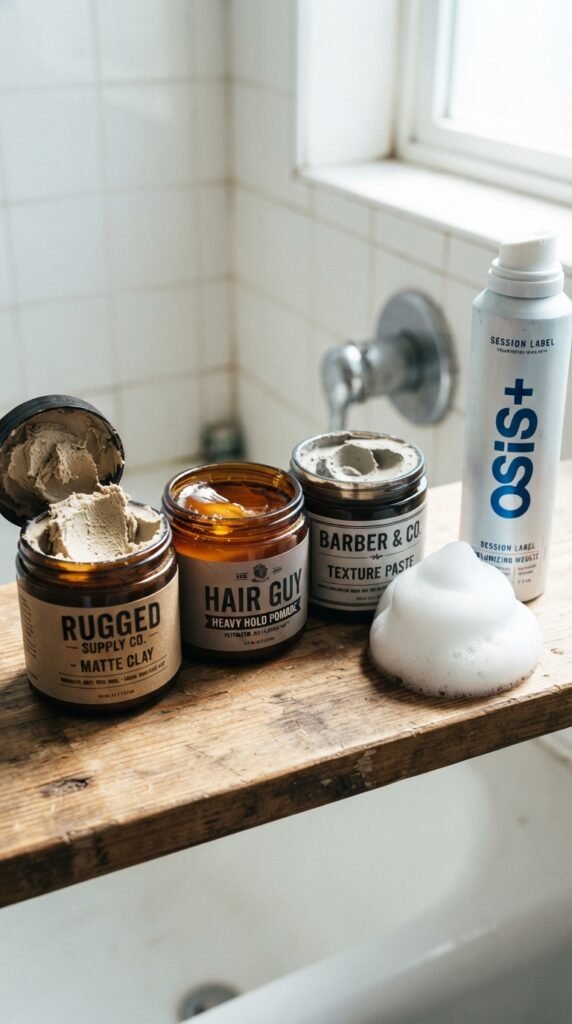
Even with a great method, there are a few mistakes that can lead to sticky hair. I want you to avoid them so your style stays lightweight all day.
Avoid these:
- Applying product to wet hair with heavy hands
- Using too much foam even at the roots
- Adding hairspray while hair is still damp
If you’re prone to stickiness, check your shampoo too. Heavy formulas can leave a film that mixes with other products. A good clarifying wash once a week keeps everything clean and gives you a fresh base for lightweight styling.
Freshen Things Up the Next Morning

The good news is that this style has a second life. If you want to refresh it the next day, you don’t need to start over.
Here’s a quick morning routine:
- Spritz your roots with a little water
- Flip your head upside down and warm the roots with a blow dryer
- Add a tiny bit more foam if you need it
This lifts your hair right back up. And because there’s no heavy product buildup, your hair still feels fresh and clean. It takes about two minutes and leaves you with bouncy, lightweight hair for day two.
Yes, It Works for Fine Hair

It totally does. Fine and thin hair actually benefits the most from this lightweight method.
Why it’s better:
- Heavy products crush thin strands
- Foam adds volume without coating the hair
- Heat sets the shape gently
For fine hair, use about half a pump of foam. Less is more here. You can always add more if your hair needs extra lift. The upside-down blow dry step is your best friend. This method gives fine hair that bouncy, full look that usually only happens after a salon visit. And you can run your fingers through it all day without that sticky, limp feeling.
Yes, It Works for Thick and Curly Hair

Absolutely. Thick and curly hair can struggle with heavy products too. They weigh curls down and leave texture feeling sticky and hard.
For thick hair:
- Use a little more foam
- Focus on the roots only
- Dry with a diffuser for best curl definition
For curly hair, the upside-down drying method is amazing. It adds lift at the roots while keeping your curl pattern soft and defined. And because there’s no heavy wax or gel, your curls stay touchable and bouncy all day long. You’ll get the volume you want without losing the definition you love.
That’s All, Friend
I hope this lightweight styling method becomes your new favorite go-to. Bigger hair doesn’t have to mean heavy, sticky, or stiff. You really can have soft, bouncy, touchable volume.
Try it on your next wash day and see how it feels. I bet you’ll be surprised by how much lift you get from so little product.
Don’t forget to save this post to Pinterest so you have it ready when you need it. And drop a comment below: what’s your hair’s biggest styling struggle right now? I read every single one and I’d love to help.