25 Curly Hair Tips That Improve Definition Without Crunchiness or Unwanted Frizz
Starting with soft, defined curls is simpler than it sounds. For years, I chased that perfect “wash day” look, only to end up with a frizzy mess or hair that felt stiff and crunchy. It took a lot of trial and error (and a few watery-eyed gel experiments) to figure out the real secrets.
The good news? You don’t need a million products or a stylist on speed dial. You just need to work *with* your curl pattern, not against it. This guide is packed with 25 practical, budget-friendly tips to give you bouncy, touchable definition without the bird’s nest effect.
Whether you are a wavy newbie or a seasoned curl veteran, I promise you will walk away with at least one new trick to try. Let’s get into the good stuff and bring back that luscious, healthy definition.
1. The “Squish to Condish” Method
If you want to banish crunchiness, you have to meet your conditioner halfway. This technique is all about hydration. After applying your conditioner, cup water in your hands and gently squeeze it into your ends. This pushes moisture deep into the hair shaft and helps your curls clump together beautifully.
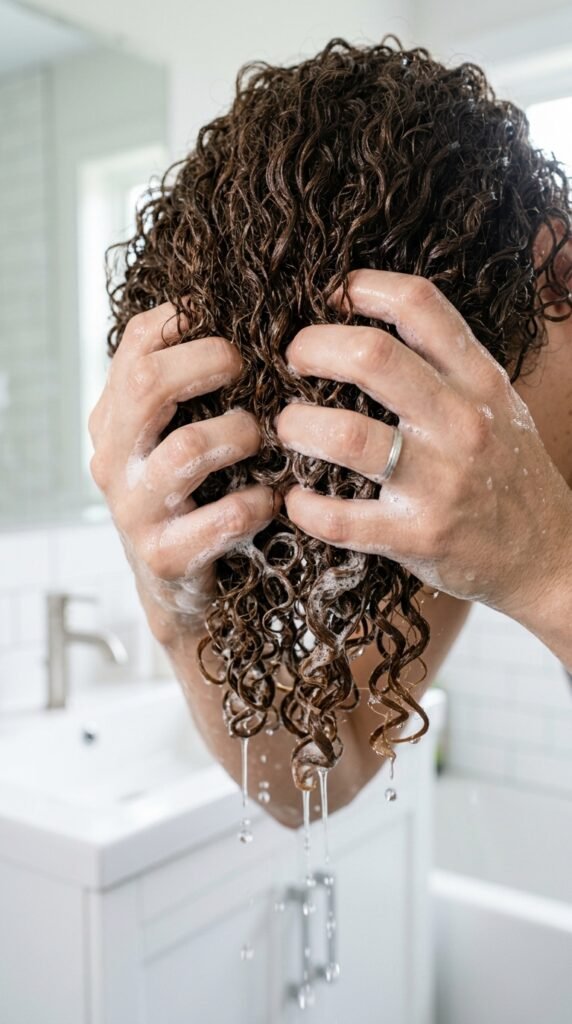
– Never rinse all the conditioner out—leave a little slip.
– Use lukewarm water, not hot, to keep the cuticle flat.
– Think of it as “plumping” your curls, not washing them.
This simple step alone will reduce frizz instantly. It helps your hair form those juicy, defined ringlets that look great with any **2026 hairstyles** trend. Plus, it makes detangling a total breeze.
2. Ditch the Cotton T-Shirt
Cotton towels are the absolute enemy of curl definition. The rough fibers catch on your cuticles, causing instant frizz and roughing up your pattern. Switch to a microfiber towel or an old, soft cotton t-shirt. These smoother materials absorb excess water without creating friction.
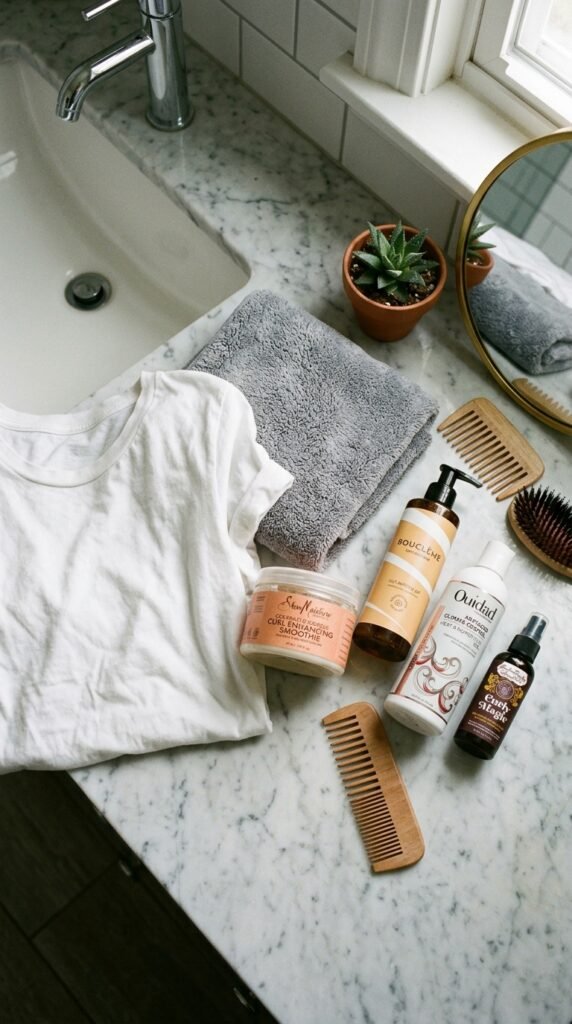
– Gently scrunch your hair in sections to remove water.
– Avoid rubbing or twisting your hair dry.
– Let the t-shirt wrap your hair while you do your skincare routine.
This swap is the easiest way to see an immediate difference. It keeps the cuticle smooth, which is the foundation for a glossy finish, much like the polished vibe of **old money hair** but with natural texture.
3. Find Your Perfect Gel (and Don’t Fear It)
Many of us fear gel because we remember the crunchy, helmet-head days of middle school. But a good gel is the shield that protects your curls from humidity and frizz. The trick is application and “scrunching out the crunch” (SOTC) once it dries.

– Look for gels with aloe vera or flaxseed for hold without hardness.
– Apply to soaking wet hair in small sections.
– Let the cast form completely before touching it.
Once your hair is 100% dry, gently scrunch your hair with a little oil to break the cast. You’ll be left with soft, bouncy curls. This technique works wonders for styles like the **asymmetrical lob**, keeping the shape defined but touchable.
4. The “Denman Brush” Trick for Clumping
Raking your hair with fingers can split up the curl families, causing fluff. Instead, use a Denman brush (or any brush with flexible rubber bristles) in the shower while your conditioner is in. This helps align the strands and forms perfectly smooth, uniform curl clumps.
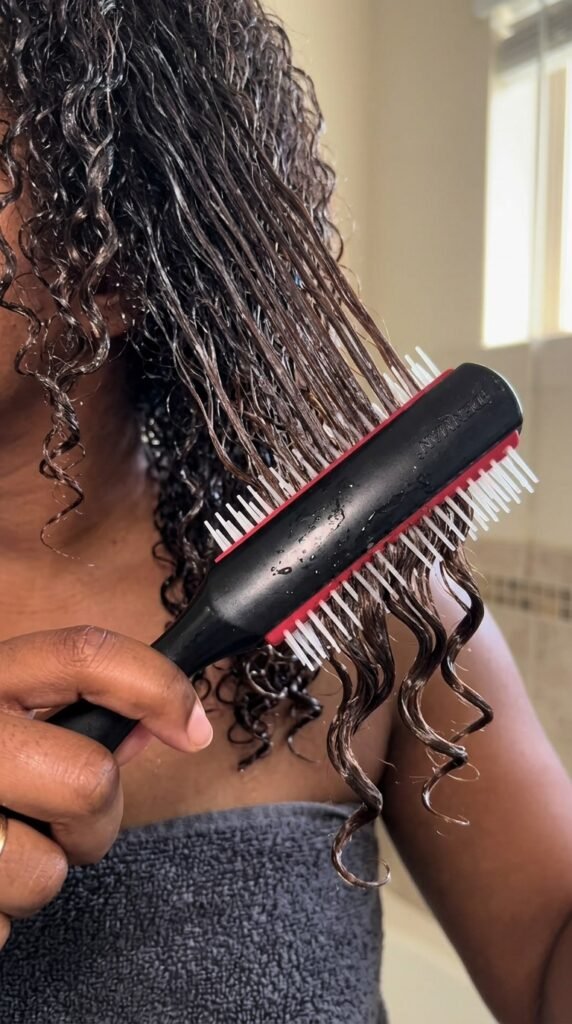
1. Section your hair into four parts.
2. Brush each section from underneath to add volume.
3. Give the brush a slight turn as you pull it through.
This is a game-changer for definition. It reduces the “fluffy” look and gives you that wet-look shine once styled. It is the secret behind many voluminous **glitchy glam hair** styles that look structured yet free.
5. Towel Blotting Before Styling
You need your hair to be wet, but not dripping, to apply products evenly. If it’s too wet, the product slides right off and your curls will be stringy. If it’s too dry, you get frizz. The perfect window is when your hair is damp but no longer soaking.
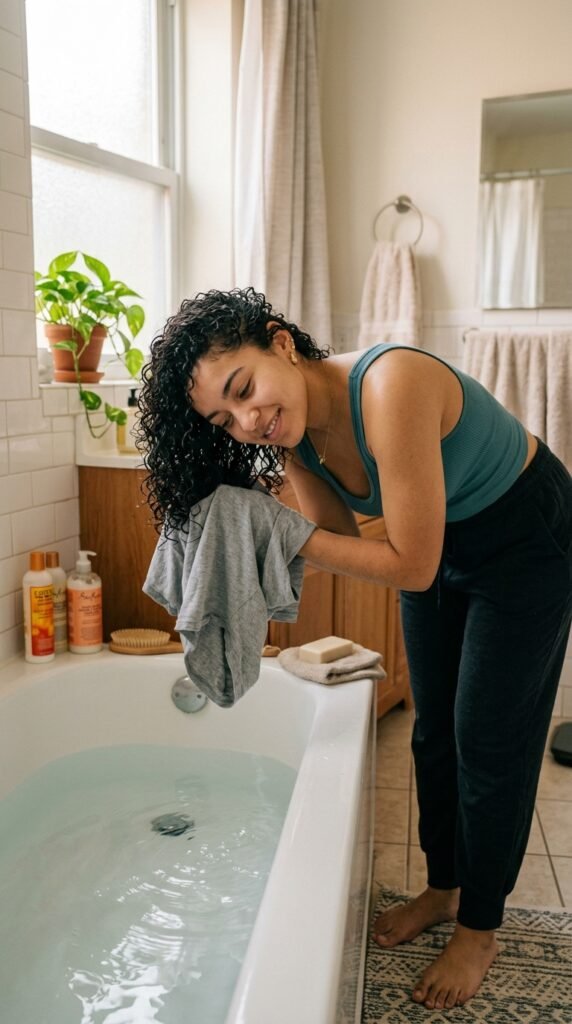
– Shake your head to remove excess water.
– Use a t-shirt to scrunch out the drips.
– Work in small sections to keep moisture locked in.
Finding this balance is key. It ensures your leave-in and gel actually absorb into the hair. This technique keeps things looking fresh, whether you are going for a casual day look or a sleek **quiet luxury bob** variation.
6. Embrace the “Praying Hands” Method
Instead of scrunching your products in, which can cause frizz, use the “praying hands” technique. Rub your product between your palms, then gently slide your hands down your curl clumps. This smooths the cuticle and lays the hair flat in a uniform direction.
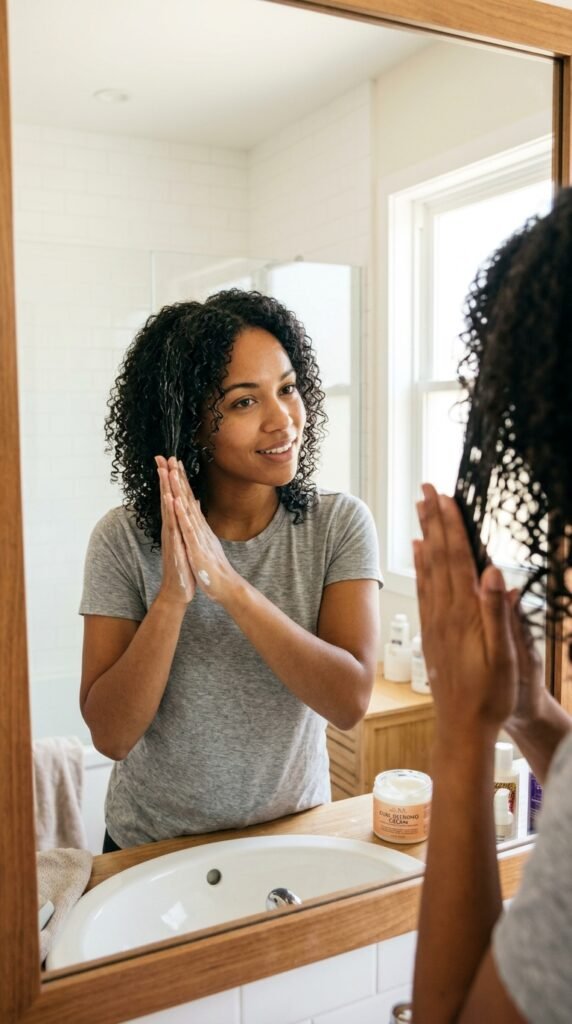
– Always apply products to wet hair.
– Glide over the same section two to three times.
– Follow up with a light scrunch at the ends only.
This helps with elongation and reduces shrinkage. It gives you that sleek, “expensive” look. It’s perfect for keeping things neat, similar to the clean lines of a **hime cut**, but with natural movement.
7. Deep Condition Weekly
Healthy curls are happy curls. Regular deep conditioning is non-negotiable if you want definition without frizz. Frizz is often just dehydrated hair searching for moisture in the air. A weekly mask restores the protein-moisture balance that curls crave.
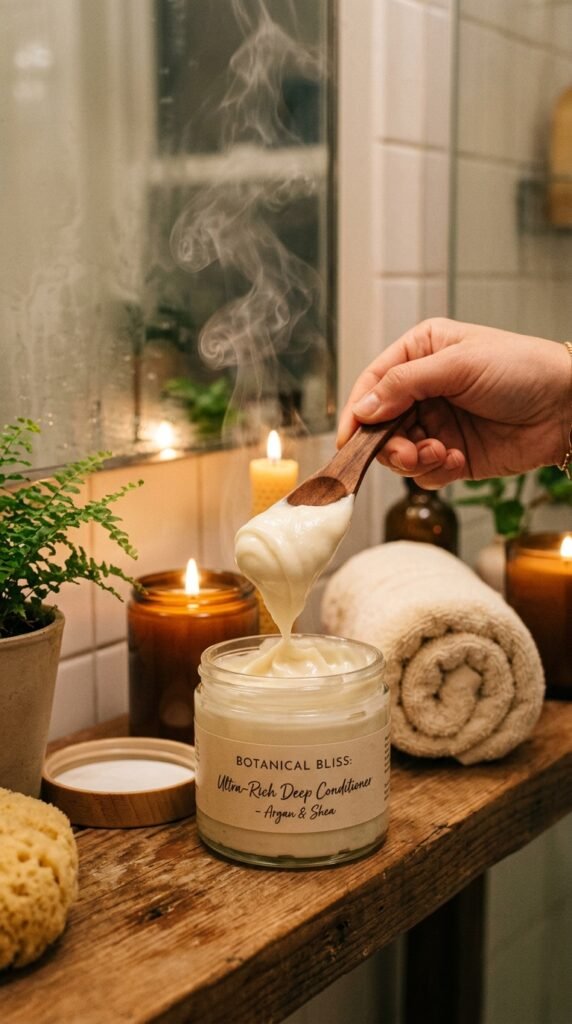
– Focus the mask on the mid-lengths and ends.
– Leave it on with a shower cap for 20 minutes.
– Use heat (like a hair steamer) to open the cuticle if possible.
This restores elasticity and strength. It prevents breakage, which is a major cause of frizz. With regular care, your hair will be strong enough to rock bold looks like the **vampire haircut** without compromising its health.
8. Avoid Heavy Butters and Oils
This might sound counterintuitive, but heavy butters (like shea) can actually block moisture if used too often. They coat the hair and prevent water from getting in, leading to dry, brittle curls. Reservations are for sealing, not for the initial moisturizing phase.
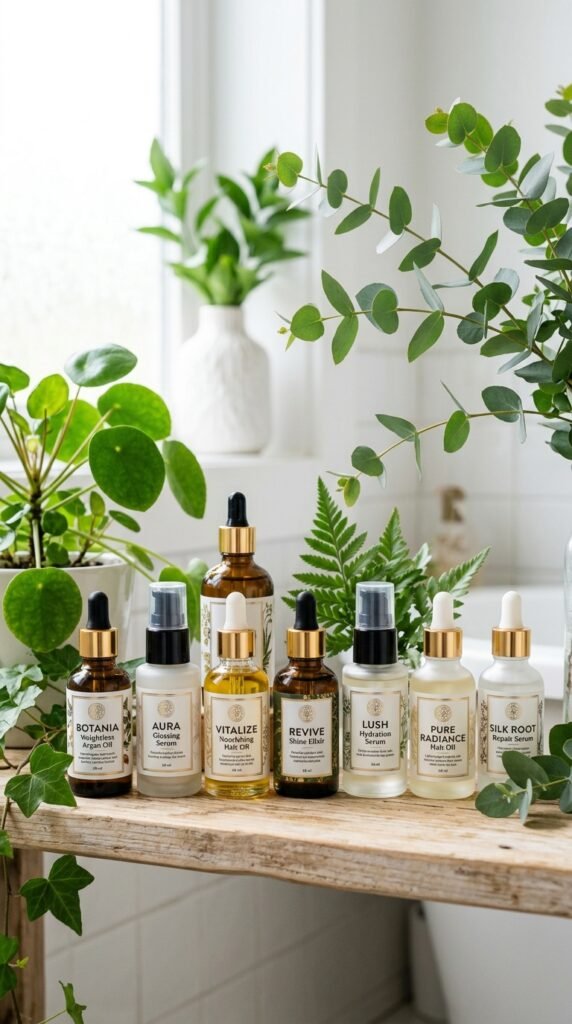
– Water-based leave-ins are your best friend.
– Use oils like jojoba or grapeseed to seal the ends.
– Use heavy creams only in the winter or on very thick hair.
Keeping your routine light is crucial for bouncy curls. It prevents buildup that weighs down your roots. This is how you achieve that effortless volume seen in trendy **romantic goth hairstyles**, where texture should look airy and mysterious.
9. The Pineapple Sleep Method
Nighttime is where good curl routines go to die. To protect your definition while you sleep, you need the “pineapple.” This involves pulling your hair into a very loose, high ponytail right on top of your head. This keeps the curls suspended so they don’t get flattened or tangled.

– Use a silk scrunchie to avoid creases.
– Don’t pull the hair tight; let it sit loosely.
– Sleep on a silk pillowcase for extra slip.
This protects your curl pattern and keeps your roots voluminous. In the morning, all you need is a quick refresh and you are good. It keeps your style intact for days, saving you time—just like the low-maintenance appeal of the **vampire haircut** trend.
10. Refresh With Water, Not Product
Your curls don’t need a full wash day every morning. Often, they just need a little hydration. Instead of piling on more cream (which causes buildup), use a spray bottle filled with water and a tiny bit of leave-in conditioner to revive them.

– Mix water with a pea-sized amount of leave-in.
– Spritz until hair is damp, not wet.
– Scrunch gently to reactive the curl pattern.
This removes the “crispy” feeling and restores bounce. It’s called “glitching” your hair back to life. It’s a great way to maintain the sleekness of an **old money** aesthetic or the edge of **glitchy glam hair** without starting over.
11. Plop for 15 Minutes
Plopping is a styling technique that uses a t-shirt to set your curls while they dry. After applying products, flip your head upside down and lower your hair into the center of the shirt. Tie it at the nape of your neck and let it sit.
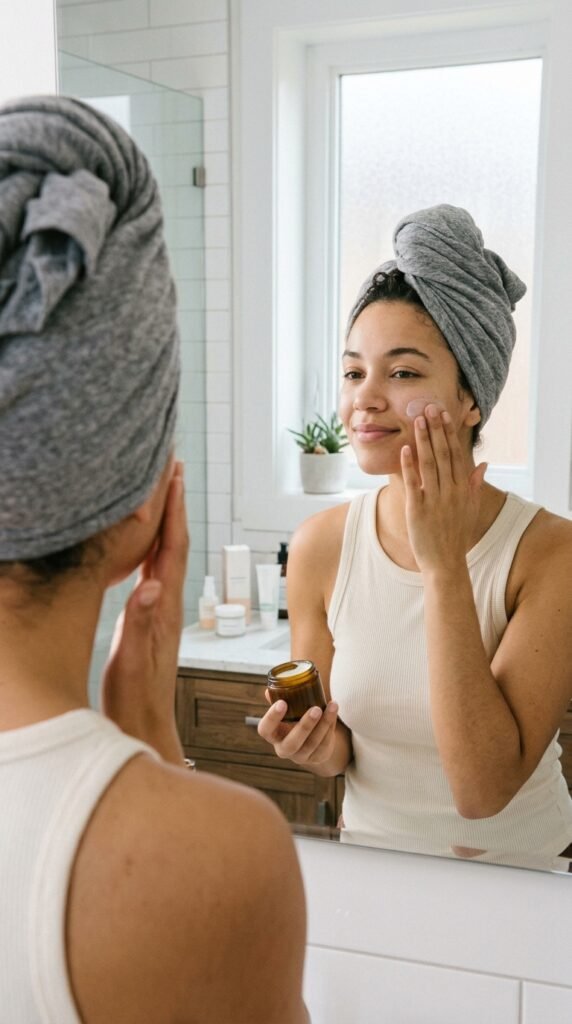
– This boosts volume at the roots.
– It allows products to absorb without weighing hair down.
– Keep it on for 10-20 minutes, not until dry.
It gives your curls a head start on drying in a defined shape. This is the secret to volume that lasts. The extra lift is perfect for modern takes on the **hime cut**, adding a softer, bouncier feel to the blunt edges.
12. Trim Your Ends Regularly
Split ends are frizz magnets. They travel up the hair shaft and ruin your curl pattern. To maintain definition, you need to get rid of the dead weight. Regular trims keeps your curls springy and uniform from root to tip.
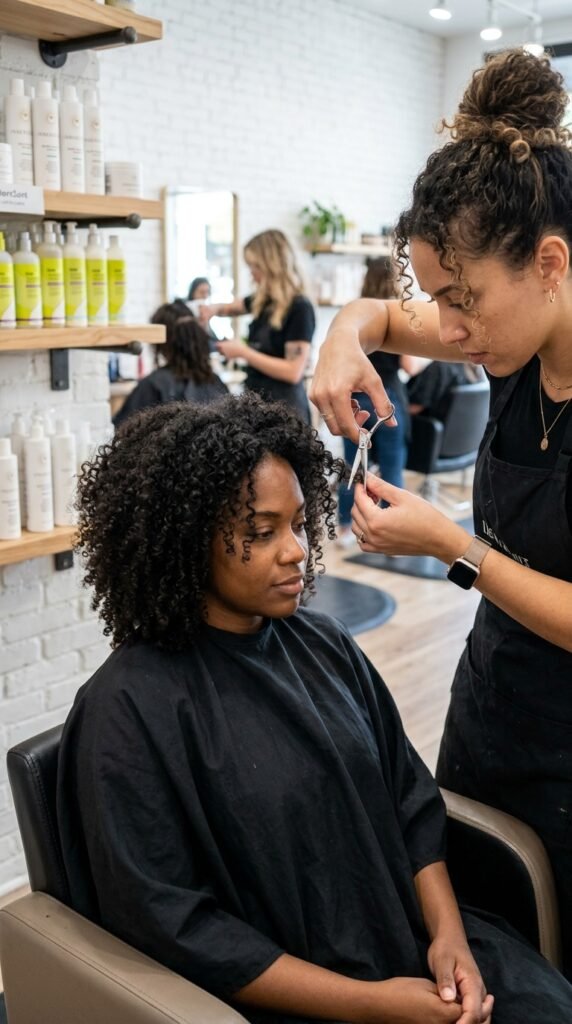
– Get a trim every 6-8 weeks if you want growth.
– Ask for a “curly cut” done on dry hair.
– Cut in small sections to ensure shape and definition.
Healthy ends mean your products distribute evenly. You won’t get those random crunchy bits because there are no splits to snag on. This upkeep is essential for linear shapes like the **asymmetrical lob**, ensuring the line stays sharp and the curl doesn’t look ragged.
13. Cold Water Rinse at the End
This is a quick, free trick that seals the cuticle. After you’ve finished washing and conditioning, do a final rinse with cold (or cool) water. This shuts the cuticle down, trapping moisture inside and leaving your hair shiny and smooth.
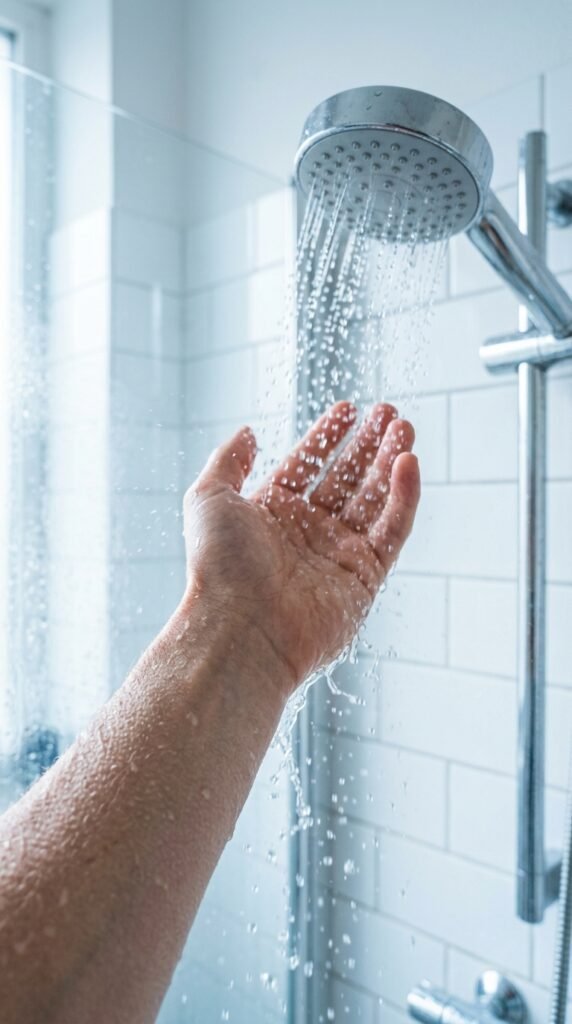
– Keep the cold water focused on the hair, not the scalp.
– It adds instant shine and reduces frizz.
– It helps prevent the “wet frizz” look after drying.
It’s a bit uncomfortable, but the payoff is amazing. Your hair will feel smoother and look glossier immediately. This helps lock in the sleek finish of a **quiet luxury bob**, giving it that expensive, polished seal.
14. Skip the Sulfates and Silicones
To get true definition, you need hair that isn’t coated in heavy waxes. Sulfates strip natural oils and are too harsh, while silicones build up and “suffocate” the hair. Over time, this leads to dry, lifeless curls that can’t hold a shape.
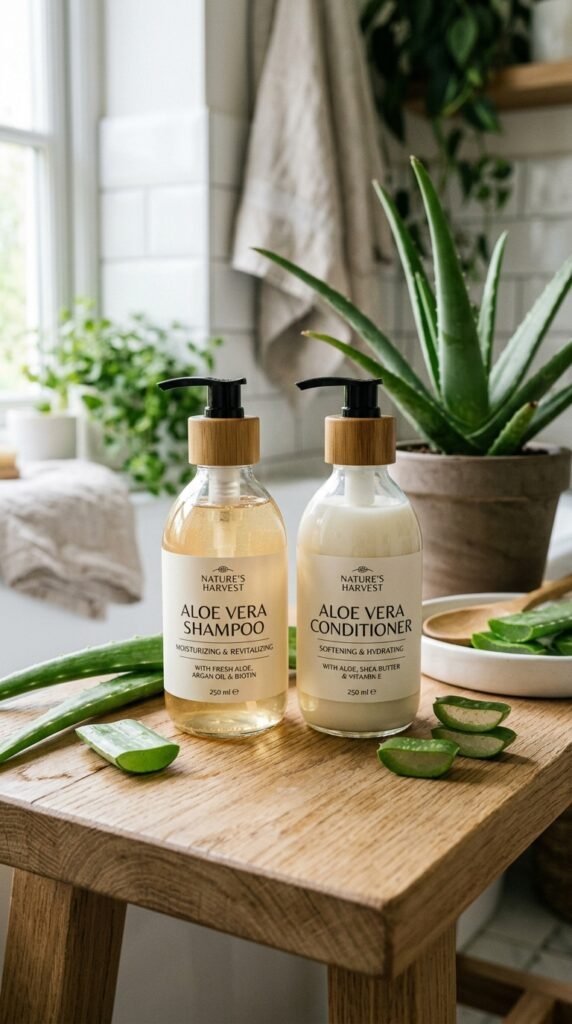
– Look for “sulfate-free” and “silicone-free” on the label.
– Use a clarifying shampoo once a month to reset.
– Swap to low-poo or co-washing options.
This allows moisture to truly penetrate the hair. Your natural pattern—whether it’s waves or tight coils—will start to pop. This is the base for any great style, allowing the layers of a **romantic goth** look to actually define instead of melting into fluff.
15. Style in Sections for Even Coverage
Rushing your styling always leads to frizz. When you apply product to soaking hair all at once, you miss patches. Sectioning your hair ensures every strand is coated evenly. It also reduces manipulation, which is what causes that halo of frizz.
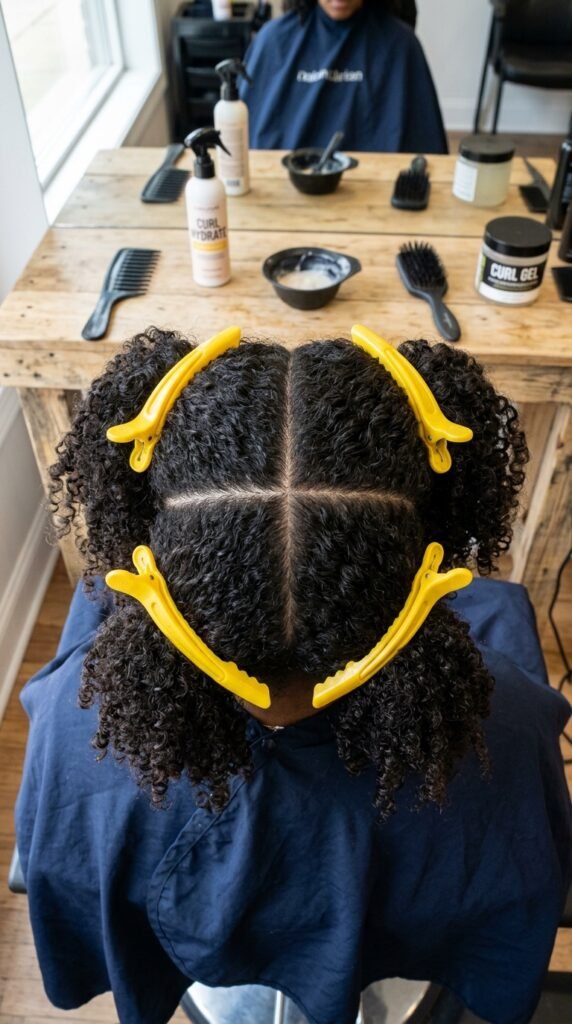
– Split hair into four quadrants.
– Apply leave-in and gel to each section separately.
– Clip them up as you go to keep them separate.
This takes a bit longer but guarantees definition. It ensures that every curl clump has the same amount of product, so you won’t have dry spots. This is how you master complex cuts like the **vampire haircut**, ensuring every dimension is defined.
16. The Denman Brush for Frizz-Free Roots
If your roots are always flat or fluffy, this is for you. While your hair is damp and clipped, take your Denman brush and brush the roots up and away from your scalp. This lifts them off the head while drying, creating volume and smoothness.
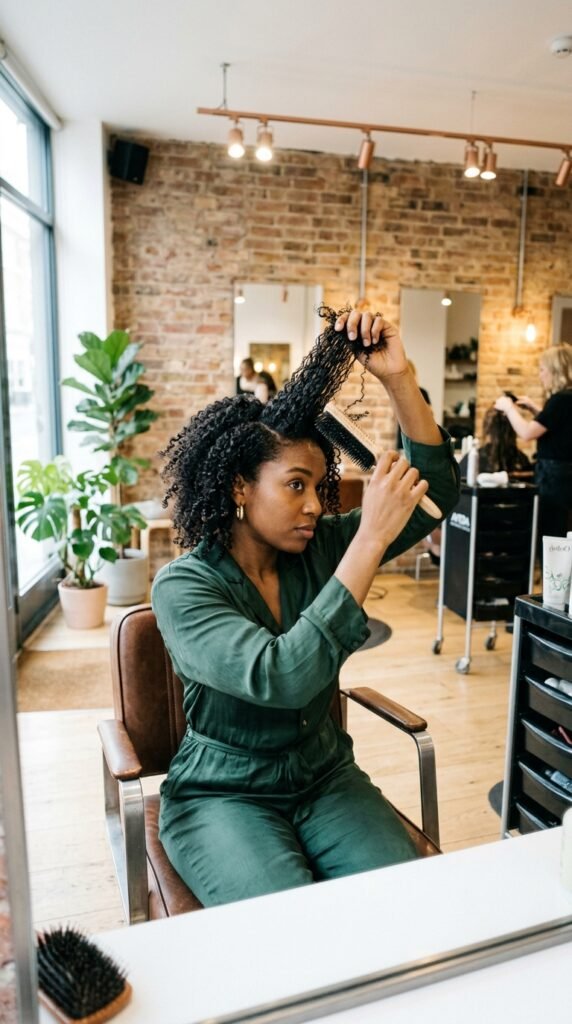
– Brush upwards for maximum root lift.
– Use the handle of the brush to create curls if needed.
– Dry with a diffuser immediately after.
This prevents the frizz caused by roots drying flat against the scalp. It creates a beautiful, rounded shape at the top. This is a staple for those shiny, bouncy **2026 hairstyles** that look full of life.
17. Use a Diffuser on Low Heat
Towel drying or letting hair air dry completely can pull down your curls and cause frizz. A diffuser is necessary to set the cast of your gel. However, you must use low heat and low airflow to avoid drying out the hair quickly.
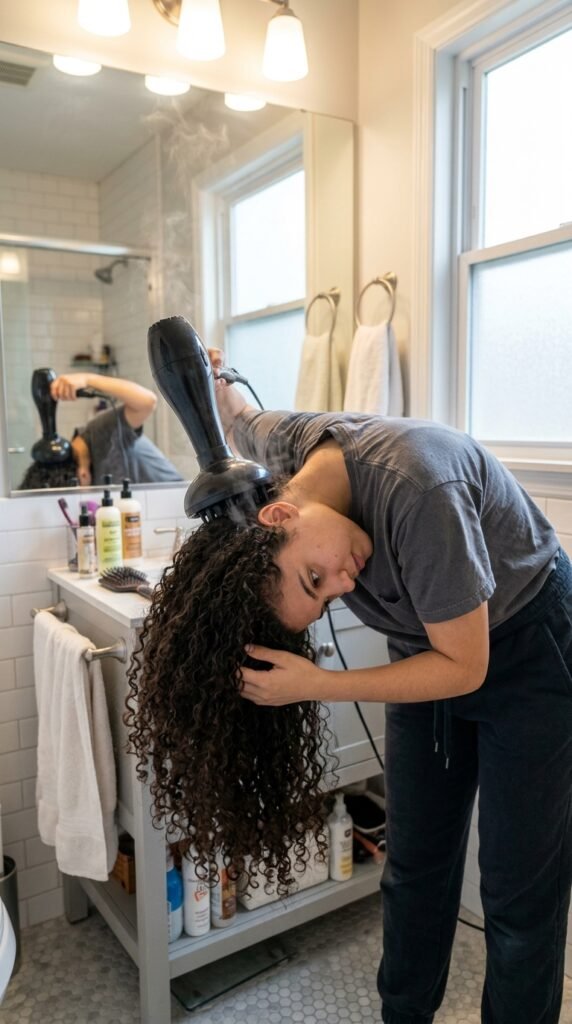
– Start on the roots to build volume.
– Hover the diffuser near your hair, don’t push it around.
– Use the “pulse” setting to cup the curls up.
This dries the hair evenly and breaks up the weight. It locks in the definition you sculpted in the shower. Using this method is key to achieving the sculptural volume of **glitchy glam hair** without destroying your curl pattern.
18. Sleep on Silk (or Satin)
You can do everything right in the shower, but ruin it overnight on a cotton pillowcase. Cotton absorbs moisture and creates friction. Switching to a silk or satin pillowcase is the cheapest “treatment” you can buy.

– Reduces friction and prevents bedhead.
– Keeps moisture locked into the hair.
– Prevents those pesky split ends from snagging.
Your hair will slide around instead of rubbing against the fabric. You’ll wake up with less frizz and more intact curls. Waking up fresh is a huge part of the **quiet luxury** aesthetic—everything looks effortless because you sleep smart.
19. Don’t Touch Your Hair While Drying
I know it’s tempting to tousle your hair while it dries to speed things up, but *stop*. Every time you touch drying curls, you disturb the cuticle and break up the product cast. This leads to frizz and undefined shape.

– Set a timer and do other things while it dries.
– If you must move it, only cup it from underneath.
– Do not rake your fingers through it until it is 100% dry.
Patience is key here. Letting the cast set means you get that beautiful “crunchy” layer that you will *then* scrunch out. When you follow this rule, you get a smooth, styled look rather than a fluffy cloud.
20. SOTC (Scrunch Out The Crunch)
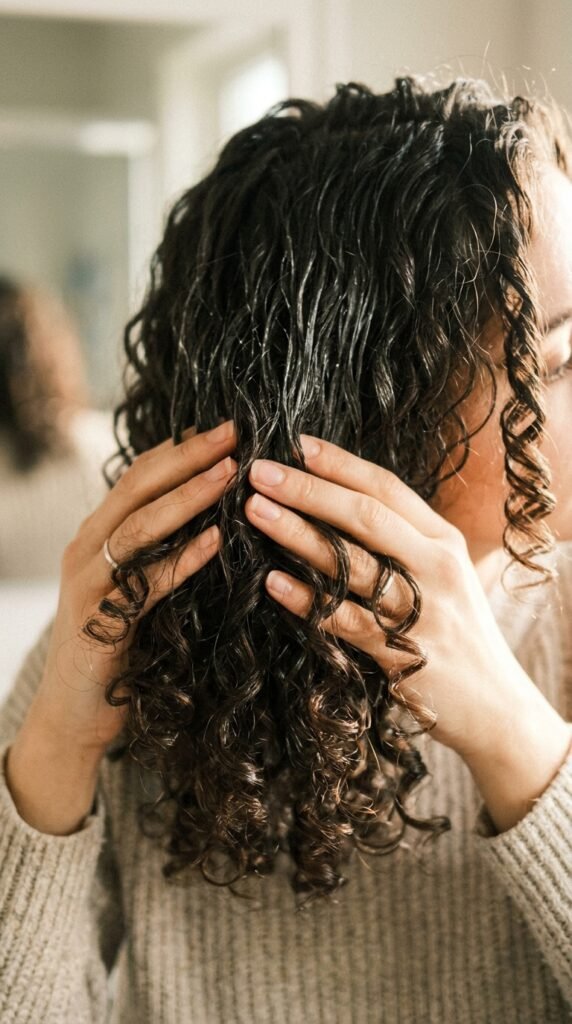
This is the glorious final step to non-crunchy curls. Once your hair is completely dry and has a hard gel cast, apply a few drops of lightweight oil to your palms and gently scrunch the hair upward toward your scalp. You will feel the crunch dissolve.
– Use oil or a tiny bit of serum to reduce frizz.
– Work in small sections to ensure you break all the gel.
– Scrunch with a soft, open hand, not a clenched fist.
This is the magic moment where curls go from stiff to soft. It adds shine without weight. This final texture is what separates a rookie look from a professional one; it’s the key to making **2026 hairstyles** look expensive and touched.
21. Wash Day Timing Matters
Don’t wash your hair right before you head out the door. Hair takes time to dry and set. Give yourself a few hours to let the cast form and break naturally. Rushing leads to diffusing too fast and creating frizz or pulling on it while wet.

– Plan wash day when you have zero time pressure.
– Wash in the morning or early afternoon.
– Let your hair air-dry 50% before hitting the diffuser.
Loose time means less stress and better curl formation. It allows you to style gently and carefully. This is essential for intricate looks like the **asymmetrical lob** where the shape is everything—it needs time to dry into a perfect line.
22. Reconsider “Hair Porosity”
Your hair’s porosity determines how it reacts to products. If you have high porosity (hair that soaks up water fast), you need heavier leave-ins and butters to seal it. If you have low porosity (hair that repels water), you need lighter water-based products and heat.
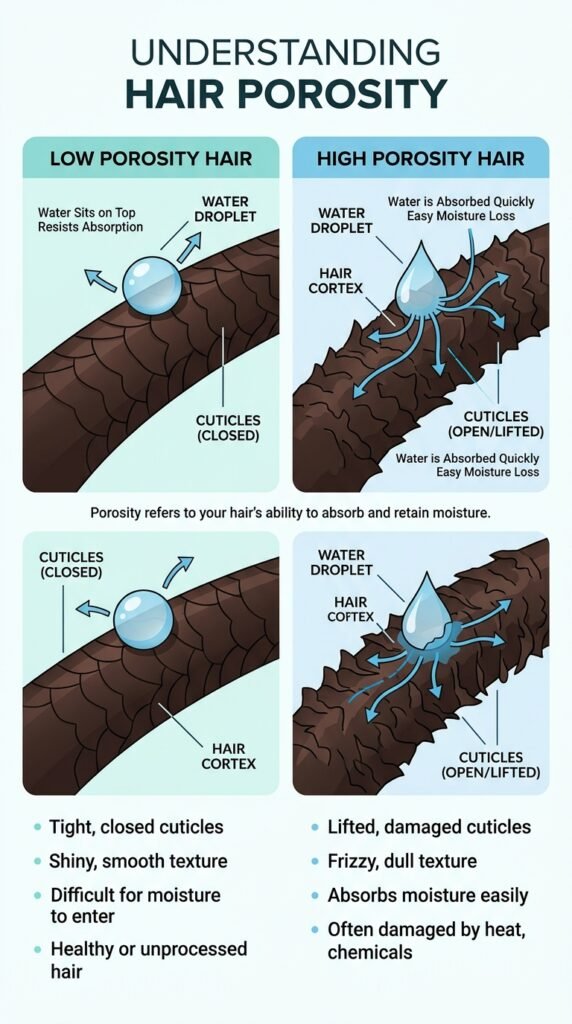
– Do the float test: hair that floats is low porosity.
– High porosity hair needs protein and heavier creams.
– Low porosity hair needs heat to open cuticles.
Understanding this solves the mystery of why one product works for your friend but not you. It takes the guesswork out of the crunch. It’s the technical base behind making a **vampire haircut** look sleek and sharp.
23. Refresh with a “Rake and Shake” for Day 2
Maybe you didn’t pineapple, or you sweated at the gym. For a quick fix, dampen your hair slightly with a spray bottle. Rake your fingers through it gently to break the clumps, and then shake your head from side to side. This “reactivates” the product that’s still in your hair.

– Spray enough water to make it malleable, not wet.
– Add a very small drop of water-based gel to smooth.
– Let it air dry and then fluff at the roots.
It’s a low-effort, high-reward trick. It brings back softness without a wash day. This keeps the “money piece” look alive, whether it’s a blunt **hime cut** or a textured shape, without needing to re-style the whole head.
24. Invest in a Microfiber Hair Towel
If you haven’t picked one up yet, this is your sign. Unlike regular towels, microfiber hair towels are designed to reduce friction and speed up drying time. They are gentle and weigh less on your neck, making them easier to use.

– Reduces drying time by up to 50%.
– Gentle enough for curly and color-treated hair.
– Often made with a button loop to secure your hair.
It keeps your cuticle smooth from the exact moment you leave the shower. This head start stops frizz before it begins. It’s the foundation for any polished style, ensuring the integrity of the **quiet luxury bob** or loose waves.
25. Acceptance of Your Unique Texture
Finally, the best tip is to stop fighting your natural pattern. You might want ringlets but have loose waves. You might want a sleek bob but have tightly coiled hair. Your texture is unique, and once you stop fighting it and start working with it, the “frizz” turns into “texture.”
– Follow influencers with your exact curl type.
– Adjust this list to fit your density and texture.
– Be patient—curls take time to get used to a routine.
Definition isn’t about perfection; it’s about health. When your hair is healthy, it will shine on its own. Lean into the volume and the madness—you’re going for effortless beauty, not helmet hair. It’s all about confidence.
—
Well, my friends, that’s the complete tea on getting juicy, defined curls without the crunch. We went over 25 different tips, from squishing to condish to figuring out your porosity. I hope you feel ready to attack your next wash day with a fresh perspective and a lighter hand.
**Save this post to Pinterest** so you have the ultimate curl cheat sheet right at your fingertips! And let’s chat in the comments—which one of these tips are you trying first? Or do you have a secret weapon that we missed? Tell me everything.