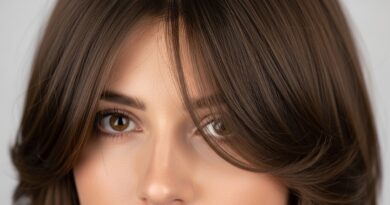
The Wet Look Requires Less Product Than You Think If You Know The Trick
Okay, let’s talk about the wet look. Every time I scroll through Pinterest or TikTok, I see these glossy, slicked-back styles that look like they took a whole bottle of gel. But here’s the truth: the wet look actually requires way less product than you think. Once you know the trick, it takes maybe two minutes and a tiny dime-sized amount.
I’ve been styling my hair like this for years, and I’ve made every mistake in the book. I’ve gone full greasy-scalp by accident. I’ve worn a gel cast that cracked mid-day. And I’ve finally figured out the simple trick that makes it all click.
So if you’ve been avoiding this trend because it feels messy or high-maintenance, stay with me. I’m going to show you exactly how to get that runway-inspired finish without the crunch, the shine overload, or the washing-your-hair-at-3pm regret.
Why the Wet Look Always Feels Intimidating
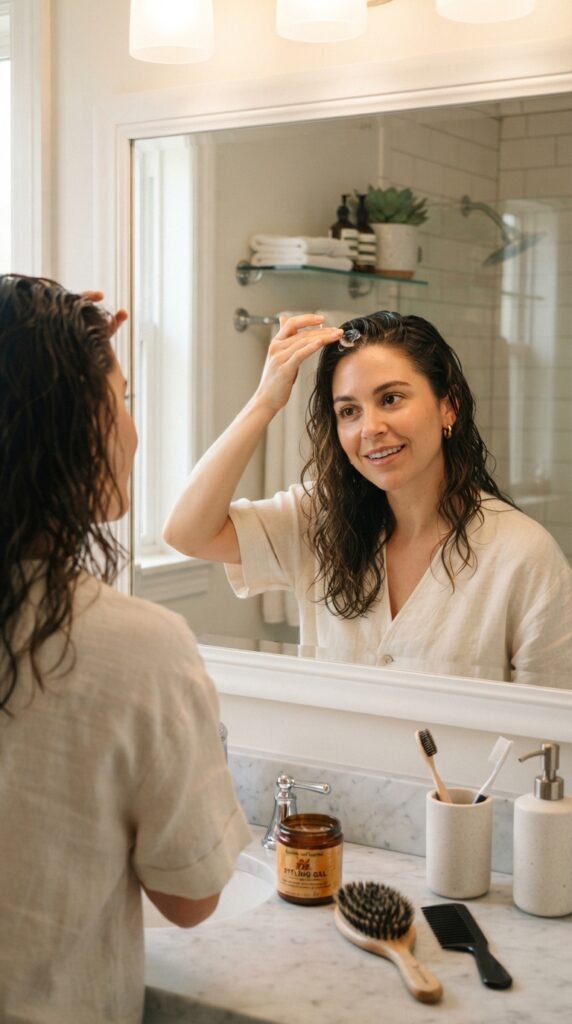
It’s funny because the wet look looks so polished, so deliberate. But most people avoid it because they think it means loading up on gel. I get it. The first time I tried it, I used way too much product and walked around looking like a freshly dipped donut.
The reality is that the models and influencers you see aren’t using half a jar. They’re using a tiny amount and a whole lot of water. That’s the secret.
So before you write off this trend, know this: the wet look is one of the most forgiving styles once you understand how little product it actually takes. You just need to know where to put it and where to pull back.
The One Trick That Changes Everything
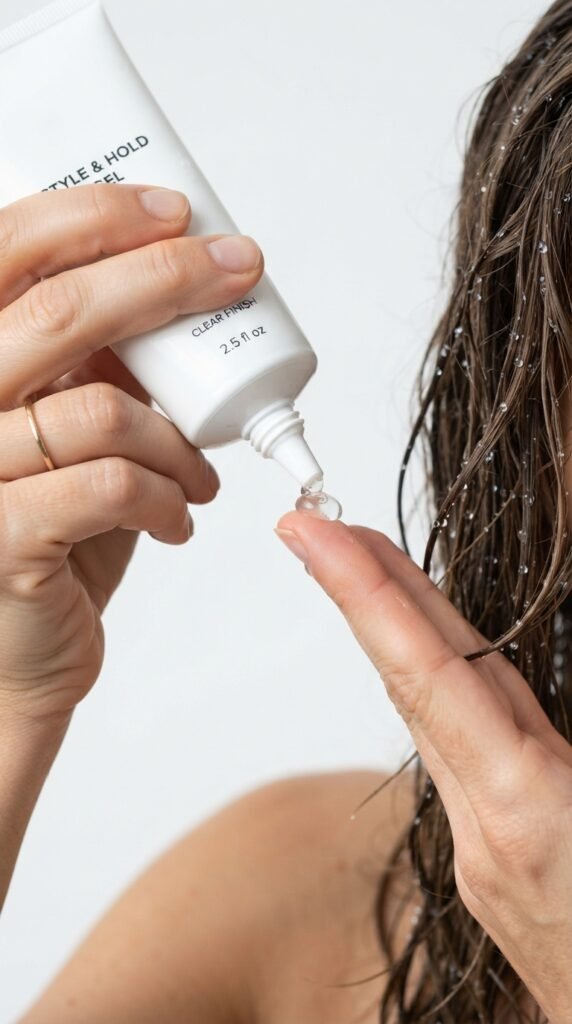
The trick is simple: water first, product second.
Instead of applying gel to dry hair, you start with damp hair. Then you mix a small amount of gel or cream with a few drops of water right in your palm. This dilutes the product so it glides on evenly and doesn’t clump in one spot.
This is why your hair looks smoothly polished instead of sticky or heavy. The product acts like a light seal, while the water does all the heavy lifting for the glossy reflection. That’s the whole magic.
How Much Product Is Actually Enough?
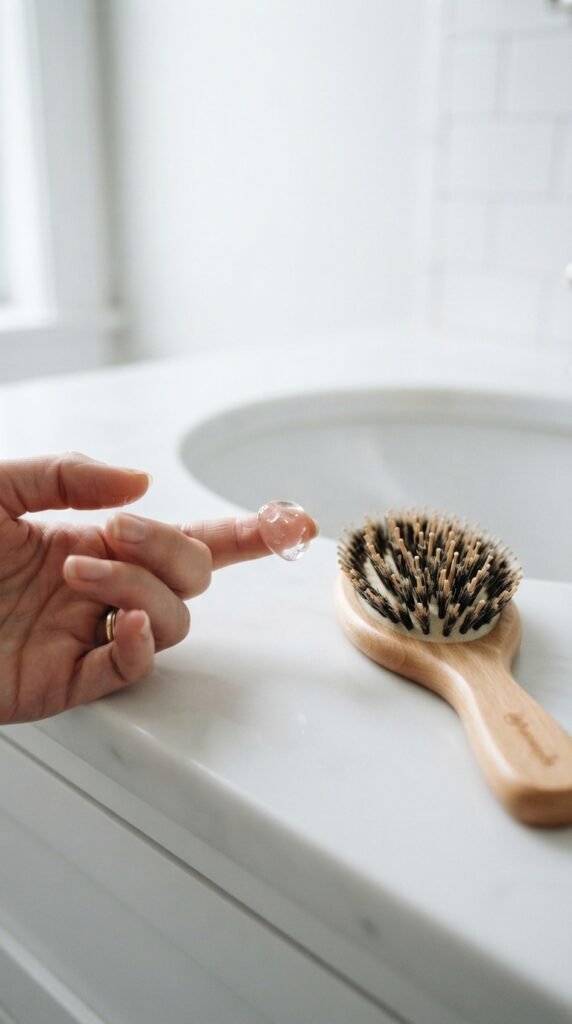
For most people, a dime-sized amount is plenty. That sounds tiny, but I promise it’s enough.
- Short hair or pixie: pea-sized
- Chin-length bob: dime-sized
- Shoulder-length and longer: a nickel-sized amount at most
- Thick or curly hair: maybe two nickel-sized dollops, applied section by section
A good way to tell if you’ve used too much is to look at your fingertips. If they feel sticky or look milky, you’ve used too much. Add a splash of water to your palms and smooth it over to fix it.
If you notice any stiffness after drying, that is your sign to use less next time. A soft, flexible hold is what you want.
Step-by-Step: The Perfect Wet Look
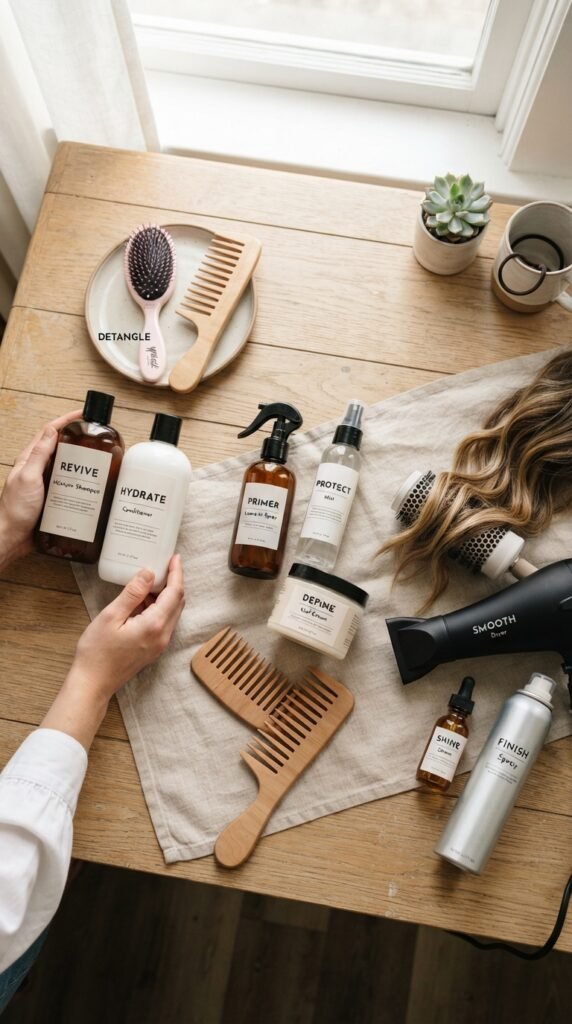
Here’s my tried-and-true routine. It takes less than five minutes:
- Start with damp, towel-dried hair. It should be wet but not dripping.
- Add a tiny amount of gel to your palm.
- Splash in a few drops of water and rub your hands together.
- Smooth your hands over your hair, starting at the roots and working to the ends.
- Use a wide-tooth comb or your fingers to shape the part exactly where you want it.
- Let it air dry or use a diffuser on low heat.
Once it’s dry, it should have a soft shine with no crunch. If it feels hard, just run a damp hand over it to loosen it up.
The Biggest Mistake Everyone Makes
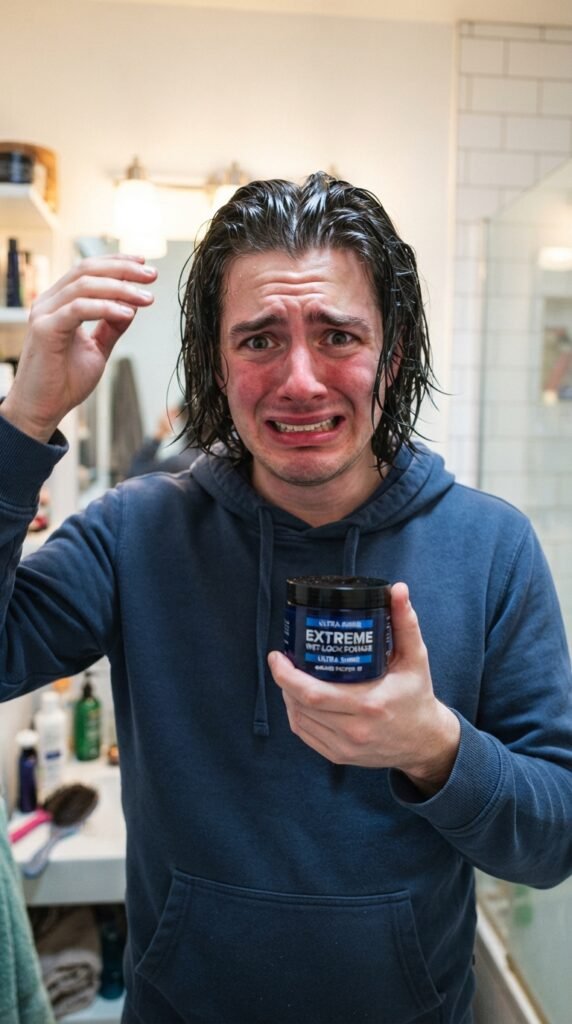
The biggest mistake is applying product to dry hair. When hair is dry, the gel stays right on the surface. It leaves that horrible white cast and shows every little flake. It also makes you need way more product than you actually do.
Fresh out of the shower, hair is like a sponge. It soaks up the product and spreads it evenly, which means you can use half the amount.
If you’ve already styled your hair and it looks too wet or too greasy, grab a spray bottle with water, give it a light mist, and rub your hands over the top. It will break up the heaviness instantly.
Fine Hair? This Trick Saves You
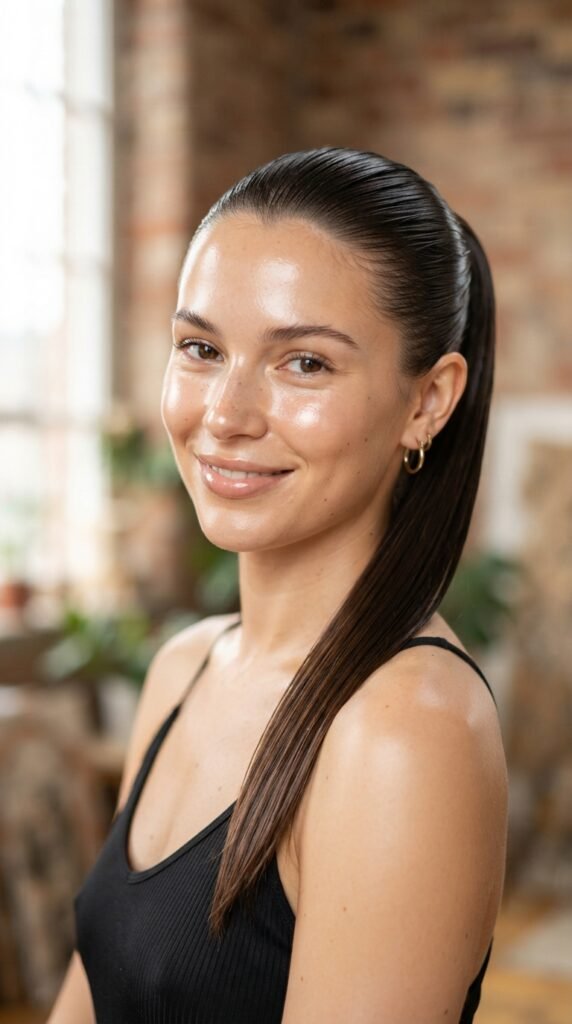
If you have fine hair, you already know that heavy products are a one-way ticket to flat, stringy hair. But the wet look can still work for you.
The key is to use a water-based gel or a lightweight mousse mixed with water. Skip heavy creams and oils. You want a product that dries down quickly without weight.
- Choose a clear, alcohol-free gel
- Dilute it with extra water in your palm
- Apply only at your roots and along the hairline
- Let it dry without touching it
The result is a clean, glossy finish that moves naturally instead of feeling painted on. You honestly do not need more than a pea-sized amount.
Thick or Curly Hair: Adjust the Amount
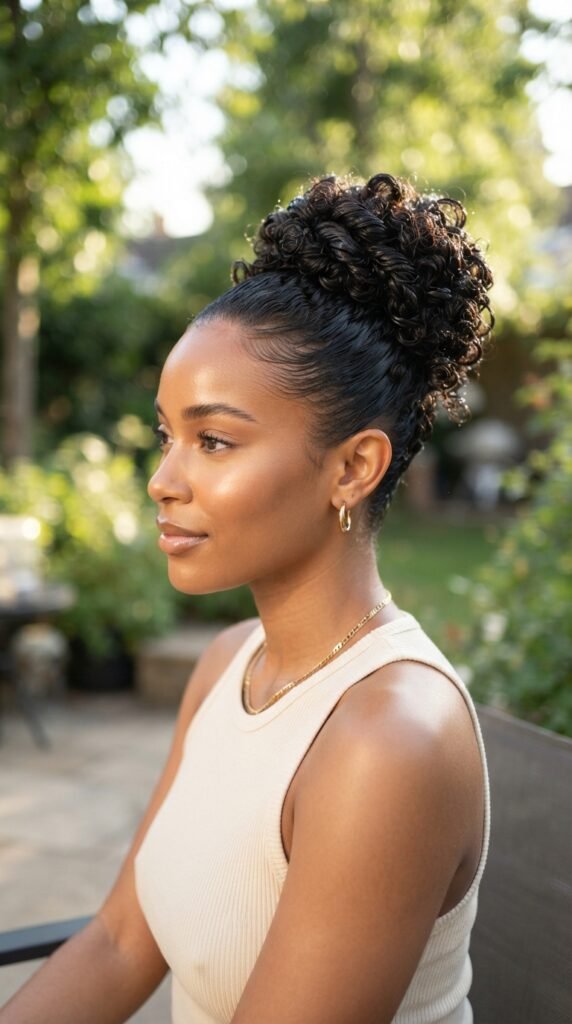
Thick hair likes to drink up product, but it still does not need a handful. The trick is to work in sections so every strand gets a thin, even layer.
For curly hair, the wet look is actually super easy. Scrunch or smooth the product through after washing, and it will lock in curl definition without weighing you down.
- Rake a tiny amount through with your fingers
- Smooth down the outer layer for a wet effect
- Use extra water if you see any clumping
Try to focus on the front pieces and the top layer. That is where the sheen reads best. Leave the rest slightly less glossy so it feels intentional.
The Best Products for a Natural Wet Look
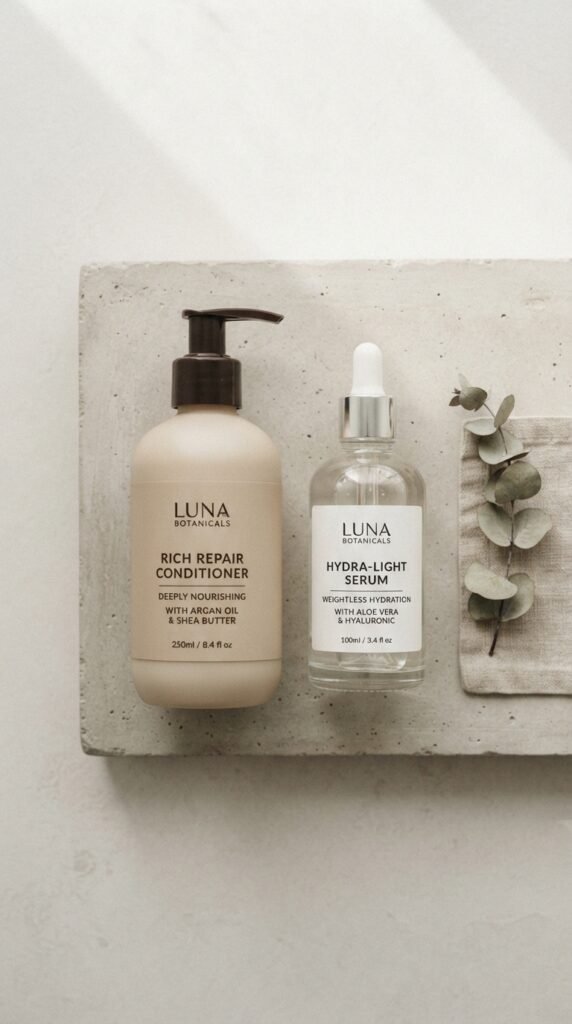
You absolutely don’t need anything expensive. Some of my favorite picks are affordable and easy to find.
- A clear aloe vera gel
- A water-based styling gel
- A lightweight curl cream
- A shine or gloss mist for touch-ups
What you want is something water-soluble and flexible. If the product turns hard or cracks after drying, trade it in for a finer formula. Run away from anything with a strong alcohol smell. That always dries things out and makes you apply twice as much to fix it.
Why Less Gel + More Water Works Better
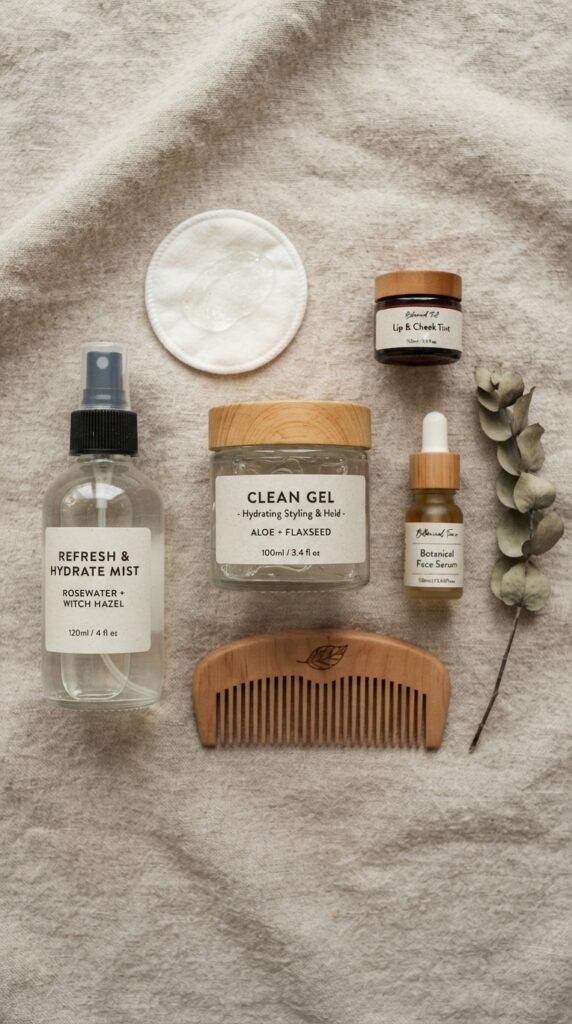
The more I experiment, the more I believe water is the real styling hero. Gel just seals it in.
Think of it this way: water gives you the wet shine. The gel gives you the control. If you use less gel, you get a softer, glass-like reflection instead of a heavy, muddied look.
Try this test: next time, use half as much gel and add an extra spritz of water. You’ll see that the finish is brighter, shinier, and far more natural. The hair will still move with you, and it won’t look like you fell asleep with a mask on.
The Wet Look on a Quiet Luxury Bob

The quiet luxury bob is all about understated elegance. It is clean, polished, and never loud. And honestly? The wet look fits this aesthetic perfectly.
When you brush the hair back with a soft sheen and no obvious product, the bob looks like it cost a fortune. It has that effortless, I-just-woke-up-expensive vibe.
Use a tiny amount of gel or even a cream, comb it straight back, and let the bob sit close to the jawline. Keep the ends pin-straight. That restraint is exactly what makes the quiet luxury bob feel modern for 2026.
Old Money Hair Meets the Wet Look

Old money hair is all about natural shine and a sense of ease. The wet look, when done right, is basically that same energy with a modern twist.
The key is to avoid a wet look that feels stiff or sharp. Instead, aim for a soft sheen at the crown and a clean, brushed-out shape around the face. It should look like you just stepped out of a pool and still looked effortlessly put together.
I like to pair it with side parts, low ponytails, or loose knots. That keeps the old money vibe relaxed and sophisticated.
How to Style 2026 Hairstyles With the Wet Look
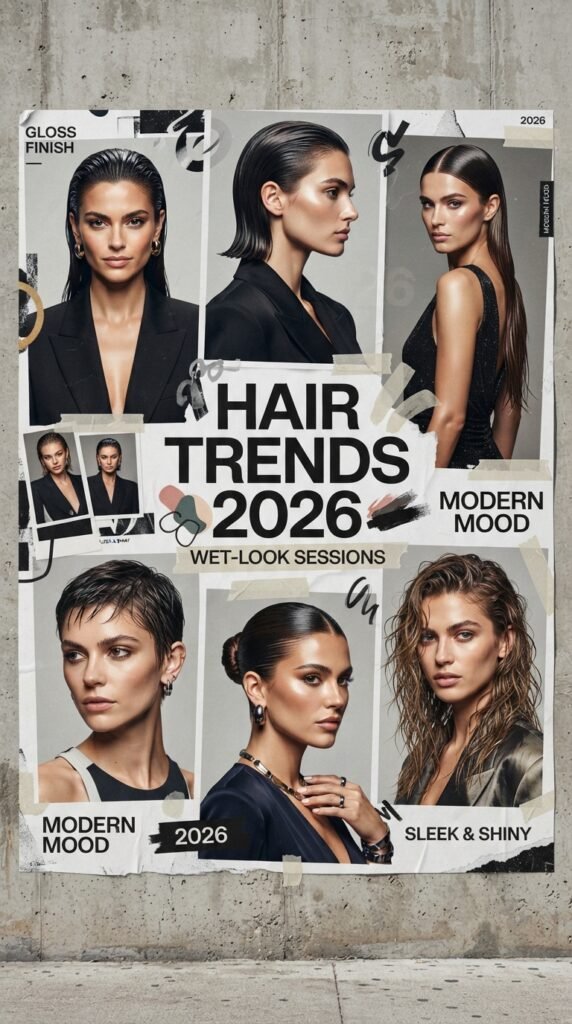
2026 hairstyles are honestly built for this trick. From glass hair to slicked-back buns, the runways are obsessed with that clean, high-shine finish.
For the new year, I would try:
- A center-parted wet look with edges smoothed
- A slicked-back bun with little to no flyaways
- A deep side-part with a glossy, wet sweep
These all follow the same rule: minimal product, plenty of water, and a final comb-through. No matter what look you try, the wet texture makes it feel current and intentional.
The Asymmetrical Lob and Wet Texture
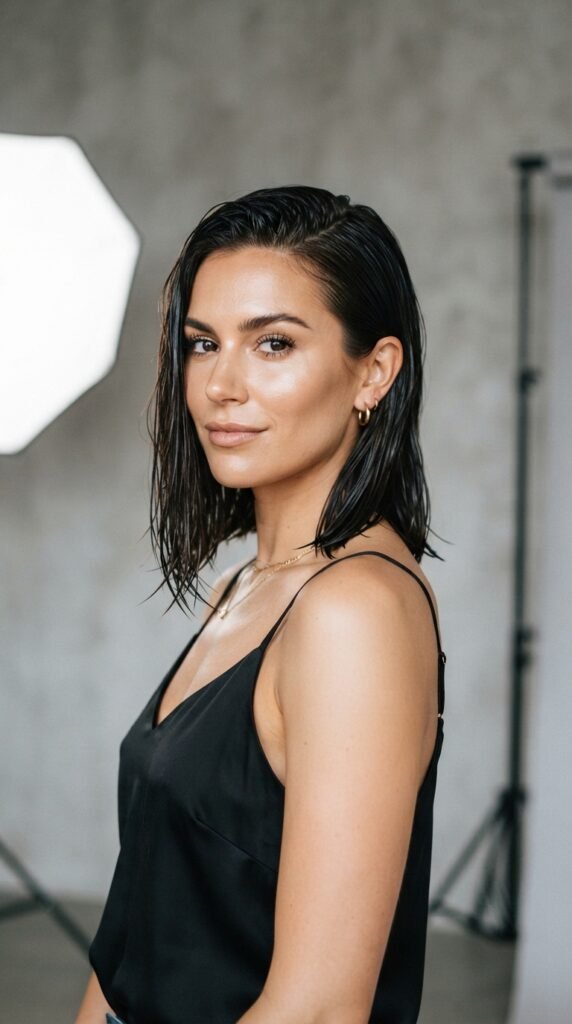
The asymmetrical lob is already a statement in 2026. The wet look just magnifies the coolness of it.
Because the cut has one side longer than the other, the wet sheen draws attention to that beautiful angular line. It’s bold but refined.
To shape it, use your fingers instead of a comb. This creates a slightly piecey, lived-in feel. Then tuck one side behind your ear and let the other side fall. A little shine on the ends keeps the cut looking sharp and expensive.
Romantic Goth Hairstyles With a Damp Finish

Romantic goth hairstyles are having a real moment, and the wet look is the perfect partner for that dark romantic vibe.
Think slicked-back dark waves, glossy black hair, and a mysterious sheen. The water-based product creates depth and movement that catches the light, while the restrained shine keeps it from feeling heavy.
This works well with braids, low twists, and half-up styles. A few face-framing pieces left slightly damp adds a haunting, romantic finish that fits the mood perfectly.
Glitchy Glam Hair Is Basically the Wet Look

Glitchy glam hair is that ultra-modern, almost metallic style you’ve been seeing on social media. It looks like a digital glitch in the best way, and its base is totally the wet look.
To get glitchy glam, you need hair that is sleek, glossy, and slightly wet-looking. Then you can add clips, metallic pins, or tiny elastic bands to create that techy texture.
Start with your regular wet-look base, then use small sections of hair secured with metallic accessories. The wet sheen gives the whole style a futuristic glow, perfect for festivals or a dramatic night out.
Vampire Haircut and the Wet Look Combo

The vampire haircut is all about dramatic, face-framing layers. It’s sharp, spooky, and somehow very chic. Adding a wet sheen gives it a glossy, just-bitten energy.
For this one, apply a very small amount of gel to the front layers and smooth them down around your face. Then keep the rest slightly dry for contrast. The result is a quick, edgy transformation.
The wet look also helps emphasize the jagged edges of the cut, which is exactly why this haircut has become so popular.
The Hime Cut With a Wet Sheen

The hime cut is precise, with cheek-length side pieces and a straight fringe. It’s a bold look that works beautifully with a subtle wet sheen.
You do not want heavy product here. This cut is all about geometry, so you want the shine to look sharp and intentional. A single drop of diluted gel or gloss serum in the palms is all you need.
Smooth it over the fringe and side pieces. Let the rest of the hair fall naturally. The wet sheen will highlight the clean lines of the hime cut without overpowering its delicate balance.
How to Keep the Wet Look From Looking Greasy
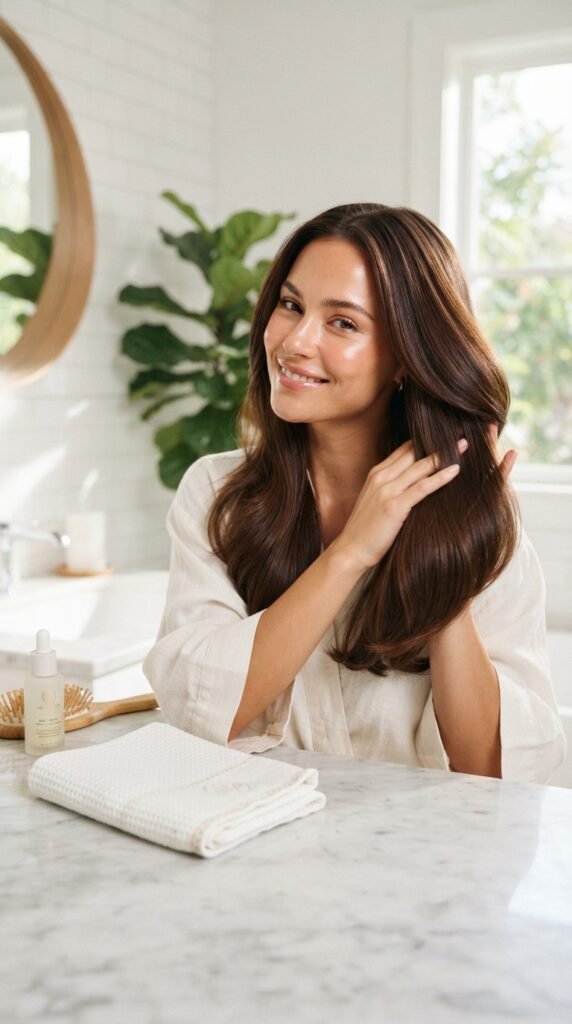
There is a fine line between glossy and greasy. I have crossed it more times than I care to admit. Here is how you avoid it:
- Never use oils as your wet-look base. Gel mixed with water dries down lighter.
- Keep the root area a little less wet.
- Use a matte styling powder at the crown if you have an oily scalp.
- Blot your hair gently with a tissue after applying the product to absorb the excess.
If your hair already looks slippery, just spray a little dry shampoo at the roots and brush it through. It will cut the grease without killing the shine.
The Wet Look for Short Hair and Pixie Cuts
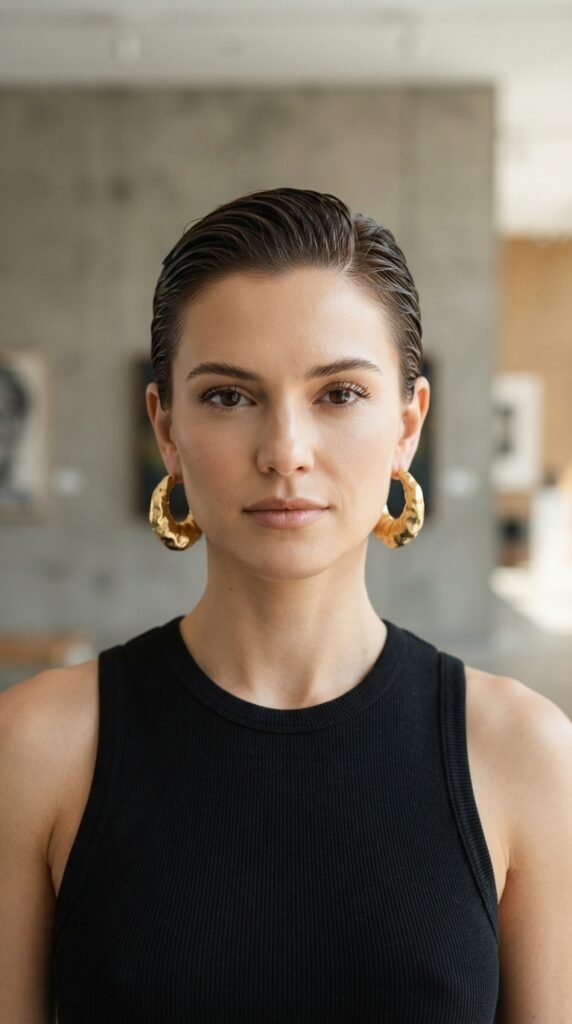
Short hair and pixie cuts actually wear the wet look the easiest. There’s less surface to cover, which means a tiny amount goes a long way.
I recommend a pea-sized amount or even less. Rub it between your palms and smooth it straight back, or comb it into piecey spikes depending on your mood.
Because there’s less hair, any product buildup shows really fast. Keep your washes regular and use a clarifying shampoo once a week. That prevents that greasy helmet feeling from ever sneaking up.
How to Refresh the Wet Look on Day Two
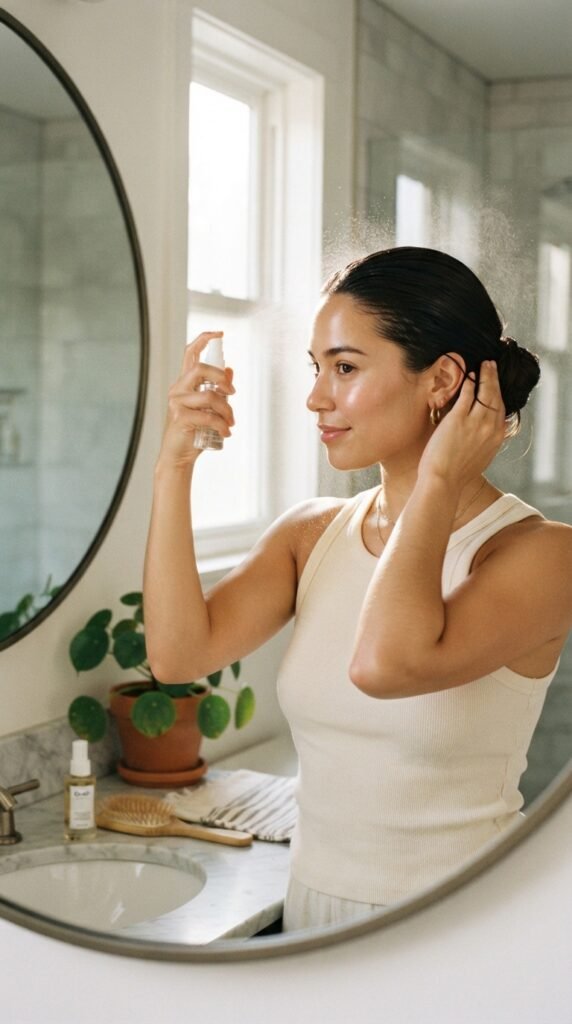
Wet look hair does not always survive a night of sleep, but the refresh process is easy.
Spritz your hair with water until it’s lightly damp. Then smooth your hands over it, and if you still want more shine, add a drop of gel diluted with water.
The goal is to soften any creases and bring back the gloss without layering on dry product. Just a little water reactivates whatever is left in the hair. If it still seems dull, add half a pea-sized amount of gel and work it through with your fingers.
Products I Always Keep in My Bag
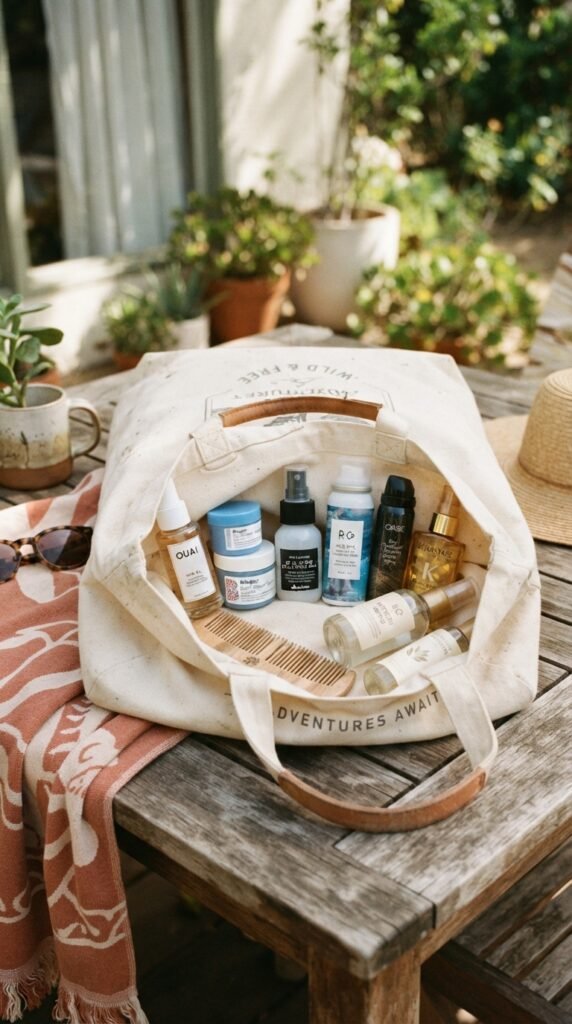
If you want to try the wet look on the go, here’s what I toss in my bag:
- A mini water spritz bottle
- A tiny clear gel (travel size works)
- A small folding comb
- A shine mist for touch-ups
These four things fit right into a clutch. They are enough to fix a flyaway, refresh a slicked-back bun, or turn an ordinary ponytail into something editorial in about thirty seconds. You do not need a fancy kit or a salon habit.
One Last Thing
Okay, let’s wrap this up with a big warm hug. The wet look is not as scary as it seems once you remember that water is your best friend and product is just the finishing touch. Start with less than you think, add water, and build up slowly.
I would love to know which of these styles you are excited to try. Are you team quiet luxury bob, romantic goth, or hime cut? Tell me in the comments, and I’ll reply to every single one.
Save this post to Pinterest so you have these little tips next time you’re staring at a half-empty bottle of gel. You’ve totally got this.