
How I Saved My Over Processed Hair From Breaking Off With Bond Repair Treatments
I remember staring at the mirror, holding a clump of my own hair in my hand and wondering how I got there. It was brittle, stretched out, and snapping at the slightest touch. I had dyed it, heat styled it, and used every “repair” product promising miracles. None of it worked.
So I did the one thing I hadn’t tried yet. I stopped guessing and started learning about bond repair treatments. And honestly? That changed everything.
This post is the exact routine that saved my over-processed hair from breaking off completely. I’ll show you what worked, what didn’t, and how to bring your hair back from the edge without losing your length. Quick, practical, and no fluff — just like you need it.
What “Over Processed” Really Means
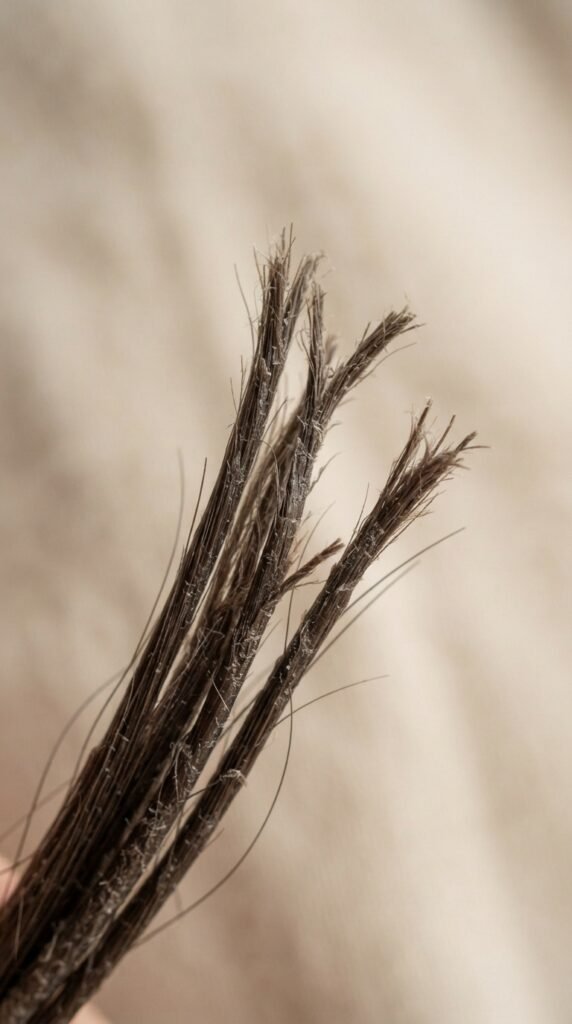
Over-processed hair isn’t just dry. It’s chemically altered to the point where the protein structure inside each strand starts to break down. When you bleach, relax, or repeatedly color your hair, the disulfide bonds — the ones that give hair its strength — get damaged.
Once those bonds break, your hair can’t hold moisture properly. That leads to that gummy, stretchy feeling before it snaps.
So the goal isn’t just to add moisture. It’s to rebuild those internal bonds so your hair can act like healthy hair again.
Why Bond Repair Changes Everything
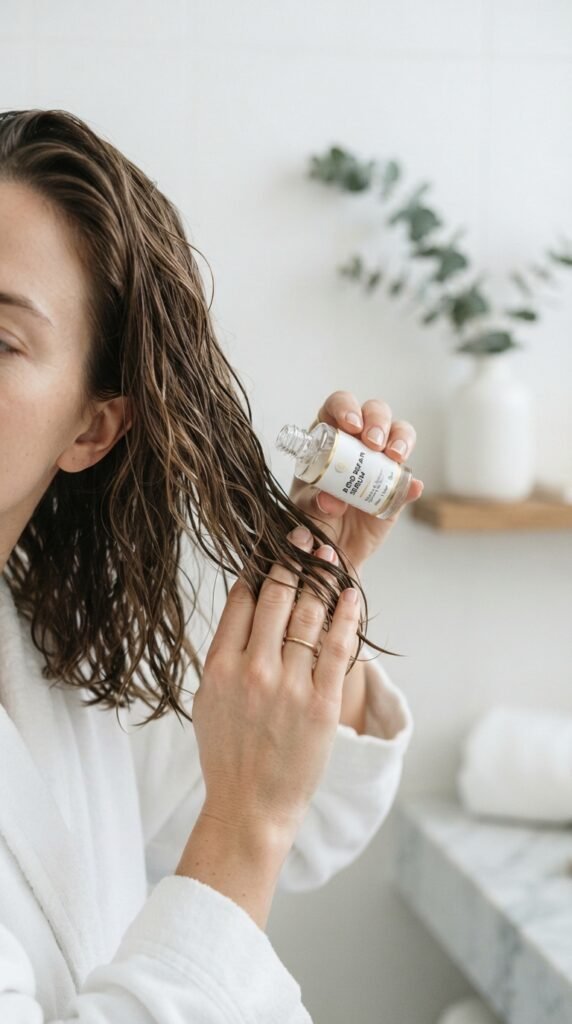
Most conditioners work on the outside of the hair shaft. They smooth the cuticle and make it feel nice for a day. Bond builders go deeper by targeting the broken bonds inside the cortex.
Think of it like fixing a wooden chair’s frame instead of just repainting it. You can’t see the repair right away, but the structure becomes stronger.
- Bond treatments work with your hair’s natural chemistry
- They help prevent future breakage
- They’re safe for color-treated and keratin-treated hair
- Results build over time with consistent use
My Wake-Up Call (Honest Story)

I’ll never forget the morning my hair snapped while I was just detangling it. Not pulling, just gently combing through with a wide-tooth comb. The sound was like a tiny crack, and then a two-inch piece fell into the sink.
That was my third bleach session in four months. I had been chasing a platinum “old money” blonde, but I ended up with hair that resembled straw.
I knew I had to stop the dye and seriously change my routine. That’s when I booked a consultation and started using bond repair treatments consistently.
The Bond Builder I Swear By
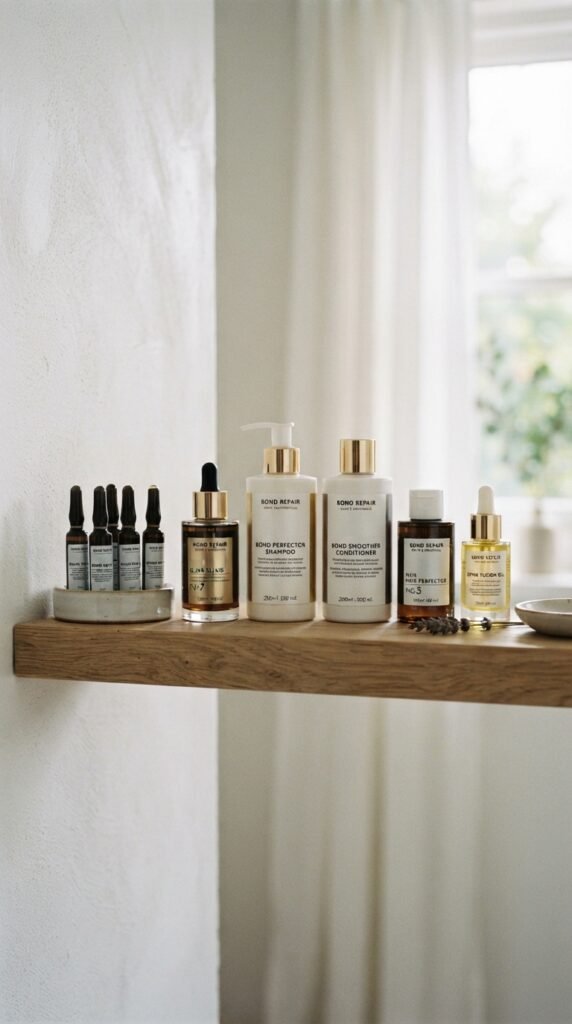
There are a lot of bond repair products now, and some are amazing. Others are just expensive conditioners in fancy packaging. What I found works best is a true bond-building treatment that you leave on for a few minutes before washing.
I use a standard 3-step system once a week. Step one is the bond remover (weirdly, it has to remove some damaged bonds first), step two is the actual repair, and step three is a sealing serum.
It’s a small time commitment for the biggest payoff. You don’t need ten products. You need one solid system and consistency.
How to Use Bond Repair Without Overdoing It
More isn’t always better with bond treatments. Using them too often can make your hair feel stiff or overloaded. For moderate damage, once a week is plenty. If your hair is really struggling, you can try every four days for a month, then drop to weekly.
My rule of thumb is simple. Go by how your hair feels, not the label. If your hair feels soft and springy after a treatment, you’re in a good place. If it feels cottony or mushy, back off for a bit.
- Start with once a week
- Assess after 2–3 sessions
- Adjust based on your hair’s response
Week One: First Results
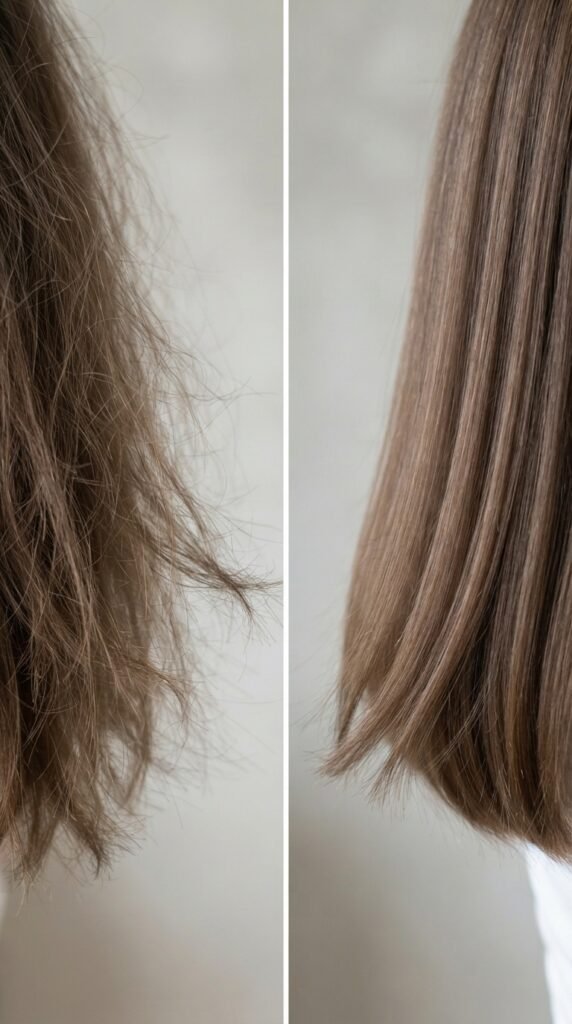
After my first bond repair session, I didn’t notice a huge difference. That’s normal. The real change showed up after about three weeks. My hair stopped snapping so easily, and the texture felt less rough.
By week four, I could run my fingers through my hair without losing fragments. It wasn’t fully healthy, but it was growing again.
- Less breakage in the shower
- Fewer split ends visible at the ends
- More elasticity when wet
- Overall calmer look even without styling
The Wash Schedule That Saved Me

Over-washing is one of the fastest ways to dry out damaged hair. During my recovery, I washed my hair every three to four days. In between, I used a dry shampoo or just a light spritz of water and leave-in conditioner.
Every wash strips natural oils, and over-processed hair needs those oils to stay flexible. When your hair lacks strength, less frequent washing lets your scalp’s oils travel down the strand and protect it.
I know this is easier said than done for some. But even moving from every other day to every two days makes a difference.
Protein vs. Moisture: The Balance

Bond repair treatments rebuild structure, but you also need moisture to keep the hair flexible. Too much protein without moisture leads to stiffness and breakage. Too much moisture without protein makes hair weak and gummy.
Here’s how I balanced it:
- Bond treatment weekly
- Deep moisture mask every five to seven days
- Light protein leave-in every other wash
- Always finish with a few drops of hair oil
This balance saved my curls from falling flat and kept my straight strands from turning into a straw-like mess.
What Not to Do While Repairing
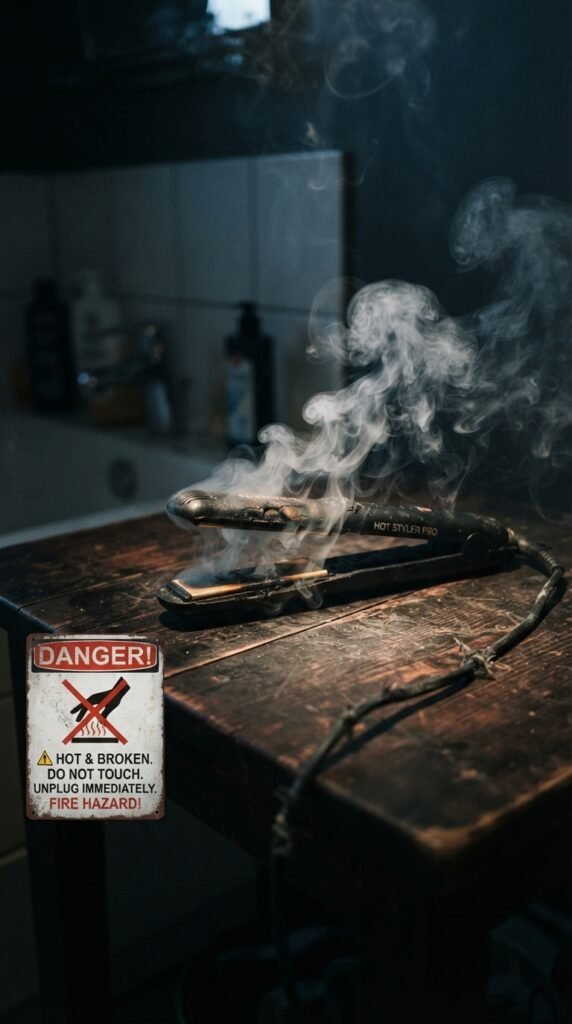
While your hair is recovering, certain habits will undo all your progress. I learned this the hard way. Heat styling over 350 degrees was killing my treatments before they could work.
You also want to avoid tight ponytails that pull at the hairline. And please, no brushing wet hair with a regular brush. That’s how you get stretchy snapping.
- No bleach or chemical color until breakage stops
- No tight styles that add tension
- No sleeping on rough cotton pillowcases
- No harsh shampoo that over-suds
Protective Styles That Actually Help

Protective styles aren’t just about looking put together. They give your ends a break from rubbing against your clothes and pillows. Loose braids, low buns, and gentle twists are perfect while your hair regains strength.
But here’s the catch. If a protective style pulls too tight, it can cause more breakage. Keep it loose enough to slide a finger underneath.
- Loose side braid
- Low, soft bun
- Two-strand twists
- Silk-lined headband styles
Cutting the Damage (Old Money Hair Inspiration)

I had to accept that some length had to go. Split ends that travel up the hair shaft are not repairable. You can bond-build them temporarily, but they’ll break off eventually.
Instead of crying over the loss, I asked my stylist for an “old money” haircut. That means blunt ends, face-framing layers, and a low-maintenance shine. It felt polished, expensive-looking, and gave my damaged ends a fresh start.
Old money hair is all about health and shine over length at all costs. That mindset helped me let go of what was already compromised.
The Quiet Luxury Bob for Fine Hair

Once my hair broke off at the mid-lengths, I was seriously considering a bob. If you’re in the same boat, listen. The quiet luxury bob is perfect for over-processed hair because it removes the weakest ends while keeping a chic shape.
It’s also one of the 2026 hairstyles that looks effortless with minimal styling. No heat tools required. Just a soft wave or a smooth blowout.
- Chin-length or slightly longer
- Blunt or softly rounded ends
- Works with thin or fine texture
- Makes your hair look denser
Even if you’re not ready to chop, remember that a slight trim to even out breakage can make the rest look healthier.
Is the Asymmetrical Lob Right for You?

If you can’t part with your length completely, the asymmetrical lob is a great middle ground. The front pieces stay longer while the back is shorter, which hides thinness and gives your hair movement.
I tried this style when my breakage was worst, in the crown area. The shorter back layered nicely with the longer front, and my hair instantly looked more intentional.
Just be sure to ask your stylist to cut with a razorless technique to avoid fraying already weak strands. It’s low-maintenance and grows out beautifully.
Vampire Haircut: Edgy But Repair-Friendly

The vampire haircut is basically a shag with deeper face-framing layers that start around the cheekbones. It’s one of the 2026 hairstyles that adds instant dimension without needing lots of styling. And it’s surprisingly great for damaged hair.
Because the layers are cut inward, the thin, broken ends blend into the shape instead of sticking out. I felt less pressure to hide mine.
For color damage, you can keep it dark and rich. The shadowy effect hides uneven lengths, and the sharp face frame draws attention to your eyes instead of your split ends.
Hime Cut and Bond Repair: Friend or Foe?

Hime cuts are back, and they look cool with their blunt bangs. But if your hair is over-processed, blunt edges can make the damage more obvious. Weaker ends will naturally flip or splay out.
I’d say the hime cut is a friend only if you’re ready to commit to regular trims and sealing your ends with oil. For others, try a soft version with rounded layers.
- Straight bangs hide receding hairline
- Long side pieces hide ponytail damage
- Use a bonding leave-in daily
- Sleep with your hair loose to avoid kinks
Romantic Goth Hairstyles for Damaged Hair

Romantic goth hairstyles are actually perfect for over-processed hair. They often involve loose waves, dark rich tones, and lots of texture that hides breakage beautifully. Plus they look amazing without high heat.
Here’s how I made it my recovery style:
- Bond repair spray on damp hair
- Low loose braid overnight
- Undo in the morning for soft waves
- Add a dark glossing treatment for shine
This vibe lets you lean into the “moody” texture instead of pretending your hair is perfect. It’s the best mix of trendy and practical.
Glitchy Glam Hair: How to Fake It Safely

Glitchy glam hair is all about unusual partings, metallic clips, and angled cuts. It’s one of the coolest 2026 hairstyles. And here’s the secret, it doesn’t require perfect hair at all.
The reflective clips and twisted sections draw the eye to the accessories, not your damaged strands. You can create the look in ten minutes with zero heat.
- Dampen hair with water and conditioner
- Twist small sections and pin loosely
- Add metallic or statement clips
- Let it air dry completely
This style feels artistic and made me less obsessed with my hair being “perfect.”
2026 Hairstyles That Hide Breakage
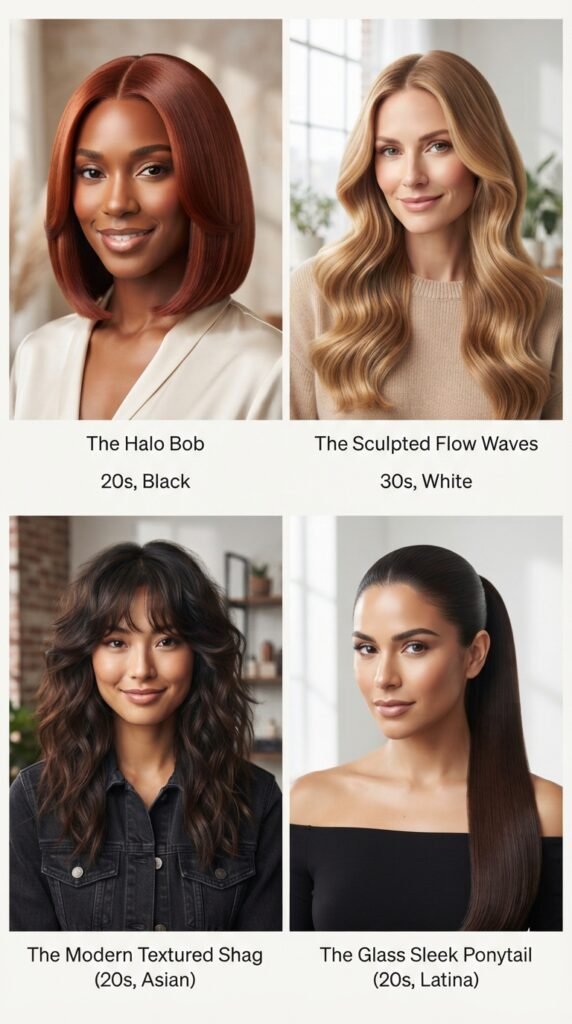
If you want to keep length but hide breakage, some 2026 hairstyles are built for that. The key is textured crowns, soft bangs, and gentle movement that doesn’t rely on heat.
- Shaggy face-framing layers
- Curtain bangs that blend into the sides
- Loose French braids with wispy front pieces
- Wet-look styles with gel and shine
These all take advantage of messy textures so your hair never needs to look “done.” They’re stylish and give your recovering hair a break from heavy styling products.
Nighttime Routines for Extra Protection

Nighttime is when hair can get damaged without you even noticing. Cotton pillowcases create friction and pull on already fragile strands. Silk or satin is much gentler.
I also started putting my hair in a very loose, low ponytail with a scrunchie. That stopped the hair from being flattened and matted while I moved in my sleep.
- Use a silk or satin pillowcase
- Sleep with hair loose or in a loose braid
- Apply a few drops of hair oil to your ends
- Never sleep with heat styling products in
Supplements vs. Topical Treatments

Bond repair treatments work from the outside in, but supplements help from the inside out. I wasn’t sure if they were worth it, so I added one with biotin, zinc, and vitamin D. After two months, I noticed my regrowth felt thicker.
That said, supplements won’t fix already damaged hair. They only support new growth. So pair them with your bond repair routine for best results.
Don’t go overboard with biotin though, too much can cause breakouts. Stick to the recommended amount.
When to See a Professional

If your hair is thinning visibly, or if you see bald patches, it’s time to stop DIY and see a professional. Bond repair treatments are great, but they can’t fix damage that affects the follicle.
Also, if your hair feels like wet straw and does not spring back when stretched, that’s a sign of severe protein loss. A stylist can tell you if you need a stronger treatment or a big chop.
Don’t be afraid to ask for a consultation. It’s better than guessing with expensive products.
My Current Maintenance Plan
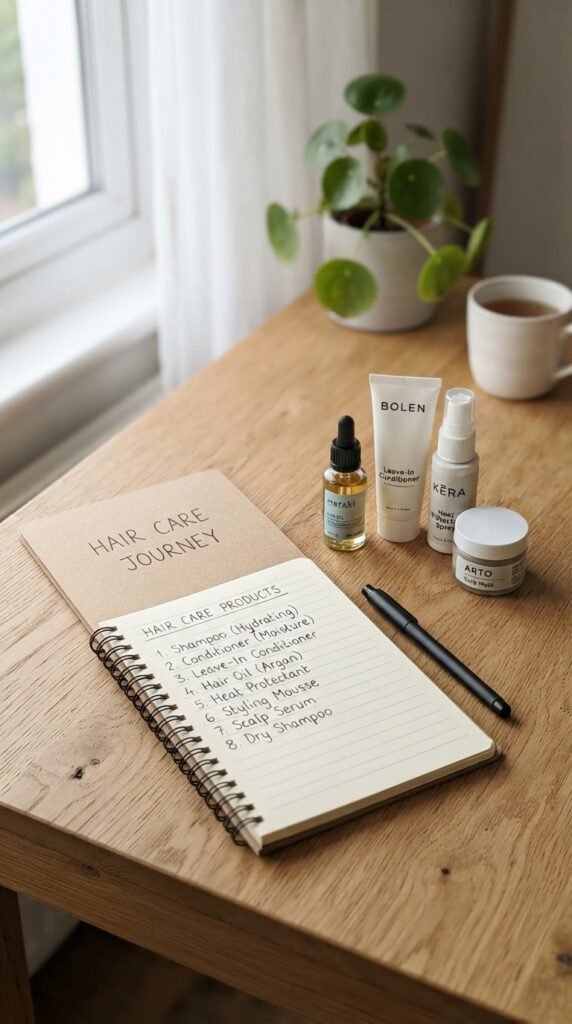
These days, my hair is about 90% recovered. I still use a bond repair treatment once a week, but I’ve added more flexibility. I can use heat again on low settings, and my hair doesn’t snap.
Here’s what my plan looks like:
- Wash every 3 days
- Bond repair treatment every Sunday
- Deep moisture mask every other Friday
- Hair oil on ends every morning
- Silk scrunchie at night
It’s simple, repeatable, and doesn’t take over my life.
The Product List (Keep It Simple)
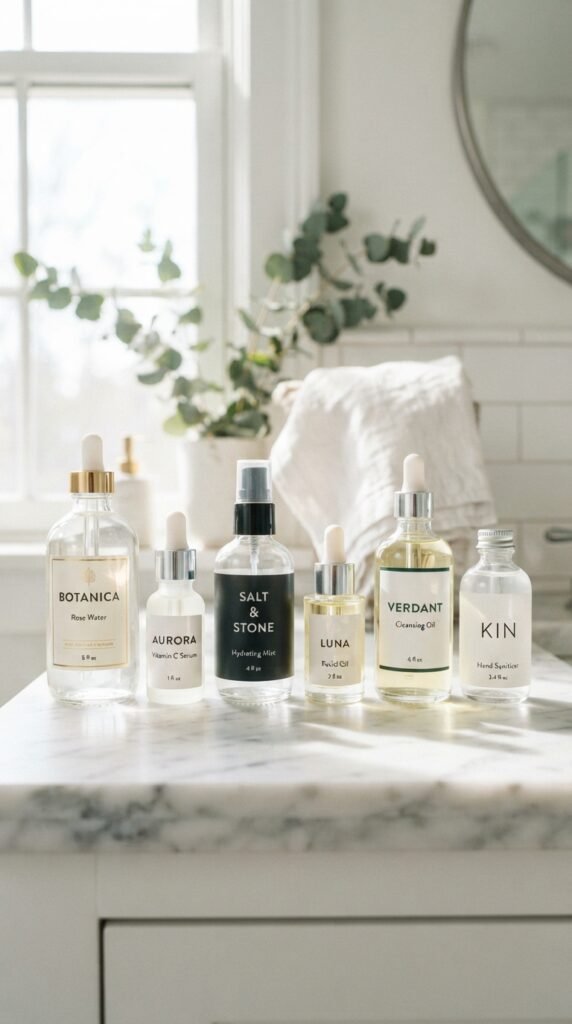
If you want to start your own routine, you don’t need a huge product closet. Choose one bond treatment, one gentle shampoo, one rich conditioner, and a lightweight hair oil.
I also keep a leave-in spray with bonds added for touch-ups. That’s literally it. Everything else felt like overkill.
Start small, use consistently, and let the products do their work. You’ll find that your favorite old hair tools can stay in the drawer for a while.
Some Final Love for Your Hair
Repairing over-processed hair doesn’t happen overnight, but it does happen. I never thought I’d get here. My hair sheds less, grows more, and finally feels like my own again.
If you’re going through that fragile, scary phase, please be patient. Choose one routine, stick with it, and don’t let setbacks discourage you. Small choices every week add up to real results.
Your hair is not ruined. It’s just asking for help. You’re already on the right track by reading and caring enough to try.
Save this post to Pinterest so you can find this exact routine next time you need it. And tell me, have you ever tried bond repair treatments? I’d love to hear what worked for you in the comments.