This Texturizing Spray Gives You Beachy Waves Without Ever Going Near The Actual Beach
Okay, let’s be real for a second. I love the *idea* of the beach—the wind, the salt, that effortlessly messy hair. But the reality? Sand everywhere, sunburn, and a commute that takes forever. That’s exactly why I am completely obsessed with my latest discovery: a texturizing spray that gives me those perfect, undone beachy waves right in my own bathroom. It takes me less than five minutes, and I don’t even have to put on real pants to do it. Today, I’m sharing exactly how to get the look.
This isn’t about crunchy, stiff hair. This is about that soft, lived-in texture that makes it look like you just came from a boardwalk date (without the salty residue). Whether you are rocking the quiet luxury bob or experimenting with a hime cut, this trick works. Let’s dive into how to fake that “I just left the ocean” vibe with zero travel time.
Why Beachy Waves Are Still the Ultimate “It” Style
The beauty of beachy waves is that they are never really “out.” They evolve. For 2026 hairstyles, we are seeing a shift away from perfectly polished curls toward a more relaxed, almost *old money* aesthetic—think less trying, more effortless elegance. This spray helps you nail that vibe.
It’s the perfect middle ground. You get that breezy, laid-back energy, but you still look polished enough for a video call or a dinner date. It’s the hair equivalent of wearing a cashmere sweater—comfortable, classic, and always chic.

The “Old Money” Connection: Messy But Expensive
The “old money” hair trend is all about understated luxury. It’s not a stiff helmet of hair; it’s about soft movement and healthy shine. Using a texturizing spray is the secret weapon to achieving that expensive-looking *effortless* finish that the old money aesthetic demands.
This spray breaks up the “newness” of your blowout, making it look lived-in and luxurious. It adds that grit that separates a cheap style from a pricey salon look. There’s no glitter, no stickiness—just a matte, touchable finish that screams quiet wealth.
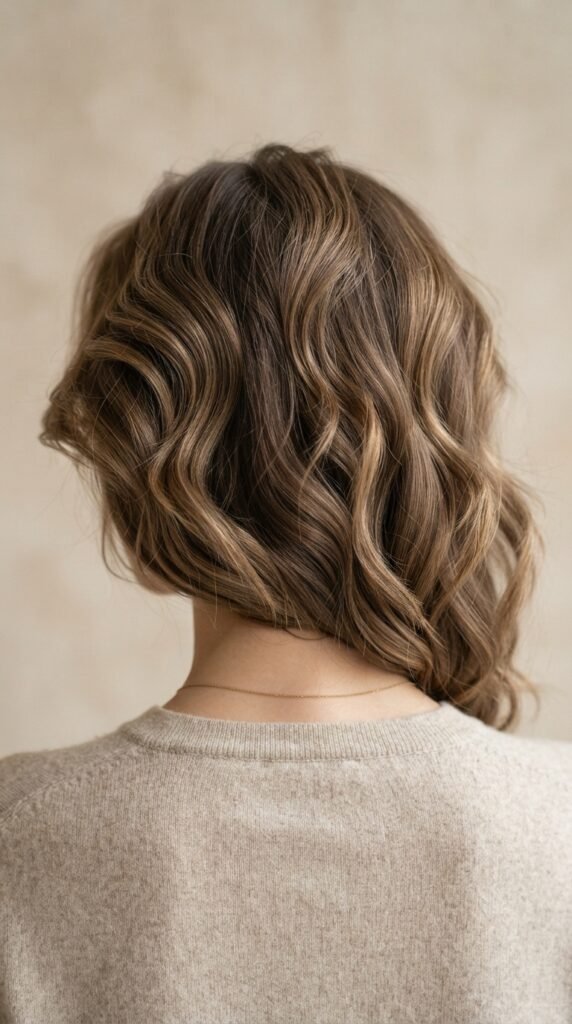
Wave Hello to the “Quiet Luxury Bob” Upgrade
Are you rocking a quiet luxury bob? This cut is everywhere, but sometimes it can fall a little flat or look too blunt. A quick spritz of texture spray at the roots solves that instantly. It gives your bob that piece-y, separated look that adds instant volume and cool-girl edge.
All you need to do is spray it into your hands, scrunch it into your bob, and tousle with your fingers. It breaks up the bluntness and creates a softer, more modern silhouette. It is literally the difference between “I just got a haircut” and “my hair is just naturally amazing.”

Don’t Worry, it Won’t Hurt Your Romantic Goth Vibes
Now, if your style leans more toward romantic goth hairstyles, don’t scroll away! This trick works for dark, moody aesthetics too. The key is to use the spray to create a slightly more disheveled, windswept look—very dramatic and cool. It gives your dark locks a wild, untamed texture that fits the vibe perfectly.
Instead of perfect curls, you want that “I just saw a ghost” (in a cool way) texture. Spraying this on and roughing it up adds volume and a slight piece-y effect that makes your dark hair look even more dimensional. It grounds the look and makes it feel more modern than costume-y.

Step #1: Start with Day-Old Hair (or Freshly Washed)
Honestly, texture spray works best on hair that has a little bit of natural oil. If your hair is super clean and squeaky, it can actually be a little too slippery. So, I highly recommend using this on second-day hair for the absolute best grip and hold. It’s a lazy girl win if I ever heard one.
If you *have* to wash your hair (we’ve all been there), just make sure to blow-dry it completely. You can also add a tiny bit of dry shampoo at the roots first to rough up the cuticle a little. Then, you are ready for the main event.
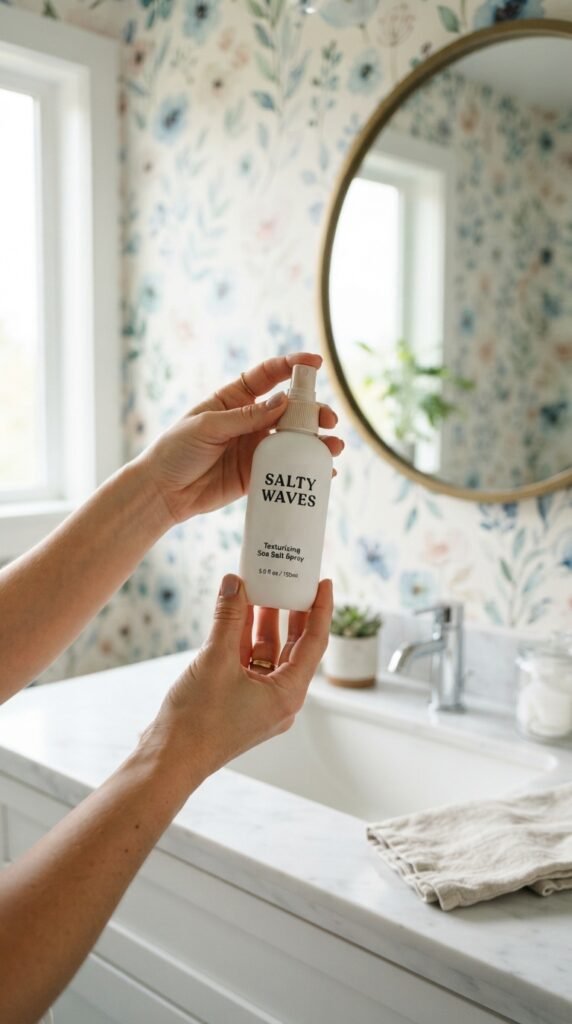
Step #2: Sectioning is Your Best Friend
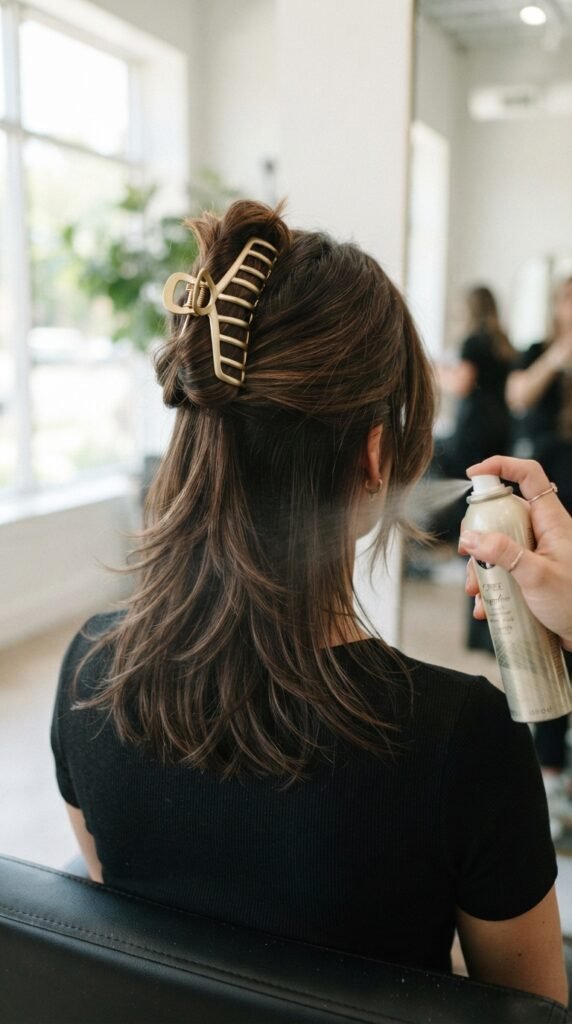
I know, sectioning sounds like hard work. But for the best results—especially if you have thick hair—you need to get the product to the bottom layers. You don’t need fancy clips; a single claw clip to hold the top half up is perfect. It takes ten seconds and makes a world of difference.
Spray the bottom layers first, scrunch, then release the top and give that a quick spritz. This ensures you don’t end up with crunchy roots and no hold on the ends. It’s about being strategic, not lazy, with your application.
Step #3: The Crucial “Scrunch and Tousle” Method
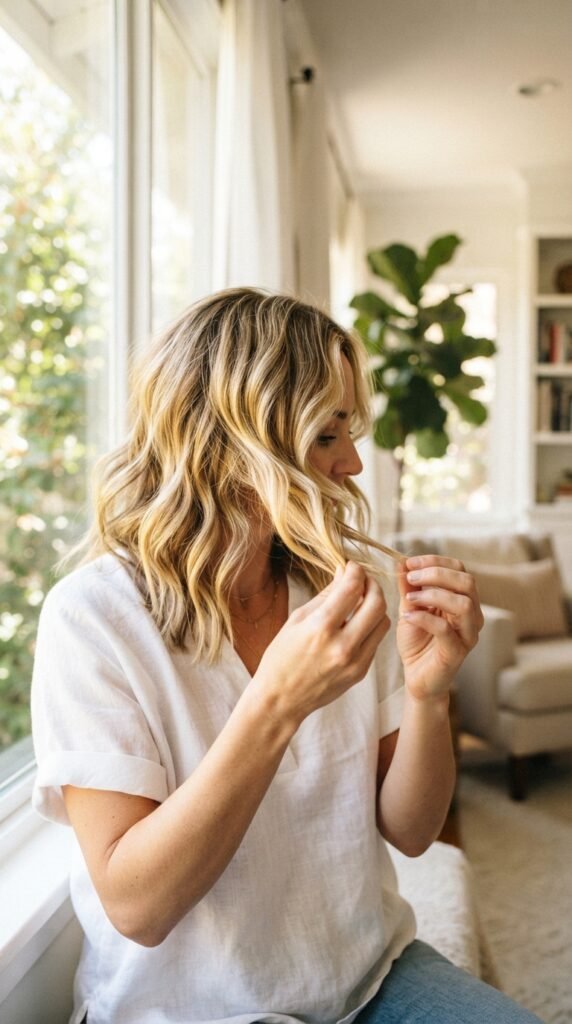
Here is where the magic happens. After you spray a section, don’t just leave it to dry. You need to cup the ends of your hair in your hands and push upward, squeezing the hair towards your scalp. This is called scrunching, and it is the step that actually forms the wave pattern.
Keep scrunching until you feel the texture grab. Then, shake your head a little and run your fingers through your roots to break up any product chunk. This releases the wave and gives you that airy, soft finish instead of a stiff wave.
Why This Beats Your Home Dry Shampoo
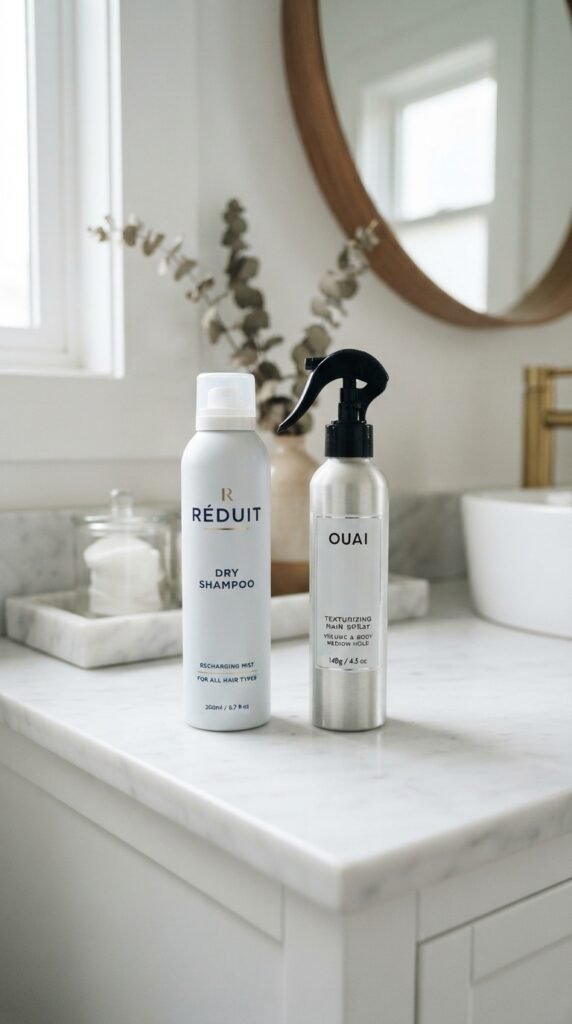
Look, dry shampoo is great for absorbing oil, but it doesn’t create texture. It can actually leave a powdery, white residue and make your hair feel dry. A texturizing spray, on the other hand, is formulated to add *grip* and *memory* to the hair, which is exactly what you need for a style to hold.
It’s like the difference between a primer and a foundation. Dry shampoo is for maintenance, and texture spray is for styling. They are best friends, but they do very different jobs. This spray gives you that “sandy” effect without the actual drying of your strands.
What About the “Glitchy Glam” Trend?
You might have seen “glitchy glam” hair all over social media—it’s that modern, almost digital-looking disruption of texture. It features deliberate bends and kinks that look like a visual glitch. This texture spray is actually a perfect base for that style too.
To achieve it, spray your hair lightly, then use a straightener to create random, angular bends throughout—almost like an asymmetrical lob shape but with a weird, cool twist. The spray gives the hair enough grip to hold these unconventional shapes without them falling flat. It’s a super avant-garde look for 2026.
Sculpting the Perfect Asymmetrical Lob
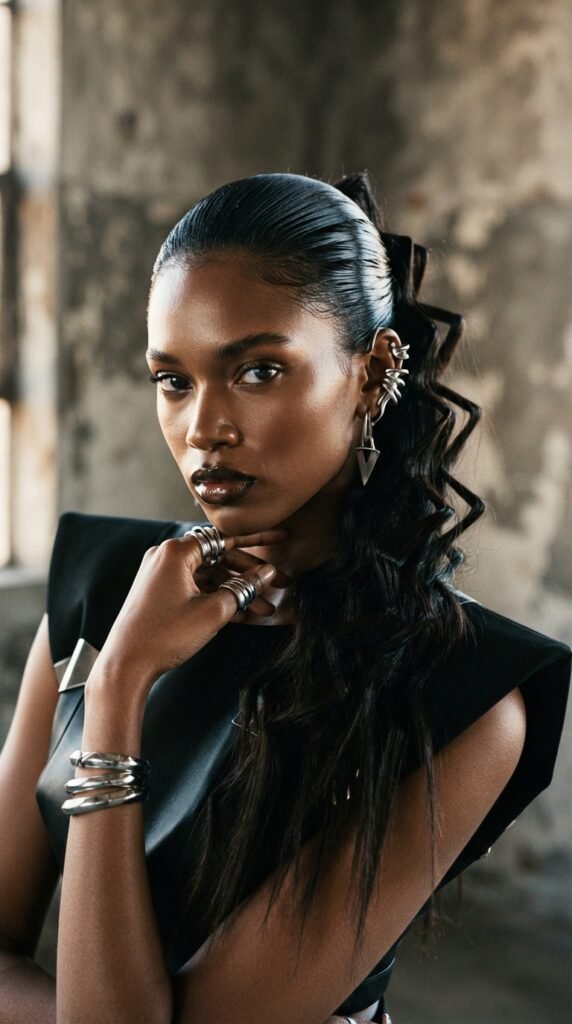
For those of you with a fun asymmetrical lob, this texture spray is a godsend. That cut already does half the work, but the texture spray brings it to life. It accentuates the sharp lines of the cut while adding softness to the movement, which is a tricky balance to get right.
It allows you to tuck one side behind your ear and let the other side hang loose, creating that perfectly undone vibe. The spray gives it staying power so the longer side doesn’t lose its shape. It keeps the “off-kilter” 2026 look relevant instead of messy.

Is This The “Vampire Haircut” Cheat Code?
The viral “vampire haircut” is all about long layers, face-framing curtain bangs, and an overall sharp and seductive shape. It’s very romantic but often requires a lot of heat styling to maintain that “fresh from a castle” swoop. Texture spray helps you fake the volume and separation that makes this cut so iconic.
Spraying the root area and the ends helps the layers separate and move independently, just like the vampire cut requires. It makes your hair look thicker and more dramatic. It really completes the vibe, whether you’re going for a modern, edgy version or a softer, romantic one.

Beachy Waves Meet the Hime Cut
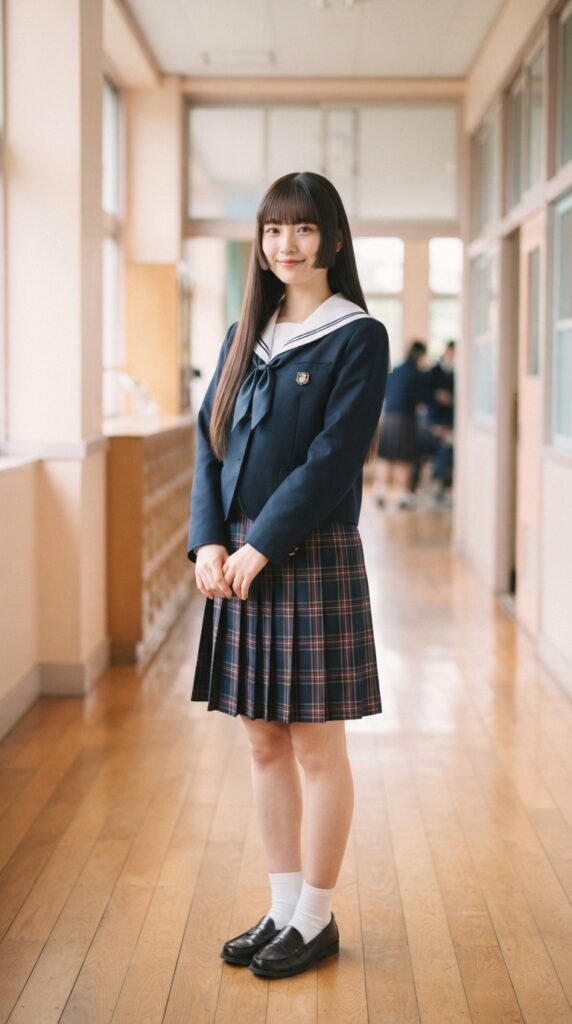
I know the hime cut is a bit of a niche style, but it’s gaining traction. It usually features straight, blunt bangs and longer side pieces that frame the face, with the back often being a bob or layers. Texture spray can actually soften this look so it doesn’t feel too harsh or costume-y.
Instead of keeping the side pieces pin-straight, you can scrunch a tiny bit of texture into them. This gives the hime cut a modernized, slightly Westernized, and more casual feel. It turns a very precise style into something wearable for a weekend brunch. It’s all about blending the sharp with the soft.
Applying to Fine Hair: The “Grip” Game
If your hair is on the finer side (like mine), you might be scared of sprays making it look flat or greasy. Here is my tip: spray from a distance (about 8-10 inches away) so the mist is super fine. Then, flip your head upside down when you scrunch. Volume is your friend!
The key is to *not* overdo it. Start with one spritz, see how it feels, and add more if needed. You can always add more, but you can’t take it away. This builds a gentle, strong grip without weighing your delicate strands down.
But Wait, I Have Thick, Frizzy Hair!
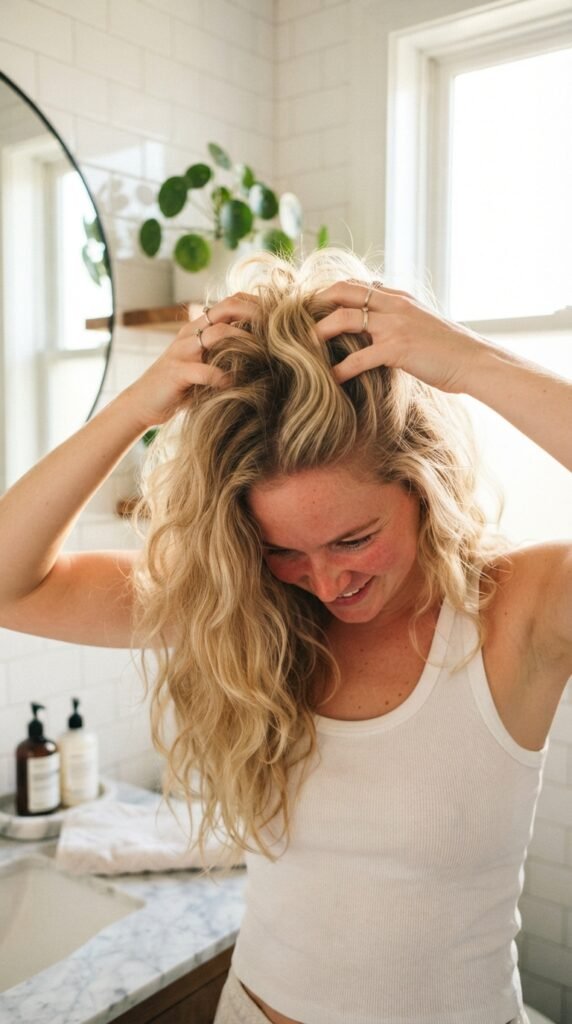
Thick hair, you are not forgotten! You might struggle with frizz more than texture. But the right texture spray (usually one with some humidity resistance) can help define your waves, rather than puffing them out. The “beach effect” actually helps tame the lion’s mane.
For you, use the spray *before* you fully dry your hair, or on sweat-damp post-gym hair. Then, twist sections of your hair around your finger to create a roped texture as it dries. This gives you defined, smooth beachy waves, not a frizzy balloon effect.
How to Layer it With Hairspray (The Power Duo)
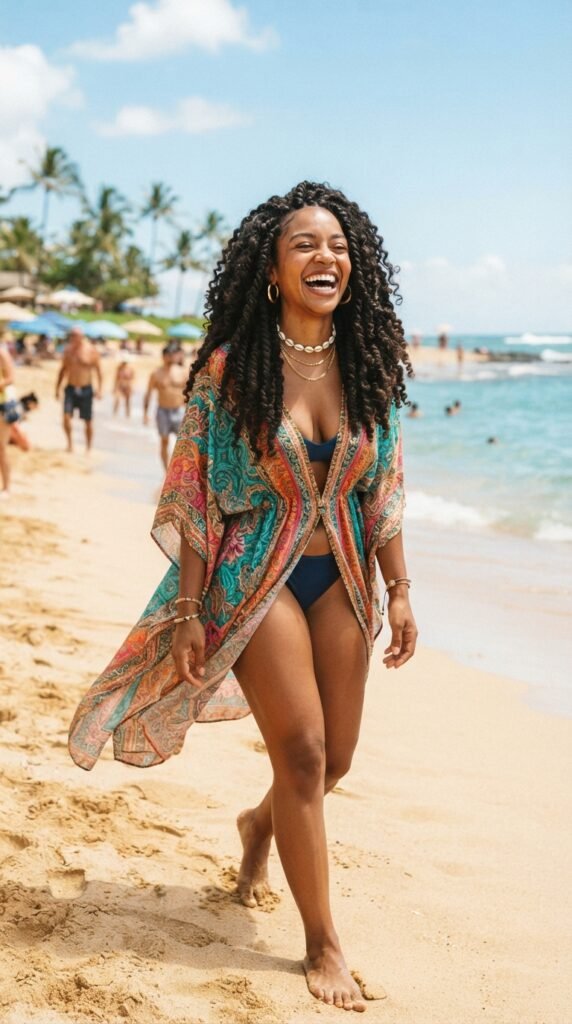
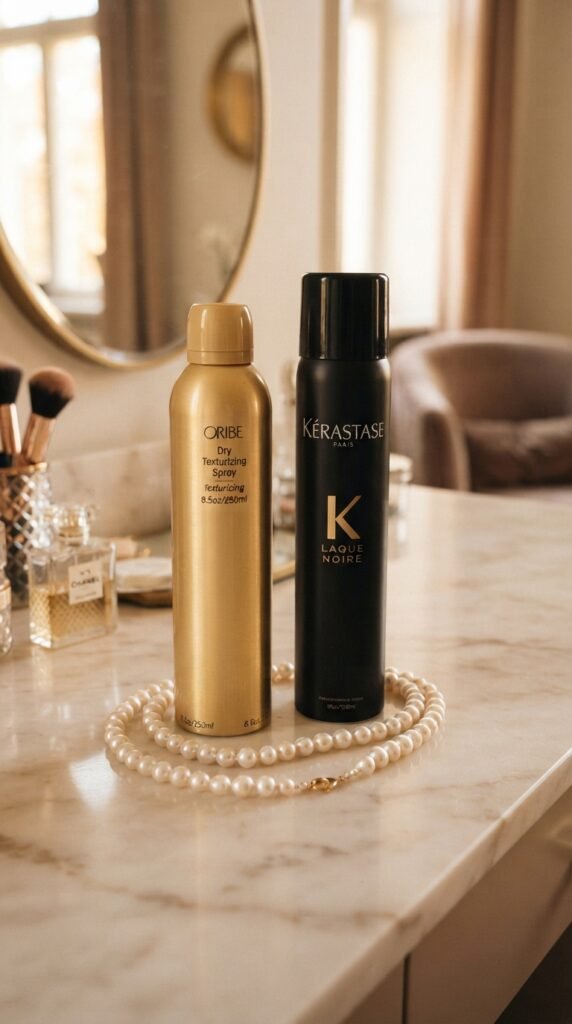
Let’s talk about longevity. Texture spray gives you the base, but if you need your hair to stay all night, you might need a friend. The trick is to layer them strategically. Spray your texturizer first, scrunch, and then finish with a *light* mist of flexible hairspray.
This is the ultimate “power duo.” The hairspray locks the wave pattern in place, while the texture spray provides the flexible, beachy grit. You get the hold without the crunch. It’s the secret to dancing at a wedding for six hours and still having killer hair at midnight.
Top 5 Mistakes to Avoid When Using Texture Spray
Even though it seems easy, there is a learning curve. Let’s save you from the rookie mistakes that can ruin the “beach” effect.
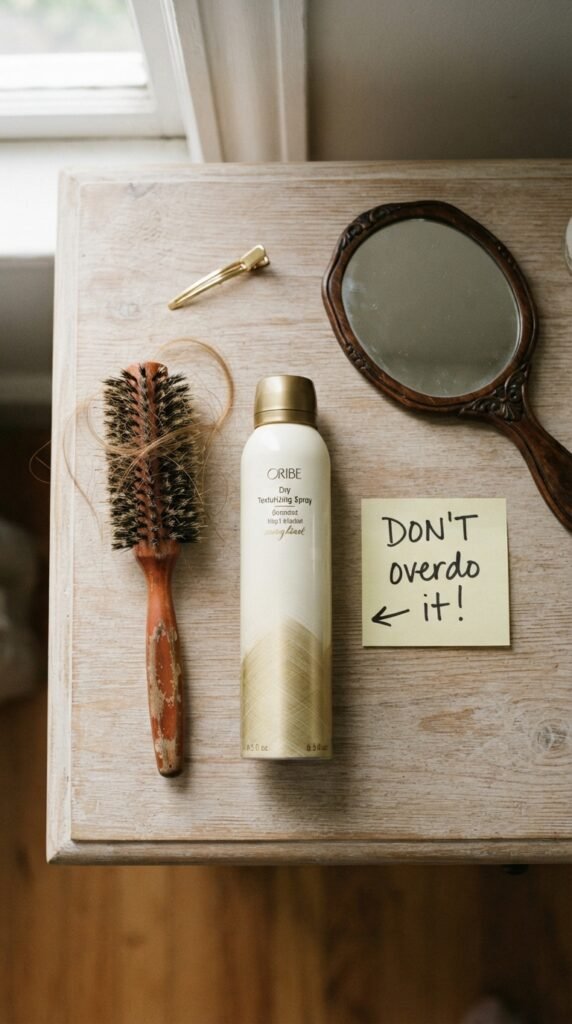
- Spraying too close: This makes your hair glue-sticky. Keep that bottle a safe distance away.
- Using too much: Seriously, a little goes a long way. You don’t need to soak it.
- Applying to wet hair: It won’t hold, and it might get weird. Apply to dry or damp (not soaking) hair only.
- Not scrunching enough: The spray doesn’t do the work; your hands do. You must engage the wave.
- Brushing it out: This will immediately flatten it and make it look powdery. Use your fingers, never a brush.
How to Refresh Beachy Waves on Day 3
The best part about beachy waves is that they age well. But on day three, you might need a little pick-me-up. You don’t need to wash and restyle. Just get your hair slightly damp with a spray bottle (or just water on your hands), re-wet the ends a little bit, and re-scrunch.
You don’t even need to add more product! The old product will “reactivate” with the water and re-form the wave. This is called refreshing, and it is your new best friend. It saves so much time and extends your hairstyle by another 24 hours.
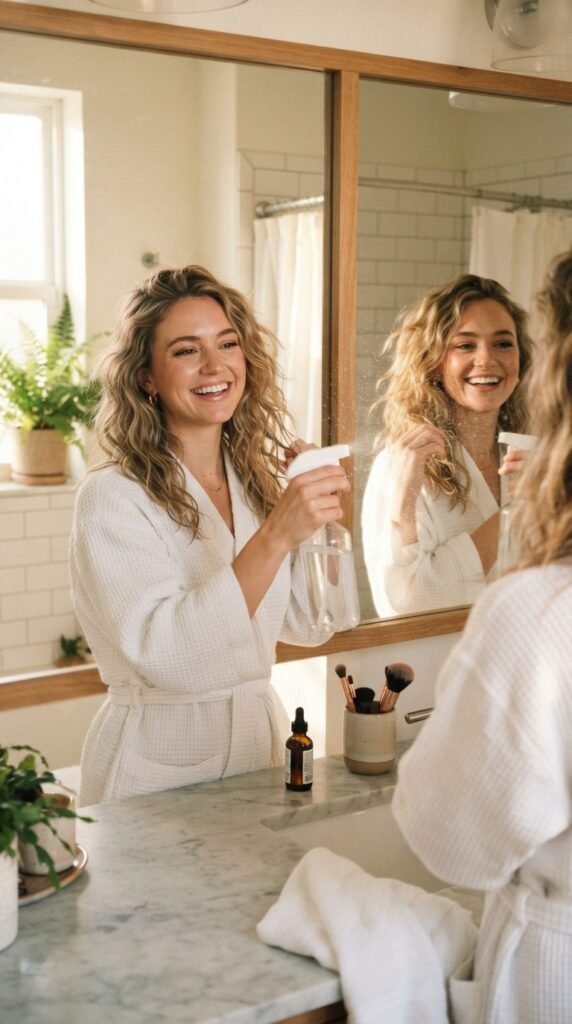
Beachy Waves for the “I’m Traveling” Vibe
Going on a vacation or a weekend trip? A travel-sized texture spray is an absolute essential. It replaces the need for a curling iron in some cases. It’s the easiest way to keep your style consistent, even when the humidity is attacking you or you’re in a hotel with a terrible blow dryer.
It also helps you look more polished in photos after a long flight. You can just spray, twist, and scrunch that “airplane hair” into something that looks like an intentional 2026 style. It’s minimal effort for maximum payoff.
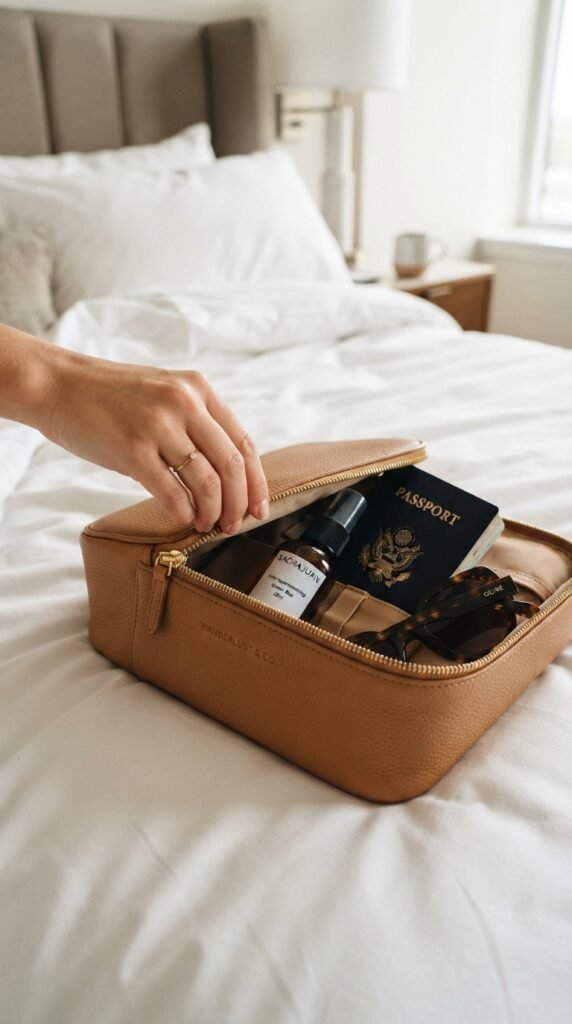
Let’s Talk Ingredients: Salt, Sea, or Synthetic?
You might be wondering if this is actually just salt water. Some sprays are! Marine-based sprays use actual sea salt to create texture. They are great, but they can be a little drying. Others use synthetic polymers or sugars to create the “grip” without the rough texture.
For a healthy balance in 2026, look for sprays that contain sea salt *and* conditioning agents like glycerin. This gives you the matte texture and hold, but keeps your hair feeling soft and moisturized. It’s a little bit of science, but your hair will thank you for paying attention to the ingredients.
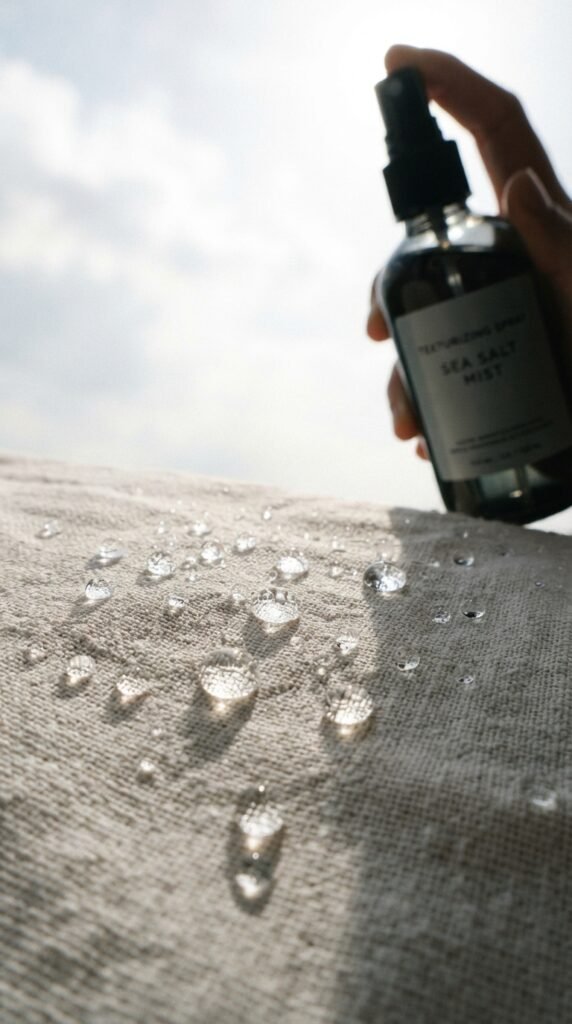
The Blowout Spray Technique for Easy Volume
Okay, this is a pro-level cheat code. Don’t just use texture spray on dry hair. Use it as a root booster *before* you blow dry. Spray a tiny bit at your roots when your hair is damp, then blow dry upside down. The texture gives your roots instant lift and staying power.
It creates a “bedside” of volume that makes a blowout look taller and fuller. If you are trying to get that big, bouncy, celebrity-style blowout, this is the secret missing step. You’ll get way more volume than using mousse alone, and it won’t leave a residue.
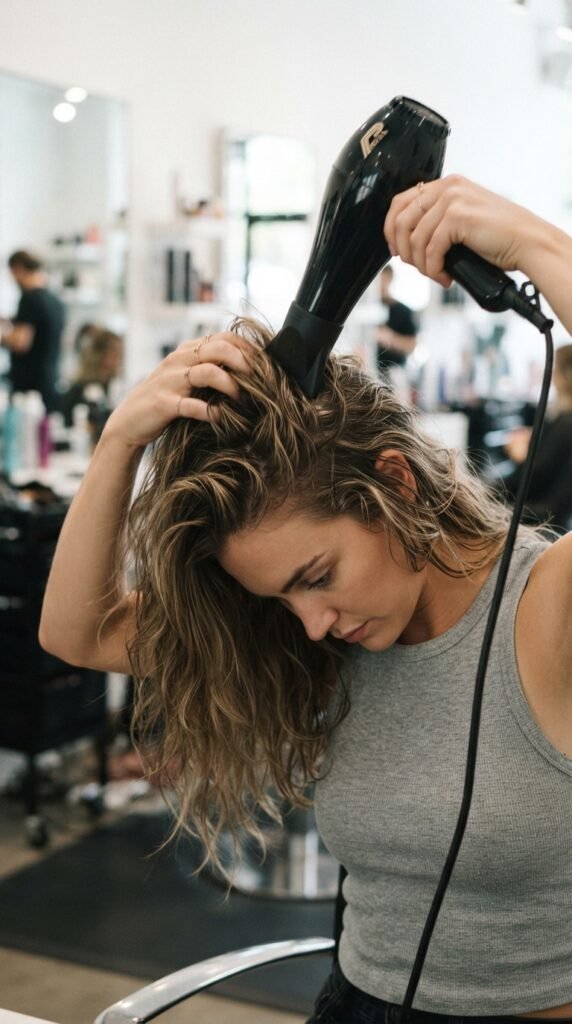
Final Thoughts: Your Quickest Path to Good Hair Days
I genuinely believe this one product is the answer to 90% of our bad hair day problems. It’s the fastest way to add life to a limp style, create texture in a flat cut, or turn your regular waves into a beach babe vibe. It makes hair care feel achievable and fun, not like a chore.
So, whether you are futzing with a hime cut, rocking an asymmetrical lob, or just letting your hair down to be wild, this spray is the glue that holds it all together. It’s a simple tool, but it makes you feel like you have a secret edge.
I’d love to hear how you style your hair! Leave a comment below and tell me—do you prefer the tousled beach look or sleek and straight? And don’t forget to Save this post to Pinterest so you can find these tips on your next wash day!