This Hair Mask Transformed My Dry Brittle Hair Into Soft Touchable Silk In Weeks
I’m just going to come right out and say it: my hair used to feel like straw. Every time I brushed it, I cringed. It was dry, brittle, and honestly a little sad. But after weeks of using one simple hair mask, it’s now the softest, most touchable hair I’ve ever had. No salon treatment, no expensive products. Just a routine that actually works.
In this post, I’m sharing exactly what I did, how often I did it, and the little mistakes I learned to avoid. If your hair is crying out for help, this is the sign you’ve been waiting for. Grab your favorite towel, and let’s fix this together.
Why My Hair Was a Hot Mess
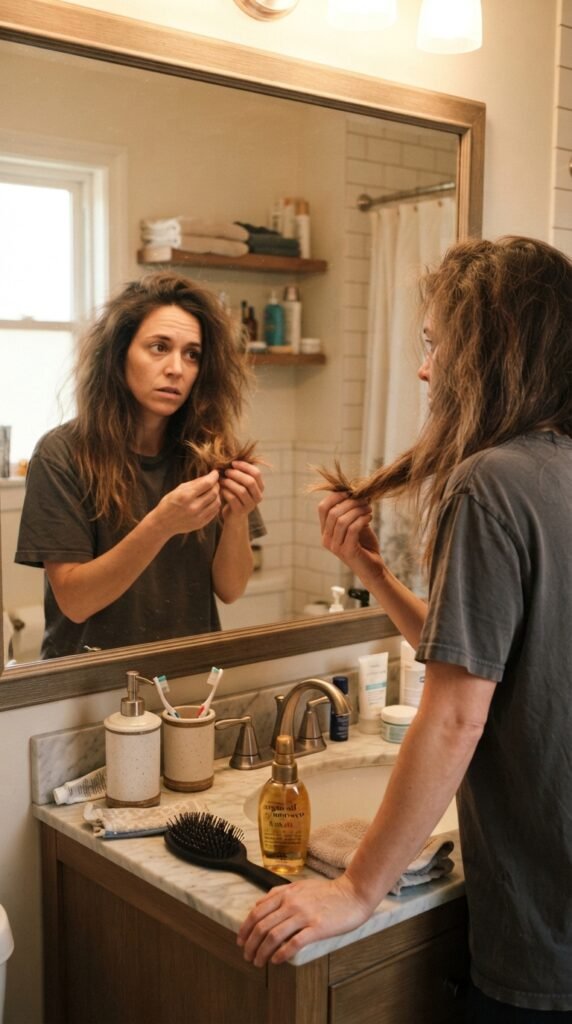
Honestly, I was doing everything wrong. Heat styling every single day, skipping trims, and using way too much dry shampoo. My ends were see-through, and my strands felt rough even after conditioning.
The worst part? No product seemed to help. I tried serums, oils, and leave-ins, but nothing soaked in. My hair stayed thirsty no matter what.
Sound familiar? Let’s fix that.
The Simple Mask That Changed Everything
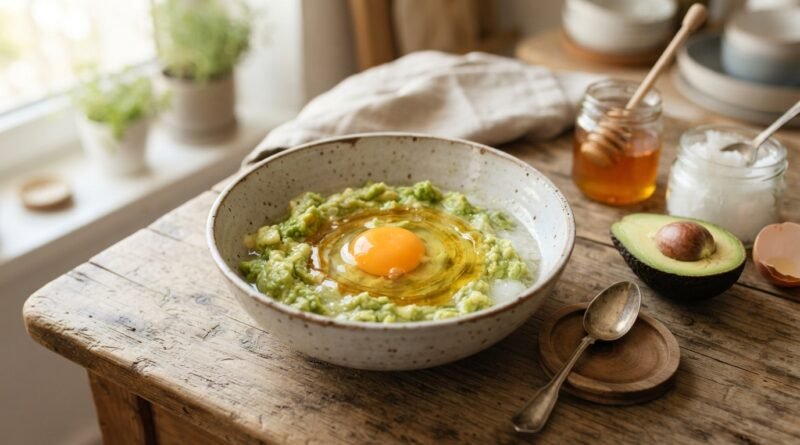
I almost didn’t try this mask because it seemed too easy. It’s just a mix of a few kitchen ingredients, nothing fancy. But after the very first rinse, my hair felt instantly smoother.
You probably have most of these at home already. That’s what I love about it. No wild shopping trip, no complicated formula. Just natural stuff that actually works.
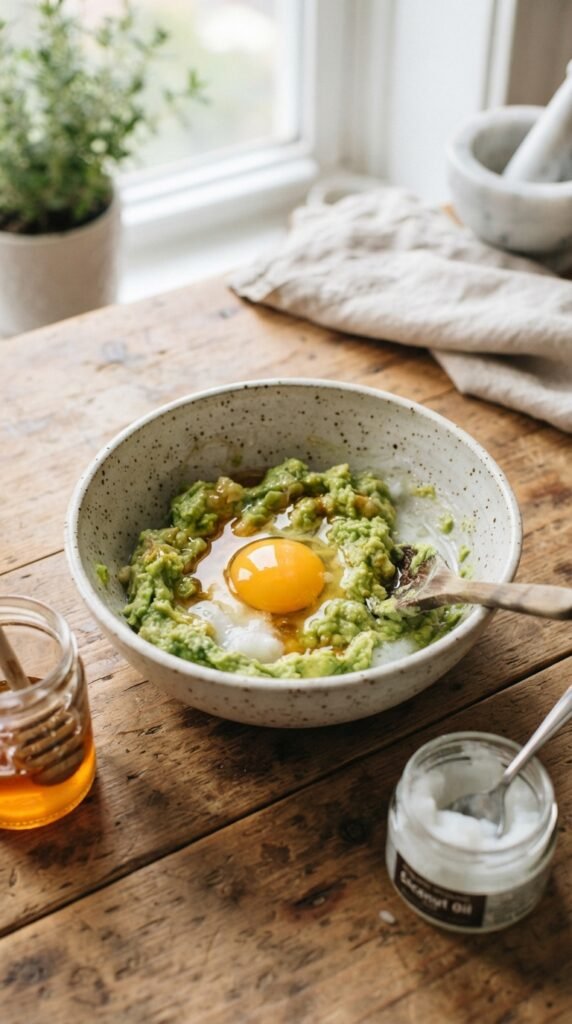
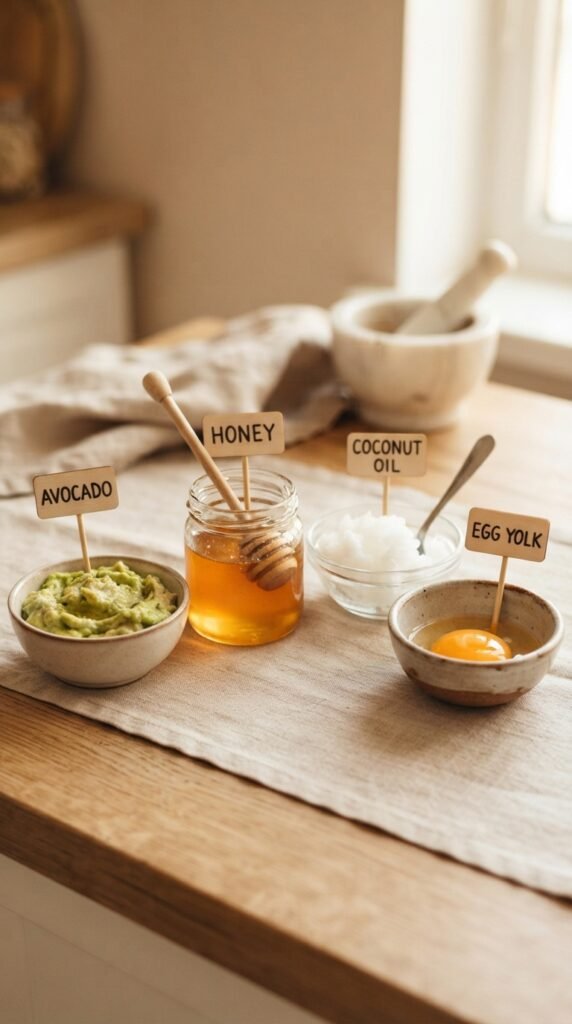
Here is what I used:
- 1 ripe avocado
- 2 tablespoons honey
- 1 tablespoon coconut oil
- 1 egg yolk
What’s Inside This Miracle Mask
Each ingredient has a job. Avocado is packed with healthy fats that soften the hair shaft. Honey locks in moisture and adds shine. Coconut oil helps repair protein loss. Egg yolk gives your hair a protein boost.
Together, they’re like a power smoothie for your strands. I was honestly shocked at how deep the moisture went. My hair felt different from the first use.
No need to buy anything fancy. This little blend does the heavy lifting.
How I Prepped My Hair Before Applying
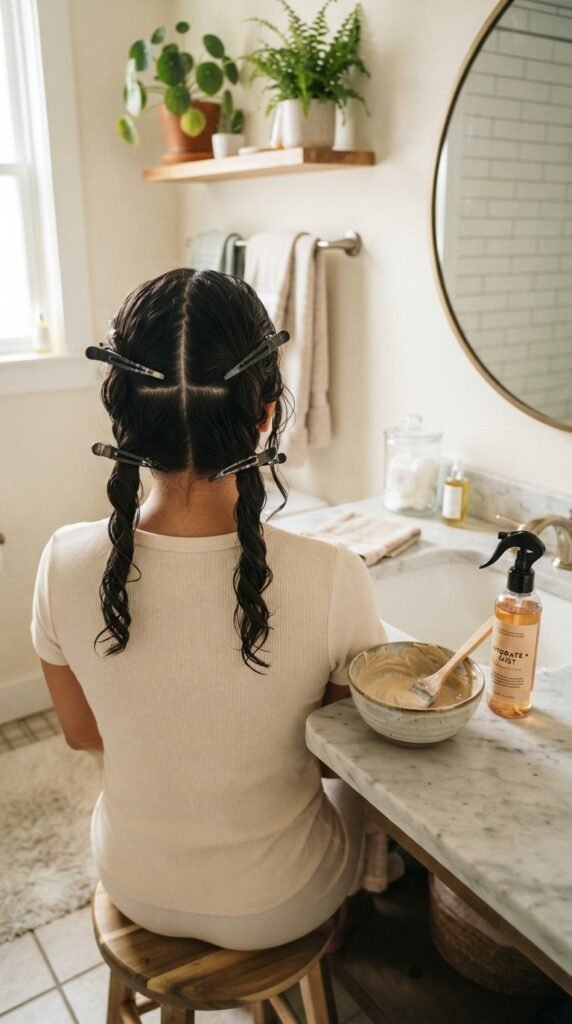
Prep matters more than you think. I started with dry, detangled hair. Brushing first kept the mask from tugging at knots later.
I also sectioned my hair into four parts with clips. That made it easier to cover every strand, especially the back. No missed spots, no dry patches.
Quick prep checklist:
- Detangle with a wide-tooth comb
- Split hair into sections
- Keep a spray bottle of water nearby
The Exact Application Method
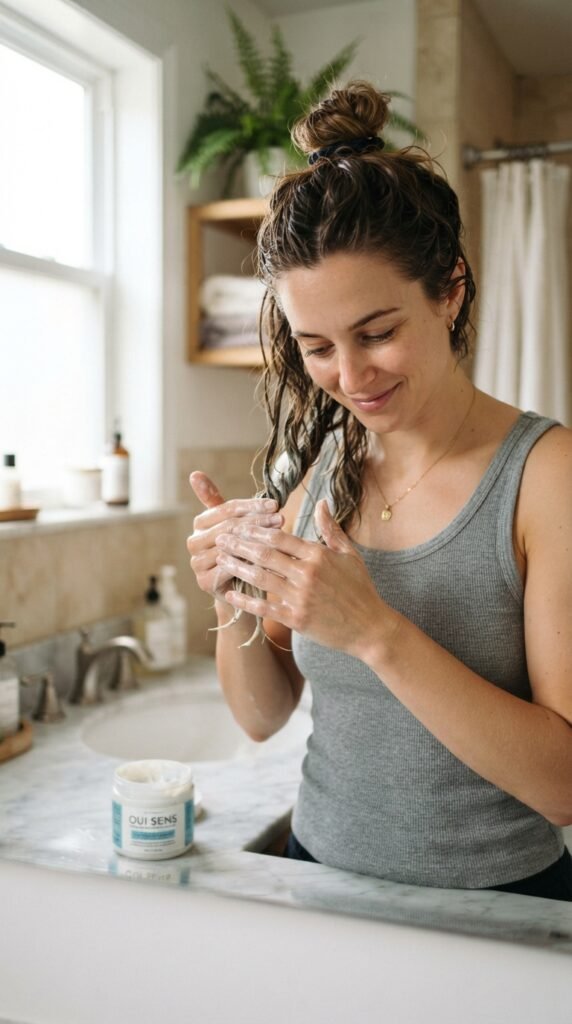
This part is easy but important. I started at the ends and worked my way up. I avoided the scalp because my roots get oily fast.
I used my fingers at first, then a wide-tooth comb to spread the mask evenly. That comb trick made sure every strand was coated, not just the top layer.
Here’s my step-by-step:
- Apply mask to mid-lengths and ends
- Comb through with a wide-tooth comb
- Twist hair into a loose bun
- Cover with a shower cap
How Long I Left It On (And Why)
At first I left it on for twenty minutes. That was enough to feel a change. But my hair was so dry that thirty minutes worked even better.
Leaving it longer gave the ingredients more time to soak in. I didn’t go past thirty-five minutes because the egg yolk can get a little weird if heat is involved.
My advice? Start with twenty minutes and see how your hair reacts. You can always add more time next week.
Rinsing Like It Matters
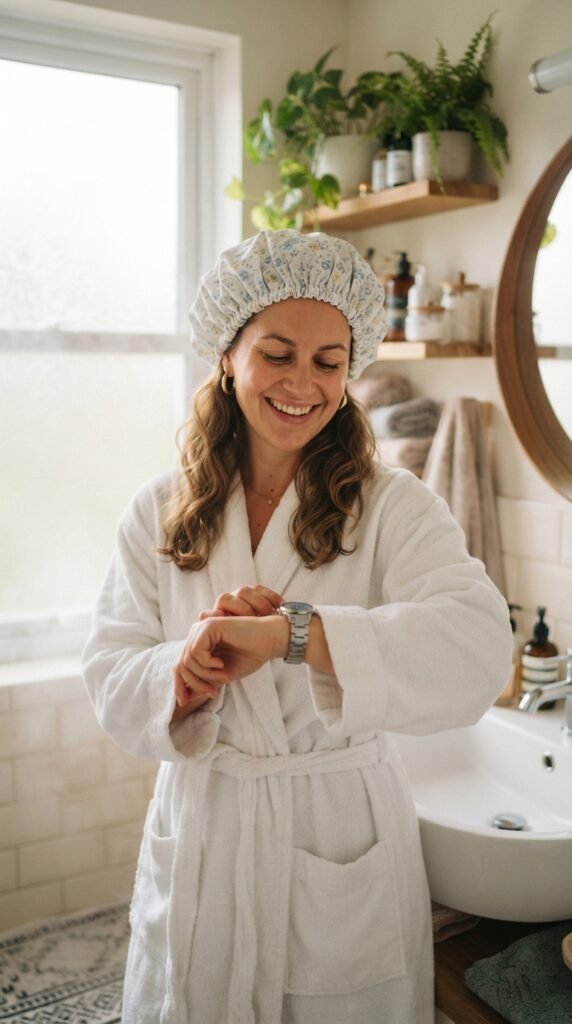
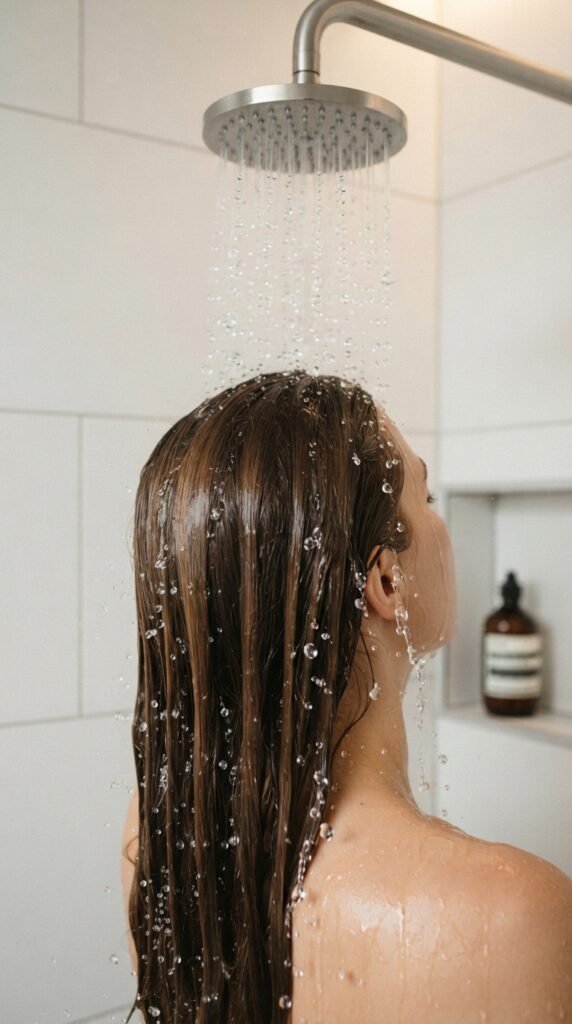
This is the step most people rush. I used cool water to rinse, not hot. Cool water helps seal the hair cuticle, which locks in all that moisture.
Then I followed with a light conditioner on my ends only. That helped detangle without weighing my hair down.
One thing I learned the hard way: rinse until the water runs clear. Leftover mask can leave hair looking greasy. Be patient with this part.
My Weekly Mask Schedule
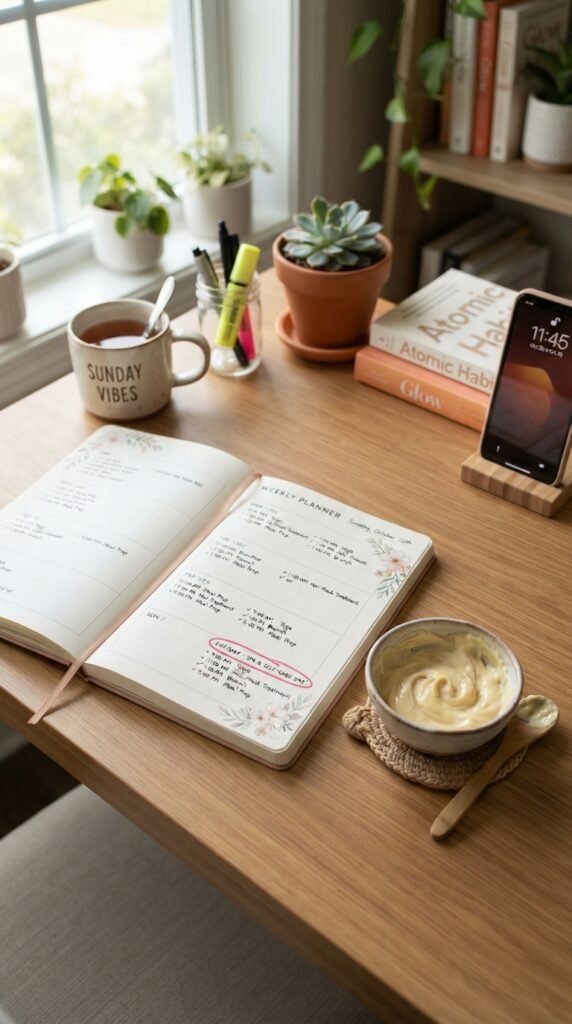
Consistency is what made this work. I used the mask once a week for four weeks. That was enough to turn things around without overdoing it.
I picked Sunday evenings as my mask time. It fit my routine and let me start the week with good hair energy.
Here’s my simple schedule:
- Week 1: start with 20 minutes
- Week 2: bump to 30 minutes
- Week 3: keep it steady
- Week 4: check your results
The First Week: What I Noticed
After the very first rinse, my hair felt softer. The frizz was still there, but it was less chaotic. I could run my fingers through my ends without wincing.
By day three, my hair still felt moisturized. Usually, that softness faded by day two. I was honestly surprised.
It wasn’t a miracle overnight, but I saw enough progress to keep going. That hope was huge for me.

Two Weeks In: Real Change
Now things got exciting. My hair started looking healthier, not just feeling softer. The shine was coming back, especially around my face.
Breakage was still there, but less of it on my brush. My ends didn’t look as see-through. I even got a compliment from a friend.
This was the moment I knew the mask wasn’t just a one-time thing. It was actually repairing my hair.

Three Weeks: Soft Touchable Silk
By week three, my hair felt like silk. I kept touching it, and so did everyone else. My ends were soft, smooth, and actually looked alive.
I stopped needing heavy serums. A tiny amount of oil was enough. My hair held styles better and didn’t frizz up by noon.
This was the result I wanted all along. And it came from a simple mask, plus patience.

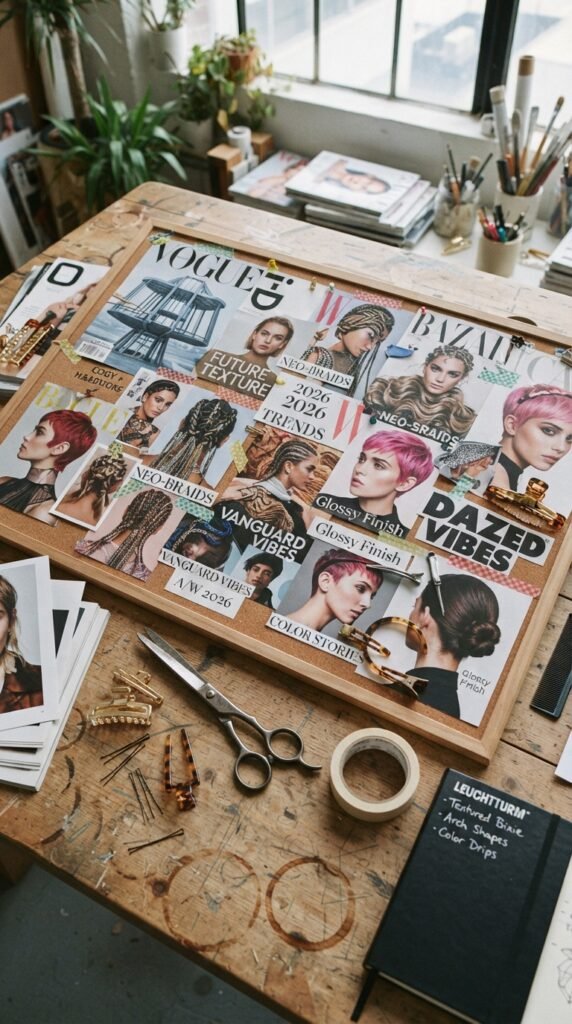
How This Works With 2026 Hairstyles
Now that my hair was healthier, I felt ready to try the 2026 hairstyles I’d been eyeing. Soft, shiny strands make any cut look ten times better.
Healthy hair holds shape, moves nicely, and shows off the details of a new style. Whether you want something sleek or a little edgy, strong hair makes it work.
I used my mask before big hair changes. It gave me confidence to finally book that appointment.
The Mask + Old Money Hair
Old money hair is all about looking effortlessly polished. Think smooth, glossy strands that catch the light. This mask gives exactly that.
It smooths the frizz that ruins that “I woke up like this” look. My hair felt richer and healthier, like I had a secret hair routine.
If you love that classic, preppy vibe, this mask is your best friend.

A Quiet Luxury Bob Needs This
A quiet luxury bob depends on sleek movement. If your hair is dry, the bob just looks flat or fuzzy. Healthy hair changes everything.
Once my hair was softer, my bob looked more expensive. It swung when I walked and stayed smooth through the day. That’s the whole vibe.
Don’t skip the mask if you have a bob. Your cut will thank you.

Romantic Goth Hairstyles Love This Mask
Romantic goth hairstyles are dramatic and full of texture, but even dark, moody styles need healthy hair. Shine makes the dark color pop.
My mask kept my strands smooth, which made braids and waves look polished instead of messy. It also helped my black dye stay richer.
Healthy hair makes any goth look more intentional.

Glitchy Glam Hair? Yes, It Helps
Glitchy glam hair is bold, modern, and a little experimental. But those sharp layers and metallic finishes need a healthy base.
When my hair was brittle, it couldn’t hold the geometric shapes of this trend. After the mask, everything laid smoother and looked more intentional.
You can be edgy and still have soft hair. Trust me.

Asymmetrical Lob and Vampire Haircut Care
The asymmetrical lob and vampire haircut are both razor-sharp. They need hair that moves and falls just right. Dry hair ruins the effect.
My mask gave my strands the slip they needed to make these cuts look sharp, not frizzy. The angles stayed visible, and the texture looked intentional.
If you’re trying either of these cuts, add this mask to your routine.

Hime Cut and The Mask
The hime cut is all about clean, straight sections and face-framing pieces. Those pieces need to be shiny and smooth. Mine were anything but before.
Once my hair was softer, the hime cut looked crisp. It gave me that polished, princess-like finish without a ton of styling.
This mask is perfect for keeping those front pieces glassy.

My Full Wash Day Routine
Now that you know about the mask, here’s what my whole wash day looks like. It keeps me from getting overwhelmed.
- Brush hair before washing
- Shampoo only the scalp
- Condition mid-lengths to ends
- Use the mask once a week
- Rinse with cool water
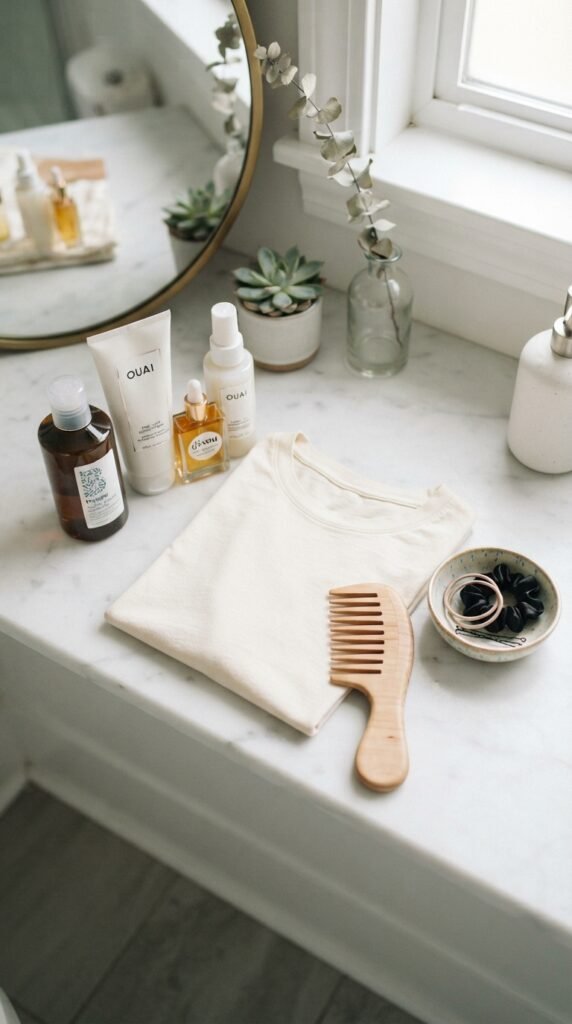
- Wrap in a soft t-shirt, not a towel
That last one was a game changer. Rough towels caused breakage. A cotton t-shirt is gentle and keeps the shine.
Mistakes That Could Ruin Your Results
I made a few errors so you don’t have to. First, I used too much mask and left my hair feeling heavy. Less is more.
Second, I used hot water to rinse. That made my hair frizzy. Switch to cool and you’ll see the difference.
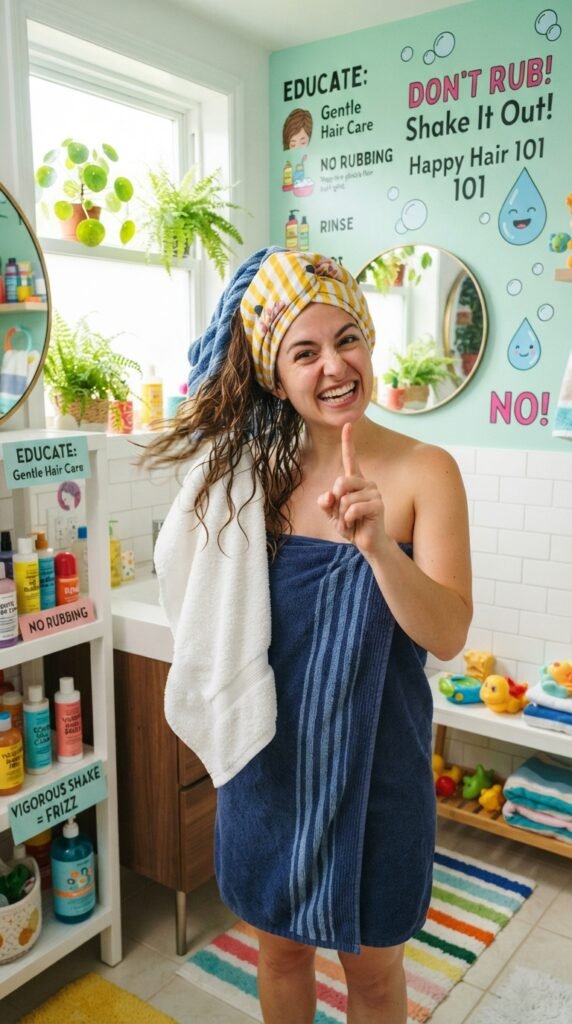
Third, I was rough when towel drying. Stop rubbing your hair. Squeeze gently instead. Simple fixes, big changes.
A Little Note Before You Go
I never thought a simple homemade mask could change my hair so much. But it did. And honestly, it gave me my confidence back.
I hope you give your hair the same chance. You don’t need a million products. You just need the right one, done consistently.
Save this post to Pinterest so you can find it later. And if you try this mask, let me know in the comments. I’d love to hear how your hair feels!