How To Achieve Salon Blowout Results At Home With Tools You Already Actually Own
We all know that feeling—you leave the salon with bouncy, perfect hair, and 24 hours later it’s flat and sad. But here’s the truth: you don’t need a stylist or fancy tools to get that same blowout look. I’ve spent years testing every trick in the book, and guess what? The secrets are already sitting in your bathroom drawers. Today, I’m walking you through my favorite, totally doable method. By the end, you’ll have smooth, voluminous hair that lasts for days. Let’s turn your home into your own personal salon, shall we?
Why Your Home Blowout Can Beat the Salon
Salon blowouts are amazing, but they’re also expensive and time-consuming. With a few simple tricks, you can get the same results at home—maybe even better because you know your hair best.
Plus, you control the products and heat settings. No more walking out with hair that feels too stiff or too oily. It’s all about working with what you already own.
Start With the Right Wash
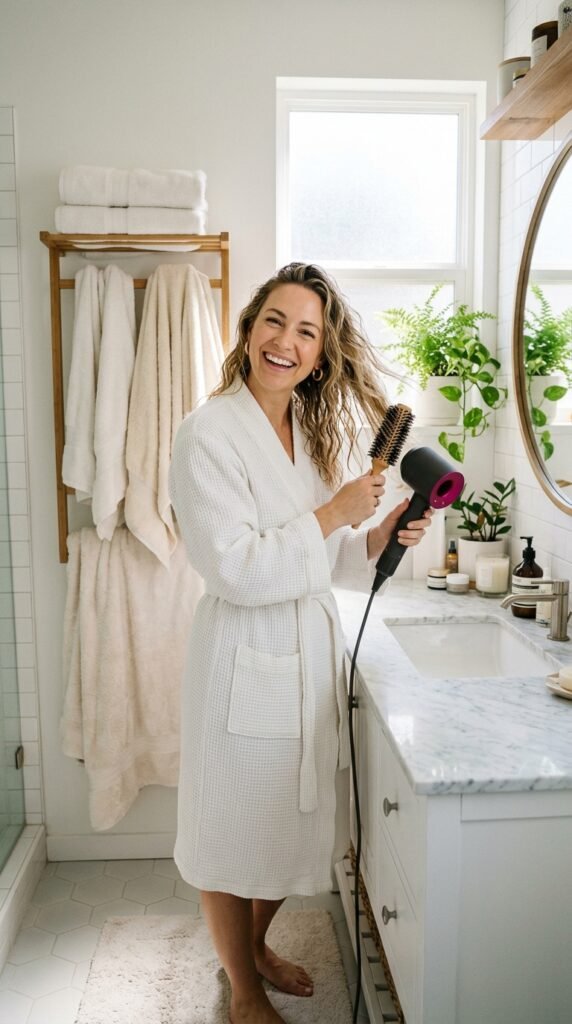
Your blowout begins in the shower. That’s right—clean hair behaves completely differently. Use a lightweight shampoo that doesn’t strip your strands. If your hair is thick, a sulfate-free option is your friend.
- Focus shampoo on the roots only.
- Apply conditioner from mid-length to ends.
- Rinse with cool water for extra shine.
Skip heavy masks right before styling—they can weigh your hair down.
The Towel Trick That Changes Everything
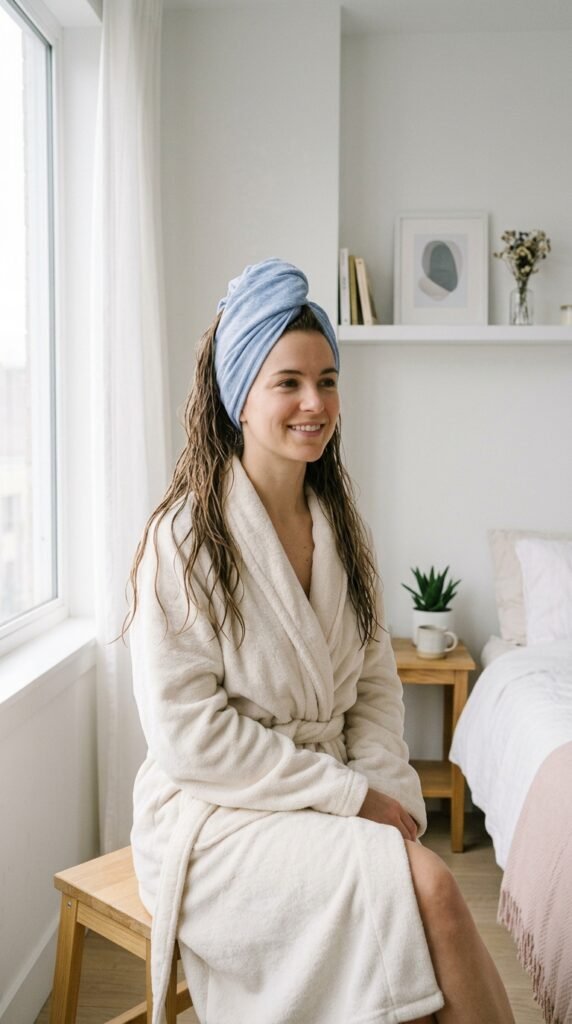
Don’t rub your hair dry with a regular towel. That causes frizz and breakage. Instead, use a cotton t-shirt or a microfiber towel to gently squeeze out excess water.
Wrap your hair up for five minutes while you do your skincare. This simple step cuts down drying time and keeps the cuticle smooth. You’ll thank me later.
Heat Protectant Is Non-Negotiable
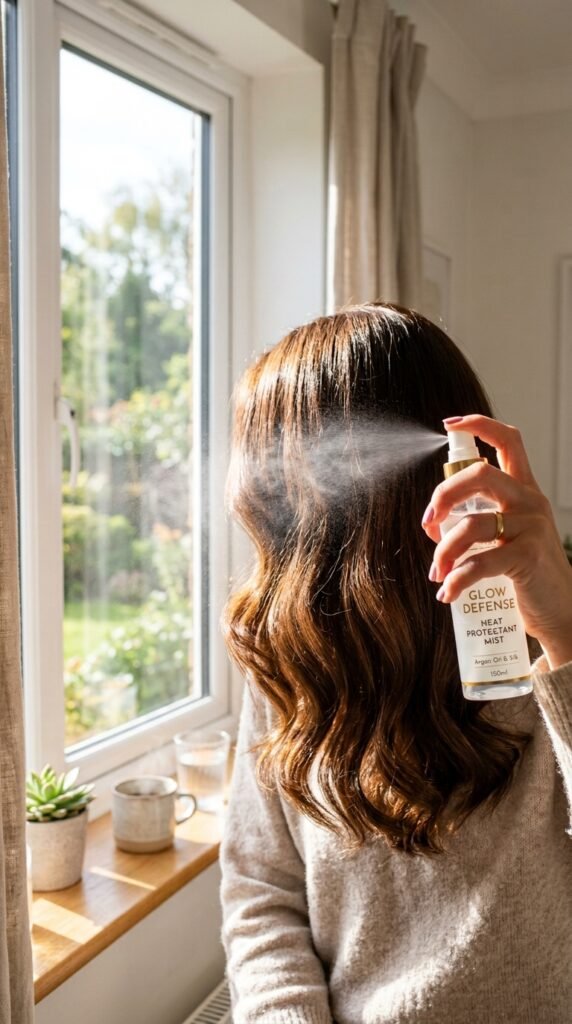
I used to skip this step until I noticed split ends everywhere. Heat protectant creates a barrier between your strands and the hot air. It also helps lock in moisture.
Spray it on damp hair, section by section. Comb through with your fingers. Don’t overdo it—a light mist is enough. This little habit keeps your hair healthy for all those 2026 hairstyles you’re dreaming about.
Rough Drying vs. Precision Drying
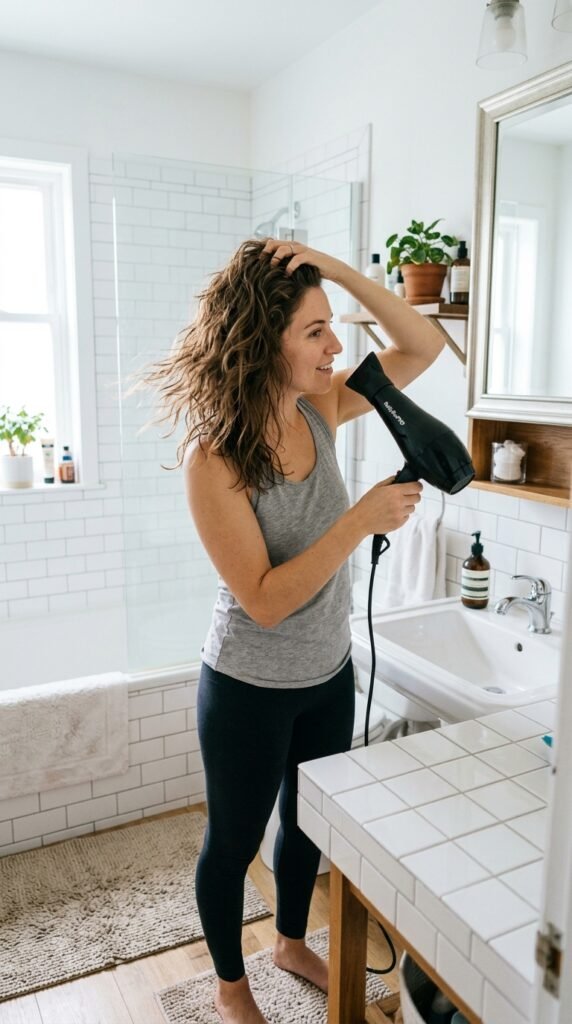
Start by rough drying your hair until it’s about 80% dry. That means no brush, just your hands, moving the dryer around. This builds volume before you ever pick up a brush.
When your hair is mostly dry, switch to precision drying using a nozzle. Aim the air downward to smooth the cuticle. Trust me, this two-step method makes a massive difference.
Sectioning Like a Pro
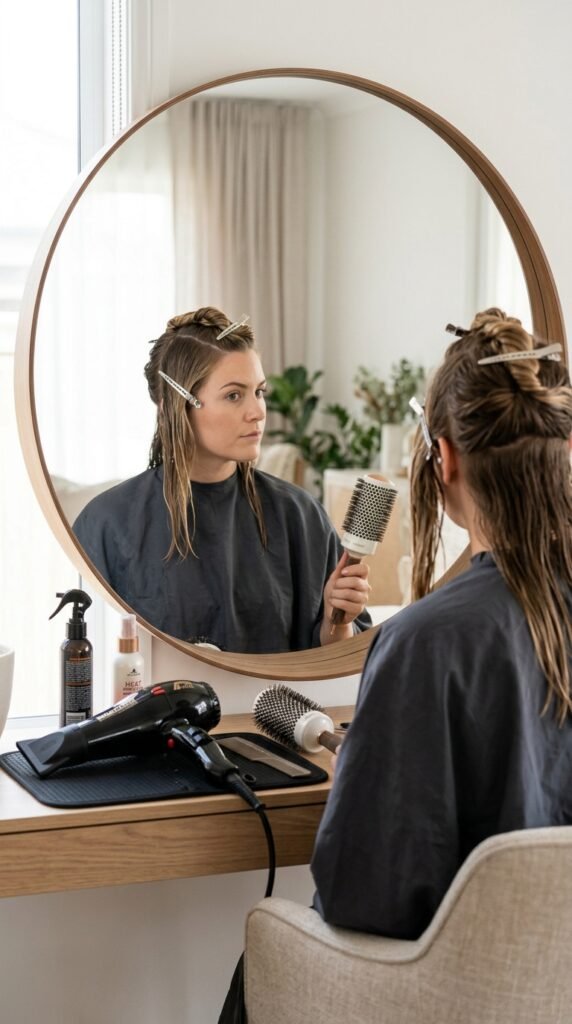
Sectioning isn’t just for salons. If you dry your hair in big clumps, you’re missing out on volume and smoothness. Clip your hair into four sections: top, sides, and back.
- Start with the bottom layers first.
- Pin the top sections out of the way.
- Work in small subsections, no wider than your brush.
This takes a little extra time, but the finished look feels totally professional.
The Round Brush Secret
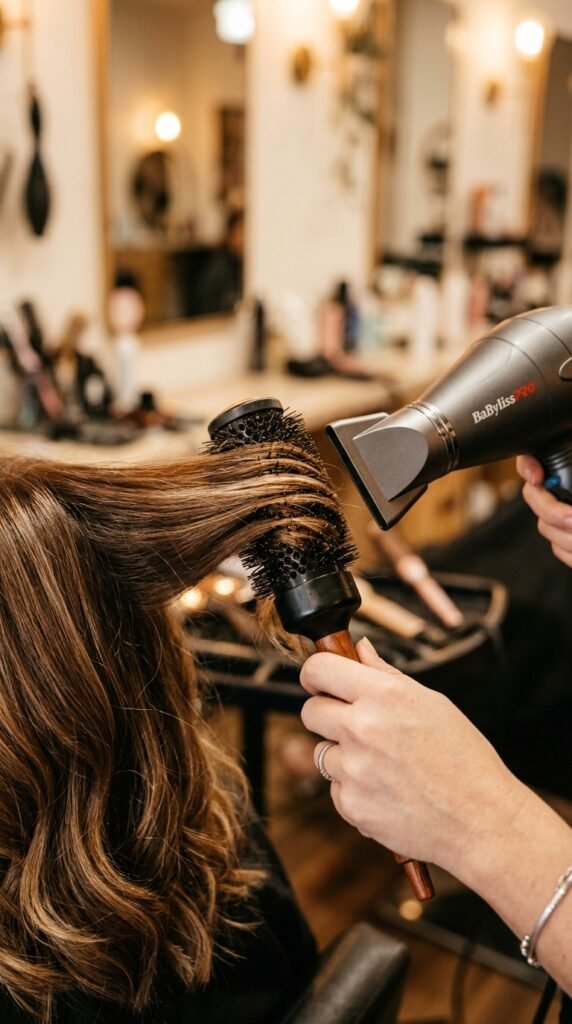
A round brush is the key to that bouncy, salon look. The trick is to pull tension through the hair as you dry. Place the brush underneath the section and roll it toward the ends.
- Point the nozzle down the shaft.
- Move the brush slowly from roots to tips.
- Roll at the ends for a nice curve.
Your roots lift, and your ends get a gentle bend. This instantly turns an ordinary blowout into something special.
Cool Air to Lock It In
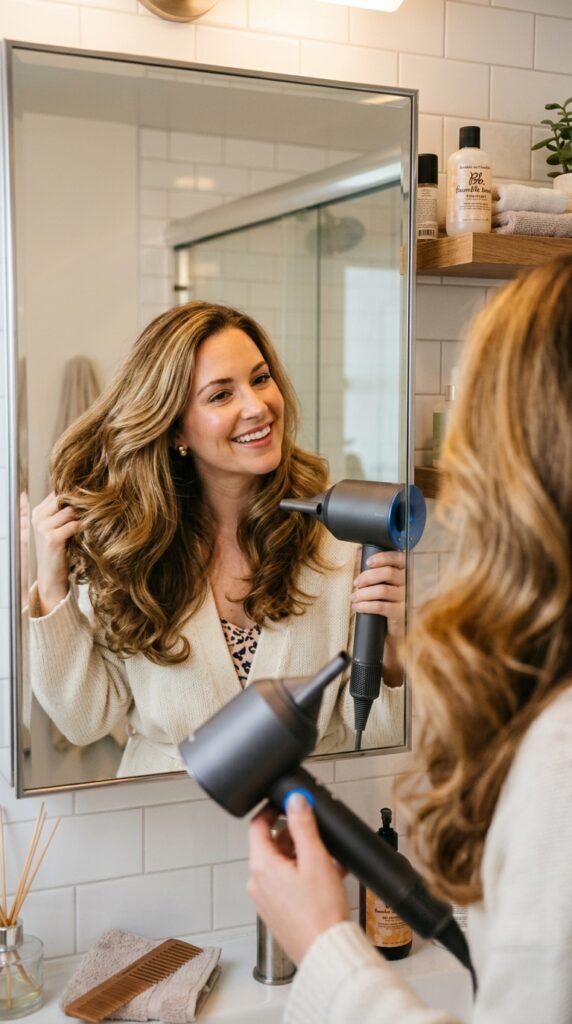
Warm air styles, but cool air sets. After you finish each section, give it a quick blast of cold air. This closes the cuticle and locks in the shape.
I know it’s extra work, but it only adds 15 seconds per section. Your hair will look shinier and hold its bounce much longer. Do this, and you’ll understand why professionals always have a cool shot button.
Finishing Products That Actually Work
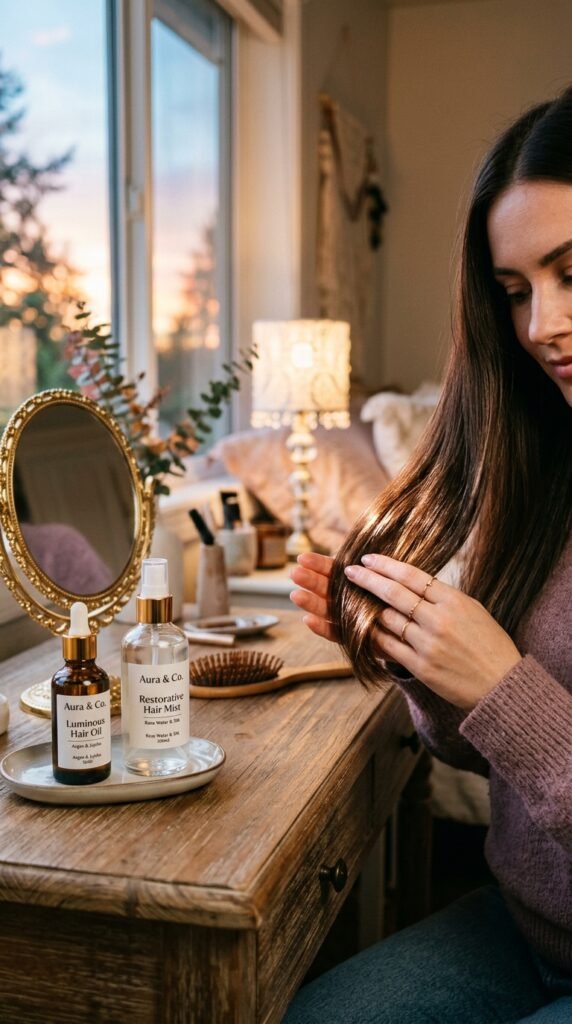
Don’t just go straight out the door. A tiny bit of finishing product can make everything last. Use a lightweight oil on the ends to add shine, and a very light hairspray to hold the style.
- Warm the oil between your palms.
- Pat it gently over the ends.
- Spray hairspray from a distance.
Avoid heavy gels or waxes—they’ll weigh the hair down.
How to Get Old Money Hair at Home
Old money hair is all about understated polish. It’s smooth, healthy, and looks natural—not heavily styled. The best part is your home blowout can get you there easily.
Skip the tight curls. Instead, go for a sleek, straight finish or soft waves. Use a boar-bristle brush to distribute natural oils and add a subtle sheen. This style screams class and effortlessness.

Try a Quiet Luxury Bob at Home
For a quiet luxury bob, keep the blowout smooth and straight. Less volume, more shine. That’s the secret. A round brush with a smaller barrel works great for tucking ends under.
Finish with a drop of serum, then gently tuck your hair behind one ear. It looks chic and minimal. Perfect for those days you want to feel like you walked out of a fashion editorial without spending a dime.

Romantic Goth Hairstyles for a Night Out
Feeling edgy? Romantic goth hairstyles mix dark beauty with soft texture. Use your blowout to create gentle, lived-in waves. Then, add a little texture spray for that moody, dreamy feel.
- Tease the crown lightly for lift.
- Use a curling wand on mid-lengths only.
- Finish with a matte hairspray.
Pair it with a dark lip and you’re ready for anything.

Glitchy Glam Hair Is Easier Than You Think
Glitchy glam hair is all about playful, off-kilter movement. Think glossy texture with a slightly undone finish. Your home blowout can easily create this by mixing sleek sections with a few random waves.
Take a flat iron and bend pieces in different directions. Then smooth it all over with a shine mist. The contrast feels futuristic and fun, perfect for a 2026 vibe.

Asymmetrical Lob Styling Tips
If you’ve got an asymmetrical lob, a blowout is your best friend. The cut is bold, so the styling should be clean. Use a paddle brush to keep the longer side smooth and sleek.
Tuck the shorter side behind your ear. Add a tiny bit of pomade to define the asymmetry. This look is sharp, modern, and so simple to re-create at home.

Vampire Haircut? Here’s How to Style It
The vampire haircut is dramatic with lots of layers and texture. To style it at home, focus on enhancing the layers. After your blowout, use a curling iron to flip the ends away from your face.
- Take thin sections.
- Wrap away from the face.
- Let them cool in your palm.
This creates that mysterious, rock-and-roll feel the cut is known for.

Hime Cut at Home: Step by Step
The hime cut is famously straight and sleek. A home blowout can nail this look with the right technique. Use a flat paddle brush and dry with the nozzle pointing down.
- Make sure the fringe stays straight.
- Keep the side pieces smooth.
- Check that the back falls flat and shiny.
Add a serum only at the very ends. This keeps that classic sharp contrast between the long back and shorter front.

2026 Hairstyles You Can Try Today
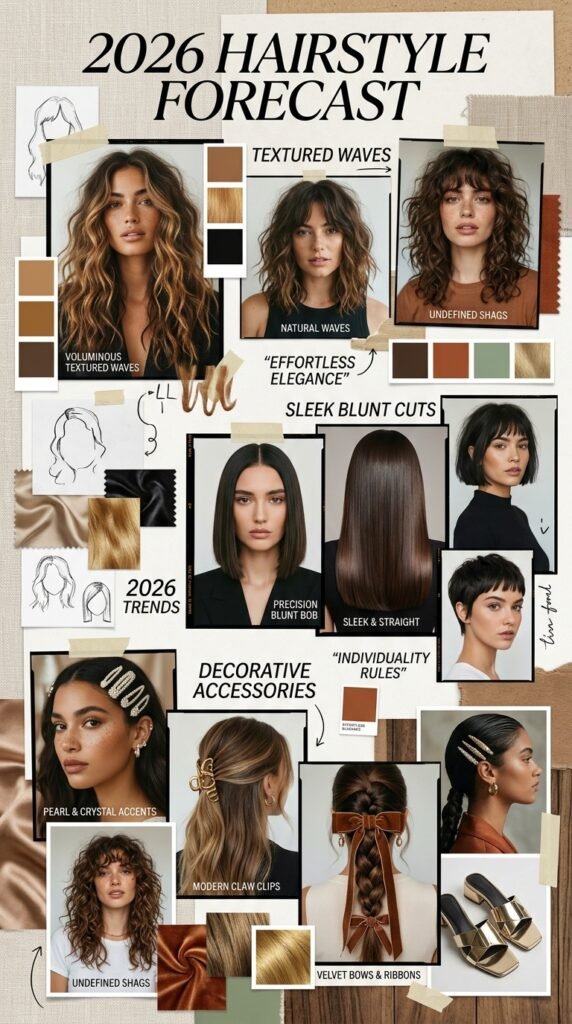
The biggest trends for 2026 are all about texture and individuality. From glitchy glam hair to romantic goth, there’s something for everyone. The cool part is, you can try most of them with just your blow dryer.
Use soft curls for a romantic feel or go stick-straight for old money vibes. Your home blowout is now your secret styling tool for every trend.
Common Blowout Mistakes to Avoid
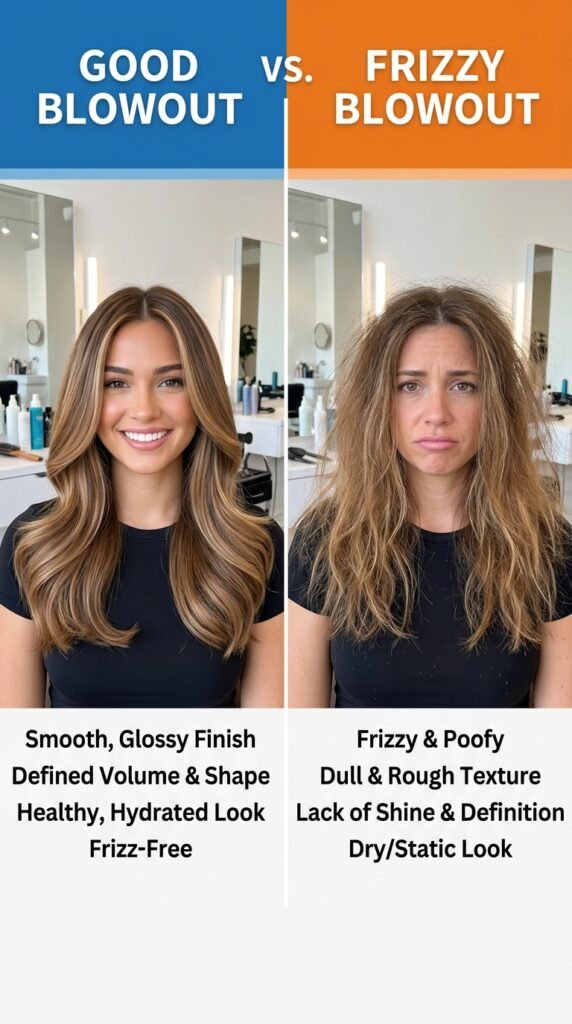
We all make these, so don’t feel bad. One of the biggest mistakes is blow drying soaking wet hair. Another is not finishing with cool air. Both lead to frizz and flatness.
- Don’t over-brush when it’s still damp.
- Avoid using the highest heat setting.
- Keep the dryer moving—don’t hold it in one spot.
Fix these three things, and your results will instantly improve.
How to Make Your Blowout Last Longer
You don’t want to spend all that time just to watch your hair fall flat by noon. Here are my favorite ways to extend a blowout:
- Use dry shampoo on the roots before bed.
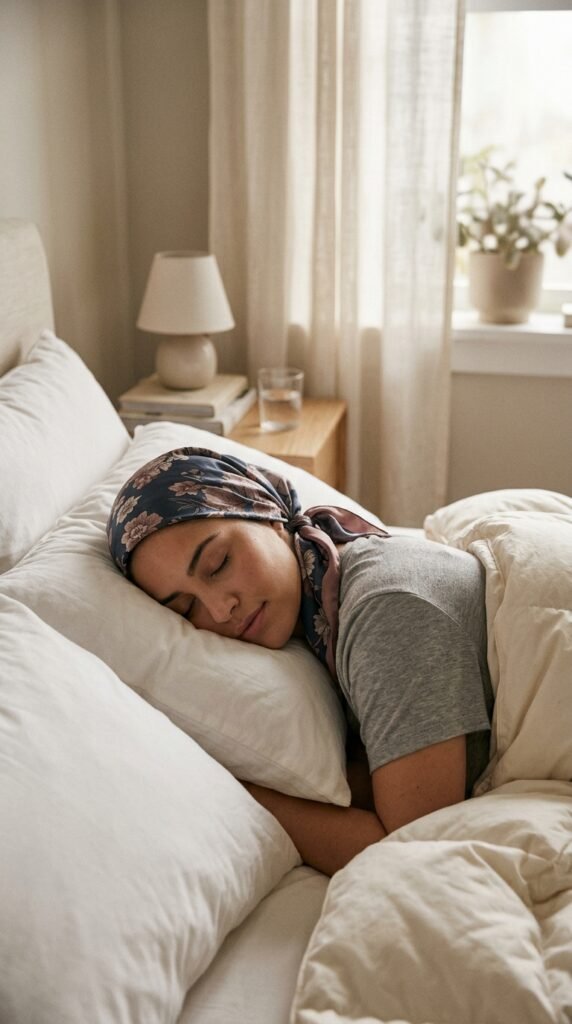
- Wrap your hair in a silk scarf while sleeping.
- Refresh with a small curling iron the next day.
A few easy habits can give you two or three days of perfect hair.
The 10-Minute Refresh Routine
If day two feels a little flat, there’s no need to go through the whole blowout again. Just use a spray bottle of water to dampen the roots. Then, blow dry your hairline and crown with a round brush.
Flip your head upside down for extra volume. Finish with a little texture spray at the roots. That’s it—you look freshly styled in no time.
Looking back, I can’t believe I used to spend so much money on blowouts when the whole routine is really in my control. With a few smart habits and a little patience, you can absolutely master this at home. It feels so good to step out with that bouncy, salon finish that you created all by yourself.
Save this post to Pinterest so you always have these tricks when you need them. And your friends will definitely ask for your secret—so feel free to share this with them in the comments below. I’d love to know which of these tips helps you the most. Tell me all about it!