Effortless Beach Waves Using Only a Flat Iron and Spray
Friend, you know those perfect beach waves that look like you spent the whole day by the ocean? The ones that say “I woke up like this” yet still feel red-carpet ready? Great news: you can fake them with just two things you already own—a flat iron and a good texture spray. No hot rollers, no braids, no sweating under a curling wand.
I’m Hailey, and today I’m walking you through the easiest flat-iron technique for loose, sun-kissed waves. You will not need perfect skills or forty minutes. Just a clean straightener, a light touch, and one of the best texturizing sprays you’ll ever meet.
Along the way, I’ll show you how to make these waves work with your haircut—whether it’s a quiet luxury bob, a hime cut, or one of those dreamy romantic goth layers. Say goodbye to stiff curls and hello to your new go-to summer hair.
What Are Effortless Beach Waves?

Beach waves are loose, undone S-curves that start around your ears and end in a soft flick. They’re not defined spirals or tight ringlets. Think of them as “I ran my fingers through my hair after swimming” texture—but actually polished.
These waves are everywhere in 2026 hairstyles. They fit casual jean jackets, silk dresses, and everything in between. The trick is keeping them airy. If your waves end up crunchy or too perfect, you’ve gone the wrong way.
Your flat iron gives you just enough shape, then your spray adds that sandy, lived-in finish. That combo is the whole magic.
Why Use a Flat Iron for Beach Waves?
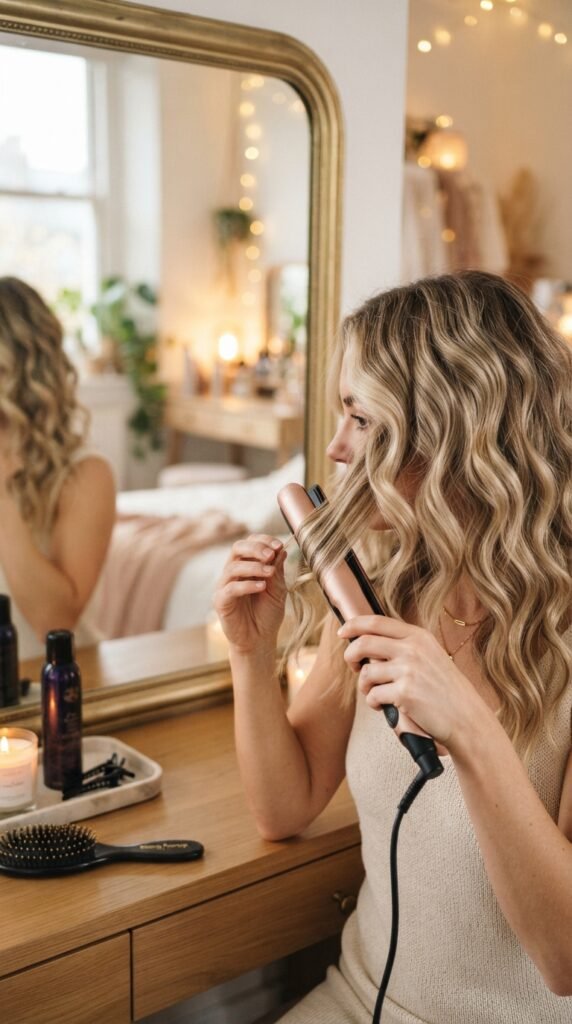
You may wonder why not grab a curling wand instead. The answer: flat irons are faster for this specific messy texture. You can twist, slide, and create those undone bends without fighting a clamp.
Flat irons also work on super short layers, like a quiet luxury bob, way better than a big barrel. You can reach the nape of your neck and still catch those tiny face-framing pieces.
Plus, you probably already have one in your bathroom drawer. That means no extra heat tool to buy.
What Products Do You Need for Beach Waves?
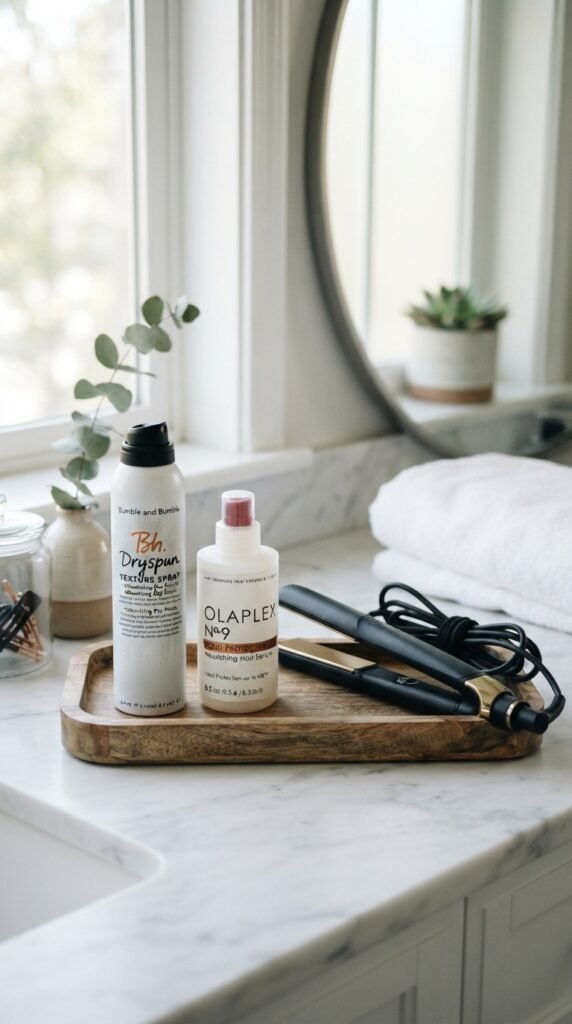
You need a few basics:
- A flat iron with smooth plates (any width works).
- A heat protectant spray—always, always this first.
- A sea salt or texture spray for grip and hold.
- A light hairspray if you want extra staying power.
For the very best result, pick a texture spray that doesn’t leave your hair feeling sticky. You want movement, not stiffness. Also, check that your flat iron isn’t snagging your ends. You need clean glides.
That’s the whole shopping list. No fancy tools needed.
How to Prep Hair for Flat Iron Waves
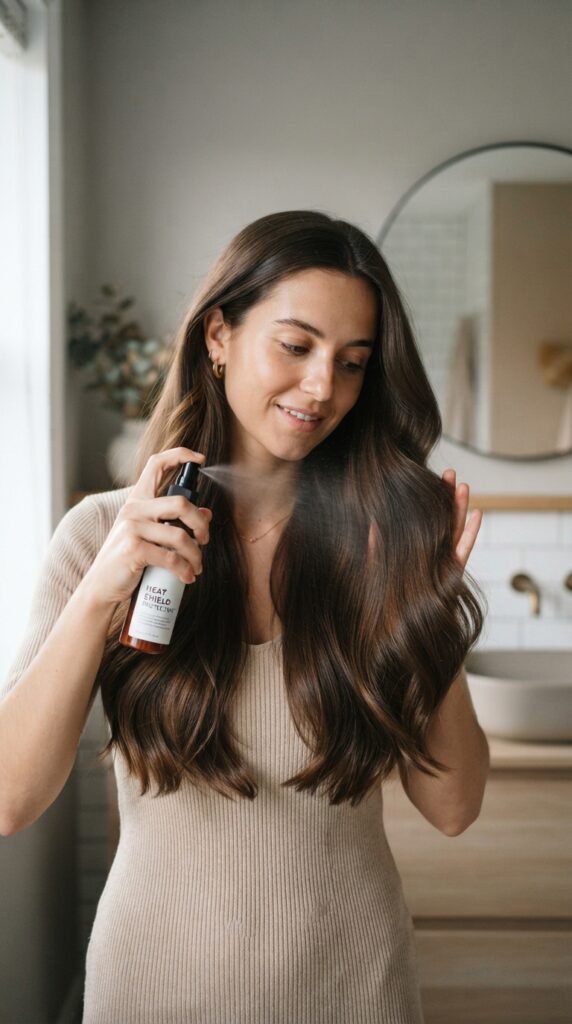
Prep is everything. Start with completely dry hair. Flat irons on damp hair cause frizz and damage—nobody wants that.
Spray a light heat protectant all over, then brush your hair so there are no tangles. For extra grip, you can rough up your roots with a little dry texture powder. But don’t overdo it; you don’t want a matte, dull finish.
Set your flat iron to 350°F if your hair is fine, or 400°F if it’s thick and coarse. Let it heat up fully while you section your hair.
Step 1: Start With Clean, Dry Hair
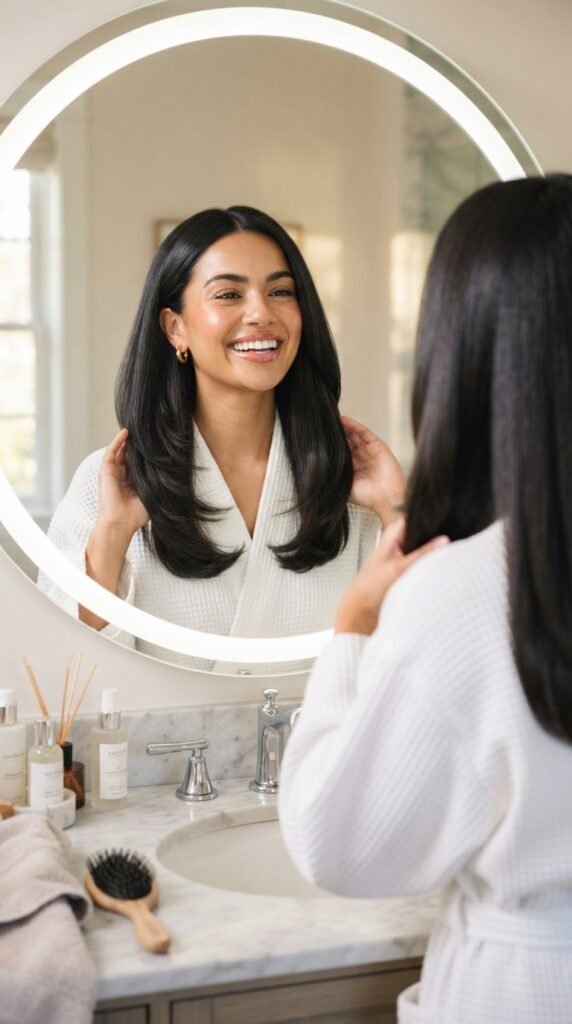
I know it’s tempting to skip washing day, but beach waves work best on hair that isn’t greasy at the roots. If your hair has product buildup, the waves can fall flat.
If you washed your hair yesterday, just spritz some dry shampoo at your roots and brush through. That gives your strands light grip and keeps waves from slipping.
Finish with a full brush from root to tip. Flat iron waves need an even base to look consistent.
Step 2: Section Your Hair the Smart Way
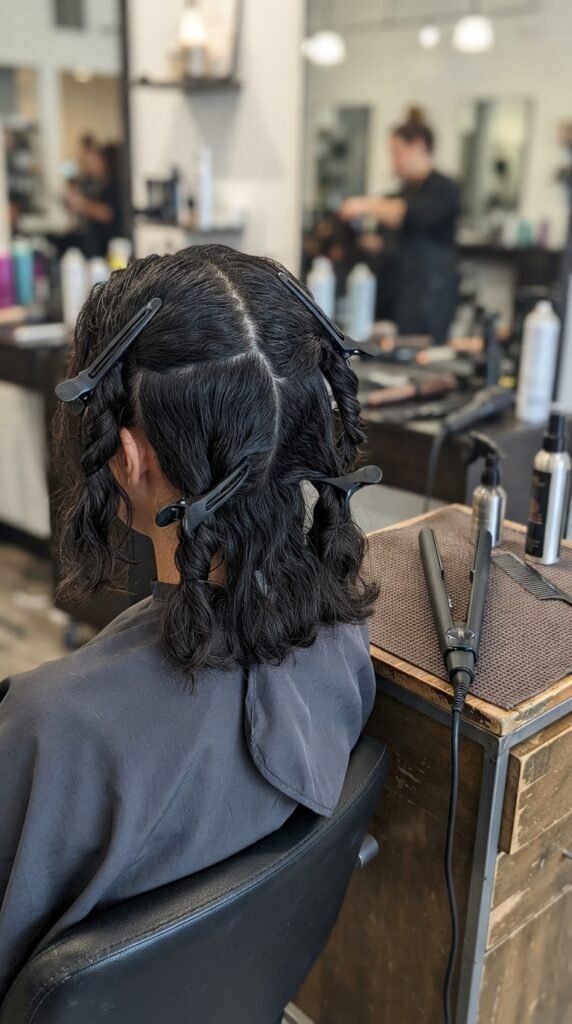
Split your hair into four sections—two in the front, two in the back. Clip each one up so they’re out of the way.
Work with one small section at a time, about one to two inches wide. Smaller sections give more defined waves. Larger sections give a looser, more undone finish. For beach waves, one-inch sections are usually perfect.
Keep the rest clipped. Trust me, this saves you from missing chunks and gives you a professional-looking result.
Step 3: The Flat Iron Twist Technique
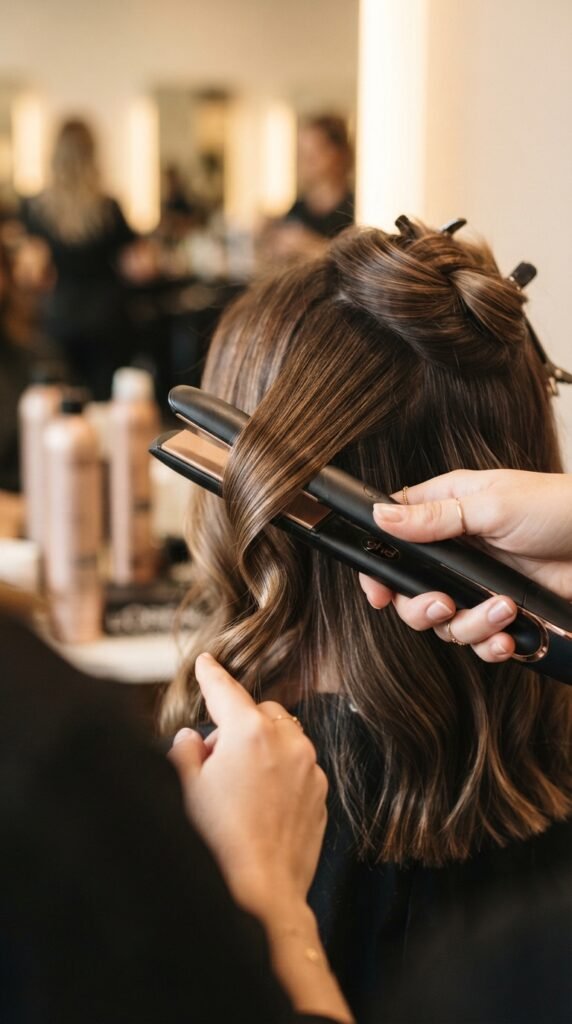
Here’s the secret you came for:
- Clamp the flat iron at the root of a small section.
- Twist your wrist away from your face, turning the flat iron halfway.
- Slowly glide the iron down the hair, keeping that twist.
- At the end, give a tiny flick outward for the wave.
It sounds odd at first, but that rotation creates the S-shaped bend without a barrel. You are basically pressing the hair into a kink, then straightening through the ends. Practice once or twice; it clicks fast.
Step 4: Alternate Directions for Messy Texture
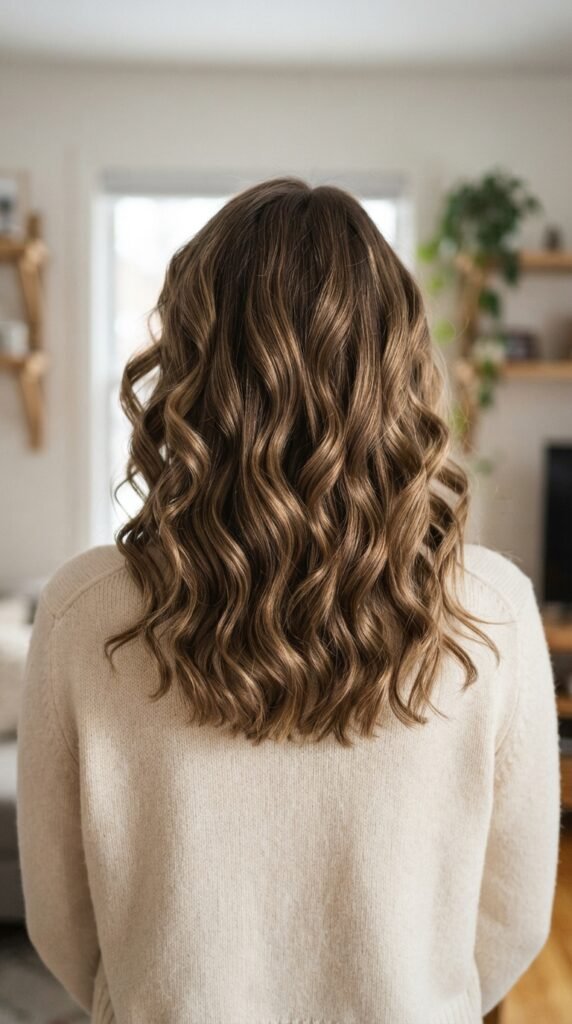
You may be tempted to curl every section away from your face. Don’t do it. That gives you a uniform “pageant wave,” not beachy texture.
Alternate your direction as you go—twist one section away from your face, the next one toward your face, then back again. This interlocking movement makes the hair look naturally messy and full.
It also helps your waves blend together. Your finished look will be more “I spent the day on a boat,” and less “I spent an hour in front of a mirror.”
Step 5: Spray and Scrunch Like You Mean It
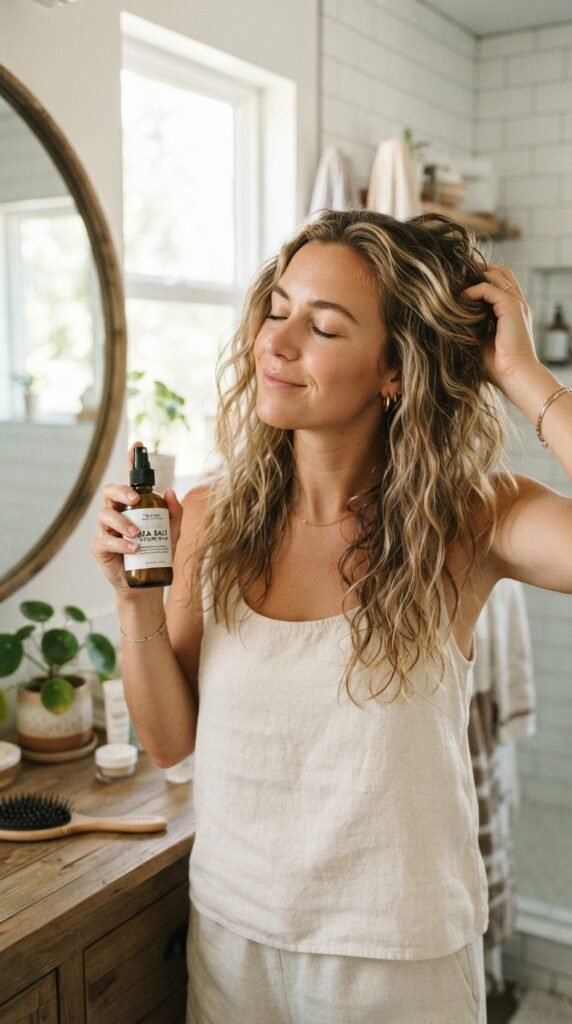
Once you’ve waved all your sections, flip your head upside down. Give your hair a few spritzes of texture spray, focusing on the mid-lengths and ends.
Then cup the ends of your hair in your hands and scrunch upward. This breaks up hard lines and makes the waves look softer. Give your roots a little lift with your fingers too.
Wait one minute for the spray to settle, then flip your head back upright. Fluff lightly with your fingers, and go. That’s it—you’re done.
Can You Get Old Money Hair With Beach Waves?

Yes, you absolutely can. Old money hair is all about health, shine, and subtle texture. Beach waves can fit that vibe if you keep them smooth and low-sheen.
Skip heavy sea salt spray. Instead, use a light texturizing mist and press your flat iron over each wave for one second to flatten the curl a little.
You want a gentle bend, not a curl. Pair that with a center part and you’ll channel serious quiet luxury.
Beach Waves for a Quiet Luxury Bob
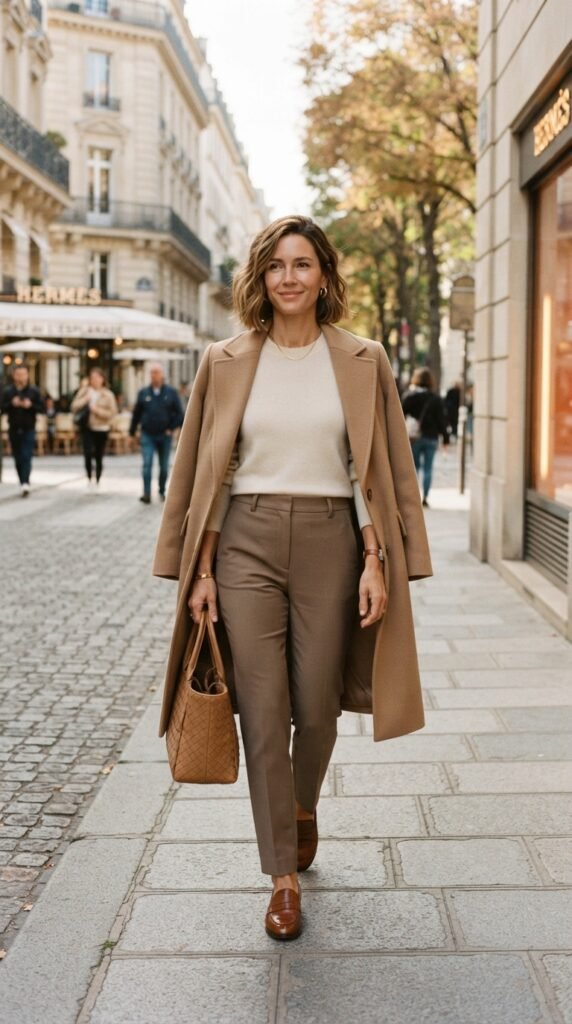
The quiet luxury bob is huge for 2026, and flat iron waves make it look even more expensive. If your hair ends at your chin or jaw, simply wave the bottom few inches.
Don’t curve every chunk. Just a few broken-up bent sections will frame your face in a chic, modern way. The contrast between straight roots and a soft wave creates polish.
This is also the fastest bob style to finish—five minutes tops.
2026 Hairstyles: Where Beach Waves Fit Best
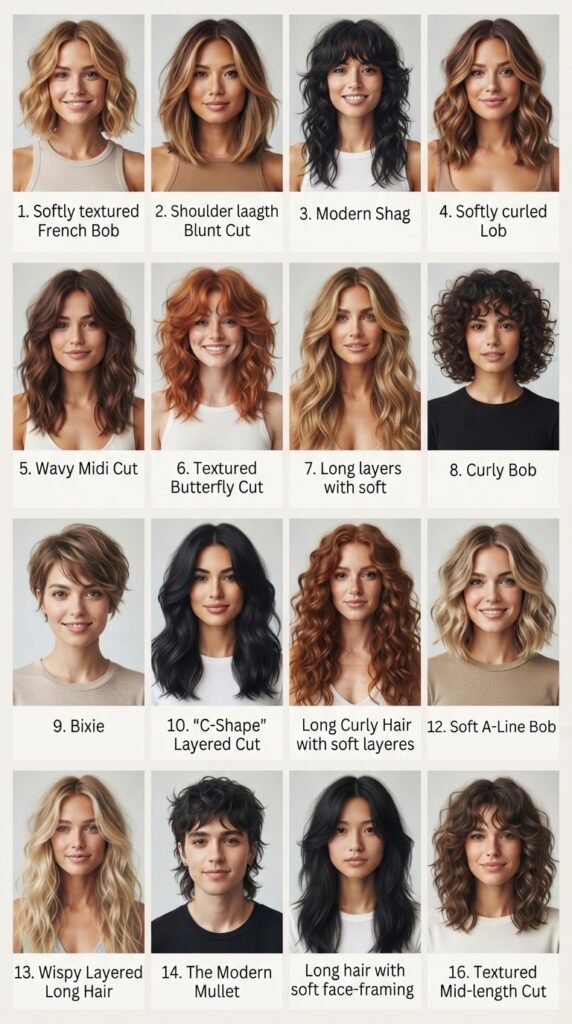
Beach waves are the chameleon of 2026 hairstyles. They work on almost every cut, from a chin-length asymmetrical lob to long, cascading layers.
If the runway is any sign, texture matters more than perfect curls this year. Relaxed waves are winning because they feel easy and human. That’s why they pair so well with old money hair and romantic goth looks too.
Whatever your new haircut is, chances are a flat iron wave is one of the easiest ways to style it on day two.
How to Style a Vampire Haircut With Beach Waves

The vampire haircut is giving gothic romance, with tons of long, jagged layers and face-framing pieces. Beach waves are actually perfect for this cut because they enhance the sharpness of the layers.
Wave each section as you normally would, but leave your very ends straighter. That keeps the “vampire” mystique alive while still adding softness around your face.
The result feels mysterious, not heavy. Add a black velvet top and you’re ready for dusk.
Hime Cut With Soft Waves? Yes!
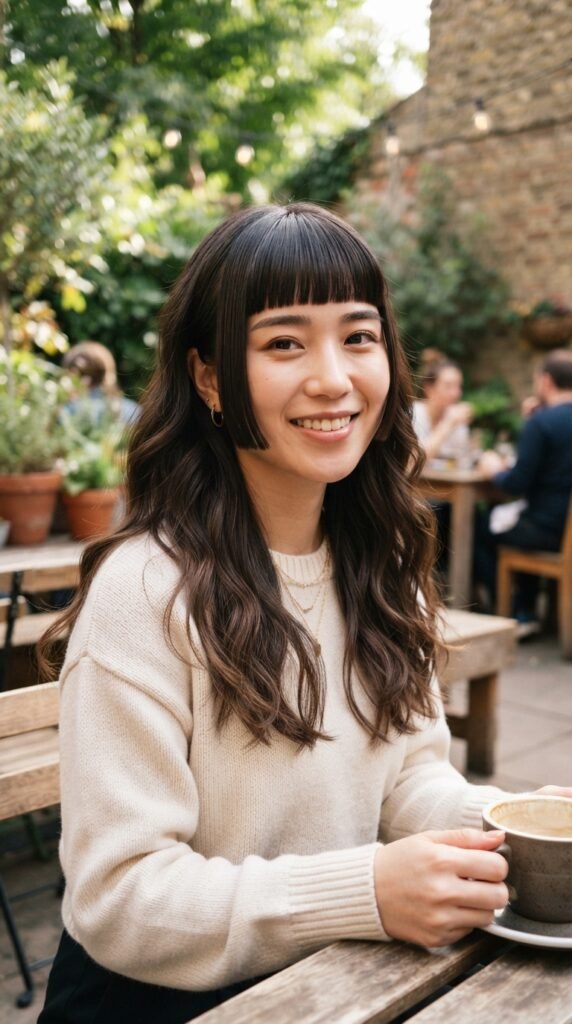
If you have a hime cut—those blunt cheek-length pieces with long hair—you might think waves don’t fit. Think again. Flat iron waves can add life to the back while keeping your front pieces straight.
Just don’t wave the hime pieces themselves. Tuck them behind your ears or leave them flat. Wave only the longer mid-lengths and ends underneath.
The contrast is cute, modern, and really interesting. It softens the harsh lines of the cut without losing the anime-inspired edge.
Beach Waves on an Asymmetrical Lob
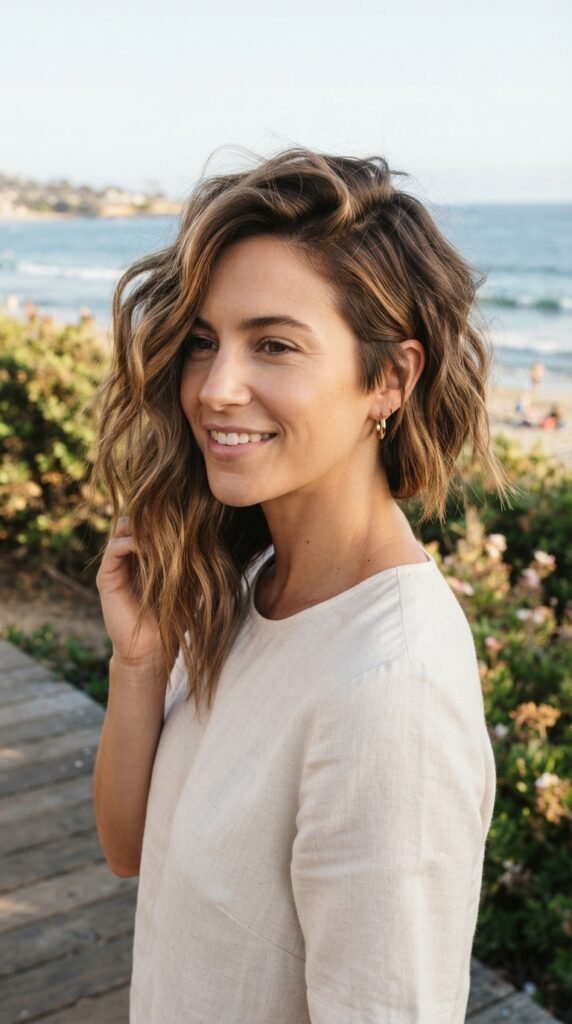
An asymmetrical lob already has that cool-girl vibe, and soft waves make it even more dimensional. Since your hair goes from short in the back to longer in front, the flat iron waves help the angle look intentional.
Use a thinner section around the exact point where the hair length changes. That way the waves flow smoothly over the asymmetry instead of breaking it into weird chunks.
This is a low-effort way to make one of 2026’s best cuts feel fresh.
Romantic Goth Hairstyles Love a Loose Wave

Romantic goth hairstyles are not all slick, severe parts. There is a softer side to the aesthetic, with undone waves and dark, shiny layers.
Beach waves give you that gently haunting, just-out-of-the-fog look. Finish with a lightweight gloss serum to keep your strands healthy and a little mystical.
You can even mix in subtle ribbons or velvet clips—the waves grip accessories so well.
Be Honest: Is Glitchy Glam Hair Possible With Waves?
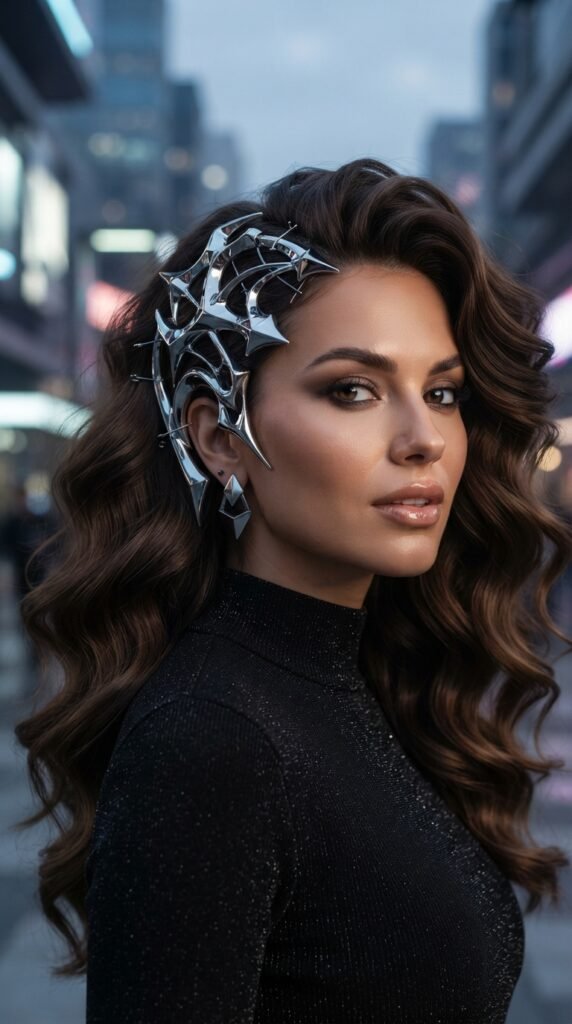
Glitchy glam hair usually brings to mind wet-looking texture and sharp angles. But you can absolutely flavor it with beach waves. The key is pairing your waves with a high-shine spray or liquid gloss.
Keep your waves more defined than usual, using smaller sections. Then comb your fingers through to break them up slightly. This gives that digitized, fractured effect without looking messy.
Add a tiny piece of jewelry or a metal clip and you’ve got editorial-level style at home.
Flat Iron Mistakes That Make Waves Fall Flat
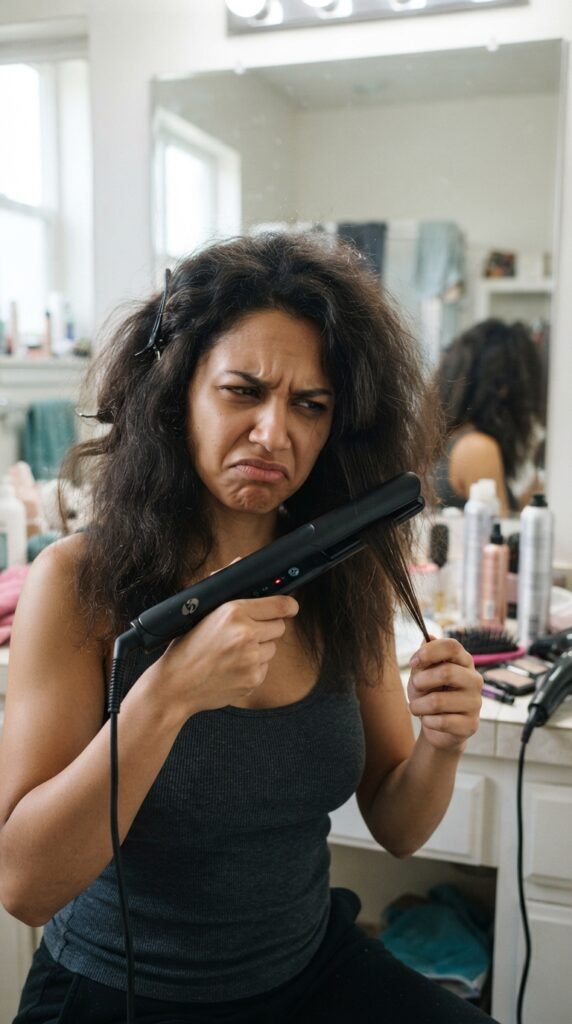
Let’s troubleshoot so you don’t waste your time:
- Clamping too hard, which creates creases instead of waves.
- Moving too slowly, which overheats the strand and kills the bend.
- Skipping texture spray, so your waves unravel within minutes.
- Using a dull or dirty flat iron that tugs your hair.
One more biggie—starting too far down the hair. Always begin at the root area, even for a loose wave, so the bend carries through every strand.
Watch these little details and your waves will look like you paid a stylist.
How to Set Beach Waves So They Last All Day
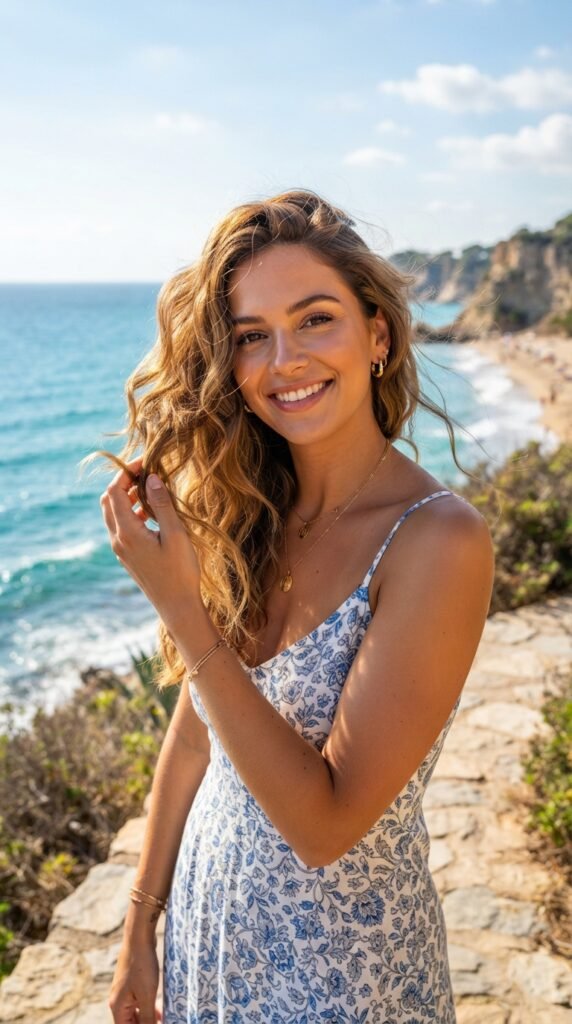
To keep beach waves alive until night, work in the right order. Spray each section before you flat iron? Nope. Wait until all the waving is done.
Once you finish, flip your head and spray a flexible hairspray all over. Then gently cup your hair and do one final scrunch.
You don’t need to use a ton. Just enough so the waves can survive wind, humidity, and the thousand times you’ll run your hands through them.
The Next-Day Fix: Quick Wave Refresh
Beach waves are actually the best for day two. In the morning, spray your hair with a mix of water and a little leave-in conditioner to wake up the texture.
Then run your flat iron quickly over only the pieces that flattened while you slept. Use the exact same twist-and-slide technique, but skip any section that still looks good.
Finish with a tiny spritz of texture spray and fluff. Your ‘second day’ will look exactly like the first—no full restyle needed.
I don’t know about you, but I fell in love with this method the first time I tried it. There’s something so satisfying about making waves with the one tool everyone has stuck in a drawer.
Now I want to see your results. After you try this flat iron hack, leave me a comment and tell me whether your hair liked the “twist and slide” move. And if this helped you save time before your next beach day, save this post to Pinterest so it’s waiting for you when you need it.


