Trendy Crown Braid Tutorial for Outdoor Weddings and Garden Parties
We’ve all been there: standing in front of the mirror before an outdoor wedding or garden party, wondering how to keep our hair looking polished while the breeze has other plans. You want something that feels special and elevated but won’t have you fussing with strands all night. That’s exactly where the crown braid comes in—it’s the perfect mix of romantic and practical, and honestly, it looks way harder than it actually is.
The best part? You don’t need to be a braiding expert or spend an hour in front of the mirror to pull this off. With a few simple tricks and the right mindset, this hairstyle is totally doable on the first try. I’m going to walk you through my favorite method for a trendy crown braid that stays put through cake cutting, dancing, and all those candid garden photos.
We’re keeping it light, fun, and super achievable, so grab a mirror and let’s do this together. By the end of this guide, you’ll have a gorgeous, go-to style that perfectly fits the breezy elegance of al fresco celebrations.
Why the Crown Braid Owns the Season
This isn’t just any braid—it’s the ultimate statement for outdoor events right now. It has a way of looking both intentionally styled and effortlessly thrown together, which is exactly the energy we want for spring and summer gatherings. It frames your face beautifully and keeps every strand off your neck when the sun gets warm.
Plus, it’s surprisingly versatile. You can make it boho and loose with wispy pieces, or sleek and tight with a middle part for that precise, modern feel. Either way, the crown braid works like a built-in hair accessory. It elevates even the simplest dress into something that feels event-ready.
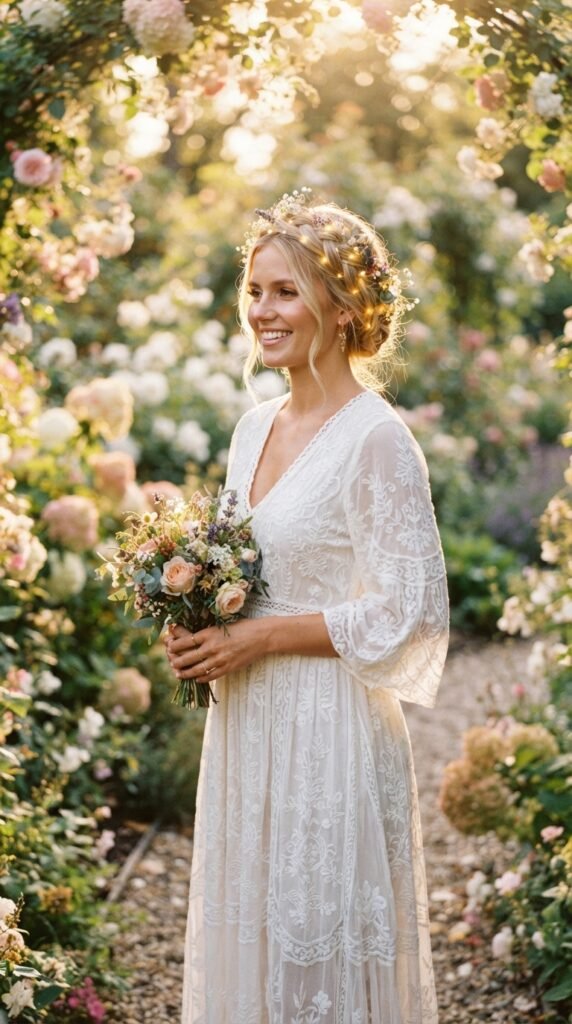
Gather Your Tools (Keep It Simple)
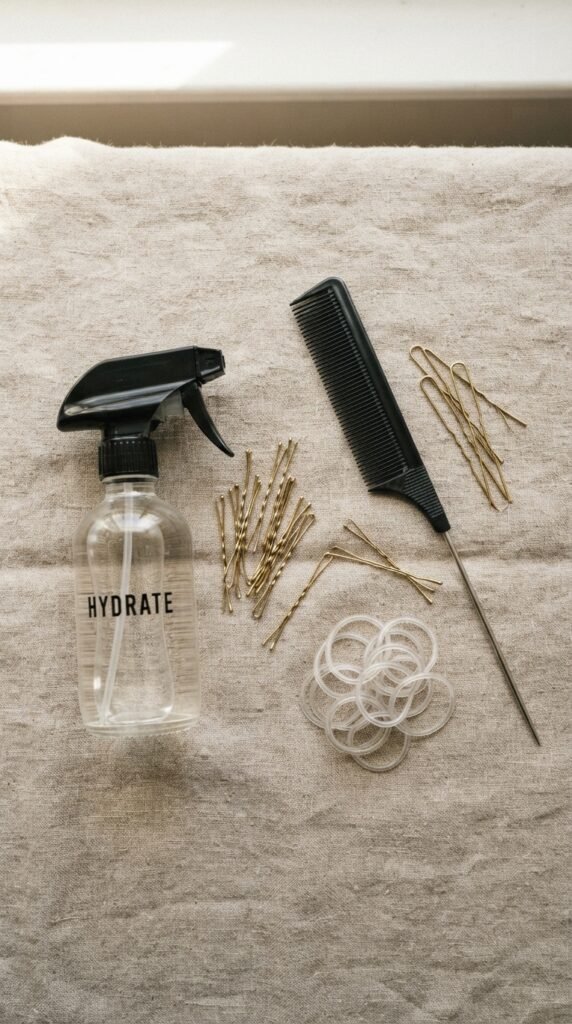
Before we start, you only need a handful of things, and you might already have them lying around your bathroom. The key to gorgeous braids is having the right supplies that minimize stress and maximize hold.
- One or two clear, thin elastic bands (match your hair color if you can)
- Bobby pins that actually match your hair tone (this is non-negotiable)
- A tail comb for creating a clean, sharp part
- Light-hold hairspray or texturizing mist (a must for grip)
- A small mirror to check the back of your head, or just use your phone camera
Don’t overthink the products. A little bit of texture powder or dry shampoo at the roots can add volume, but clean, fresh hair works perfectly fine too. Texture just makes it easier to grip.
Prep Your Hair for the Perfect Grip
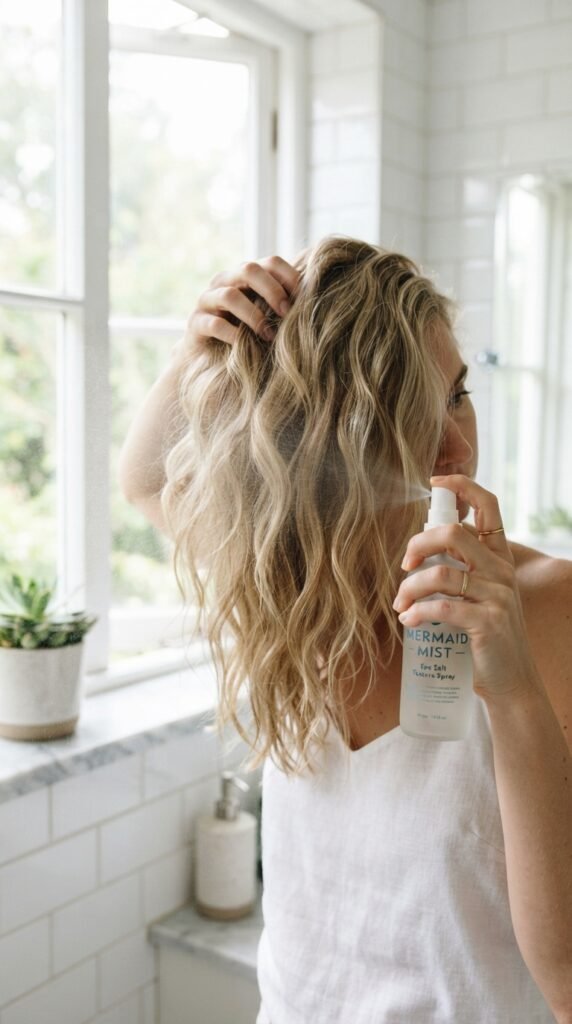
Freshly washed hair can be slippery, which leads to a braid that falls apart by dinner time. If you washed your hair this morning, give it a quick dry shampoo spritz at the roots before you begin. This adds that gritty texture that helps everything stay exactly where you put it.
If you’re working with day-old hair, you’re already in the perfect spot! Gently brush through any tangles with a wide-tooth comb to keep the hair smooth and manageable. A quick bend at the root with your fingers can also help give the braid a little more staying power and volume.
Find Your Part: Center or Side
The part you choose completely changes the vibe of this hairstyle. A precise center part feels very editorial and reminds me of those high-fashion runway looks. On the other hand, a deep side part feels softer, more romantic, and a bit more boho for a garden party.
If you’re not sure which one to pick, go with the side part—it usually looks more forgiving and instantly adds a touch of vintage glamour. Once you’ve made that choice, use the tail of your comb to create a sharp, clean line. This detail alone sets the foundation for a polished finish.
Sectioning Made Simple
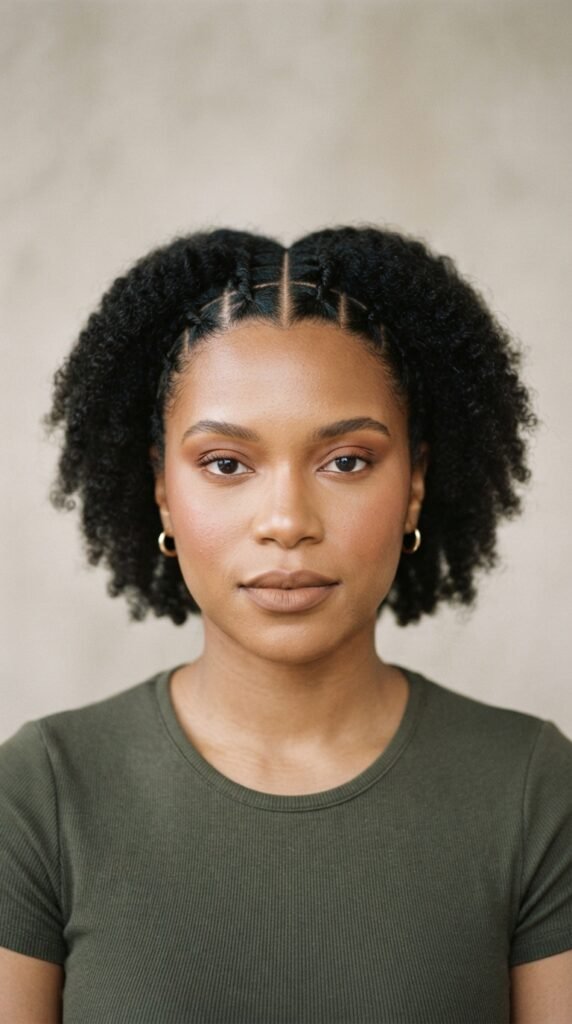
To get that true “crown” effect, we’re basically making two braids that wrap around your head like a headband. Start by sectioning your hair straight down the middle from your forehead to your nape. Clip one side away so you can focus on the other without getting tangled.
Working with smaller sections makes the whole process way less overwhelming and keeps the braids even. We’re aiming for thick, loose Dutch braids or French braids, depending on how much texture you want. You’ve totally got this—one side at a time.
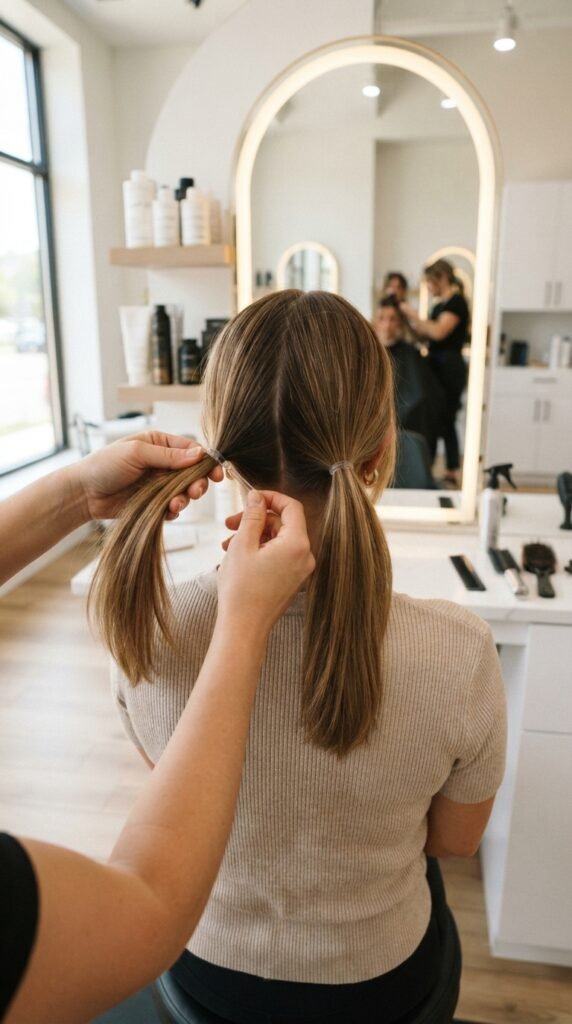
The Step-by-Step Braid (No Stress)
Start on one side, right at your hairline above your ear. Separate your hair into three even pieces and begin a standard French braid, crossing the side pieces under the middle. Braiding under (not over) gives it that gorgeous, raised 3D effect we love for a crown.
As you work your way down toward the nape of your neck, pick up new hair with every section. Keep the tension medium—tight enough to stay secure, loose enough to look soft. Once you reach the bottom, finish with a regular braid and secure it with a small elastic.
Repeat this exact process on the other side, making sure the braid sits at the same height. Symmetry is helpful here, but truly, nobody will notice if it’s perfectly even. The overall shape is what matters.
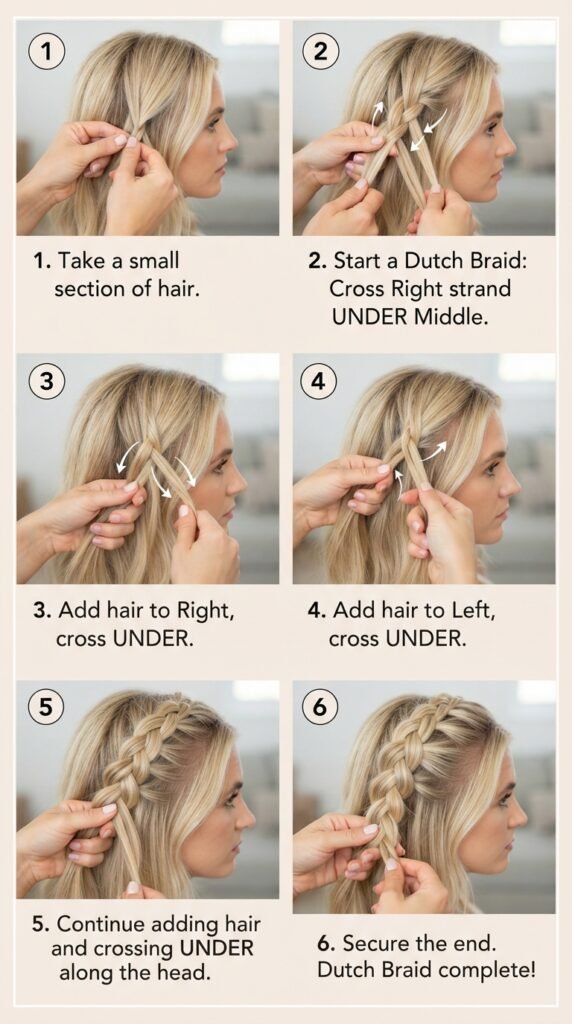
How to Cross Them Like a Pro
Now for the magic moment! Take the braid from the left side and gently pull it over the top of your head toward the right side, laying it along your hairline like a soft halo. Pin it right behind your ear on the opposite side using horizontal bobby pin movements—they hold much better that way.
Then, take the right braid and pull it across to the left, tucking the ends underneath the first braid for a seamless finish. This is where the hidden magic happens. Secure everything with more pins and check the mirror from every angle to make sure it looks smooth.
If any pieces are sticking out awkwardly, tuck them under or pin them down gently. Give it a little hairspray to lock in the shape before you step out the door.
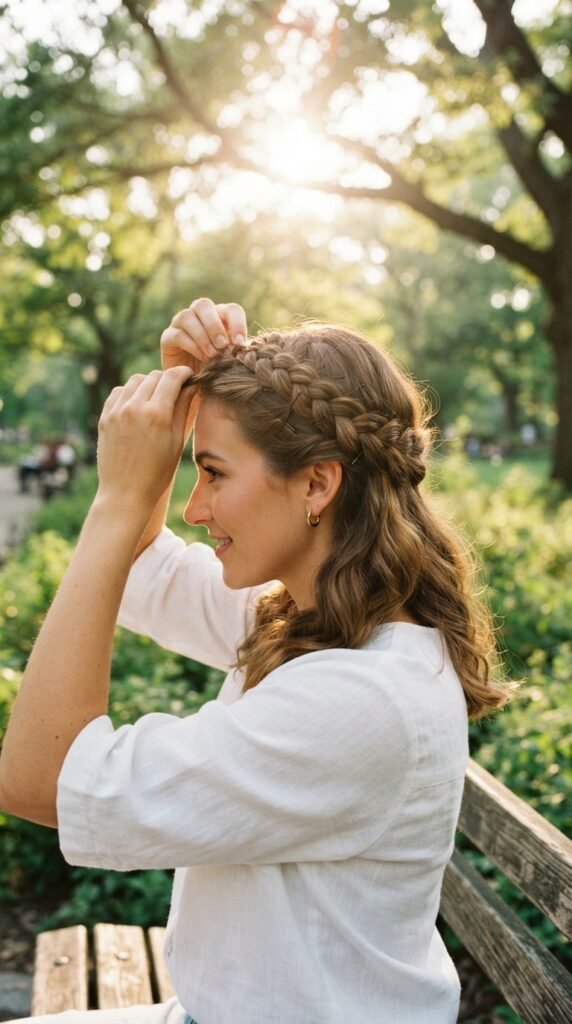
Bringing in the Old Money Hair Vibe
You might not think a braid could fit the “old money” aesthetic, but trust me, this style says quiet luxury. To get that look, keep your part super clean and your braid pulled just a little bit tighter. Pair it with tailored pieces, delicate gold jewelry, and a simple slip dress to channel that 2026 hairstyles energy effortlessly.
The beauty is that the crown braid removes all the “messy” elements, leaving behind an air of calm confidence. It’s the kind of look that whisper-suggests you have a whole professional glam squad, even when you did it yourself in ten minutes. It’s all in the details.
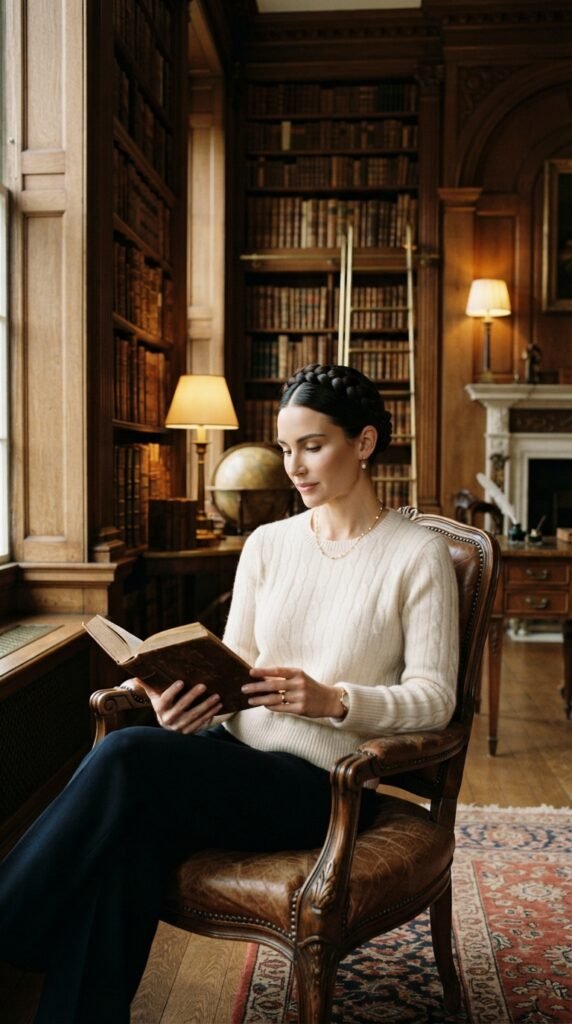
Why This Braid Screams Quiet Luxury Bob Energy
If you have a quiet luxury bob going on, you might be wondering if this hairstyle even suits your length. The great news is yes—when you braid a shorter bob, the crown effect looks surprisingly full and chic. The ends stick out a bit more, which creates an intentional, softer look that still has that expensive vibe.
For those of you with longer locks, you can fake the fuller bob effect by folding the braid ends up under the opposite side. It adds bulk exactly where you need it, making your hair look incredibly dense and healthy. This is a favorite trick to create that “money” finish without cutting a single strand.

Romantic Goth Hairstyles Crossover
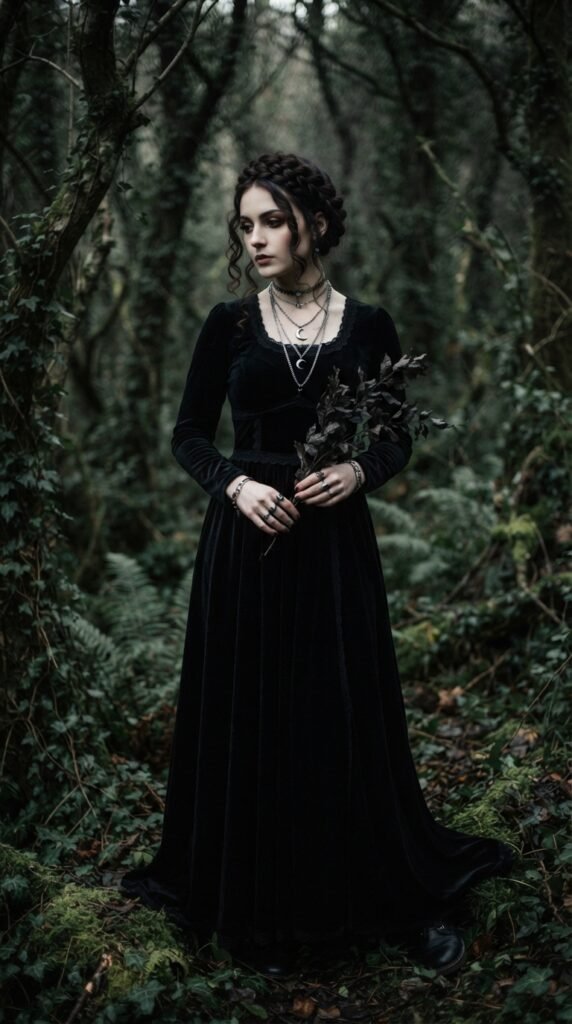
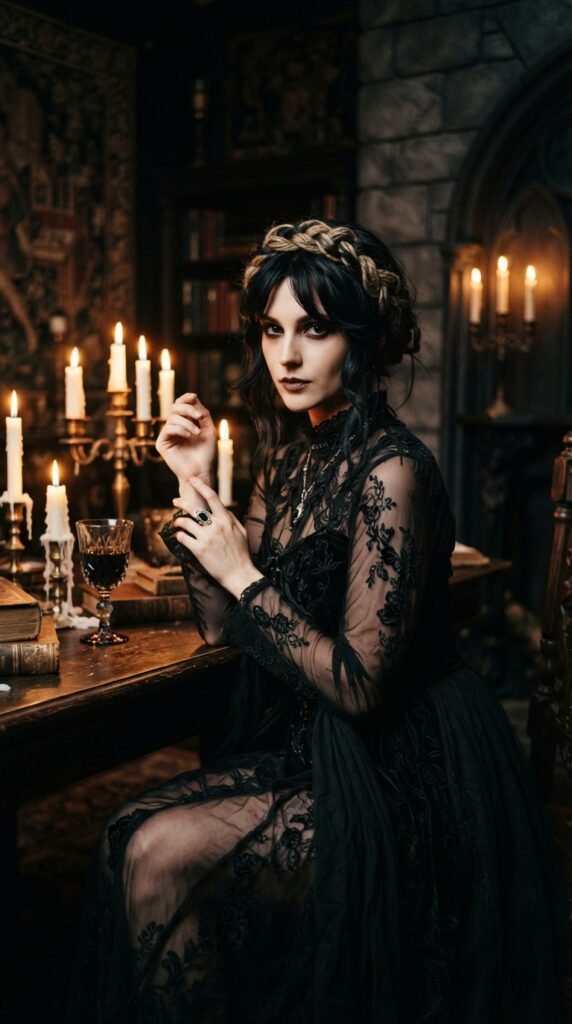
If your taste leans a little darker, the crown braid is basically a best friend to romantic goth hairstyles. For an evening garden party under string lights, try leaving out two tendrils around your face—curl them loosely with a wand for that soft, darkly romantic aura. Add a dark crimson lip to make the look truly yours.
The structure of the braid plays beautifully against flowing black dresses, Victorian-style blouses, or chunky silver jewelry. You can also pull the braid over your head with a bit more height to give yourself an almost elven, dramatic silhouette. Make it as ethereal or as moody as you like.
Glitchy Glam Hair Inspiration
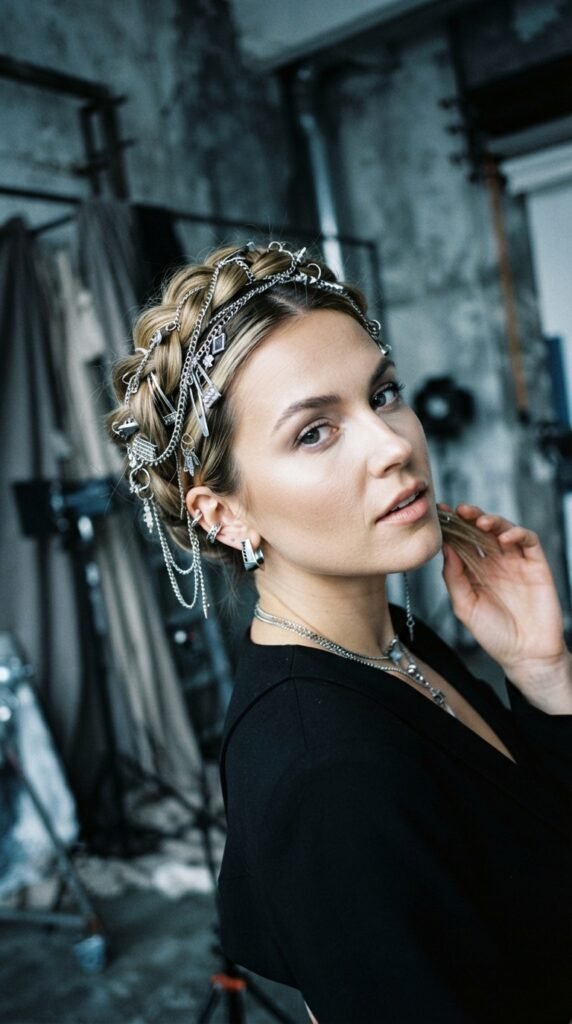
Now, if you’re bold and love modern trends like glitchy glam hair, you can totally push this classic look into the future. Instead of hiding your bobby pins, why not use metallic silver or pearlized ones that peek through strategically like a cool accessory? You could also add a few sheer ribbons woven into the braid for that “pop” of digital-age color.
Even a few clips along the braid line can create that intentional disruption that defines glitchy glam hair. This take is perfect for a modern garden party where you want to show a bit of edge. It’s all about playing with contrast and letting your accessory choices talk.
Updating It With The Asymmetrical Lob Idea
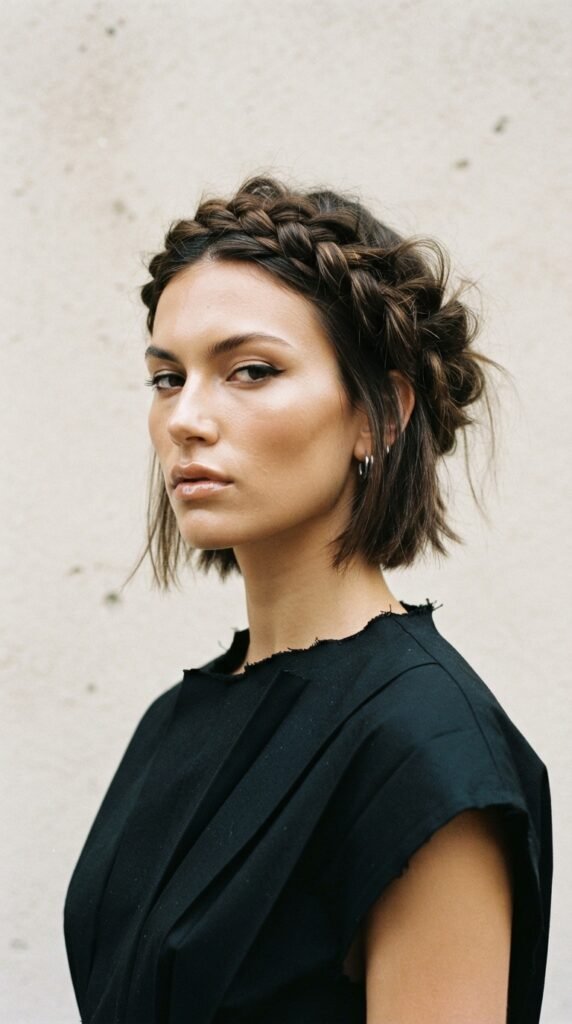
Let’s chat about all my asymmetrical lob readers for a second because you have a secret advantage here. Since your lengths are uneven, the tail of your braid will have a really cool, deliberate pointy shape. This works almost like modern art on your head when you pin it up.
Don’t try to fight the asymmetry—lean into it. Let one side of the crown be slightly thicker or lower than the other and treat it like a contemporary sculpture. The gentle imbalance adds a serious wow factor and makes the hairstyle feel current, not dated.
Is This Good for a Short Hime Cut?
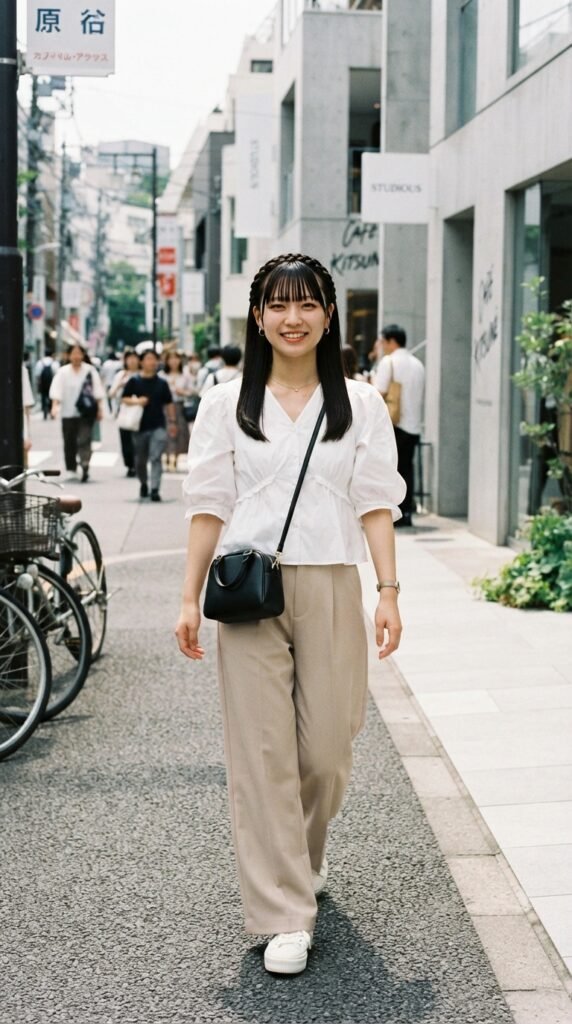
Having a hime cut with those signature blunt cheekbone strands means your braid is going to look incredibly cool. Instead of tucking those straight pieces away, the perfect move is to just leave them out. Those geometric lines against the softness of the braid create such a stunning contrast.
This bridges the gap between classic elegance and street-style coolness. Keep the braid sleek to mirror the sharpness of your cut. You’ll end up with a hairstyle that frames your face beautifully and shows off your playful fashion sense.
Fixing the “Vampire Haircut” Panic
Okay, we have to talk about the vampire haircut trend and how it works with braids. If you have those super long, heavily layered strands connected by a short fringe, braiding can be a bit of a challenge. That’s okay, we simply switch up the technique. Instead of Dutch or French, we do simple rope twists and pin them.
Treat each side like a rope twist and wrap them around your crown the same way. The layered ends will create a beautiful, feathery texture that looks like you just stepped out of a fantasy series. So don’t panic—your tricky cut just got a cool new purpose.
Making It Last in the Heat and Humidity
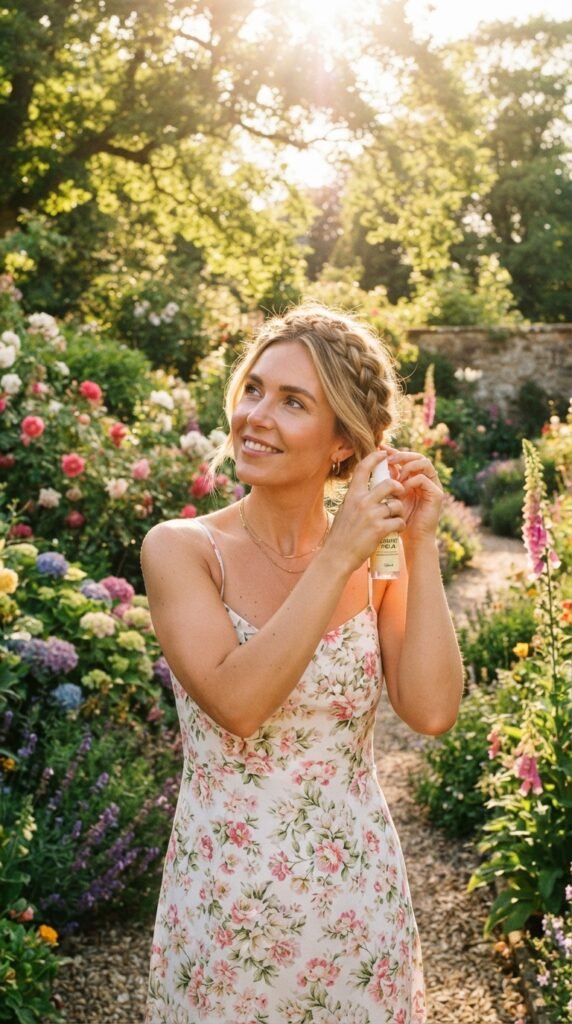
Outdoor weddings are magical, but summer humidity can be the ultimate test for any hairstyle. Before stepping outside, apply a generous layer of anti-humidity hairspray to the finished braid. This will seal down the tiny flyaways that the moisture tends to bring out.
It’s also smart to keep a mini hairspray or a small tin of pomade in your clutch for quick touch-ups. If you see frizz starting to form near your hairline, press the strand down with a bit of pomade and smooth it out. This tackles the problem instantly without disturbing the braid.
Best Accessories to Pair With It
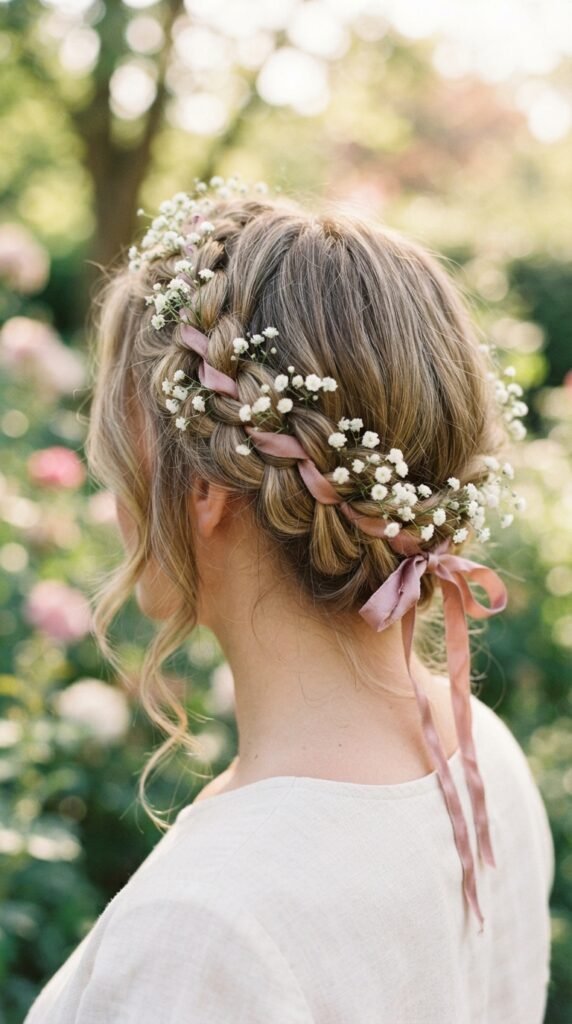
One reason I love this hairstyle is because it acts as a blank canvas for other details. You can weave a fresh flower, like a white rose or baby’s breath, right into the braids for the ultimate garden party moment. A dainty hair vine or thin ribbon also looks incredibly lush wrapped around the base.
For a bold, modern twist, place jeweled pins along the braid in a constellation pattern. Since this is your special event look, feel free to mix pearls, crystals, and fresh greenery to match your dress. Accessories carry this style from pretty to absolutely unforgettable.
A Quick Touch-Up Guide for Later
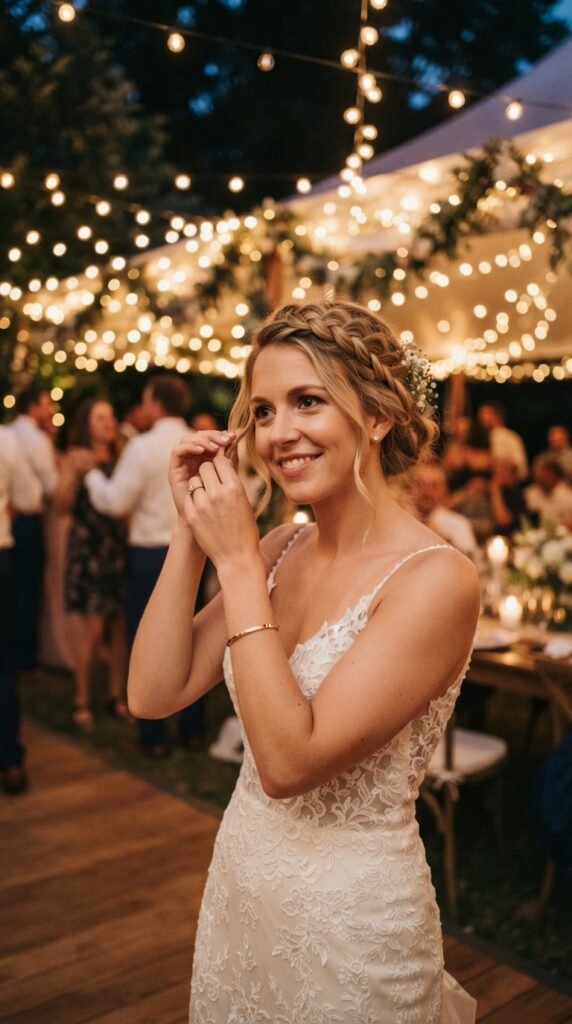
You’ll likely want to refresh the style before the reception or as the night goes on. The quickest way to do this is to just pull gently at the edges of the braid to add a bit more volume. Loosening it on purpose gives you that “effortless” lived-in look that photographs so well.
Grab a few bobby pins and insert them in the spots that feel heavy. If a section is sagging, pin it closer to the scalp. Also, always carry an extra elastic in your bag just in case—sometimes a braid just needs a little re-tightening at the bottom to feel secure again.
Transitioning From a Day Event to Night Out
If your garden party runs late and you’re heading straight to dinner, you’ll be happy to know the crown braid is the ultimate day-to-night transition. Keep the texture soft during the day for a dewy, romantic appeal. When the sun sets, simply add a high-shine hair oil to the exposed parts of the braid.
Slick back the baby hairs and swap your accessories for something more metallic or glam. The change in finish immediately shifts the mood from playful daytime to sultry nighttime elegance. This is the kind of versatility that makes this style your best friend for all-day celebrations.
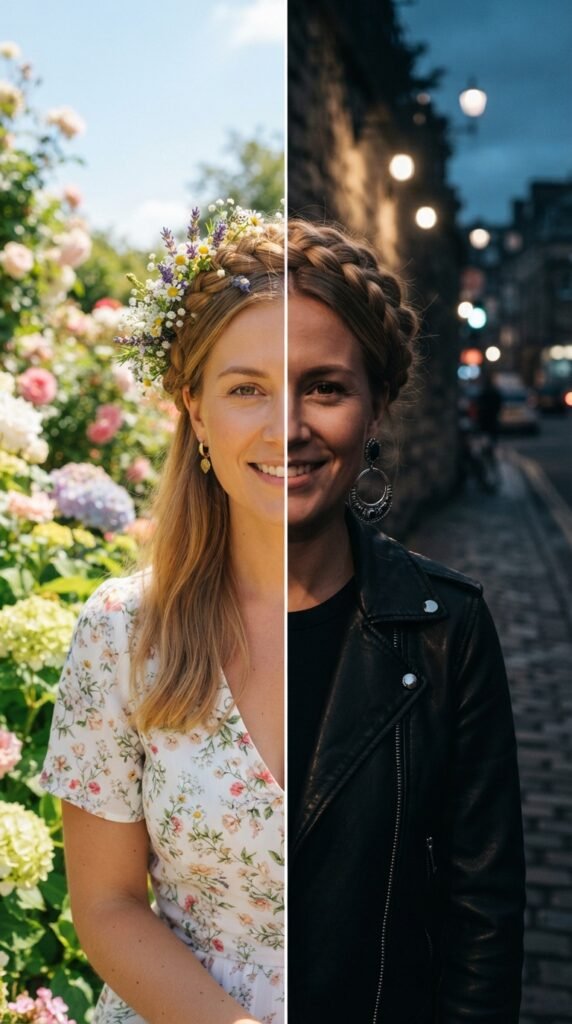
What to Wear to Match This Hair
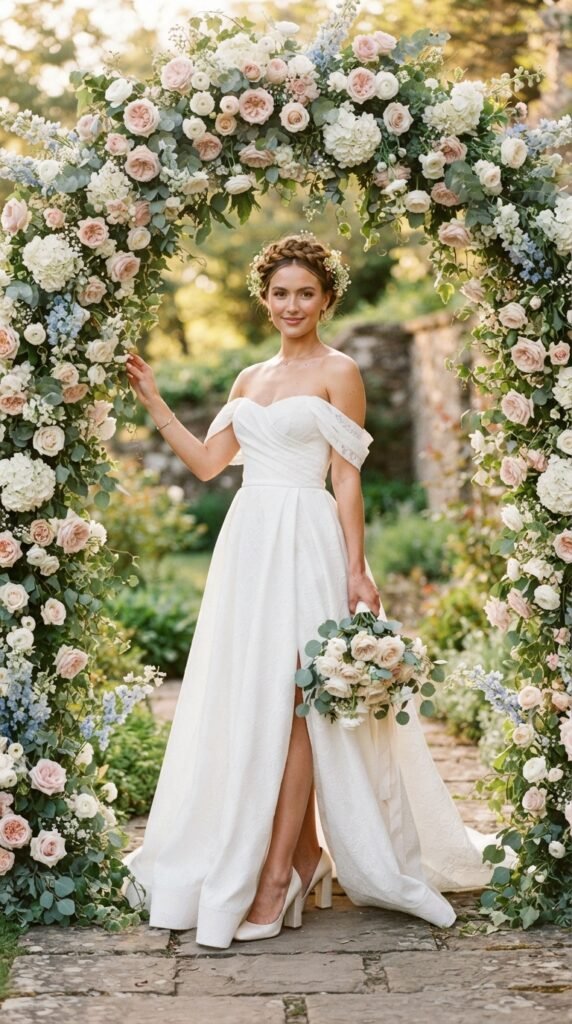
The good news is that the crown braid goes with basically everything in your event wardrobe. Off-the-shoulder dresses look phenomenal because they show off the line of your neck and collarbone right beside the braid. High necklines also work well by creating a continuous frame around your face.
If you are in a garden party, opt for lighter fabrics and pastel hues to mirror the airiness of the style. For a more upscale wedding, you can rely on sleek satin slip dresses or 2026 hairstyles-inspired suits. The geometric nature of the braid makes all necklines look intentional.
Frequently Asked Questions (Just for You)
“Will this work on thin or fine hair?” Absolutely! The crown braid actually helps add the appearance of volume, especially if you gently pancake the braid after creation. You can also backcomb your roots a little before starting to give the braids more substance to hold onto.
“How do I make it look fuller if my strands are extra smooth?” Beach wave spray is your best friend here. Spritz it throughout before beginning, and maybe do some loose waves on your ends if you have them. Texture provides grip and instantly translates into volume.
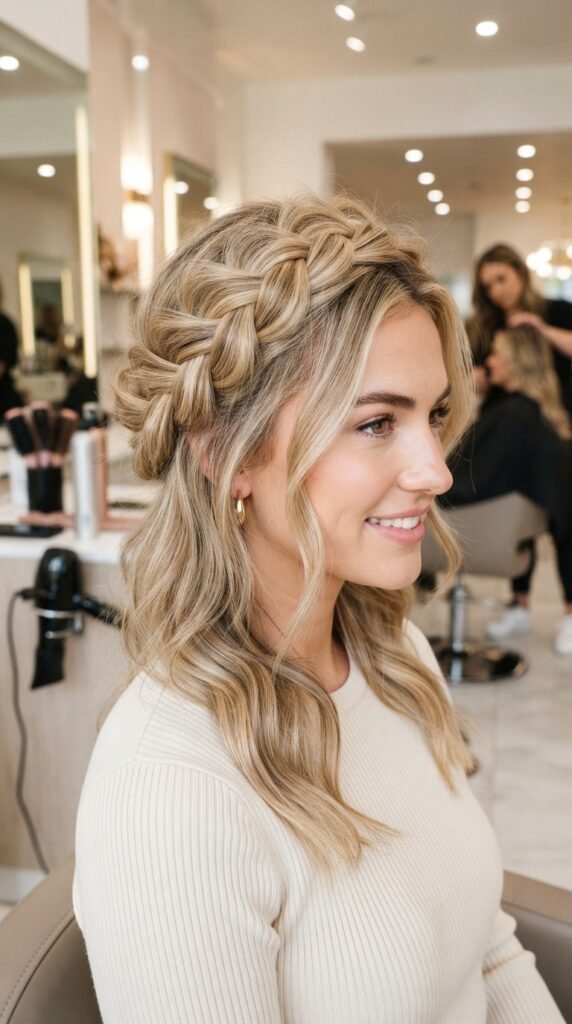
My Best Advice for First-Timers
If this is your first time attempting this style, don’t put pressure on yourself for perfection. In fact, the “imperfections” are what give it character and charm. The goal is to look effortless, so any bumps are just part of the organic flow of a handcrafted style.
Practice at home in the evening while watching TV instead of waiting for the big morning of the event. Practice removes anxiety, and by the actual day, your hands will know exactly what to do. Rock that beautiful crown braid with your head held high, knowing you did it yourself.
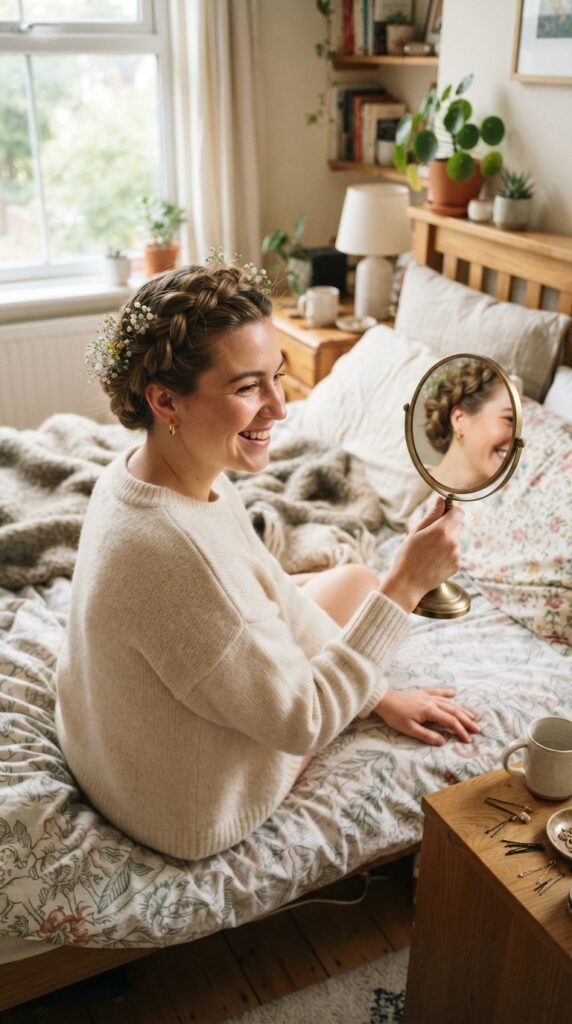
Sending You Off With Love
Thank you for hanging out with me and diving into this gorgeous crown braid tutorial. I hope you’re feeling inspired to try it for your next outdoor wedding or garden party celebration. Remember that this look is all about bringing your inner beauty to light while keeping you comfortable enough to enjoy every moment.
Take a deep breath, trust the process, and know that even if it’s not perfectly neat, it will still look undeniably romantic and chic. You’ll feel as beautiful as you look the moment you see that final reflection gazing back at you.
xo, Hailey
Save this post to Pinterest so you have it handy when you’re getting ready for your next event! And let me know below—are you team center part or side part when wearing a braid? I read every single comment and would love to hear how yours turned out!


