Romantic Half-Up Braided Crown for Outdoor Summer Garden Weddings
There’s just something about an outdoor summer garden wedding. The flowers, the golden light, the way the breeze moves through the trees. But that same breeze can be a total nightmare for your hair if you’re not careful. That’s where a style that’s both romantic and secure becomes your best friend.
That’s why I’m completely obsessed with the romantic half-up braided crown. It’s soft, feminine, and honestly looks like you stepped out of a fairytale. Plus, it stays put through tears, hugs, and even a little dancing under the string lights.
In this post, I’m walking you through the whole look step by step, sharing the exact products and pinning tricks I use, and showing you how to make it feel current for 2026. No fancy salon skills required, I promise. Think garden party elegance with just enough structure that you won’t be fussing with pins all night.
Why This Style Was Made for Garden Weddings
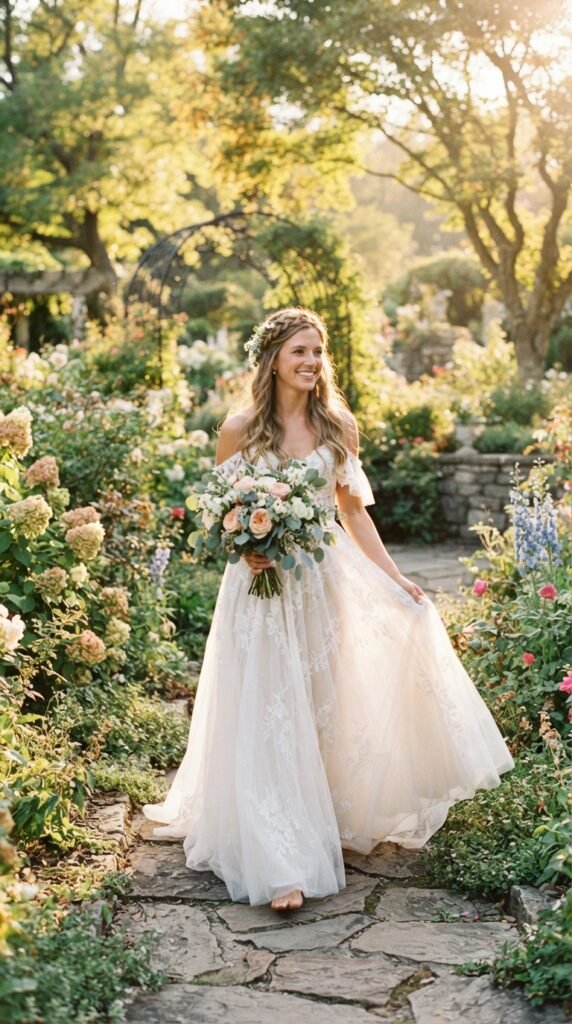
A garden wedding gives you all the dreamy vibes, but it also gives you humidity, wind, and the occasional rogue petal flying into your face. The half-up braided crown keeps the top of your hair neatly secured while letting the rest flow loose and natural. It’s the perfect balance between polished and effortless, and honestly, the smartest choice you can make for an outdoor ceremony.
It also photographs beautifully from every angle. Guests will see the braid detail from the sides, and the soft waves will catch the golden hour glow from behind. No bad angles, and no constant fixing between photos.
What You’ll Need Before You Start
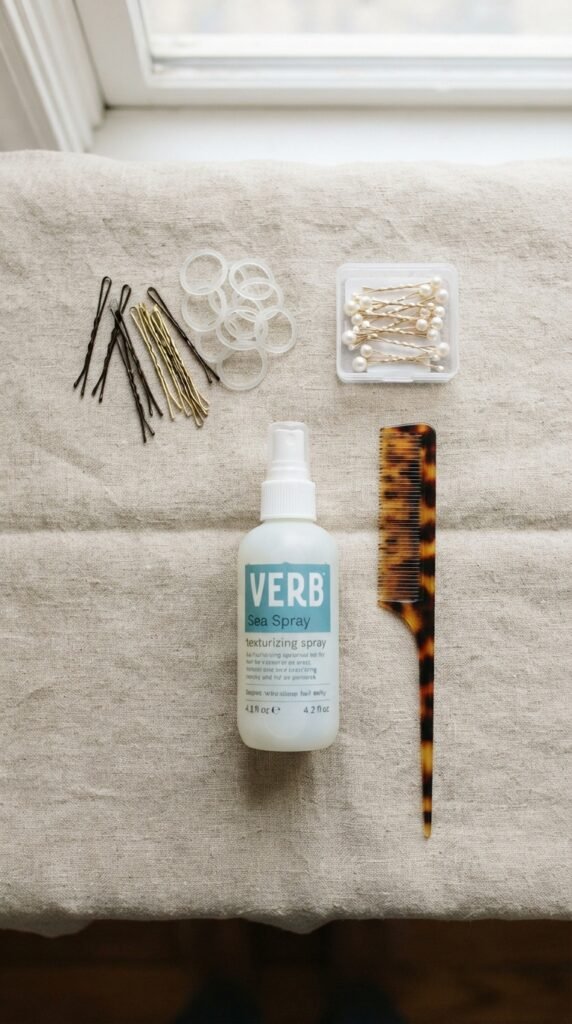
Grab these basics and you’re already halfway there. I love keeping things simple, so this list is short and mostly stuff you probably already own. These tools honestly do ninety percent of the work for you, so don’t overthink this part.
- Two clear elastic bands
- Bobby pins that match your hair color
- A texturizing spray or dry shampoo
- A soft-bristle brush and a fine-tooth comb
- Optional: a small floral pin or pearl clip for the finish
If you have finer hair, add a little volume mousse before blow drying. For thick or heavy hair, grab extra-strength pins and a flexible hold hairspray. That’s it. Nothing complicated, I promise.
Prepping Your Hair for the Braided Crown
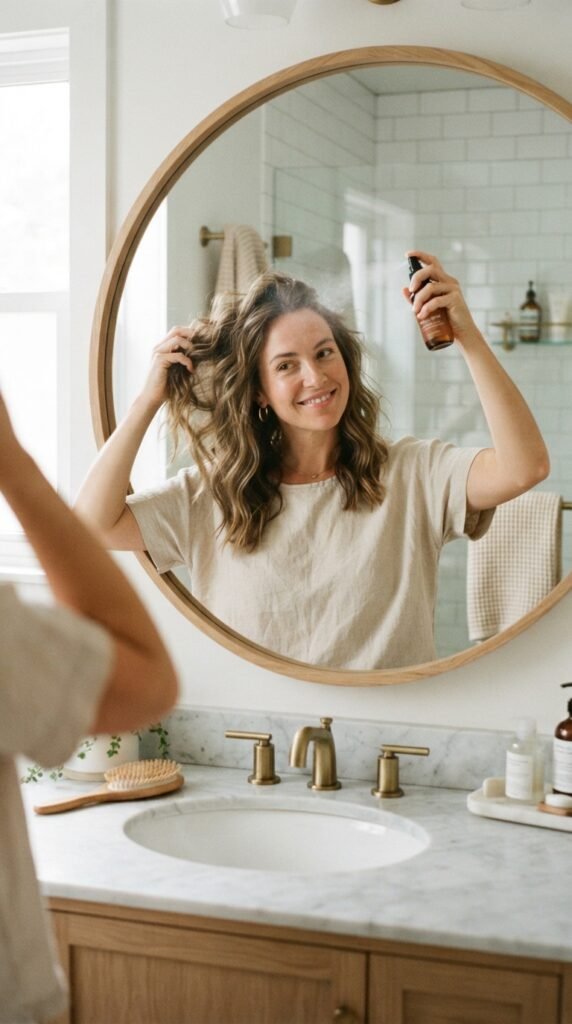
Preparation is everything when it comes to a style that has to last all day. Start with day-old hair if you can. Freshly washed hair tends to be slippery and won’t hold a braid as well. If you washed your hair that morning, no worries, just add some dry shampoo at the roots.
- Brush through to remove any tangles
- Spray texturizer all over, focusing on the roots
- Loosely curl the bottom half for soft, romantic movement
This gives your braid grip and your loose strands a little life. Think 2026 hairstyles energy: soft, natural, and a little undone on purpose.
Step One: Part Your Hair the Right Way
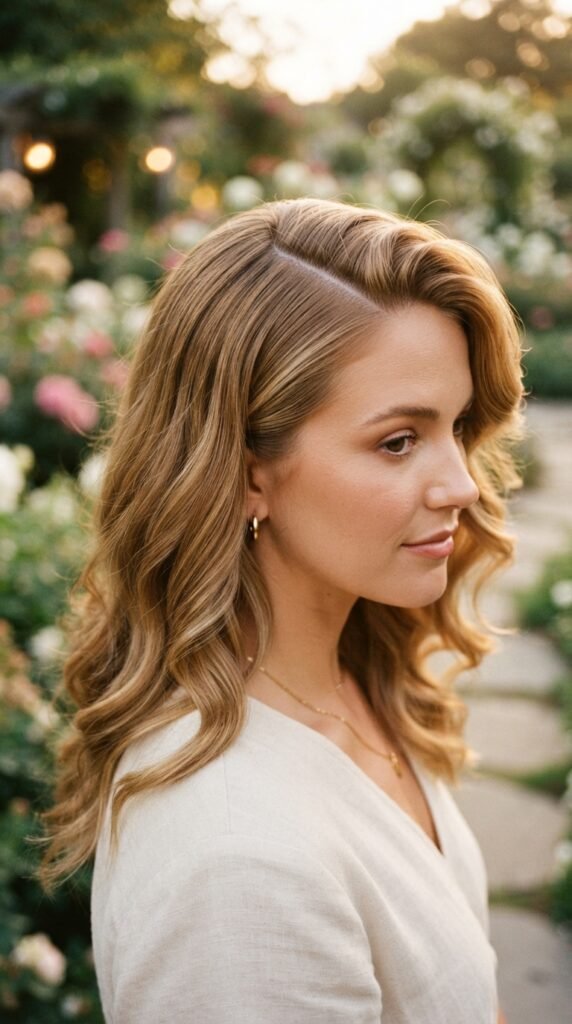
The part sets the whole mood. A soft center part feels very old money hair, polished and symmetrical. A deep side part feels more romantic and relaxed. For a garden wedding, I usually lean toward a deep side part because it frames the face beautifully and tucks behind the ear on one side.
Use the tail end of a comb to create a clean line. Then lightly rake your fingers through to soften it up just a touch. You want it to look intentional but not stiff.
Here’s a quick tip: your part doesn’t have to be perfect. A tiny zigzag part can add a little extra volume at the crown, which is always a good thing.
Step Two: Section Off the Perfect Amount
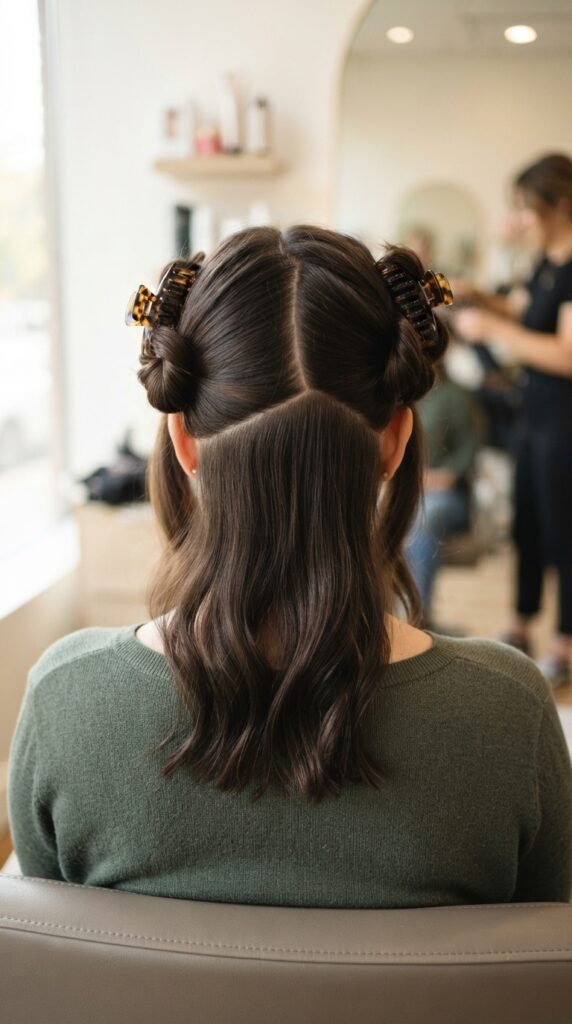
You want the top section to be wide enough to frame your face, but not so much that you lose all your length. A good rule of thumb is to take a diagonal section from just above each ear to the top of your crown.
- Hold a comb at a diagonal from your ear to the crown
- Separate that entire top section and clip the bottom half away
- Split the top section into two equal parts, left and right
This creates the shape you need for the braided crown without flattening your natural volume. It’s honestly harder to explain than it is to do. Once you’ve got those two sections, you’re ready to braid.
Step Three: Braid Each Side Like a Pro
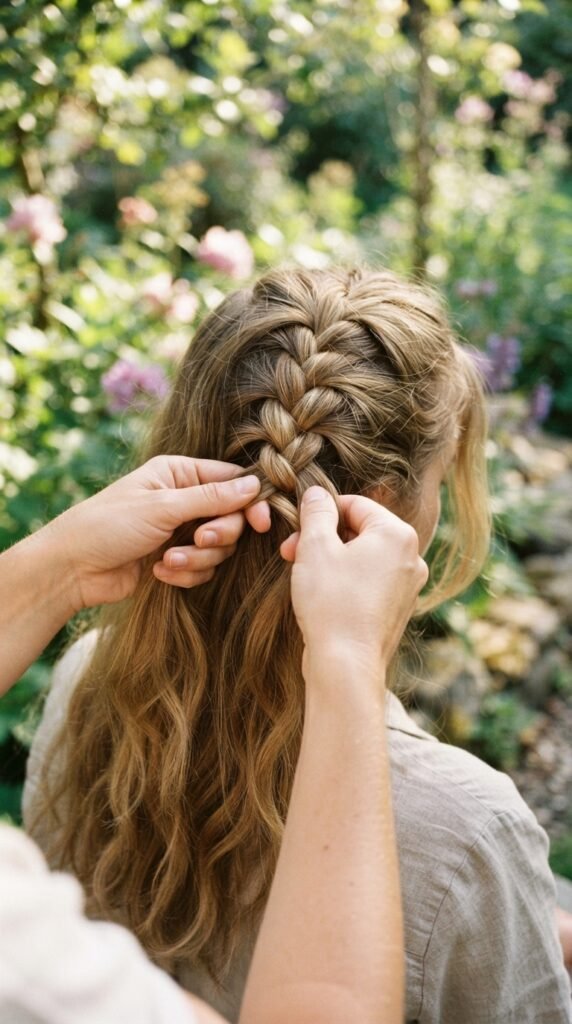
Here’s the fun part. Start with the right section and split it into three small pieces. Do a classic French braid, adding in a little bit of hair from the front as you cross each strand over the middle. This keeps the braid tight against your head and creates that beautiful crown effect.
- Keep your braid snug but not painful
- Angle it slightly backward toward the crown
- Stop about halfway down and secure with a clear elastic
Repeat on the left side. Don’t stress if the two braids aren’t identical. A little asymmetry is what makes this look soft and romantic instead of stiff and perfect.
Step Four: Create the Crown Shape
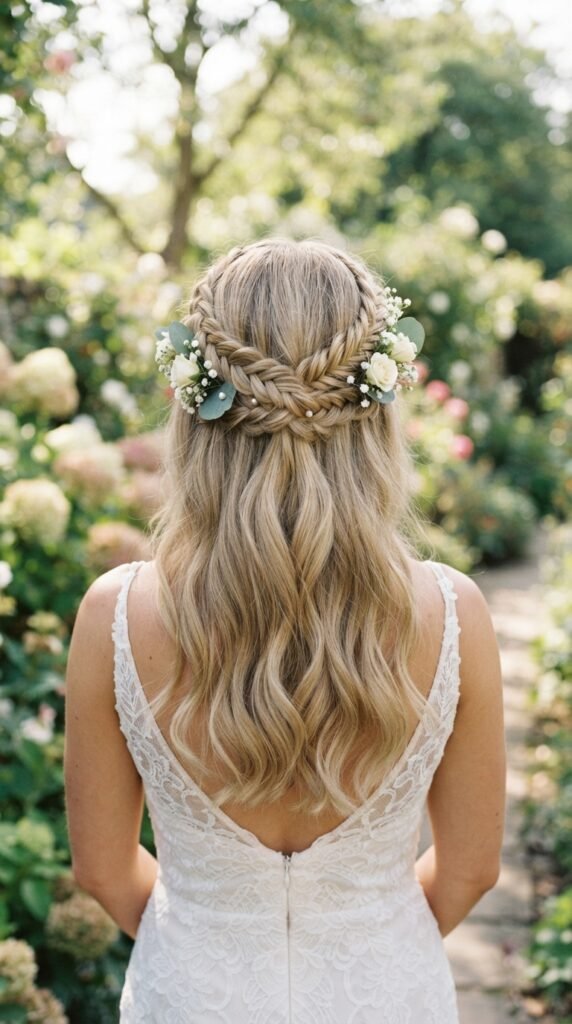
Now for the magic moment. Bring the right braid across the top of your head, just behind the crown, and pin it snugly. Then bring the left braid over it in the opposite direction, crossing near the center.
Think of it like building a gentle arc. The two braids should meet somewhere in the middle and overlap just a little.
- Hold both braids in place with one hand
- Tuck the ends under to hide them
- Slide bobby pins in at a downward angle to lock everything
Take a second to look in the mirror. If the braids sit too far back, adjust them forward slightly for a more visible halo.
The Secret to Making It Look Romantic
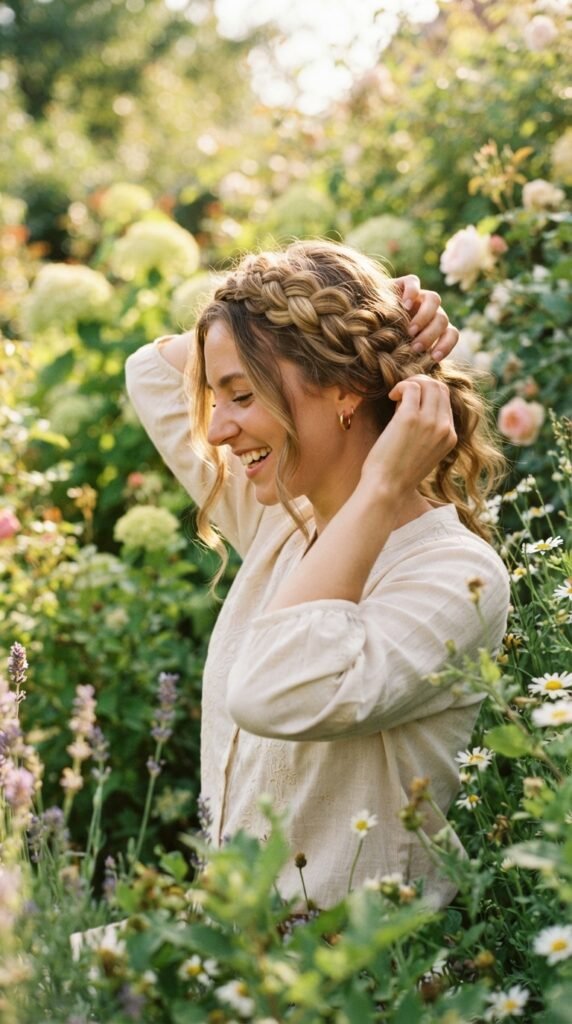
Here’s where you really pull the whole look together. A braided crown can feel tight or even a little school-girl serious if you leave it too neat. The trick is to gently loosen it after pinning.
Pull a few small strands out from the braid itself. Pinch the edges of the braid and tug outward lightly. This adds volume and gives it that breezy, in-love sort of feeling.
You should also go ahead and release a few face-framing pieces around your forehead and ears. That softness is what separates a romantic braided crown from a strict, braided updo that feels far too harsh for a garden celebration.
Face-Framing Pieces Make All the Difference
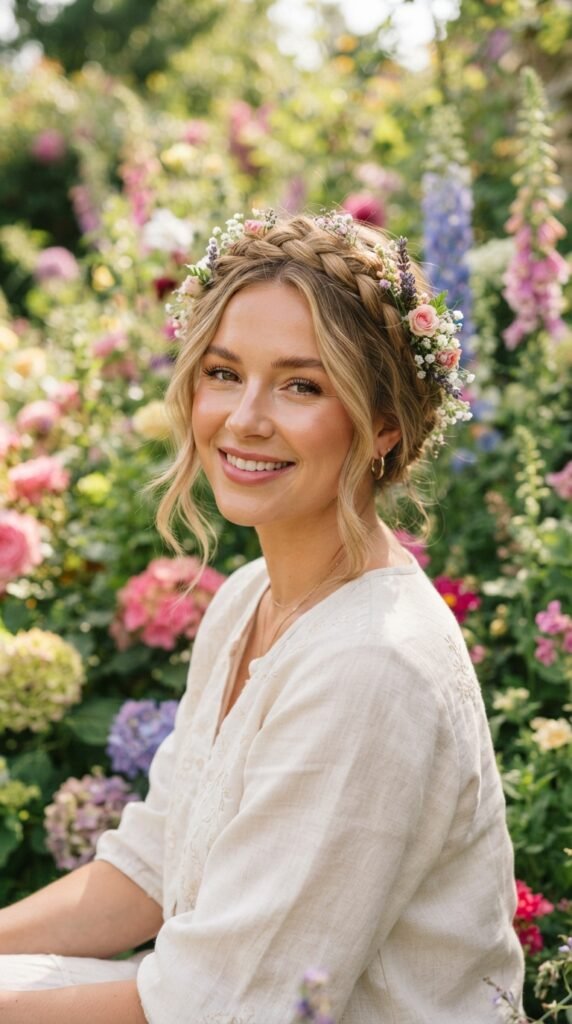
Face-framing strands are the little detail that takes this style from pretty to unforgettable. Curl them away from your face with a one-inch curling wand, then brush them through loosely with your fingers. It’s a small step that pays off in every single photo.
- Keep them light and wispy, not thick and heavy
- Let them bounce around your cheekbones
- Use a tiny amount of hairspray if they fall flat quickly
This approach also works beautifully if you’re currently growing out an asymmetrical lob or a hime cut. The extra shorter pieces blend right into the framing and make the braided crown look even more intentional.
Add Accessories That Match the Garden Vibe
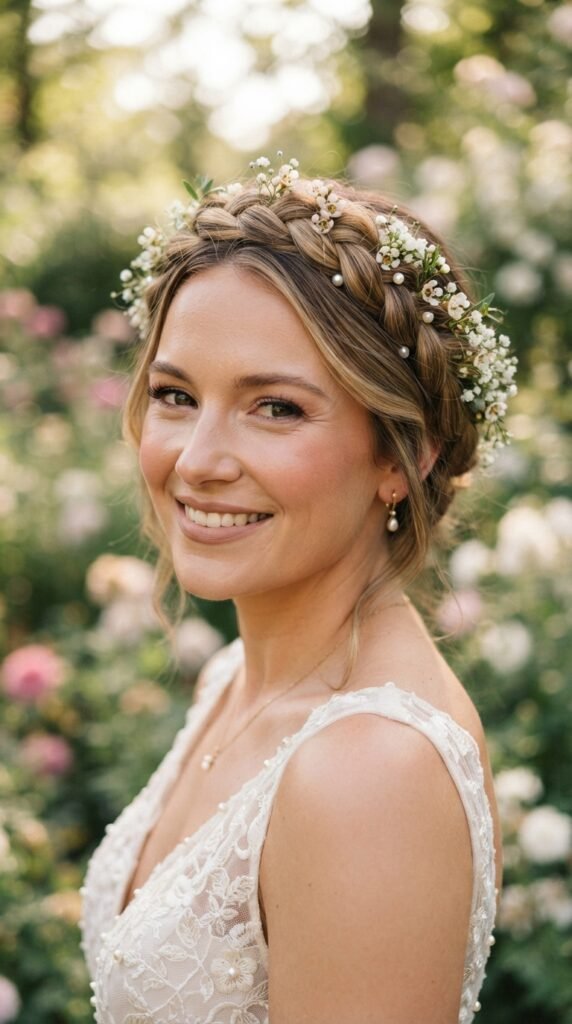
A really great braided crown can absolutely stand on its own. But if you want to lean into the garden wedding theme, a couple of well-placed accessories can make it feel extra special. Less really is more when the garden is already doing so much of the decorating.
- Fresh flowers tucked under the braid
- Small pearl pins scattered along the crown
- A delicate ribbon woven through the braid
Stick with something lightweight so it doesn’t pull or droop. The goal is to look like you belong in the garden, not like you’re competing with the flowers for attention. Keep it simple and you’ll nail that effortless old money hair confidence.
How to Make It Last Through the Whole Ceremony
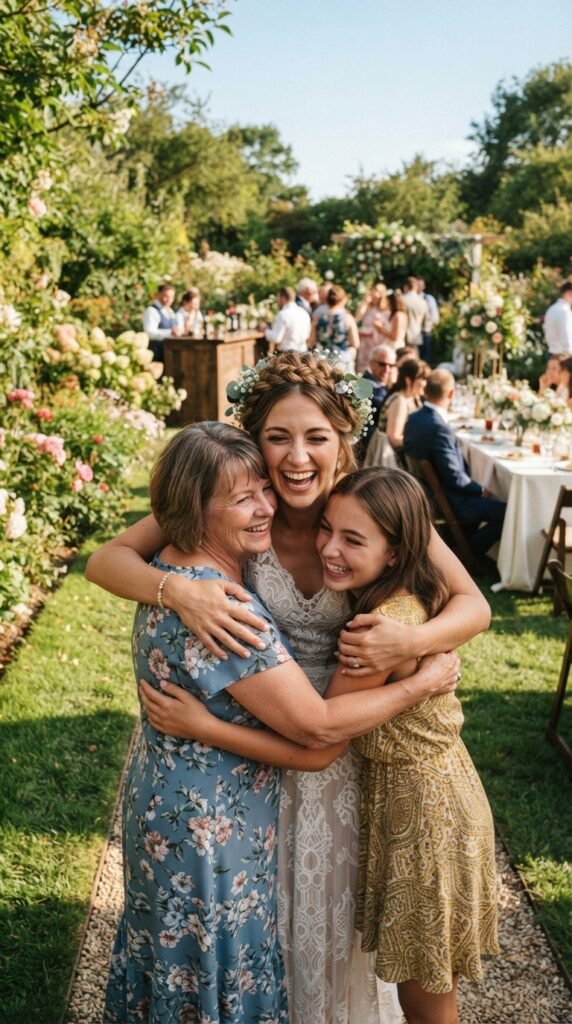
Outdoor weddings mean tears, warm temps, and lots of hugging. The good news is this style is seriously secure. The half-up construction holds your hair back without feeling restrictive, and it survives a long afternoon surprisingly well.
- Use a strong hold hairspray before you pin, not just after
- Cross your bobby pins in an X pattern for extra grip
- Keep a mini hairspray or travel dry shampoo in your bridal bag for touch-ups every few hours
If the bottom waves start to lose their shape, it’s no big deal. Loose waves are supposed to be loose anyway, so nobody will ever notice.
Working With Different Hair Textures
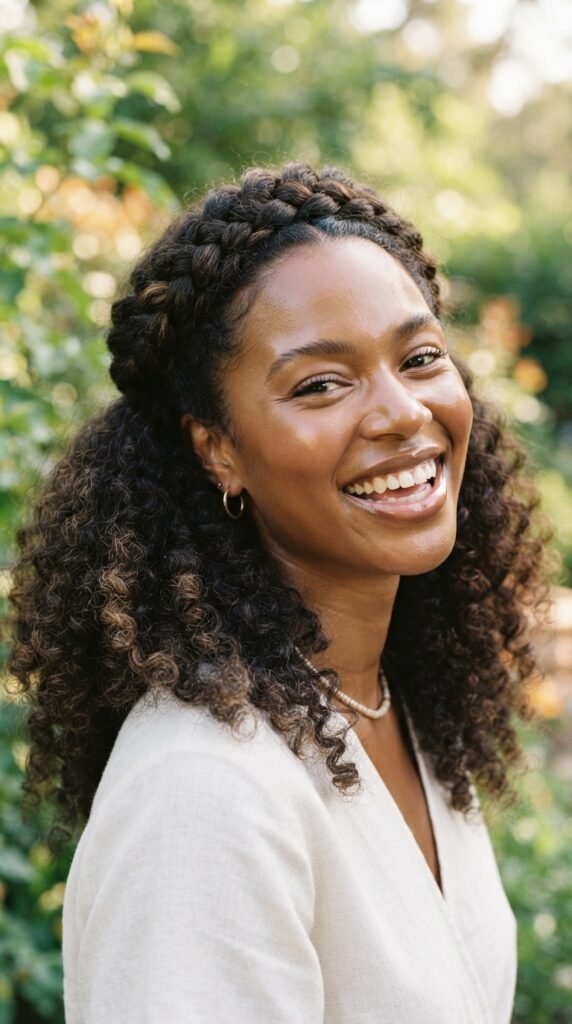
If you have straight hair, your braids will look super clean and defined. That’s beautiful. If you have curly or coily hair, your braids will have an amazing textured, romantic quality that almost looks braided by nature. Both are gorgeous, just in different ways.
For curly and coily textures, I recommend stretching the hair a little as you braid so the sections stay even. For straight hair, a bit of texturizing spray helps your braids hold on better. Fine hair ladies, don’t forget that mousse step. Thick hair, bring extra pins. You’ll thank me later.
Each texture brings its own personality to the crown, and that is exactly what you should lean into. I promise it will look like a deliberate choice.
Finding the Right Placement for Your Face Shape
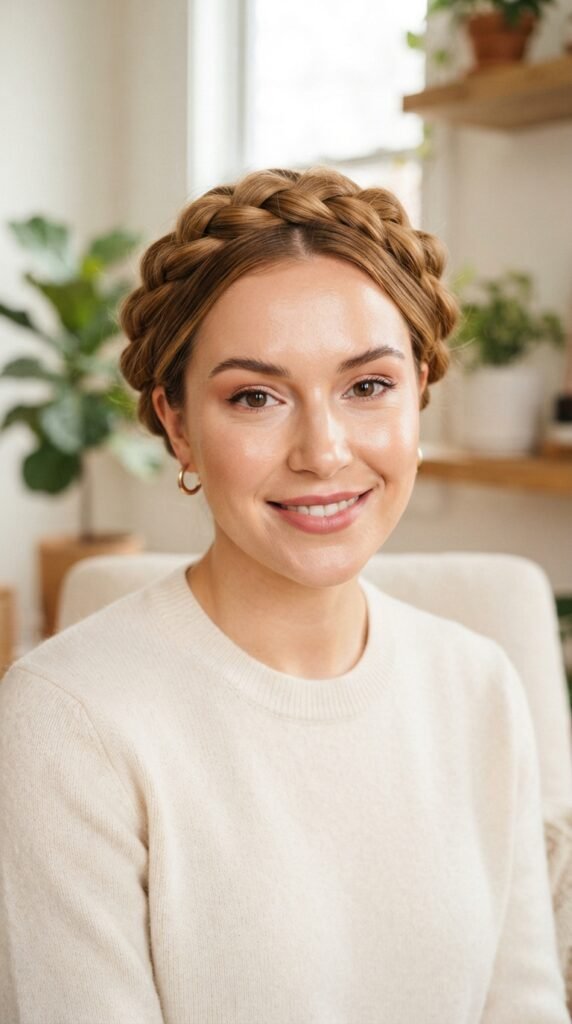
One of the reasons I love this style so much is that it flatters basically everyone if you place the crown correctly. The trick is to consider your face shape for a beat before you pin.
- Round faces: place the braid higher to add height
- Long faces: keep the braid lower and add soft volume on the sides
- Heart shapes: angle the braids slightly forward near the temples
- Oval faces: honestly, anywhere works and looks incredible
Play with the position in the mirror for a couple of minutes. Moving the crown just an inch forward or backward can completely change the silhouette.
Why This Fits the 2026 Hairstyles Moment
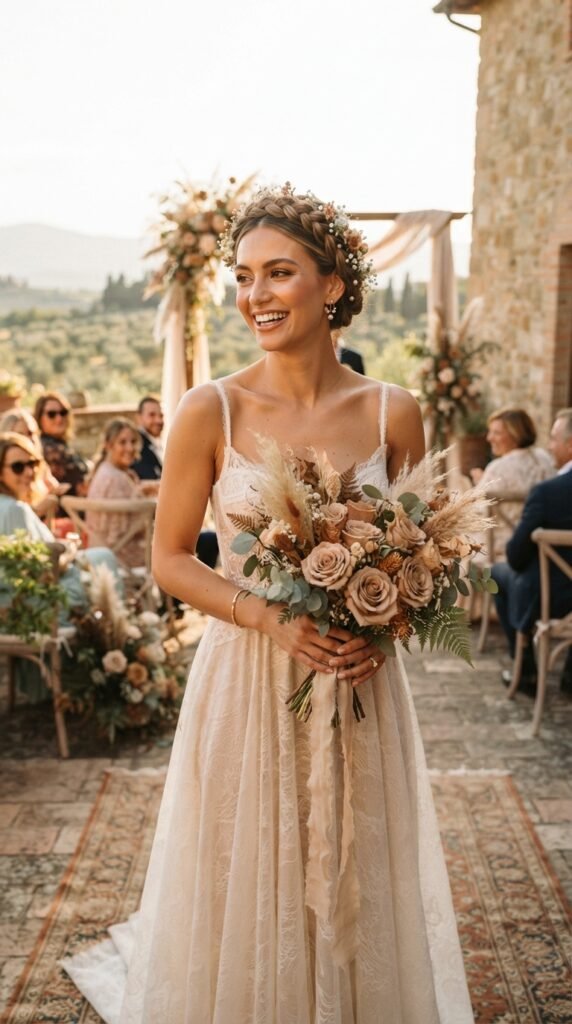
If you’ve been watching bridal beauty trends, you already know that 2026 hairstyles are all about softness with structure. The half-up braided crown is basically the perfect representative of that movement. It gives you control where you need it and free-flowing softness everywhere else.
I’m also seeing a lot of brides mixing in elements of romantic goth hairstyles for evening parties, adding a black ribbon or dark floral accent after the ceremony. And if you love that quiet luxury bob vibe for your honeymoon, cutting your hair shorter afterward feels like the natural next chapter to this style. It’s right in the middle of the 2026 bridal hair conversation.
The Old Money Hair Connection Everyone Notices
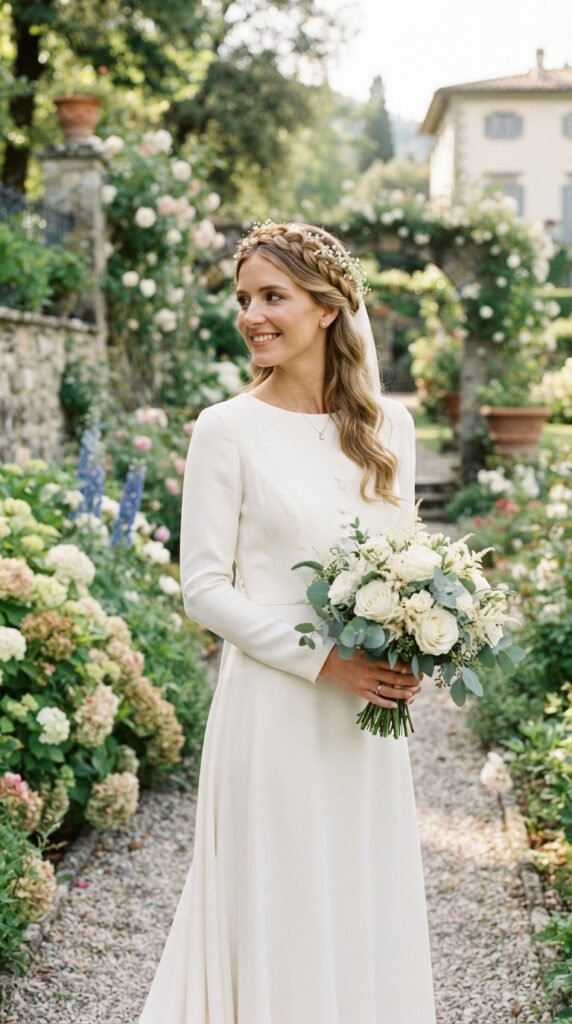
There’s an elegant, understated quality to the half-up braided crown that ties right into the old money hair movement. It never screams for attention. It just quietly looks expensive, polished, and a little bit timeless. Think understated rather than overdone.
That effect comes down to the details: clean lines, soft movement, and that slightly askew finish that still appears styled.
- Keep your part soft instead of sharp
- Avoid heavy hairspray that makes things look wet or stiff
- Use natural products and texture to preserve the ease
When your hair looks this effortless, guests will just assume you were born knowing how to do it.
Short Hair Wedding Edition: The Quiet Luxury Bob Version
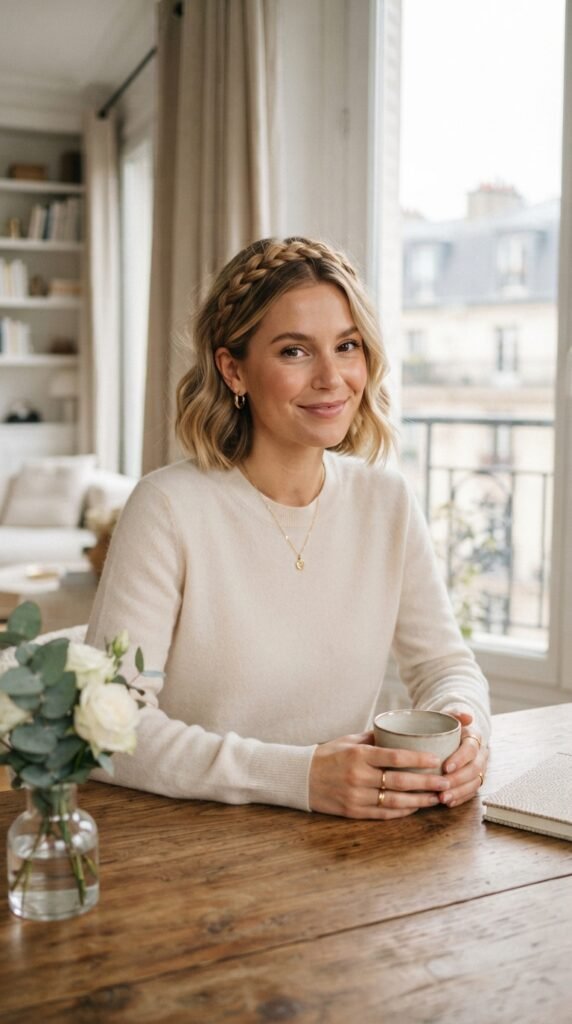
If you’re rocking a quiet luxury bob or a chin-length cut, don’t scroll past. You can absolutely do a version of this style. The trick is to work with the length you have and use a few extra bobby pins to keep everything in place. Because your bob already has that polished quiet luxury shape, the braid just adds a soft finishing touch without a bunch of fuss.
- French braid only the very top section of hair
- Curl the rest of your bob into soft bendy waves
- Pin the braid across the crown like a headband
- Add pearl pins to fill visual gaps
It’s a bit more subtle than the long-hair version, but that’s exactly what makes it so chic and deliberate.
Moody Garden Brides: A Romantic Goth Twist
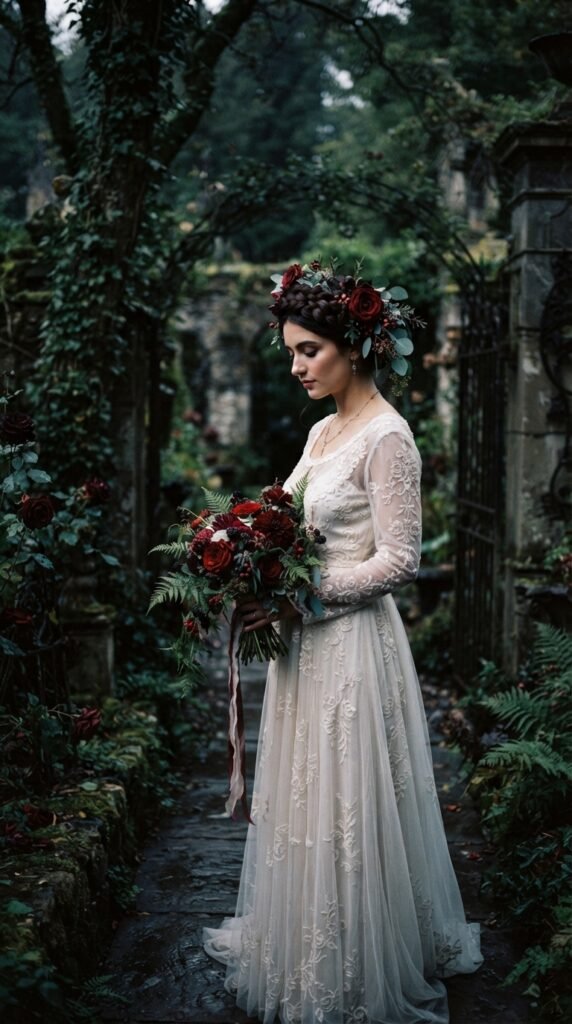
Not every garden wedding is all pastels and baby’s breath. If your vibe leans darker or more dramatic, the half-up braided crown translates beautifully into romantic goth hairstyles.
Skip the fresh flowers and go with a deep crimson rose, a velvet black clip, or a sprig of dark greenery. Keep your waves looser and a little more undone for that perfectly balanced moody look.
The braided crown gives you structure while the darker elements add edge. It’s the kind of styling that feels both nostalgic and fresh for 2026 brides who refuse to be boxed into one aesthetic. It is moody but still unmistakably romantic.
Drawing Inspiration From Glitchy Glam Hair and Edgier Cuts
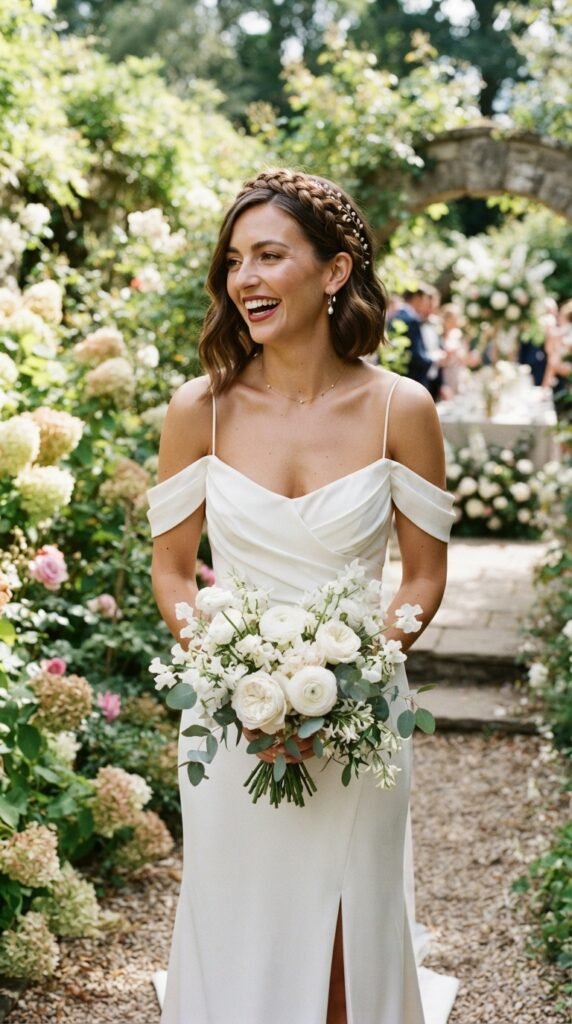
If you love experimenting with trends, you might be wondering if the braided crown works alongside edgier styles like glitchy glam hair or an asymmetrical lob. The answer is yes. In fact, these contrasts create some of the most interesting bridal looks.
An asymmetrical lob with a braided crown feels modern and fashion-forward, especially if you add a shiny hair accessory. Glitchy glam hair, with its glossy and reflective finishes, actually complements the texture of a braid in a really unexpected way. It turns a soft style into something editorial.
So if you usually go bold with your hair, keep your crown romantic and let the rest of your styling carry that edge. It works.
The Vampire Haircut and Hime Cut Crossover
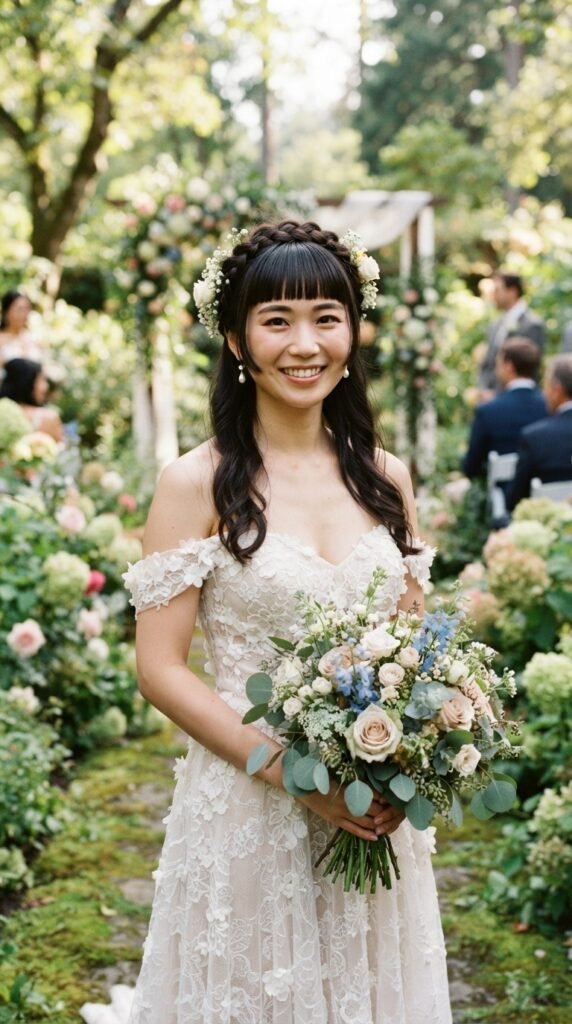
The vampire haircut and hime cut have been trending for a while now, and for good reason, they create gorgeous face-framing pieces. If you already have one of these cuts, you can wear a braided crown without losing any of your signature framing layers.
For hime cut lovers, let the blunt front pieces stay down and braid everything else back. For vampire haircut folks, the wispier layers peek out beautifully around your face and give the style a softer, more lived-in feel.
The half-up braided crown actually makes these cuts even more versatile for weddings because you don’t have to sacrifice the fringe that makes them special.
Troubleshooting: When the Braid Falls Apart
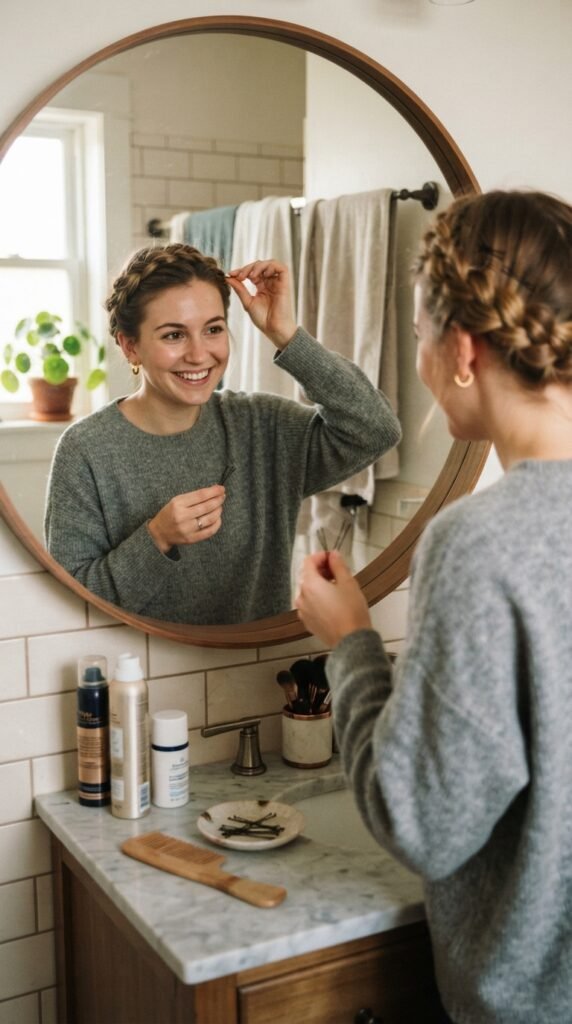
It happens, friend. Maybe the braid is too loose or the pins just won’t stay. Take a breath. The fix is usually much simpler than you expect.
- If the braid is loose: redo it a little tighter and hold it a bit closer to the head
- If pins won’t stay: try crisscrossing two pins instead of one straight pin
- If your hair is too clean: add dry shampoo or texturizing spray and wait a minute
Keep practicing and you’ll learn exactly how your own hair behaves. My very first attempt looked a little sad. By my third try, I had it completely down.
A Quick Practice Plan for Busy Brides
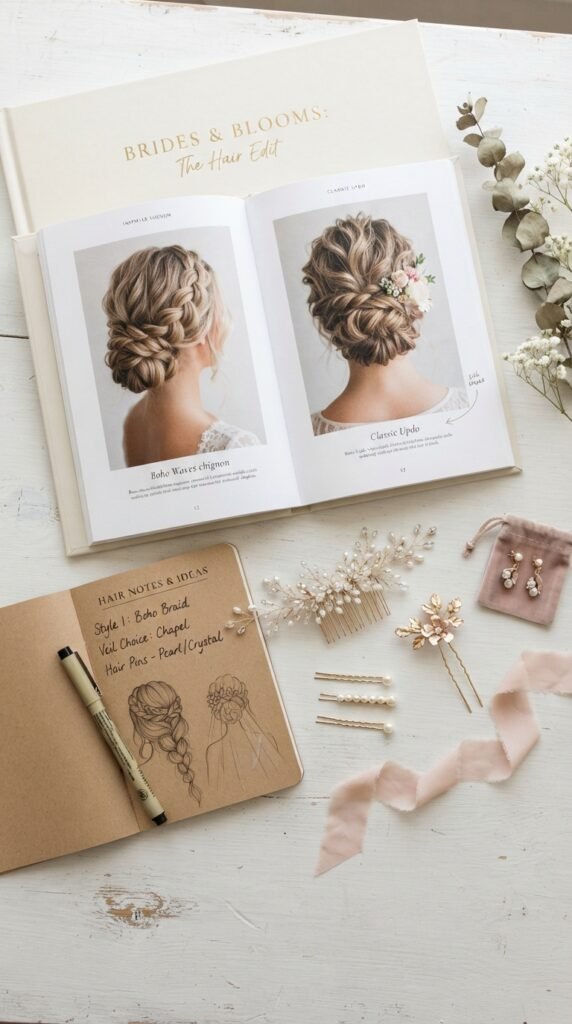
You don’t need to practice for hours and hours. Honestly, two or three solid dress rehearsals are plenty. Set a timer and go through the full style once, from prep to final pin.
- Try it the first time a couple of weeks before the wedding
- Take photos from every angle and note what bugs you
- Try it once more with any changes
- Save your reference photos on your phone for the big day
Like most things in life, the more you practice, the less you stress. And by the morning of your wedding, your hands will just know what to do.
Your Wedding Morning Timeline Made Simple
This style only takes about fifteen minutes once you know what you’re doing. Still, it’s smart to schedule some buffer time so you’re not rushing on the most important morning of your life. If your sister or maid of honor is doing it for you, just hand them this page and give yourselves an extra twenty minutes on the timeline.
- Prep your hair: 10 minutes
- Curl the bottom half: 10 minutes
- Braid and pin: 15 minutes
- Touch-ups and little fixes: 5 minutes
That’s under an hour total. It leaves you plenty of time for breakfast, pictures, a glass of champagne, and all the little moments with your people.
Alright friend, take a deep breath. Your wedding hair is going to be beautiful because you are going to be beautiful, and this style is just the icing on the cake. Trust the process, practice once or twice, and let the small imperfections be part of the charm. A real garden flower is not perfectly polished either, and that is exactly why it is so lovely.
And one more thing: do not stress about the bottom half of your hair. If the waves fall a little flat by the reception, nobody will notice because they will be staring at that gorgeous braided crown. Enjoy every second, soak up the compliments, and let yourself feel like the main character for the day. You have earned it.
Save this post to Pinterest so you can find this tutorial the morning of your wedding. And please drop a comment below telling me what flower you would tuck into your braided crown. I read every single one and I would love to hear all about your plans!


