How to Braid Pigtails That Stay Neat All Day Long
Can we be real for a second? I love braided pigtails, but for years mine would go flat before I even finished my morning coffee. Saggy bases, fuzzy ends, zero confidence. Sound familiar?
Here’s the good news: keeping pigtails neat all day is way easier than it looks. It doesn’t come from pulling super tight or using a ton of gel. It comes from a few clever prep steps and the right finishing moves.
Today I’m sharing my exact routine with you. From the foundation to the final spritz, these are the tricks that keep my braids looking fresh from breakfast to bedtime. Grab your brush and let’s make it happen.
Why Pigtails Slip Out by Noon
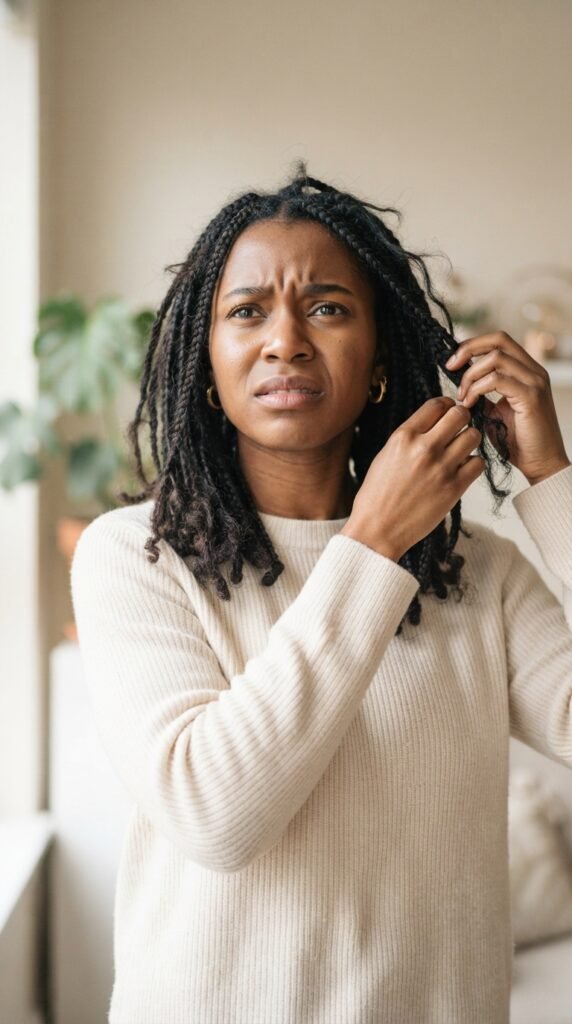
Here’s the honest truth: if your braid starts to slip, it’s usually because the base isn’t secure. A ponytail that moves around too much will pull the whole braid downward as the day goes on. You do not need to start over from scratch. You just need to fix your foundation.
- Start with dry, slightly textured hair.
- Use a boar bristle brush to smooth the root.
- Make sure both pigtail bases sit at the same height.
I also like to check the front before I braid. If the roots are sleek, the whole style looks intentional, polished, and far more grown-up. Neat roots are the difference between a hairstyle that reads as casual and one that is obviously on point.
What You Need Before You Start
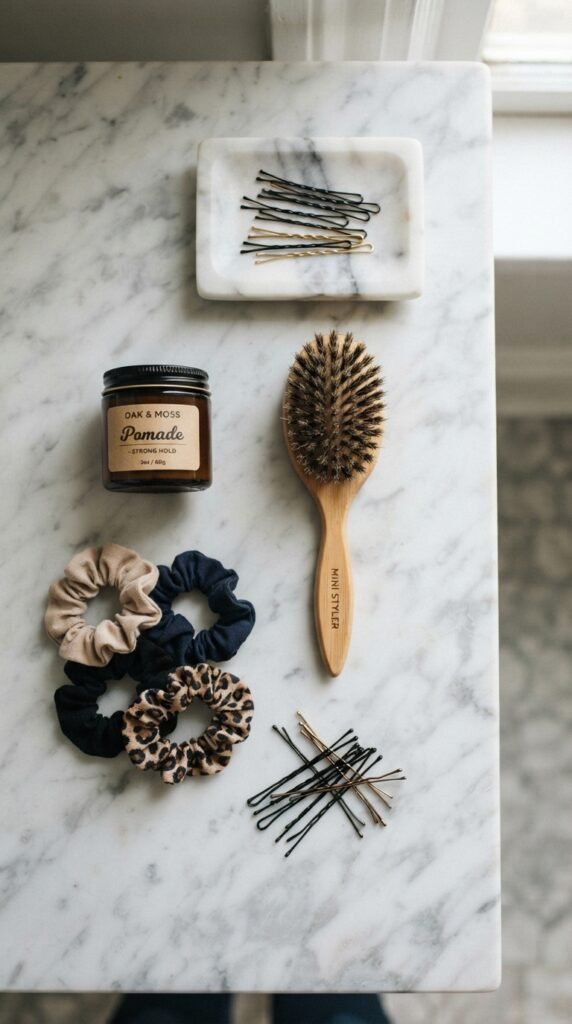
You don’t need a professional kit, but you do need the right basics. The wrong elastic can crush your hair or snap right in the middle of a busy day, and nobody has time for that.
- Two soft fabric scrunchies or small clear elastics
- Bobby pins that match your hair color
- A fine-tooth comb for clean sectioning
- A travel-size hairspray or lightweight wax
That is truly it. I keep these in my bag on hectic days, and I also carry a tiny mirror so I can check the back of my head. Fixing a crooked part early makes everything easier later.
Wash or Not? Pre-Braid Prep
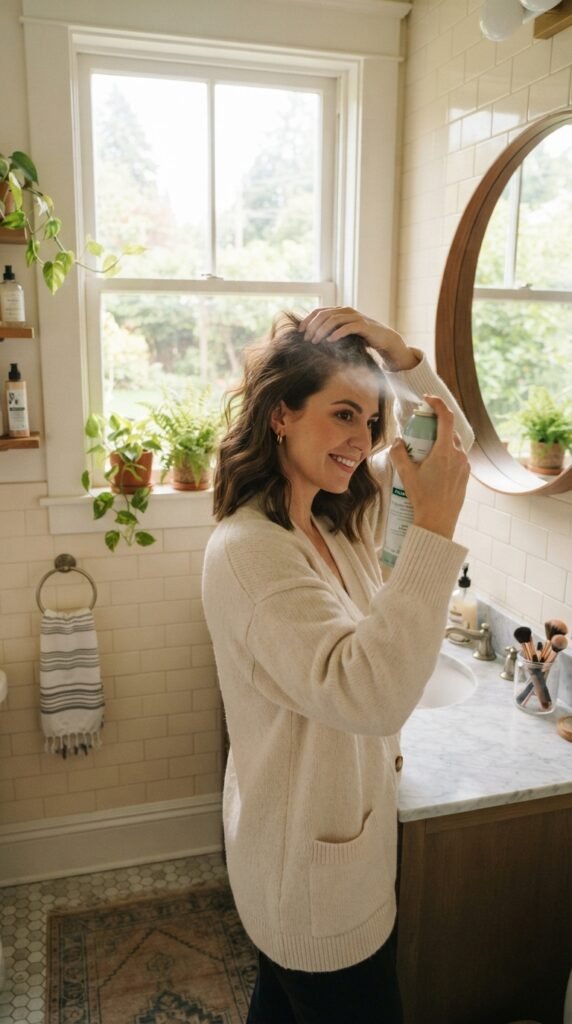
Freshly washed hair is slippery, and slippery hair does not hold a braid. Day-old hair actually works better because it has natural grip and structure.
If you just washed your hair, do not panic. Spray a little dry shampoo or texture spray at the roots and along the lengths. That tiny bit of grit gives your strands something to cling to, so the braid stays put all day.
Avoid heavy oils before braiding. They make strands slide apart, even if they look shiny at first. Save oil for the very ends only if your hair really needs it.
My Top Product Picks for Grip
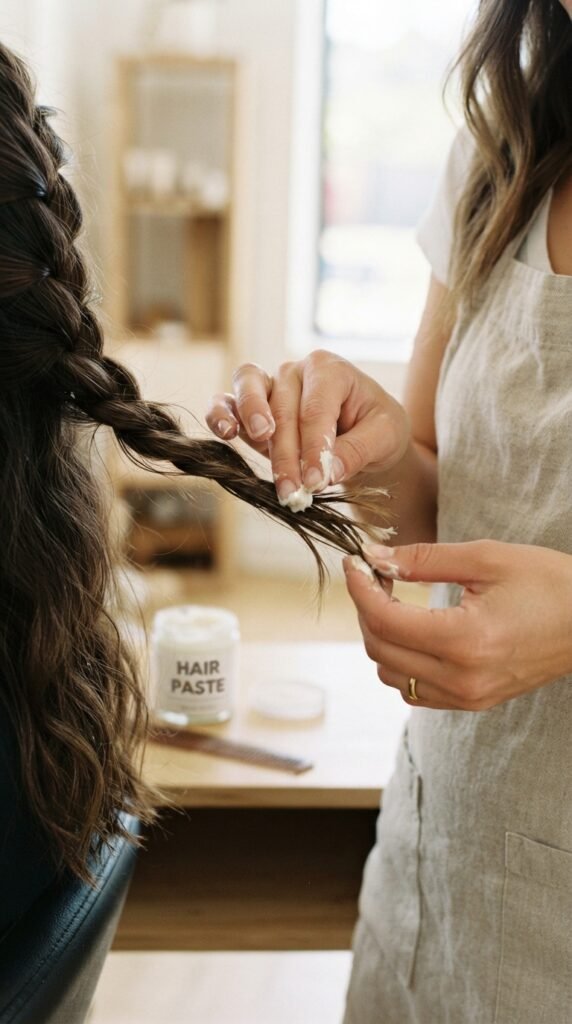
Texture is your best friend when it comes to braids. I rotate between a few crowd-favorites, and honestly my choice depends on the vibe I am going for.
- Sea salt spray for effortless, beachy movement.
- Lightweight hair wax for a strong but flexible hold.
- Flexible hairspray at the very end, not the beginning.
Use about a nickel-size amount of wax and warm it between your palms first. Then work it through the lengths. This is the trick for smooth, neat braids that look expensive but still feel soft.
Sectioning Hair the Right Way
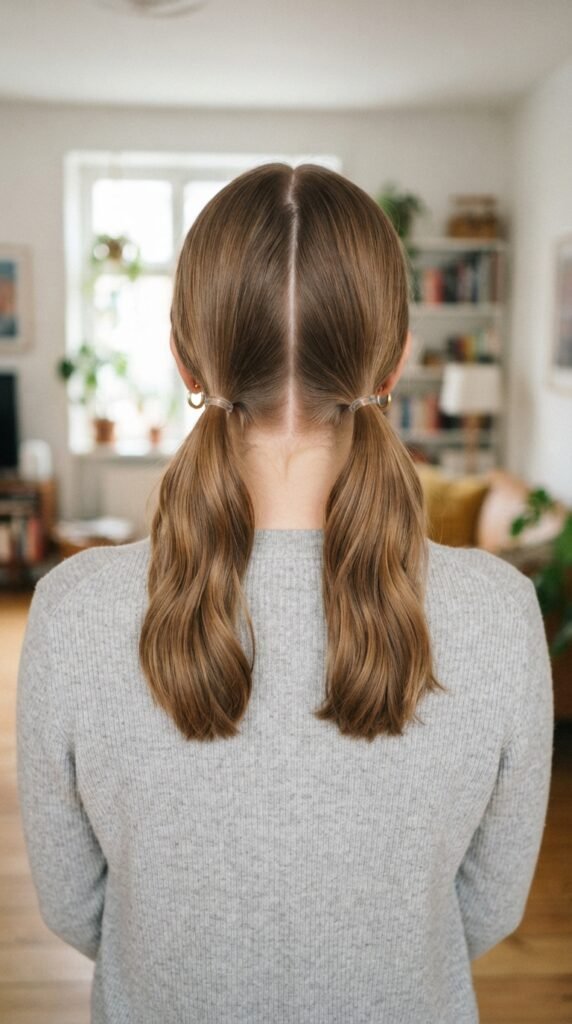
I used to grab hair randomly and hope for the best. That is a mistake. Equal sections make balanced pigtails, and balanced pigtails stay neat much longer.
- Comb everything back and decide where your part goes.
- Clip one side out of the way.
- Split the other side from forehead to nape.
- Repeat on the other side.
Keep the part line crisp. A clean part instantly makes your braids look polished, even if the rest of your style is relaxed. Low, middle, or zigzag, just keep both sides even.
The Tension Trick
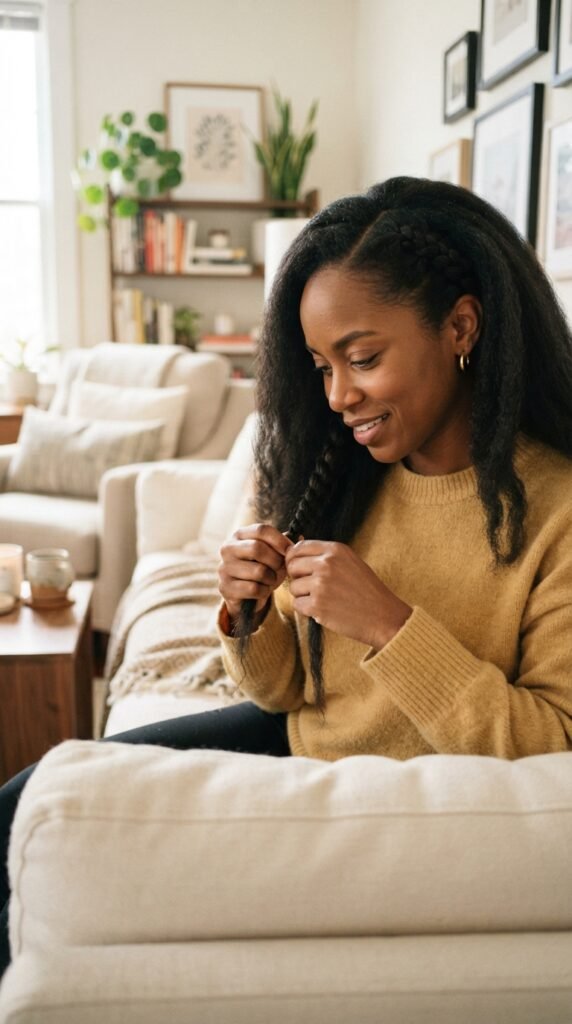
Too tight gives you a headache. Too loose gives you frizz. The sweet spot is even tension all the way down, and once you feel it, you will never forget it.
My trick is to hold each strand like it is a nice pen. Not squeezing, just comfortable. As you cross sections, keep your fingers close to your head so the braid lays flat.
The closer you work, the neater the braid. People always ask how I get mine so smooth, and this is honestly the answer. A relaxed wrist changes everything.
How to Tie the First Elastic
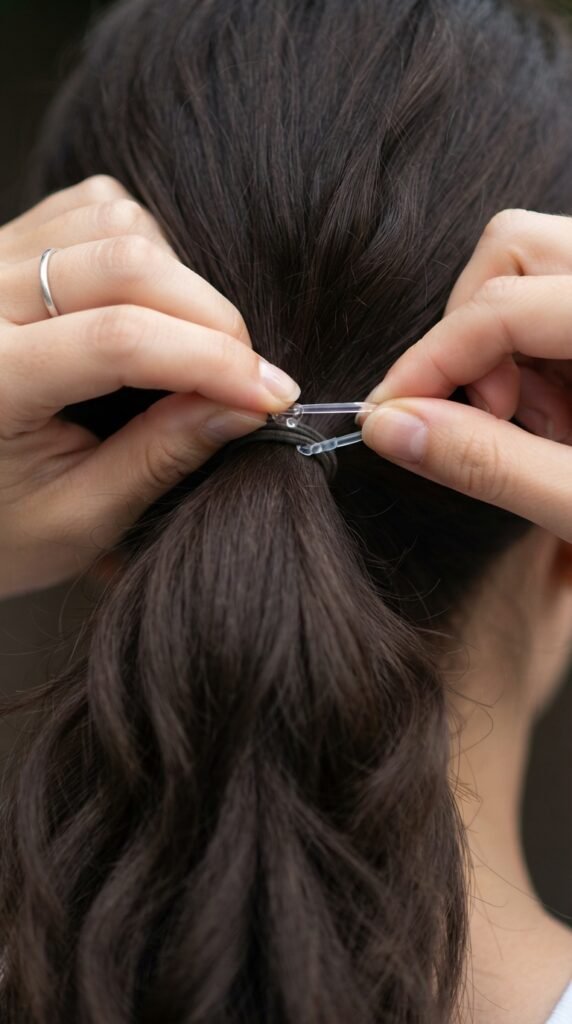
The first elastic sets everything up. If this base slips, the rest of your day will be a battle, so give it a little extra love.
- Place the elastic right at the spot where your braid will start.
- Wrap it twice, no more, to avoid creasing.
- If the base is wobbly, slip one bobby pin through the center.
That simple pin trick keeps everything snug while you run around. It also helps when you want a neat, softer look inspired by the quiet luxury bob vibe, but with braids.
The Perfect Braiding Pattern
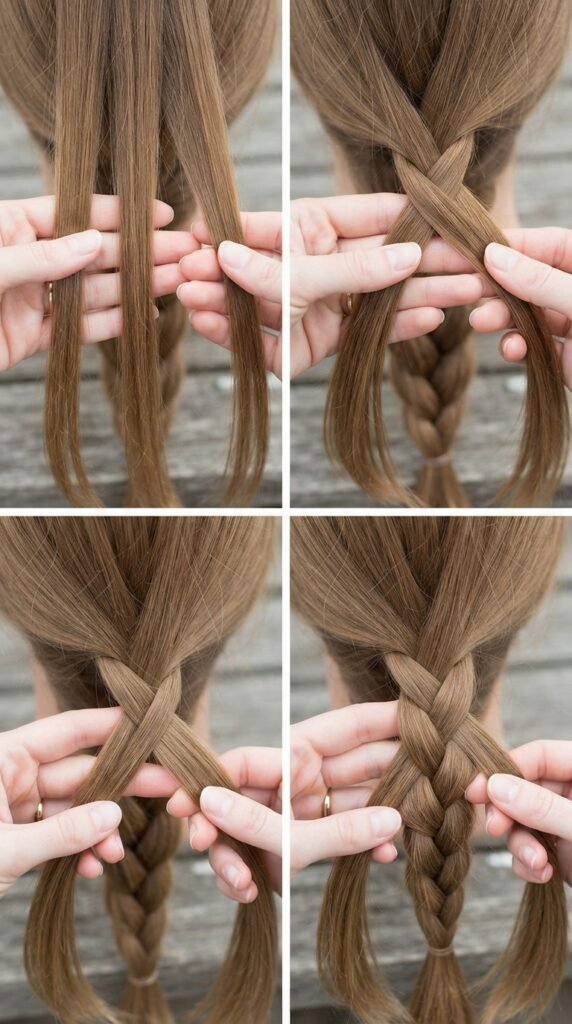
The classic three-strand braid is my everyday go-to because it holds up in humidity and looks cute from every angle. You want to start at the very top of your ponytail, not below it.
- Split your hair into left, middle, and right sections.
- Cross the right section under the middle.
- Cross the left section under the middle.
- Repeat that rhythm until you reach the end.
Braid until you have about two inches left at the bottom. That way, you have enough hair for a tie without a stubby, awkward finish. Perfection.
Keep the Braids Even
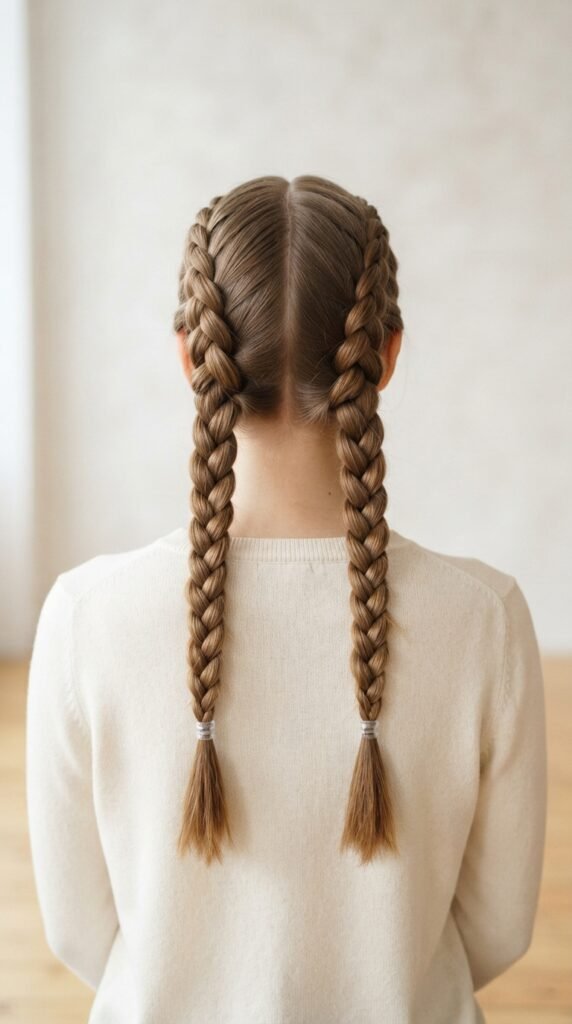
Even lengths are the key to that intentional look. If one braid ends higher than the other, it instantly reads messy, even when each braid itself is pretty.
Use a mirror and check both sides before you secure the bottom. If they are uneven, gently loosen the lower tie and adjust one side to match.
I also feed tiny sections from the nape into the braid for extra volume, but I make sure both sides get the same treatment. Symmetry reads as polish, like the understated balance you see in old money hair.
Ways to Finish the Ends
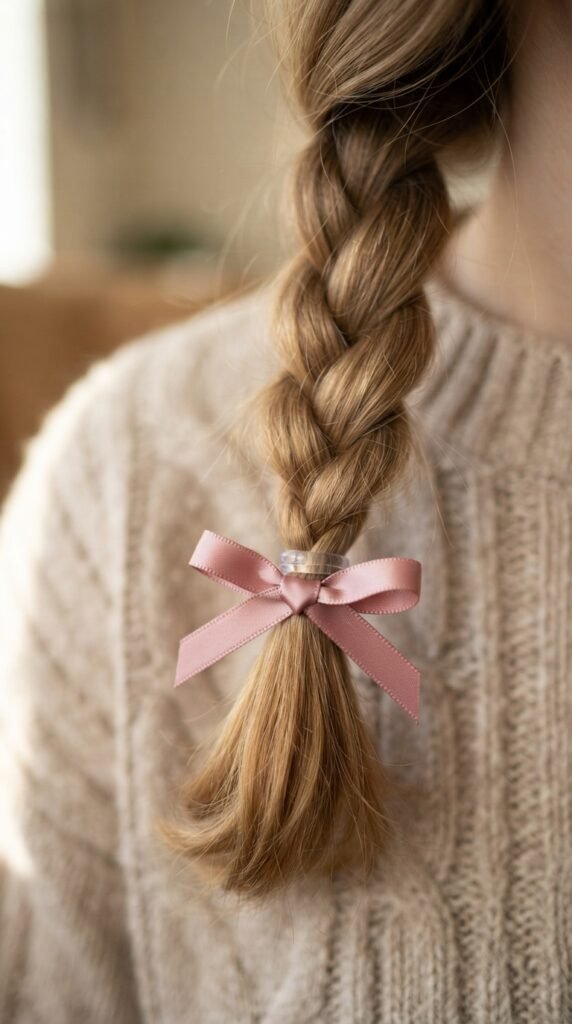
The finish matters more than people realize. You can go plain, wrapped, or accessorized, and each choice changes the whole vibe.
- Clear elastic for an invisible base.
- Wrap a small strand around the elastic to hide it.
- Add a tiny ribbon or clip for extra charm.
Wrapping a strand around the tie is my favorite hack. It makes the braid look so expensive with zero effort. Just pull the wrapped piece under the elastic and pin if needed. This also works beautifully with romantic goth hairstyles when you add a dark velvet ribbon.
The Spray-and-Go Fix
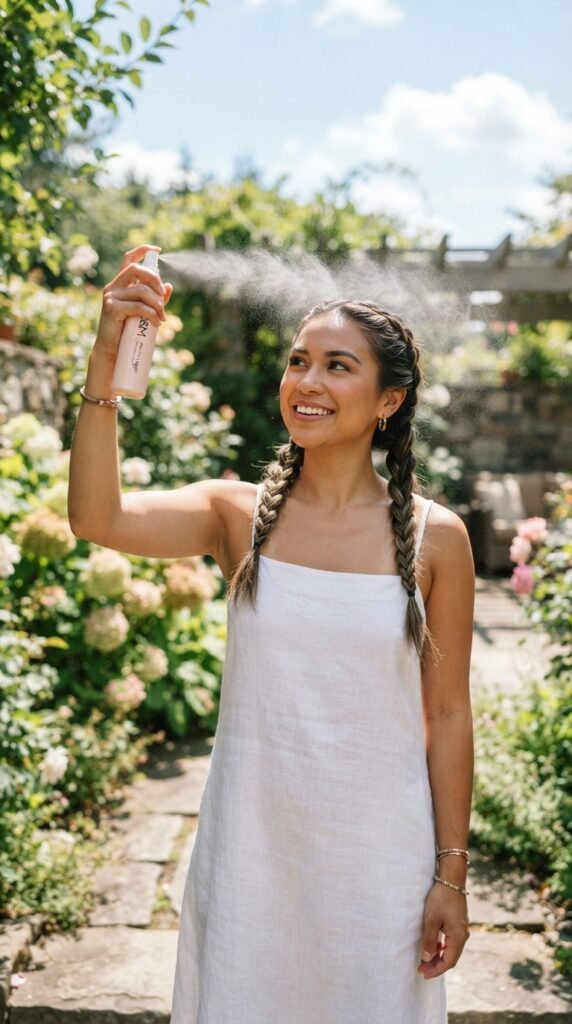
Finishing spray locks in that clean look. Hold the can about ten inches away from your head and give your braids a quick, even mist.
Do not soak your hair. A light layer keeps flyaways tucked without making your braids stiff or crunchy. I prefer flexible hold because it moves with you.
After spraying, gently pat each braid with your palms. This presses down little hairs and creates a smooth, silky look. If you want extra staying power, add two bobby pins at the nape and go.
Flyaways and Fuzz: Quick Tame
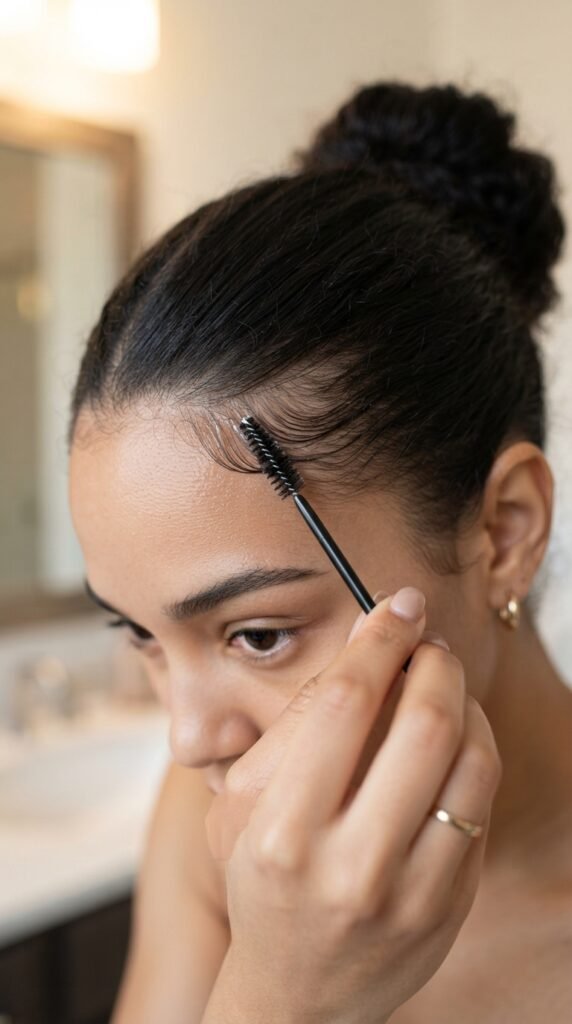
Flyaways are completely normal, but they can ruin a cute pair of braids if you leave them wild. A clean mascara spoolie is my hero for this.
Spray the spoolie with hairspray, then gently brush your baby hairs down. You can sweep them inward or create soft swoops around your face, whatever suits your shape.
If you have curly texture, embrace it instead of fighting it. Smooth the top layer and let the shorter pieces curl free. That is exactly how I style glitchy glam hair: a little bit perfect, a little bit piece-y.
Sleeping with Braided Pigtails

You can absolutely sleep in braided pigtails and keep them cute for the next day. The secret is protecting the elastics while you toss and turn.
- Wrap a silk scarf around your hair at night.
- Sleep on a satin pillowcase to reduce friction.
- In the morning, re-tie the base loosely if it stretched.
Your braids might get a little wavy, and that is fine. The shape will still hold because it set overnight. I used to redo mine every morning, but now I just fix the base and walk out the door.
Low Pigtails with a Quiet Luxury Bob

If you have a bob, you might think pigtails are not an option. They totally are. I love a low pigtail braid peeking out from a chin-length cut.
Because the hair is shorter, you will want smaller sections. Keep each strand under half an inch wide so the braid does not unravel.
The result is refined, understated, and very chic. It gives off that polished invisible wealth energy, especially when your part is clean and your strands are glossy. This is my dinner-out style right now.
Old Money Hair Meets Pigtail Braids

Old money hair is all about healthy shine and clean lines. Surprisingly, braided pigtails fit right in when they are worn low and kept sleek.
Start with a deep center part and comb both sides until they are smooth and glassy. Then braid gently, letting the strands catch the light naturally.
Avoid heavy product. The old money look is not about crunch. It is about good health: silk pillowcases, regular trims, and giving your hair rest days. Braids are simply the neatest way to carry that vibe from morning meetings to evening plans.
Romantic Goth Pigtails

If you love a moody style, pigtails are a perfect canvas. Think dark velvet ribbons, slightly deeper parts, and soft undone texture around the face.
Braid your hair and weave a thin black ribbon through each plait. It adds that romantic goth hairstyles edge without looking costume-y or overdone.
Finish with a matte texture spray and pull out a few strands near your temples. The contrast of tidy braids and soft framing pieces creates a dreamy, mysterious look that goes with everything from chunky sweaters to a little black dress.
Pigtail Snips: The Asymmetrical Lob Trick
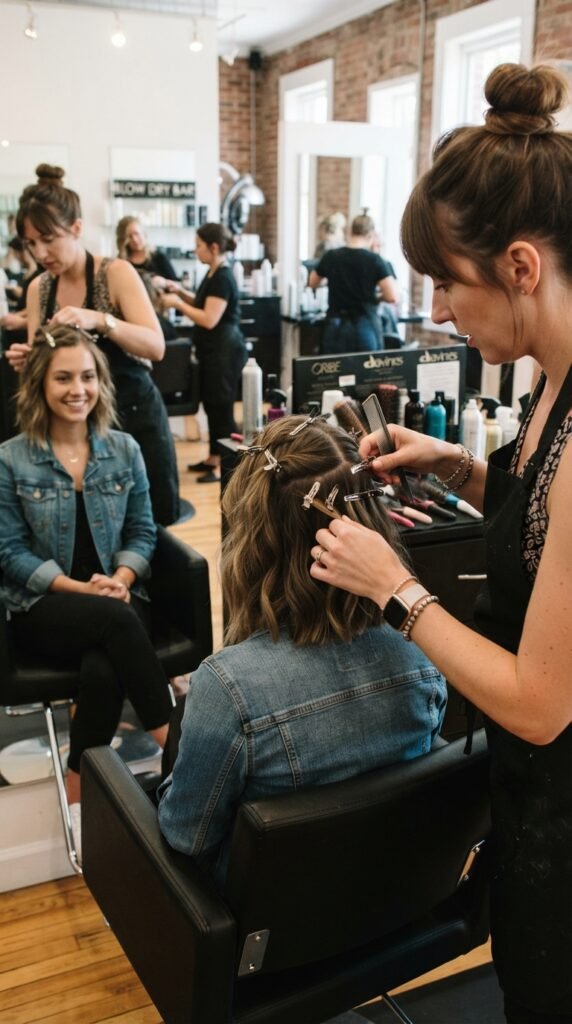
Asymmetrical lobs are everywhere in 2026 hairstyles, and you might think they cannot be braided. But they absolutely can, and the trick is to keep it small.
Take the front sections only and braid them into mini pigtails at ear level. Leave the back loose for contrast, or gather everything into low braids if your lob has enough length.
I saw this on a friend and it was such a cool way to mix structure with movement. If one side of your lob is longer, just adjust each braid at different points. You will end up with a custom look that feels like you.
Vampire Haircut Inspiration

The vampire haircut is having a serious moment, and it is not just for fans of spooky style. Think dramatic layers, face-framing pieces, and lots of movement.
Braids make it playful. Choose two small braids at the front and pin the rest of your hair back behind your ears. The layers keep swinging around the braids and give the look so much life.
I love doing this for fall parties. It is like an edgy version of classic pigtails, and it photographs so well. If you want to try the vampire haircut but keep it practical, this style is your answer.
Hime Cut and Sleek Braids

The hime cut is another bold style that is gorgeous with braids. Its blunt fringe and straight cheek pieces frame the face beautifully.
Keep the front sections out when you tie your pigtails, then braid the back only. This protects the statement fringe while still giving you a clean, pulled-together look for the day.
If your bangs are long, pin them to the side or let them fall naturally. The mix of ultra-straight edges and braided texture is striking, and it is easier to maintain than you think.
Troubleshooting Common Braid Problems
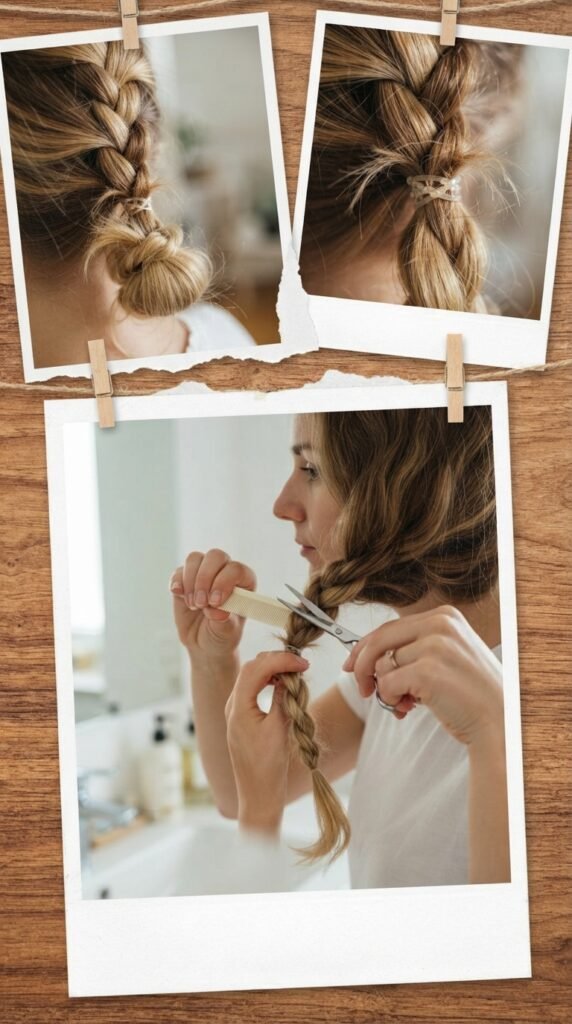
Let us fix your worst braid moments fast. You do not need to redo the whole style or cry into your coffee.
- Too loose: add texture spray and re-braid just that side.
- Too tight: gently stretch the braid side to side to soften it.
- Fuzzy: smooth a tiny bit of wax between your palms and pat down.
- Crooked base: pin it or re-tie the elastic at the root.
Give yourself one free redo if needed. We have all been there, so be patient and kind to your hair. It is easier than you think to get it right.
When to Re-Braid
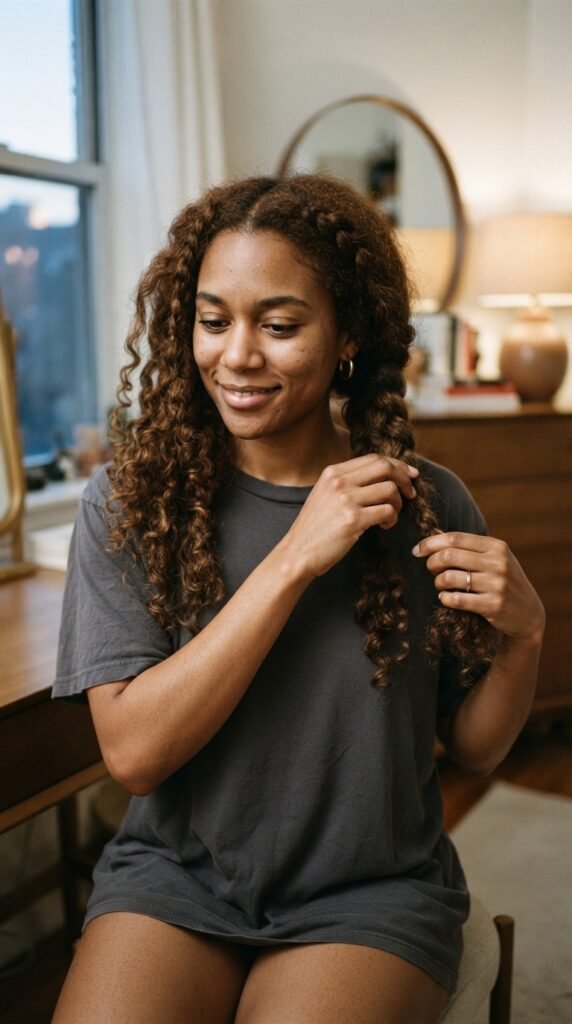
Even perfect braids have a lifespan. If they still look neat but feel loose against your scalp, take them down before they rub into tangles.
For most people, that is about twelve to twenty-four hours. Try not to leave them in for days on end. Your scalp needs to breathe, and your hair needs a break from tension.
When you take them out, massage your scalp gently and brush from the ends upward. That keeps your hair healthy, shiny, and ready for your next style. Healthy hair makes every braid easier and prettier.
Add Accessories Without Damage
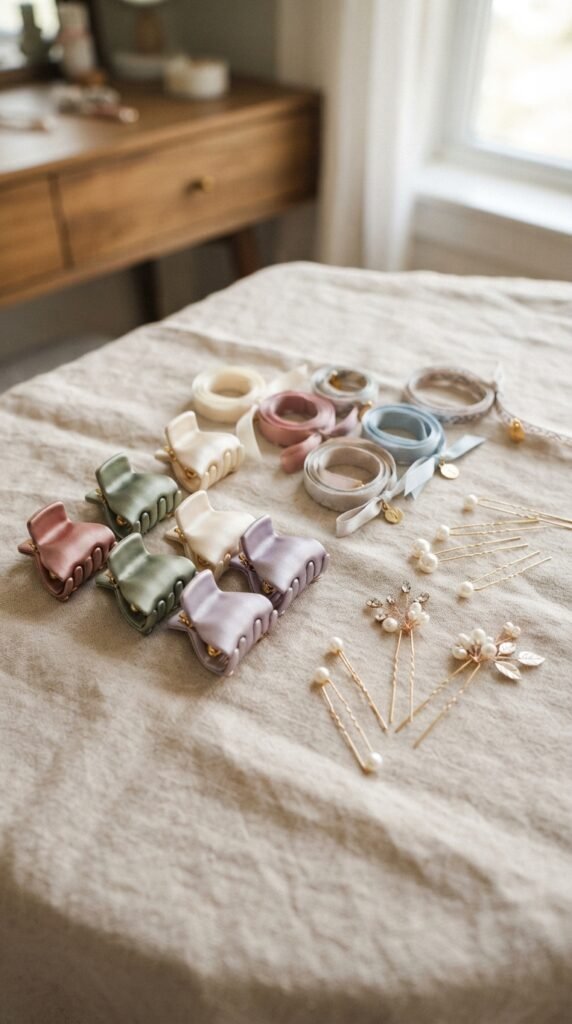
The right accessories are the perfect final touch, but not every piece is safe for your strands. I learned that the hard way with a snagged velvet scrunchie once.
Use silk, satin, or soft-coated elastics. Stay away from sharp metal pieces that pull, and avoid anything so heavy it drags your roots down by lunchtime.
I keep a tiny pouch in my purse with a ribbon and two pins for date nights. One little swap can take pigtails from gym to gorgeous in seconds. It is the easiest style refresh ever.
One Last Thing Before You Go
I hope these tips help you fall in love with braided pigtails the way I have. They are not just for gym days or school mornings. With the right prep and a few smart tricks, they can feel fresh, cute, and totally grown-up.
Take what works for you, skip what does not, and give yourself time to practice. Once you feel that perfect tension, you will never look back.
Save this post to Pinterest so it is waiting for your next wash day. And tell me in the comments: which braid style are you trying first? I read every single one and I will answer you.


