Easy Curling Wand Technique for Loose Romantic Bridal Waves
Okay, let’s be real. Bridal hair can feel like a high-stakes guessing game, especially when you want those loose, romantic waves without spending forever with a wand.
The official vibe for 2026 hairstyles is softer, richer, and way more relaxed. Think hair that looks touched with love, not tormented by heat.
In this post, I’m sharing the easiest curling wand technique I use for brides and friends alike. It’s low-pressure, forgiving, and perfect for creating that subtle red-carpet, old-money energy with very little fuss. You’ll be done in about twenty minutes.
Why Loose Waves Still Steal the Show in 2026
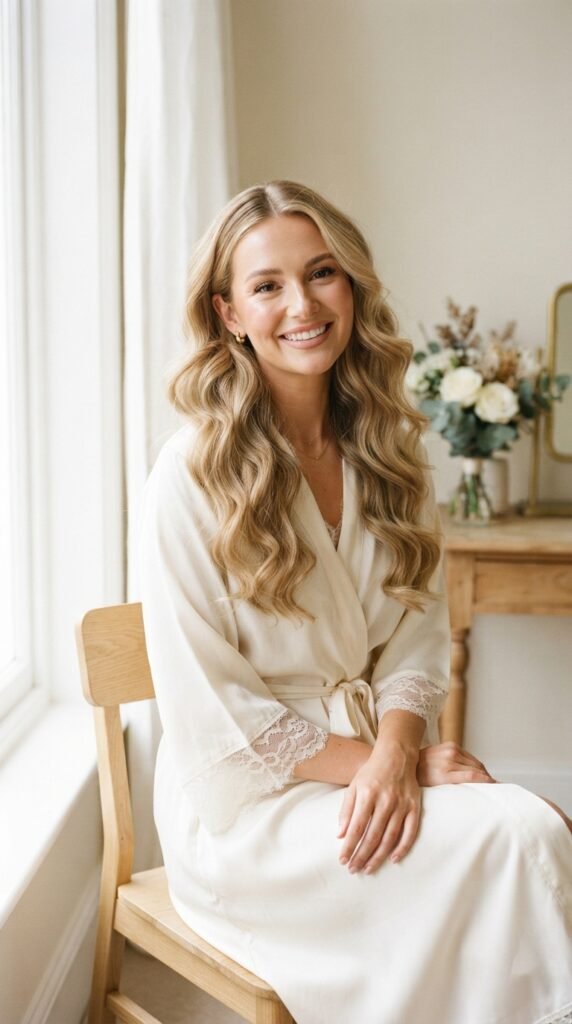
There is a reason loose waves keep coming back. For 2026 hairstyles, the mood is soft, organic, and quietly expensive. You do not want perfect ringlets or stiff twists. You want movement, like you barely tried.
That is the whole appeal of romantic bridal waves. They frame the face, catch the light, and photograph like a dream. Plus they work with almost every dress neckline.
Stick with this easy technique and you will get those loose, lived-in curls in one pass—not three hours.
Gather Your Tools First
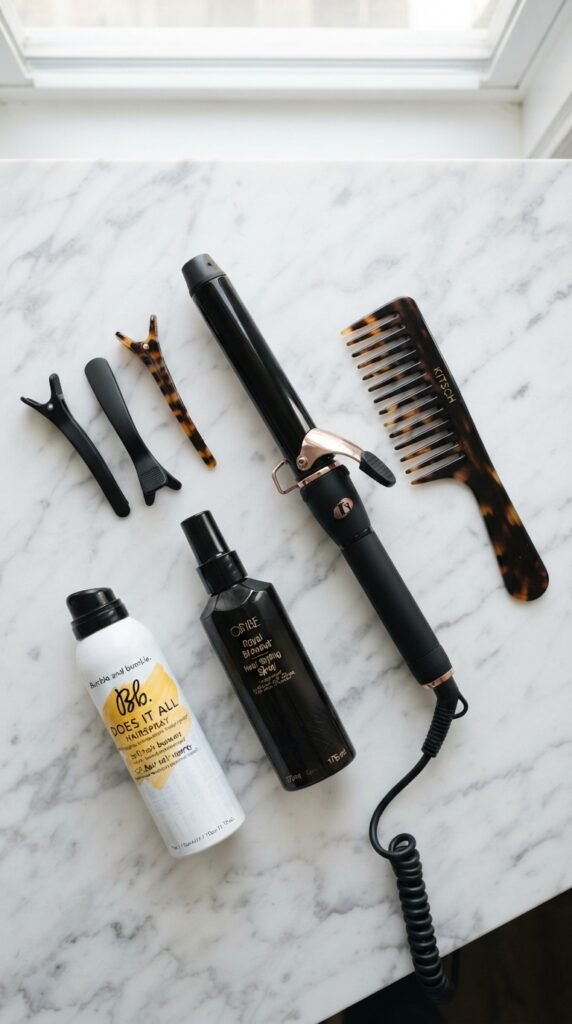
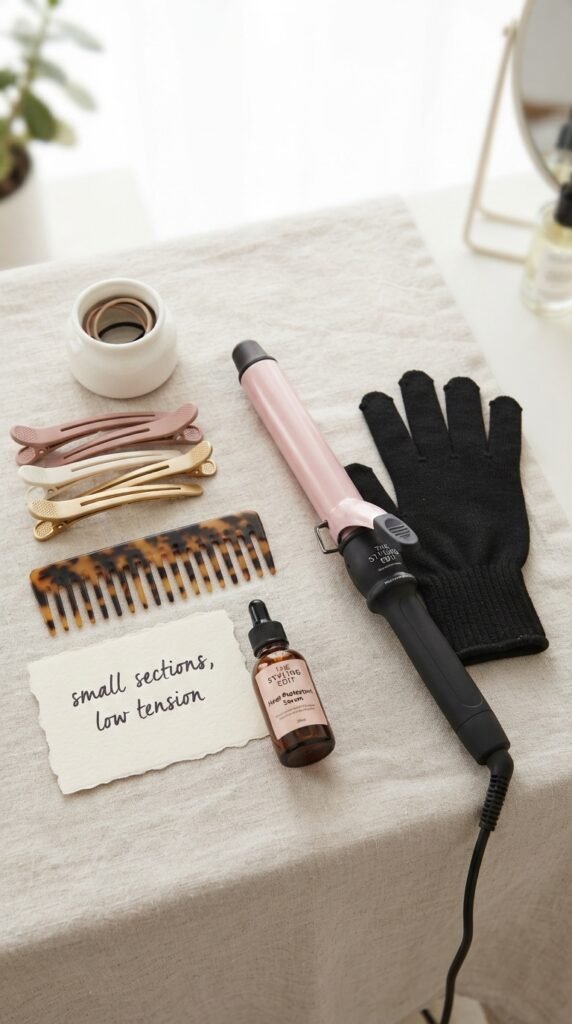
You really only need five things. A 1-inch or 1.25-inch curling wand. Heat protectant spray. Pin clips. A soft-bristle brush or wide-tooth comb. And a good hairspray.
- Wand clamp? Optional. I prefer no clamp for looser waves.
- A ceramic or tourmaline barrel helps hair stay shiny.
- Get clips that actually hold your sections up.
That’s it. If you have old money hair references saved, these same tools work.
Start with Clean, Gently Prepped Hair
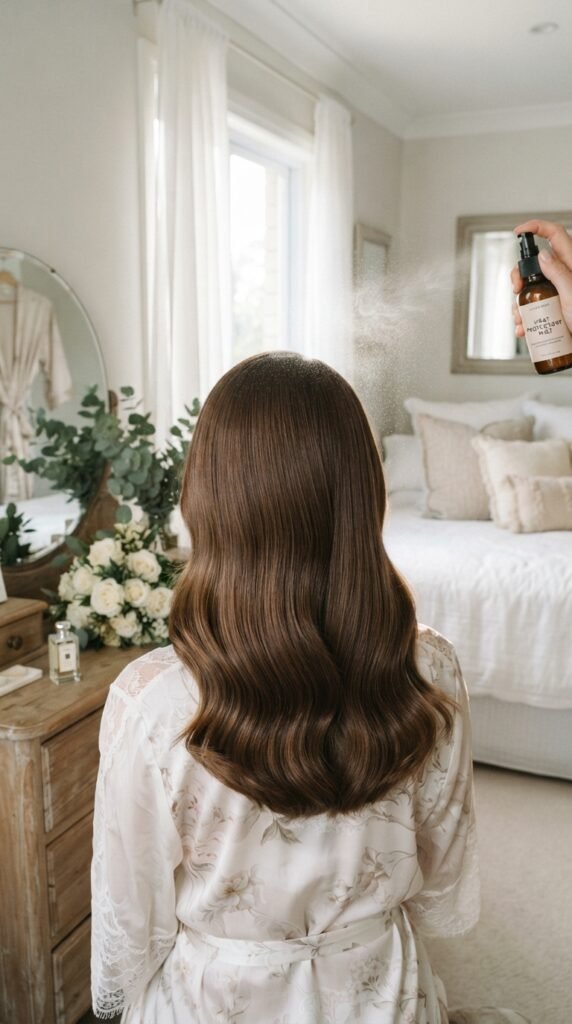
Freshly washed hair can feel too silky to hold a curl. If you washed this morning, rough-dry your roots and add a little sea salt or texture spray before curling.
Then spray a heat protectant all over and comb it through. This is your anti-frizz shield and your curl-helper.
You’re aiming for hair that feels clean but has a little grit. That grip is what makes romantic waves stay put through the ceremony.
Pick the Right Heat Setting
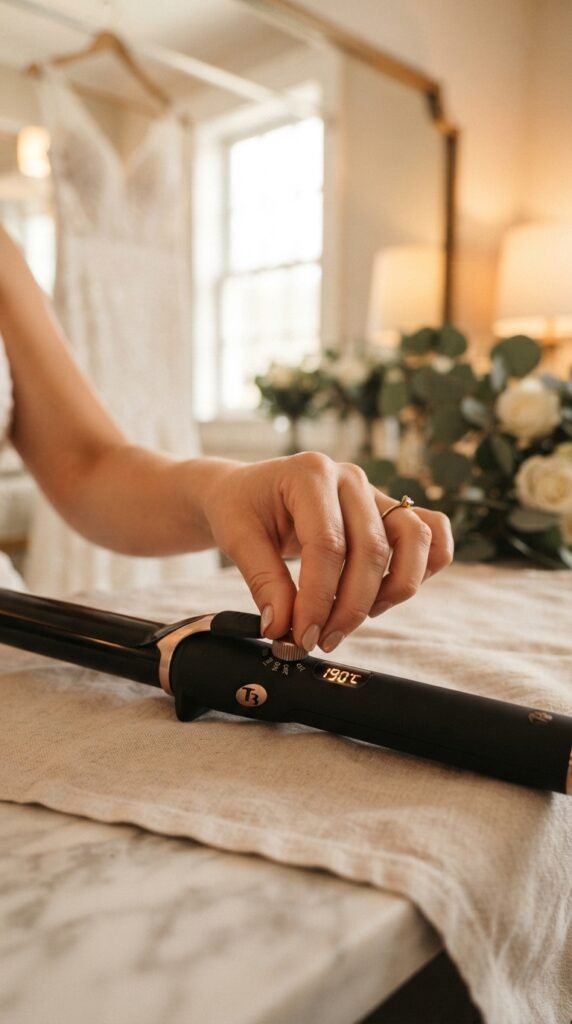
Here’s the mistake I see most: cranking the wand to maximum heat. Your hair type decides the setting. Start around 300°F for fine hair, 350°F for normal hair, and 385°F for thick or coarse hair.
A lower setting might seem slow, but you can always do a second quick pass. High heat is how you get crispy ends and frizz.
Set the wand, let it heat fully, and wait. Easy does it.
Section Hair Like an Actual Pro
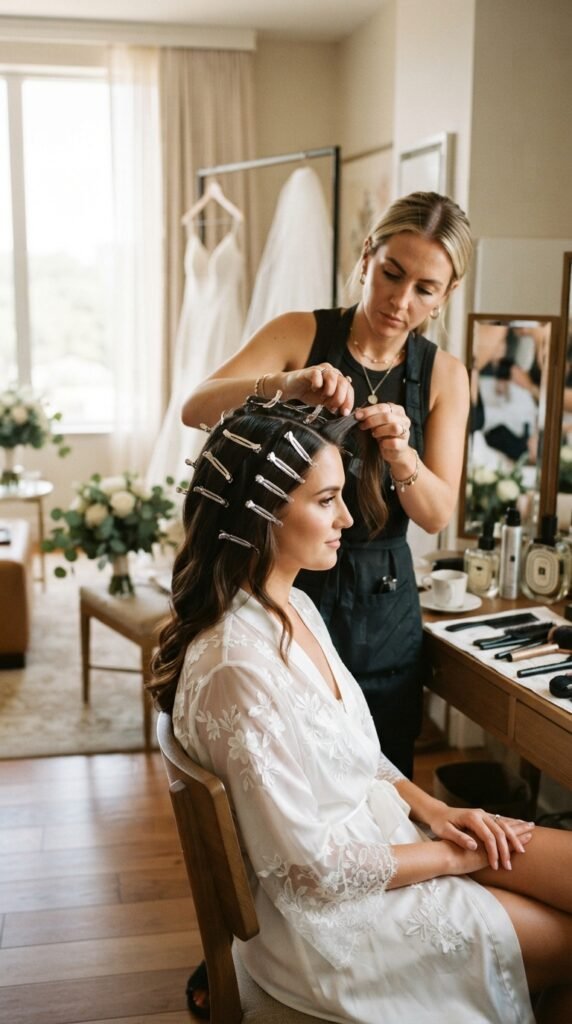
This step saves you so much stress.
- Clip the top half of your hair up.
- Start at the bottom, right above your neck.
- Work your way up one side, then the other.
Sectioning matters because your underneath layer gets the most time to cool, which helps curls last. It also keeps the process from becoming a tangled mess.
Take your time here. Good sectioning is half the technique.
The Wrap-and-Wait Method, Step by Step
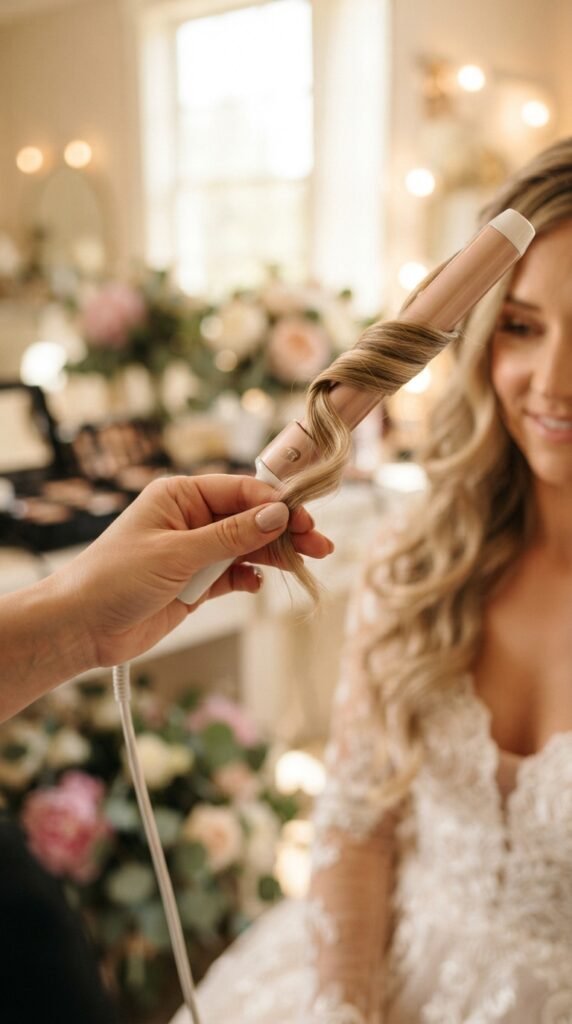
- Take a one-inch section.
- Wrap it around the barrel, away from your face, leaving the last inch out.
- Hold for 8–10 seconds, then release gently.
Do not twist or pull the strand too tightly. The looser the wrap, the more romantic the wave.
Alternate directions: one section away, next section toward, and so on. That creates the natural, lived-in softness everyone is looking for in 2026.
Leave the Ends Out for That Romantic Feel
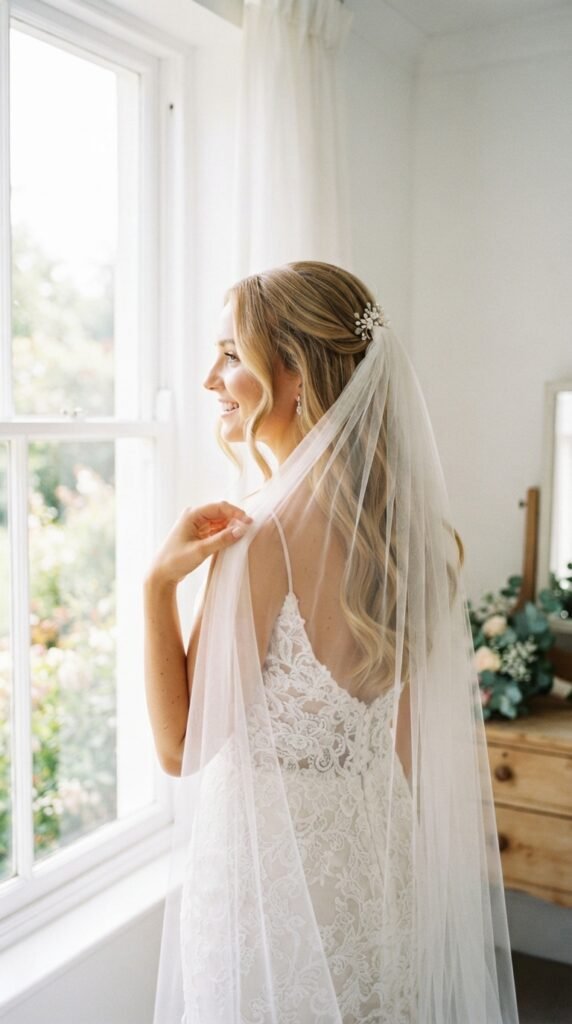
Here is an important nuance. When you wrap the hair around the wand, let the bottom inch stay uncurled. It creates a soft bend instead of a tight ringlet.
If you accidentally catch the ends, no stress. Shake them gently after unwrapping. This is what gives the style that expensive-looking, old-money finish: the wave starts at the face and melts down.
Your ends stay shiny, healthy-looking, and easy to tousle.
Let Every Curl Cool Completely
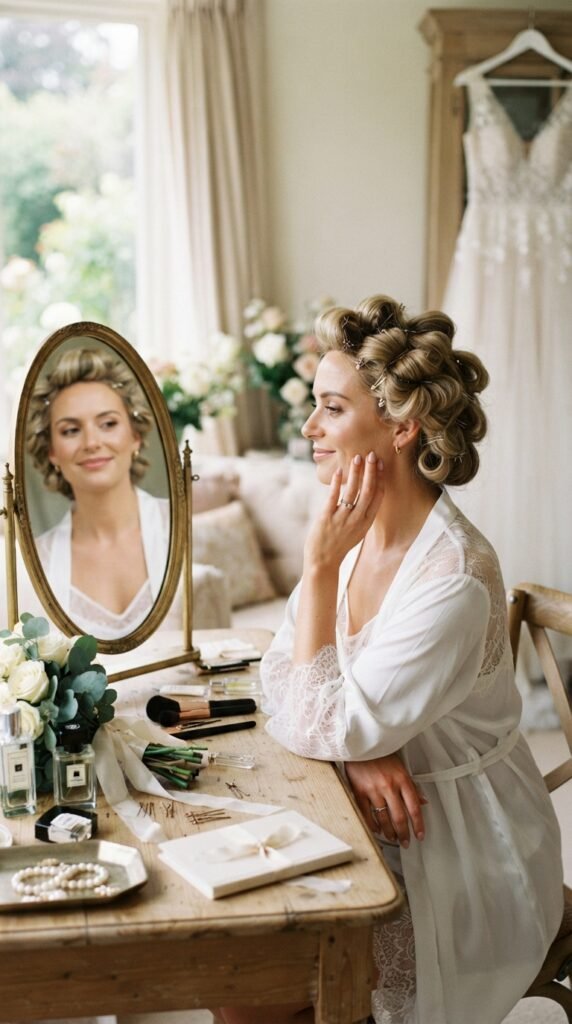
I know it is tempting to rake your fingers through the curls immediately. Do not. When you release a curl, let it sit in your palm or pin it up until it cools. This sets the wave pattern and helps it hold all night.
If you want extra volume, pin each curl loosely against your head while you curl the rest. It sounds extra, but it genuinely works.
By the time you finish the other side, the first side is cool and ready to brush out.
Brush Through with Your Fingers or a Wide-Tooth Comb
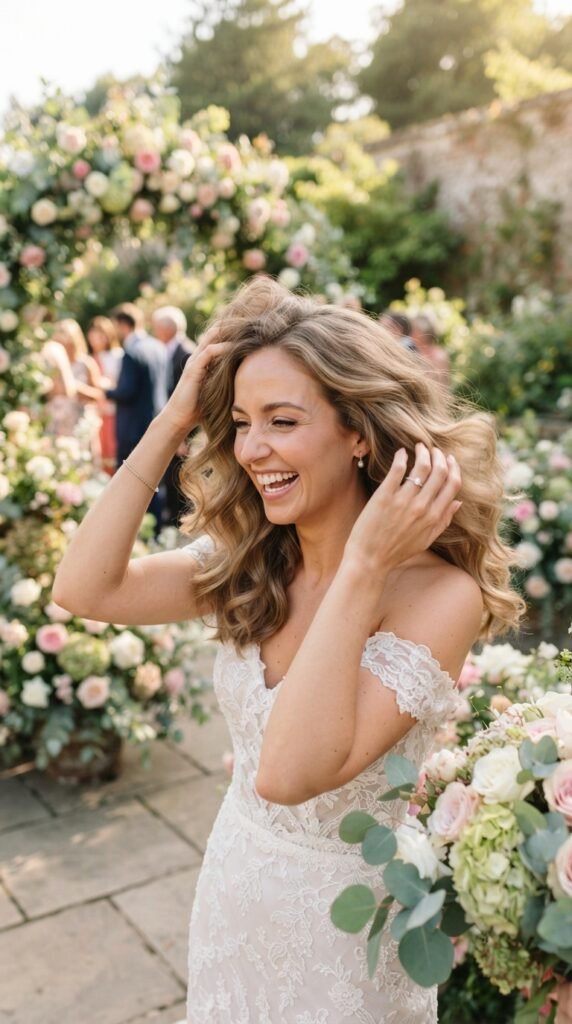
Here’s the transformation from curly to blousy romantic waves. Flip your head upside down and gently shake with your fingers. Use a wide-tooth comb if you need bigger, softer waves. Do not yank; let gravity help.
You want to keep some definition, so brush only far enough to soften. A paddle brush can make it too fluffy if you are not careful. For me, fingers are usually enough.
Stop when it feels soft, touchable, and genuinely like you.
Pin the Waves While You Finish Your Face
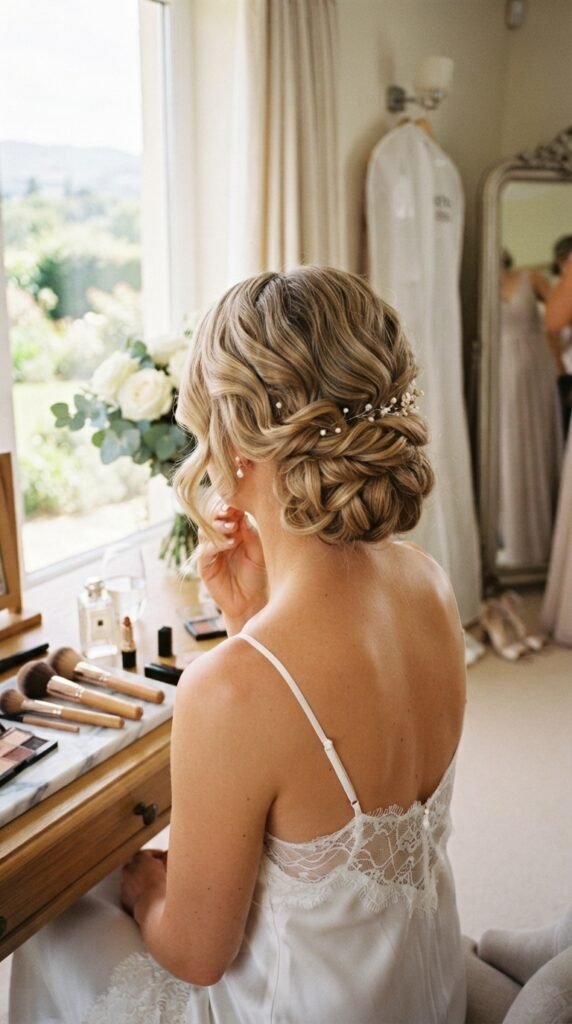
If you are doing hair before makeup, pin. After brushing, lift sections of hair into loose coils and pin them flat-ish to let the set cool even more. It keeps the waves from falling while you finish your makeup.
Once you remove the pins, give your hair a shake and it will look airy.
This step is the secret to hair that lasts through a long getting-ready morning.
Add Texture Spray Without Losing the Softness
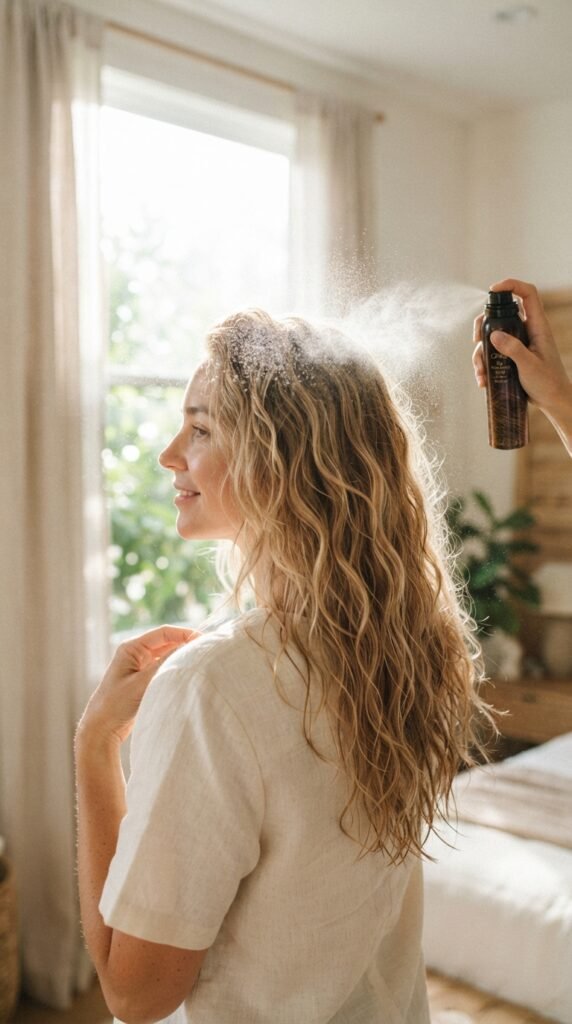
After the waves are brushed out, mist a salt spray or flexible texture spray from cheekbones down. Do not saturate; a few spritzes is plenty.
Then scrunch low upward with your hands. This will wake up the curl and add that “good hair day” feel.
If your hair seems flat at the roots, spray the underlayer near your crown and gently lift with your fingers. This voluminous but relaxed movement is exactly what 2026 brides love.
Old Money Hair: Add a Pearl Pin or Ribbon
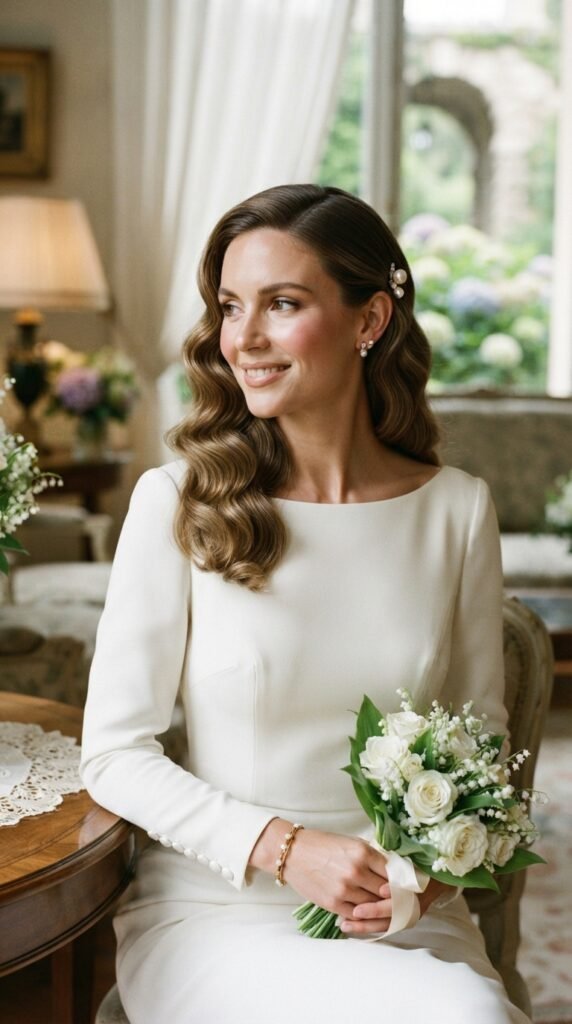
We cannot talk about old money hair without mentioning accessories. The easiest way to make this style look luxe is a low, tucked side, a pearl pin near your ear, or a silk ribbon tied in a small bow at the back.
The beauty of your undone waves is that an accessory can sit anywhere and still look intentional. Just keep it delicate. If it feels heavy, it will pull the waves down.
Now your loose waves look polished but still romantic.
Romantic Goth Hairstyles and the Vampire Haircut Twist
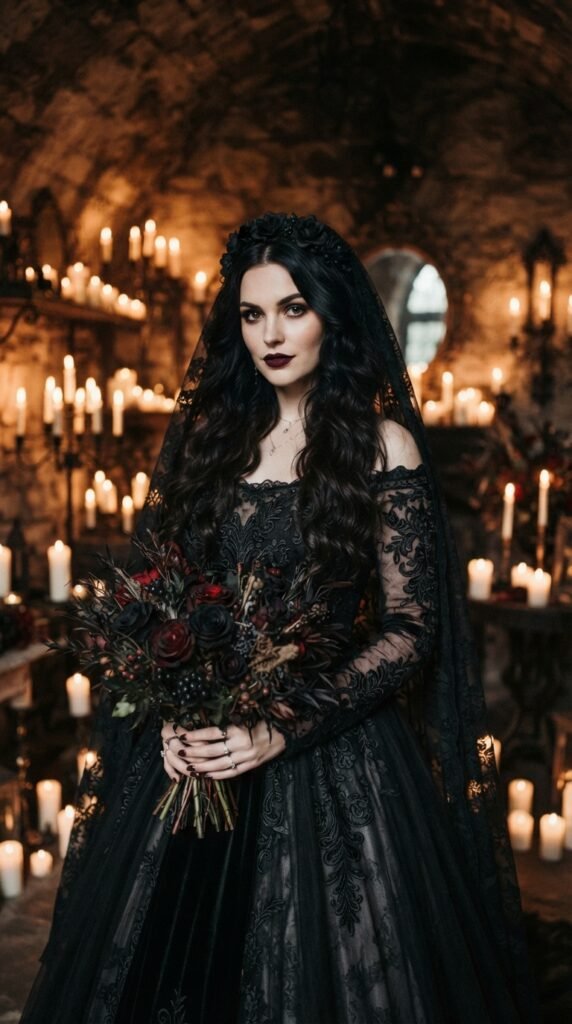
If you are into romantic goth hairstyles, this exact technique still works. In fact, loose waves soften the sometimes-sharp vibe of the vampire haircut. That classic choppy, face-framing cut looks incredible when the lengths are waved gently.
You can keep your base dark and add a little crimson gloss. The waves will add texture and mystery without feeling costumey.
So if you want a dark-bride moment, this is your lane.
The Quiet Luxury Bob? Yes, You Can Still Use This

A quiet luxury bob feels very different from long mermaid waves. But if your bob hits your shoulders or collarbone, this same low-tension wrap will give you soft bends, especially if you leave the ends out.
Use a smaller one-inch barrel and take smaller sections for more texture. Tuck one side behind your ear and add a slick low sheen at the root.
It gives quiet-luxury polish but also that sweet bridal softness.
Asymmetrical Lob Brides, This Is Your Shortcut
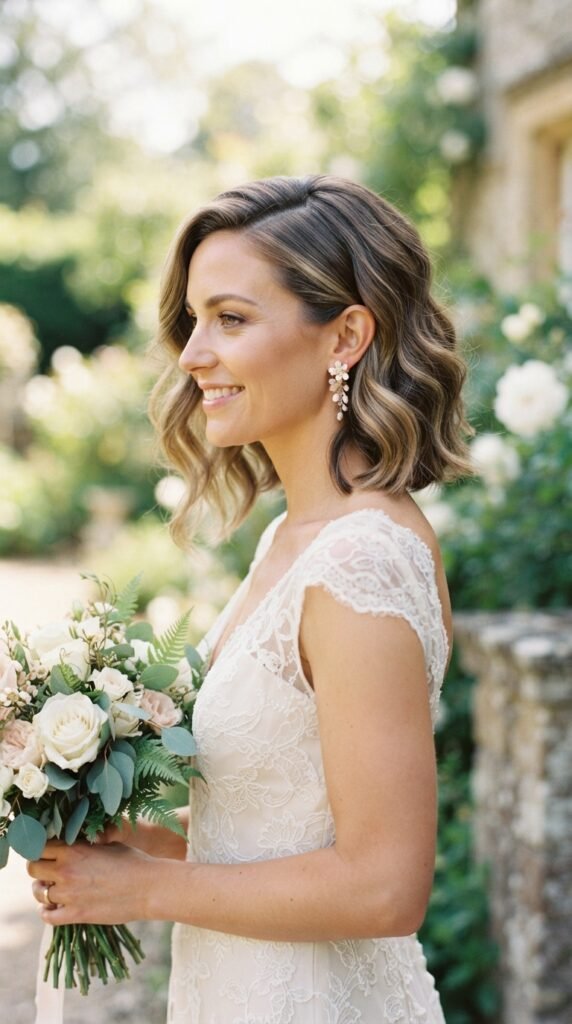
If you have an asymmetrical lob, feel free to twist this technique toward your longer side. The low-tension wrap creates a beautiful S-wave that softens the sharp asymmetry.
I like to curl away from the shorter side so the hair flows into the line of the cut. Do not overcurl. A few defined bends plus finger-combing looks expensive and current.
- Keep the longer section visible.
- Use lower heat if your hair is fine.
- Let the front piece soften around your jaw.
How This Differs From Glitchy Glam Hair
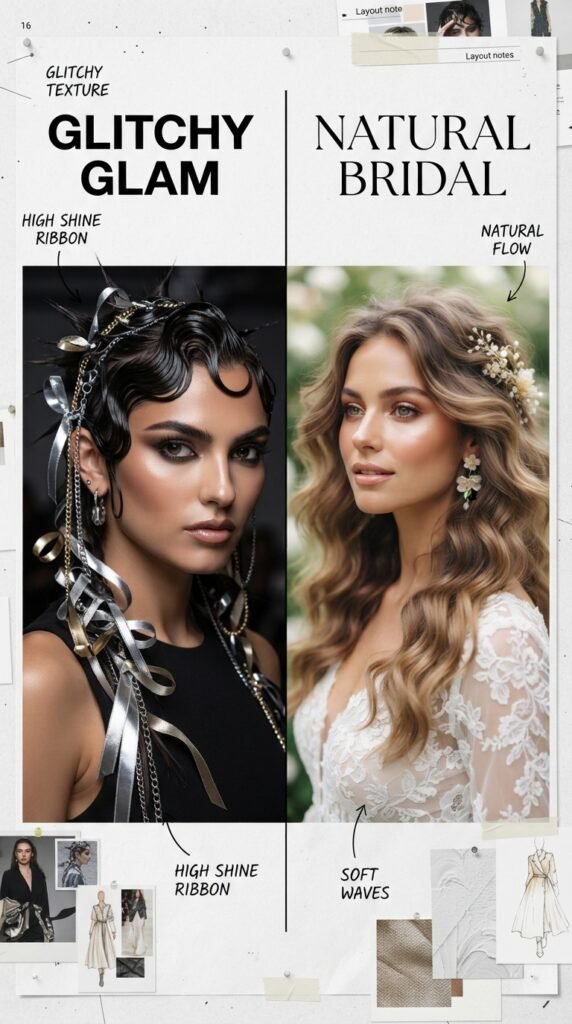
Let’s take a quick trend pause. Glitchy glam hair—all sharp, wet-looking metallic parts and reflective ribbons—is gorgeous, but it is not an everyday bridal wave. If you want an editorial entrance, that is your call. But for romantic ceremonies, most brides want something warmer and less effect-heavy.
This wand technique is about the opposite: soft edges, natural shine, and gentle movement. It is more timeless. And you can always add a subtle accessory to make it trend-forward.
Hime Cut and Face-Framing Layers: What to Skip
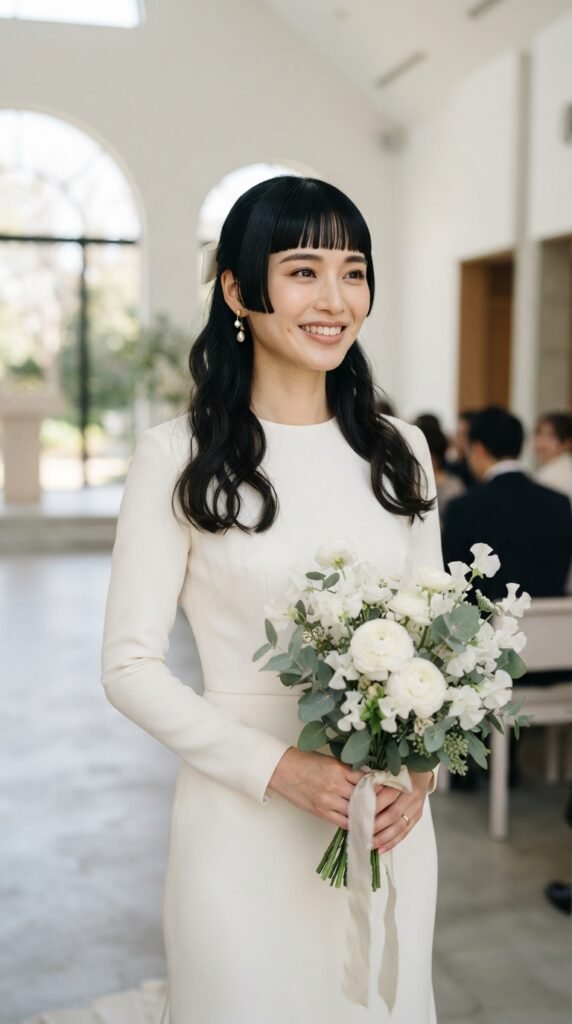
If you have a hime cut, with blunt bangs and cheekbone-length front pieces, do not curl those front pieces. Keep them sleek and straight; that contrast is the charm. Work this wand technique on the rest of your hair for a soft, princess-meets-romantic vibe.
If your face-framing layers are not blunt, you can wave them gently away from your face. But always leave the very ends out. The layer will bend just enough to look dreamy without turning into a sausage curl.
Keep the Waves Alive Through Dancing and Tears
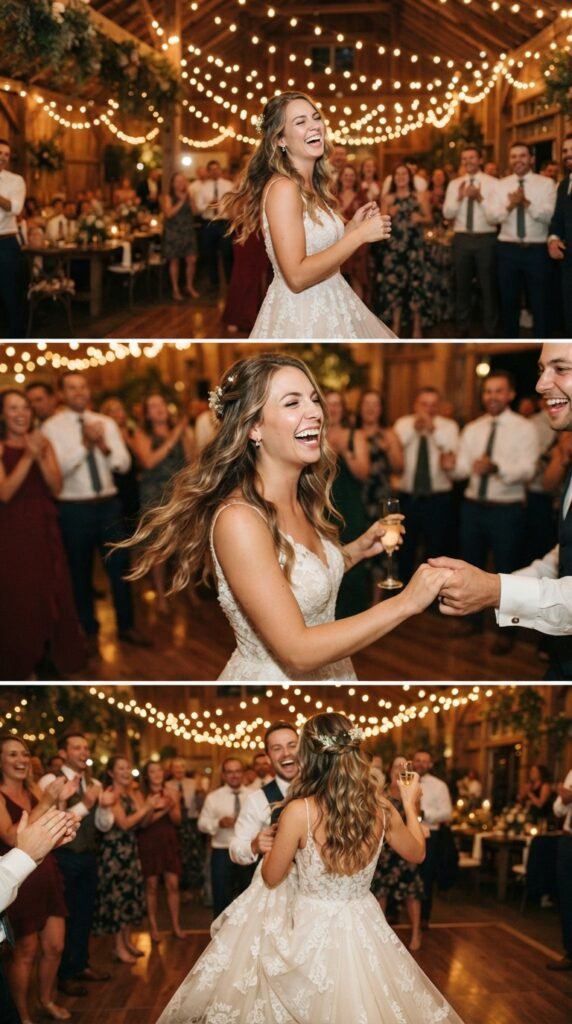
Real talk: weddings have emotion and dancing. By hour three, hair can sag. To keep waves alive, build in a bit of hold from the start with setting spray—not just finishing spray. After curling and brushing, spritz a flexible hold hairspray. Then do a final tiny spritz at the end.
Keep a few clear pins in your clutch. If a side wave falls, pin it back loosely and no one will ever know.
Waves that move with you are the point.
Fix a Droopy Curl in 60 Seconds
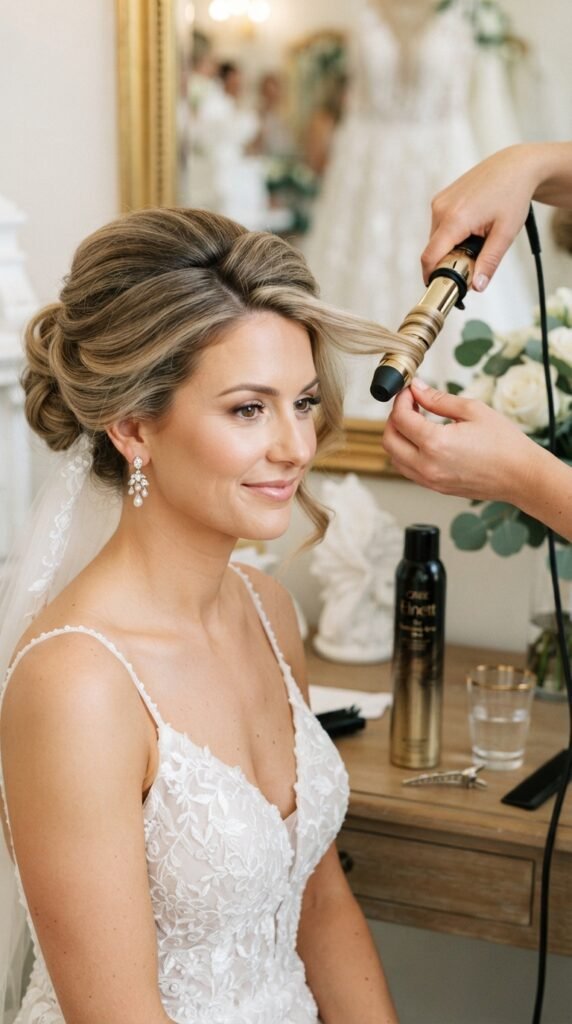
It happens. A curl falls flat while you are waiting for photos. Do not panic. Re-curl that quick section with the wand on medium heat. Wrap only that piece and hold for 6 seconds, then let it cool in your palm before placing it back.
You can also use a texturizing dry shampoo at the root to give it a grip boost. Lift the section, spray, and fluff. It is like invisibility for droop.
Everyone will think you planned it.
Common Wand Mistakes That Goof Up the Look
- Wrapping too much hair at once.
- Holding the wand too long.
- Twisting the section tightly like a ribbon.
All of those create frizz and weird bends. Use smaller sections and be gentle when releasing.
Another thing: do not use a brush right after curling. Let it cool completely. Once you trust this rhythm, you will wave faster and better.
Practice Run: Make It Feel Like Second Nature
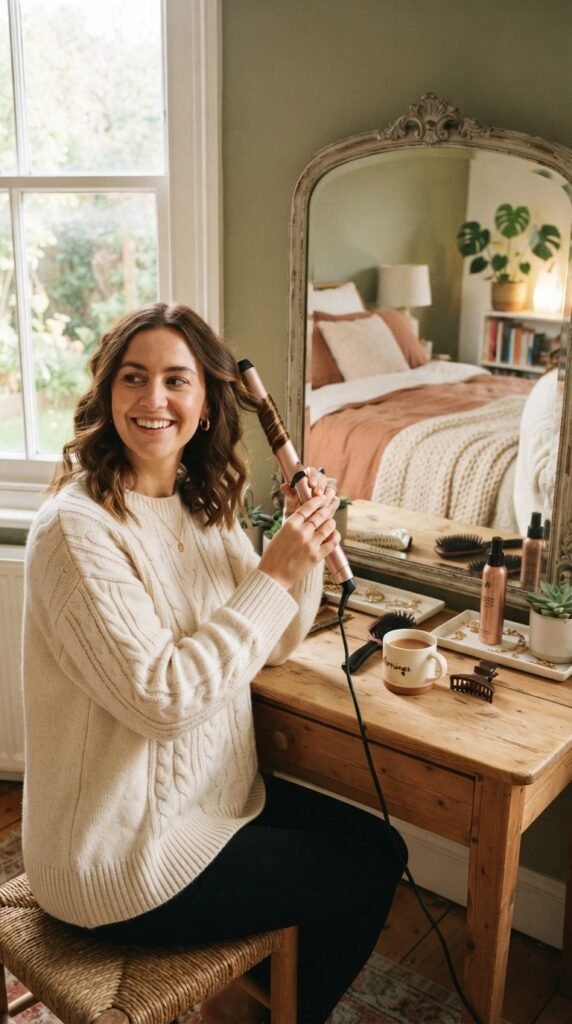
If you want a calm wedding morning, do one practice run before the big day. Maybe after a shower, with nowhere to go. Time yourself and notice which sections feel awkward.
Use the same wand and products you plan to bring. This is the trick to feeling relaxed.
Once you know the technique, it is like styling your hair while talking—no mirror necessary. Almost.
Products I Actually Trust for Long-Lasting Waves
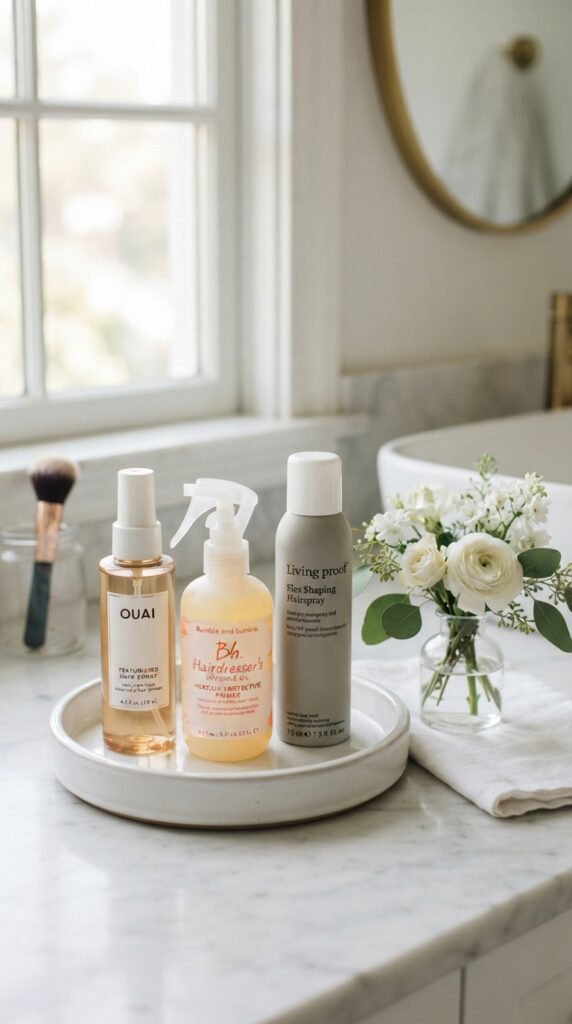
I am not one to push fancy products, but these earn their place:
- A dry texturizing spray at the roots.
- Heat protectant with flexible hold.
- Light hairspray after brushing.
That is it. Do not layer heavy oils before curling or the waves will fall. Save a drop of shine oil for the very ends after you finish.
Your hair will feel like your hair—only more romantic.
More 2026 Hairstyle Ideas You Can Borrow
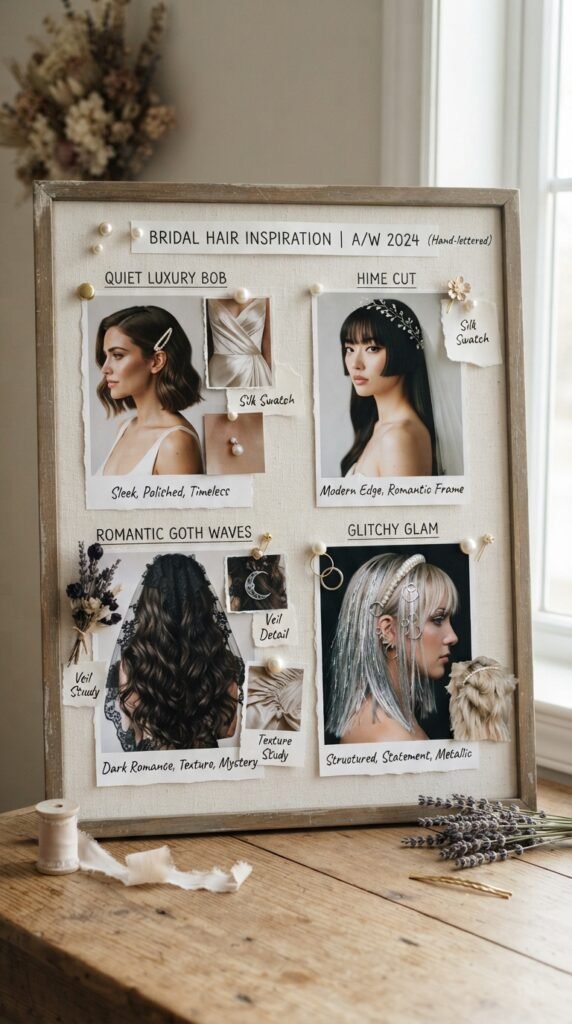
This section is just a little browsing inspiration. If loose romantic waves are not the only look you are considering, other 2026 hairstyles worth saving include: quiet luxury bob, the soft hime cut, fairytale hair with face-framing pieces, and editorial glitchy glam hair for pre-wedding events.
Even if you pick one of those, the curling wand principles here are helpful for styling any cut with texture.
Keep them in your back pocket.
A Warm Little Note Before the Big Day
Your hair is only one part of the day. If some waves fall or a piece sticks out, it does not make your wedding any less beautiful. This technique is meant to make you feel easy and glowing, not perfect. You already have the best accessory—confidence.
I hope this helps you feel ready. Loose romantic waves can make you feel like your softest, happiest self when you walk down the aisle.
And that is exactly the point.
Save this post to Pinterest so you can find this exact technique when you practice. You do not need to memorize everything today.
And I would love to hear from you: which bridal hair style are you trying first? Tell me in the comments—I read every single one.


