How to Grow Out a Pixie Without an Awkward Stage
Why the Awkward Stage Happens (and how to skip it)
The awkward stage isn’t about length—it’s about shape. When your pixie grows unevenly, the back flares out, the top gets heavy, and suddenly you feel like a dandelion. In 2026, hair trends are all about intentional movement, so we can totally work around this.
The secret? Plan your grow-out like a mini journey. From the very first week, you’ll lean into cuts, products, and styles that stretch each stage. No hiding under beanies, I promise.
Here’s exactly how to do it, month by month.
Start with a Grow-Out Friendly Pixie Cut
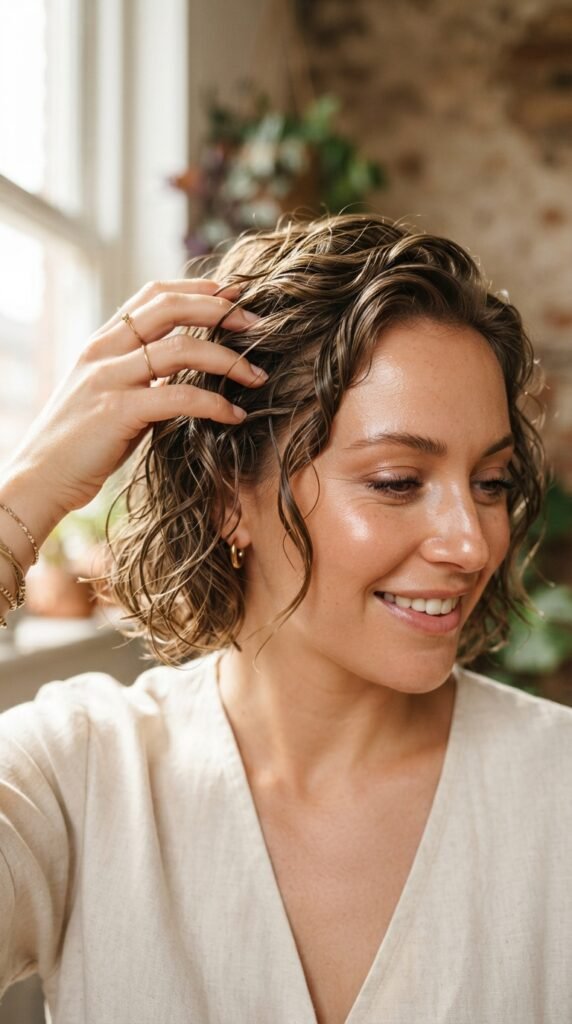
If you haven’t chopped yet, this is your first move. Ask your stylist for a pixie that keeps weight off the nape and leaves the top longer. This makes the grow-out process much easier because the back doesn’t turn into a triangle.
Tell them you plan to grow it out. A skilled stylist will cut with future shapes in mind. You want:
- Long enough bangs to tuck behind your ears later
- Soft, not blunt, edges everywhere
- Layers that fall forward, not up
This tiny step saves you months of frustration.
Week 1–4: Get to Know Your Texture
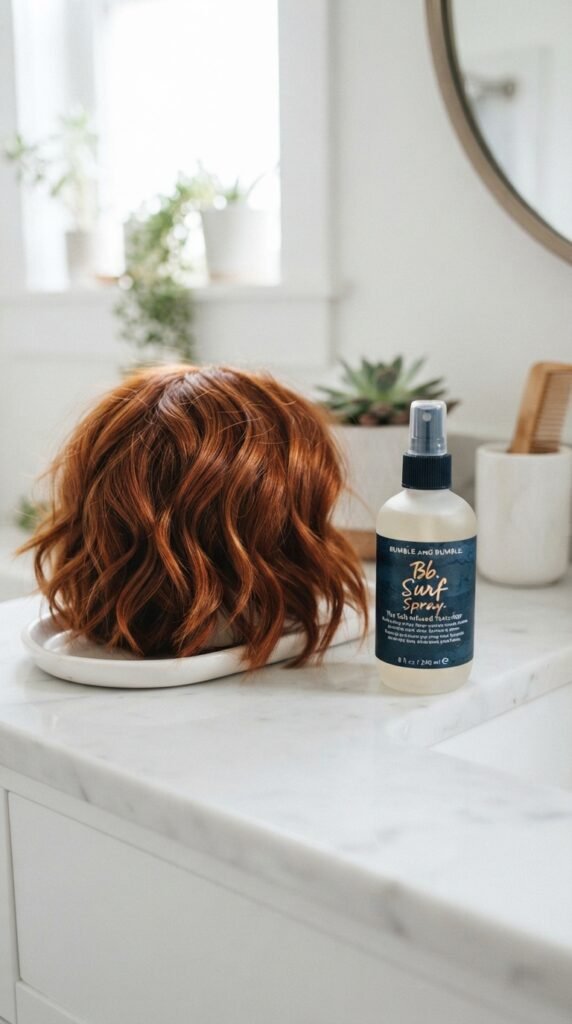
Right after a pixie, your hair finally shows its natural personality. This is the perfect time to learn if you’re wavy, straight, or somewhere in between. That knowledge will guide every product you pick for the next year.
Do a simple test. Wash, let it air dry for ten minutes, and see what happens. Then ask yourself:
- Does it dry sleek or fluffy?
- Do the ends bend up or under?
- Is my scalp on the oily side?
Once you understand your texture, you’ll stop fighting it. And honestly, this is the foundation for that effortless 2026 hairstyle energy we all want.
The Magic of a Good Texture Spray

I’m convinced texture spray is the grow-out hero. In month one, you don’t have enough length for a ponytail, but a spritz of texture spray gives you that “fixed without trying” look. It helps with:
- Adding grip so strands settle into place
- Reducing the dreaded helmet-head shine
- Making tomorrow’s bedhead look intentional
Just spray onto your palms, then scrunch lightly. Don’t overdo it—a little goes a long way. If you’re going for quiet luxury vibes (who isn’t?), a matte finish beats a wet-gel look every single time. Trust me on this.
Month 2: Headbands and Baby Bangs

Around week six, the top of your hair will start falling into your eyes. Don’t reach for scissors yet. Reach for a pretty headband instead. The right accessory can make a pixie grow-out look stylish in seconds.
Make baby bangs work for you by wispy-pinning them to the side. A few bobby pins and a small wave can turn a messy moment into a fashion statement. Think romantic goth hairstyles or sleek minimalist—so many 2026 trends work with baby lengths. Headbands, clips, and bandanas are your new best friends that month.
Month 3: The “Quiet Luxury Bob” Transition

By month three, you should have enough length at the back to explore a quiet luxury bob shape. This is not the blunt bob you see on runways—that would require a big chop. Instead, ask your stylist to clean up the nape and soften the edges.
The goal is to let your hair grow into a rounded, soft shape. This is where the old money hair aesthetic comes in: understated, polished, and full of subtle movement. You’ll feel elegant even though you’re still in transition. Trust the process.
This is also the time to stop any mullet-ish growth in the back before it gets too dramatic.
Month 4: Shape the Back Before It’s Too Late

The biggest sign of an awkward grow-out is a thick, heavy back. At month four, the nape hairs will reach that odd “just past baby hair” length. If you let them grow wild, you’ll get a triangular shadow that nobody wants.
Here’s the fix: schedule a light trim that only touches the back. Tell your stylist to remove just a half-inch and blend the sides. This doesn’t reset your progress—it refreshes your shape. I’ve done this every grow-out, and it’s the reason people assume I got a new haircut when I really didn’t.
Your future self will thank you.
Month 5: Textured Layers Are Your Best Friend

You’re closing in on a lob. But before you can get there, the top of your head may feel bulky. This is when I ask my stylist for “soft textured layers.” They remove weight from the crown while keeping your ends connected.
This simple adjustment pushes your grow-out from “I’m growing out a pixie” to “I chose this slightly messy, sculpted style.”
Glitchy glam hair often plays with scattered, uneven layers, so we’re basically on trend already. Textured layers also air-dry beautifully, saving you twenty minutes with a blow dryer every morning.
Month 6: The Asymmetrical Lob Arrival

Six months in, you’ve officially reached lob territory. If you’re up for a bold move, this is where an asymmetrical lob shines. One side sits a bit longer than the other, and that subtle difference makes your hair look styled on purpose.
This is also an excellent time to play with a deep side part. It instantly creates an undone, expensive feel without any heat tools. If you want to feel extra trendy, this cut works for both hime cut inspired face-framing pieces and old money hair waves. I love how many directions you can go.
Month 7–8: Hime Cut? Yes, It Works Here

By month seven, your bangs might reach your cheekbones. That’s the perfect time to try a modern hime cut approach. Instead of a full blunt cut with a hard shape, ask for straighter ends with a slight curve at the cheek.
The result is a look that feels fresh, not costumey. Hime cuts have been popping up in 2026 hairstyle predictions because they frame the face beautifully. Even if you only keep the front pieces for a month, it’s a nice way to feel like you’re purposely growing out a pixie—no awkward stage in sight.
Month 9–10: Old Money Hair Starts to Show
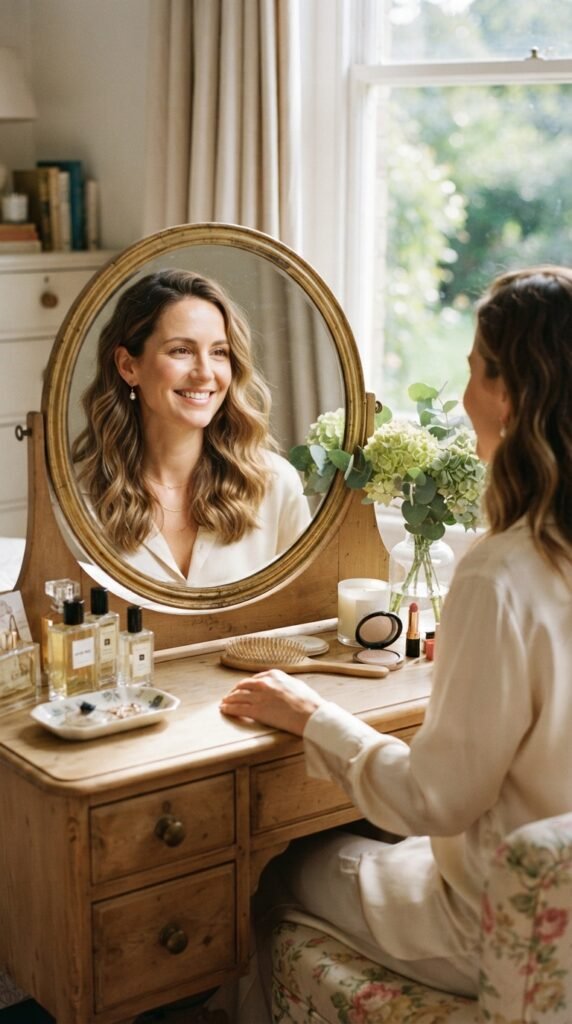
An old money hair look is all about shiny, healthy, slightly layered hair that never looks stiff. Around month nine, you’ll finally have enough length to mimic that vibe. The way to get there? Let your ends dry naturally, then use a wide paddle brush.
This is when you start seeing light at the end of the tunnel. Your pixie has grown into a mini bob, and mini bobs are gorgeous. Don’t get scissor-happy now. Just focus on hydration and gentle handling. Your goal is to reach month twelve with maximum length and minimal damage.
Month 11–12: Romantic Goth Hairstyles to Play With

Feeling brave near the one-year mark? Try a romantic goth hairstyle. Think loose waves, a delicate ribbon, or a velvet claw clip. These touches add drama while hiding any remaining short layers. Dark colors make hair look thicker too.
I’m not saying you need to change your whole vibe—just borrow a few details from this aesthetic. It draws the eye away from the grow-out process entirely. And because romantic goth styles are a rising trend in 2026, you’ll look fresh and fashion-aware without saying a word.
Glitchy Glam Hair: A Fun After-Pixie Style
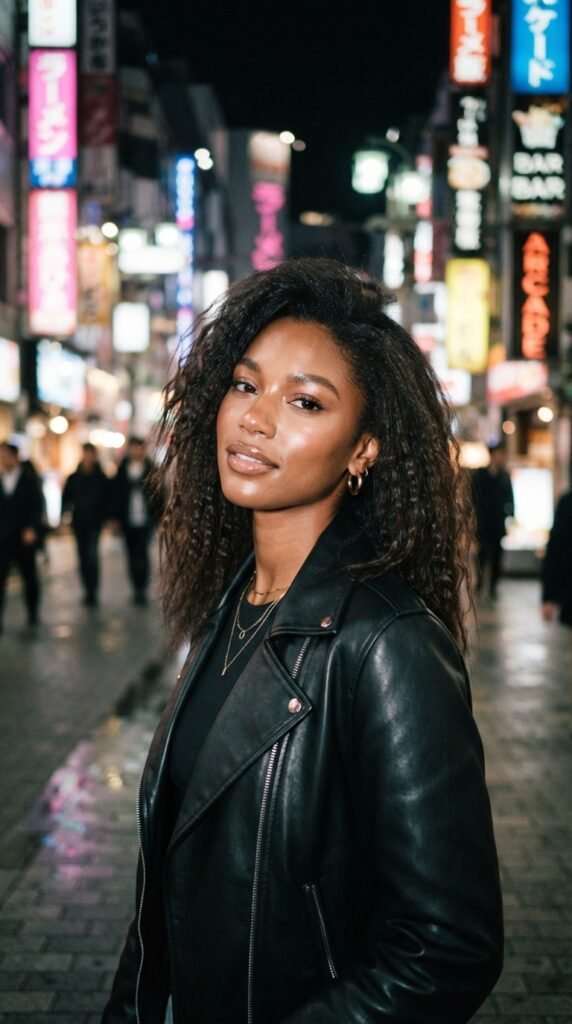
If you’re someone who loves experimenting, glitchy glam hair is the runway trend that actually works on grow-outs. It plays with light-catching unevenness—think crimped internal sections, separated curls, or a zigzag part. Because the effect is intentionally irregular, no one will clock your in-between layers.
This is more of a special occasion style, but it’s great for boosting your mood. When you feel stuck, spend twenty minutes crimping just a few strands. The shine and shape will make your hair look bigger, cooler, and totally deliberate. Bonus: it’s fun.
The Vampire Haircut Trick for Grow-Outs

The “vampire haircut” refers to face-framing pieces that curve slightly forward with wispy ends. It sounds dramatic, but it’s really just a clever way to keep hair away from your face while it grows. This tiny styling trick adds structure to a pixie grow-out at any stage.
Ask your stylist to point-cut your front pieces, making them softer and less blunt. Those gentle, fang-like tips sweep to the side and draw attention to your cheekbones. This technique is perfect if you’re nervous about the harshness of a straight line.
Everyday Styling Mistakes to Avoid

Growing out a pixie has a few tempting but dangerous habits. First: over-washing. When hair is short, washing daily strips oils and makes it stick up in weird directions. Second: ignoring your hairline edges. The baby hairs along your forehead need a tiny brush to lay down smoothly.
Another big mistake? Using heavy creams near the roots. That weighs hair down and makes your top look flat against the longer back. Instead, use a lightweight mousse at the roots and a drop of serum just on your ends. Little tweaks make a world of difference.
Accessories That Save the In-Between
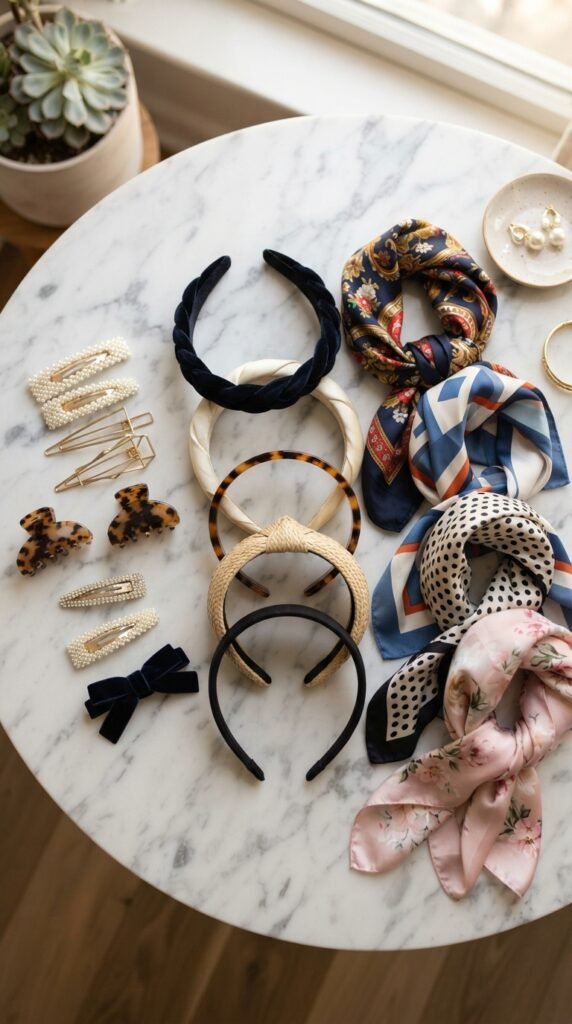
You don’t need perfect hair scissors to survive the grow-out. You need accessories. I keep a permanent little kit in my purse: two barrettes, a jaw clip, and a silk scrunchie. That’s seriously enough.
On bad mornings, clip the longer front pieces away from your face. Or twist small side locks back and pin them for a subtle romantic style. So many 2026 hairstyle trends love a visible accessory—a fun clip or ribbon looks intentional. Shop from your own drawer.
Nighttime Hair Care for Faster Growth

Yes, how you sleep impacts how well your hair grows. Rubbing short hair against cotton pillows causes breakage, especially right after a pixie when strands are fragile. Switch to a silk pillowcase. It reduces friction and keeps your style intact for an extra day.
You can also do a quick pre-bed ritual. Brush gently, add a half-droplet of argan oil, and give your scalp a one-minute massage. That extra circulation encourages healthy growth at the follicle. It may sound overly simple, but I saw a real difference in my own hair.
The Right Trimming Schedule (Yes, You Still Trim)
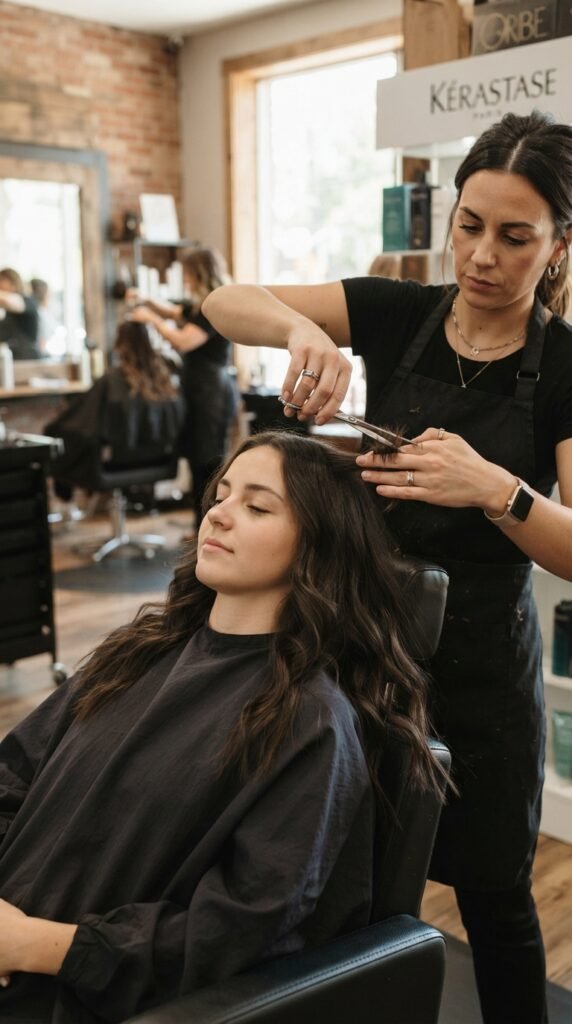
I know, the last thing you want is to hear the word “trim” while growing out a pixie. But extremely small trims at the right moments make the end result so much better. Spaces your trims 8–10 weeks apart, so you lose inches but gain a clean shape.
Skip the trim when your hair still feels in proportion. Book the trim only when you see weird steps between layers. That’s the sweet spot. Your stylist will echo a similar pattern to the whole head, preventing the old layers from deciding your silhouette.
Products That Help (and two you can skip)
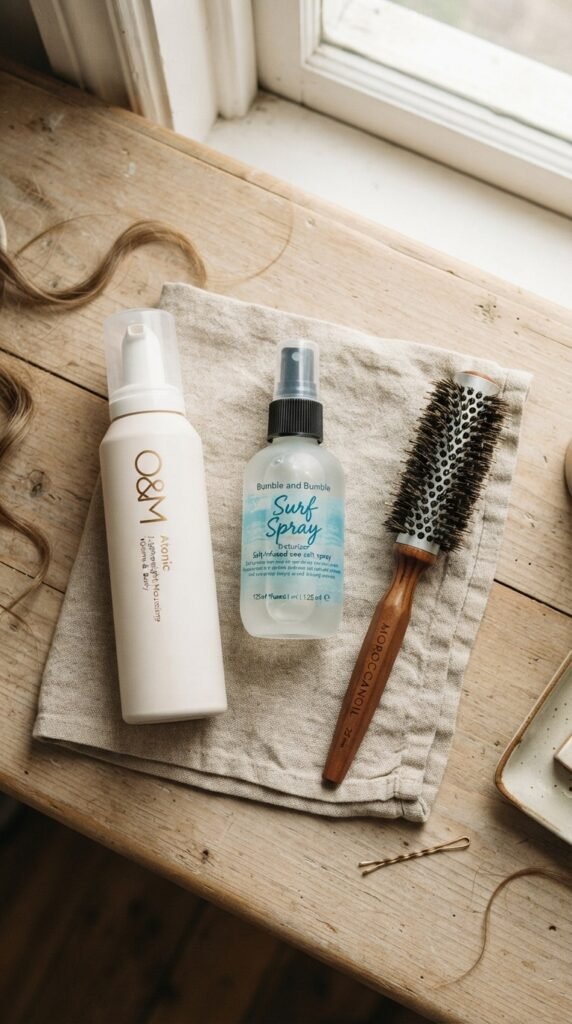
Need to invest in a few helpers? I recommend a lightweight volumizing mousse, a soft hold paste, and one finishing oil. That’s all you truly need for this transition. Skip the gel that fights your hair’s natural flow, and avoid leave-in creams that somehow make it greasy.
Lick a tiny amount of paste and run it between your palms, then press over your ends. This gives your pixie grow-out a sleek finish without looking wet. Experiment a bit—every hair has different preferences. Product experimentation is the fun part.
How to Style the “Mushroom” Moment

There will likely come a time when your hair looks like a helmet from the 60s. Instead of hiding it, work with it. That rounded shape can feel chic if you keep it ultra-shiny. Grab a smoothing brush and glide the outer layer down.
Tuck one side behind your ear to break the symmetry. Or add a hair scarf tied underneath for elevated energy. This is the art of embracing where you are. The mushroom moment isn’t a failure—it’s a chapter in the book.
Blow Drying Techniques for Control
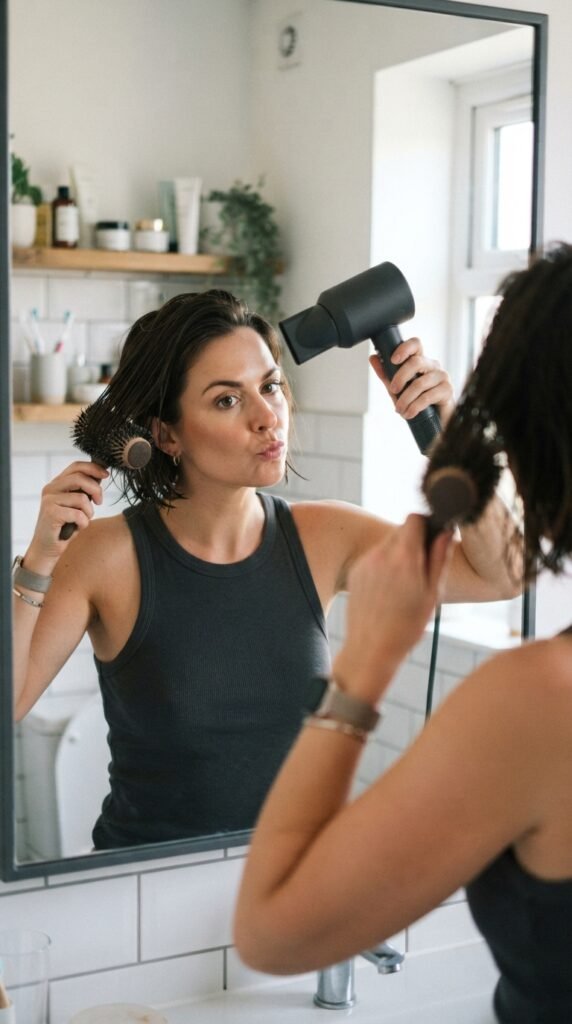
If your hair tends to flip out at weird angles, blow drying matters. Use a round brush with a narrow barrel, then aim the airflow downward before the hair dries fully. That encourages a smooth bend without the curl sprouting outward.
To boost volume, lift the hair up at the root while you dry. It takes two minutes longer, but it saves you from looking like a startled owl. I love this trick when transitioning into a textured lob later. Keep the temperature on medium heat.
Where to Part Your Hair (It Changes Everything)
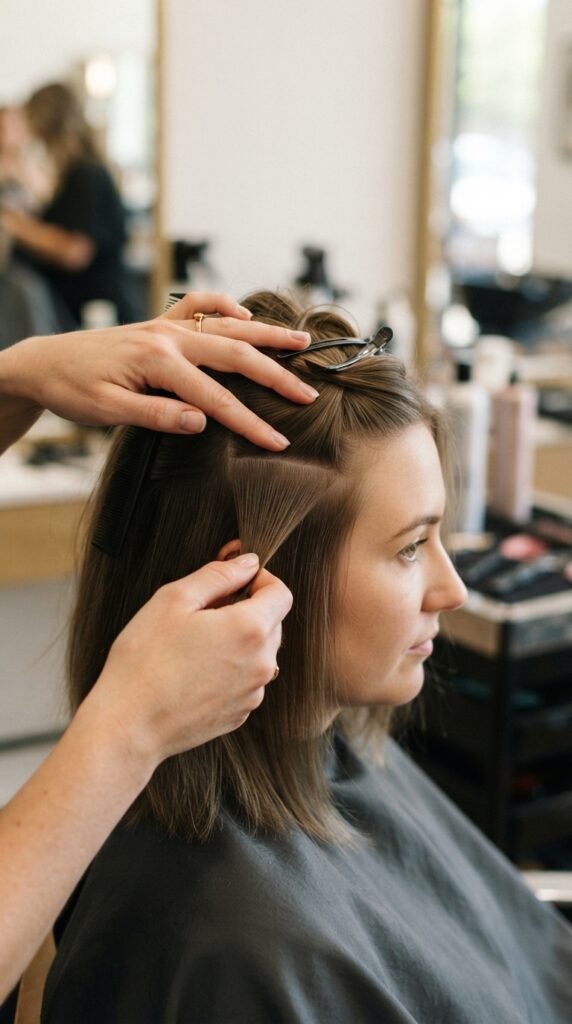
At every grow-out stage, the part line determines your silhouette. A middle part can stretch your face and make shorter sides look thin. A deeper side part adds immediate volume and disguises uneven growth. Experiment every week.
If your bangs are in no-man’s land, a cleanly defined side part can make them behave as soft sweeping waves. Old money hair often uses this trick—it looks effortless because the structure is entirely based on the part. Play without judgment.
When to Ask Your Stylist for a Reset
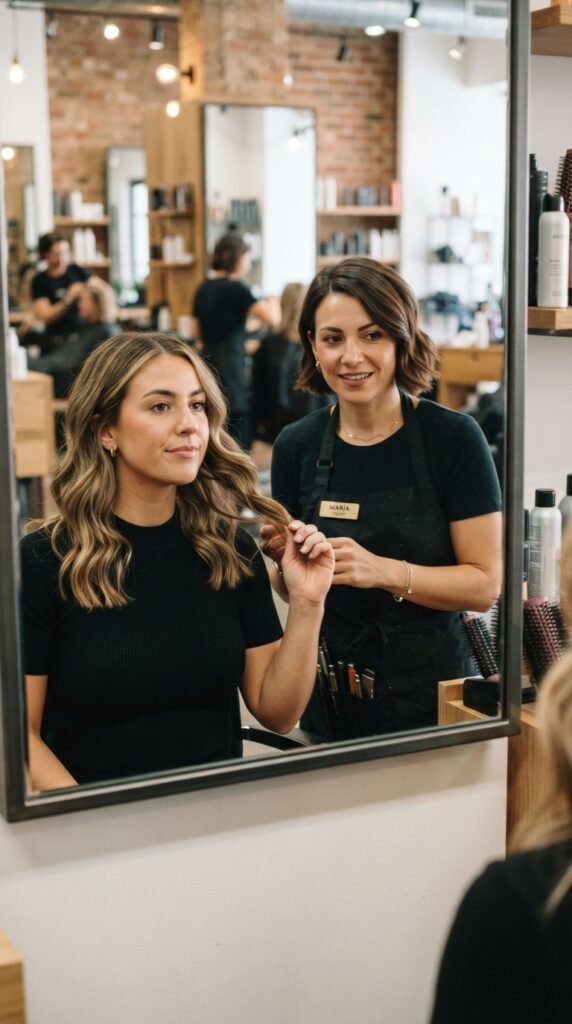
There’s a fine line between growing out and living in denial. Ask your stylist for a “reset” when you notice too many disconnected layers. A reset isn’t a full chop—it’s an even-ing cut to meld shorter interior layers into longer ones.
It might feel like a step backward, but it’s really two steps forward. Three weeks after a reset, your hair will sit calmer and look like a unified cut. Sometimes you must lose a little length to gain a lot of polish.
My Favorite Quick Updos for Longer Pixies

The day your hair is long enough to pull back even slightly, rejoice! Mini upward styles are protective and adorable. A tiny twisted knot with bobby pins can turn you into a ballerina-chic lady. Or tease the crown and tuck side pieces behind the ears.
If you have long layers on top, do a one-inch twist at the nape and secure with a mini claw clip. These styles take twenty seconds but make you feel so prepared. Updos are also your go-to on sweaty days or when you’re low on time.
The Real Truth About Growing Out a Pixie
The actual truth is: there will be days you want to chop everything off. That’s okay. Growth is a process and sometimes it gets messy. But you are not stuck. Each stage has its own kind of beauty if you let it.
Remind yourself why you started this hair journey. Whether you’re heading toward a quiet luxury bob, a soft lob, or carefree waves, it’s all waiting for you. And now you have the exact map to get there without hiding your hair for a year.
I hope this guide feels like a friend sitting beside you in the salon chair. I’ve walked that exact path, and I’m always amazed by how good the process can feel when you have a plan.
If you loved this, save this post to Pinterest so you can find it again on the tough hair days. And tell me in the comments: what’s your favorite little trick for making growth feel intentional?


