Simple Sleek Bun Tutorial for Job Interviews and Business Meetings
Picture this: you walk into an interview with your hair looking like you spent an hour at a salon. No frizz, no mess, just pure confidence. That’s the power of a simple sleek bun.
This isn’t just any bun. It’s the style that says “I’m professional, polished, and ready to lead.” And the best part? It takes less than 10 minutes once you know the steps.
In this post, I’ll walk you through an easy, beginner-friendly sleek bun tutorial. You’ll leave with a hairstyle that works for any serious meeting. Let’s get started.
Why the Sleek Bun Is Your Interview Secret Weapon

When you’re in a business setting, people notice one thing first: your hair. A sleek bun sends a message of focus and control. It also keeps your face completely visible, which builds trust.
You don’t need fancy styling skills. With a few clips and some smoothing product, you can create a look that feels both classic and current. Think of it as your armor for the boardroom.
- No distractions
- Instant polish
- Works with any outfit
What You Need Before You Start
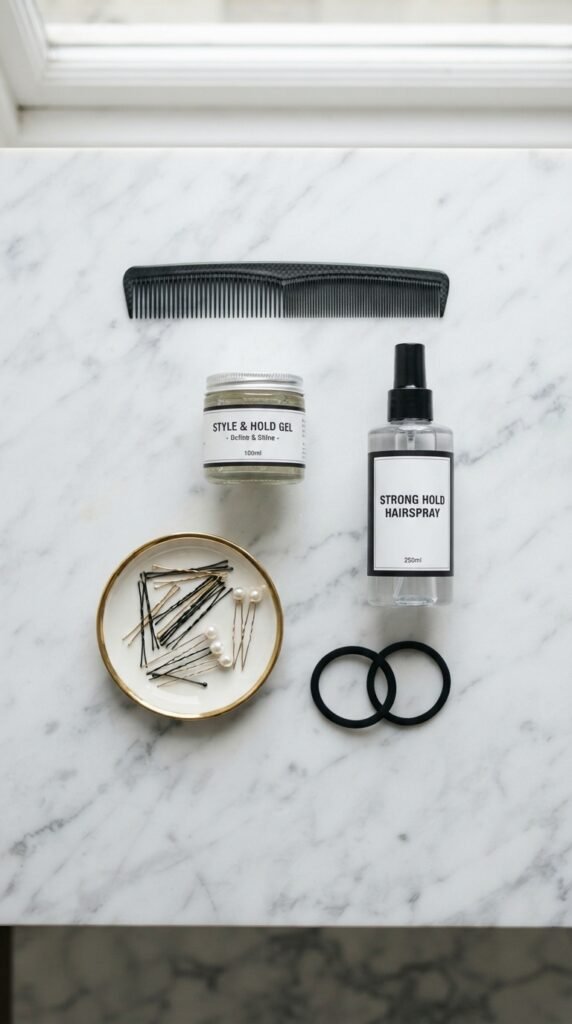
Good news: you already own most of this. The sleek bun doesn’t require expensive tools. Just the right basics. Here’s your checklist:
- A soft bristle brush or fine-tooth comb
- A strong hold hair tie (the kind that doesn’t snag)
- Bobby pins in your hair color
- A flexible gel, wax, or smoothing serum
- Hairspray with medium hold
Lay everything out before you start. Trust me, it makes the routine faster. You’ll be in and out of the bathroom in no time.
Prep Hair for That Glassy Finish

The secret to a sleek bun isn’t the bun – it’s the prep. Your hair needs to be slightly damp, not soaking wet. You also need to remove any previous day’s wave or bump.
Spray your hair lightly with water, then apply a pea-sized amount of gel or serum from mid-length to ends. Brush it through to distribute evenly.
If you’re prone to frizz, add a tiny drop of finishing cream. You want a smooth, glassy canvas. Remember, the shine you get now is what says “old money hair” later.
Center Part or Side Part? Choose Smart
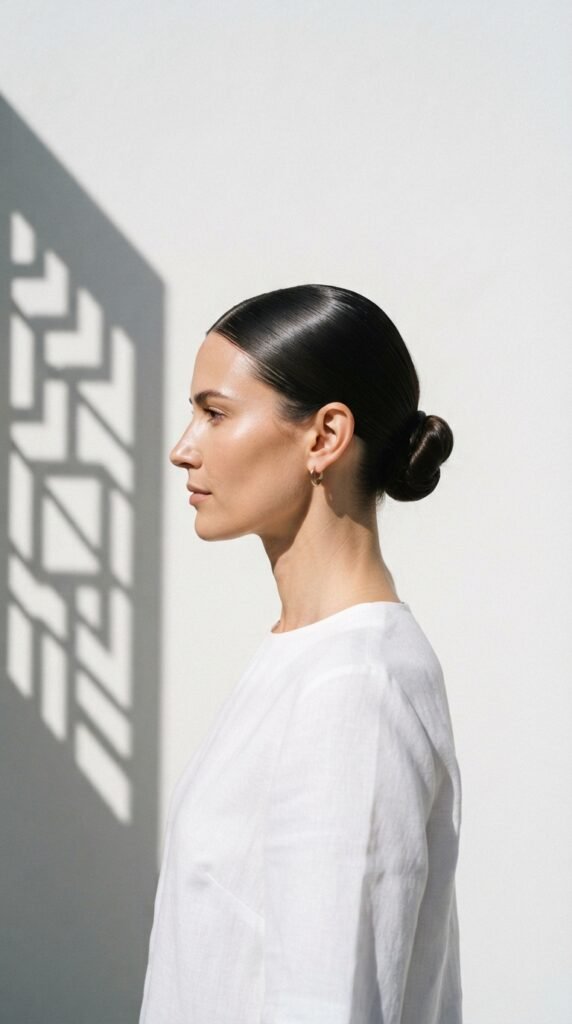
The part you choose changes the whole tone. A center part feels modern and symmetrical. It’s especially good for round or oval faces. A side part adds volume and can soften a sharper jawline.
For an interview, either works. But consistency matters. Use the same part you’ll wear all day. Don’t change it halfway.
- Center part: sleek, architectural, very 2026 hairstyles vibes
- Side part: classic, softer, more forgiving
Go with what makes you feel most like yourself.
Step 1: Brush It All Back, No Frizz
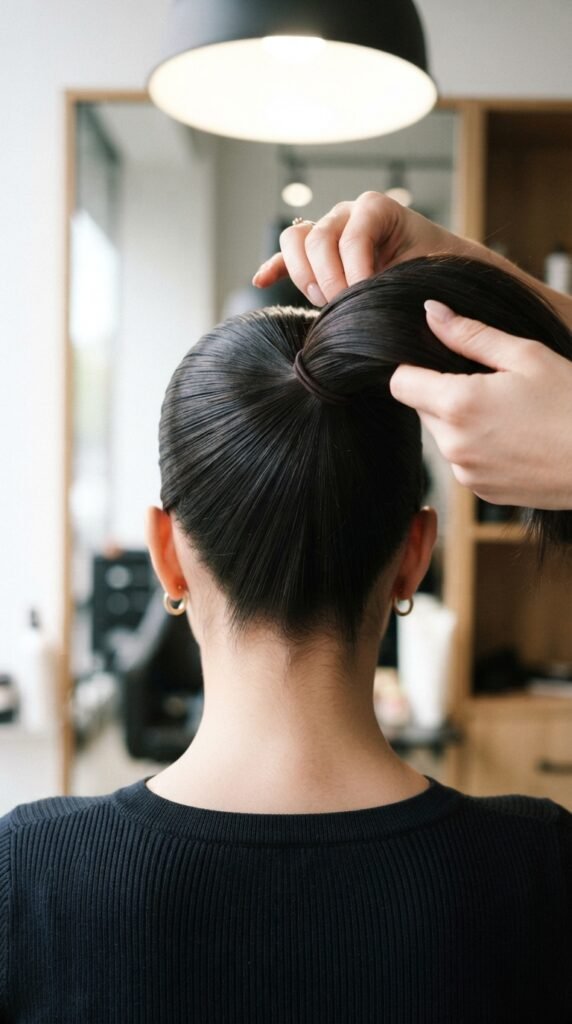
Before the ponytail, you need to smooth your roots. Flip your head forward, then brush all hair toward your chosen part. Use a soft bristle brush to lay down every baby hair.
If you have curls or texture, brush in small sections. This helps you catch the curly strands too.
Don’t rush this. A good base is what prevents the afternoon halo puff. Keep your head tilted down while brushing so the lines stay tight. Then position your comb to create the exact height you want for the ponytail.
Step 2: Smooth Down Flyaways with Gel or Wax
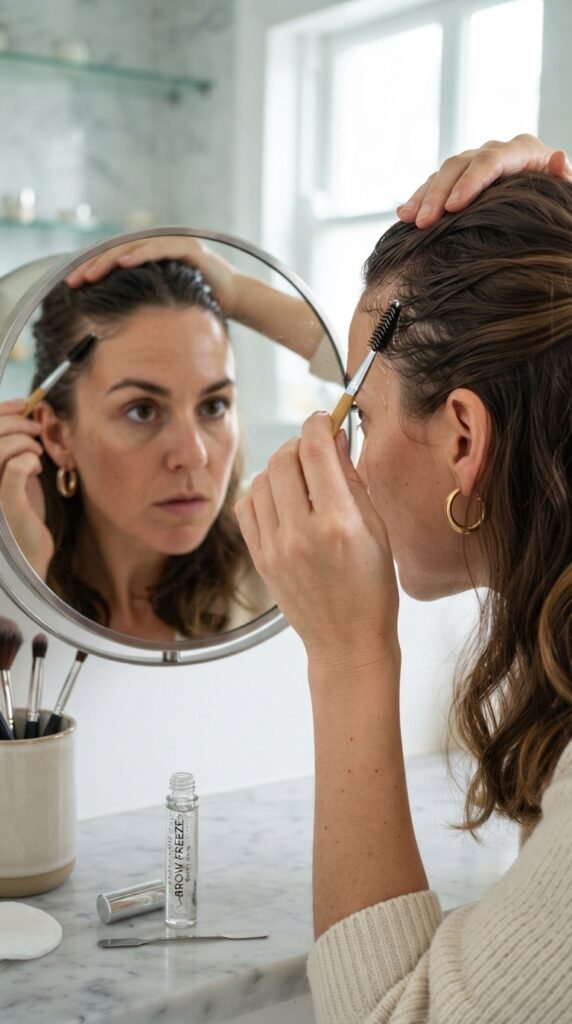
This is the step that separates an okay bun from a perfect one. Take a clean mascara wand or old toothbrush, dip it lightly in gel, and brush your hairline down.
Focus on the spots where you have cowlicks or whispies. Press the gel into the root, then smooth the top layer. You’re basically taming the static.
Remember, less is more. If you use too much, you get that crunchy look. You just want a smooth, flexible hold. I like using a wax stick because it doesn’t dry sticky.
Step 3: Create the Ponytail Base

Gather your hair at the height you want the bun. For job interviews, a mid-height pony is most flattering. Too high can seem youthful. Too low can look like you’re hiding.
- Hold the hair at the back of your head.
- Wrap the elastic around twice, tugging tight each time.
- Check the underside in a mirror for bumps.
Smooth any lumps with your hands before you proceed. The base needs to be snug, but not so tight that you get a headache. If your bun feels off, redo the elastic now. It’s easier than fixing it later.
Step 4: Twist and Wrap the Bun
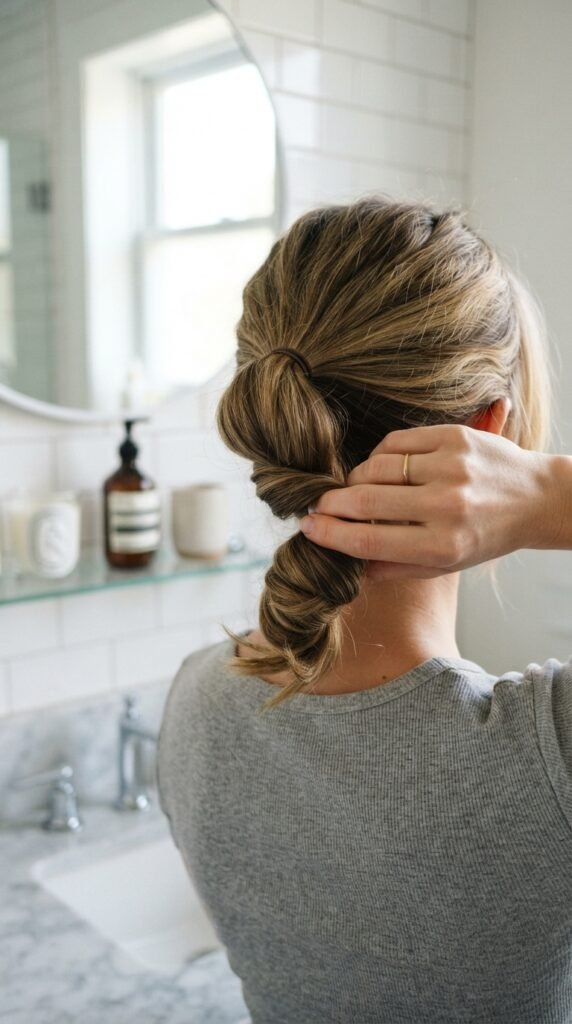
Now the fun part. Take your ponytail and twist it until it starts to coil. Don’t twist too hard or it will spiral on itself.
Wrap the twisted pony around the elastic, making a donut shape. The ends should disappear underneath or tuck into the base.
If your hair is long, you might need to wrap twice. That’s okay. Flatten the bun with your palm to measure how it sits. It should look round and neat, not like a messy cinnamon roll.
Step 5: Pin It Like You Mean It
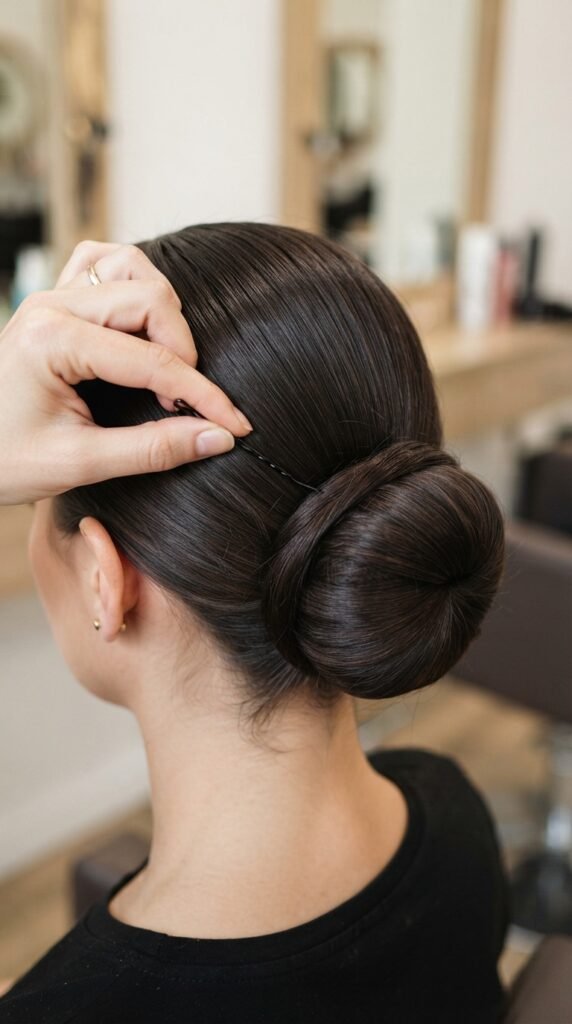
Bobby pins are what keep this style in place. Slide them in at an angle, going from the outer edge of the bun into the center. Cross them like an X for extra security.
Here’s a trick for thinner hair: spray each pin with hairspray before inserting. It gives them more grip.
Push pins until they touch the scalp, but not harder than necessary. You shouldn’t see the pins when you’re done. We’re going for a smooth exterior. Check every side with a compact mirror.
Step 6: Finish with Hairspray and a Clean Edge

The last step locks everything in. Hold the hairspray about eight inches away and mist the entire bun, not just the top. Also spray the sides of your head and the hairline.
Let it dry for thirty seconds. Then lightly run your fingers over the bun to test for flyaways. If anything popped up, press it down with your palm.
For extra polish, run a tiny bit of gel over the front edge one more time. That’s it. You are ready to own the room.
How to Keep It From Falling Flat Mid-Meeting

No bun is immune to gravity, but you can help it stay put. Start by making sure your bun is really secured. If you can shake your head and the bun feels anchored, you’re golden.
Another trick is to gently lift the bun and add one more pin directly at the base. This stops it from dropping as the day wears on.
Carry two bobby pins in your pocket just in case. You never know when you’ll need a quick fix. And remember, hot meeting rooms can create humidity around your neck. A little hairspray along your nape helps too.
Best Products for an Old Money Hair Finish
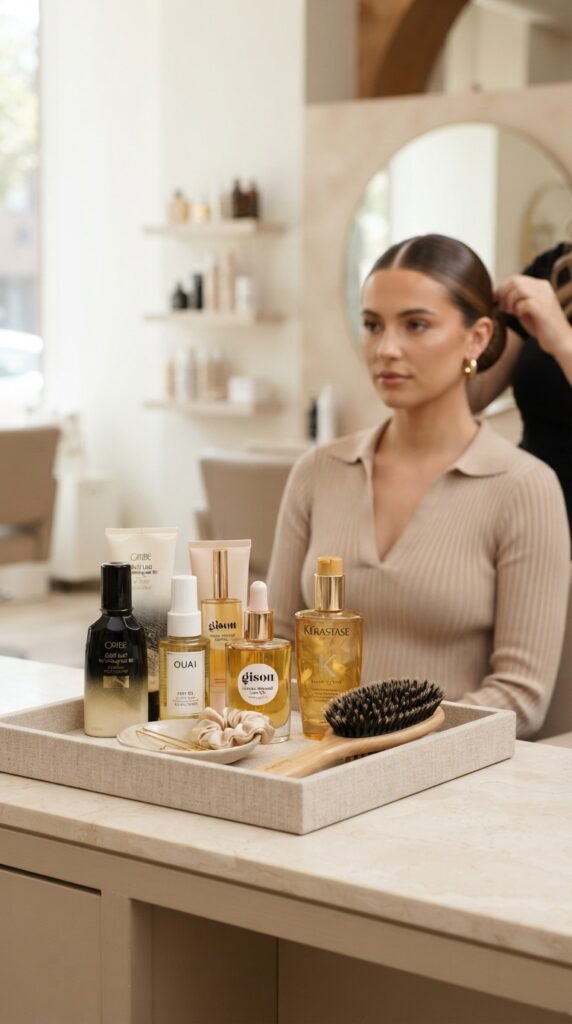
To get that “old money” shine, product choice matters. Look for lightweight gels or mousses that don’t flake. You want a subtle, healthy shimmer, not a greasy shine.
My favorite combo is a clarifying shampoo, one drop of argan oil on mid-lengths, and a flexible hold gel at the hairline. In a pinch, use a little hand cream to smooth flyaways, but wash your hands first.
For a very polished, quiet luxury feel, skip the glittery serums. Choose creamy formulas with natural-looking glide. That’s the look that says you woke up like this.
What If Your Hair Is Too Short? Try the Low Bun Version

If you have a lob or layers, a high bun can be tough. The fix is simple: lower the base. A low sleek bun at the nape of the neck works beautifully.
First, put your hair in a low ponytail. Twist the shortest layers through, then wrap the bun loosely. You can pin the ends with smaller pins.
Don’t worry if some face-framing pieces escape. That’s actually part of the charm. It looks intentional and soft. Pair it with a collarless top for an elegant silhouette.
This Bun vs. the Quiet Luxury Bob: Which One Is More Professional?
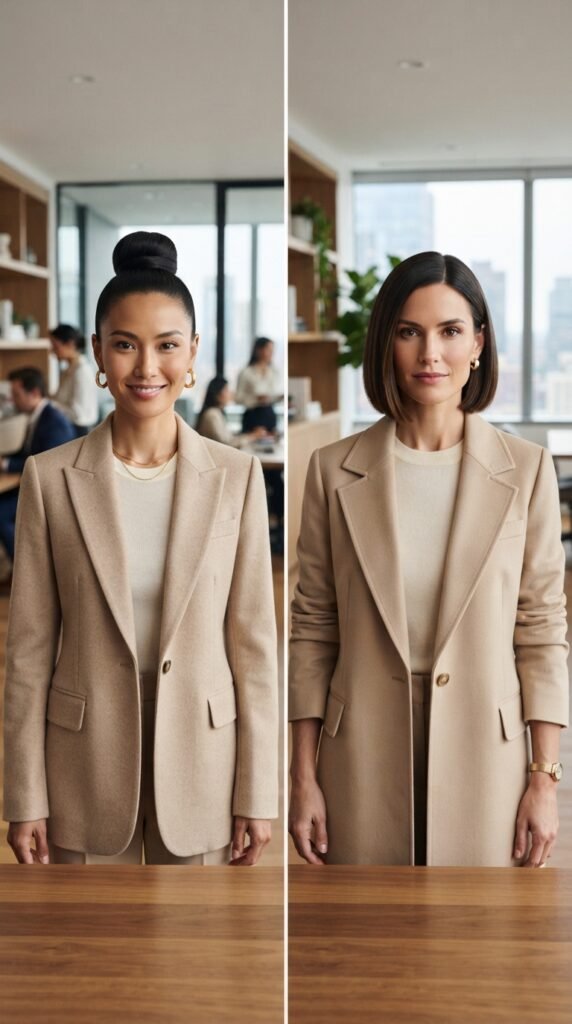
Both are powerhouses in professional settings. The quiet luxury bob has that blunt, chin-length shape that screams understated confidence. But it requires a fresh cut every few weeks.
The sleek bun, on the other hand, works on any length. You can take it from a meeting to dinner without needing a stylist. It also gives you a sharper, more pulled-together visual when you need to present to a large group.
So which one is right for you? If you have time to maintain a flawless bob, go for it. If you want flexibility with your schedule and your style, the bun is the winner. Both belong on the 2026 hairstyles trend lists.
How to Style the Sleek Bun for a Romantic Goth Interview

Who says professional can’t have personality? If you love romantic goth hairstyles, you can still wear the sleek bun to a business setting. This look is all about clean lines with moody accents.
Keep the bun very tight and high. Add a low-slung hair pin with a small dark detail, like a silver charm or matte black flower. Avoid anything that dangles or makes noise.
Pair it with a dark lip or smoky eye. People will remember you for the elegant contrast. You’re still professional, just with an edge.
Adding a Glitchy Glam Detail to a Classic Bun
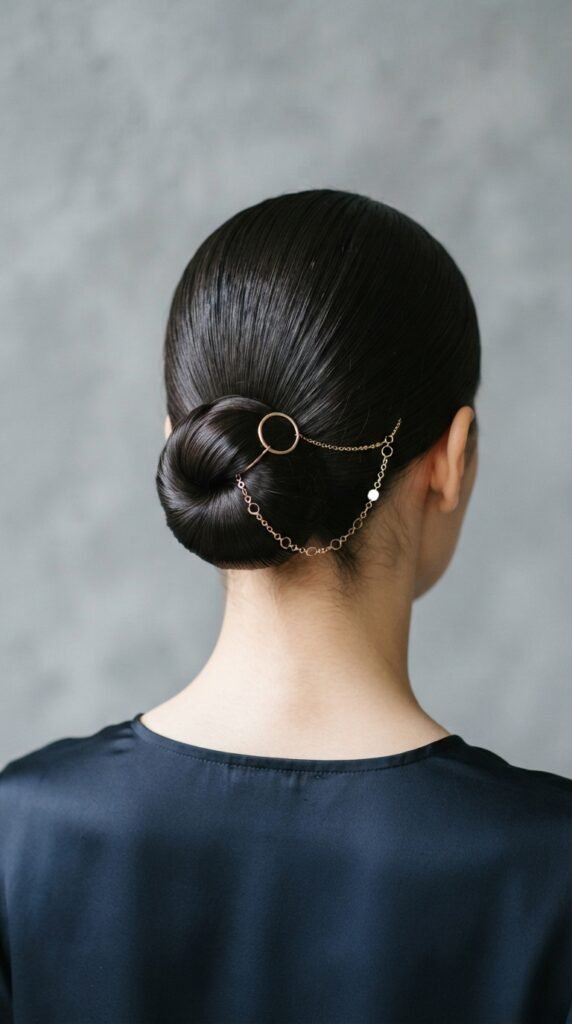
You’ve probably seen glitchy glam hair on runways, those futuristic zigzag parts and neon hair clips. For a meeting, you don’t want that much. But you can borrow one cool accessory.
Try a small gold or silver hair ring that sits around the bun. Or use a slim metallic cuff to break up the smooth shape.
Make it small. The point is to catch a second glance, not to distract the interviewer. If you’re in a creative field, this is an easy way to express style. A single detail on a low bun says modern, focused, and original.
Hime Cut and Vampire Haircut Wearers, Listen Up
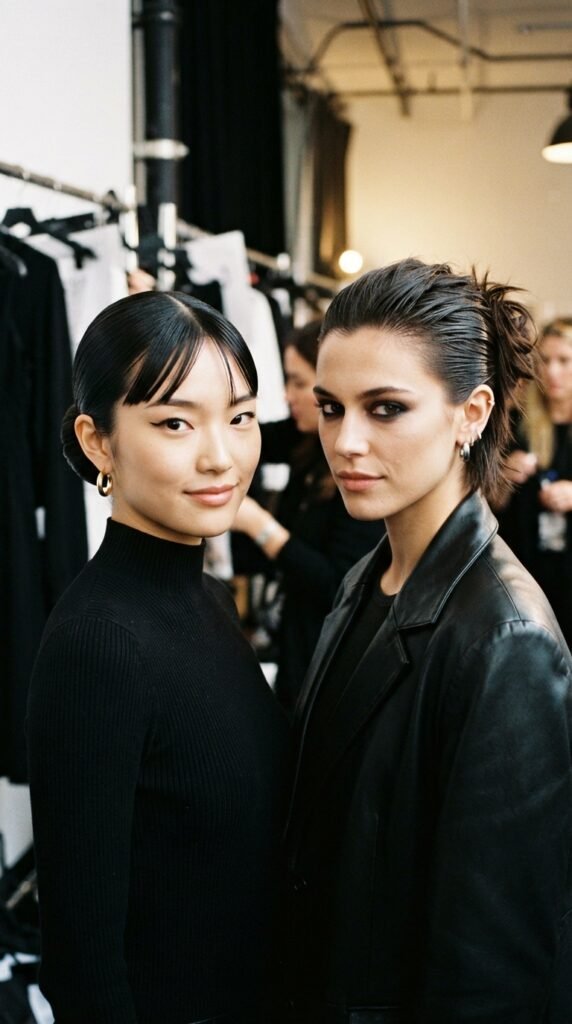
If you have a hime cut or a vampire haircut, those beautiful face-framing pieces can get in the way when you try to do a slick bun. Here’s a fix: don’t hide them, work them in.
For a hime cut, keep the cheek-length pieces out of the bun. Smooth them down to create a neat curtain around your face. This keeps the bun’s structure while honoring your cut.
For a vampire haircut, the layers may be too short to reach the ponytail. Just let them lie flat against your temples. Slick them with gel for a dramatic effect. Your hairstyle will look editorial and intentional.
How to Transition from an Asymmetrical Lob to a Sleek Bun
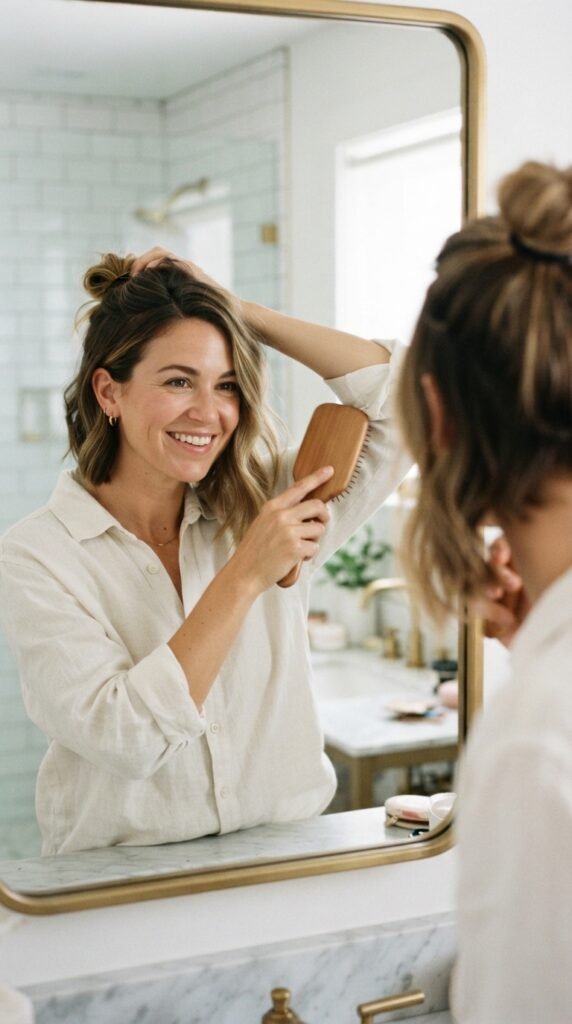
Asymmetrical lobs are all about that sharp tilt in the back. That can make a gathered bun tricky. You’ll need to be patient with the sides.
When pulling your pony, use a hair clip to hold the shorter side out of your face. Then gather the middle as high as you can. Add the shorter layers into the wrap gradually.
If the shortest bits won’t stay, use a few extra pins near your crown. The final result is a softer, delicately layered bun that hides your cut’s uneven edges. It’s a great last-minute survival trick.
Sleek Bun Mistakes That Age You (and How to Fix Them)
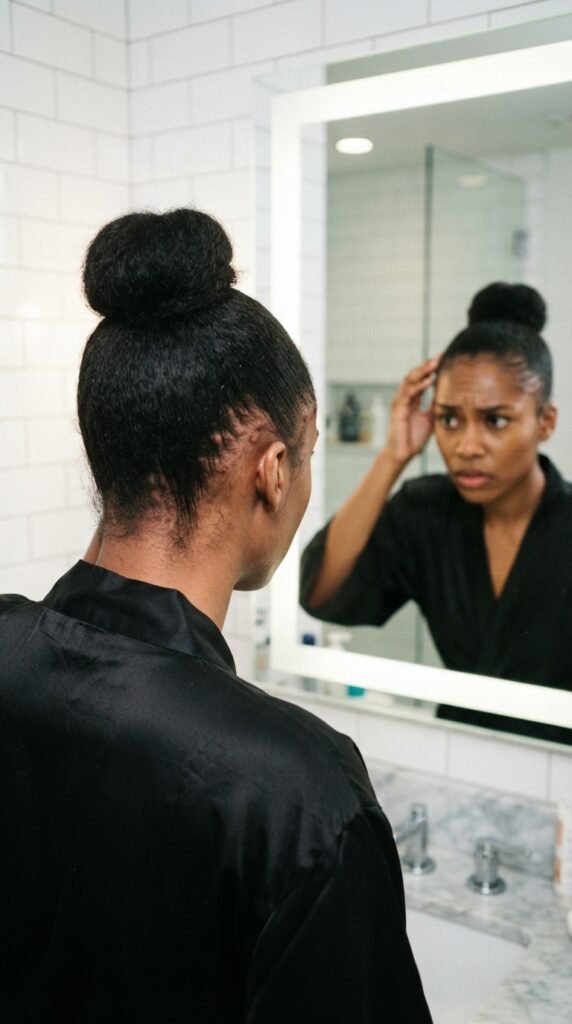
We all know the banana bun of 2010 that creased your forehead. A sleek bun today should be modern, not pulled so tight that it pulls your eyes back. That mistake can make you look severe.
Another common slip is leaving big gaps between the bun and the rest of your head. A loose area at the nape can look messy. Fix it by running a fine comb through it and re-pinning.
Finally, don’t use too much gel. Crispy strands instantly read “trying too hard.” A soft sheen beats a plastic shell.
Your Pre-Interview Hair Checklist and Final Thoughts
Before you leave the house, run through this quick checklist:
- Run your hand over the bun. Is it smooth?
- Shake your head gently. Does it stay?
- Check for any loose hairs at the back of your neck.
- Smile in the mirror. Do you feel like yourself?
If the answer is yes, you’re ready. This sleek bun will carry you from the waiting room to the boardroom. And if you need to refresh for an afternoon meeting, now you know all the steps.
Okay, friend, you’ve officially got the perfect sleek bun in your back pocket. It’s clean, quick, and versatile enough for any job interview or business meeting. You deserve to walk in feeling like the most put-together version of yourself.
If you loved this tutorial, save this post to Pinterest so you can find it again on a busy morning. And if you have a go-to interview hairstyle, tell me all about it in the comments. I would love to hear what works for you.


