How to Style Wet Hair So It Dries Into Waves
We all want soft waves without spending forever on hot tools.
The good news is that you can style wet hair so it dries into beautiful waves on its own. No complicated braids, no curling wand, no burnt fingers. Just a few simple moves and a little patience.
This routine is my favorite lazy-girl trick. You scrunch, twist, and then let your hair do the rest. You get movement, volume, and much less heat damage. In the next few minutes, you will learn the exact wet-styling methods I use every week.
It works on practically every cut, from a romantic lob to something shorter. Whether you want soft old-money waves or the quiet luxury bob look, this simple method adapts to your style.
Why Styling Wet Hair Works So Well

Wet hair is like clay. It has not set into its dry shape yet, so it will happily follow your lead. A small scrunch or twist now turns into a soft bend later.
This is a total win if you want 2026 hairstyles with that easy, lived-in feel. You get movement and texture without heat damage or long styling sessions.
What makes it even better?
- Waves look more natural than curls.
- It is perfect for short and medium cuts.
- You spend about ten minutes total.
What You Need Before You Start
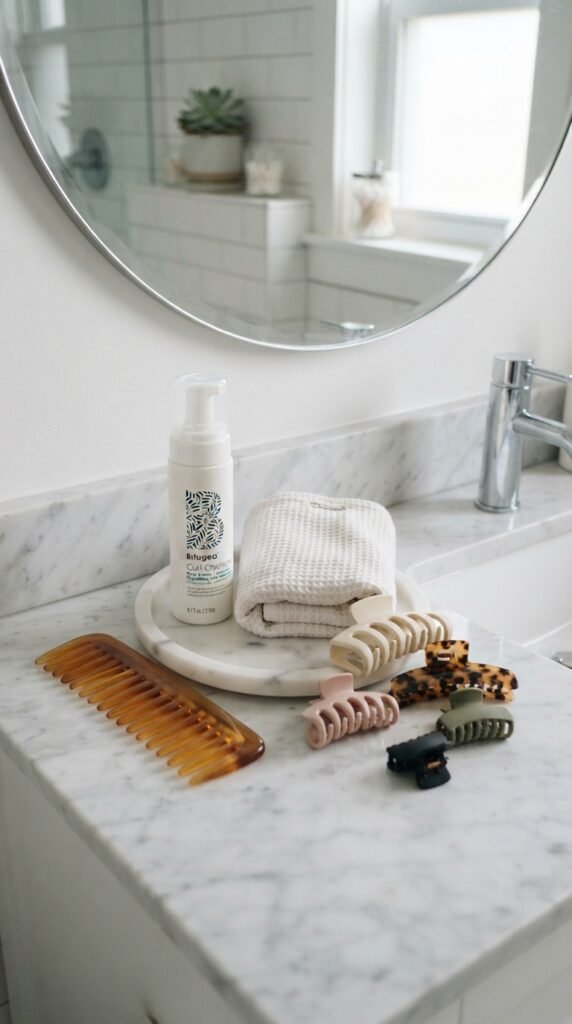
You don’t need a huge collection. Honestly, the shorter the list, the easier the habit.
- A microfiber towel or soft cotton t-shirt
- A wide-tooth comb
- Light mousse or curl cream
- Two or three claw clips
- Sea salt spray for extra grip
Keep these in your bathroom, and the routine feels automatic. I like to prep before I hop in the shower. Once hair is damp, I can move fast while the water is still doing its thing.
Grab a silk scrunchie as well if you want to sleep in your waves. It is softer on wet strands and leaves fewer dents.
Pat Dry, Never Rub

Rough towel drying is the fastest way to turn wet hair into a frizzy mess. It roughs up the outer layer before you even start styling.
Instead, try this:
- Lean your head forward.
- Place the towel over your hair and press gently.
- Squeeze from the ends up toward your roots.
- Let hair stay damp, not dripping.
You want about seventy percent of the water gone. Keep hair wet enough to style, but not so wet that product slides right off. Patting keeps the cuticle smooth, so waves dry soft and shiny.
Apply Products While Hair Is Wet
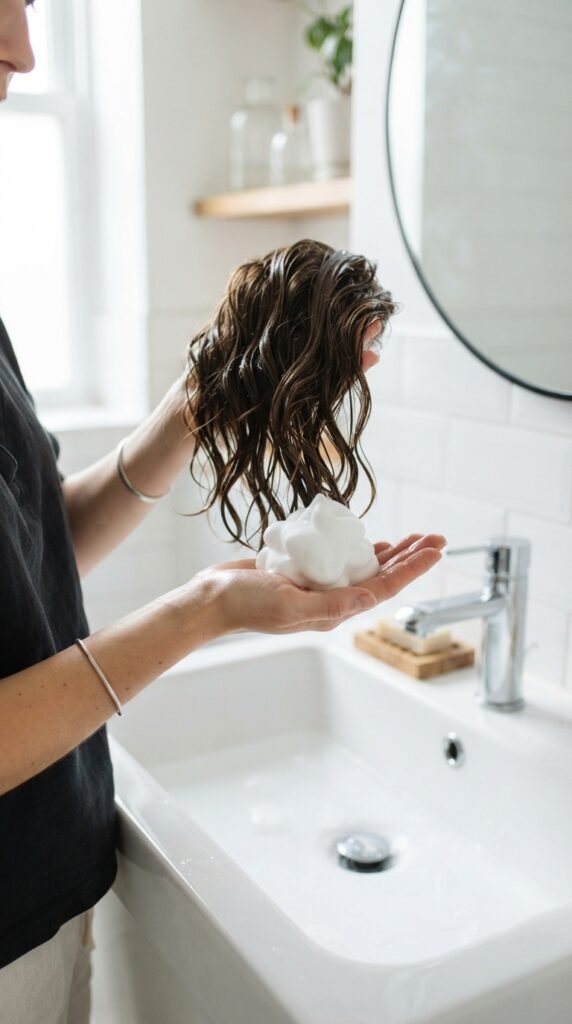
Products work best when your hair is still damp. If you wait until hair is almost dry, it is too late. The product will just sit on top and make things stiff.
Here is my go-to order:
- Comb through wet hair first to remove knots.
- Scrape mousse or cream through the middle and ends.
- Avoid the roots unless you need lift.
- Add a tiny bit of sea salt spray for texture.
Start with a quarter-size amount and add more only if you need it. You can always add, but you cannot easily remove a heavy, crunchy layer once it dries.
Scrunch for Soft, Loose Waves
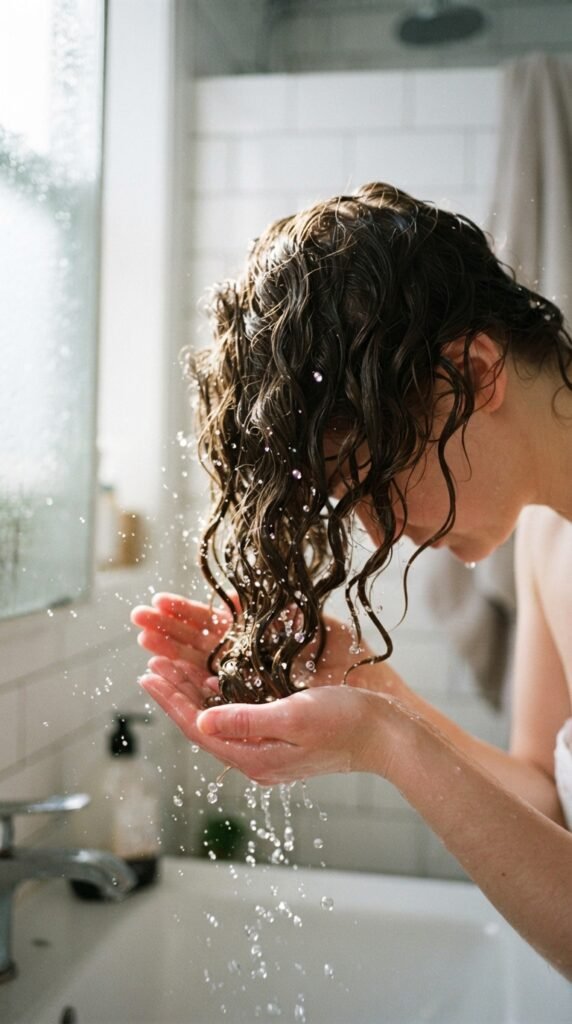
Now the fun part. Cup your hands around the ends of your hair and push upward toward your scalp. Hold for a second, then release. That single move creates the foundation for every wave.
Repeat this ten or twelve times on each side. Keep movements slow so the hair can fold into the pattern instead of fighting it.
A few tips:
- Use your palms, not your fingers, to keep the wave together.
- Tilt your head slightly to the side.
- Add a little more product if your hair loses grip.
Scrunching is honestly the heart of this routine. Do it well, and the rest is just waiting for your hair to dry.
Twist Small Sections for Shape
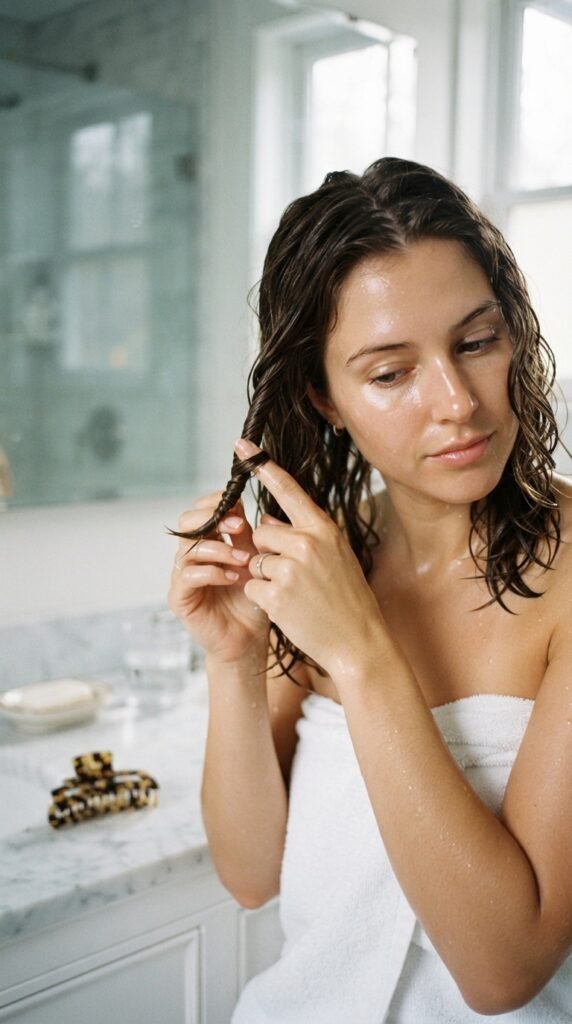
If scrunching is the heart, twisting is the brain. This step gives waves direction and keeps them from falling flat.
How I do it:
- Split damp hair into four to six parts.
- Take one small section about an inch wide.
- Twist it loosely around your finger.
- Clip the twist flat to your head and repeat.
Leave them in for fifteen to thirty minutes. When you release, the wave will have a defined shape and bounce. The looser you twist, the softer and more relaxed the wave looks.
Let Hair Air Dry After Twisting

Once the work is done, your only job is to wait. Air drying saves energy and keeps your hair healthy, but it does take some patience. Plan this routine for a day when you are home or running light errands.
To pass the time:
- Leave twists pinned for at least twenty minutes.
- Remove clips when hair feels seventy percent dry.
- Let everything down and fluff roots with your fingers.
If you are short on time, let your hair finish drying overnight. Loosely wrap it in a silk scarf, sleep on a satin pillowcase, and take the twists out in the morning. Easy and pretty.
Sleep on Wet Hair Without Frizz

Sleeping on wet hair is a gamble. You can wake up with gorgeous waves or a fluffy disaster. To stack the odds your way, use the pineapple method.
Tilt your head forward and gather all hair at the very top of your head. Secure it loosely with a soft scrunchie, not a tight elastic. If you have bangs, let them hang free and clip them with a small claw.
Sleep with your twists still in. It keeps each strand in place, so friction doesn’t ruin the pattern.
Also, swap your cotton pillowcase for silk. Cotton pulls moisture out and adds friction. Silk lets your hair glide while it dries, leaving waves smooth and shiny.
The Plop Method for Volume

If your waves fall flat at the root, plopping is a game changer. It encourages your hair to dry with volume lifted away from your scalp.
Here is how:
- Lay a cotton t-shirt flat on the bed.
- Lower your damp hair onto the center of the shirt.
- Wrap the bottom edge up and the sides across.
- Tie the sleeves loosely at the back of your head.
Leave the wrap on for ten to twenty minutes. The fabric lifts your roots while allowing the ends to keep their wave shape. This method is extra great for the quiet luxury bob because it adds movement without heavy styling products.
Quick Diffuse Trick for Busy Mornings
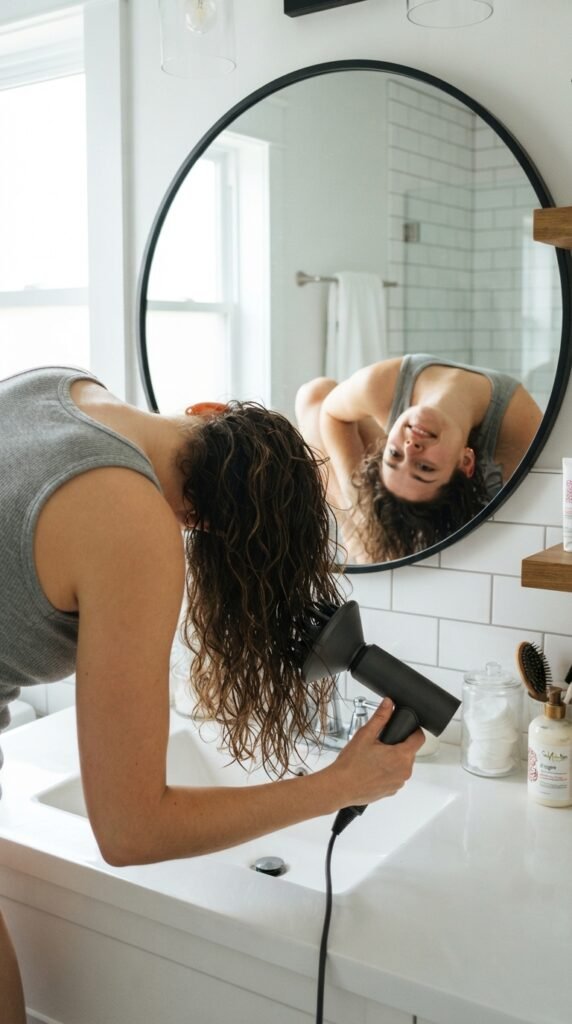
Some days, waiting for air dry is not an option. That is fine. You can use a diffuser on low heat to speed things along without wrecking your pattern.
Steps:
- Set your dryer to the lowest heat and airflow.
- Flip your head upside down.
- Gently rest sections of hair into the diffuser bowl.
- Let it pulse, then lift away. Do not rub.
Keep the heat low and keep moving. This keeps the cuticle calm and the wave intact. Finish with the roots for extra height. In under fifteen minutes, you will have the kind of soft, bouncy movement that fits right in with 2026 hairstyles.
Old Money Hair With Wet Waves

The old money hair trend is all about quiet polish. Think weekend brunch, tailored clothes, and hair that looks expensive without trying too hard. Wet waves fit that mood perfectly because they look elegant and undone at the same time.
To get the look:
- Keep twists bigger and looser.
- Avoid heavy product so hair can move.
- Let waves dry into a subtle S bend.
The result is less beach, more boardroom. A center part makes this shine, especially when strands stay glossy. This works on both long hair and a shoulder-skimming cut.
Styling the Quiet Luxury Bob

Short hair can still get amazing waves from wet styling, and the quiet luxury bob is proof. The trick is not to overdo the movement. A bob wants smoothness with a hint of curve.
Here is what I tell my friends:
- Scrunch lightly, only on the lower half.
- Use a small amount of mousse, about a dime size.
- Twist the front pieces away from your face.
- Let the ends dry curving softly under.
Air drying a bob often gives it a softer finish than heat does. You get that relaxed, luxurious feel without the stiff salon look. And because the cut is so clean, the wave simply adds personality without making things messy.
Waves for the Asymmetrical Lob

An asymmetrical lob is one of the boldest cuts around, and wet waves bring out its texture. The off-center shape lets you create soft movement without hiding that sharp line.
Try these steps:
- Twist the longer side into bigger waves.
- Keep the shorter side sleeker.
- Add just a touch of cream to the ends.
- Use your fingers to break everything apart.
This is one of the easiest 2026 hairstyles for a busy routine because the cut already does most of the work. I love how it looks from the side, where the wavy longer side and sharp shorter side contrast beautifully.
Romantic Goth Hairstyles and Wet Waves

Do not assume romantic goth hairstyles are all tight braids and heavy styling. Loose wet waves look stunning on dark, dramatic hair. They give the whole look a soft, mysterious feel.
The secret is in your product. Choose a gel or mousse with light hold, then smooth it over damp hair. Pull your hair back slightly and secure a few twisted pieces near the nape.
Let the rest dry naturally so strands fall forward. Add a deep side part for extra mood. The wave softens the sharpness of the aesthetic while staying totally romantic. It is like old poetry meeting modern energy.
Glitchy Glam Hair With Wet Texture

If you love bold looks, glitchy glam hair can be created by styling wet hair into high-shine waves. This trend plays with gloss, texture, and a slightly digital feel.
To try it:
- Use a shine serum with a little gel.
- Comb through wet hair to make strands smooth.
- Scrunch large sections, then pin them.
- Let dry and break the waves gently.
The goal is a glossy, still-wet-looking shine that feels futuristic and clean. These waves hold really well because the product seals the shape. Pair them with minimal makeup, and your hair becomes the whole outfit.
The Vampire Haircut Hack

The vampire haircut is famous for sharp layers, long face-framing pieces, and lots of drama. You might think waves would hide those lines. But if you use wet styling gently, waves actually make the layers stand out.
Keep touches tiny:
- Wet each piece with a little product.
- Twist only the bottom third of each section.
- Let face-framing lengths stay straighter.
- Leave ends to dry into soft hooks or curls.
This gives the cut a modern, gothic sense of volume without cartoon curls. It is a beautiful way to make dark layers feel alive and dimensional. Slightly poetic, slightly dramatic, totally your era.
How To Wave a Hime Cut

The hime cut is trendy again, usually with blunt cheek pieces and straight sides. Wet waves might feel risky, but the trick is to keep the straight pieces straight.
Style guide:
- Apply mousse to the back section only.
- Pull the long front strands smooth and sleek.
- Wave the back by gently scrunching from the chin down.
- Keep the front edges flat and polished.
The contrast is what makes this look so cool. Straight front lines with a softly bent back feel fresh and editorial. It is a subtle way to update the hime cut, especially with 2026’s love of hair that plays with opposing textures.
Products To Use and Skip
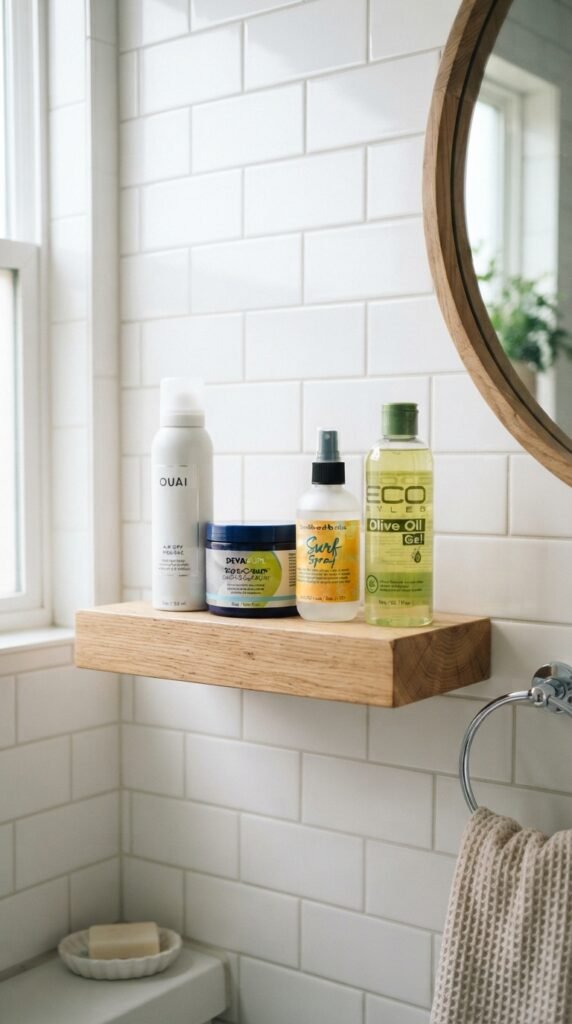
You do not need many products, but the ones you choose matter a lot.
Use:
- Mousse for light, touchable body.
- Curl cream for softer definition.
- Sea salt spray for grit and texture.
- Light gel when you want it to hold firm.
Avoid:
- Heavy oils before styling. They weigh waves down.
- Hairspray before drying. It makes strands crunchy.
- Thick butters that coat hair too much.
When in doubt, choose one product and keep it simple. Layering too much leads to sticky, flat, or stiff results. Start small and add as needed.
Mistakes That Ruin Wet Waves

Some small habits can take your waves from bouncy to blah. Skip these common missteps:
- Roughly brushing wet hair. It pulls waves apart before they form.
- Rubbing hair with a towel. It leaves strands frizzy.
- Touching hair while it dries. Your hands steal the shape.
- Using too much product. It builds up and flattens everything.
Instead, comb with your fingers, pat hair dry, apply light product, and then leave it alone. Styling wet hair is the easiest thing you will do all week if you trust the process and step away.
Refreshing Waves on Day Two
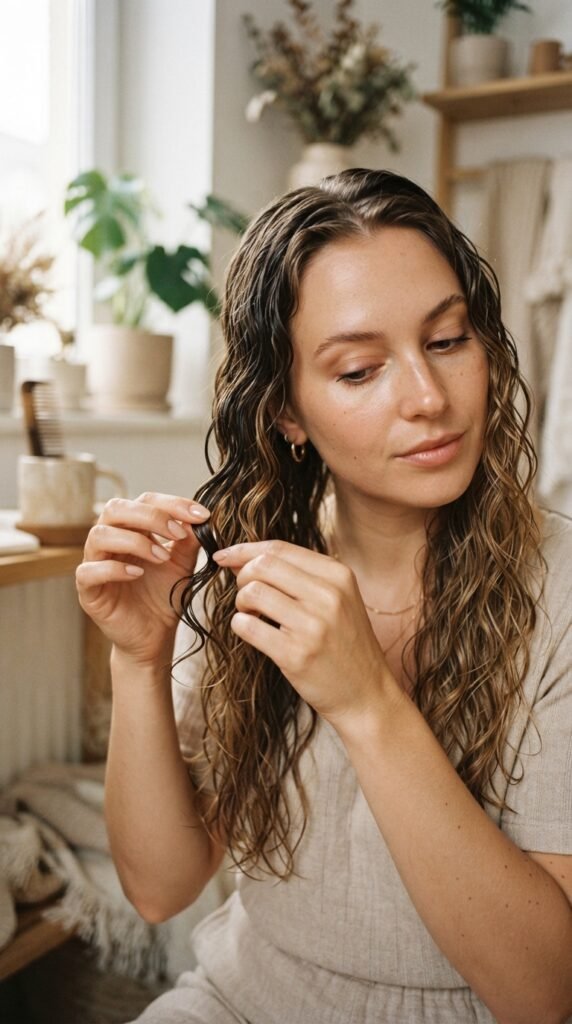
Your dried waves deserve a second life. In the morning, wake up your hair with just a little water and product.
How:
- Fill a spray bottle with lukewarm water.
- Mist your hair lightly until damp.
- Add a pea-size amount of cream.
- Scrunch the waves back into place.
- Let them air dry while you get ready.
Do not soak your hair. A light mist is enough to reactivate the original pattern. If a few sections fell flat, twist those pieces around your finger and clip them for five minutes.
Waves for 2026 Hairstyles
By now, you know wet styling works. Think of it as a base for any 2026 hairstyles you admire. Waves are not a single look. They are a texture that can feel clean or messy, rich or edgy.
For quiet perfection, make waves loose and smooth. For romantic goth vibes, create darker, moodier bends. The more you practice, the more you can flip between trends without changing your whole routine.
The best part? You never have to choose between strong hair and a good hair day. The water is free. The waves are yours.
Learning to style wet hair for waves feels like a secret weapon. It requires almost no heat, very little product, and much less effort than you think. Within a week, it will just become part of your normal routine.
Remember, every head of hair behaves differently. If your first try comes out too loose or too defined, tweak the twists, the product, and the dry time. You will find your perfect wave soon enough.
Save this post to Pinterest
I would love to hear how your waves turn out. Drop a comment below and tell me which look you tried first: old money waves, the quiet luxury bob, or something a little goth.


