Quick Braided Pony Style for Errands and School Pickup Runs
Picture this. It is 2:45 PM on a Tuesday. School pickup is in one hour, the kitchen looks like a tornado hit it, and your hair has been in a messy bun since breakfast. I have been there more times than I would like to admit.
The quick braided pony is my honest answer for afternoons like these. It takes about five minutes, requires zero heat tools, and looks intentionally put together even when I am rushing around. There are no dutch braid skills needed, no perfect part, and no twenty minute mirror session. Just a pretty pony with a braided detail that catches the light.
When I want that effortless old money hair energy without trying too hard, this is where I go. Let me show you exactly how I do mine.
Why This Braided Pony Just Works

The braided pony is showing up all over 2026 hairstyles lists, and for good reason. It reads polished from the front and looks interesting from the back. That matters when you are navigating school hallways and grocery aisles.
It also works for most hair lengths. If your hair reaches your collarbone or longer, you are in. This style keeps hair off your neck during car line chaos, survives playground pickups, and does not need constant mirror checks. I have worn it to school picture day and last minute coffee dates, and it always delivers.
Once it is in, it stays in. For days with no time but a need to feel human, this is the answer.
What You Need (Spoiler: Not Much)

Keep it simple. You do not need fancy tools or a styling kit. Here is my exact lineup:
- One strong elastic hair tie that blends with your hair
- Two bobby pins for securing the wrap
- A paddle brush or wide tooth comb
- Optional: dry shampoo or texture spray
That is it. I keep a spare tie on my wrist and one in my car center console. When the pickup line moves faster than expected, I have even done this style in the driver seat using only the rearview mirror. It feels almost too easy, but that is exactly the point.
Step One: Brush and Rough It Up
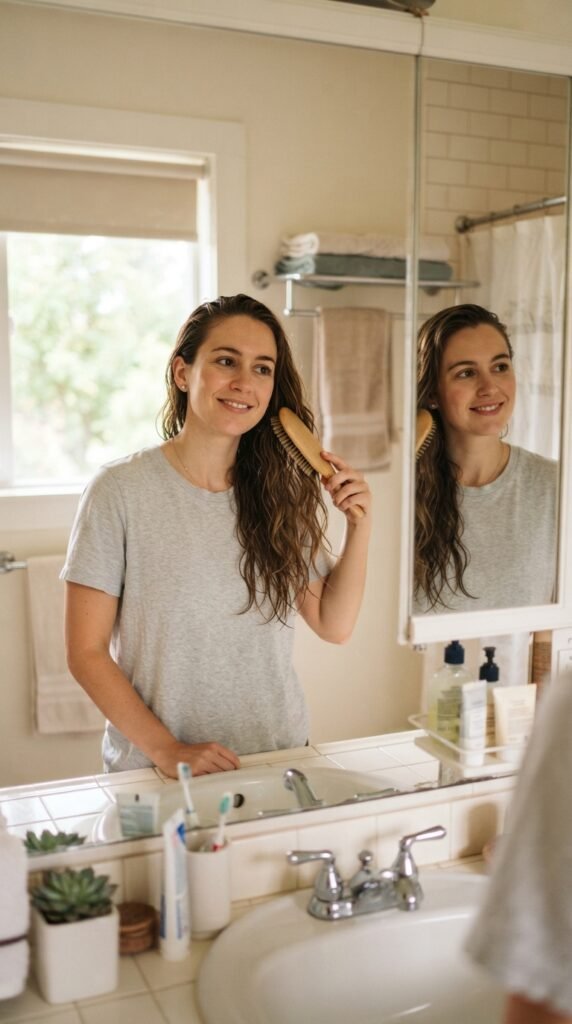
Start by brushing your hair really well so there are no tangles hiding underneath. Then use your fingers to rough up the roots a little. That grip keeps the pony from sliding down before dinner.
If your hair is freshly washed and feels too slippery, dust a little dry shampoo or texture powder at your crown. This one step makes everything else easier, I promise.
Then flip your head upside down and shake it once or twice. It adds instant volume at the back, where ponytails usually fall flat.
Step Two: Pull That Pony High or Low

Decide where you want the pony to sit. For errand days, I usually choose mid-height because it is easier on my scalp and feels more relaxed than a high pony. On days when I want extra polish, a high pony works beautifully.
Gather your hair with your fingers, not a brush. Finger combing keeps the style soft and natural. Hold the base with one hand and smooth the top gently with the other. Look straight ahead when you secure the elastic, so the pony stays centered instead of lopsided.
Leave a little slack near the roots so the tie is not pulling your hairline all day. Small detail, big difference in comfort.
Step Three: Split Into Two Sections
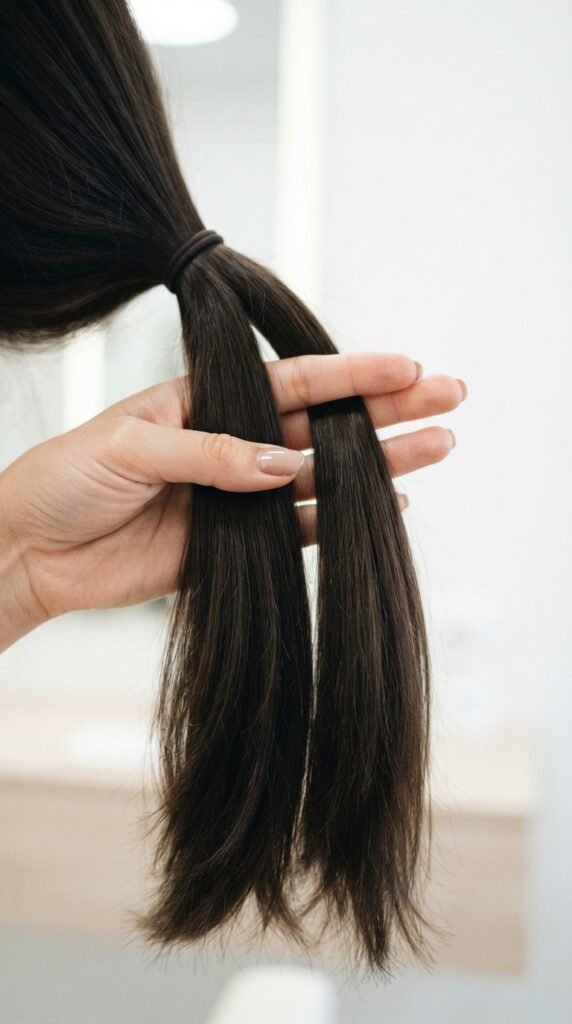
This is where the magic happens. Take your ponytail and split it into two even sections, one on top of the other. You will braid each section separately.
Why two braids instead of one thick braid? Two small braids look more intentional and tangle less. They also create that pretty wrapped detail at the base, which is what makes this style stand out.
If your hair is on the finer side, two sections make it look fuller. If your hair is thick, this keeps the pony feeling lighter and much easier to manage. Either way, the extra ten seconds are worth it.
Step Four: Braid, Wrap, and Pin
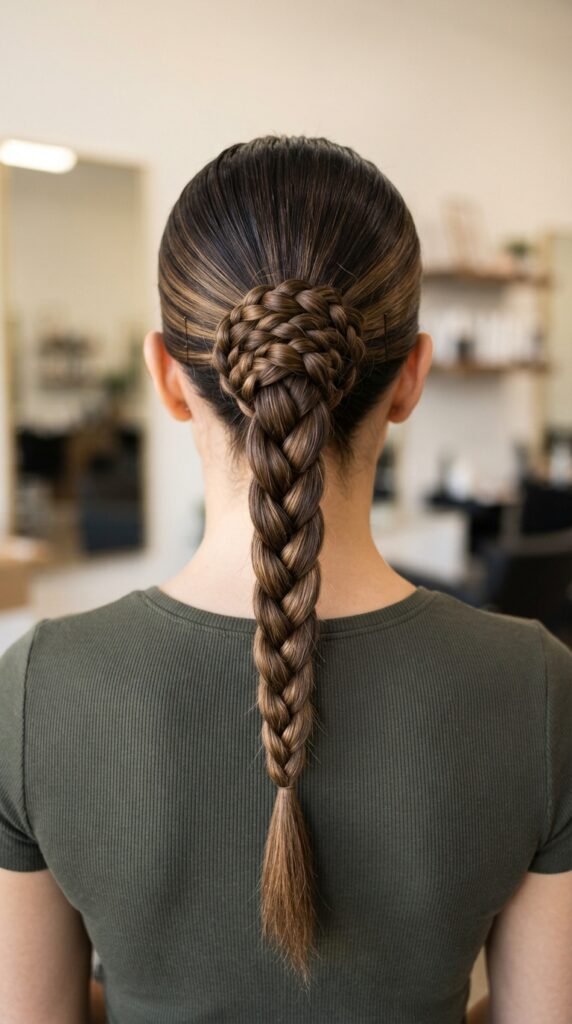
Braid each section like a classic three strand braid and secure the ends with small clear elastics. Then gently tug the sides of each braid to loosen them. That little puff makes the final look softer and more relaxed.
Take one braid and wrap it around the base of your ponytail, covering the hair tie. Tuck the end underneath and pin it. Repeat with the second braid in the opposite direction.
The ends will hide perfectly under the wrapped braids. If one will not stay, add an extra pin. This is the step that makes people ask if you went to a salon.
How Long Does This Actually Take?

Let me be honest. My first attempt took almost twelve minutes because I was overthinking every step. Now I can finish in under five once my hair is brushed. The learning curve is smaller than you think.
After two or three tries, your hands remember the rhythm. I have done this while waiting in the carpool line and while chatting on the phone with my mom. It is as multitasking friendly as hairstyles get.
Set a timer once you try it. I bet you land right around six minutes by your third attempt.
The Best Hair Ties for This Style
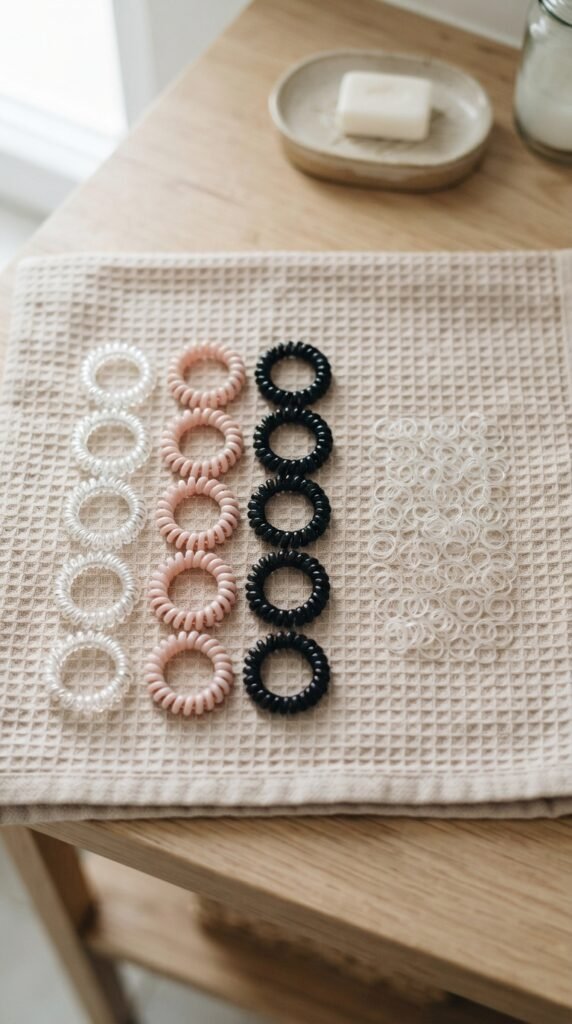
Cheap elastic bands leave dents, pull your hair, and tend to snap at the worst moment, usually at the checkout counter. For this style, I use a spiral tie at the base and small clear elastics on the braid ends.
Keep a few supplies handy:
- Spiral ties to hold the base
- Clear elastics for the braids
- Bobby pins that match your hair color
When you wrap the braids around the base, the hair tie disappears completely. But starting with a good one protects your hair and keeps the pony comfy until bedtime. That means no throbbing scalp by 4 PM, and that alone is worth it.
My Favorite Dry Shampoo Trick
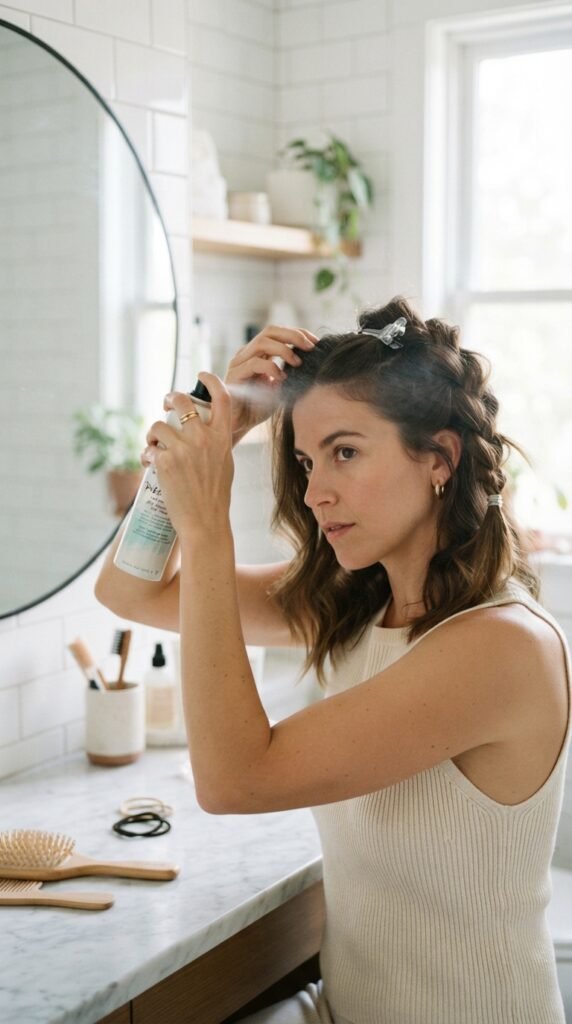
Here is a trick that changed my routine. Spray dry shampoo on your roots before you start, not after. It gives the hair texture, which helps the braid grip and stay in place all afternoon.
I apply one quick spray at the crown and one at the nape. Then I wait two minutes while I gather my keys, shoes, and whatever snack my kid suddenly needs. It also keeps my scalp from feeling sweaty during those hot car line waits.
Choose one that matches your hair color so you do not end up with a white cast at your part. Dry shampoo is not just for grease; it is a styling tool in disguise.
Taming Flyaways Without Product

Some days I forget my styling bag at home. It happens. The fix is simple: take a clean toothbrush, spray it lightly with hairspray, and smooth the flyaways around your hairline. This old trick works every single time.
For the baby hairs at your ears, tuck them behind or twist them gently into the ponytail. A few loose strands soften the look, and honestly, that is part of the charm. A little imperfection keeps it from feeling stiff.
You are running errands, not walking a red carpet. This is real life styling, so we embrace the small stuff.
Why It Gives Old Money Hair Energy

There is something quietly elegant about a hairstyle that looks expensive without trying hard. That is exactly the old money hair energy everyone is talking about, and this braided pony delivers it.
The secret is softness. Loosen the braids, keep your part slightly natural, and do not make every piece perfect. A little movement reads as effortless, and effortless reads as expensive.
Pair it with simple gold earrings and a clean jacket. Suddenly you look like you have your life together, even while you are eating a granola bar in the car. That is the whole point of this style.
Is This Trendy for 2026 Hairstyles?
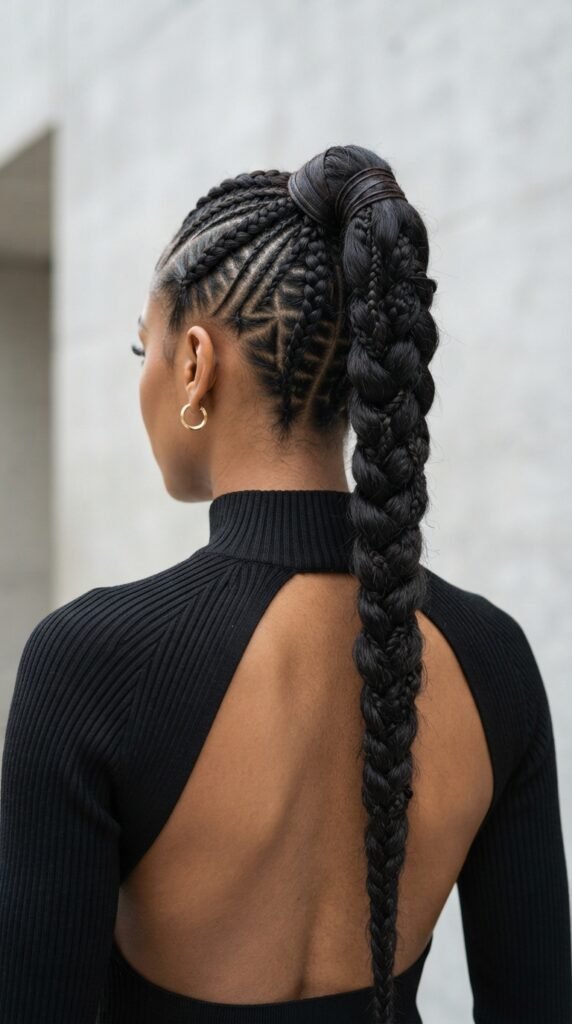
2026 hairstyles are full of braided details, textured ponytails, and effortless finishes. This quick braided pony fits right in with that lineup. It is basically the everyday version of the runway styles we see online.
The best part? It does not require a salon visit. You can create this look with the hair you already have, in your own bathroom, between lunch and pickup duty. I love when a trend is actually wearable for real life.
Trends will keep changing. A five minute braided pony that flatters everyone? That one is staying in my rotation.
If You Have a Quiet Luxury Bob

If you have a bob, do not scroll past. You can absolutely make this style work. Gather your hair into a low pony at the nape, then braid the few inches you have and wrap that mini braid around the elastic. It creates such a pretty, quiet luxury bob moment.
If your bob hits your collarbone, use the full tutorial above with no changes. Just keep the pony slightly low so every hair reaches. A little detail goes a long way when your hair is shorter.
This has become my favorite answer for the in-between phase. You will be surprised by how polished it looks.
Making It Work with an Asymmetrical Lob

An asymmetrical lob is such a sharp, modern haircut. It also happens to work with this braided pony. Because one side is longer than the other, some shorter strands may refuse to join the ponytail. That is completely fine.
Let those pieces frame your face on purpose. It ends up looking like a styled, choppy detail instead of a mistake. If it annoys you, pin the shorter bits back near the nape and move on.
A low pony is your best friend with this cut. You get the ease of a pony plus the edge of your lob. Honestly, it is the best of both worlds.
Romantic Goth Hairstyles Love This Too

I love that a simple braided pony can adapt to any style. If you are into romantic goth hairstyles, just change the details. Braid a little tighter, leave out wispy pieces, and tie a black velvet ribbon around the base.
The structure of the pony balances the moody vibe beautifully. It feels delicate and strong at the same time, which is such a romantic goth mood.
A friend of mine adds a small silver charm near the ribbon. She gets compliments everywhere she goes. See? One base style, a hundred personalities.
What about a Vampire Haircut or Hime Cut?
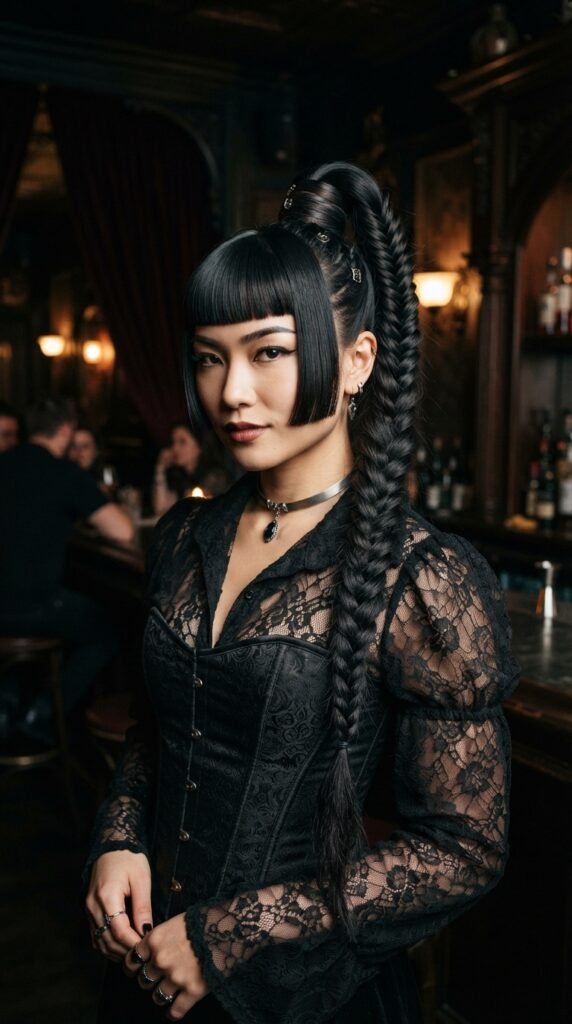
If you have a vampire haircut with all those lovely shaggy layers, this style still works. The shorter face-framing pieces naturally slip out around your cheeks. It makes the pony feel soft, lived-in, and very cool.
For a hime cut, the blunt fringe stays in the front while the longer back pieces join your pony. You get that clean, straight across bang moment plus the wrapped braid behind. It is a fun mix of classic and modern.
Do not let an interesting haircut stop you. There is always a version for you. Worst case, you pin the stubborn pieces and still walk out looking great.
Glitchy Glam Hair: A Fun Twist

This one is for the days you want something with more edge. You know glitchy glam hair, the trend with bold parts, graphic lines, and digital inspired style. You can bring that energy to a braided pony.
Instead of a natural center part, make a sharp zig-zag part before you gather your hair. The striking line stays visible near the crown and makes the whole look feel fashion-forward.
I wore this to an evening school event once and got asked if I had a stylist. I did not. It was me, a rattail comb, and three minutes.
How to Keep It Looking Fresh All Day
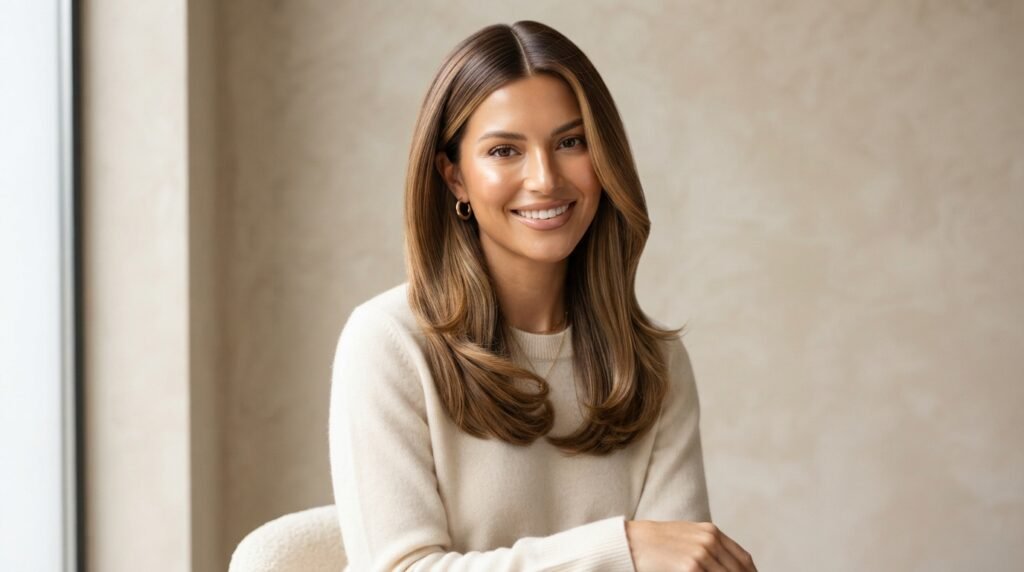
This style has serious staying power. Here is my super simple touch-up schedule:
- At noon, fluff the base of the pony slightly
- After pickup, loosen the braids one more time
- Before dinner, nothing. Seriously.
The braided wrap is the secret. It holds the elastic in place, so the pony does not sag or slide. I have worn this from a morning dentist appointment to a late school meeting without ever redoing it. Even on humid days, the braids keep everything contained. Try it once and you will understand.
The School Pickup Run Survival Guide
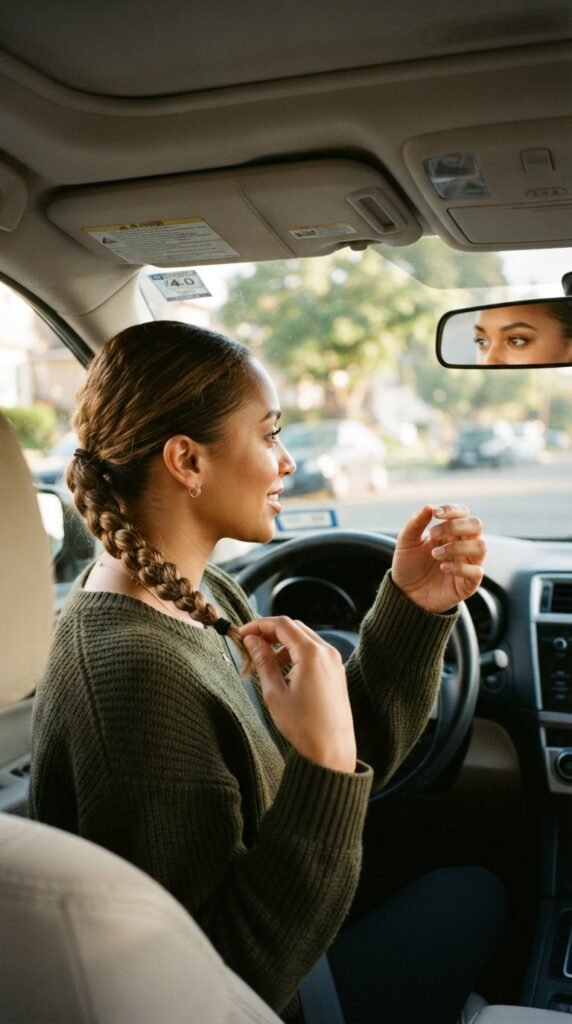
School pickup is a sport. You park in a chaotic line, dash to the gate, and make small talk while scanning for your kid. Your hair needs to survive all of it.
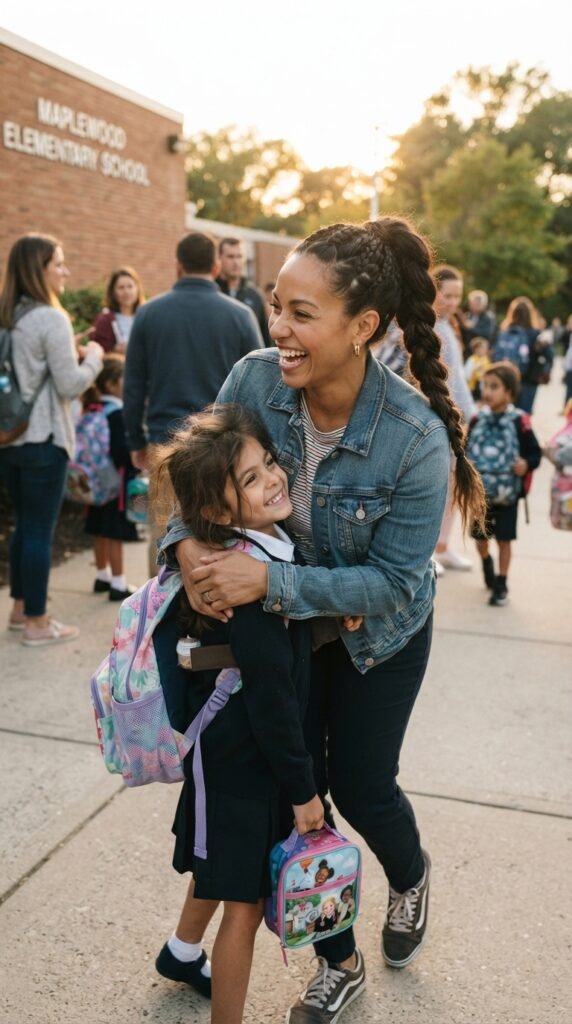
This braided pony has survived rain sprinkles, double-parked sprints, and a kindergartner who hugged me upside down. The braid stayed. The pony stayed.
My sanity was questionable, but my hair looked great. Wear a denim jacket and sneakers with this style, and you have the official uniform of getting things done. It honestly feels like a cheat code for busy parents.
The One-Minute Touch-Up Routine
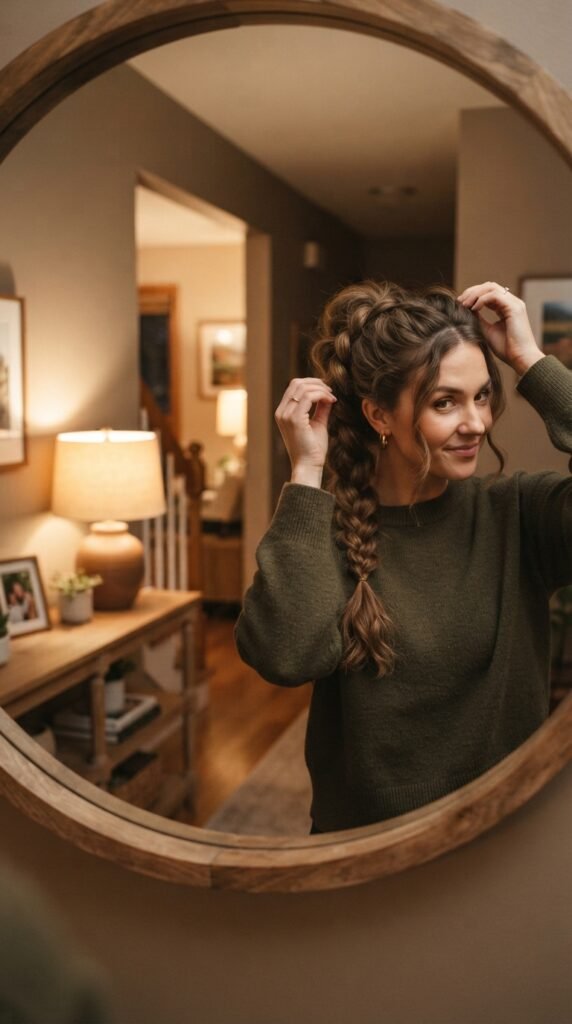
Okay, the day got long. The pony is still fine, but it looks a little tired. Here is my one-minute fix:
- Shake your head gently to loosen the roots
- Pull the braid sides to fluff them up
- Smooth flyaways with a little water or hand cream
- Pin any stray pieces back under
Do not start over. A small refresh is enough to make it look brand new. I have gotten compliments at hour six, which I cannot say for most of my hairstyles. That is the beauty of a style this forgiving.
Variations to Try This Week
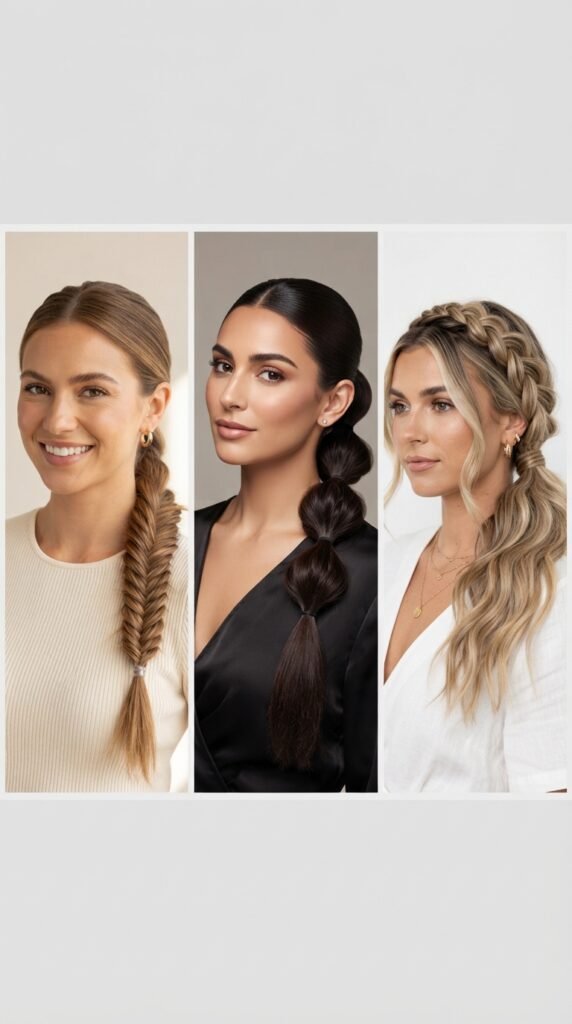
Once you learn the base style, play a little. Here are some fun variations:
- Braid only one section for a sleeker look
- Tie a small ribbon bow around the base
- Use a gold claw clip to hold the braid ends
- Pull out two face-framing strands and curl them
Every version takes under seven minutes and uses the same steps. That is the kind of low-pressure creativity I love. Let your mood decide the details.
And if you find a new variation that works, tell me about it. I am always collecting ideas, and I seriously love swapping hair tricks.
What If It Goes Wrong? (Real Talk)
Some days the braid looks lopsided. The wrap will not stay. Your toddler is pulling on your leg while you work. It happens to all of us.
If one side looks fuller, take that braid out and redo it. If the wrap keeps sliding, add one more bobby pin and call it a win. Done is better than perfect, especially on a school day.
And if you truly hate it, put your hair in a plain pony and try again tomorrow. No harm done. Hair gives us endless second chances, which is one of the best things about it.
Final Thoughts from My Kitchen Table
This quick braided pony is the style I turn to on busy days when I still want to feel like myself. It does not demand perfect technique or expensive products. It just asks for about five minutes and a little trust.
I hope you give it a shot on your next errand day. I think you are going to love how easy it feels.
Save this post to Pinterest so you have it ready for your next busy morning. And tell me in the comments: what is your usual go-to hairstyle for school pickup runs? I would love to hear it.


