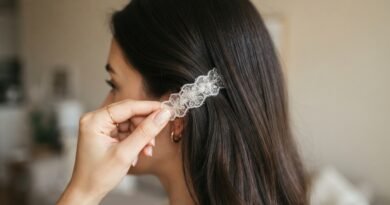
Hairstyles For Thin Hair That Create Volume Around The Crown
If your hair falls flat the second you walk out the door, you are in good company. Fine hair is beautiful — it just needs a little more strategy around the crown. That’s the spot where volume shows up first and disappears fastest.
I’ve spent years testing cuts, products, and five-minute tricks on my own baby-fine hair. Some flopped hard. A few genuinely changed how I get ready in the morning.
So today I’m sharing my crown-volume playbook: the 2026 hairstyles that lift at the root, the cuts that fake thickness, and the quick styling moves you can do before your coffee gets cold.
No big salon budget required. Just simple shifts that make your hair look fuller by lunch.
Why Thin Hair Loses Volume at the Crown

Here’s the truth: your crown isn’t broken. It’s just the most exposed, most gravity-tested part of your head. Fine hair has less internal structure to fight back, so it collapses first.
Add a few everyday habits and the flatness makes total sense:
- Conditioner applied too close to the scalp
- Heavy oils and leave-ins weighing roots down
- One-length cuts with zero layers
- Sleeping on damp hair
Fix one or two of these and you’ll notice a difference this week.
The Right Haircut Shape Changes Everything
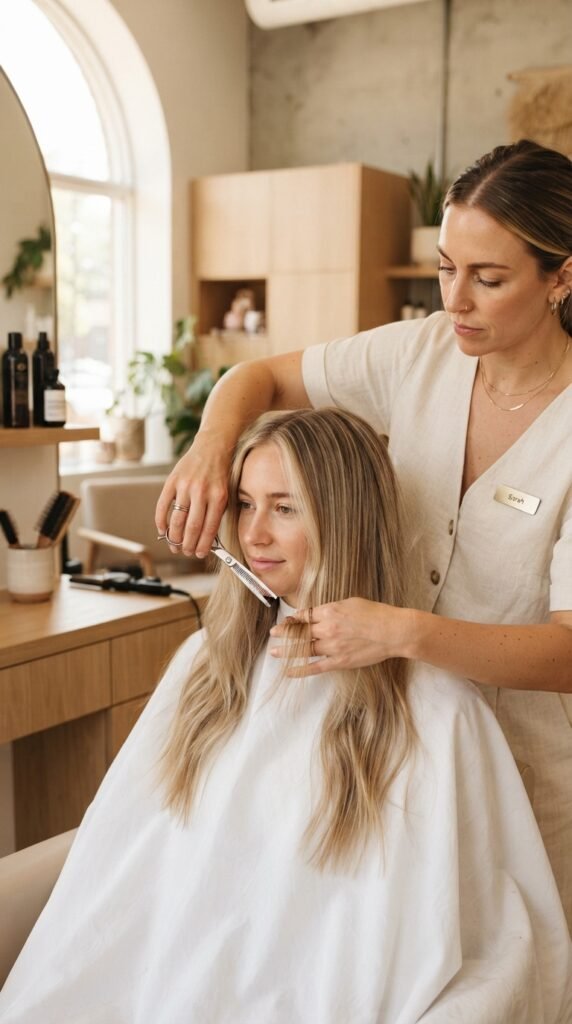
Before you buy a single product, look at your cut. Shape does 80 percent of the work for thin hair, and products just support it.
The goal is to remove weight where hair hangs and add movement where you want lift. Layers around the crown are your best friend. Blunt, heavy lines near the top are not.
Ask your stylist for:
- Soft layers starting at the cheekbone
- Face-framing pieces for brightness
- Light texturizing, not thinning
Bring photos. Always bring photos.
The Quiet Luxury Bob for Fine Hair

The quiet luxury bob is one of the best cuts of 2026 for thin hair, and there’s a reason. A blunt bob keeps every strand at one length, which makes your hair look denser than it is.
Keep it just above the collarbone with a soft bend at the ends. Pair it with a middle or slightly off-center part for clean lift at the root.
Styling is simple:
- Blow dry with a round brush lifting upward
- Add one pump of lightweight oil only to the ends
- Finish with flexible hold spray
Elegant, low effort, and instantly fuller.
The Asymmetrical Lob That Fakes Fullness

An asymmetrical lob is sneaky good for thin hair. Because the two sides don’t match, your eye can’t trace a straight line — and straight lines are what make fine hair look flat.
Ask for one side about an inch or two longer, with a deep side part. The shorter side gets a lift boost, and the longer side adds weight where you want it.
Quick tips:
- Keep ends blunt-ish rather than razor thin
- Add gentle waves for texture
- Skip heavy pomades
It’s modern, a little edgy, and very forgiving.
Long Layers That Lift the Crown

Long hair doesn’t have to mean flat hair. The trick is where the layers start. If they begin too low, your crown stays heavy and smooth — in the wrong way.
Ask for layers that begin around the jawline or cheekbone, with the shortest pieces sitting right where you want lift. That’s usually about two inches from your part.
What to request:
- Crown layers for lift
- Face-framing pieces for movement
- Blunt ends to keep density
You get length and volume at the same time.
Blunt Ends Beat Thinned Ends Every Time
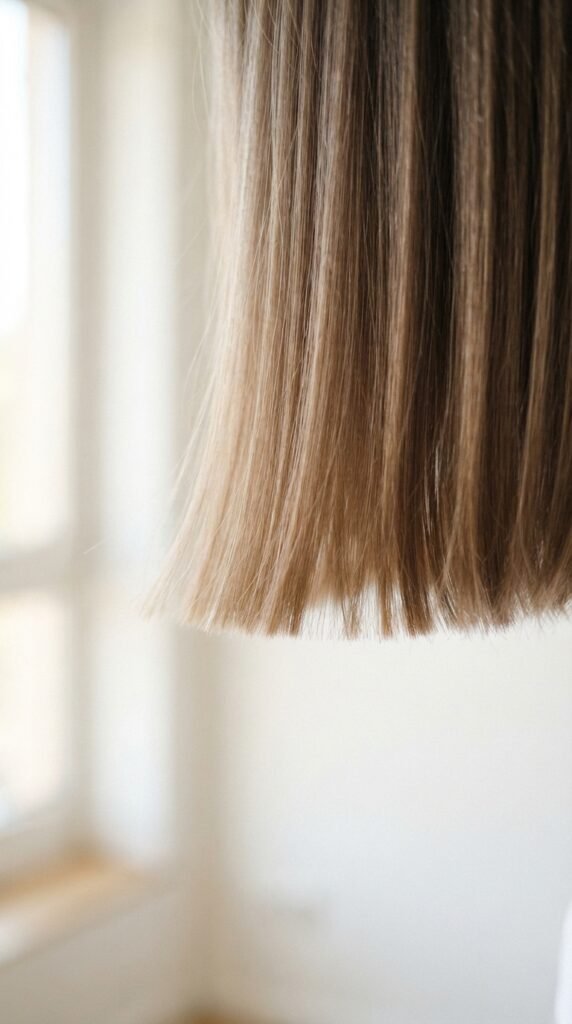
This one hurts to hear if you’ve been asking for “thinning out.” Thinning shears remove bulk, but on fine hair they remove density you actually need.
Blunt or softly textured ends create a clean visual line. That line reads as thicker hair, especially when you wear it straight or with a slight bend.
What to do instead:
- Ask for point cutting, not thinning
- Trim every 8 to 10 weeks
- Keep ends healthy so they don’t look wispy
Density you can see is the whole game.
Curtain Bangs for Instant Crown Height

Curtain bangs are basically a crown-volume cheat code. Because they sweep outward from a center or slightly off-center part, they create natural height right at the top of your head.
They also soften fine hair’s biggest giveaway — a flat, bare forehead area with nothing framing it.
Keep them:
- Long enough to tuck behind your ears
- Light, not thick or heavy
- Styled with a quick round-brush lift
They grow out gracefully too, which matters on busy months.
The Hime Cut With Hidden Volume

The hime cut is having a real moment, and it’s quietly perfect for thin hair. The blunt cheek-length side pieces add visual weight and structure, while the long back stays sleek.
Because the side sections are cut straight across, they look thick even if your hair is fine. That contrast is what makes the style feel full.
To make it work:
- Keep side pieces blunt and precise
- Back length can be long without looking thin
- Add a light root lift spray before drying
Modern, editorial, and easier to wear than it looks.
Romantic Goth Hairstyles With Root Lift

Romantic goth hairstyles already lean on texture and drama, which is great news for fine hair. Texture equals volume, and volume is exactly what you’re chasing.
Think soft undone waves, a lifted crown, and a slightly lived-in finish. Nothing too sleek at the top — sleek is the enemy here.
Try this:
- Spray a light texturizer at the roots
- Curl hair away from your face
- Pin the front sections back loosely
It reads moody and intentional, but the crown does the heavy lifting.
Glitchy Glam Hair That Looks Fuller

Glitchy glam hair is all about imperfect, textured, slightly “off” styling — and that’s great for thin hair. When nothing is supposed to be smooth, flatness stops being a problem.
You get to lean into messy on purpose. Grippy texture spray, piecey ends, maybe a metallic clip for interest.
Try:
- Spray texturizing mist at the roots
- Scrunch with your hands while drying
- Add a statement clip near the crown
The clip pulls attention exactly where you want volume.
The Vampire Haircut, Softened for Fine Hair

The vampire haircut sounds intense, but softened, it’s gorgeous on fine hair. It’s essentially a layered cut with sharp, dramatic face-framing pieces and a lifted crown.
Those pointed layers create angles, and angles distract from thinness. The lift at the top finishes the job.
Make it wearable:
- Keep layers long enough to style quickly
- Use a deep side part for lift
- Blow dry roots upward, then set with cool air
Dramatic without being a costume.
Old Money Hair Volume Tricks

Old money hair looks expensive because it’s glossy, healthy, and never flat at the top. It’s not about trends — it’s about polish and lift.
The signature move is a smooth, lifted crown with soft movement through the ends. Think quiet confidence, not volume-spray chaos.
Steal these:
- Blow dry roots up, then pin them for 5 minutes
- Use a shine serum only on the ends
- Keep the part clean and slightly off-center
Simple habits, expensive-looking results.
The Half-Up Crown Puff

This is my fastest trick when I need volume in 60 seconds. Pull the top section of your hair up and back, then gently push it forward before pinning.
That little push creates a soft puff right at the crown. It looks intentional and adds height instantly.
How to do it:
- Take a two-inch section from the front
- Lift up and back with your fingers
- Push forward slightly, then pin or clip
- Loosen with one gentle tug
Perfect for day-two hair.
Round Brush Root Lift That Actually Lasts
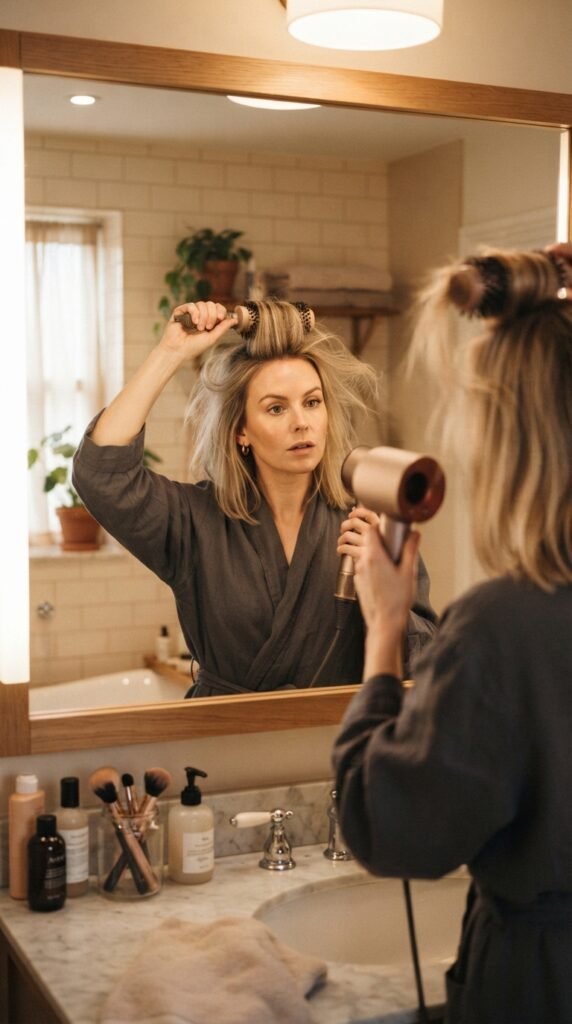
If you only learn one styling skill, learn this. Root lift with a round brush is the difference between hair that looks full all day and hair that deflates by 10 a.m.
The secret is direction and cooling. Lift the brush up and back, then blast cool air on the root while it’s still lifted.
Step by step:
- Section hair at the crown
- Place the brush underneath, lift upward
- Hit it with hot air for 5 seconds
- Switch to cool air for 5 seconds
Cool air sets the shape. Don’t skip it.
Teasing Without Damaging Your Hair
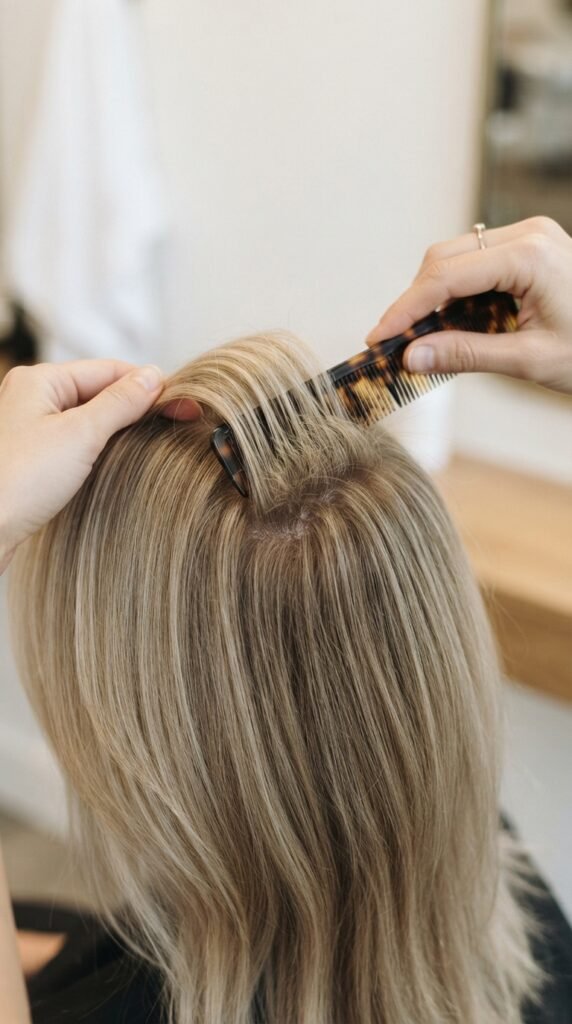
Teasing gets a bad reputation, and honestly, it earned some of it. But done gently and rarely, it’s a legit volume booster.
The key is to tease the underside of a section, not the top, and never pull hard. You want soft texture, not knots.
Do it safely:
- Only tease the crown section
- Use a fine comb with light strokes
- Spray lightly before, not after
- Brush it out fully at night
Occasional teasing beats daily flatness.
Clip-In Extensions for Crown Volume
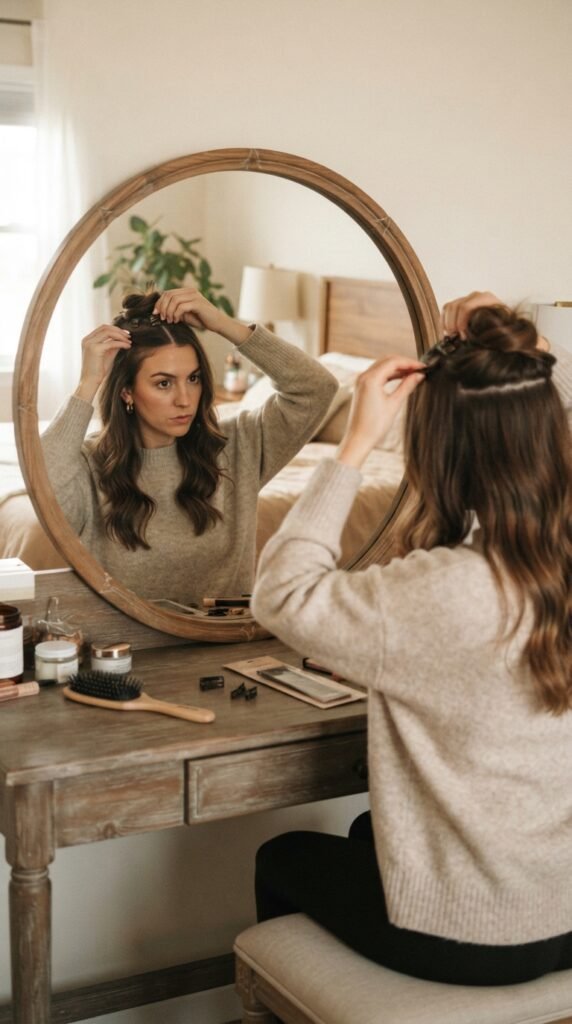
You don’t need a full set of extensions. One small two-clip weft placed at the crown can transform how full your hair looks.
Match it to your natural shade, keep it one shade lighter if you’re between colors, and place it slightly behind your part.
Quick rules:
- Buy real human hair for blending
- Keep pieces small and light
- Blend with a comb, then a light spray
Ten seconds of work for hours of volume.
Volumizing Products That Don’t Weigh You Down
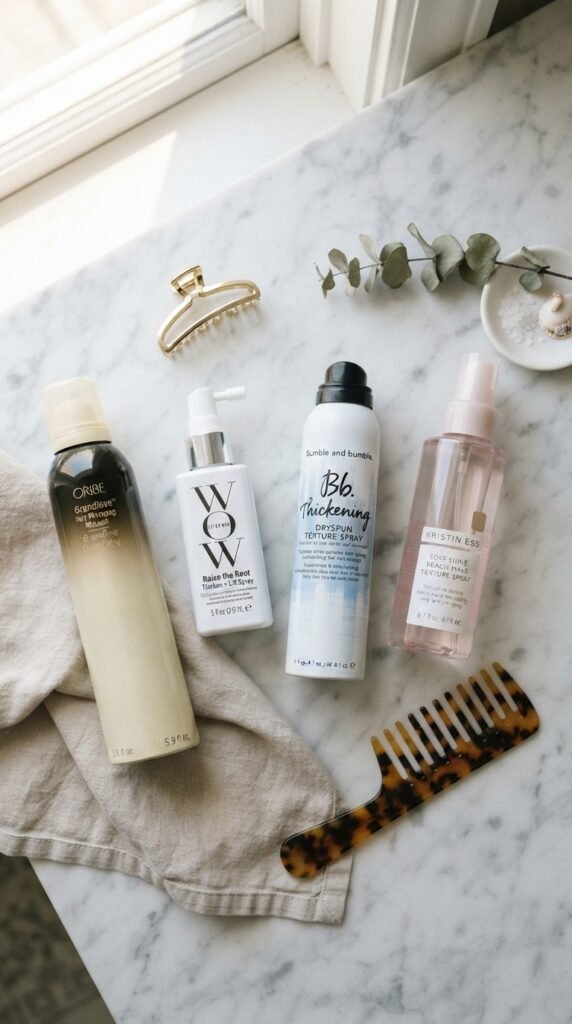
Fine hair is sensitive. A product that works beautifully on thick hair can flatten yours in minutes. So keep it light and keep it at the roots.
Your best friends are mousse, root-lift spray, and texturizing mist. Your enemies are heavy creams, butters, and rich oils near the scalp.
My simple rule:
- Volumizer at the roots, always
- Moisture and oil on the ends only
- Less product than you think
Two or three light layers beat one heavy one.
Dry Shampoo Plus Texturizing Spray

This combo is my favorite lazy-day volume hack. Dry shampoo soaks up oil that flattens roots, and texturizing spray adds grip so hair holds its shape.
Used together, they can revive day-two or day-three hair in under two minutes.
Use them like this:
- Spray dry shampoo at the roots
- Wait 60 seconds
- Massage with fingertips
- Mist texturizing spray and scrunch
Instant lift, zero heat.
The Upside-Down Blow Dry

It sounds silly and it works every time. Flipping your head upside down while blow drying lifts roots away from the scalp, so they dry with natural height.
Dry for a few minutes upside down, then flip back and finish with a round brush at the crown.
Do this:
- Start with damp, not soaking, hair
- Dry upside down for 2 to 3 minutes
- Flip up and set the crown with cool air
It’s the oldest trick in the fine-hair book for a reason.
Diffusing Fine Curly Hair for Root Lift
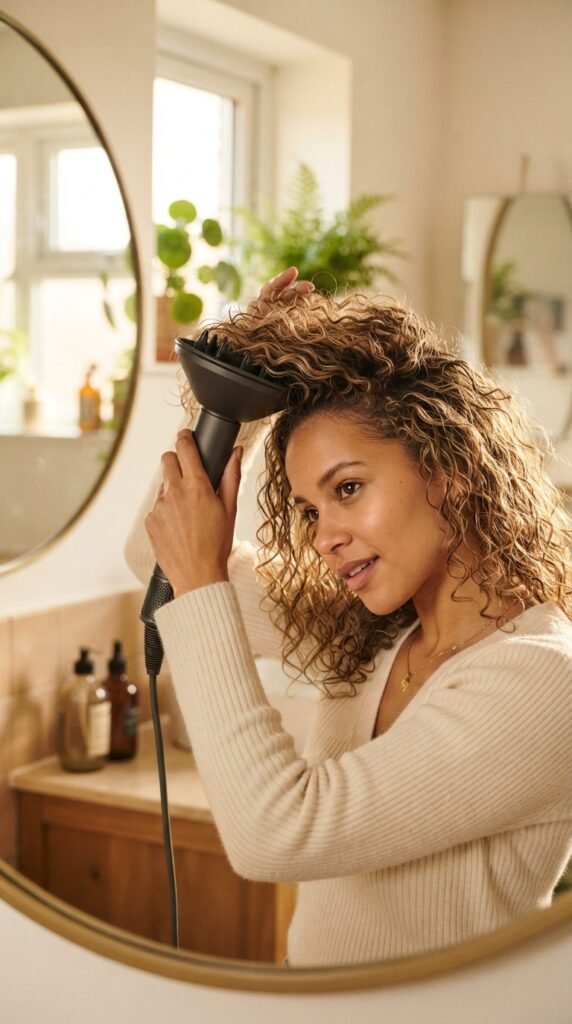
If your hair is fine and curly, diffusing is your volume engine. The trick is to lift the hair toward your scalp instead of letting it hang.
Flip your head to each side and diffuse the roots first. Root volume comes before curl definition, always.
Try this order:
- Apply mousse to soaking wet hair
- Scrunch upward, not downward
- Diffuse roots on low heat, high speed
- Finish with cool air to set
Don’t touch your hair until it’s completely dry.
The Zigzag Part Trick
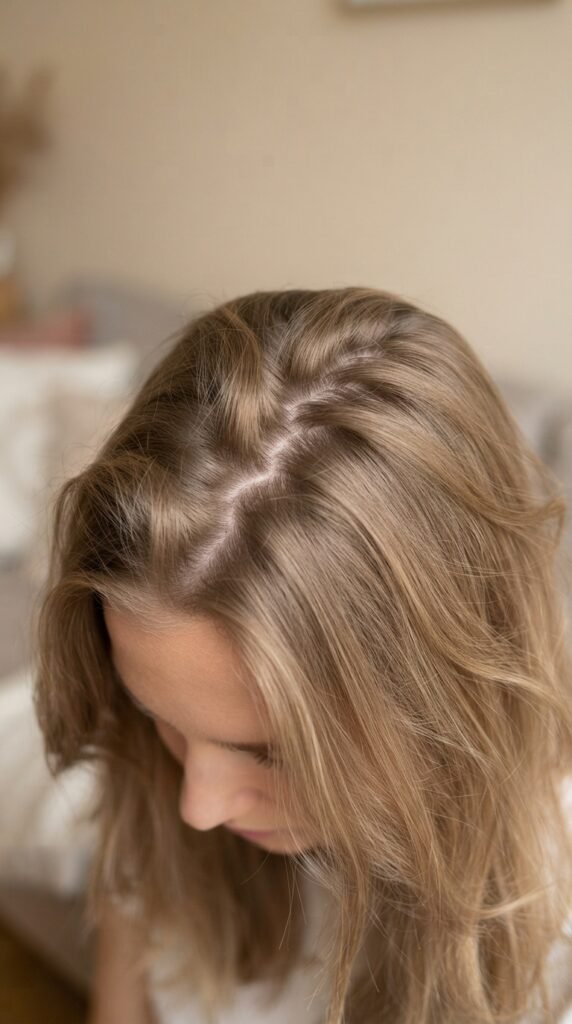
A zigzag part is one of those tiny changes that surprises you. Because the line isn’t straight, light hits your roots at different angles and the crown instantly looks fuller.
It also hides roots that are starting to show, which is a nice bonus between color appointments.
How to do it:
- Use the tip of a rat-tail comb
- Move in small zigzag motions from front to back
- Don’t overthink it — imperfection is the point
Takes about 15 seconds total.
Crown Volume for Short Hair

Short fine hair has a big advantage: less weight pulling your roots down. That means volume comes faster and lasts longer.
Your job is texture. Smooth pixies look flat. Textured, piecey pixies look full and modern.
Try:
- Texturizing paste rubbed between fingertips
- Pinch small sections at the crown
- Blow dry roots upward with a small brush
A tiny bit of grit goes a long way.
Crown Volume for Shoulder-Length Hair

Shoulder length is the danger zone for fine hair. It’s long enough to drag roots down but short enough that the ends look thin.
Layers fix this. Ask for crown layers and slight face framing, then style with a round brush lifting upward at the top.
Keep these in mind:
- Avoid heavy one-length cuts
- Add a slight bend, not tight curls
- Use a root spray before drying
You’ll get bounce instead of droop.
Crown Volume for Long Hair

Long fine hair can absolutely look full. You just have to stop letting gravity win.
The plan: keep layers high enough to lift the crown, keep ends blunt enough to look dense, and never let products sit on your scalp.
My go-to moves:
- Crown layers starting at the cheekbone
- Root lift spray on damp hair
- Cool-air set at the top
- Oil only on the last two inches
Length plus lift is a beautiful combination.
The Five-Minute Morning Crown Routine

Busy mornings don’t need a full blowout. This is the routine I use when I have five minutes and a video call.
It’s fast, heat-light, and works on dry hair.
- Spray dry shampoo at the roots
- Massage with fingertips for 30 seconds
- Flip your part with a comb
- Lift the crown with a round brush and 20 seconds of hot air
- Cool air for 10 seconds
- Mist texturizing spray and scrunch
Done. Volume that actually survives the day.
Mistakes That Flatten Your Crown

Sometimes the fastest fix is just stopping the thing that’s hurting you. These are the biggest crown killers I see on fine hair.
Check yourself against this list:
- Conditioner on the scalp
- Heavy oil at the roots
- Brushing your hair a hundred strokes
- Air drying with no lift
- Touching your roots all day
- Sleeping on wet hair
Cut two or three and you’ll see change fast.
Humidity and Second-Day Hair Fixes

Humidity is brutal on fine hair. It adds moisture, which adds weight, which drops your crown straight down.
The trick is to prep before you go outside, not after. Texturizing spray and a light hold mist create a barrier that helps hair hold shape.
Quick fixes:
- Spray texturizer at the roots
- Twist the crown section and pin it for 5 minutes
- Carry a mini dry shampoo for touch-ups
Second-day hair often holds volume better than freshly washed hair anyway.
A Little Pep Talk Before You Go
Thin hair isn’t something to fix. It’s something to style smart. Once you know where your volume comes from — the cut, the root, the texture — getting ready stops being a fight.
Start with one change this week. Maybe it’s a crown-lift spray. Maybe it’s asking your stylist for layers that begin higher. Small moves stack up fast.
And if a style flops? No big deal. You learned something, and tomorrow’s hair is a fresh start.
Save this post to Pinterest so you have it handy before your next salon appointment — and tell me in the comments: which crown-volume trick are you trying first? I read every single one, and I love hearing what actually works for you.