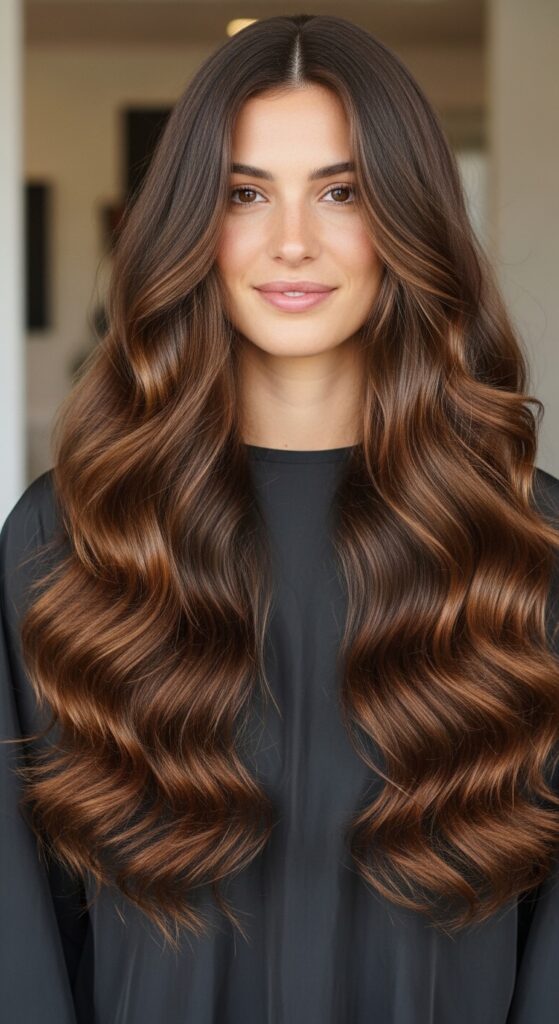
Achieve 14 Bouncy Blowouts Mimicking Salon Results Using Diffusers
Let’s be real. We’ve all left the salon feeling like a million bucks, hair bouncing with every step, only to have that magic vanish after the first wash. I used to think that kind of volume and shine was a professional-only secret. I’d try to recreate it at home and end up with something… frizzy and flat.
But here’s the truth I learned: the real game-changer isn’t a $200 bottle of serum. It’s a tool you probably already own but might be using wrong. Your diffuser.
This guide is your shortcut. We’re ditching the salon envy and unlocking 14 gorgeous, bouncy blowouts you can do yourself. From the sleek quiet luxury bob to trendy 2026 hairstyles like the glitchy glam hair, it’s all about technique. Get ready to give your arms a rest and let your diffuser do the heavy lifting for perfect hair, every single time.
1. The Foundation: Master the Basic Diffuser Blowout
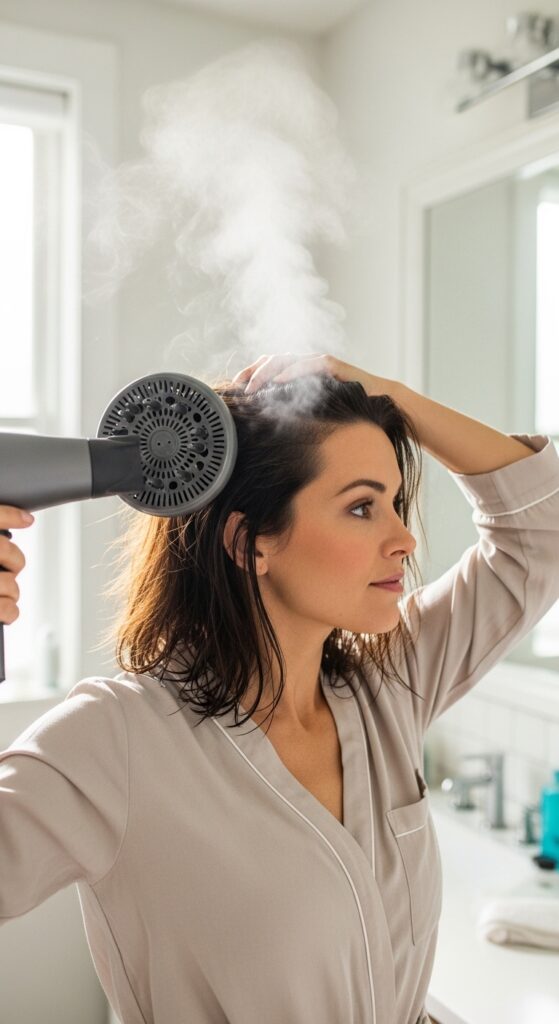
Before we get to the fun styles, we need to nail the basics. A diffuser isn’t just for scrunching curls. It’s your volume and shape tool. The key is to dry your hair in sections, always with the diffuser cup pointing upward to lift the root.
Start with hair that’s about 70% dry from a towel. Apply your favorite volumizing mousse or cream from mid-lengths to ends. Then, follow these simple steps:
- Flip your head upside down. Place sections of hair into the diffuser cup.
- Turn the dryer on to medium heat and low speed. Hold it in place for 60-90 seconds.
- Turn the dryer off before moving to the next section. This sets the shape.
This method creates the base bounce for everything that follows. It’s the secret to that “just-left-the-salon” body without the arm ache.
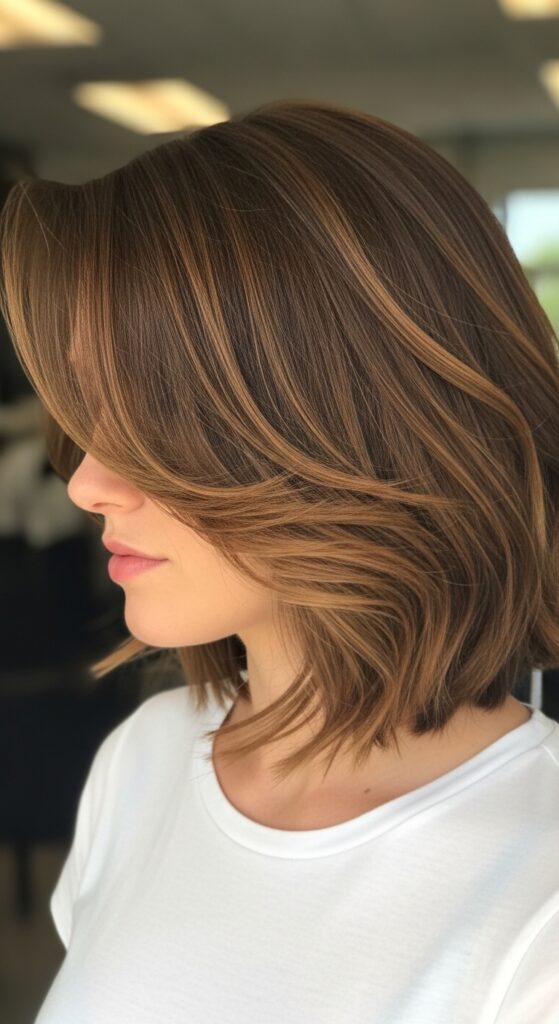
2. The Quiet Luxury Bob: Polished & Effortless
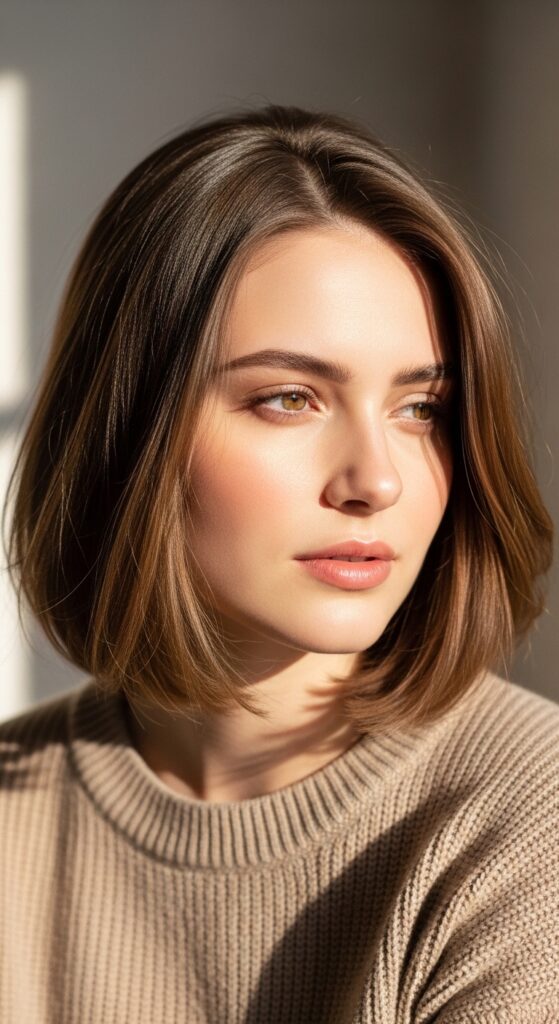
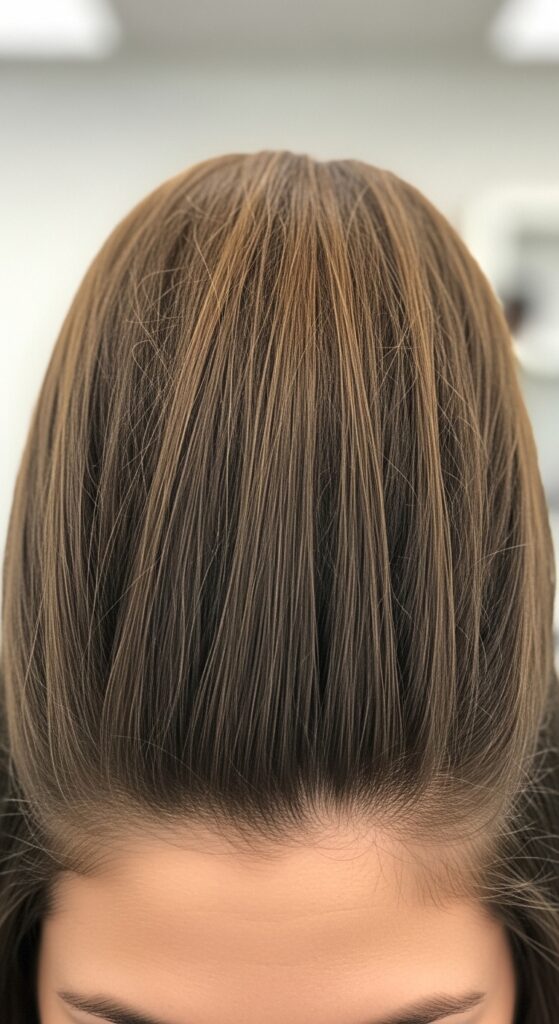
This look is all about understated, expensive-looking polish. Think sleek, swingy, and incredibly healthy. The goal is smoothness with a subtle bounce at the ends, not aggressive volume. It works perfectly for a blunt or slightly layered bob.
Use a smoothing cream before diffusing. Focus on directing the hair down and under as you dry each section. Use a concentrator nozzle on your dryer for the top layer to smooth flyaways after diffusing.
For the final touch, wrap large sections around a round brush and hit them with a blast of cool air from your diffuser. This seals the cuticle for shine and gives that gentle, turned-under curve that screams old money hair.
3. The Romantic Goth Volume
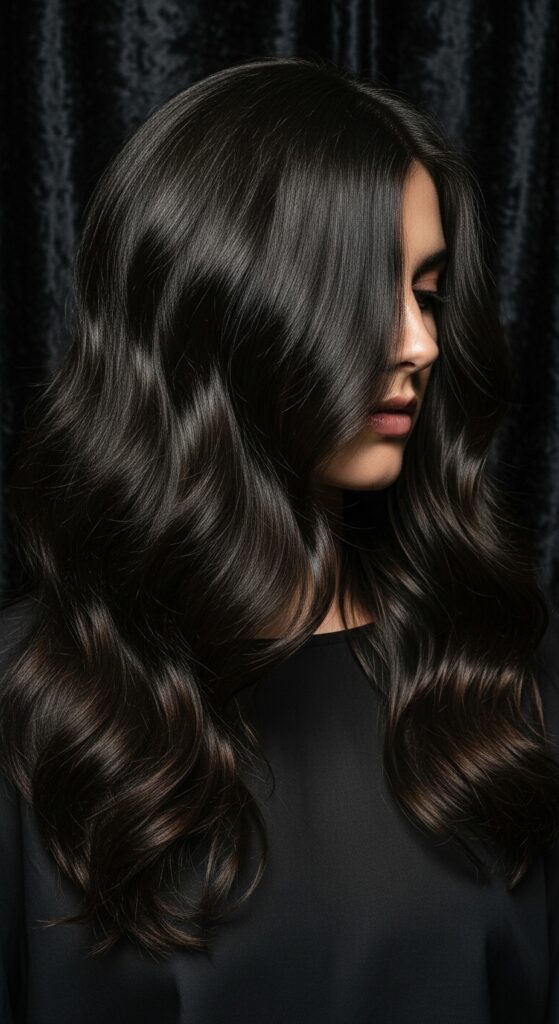
This isn’t your everyday messy bun. The romantic goth hairstyles trend is about luxurious, dramatic texture. We’re talking serious root lift, deep waves, and a touch of disheveled elegance. It’s perfect if you have some natural wave to work with.
Start with a strong-hold volumizing spray at the roots. When diffusing, really pile your hair into the diffuser cup and hold it right against your scalp. Don’t disturb the hair until it’s completely cool.
Once dry, break up the waves gently with your fingers and a light hair oil on just the ends. The contrast of sleek roots and textured ends is key. This style pairs beautifully with the popular vampire haircut layers.
4. The Glitchy Glam Texture
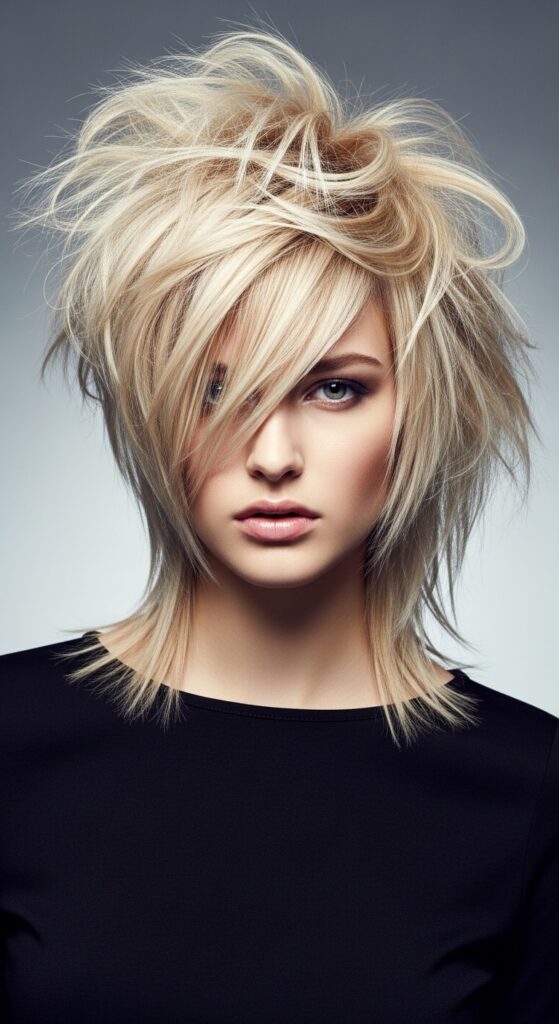
One of the biggest 2026 hairstyles is all about controlled chaos. Glitchy glam hair mixes ultra-smooth sections with intentionally textured, almost “broken” pieces. It sounds weird, but looks incredibly cool and modern.
To achieve this with a diffuser, you need to style in very small, random sections. For some pieces, use a smoothing serum and dry them smoothly against the diffuser. For others, scrunch in a texturizing paste and dry them with a vigorous scrunching motion.
The goal is contrast. Finish by pinning back a few of the sleeker sections to highlight the textured pieces. This look is bold, artistic, and perfect for making a statement.
5. The Asymmetrical Lob with Swing
The asymmetrical lob is a classic for a reason—it’s flattering and full of movement. The diffuser helps enhance that swing by building volume at the roots without flattening the shape. The longer side should have a beautiful, cascading curve.
Create a deep side part. When diffusing, pay extra attention to the shorter side, lifting the roots upward and back to create balance. For the longer side, direct the hair forward and down into the diffuser to encourage its shape.
Use your fingers to style once dry, pushing the shorter side behind your ear. The result is a dynamic, modern cut that feels both polished and effortless, a true hybrid look.
6. The Hime Cut Princess Volume
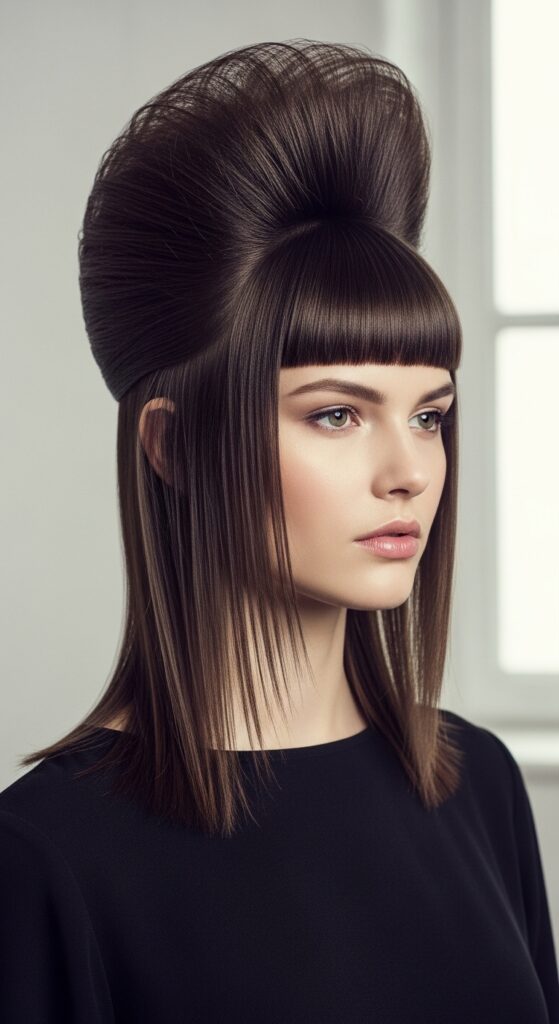
The hime cut is dramatic and beautiful, defined by straight-across bangs and long, often straight hair. The challenge is keeping the bangs smooth while adding royal-level volume at the crown. Your diffuser is your best friend here.
Dry your blunt bangs separately with a round brush for a smooth finish. For the crown, take the top section of your hair and gently place it into the diffuser cup. Dry it straight up toward the ceiling.
Hold it until completely cool. This builds a strong, lasting lift that supports the dramatic structure of the cut. It’s a look that commands attention and is surprisingly versatile.
7. The Old Money Blowout: Timeless Volume
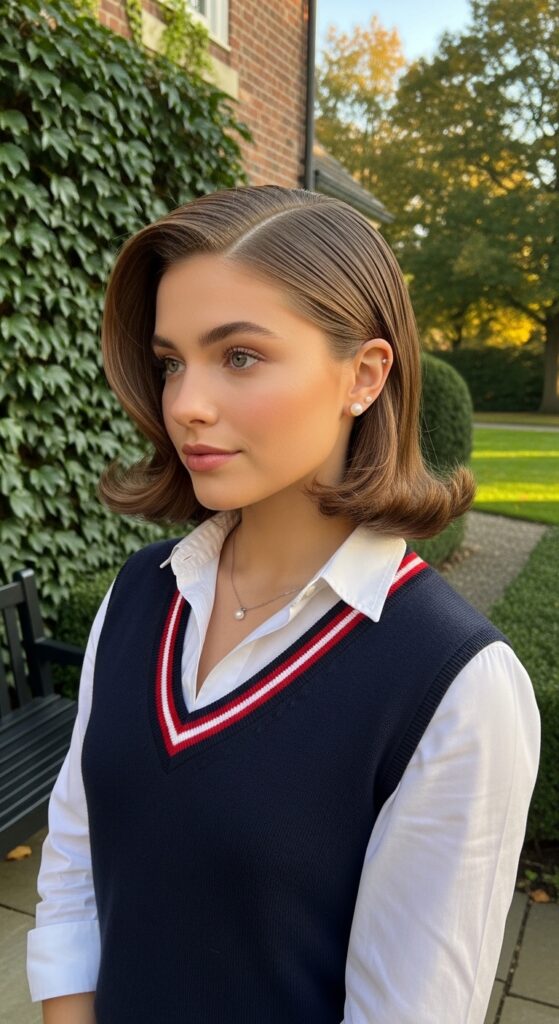
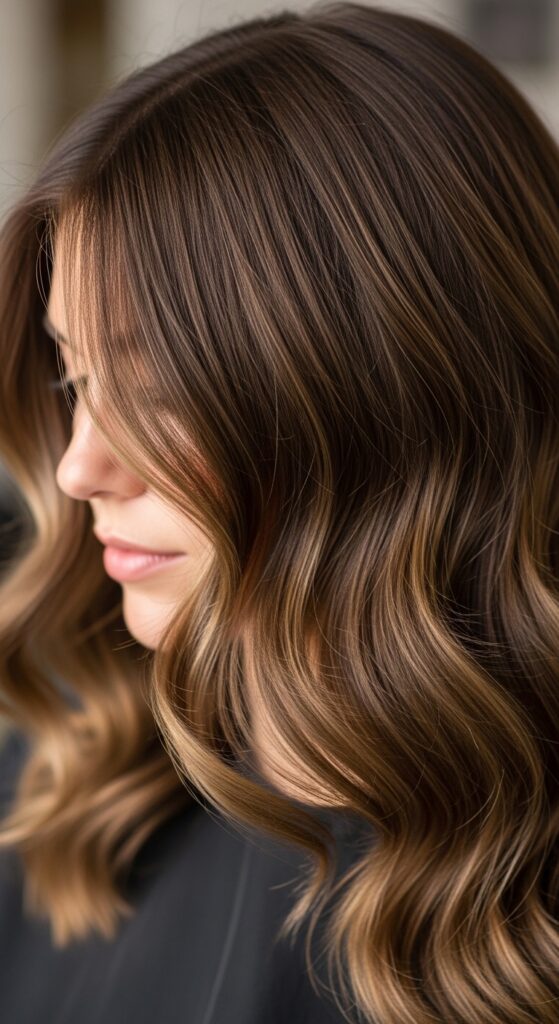
Old money hair isn’t about being trendy; it’s about looking impeccably groomed and healthy. The blowout is smooth, has incredible body from the roots, and swings gently. It’s the “I woke up like this” of high-end looks.
Use a volumizing blow-dry spray and a boar bristle round brush while you diffuse. Dry each section by placing the hair on the brush and then holding the diffuser around it, focusing heat at the roots.
The diffuser protects the hair from direct heat while setting the volume. Finish with a light hairspray only at the roots. This style is timeless, professional, and always in good taste.
8. The Vampire Cut Texture
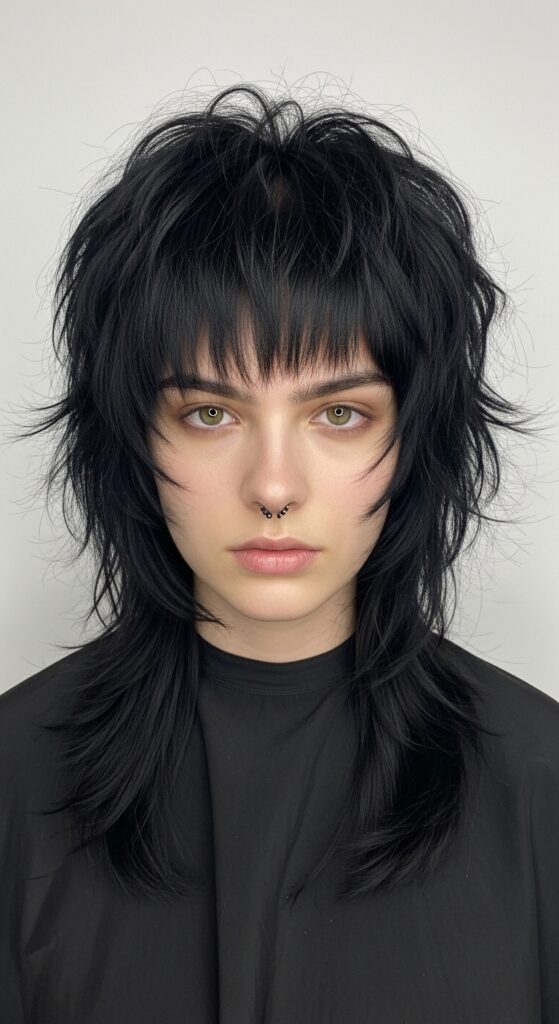
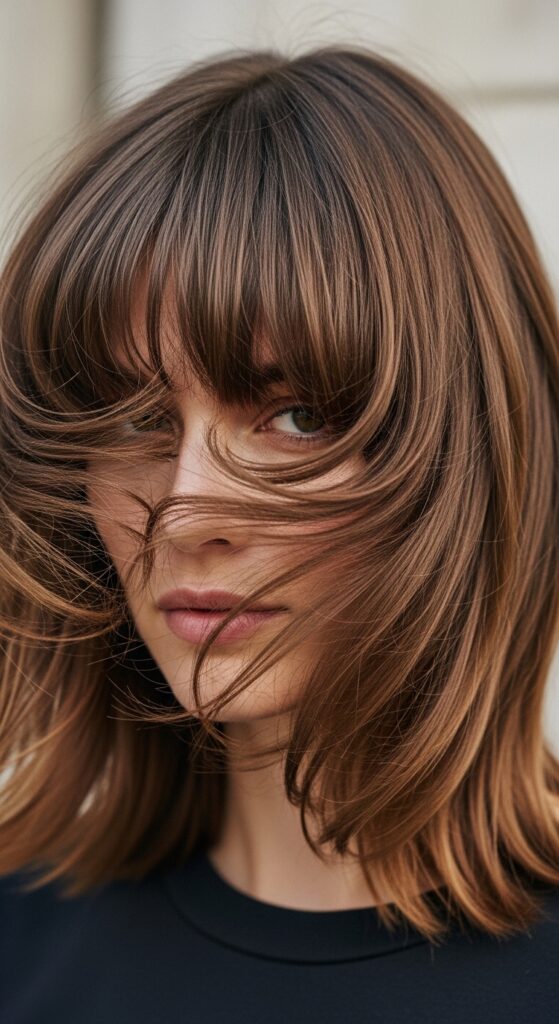
The vampire haircut is a shaggy, layered masterpiece that needs lived-in texture, not perfect curls. The diffuser is perfect for enhancing its natural, piece-y vibe without making it look too done. The goal is “I just roamed a misty moor.”
Use a sea salt spray or texturizing foam on very damp hair. Flip your head over and diffuse using a scrunching motion, but don’t hold it in one place for too long. You want to encourage the wave, not define it perfectly.
When it’s mostly dry, flip back and use the diffuser to lift the roots at the crown for that iconic, dramatic volume. Run your fingers through to separate the layers.
9. The Bouncy Curtain Bang Blowout
Curtain bangs are beautiful, but keeping them bouncy and separated can be tricky. The diffuser helps set their shape with a soft, retro curve that frames the face perfectly. It’s all about direction.
On damp hair, apply a light styling cream. Take one section of your bangs and wrap it around a round brush. Hold the diffuser directly over the brush, enveloping the hair.
Dry on a warm setting for 30 seconds, then hit it with cool air. Repeat on the other side. This sets a lasting, bouncy shape that opens up your face and looks incredibly chic.
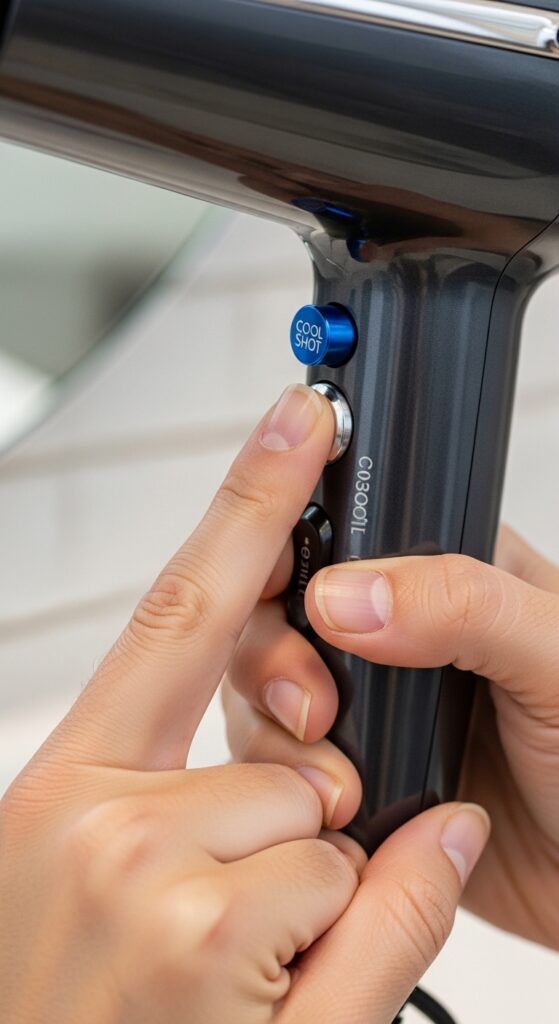
10. The “No-Heat” Diffuser Wave
Want to give your hair a break from heat? You can still get amazing results. This method uses only the cool shot button on your dryer, so it takes longer but is super gentle. It’s perfect for enhancing your natural pattern.
After applying a curl-enhancing cream, scrunch your hair into the diffuser. Hold it in place and use ONLY the cold air button. Dry each section completely before moving on.
It requires patience, but the waves you get are soft, frizz-free, and have a longevity that heat-styled hair sometimes lacks. Perfect for a low-maintenance, healthy hair day.
11. The Max-Volume Root Lift Technique
If your hair falls flat by noon, this technique is for you. It’s a simple tweak to your basic diffusing method that creates monumental, all-day lift. The secret is in the prep and the angle.
While your hair is still sopping wet, apply a root-lifting spray or mousse directly to the roots. Section your hair and, using a small, round brush, lift the roots up and away from your head.
Hold the diffuser directly over that lifted root section. Dry it completely on a medium heat before letting it go. This “sets” the lift at its highest point. Game changer for fine hair.
12. The Smooth & Silky Finish

Yes, you can use a diffuser for a sleek, smooth blowout! It’s actually gentler than a brush and concentrator because it disperses heat. The goal is to dry the hair smoothly without disrupting the cuticle.
Use a smoothing serum on damp hair. Take large sections and gently place them into the diffuser cup without scrunching. Hold the diffuser so the hair hangs down smoothly inside it.
Dry each section completely this way. The wide, even heat flow dries the hair smoothly from the inside out, sealing in shine and locking out humidity for a frizz-free finish.
13. The Tousled Bed-Head Bob
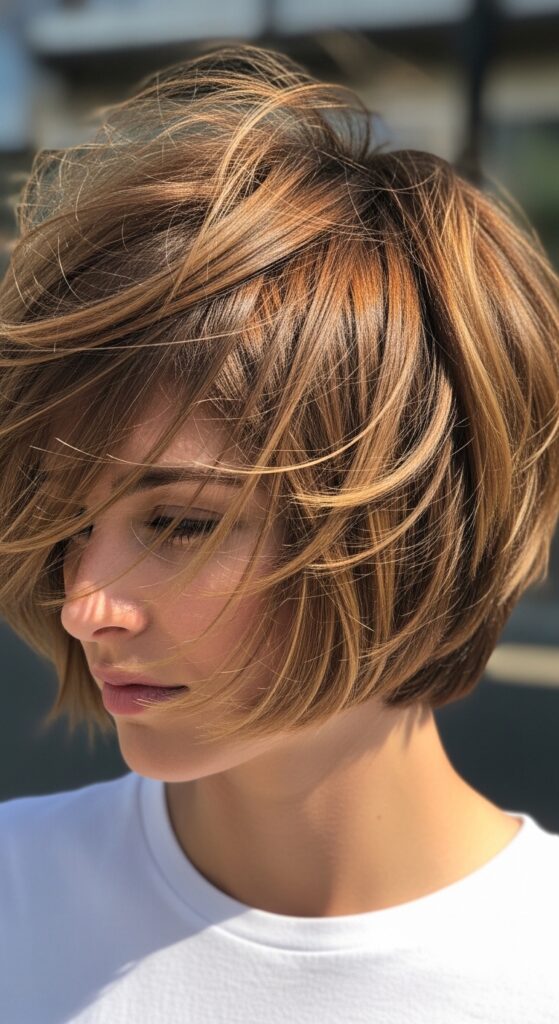
This look is cool, casual, and takes minutes. It’s ideal for a short or medium bob and embraces a bit of mess. The diffuser creates separation and a lived-in texture that looks like you just ran your hands through it.
Use a texturizing paste on damp hair. Tilt your head to the side and gently “pulse” the diffuser against your hair, moving it around rather than holding it still. Don’t dry it completely—leave it slightly damp.
Then, let it air-dry the rest of the way while you finish your routine. Once dry, use your fingers to break up any clumps. It’s an easy, no-fuss style with tons of attitude.
14. The Long Hair Volume Miracle
Long hair can get weighed down easily. To create bounce that lasts, you need to build volume in layers, not just at the root. This technique ensures your waves have body all the way down.
Apply mousse from roots to ends. Divide hair into four sections: two in back, two in front. Diffuse each section by piling the hair into the diffuser cup and holding it up toward the ceiling.
Start at the roots, then slowly lower the diffuser, letting the length coil inside the bowl. This supports the hair as it dries, creating uniform wave and preventing stretch.
15. Diffuser Attachment Deep Dive: Picking Your Tool
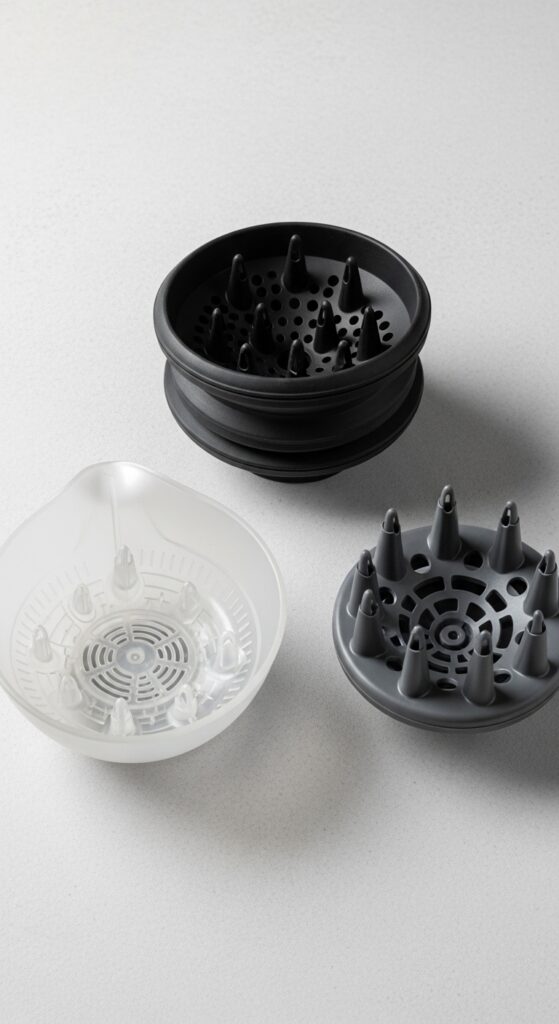
Not all diffusers are created equal. Using the right one for your hair type makes all the difference. The wrong one can leave you frustrated. Here’s a quick guide to pick your perfect match.
Universal rubber diffusers are great for beginners. Bowl-shaped diffusers are best for long, thick hair—they hold more hair. Pronged or “finger” diffusers are ideal for curly or coily hair to define curls without frizz.
Check if your dryer brand sells a specific attachment. The fit matters! A good diffuser should feel like an extension of your dryer, making the process easier, not harder.
16. Pre-Diffuse Product Cheat Sheet
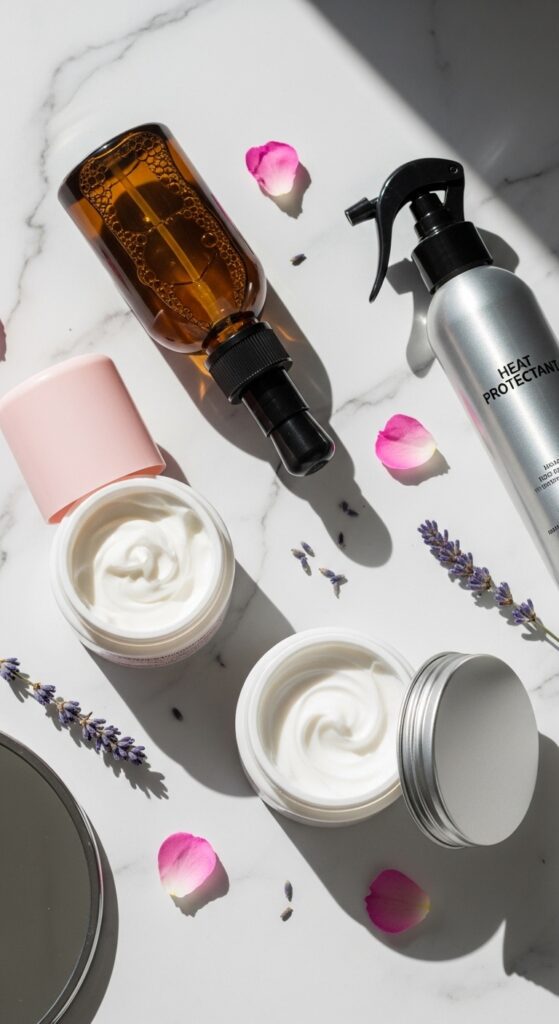
The products you use before diffusing are non-negotiable. They protect your hair and create the foundation for your style. Using the wrong one can leave hair sticky, flat, or dry.
Always start with a heat protectant. Then, choose your styler:
- For volume: Volumizing mousse or root lift spray.
- For definition: Curl cream or defining gel.
- For texture: Sea salt spray or texturizing foam.
- For smoothness: Smoothing cream or serum.
Apply to damp hair, not soaking wet, for the best results. This lets the product distribute evenly.
17. The Sectioning Strategy for Perfect Results
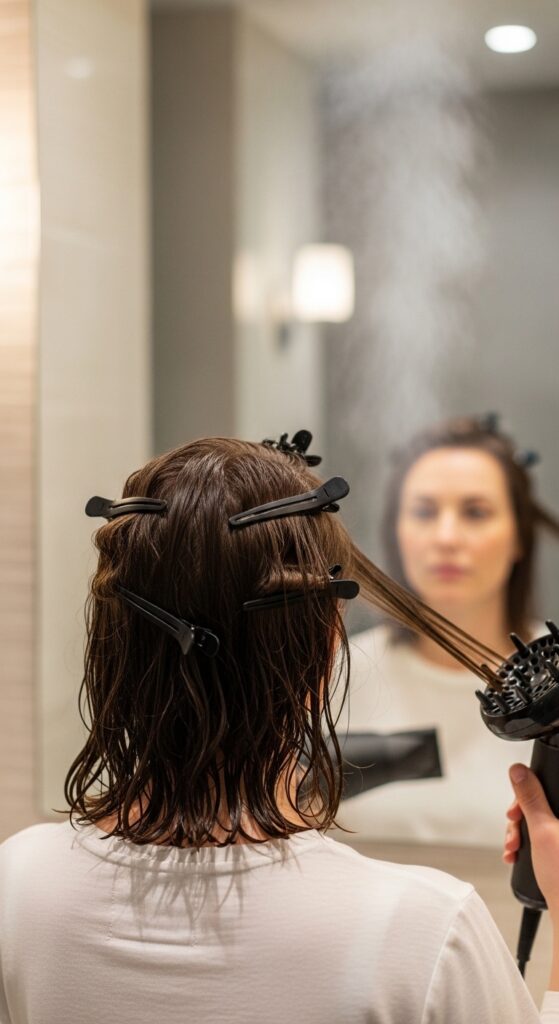
Trying to diffuse all your hair at once is a recipe for flat spots and frustration. Sectioning is the professional secret to even volume and thorough drying. It seems like an extra step, but it actually saves time.
Start by clipping the top half of your hair up. Work on the bottom sections first. I recommend two large sections in the back and one on each side in the front.
Use butterfly or duckbill clips—they hold without leaving dents. As you finish a section, clip it out of the way. This method ensures you get every layer dry and styled, creating overall balance and incredible body.
18. Heat & Cool Shot: When to Use Each
Knowing when to use heat and when to hit the cool shot is what makes your style last. Heat shapes and dries the hair. Cold air locks that shape in place by shocking the hair’s cortex and sealing the cuticle.
Use medium heat to dry your hair about 90% of the way in each section. You should still feel a tiny bit of dampness at the roots when you touch it.
Then, hit the same section with the cool shot button for a full 30 seconds. You’ll feel the hair actually cool down. This step is crucial for setting volume and waves, making your blowout last an extra day or two.
19. Post-Diffuse Touch-Ups in 2 Minutes
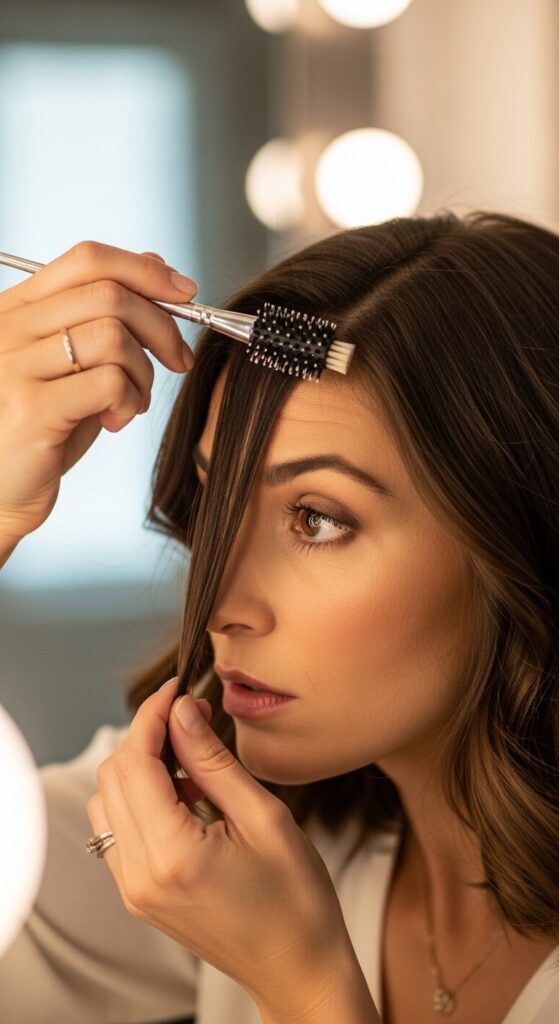
Even after perfect diffusing, you might want to smooth a face-framing piece or add a more defined curve. That’s where a 2-minute touch-up comes in. You don’t need to redo everything.
Keep a small round brush handy. If a piece has fallen flat, mist it lightly with water or a heat protectant spray. Wrap it around the brush and use your dryer with its concentrator nozzle to dry it quickly.
For shine, rub a tiny drop of hair oil between your palms and gently smooth it over the surface of your hair, focusing on the ends. This polishes the look without undoing your beautiful volume.
20. Making Your Blowout Last for Days
You worked hard for this bounce—let’s make it last! With the right overnight care, you can wake up with great hair for days two and three. It’s all about preservation, not restyling.
Sleep on a silk or satin pillowcase to reduce friction and frizz.