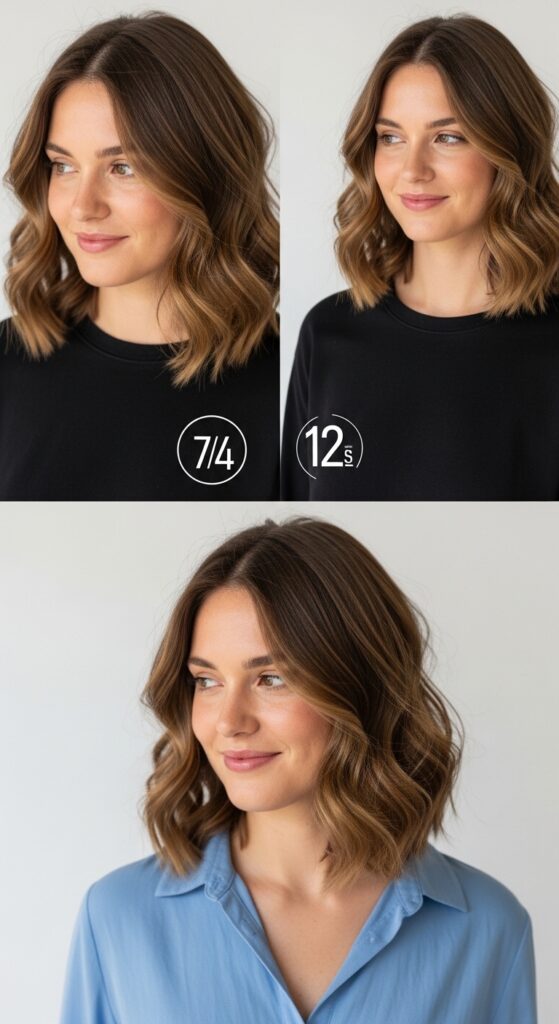
Achieve 14 Bouncy Blowouts Mimicking Salon Results Using Diffusers
Let’s be real. We’ve all stood in front of our bathroom mirror with a round brush, trying to mimic that perfect, bouncy salon blowout. And we’ve all ended up with a sore arm and hair that’s… fine. But not amazing. I was right there with you, until I finally gave my diffuser the attention it deserved.
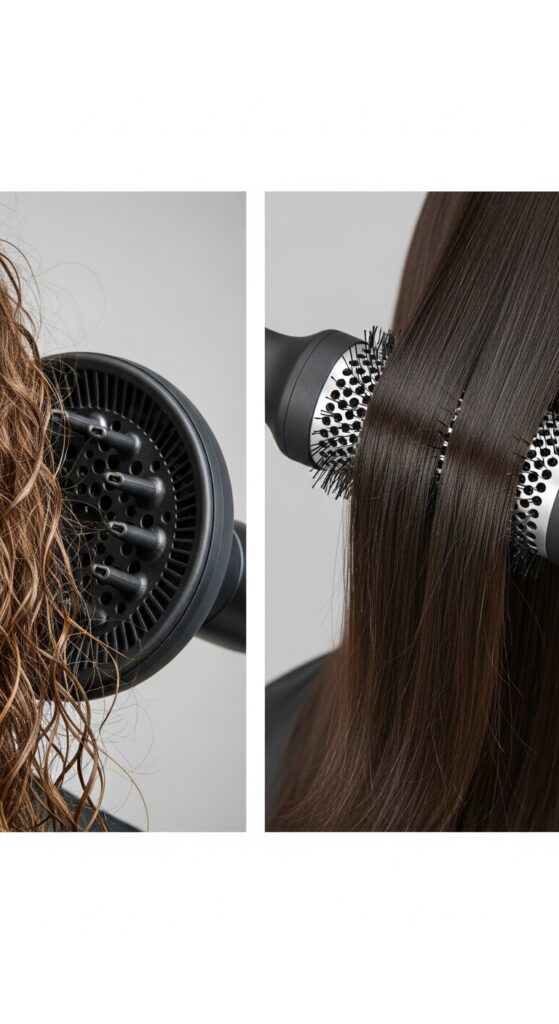
That little bowl-shaped attachment? It’s a game-changer. It’s the secret to getting volume, definition, and bounce without the heat damage or the arm workout. This isn’t about complicated techniques. It’s about using what you already have in a smarter way.
I’m going to walk you through exactly how to use your diffuser to achieve 14 different bouncy styles, from everyday looks to trending 2026 hairstyles. Get ready for hair that feels expensive, full of life, and totally you.
Why Your Diffuser is Your Best Hair Tool

Most of us think of diffusers only for curly hair. But hear me out: it’s the ultimate tool for adding volume and protecting your strands. The diffuser spreads the airflow over a wider area, which means less direct, damaging heat on one section of hair.
It also helps to lift your hair at the roots as it dries, creating that coveted bounce from the very start. Think of it as a gentle, volumizing hug for your hair. It cuts drying time for thick hair and gives fine hair the body it craves.
- Reduces frizz and heat damage
- Builds root volume effortlessly
- Enhances your hair’s natural texture
- Simplifies the drying process
Pre-Diffuse Prep: The Non-Negotiables
You can’t build a bouncy blowout on a weak foundation. Your prep work is everything. Always, always start with towel-dried hair. Gently squeeze out water with a microfiber towel or an old t-shirt—rubbing causes frizz.
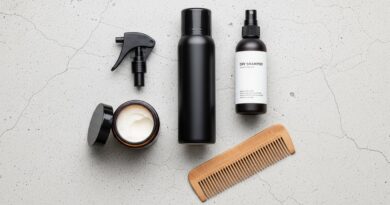
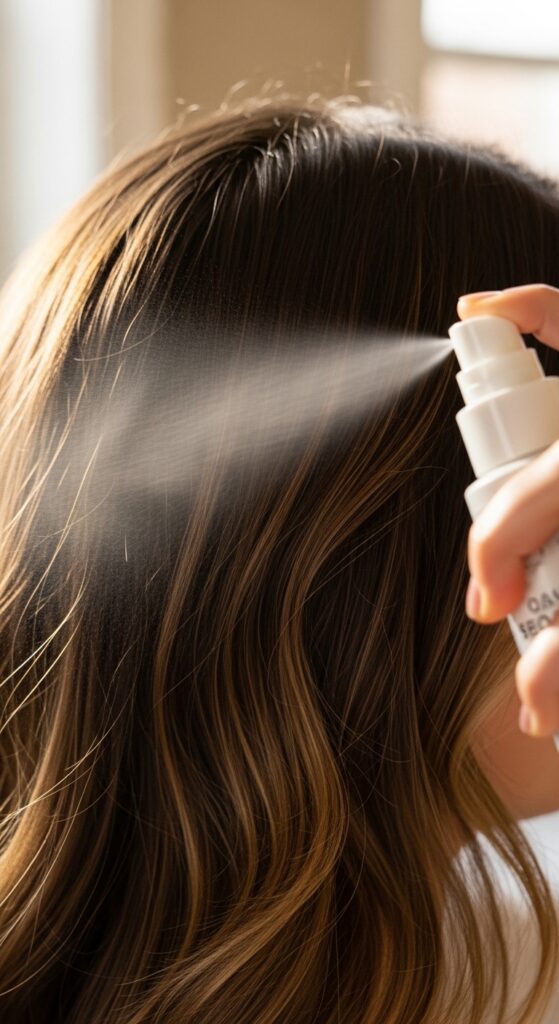
Next, apply your products. This is not the step to skip. A heat protectant is mandatory. Then, choose your styling product based on your goal. For volume, a root-lifting spray or mousse is perfect. For definition and smoothness, a light cream works wonders.
Sectioning for Supreme Volume
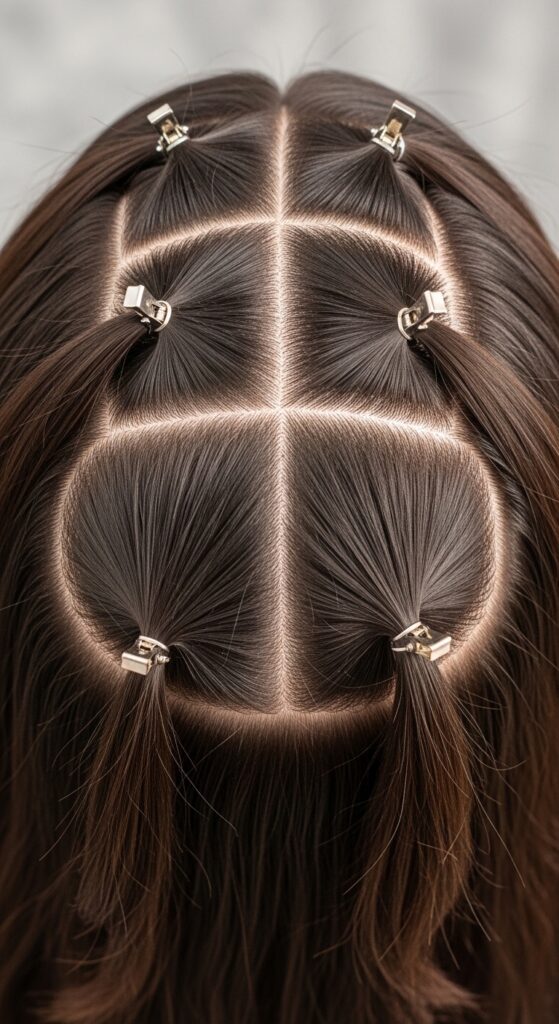
This is the salon secret they don’t always tell you. Sectioning your hair ensures every single layer gets the attention it needs. It feels extra, but it takes 30 seconds and makes all the difference.
After applying product, simply part your hair down the middle. Then, clip the top half of your hair up and out of the way. You can even split the bottom half into two sections if your hair is very thick. Work from the bottom up for the most organized, thorough dry.
The Basic Bounce Technique
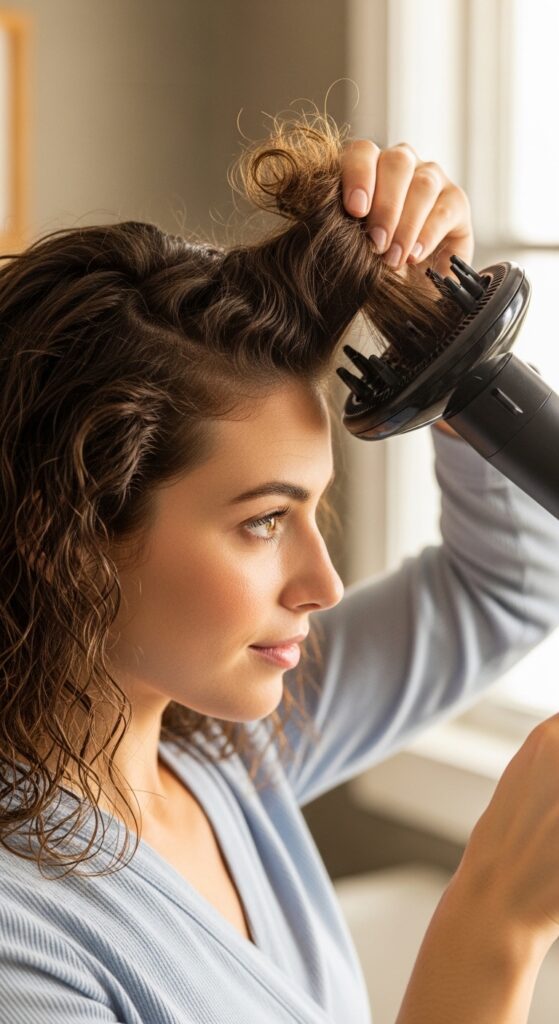
This is your foundational move. Start with your lowest, back section. Place a large section of hair into the diffuser bowl. Gently lift the diffuser so the hair nestles against your scalp—this is the root-lift magic.
Turn the dryer on to medium heat and medium speed. Hold it there for about 30-45 seconds, then turn it off before moving. This “set” with the cool shot button helps lock in the shape. Repeat this all over your head, section by section.
1. The Classic “Old Money Hair” Blowout

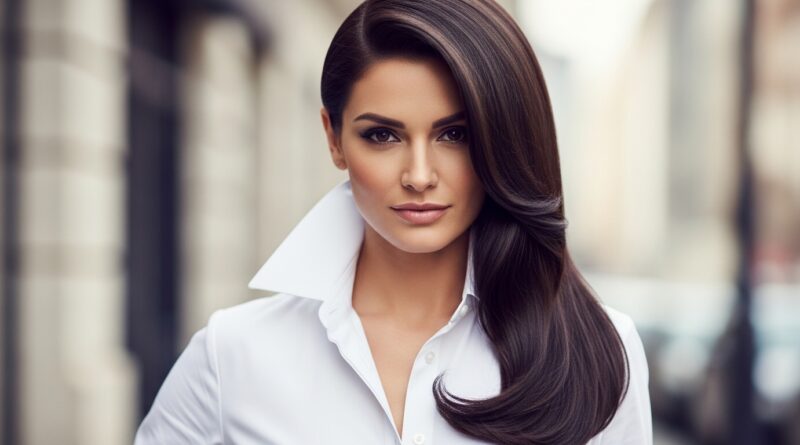
This style is all about high-gloss, smoothness, and that “born-with-it” volume. It’s the quiet luxury bob’s best friend. The goal is sleekness with incredible body, not a wave in sight.
Use a nozzle concentrator first to smooth the mid-lengths and ends. Then, switch to your diffuser. Focus it solely on the roots, using the basic bounce technique to create lift right at the scalp. The rest of the hair should fall pin-straight and heavy.
2. Romantic Goth Volume
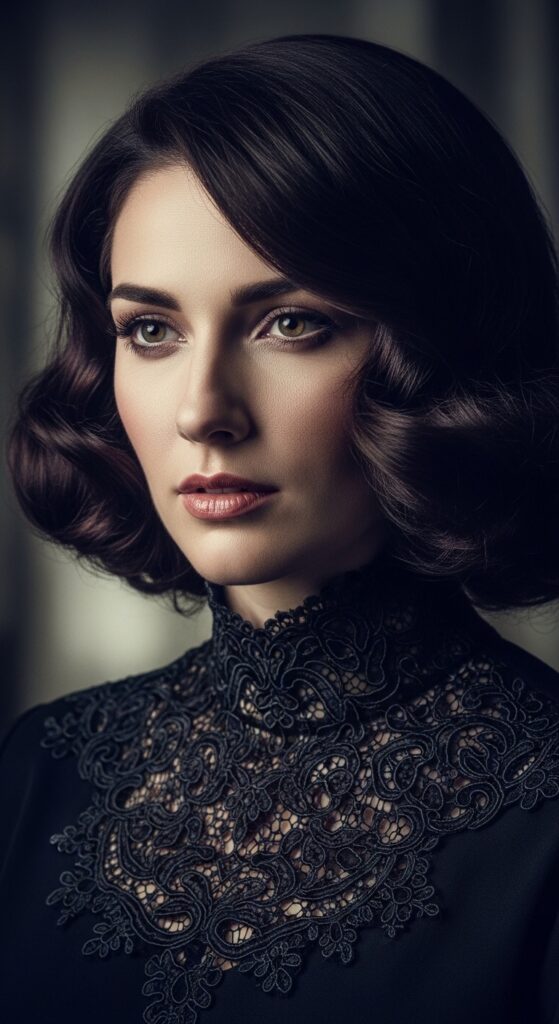
Think less spooky, more poetic. This is for the vampire haircut with a soft heart. We want tons of volume and movement, but with a touchable, soft wave, not tight curls.
After diffusing for root volume, take small sections of hair. Twirl them loosely around your fingers and gently place them back in the diffuser on a low heat setting to set the loose wave. This creates a broken-in, romantic texture.
3. Glitchy Glam Texture
Glitchy glam is all about imperfect, intentional texture. It’s piece-y, a bit undone, and full of attitude. Your diffuser is perfect for creating this separated, edgy bounce.
Use your fingers to scrunch small, random sections of hair into the diffuser instead of using the “cup and lift” method. Dry these pieces completely, leaving others slightly more smooth. This creates that cool, disconnected effect.
4. Asymmetrical Lob Lift
An asymmetrical lob needs volume to really show off its shape. The weight of the longer side can pull hair flat, so we need to combat that with strategic diffusing.
Pay extra attention to the roots on the heavier, longer side. Use the diffuser to push the roots on that side slightly upward and back, creating counter-balancing volume. This makes the cut look intentional and bouncy, not just lopsided.
5. Soft Hime Cut Bounce
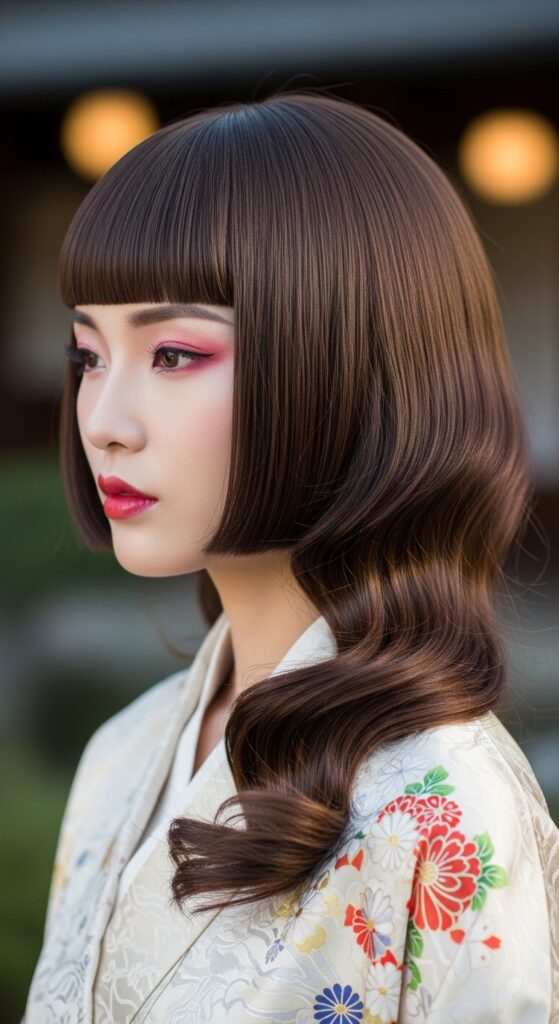
The hime cut features those iconic straight, blunt front strands. The magic is contrasting them with beautiful volume in the back. Your diffuser focuses solely on creating the back’s drama.
Clip the front pieces completely out of the way. Use your diffuser to create maximum bounce and wave in the back and crown sections. Keep the front pieces smooth and straight with a brush and concentrator nozzle. The contrast is stunning.
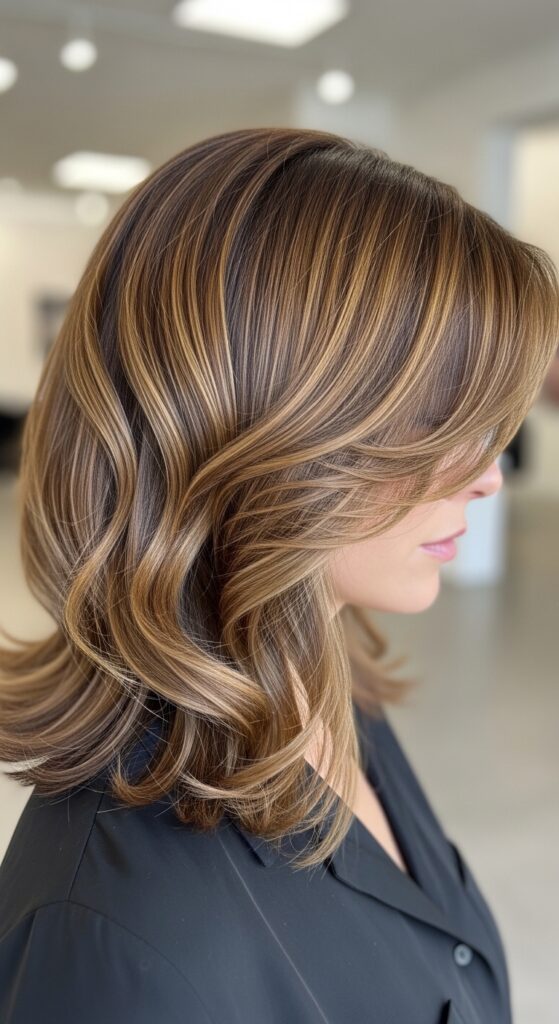
6. The “I Woke Up Like This” Wave
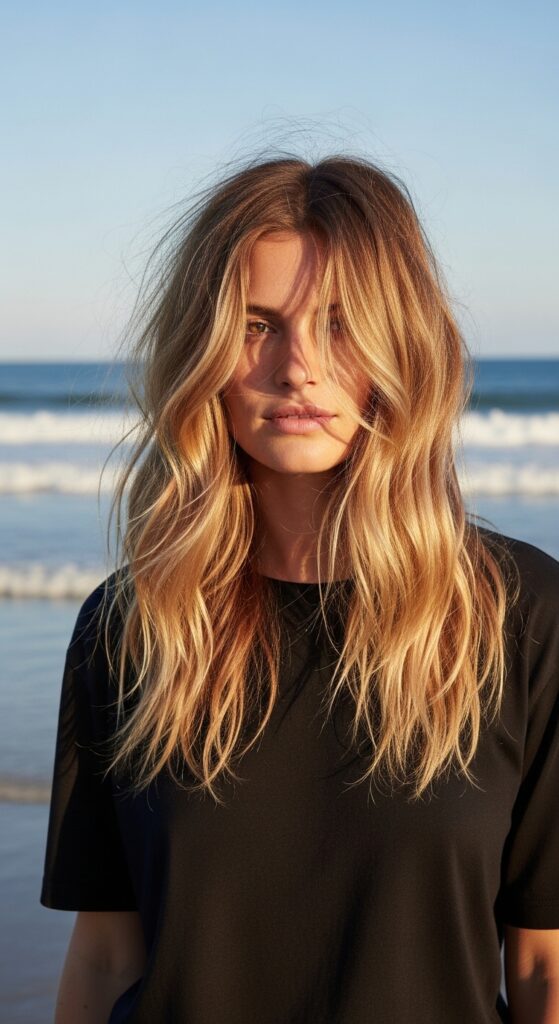
This is the ultimate easy, everyday bounce. It’s for when you want to look put-together but not “done.” The diffuser enhances your hair’s natural wave pattern for a believable, lived-in look.
Apply a texturizing spray or sea salt spray to damp hair. Then, simply scrunch all of your hair upward into the diffuser with your head tilted side to side. Don’t section. Just scrunch and dry on low heat until 80% dry. Let the rest air dry.
7. Root Volume for Fine Hair

If you have fine hair, you know the struggle of flat roots by noon. This technique is for you. The key is product and precise diffuser placement.
Apply a volumizing mousse or spray directly to your roots on towel-dried hair. When diffusing, use the “cup and lift” method but hold it in place a little longer. Let the hair cool completely in the diffuser before moving on. This sets the lift.
8. Curly Girl Bounce & Definition
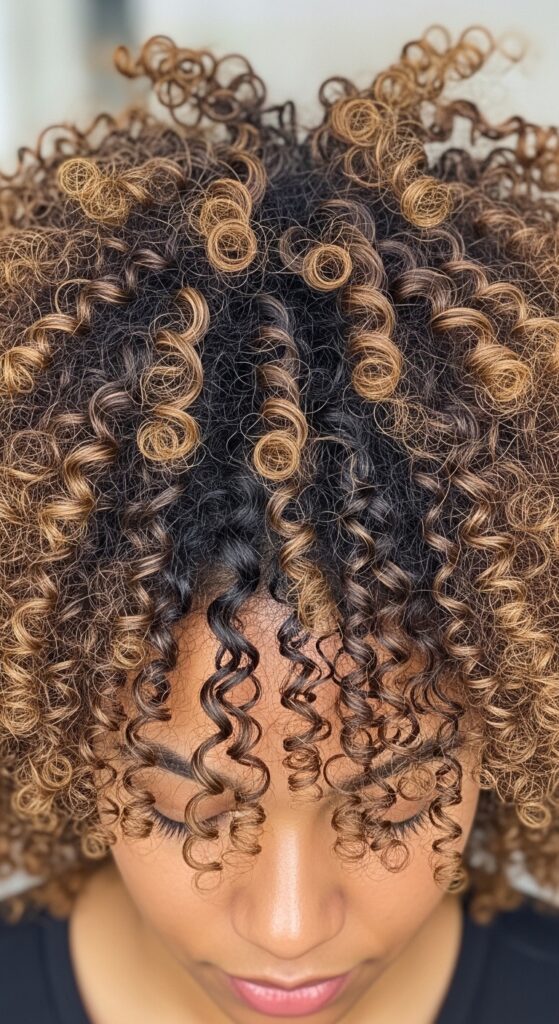
Yes, this is the diffuser’s classic use, but with a bounce focus. We’re not just drying—we’re shaping. The goal is defined, springy curls that last for days.
Use a curl-defining cream. With your head flipped over, place sections into the diffuser without touching or scrunching. Just let it sit there on low heat. This “hover” method dries the curls in their natural formation, reducing frizz and maximizing bounce.
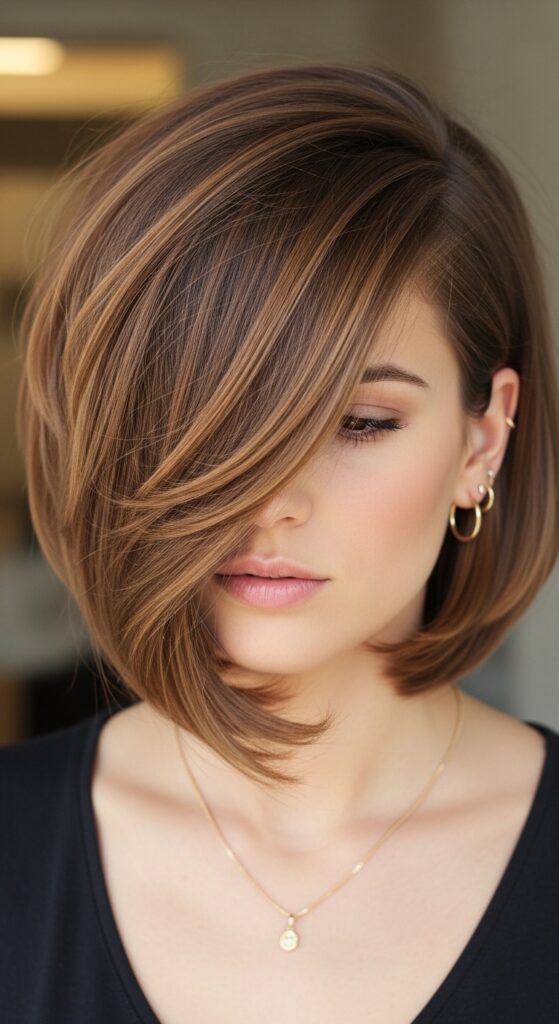
9. The Blunt Bob Blowout
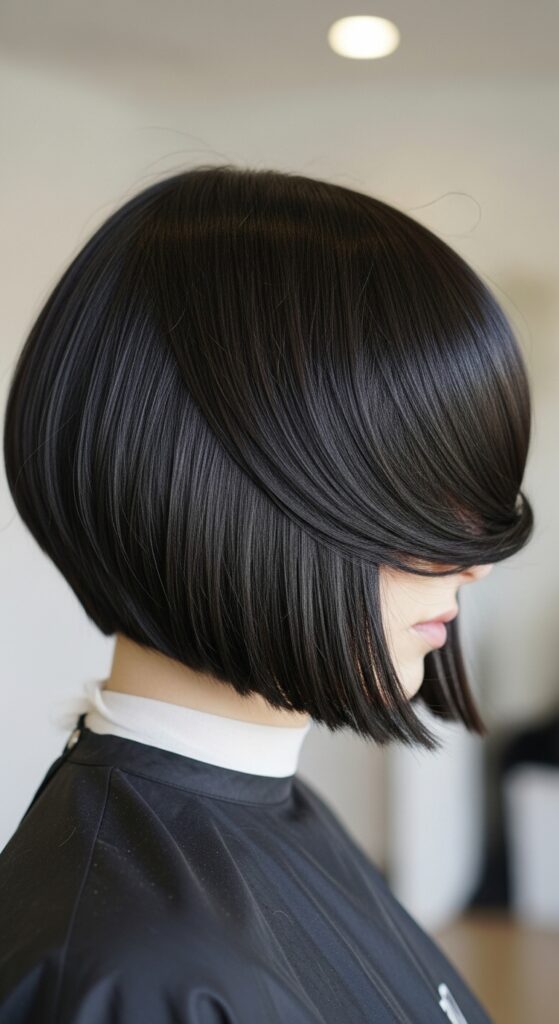
A blunt cut needs movement at the ends to keep it from looking like a helmet. Your diffuser can create a beautiful, uniform flip. Decide if you want ends flipped in or out.
For flipped-out ends, place sections of hair into the diffuser and rotate the diffuser slightly outward as you dry. For flipped-in ends, rotate it inward. Do this on the last inch of hair after the roots are dry to set the direction.
10. Voluminous Ponytail Prep
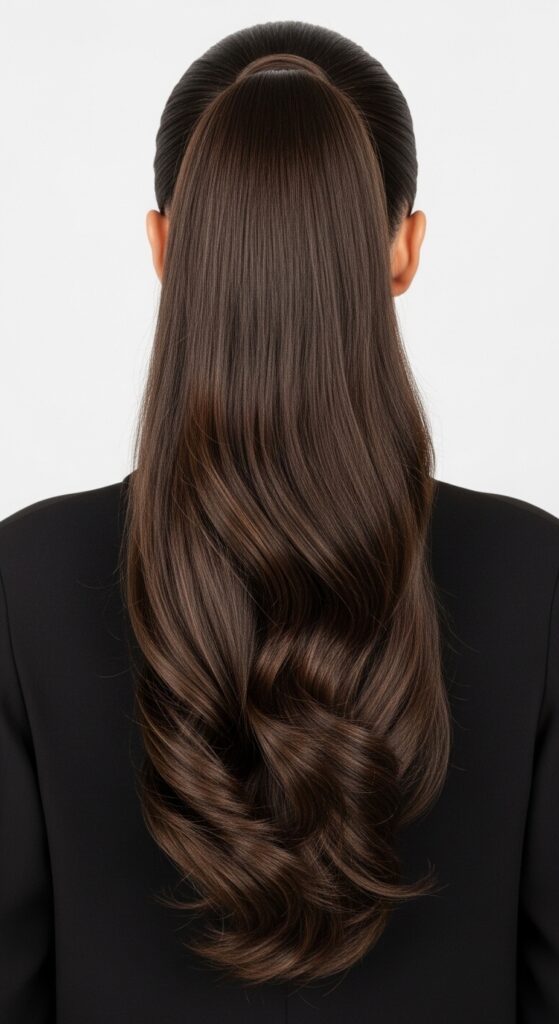
The best ponytails start with a blowout. This gives the tail itself body and creates hidden volume at the crown when you pull it up. It looks polished and expensive.
Diffuse your hair as normal for all-over bounce. Once dry, lightly brush through it. When you gather your ponytail, the hair will be full and smooth. The diffused volume at the crown ensures you don’t get that flat, pulled-tight look.
11. Half-Up, Half-Down Drama
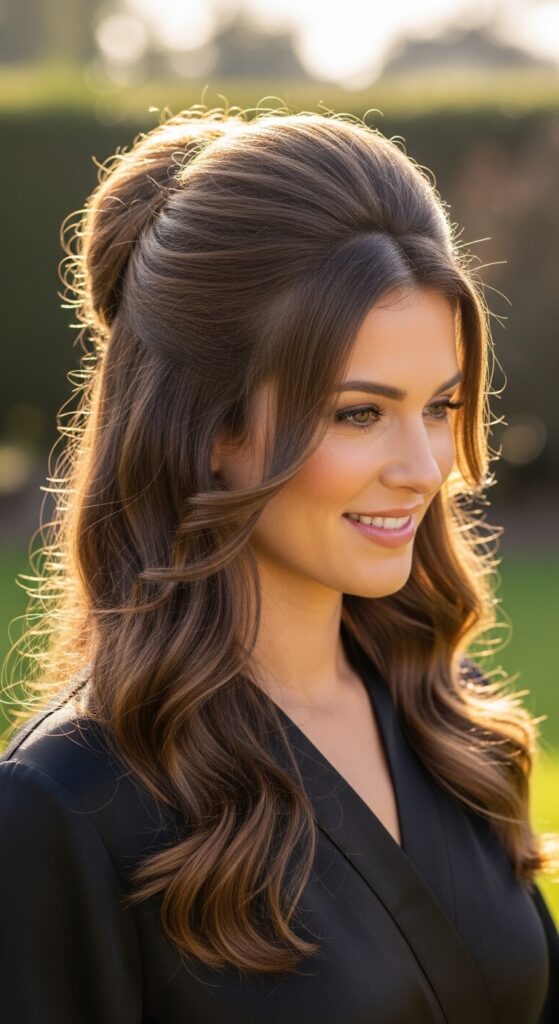
This style lives and dies by the volume in the top section. If that top knot or twist is flat, the whole look falls flat. We’re using the diffuser to build a mountain of bounce.
After overall diffusing, take the top crown section (the part you’ll use for the half-up style). Re-dampen it slightly with a spray bottle and re-diffuse just that section, focusing the lift right at the front hairline. Then, style it up.
12. Overnight Bounce Preservation
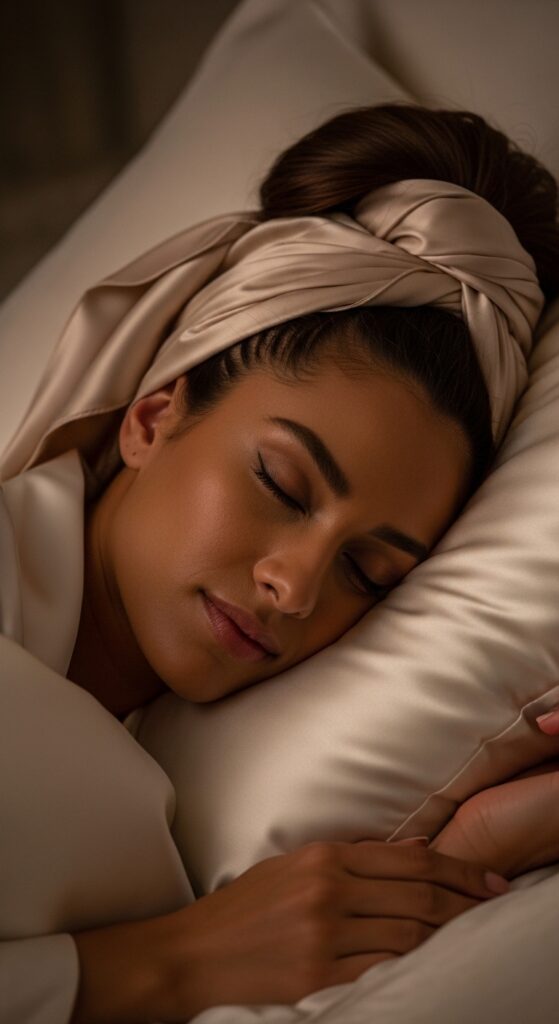
You did the work, now let’s keep it for day two. Preserving your blowout is all about reducing friction while you sleep. Your diffused volume is delicate.
Sleep on a silk or satin pillowcase. Before bed, loosely gather your hair into a very high “pineapple” ponytail on top of your head using a silk scrunchie. In the morning, let it down, flip your head over, and gently shake out the roots.
13> The “Cool Shot” Secret Weapon
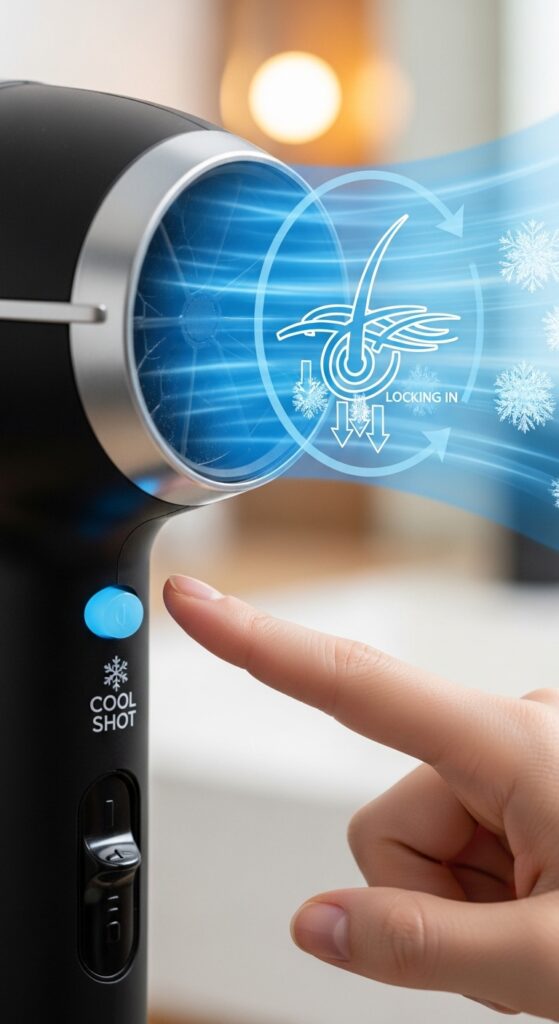
That little blue button on your dryer is not a suggestion. It’s the final, crucial step to lock in your bounce. Heat shapes the hair, but cold air sets it.
Each time you finish diffusing a section, hold the hair in the diffuser and hit the cool shot button for 10-15 seconds. Feel the hair go completely cool. This shocks the hair’s cuticle closed, sealing the style and adding shine. It makes your volume last hours longer.
14. Reviving Day-Old Hair
Day two hair can feel flat. But with a diffuser, you can revive that bounce in under five minutes. No need to fully re-wet your hair.
Spray dry shampoo at your roots for grip and freshness. Then, using your diffuser on a cool or low heat setting, go section by section and re-lift the roots. Use the same “cup and lift” technique. The cool air will reactivate the product and bring the bounce back to life.
Choosing the Right Diffuser for You
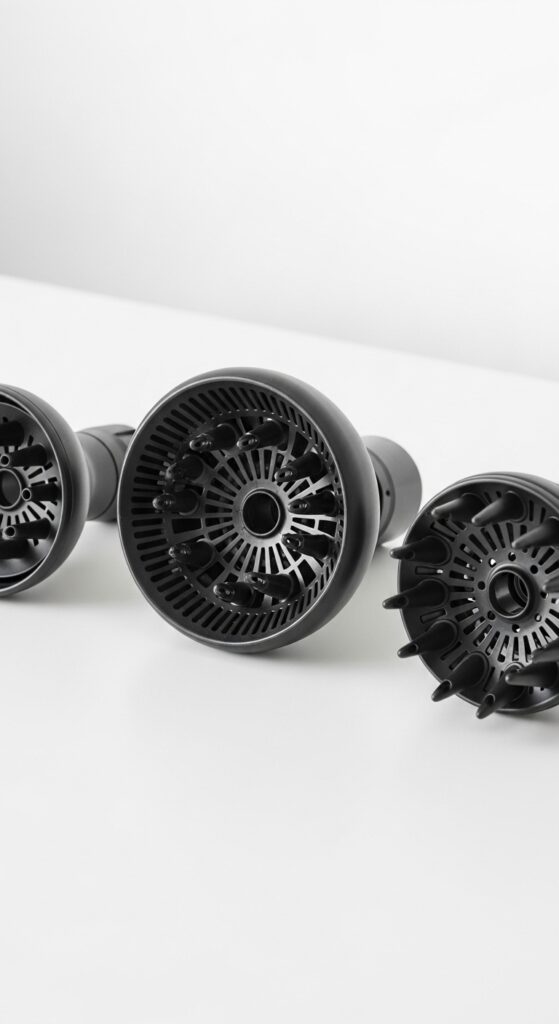
Not all diffusers are created equal. The right one makes the technique so much easier. If your dryer came with a small, basic diffuser, an upgrade might change your life.
Look for a diffuser with a deep bowl and long prongs if you have curly or long hair. For shorter or finer hair, a wider, shallower bowl is great for volume. Many brands now sell universal diffusers that fit multiple dryer models. It’s a worthy investment.
Product Recommendations for Lasting Hold
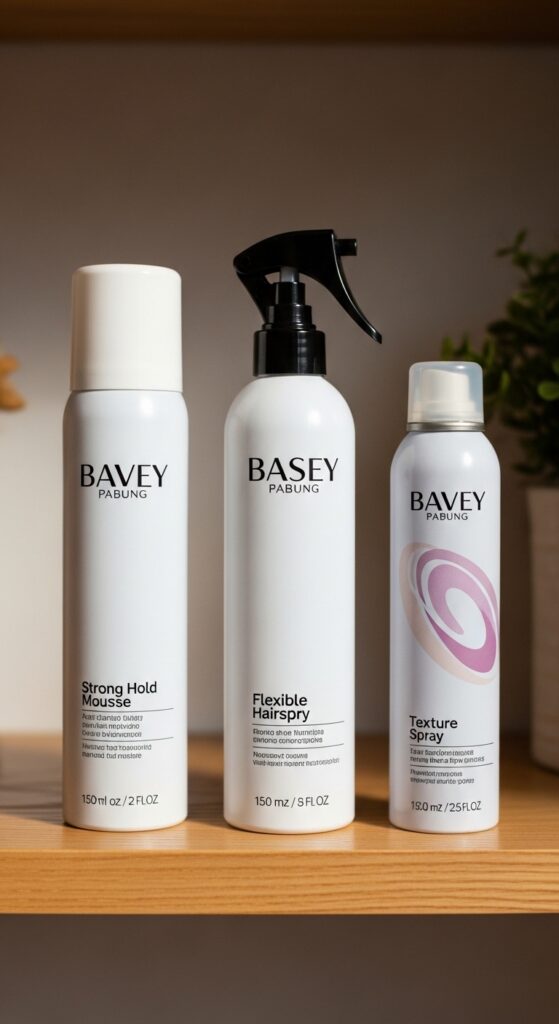
The right products partner with your diffuser to make the bounce last. You don’t need a lot, but you need the right type. Here are my go-tos for different finishes.
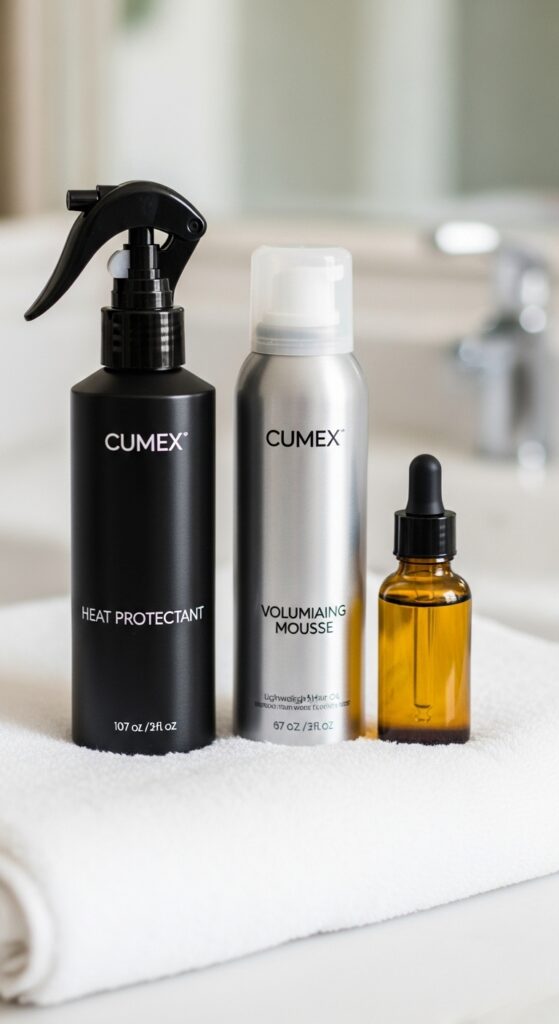
- For Strong Hold: A volumizing mousse applied to roots on damp hair.
- For Flexible Hold: A texture spray applied mid-lengths after diffusing.
- For Shine & Frizz Control: A single drop of oil on palms, smoothed over ends after drying.
Common Diffuser Mistakes to Avoid
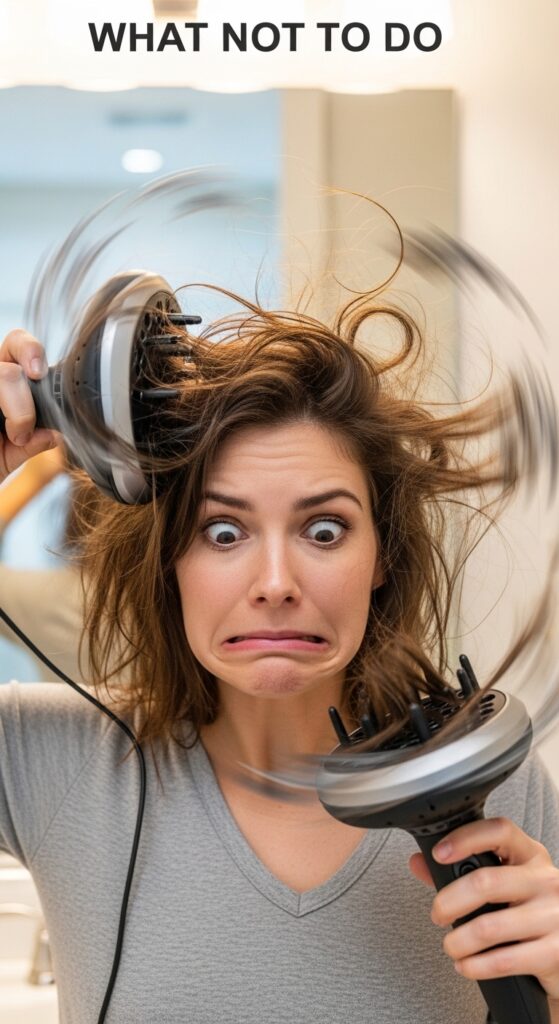
I made these mistakes for years, so you don’t have to. Avoiding these will instantly improve your results. The biggest one is rushing.
Don’t move the diffuser around while it’s on high heat—this causes frizz. Don’t use it on soaking wet hair; towel dry first. Don’t forget the cool shot! And never, ever rub your hair with a regular towel before diffusing.
Diffusing for Different Hair Lengths
The basic technique adapts slightly based on your length. The principles are the same, but your focus changes. Here’s the quick breakdown.
Short Hair: Focus almost entirely on the roots. Use the diffuser to push hair in the direction you want it to go. Medium Hair (Lobs): Perfect for the basic bounce technique. Work in clear sections. Long Hair: Prioritize drying the roots first to avoid weighing hair down. Then, gently cup lengths for wave.
When to Diffuse vs. When to Use a Brush
You don’t have to choose just one tool. I often use both in the same session. They serve different purposes, and together they create the ultimate blowout.
Use your diffuser first to get 90% dry and build all your root volume. Then, for the final smoothing and perfecting of the ends, take small sections and use a round brush with your dryer’s concentrator nozzle. This gives you the best of both worlds: volume and polish.
Your Final Touch: The Hairspray Hack
A stiff, crunchy hold is not the goal. We want touchable hair that still stands up all day. This spraying technique is a pro trick for invisible hold.
After styling, flip your head over. Hold a flexible-hold hairspray about 10 inches away and mist it lightly into the roots at the crown. Do not spray the lengths. This gives your root volume an invisible net of support without any stiffness or residue.
And there you have it. Fourteen ways to get that salon-quality bounce with a tool you probably already own. The best part? It gets faster every time you do it. Your arms will thank you, and your hair will look like you just left the salon.
Remember, great hair is about technique, not just products or expensive cuts. Mastering your diffuser is one of the smartest, most practical skills you can add to your routine. It opens up so many styling doors, from quiet luxury to romantic goth and everything in between.
Did you try one of these techniques? I’d love to hear which one worked for you! Drop a comment below and tell me about your hair win. And if you found this guide helpful, save this post to Pinterest so you can always come back to it. Happy diffusing!