Balayage 14 Shadow Root Techniques Fading Seamlessly into Highlights
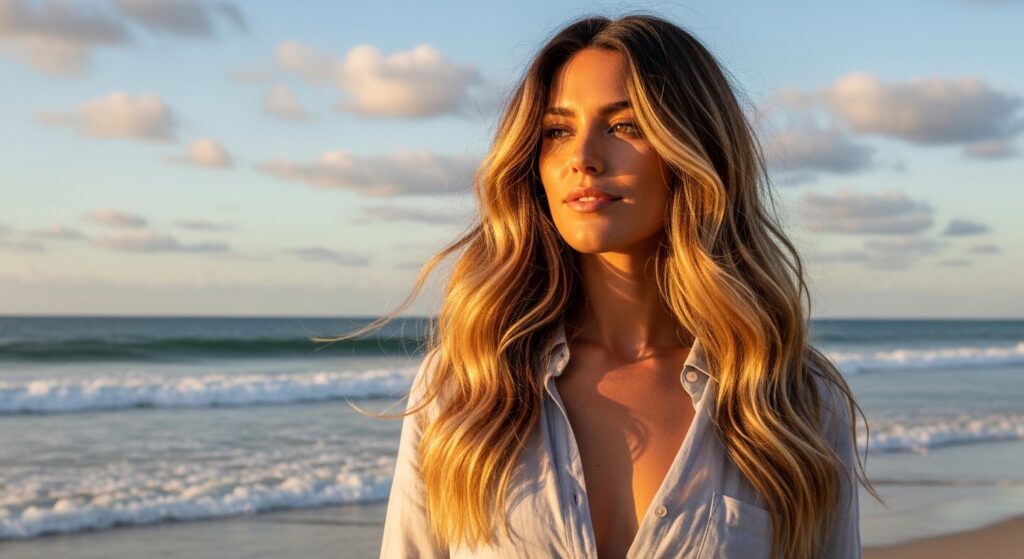
Okay, let’s be real. You’ve seen those gorgeous, sun-kissed balayage looks that seem to grow out perfectly. And you’ve probably also seen the harsh, stripey ones that scream “touch-up needed yesterday.” The secret to the first kind? A flawless shadow root.
It’s the magic trick that makes your color look expensive, lived-in, and totally natural from day one. No more obvious lines or that awkward “I just got my hair done” look. It’s the ultimate in low-maintenance luxury.
Today, I’m breaking down everything about balayage with a shadow root. Think of this as your go-to guide for talking to your stylist, understanding the process, and keeping that gorgeous color fresh. We’re getting into the 14 key techniques that create that seamless, dreamy fade.
By the end, you’ll know exactly how to ask for the soft, blended look that grows out gracefully. Let’s get into it.
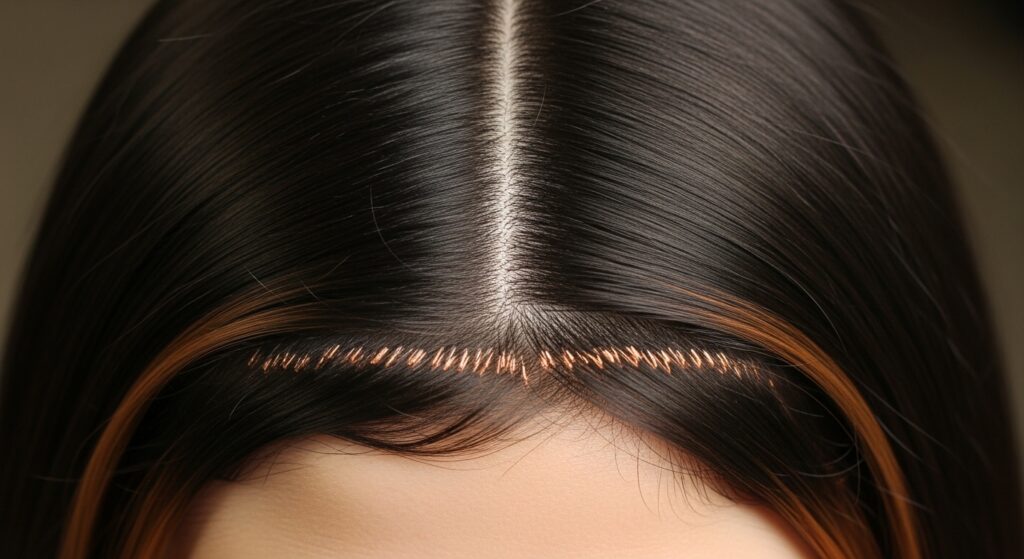
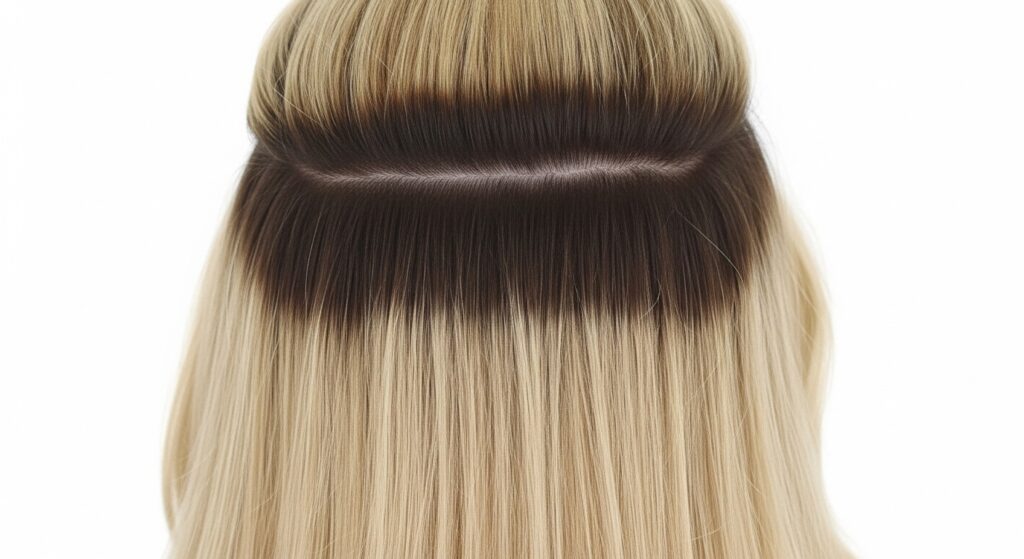
What Is a Shadow Root, Really?
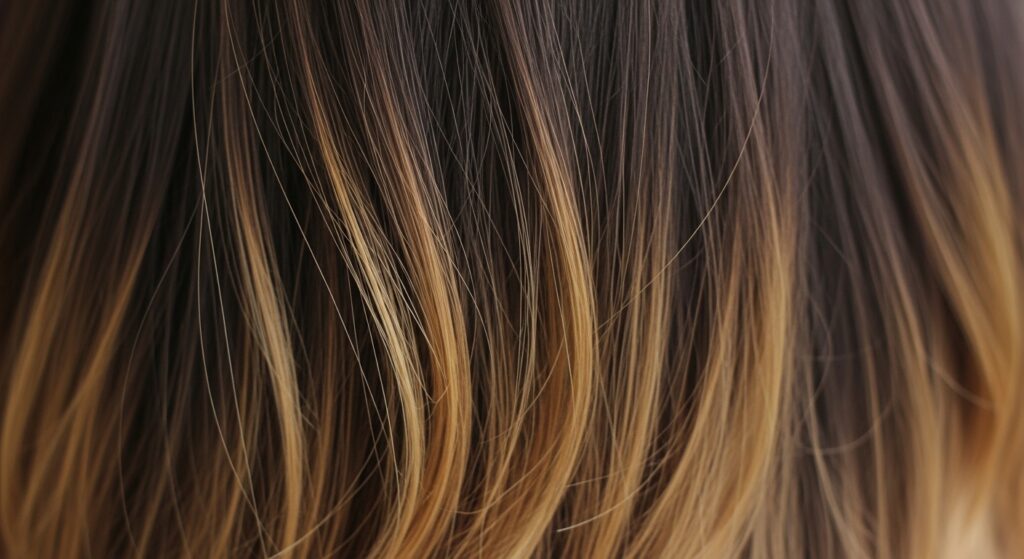
Think of a shadow root as a soft blur at the top of your head. Instead of your natural color meeting your highlights in a straight line, a darker, richer shade is painted right at the roots. This creates a shadowy, diffused effect.
It mimics how hair naturally looks when the sun lightens it—darker at the scalp, lighter towards the ends. This technique is the hero behind the most natural-looking balayage and a huge part of the old money hair aesthetic. It’s all about looking effortlessly polished.
Why the Shadow Root is a Game-Changer
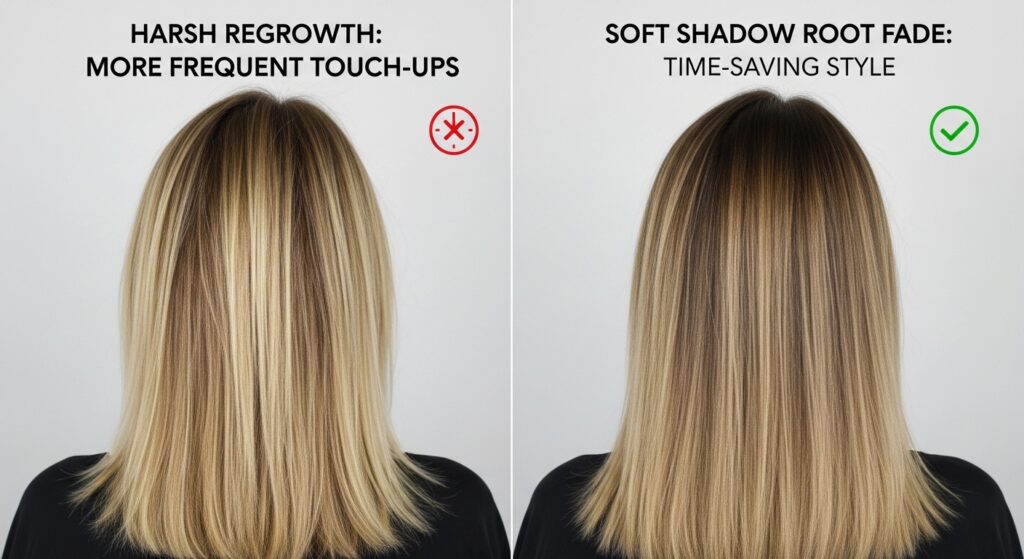
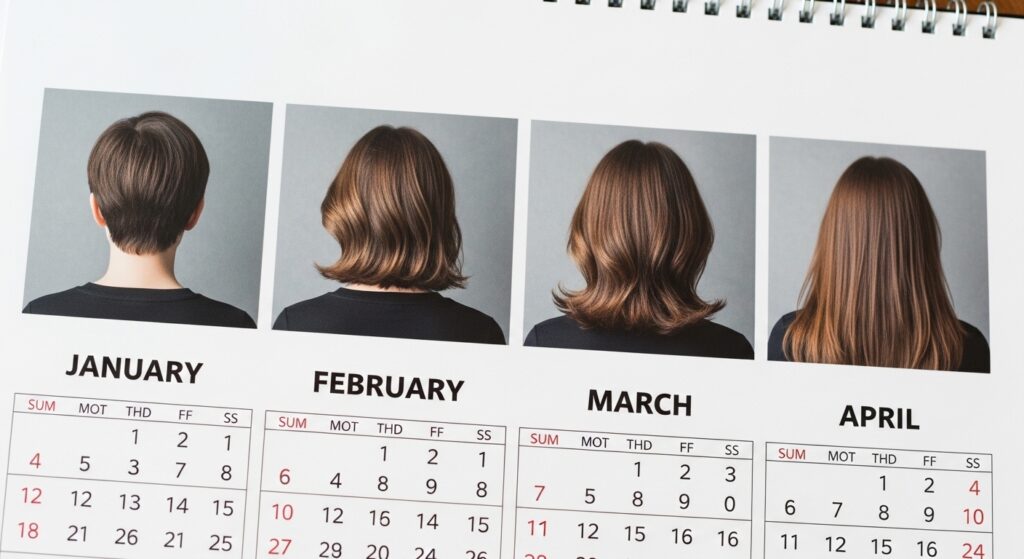
First, it buys you so much time between salon visits. Since the root is intentionally darker, regrowth is camouflaged. You can easily go 4-6 months without a touch-up and still look amazing.
Second, it adds depth and dimension. Flat, all-over color can look one-dimensional. A shadow root creates contrast, making your highlights pop and giving your hair incredible movement. It’s the foundation for a truly custom color.
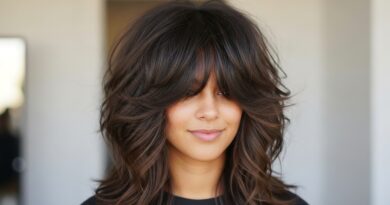
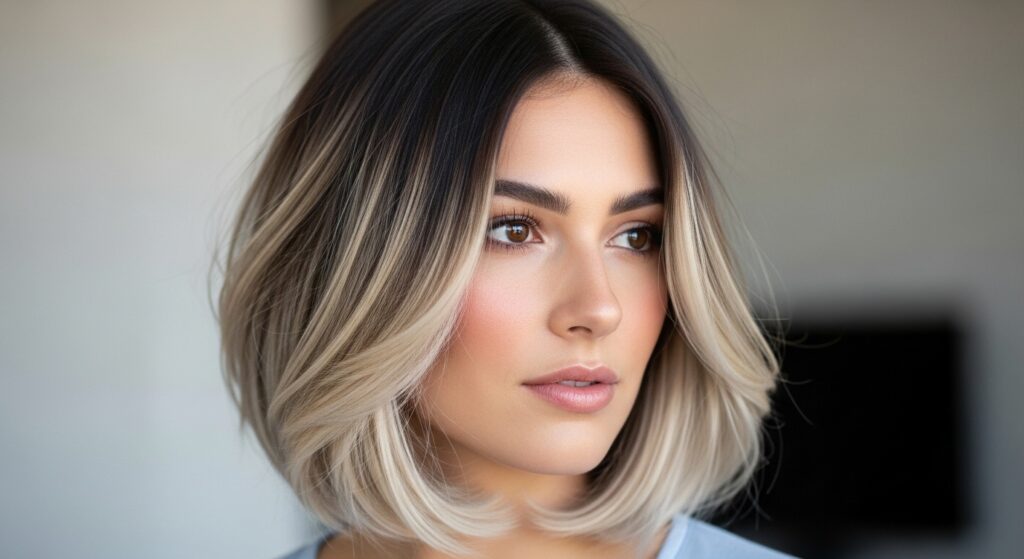
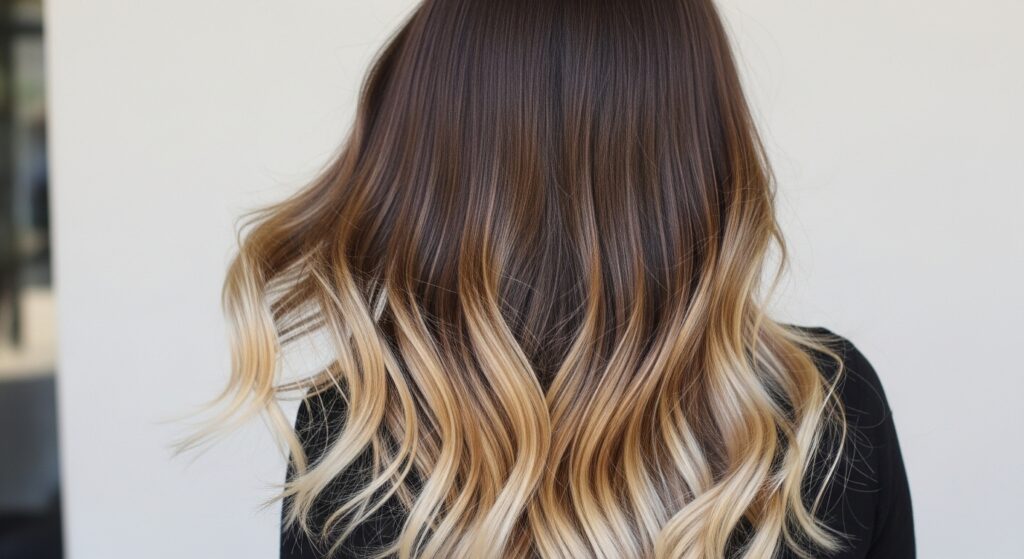
Technique 1: The Classic Balayage + Shadow Root
This is the most requested look. Your stylist will first apply the shadow root color close to your natural shade, then hand-paint the balayage highlights onto the mid-lengths and ends. The two are blended while wet to soften any lines.
The result is that iconic, beachy, lived-in color. It works on almost every hair length and texture. It’s timeless and a perfect starting point for anyone new to dimensional color.
Technique 2: The Smudged Root for Ultimate Softness
This takes blending to the next level. After applying the shadow root color, the stylist uses a brush or their fingers to literally “smudge” the color down into the highlights before processing.
This erases any chance of a visible line. It creates the most ethereal, cloud-like fade. It’s perfect for those who want zero contrast and the most natural grow-out imaginable.
Technique 3: Root Stretching for Longer Regrowth
Here, the darker root color is applied over a larger section at the top of the head, sometimes 2-3 inches down. It’s not just at the scalp. Then, balayage is painted starting below that point.
This is genius for anyone who wants to extend time between appointments even further. It creates a deeper, more dramatic shadow that seamlessly melts into the lighter ends, a key for 2026 hairstyles focusing on low upkeep.
Technique 4: The Color Melt
A color melt involves using multiple, closely related shades to create one fluid, ombre-like transition. The shadow root is one shade, which is then melted into a mid-tone, then into the lightest highlight at the ends.
It’s like a watercolor painting for your hair. There are no distinct sections, just a beautiful flow of color. This technique is stunning on asymmetrical lob cuts, as it follows the shape of the hair.
Technique 5: Babylights at the Part Line
To avoid a solid, dark “cap” at the top, stylists often weave in tiny, fine babylights right at the part line and around the face within the shadow root section.
These delicate lights break up the darkness and add a subtle glow from within. It makes the overall look softer and more natural, as if the sun lightly touched the very top layers of your hair.
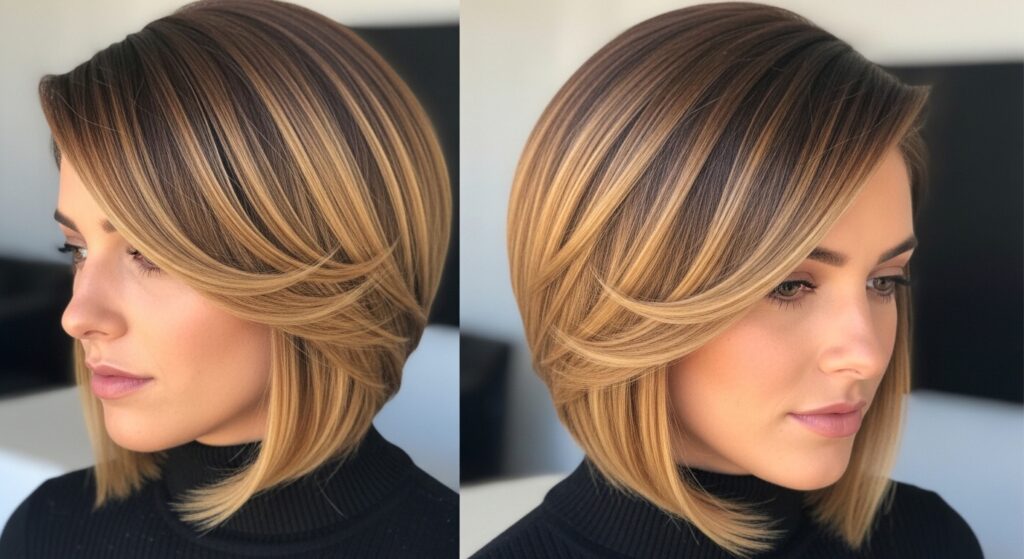
Technique 6: Face-Framing Shadow Root
This is a more targeted approach. A deeper shadow is concentrated around the hairline and face-framing pieces, while the crown or back might be lighter. It’s like contouring for your face.
It adds incredible dimension and makes your features pop. This technique is a cornerstone of the quiet luxury bob, where subtle detail makes all the difference.
Technique 7: The “Lived-In” Lowlight Blend
Instead of just one shadow root color, your stylist might use a few different lowlight shades that are close to your natural color. These are painted in alternating sections within the root area.
This creates incredible, multi-tonal depth that looks like you’ve had highlights for years. It’s the ultimate in realistic, no-makeup-makeup but for hair.
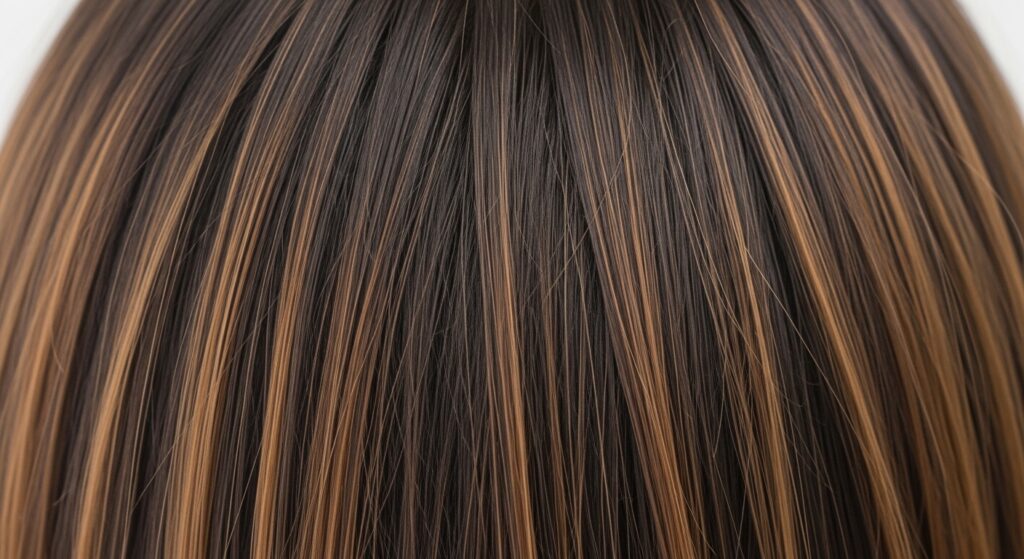
Technique 8: Shadow Root on Darker Hair
Yes, this works on brunettes and black hair! The shadow root is often a true black or deepest brown, blended into rich, dimensional shades like chestnut, mahogany, or caramel.
The contrast is softer but just as stunning. It adds movement without going blonde. This can be a beautiful, subtle base for romantic goth hairstyles, adding depth to dark waves.
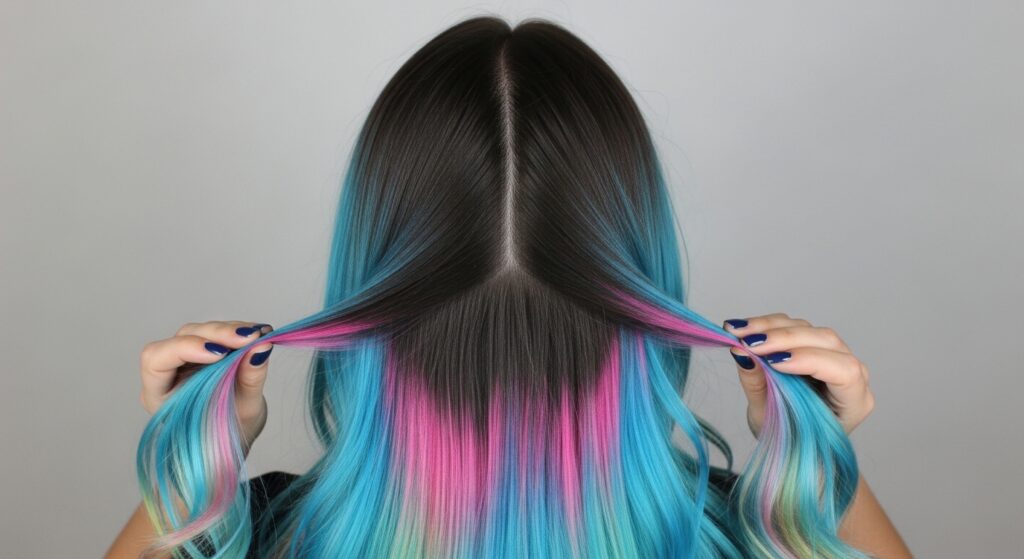
Technique 9: The “Glitchy Glam” Root
For the glitchy glam hair trend, the shadow root isn’t perfectly blended. It might have intentional, slight breaks or “glitches” where a highlight pops through abruptly at the root, or the shadow color is applied in a more graphic section.
It’s a more artistic, editorial take. The fade is less seamless on purpose, creating a cool, modern disruption in the color flow.

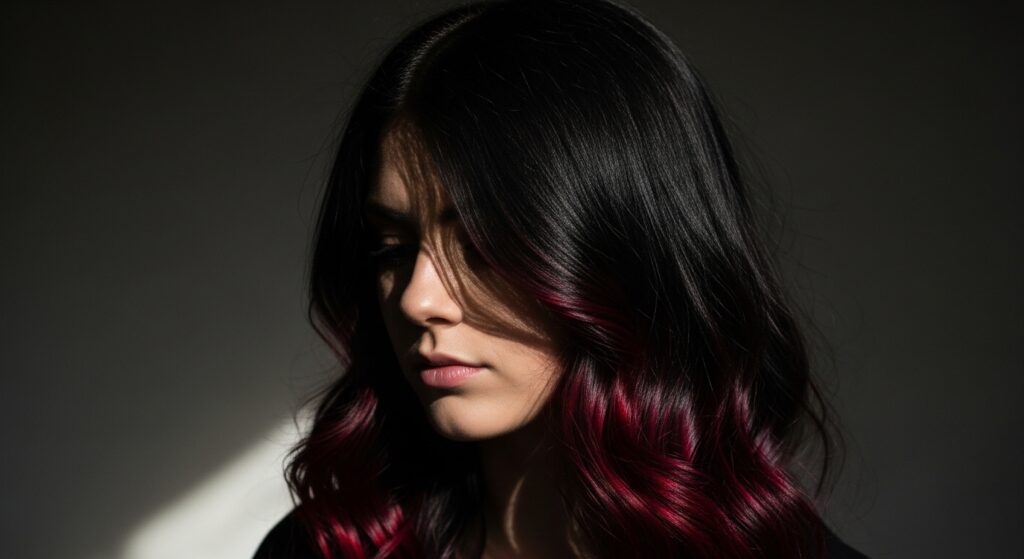
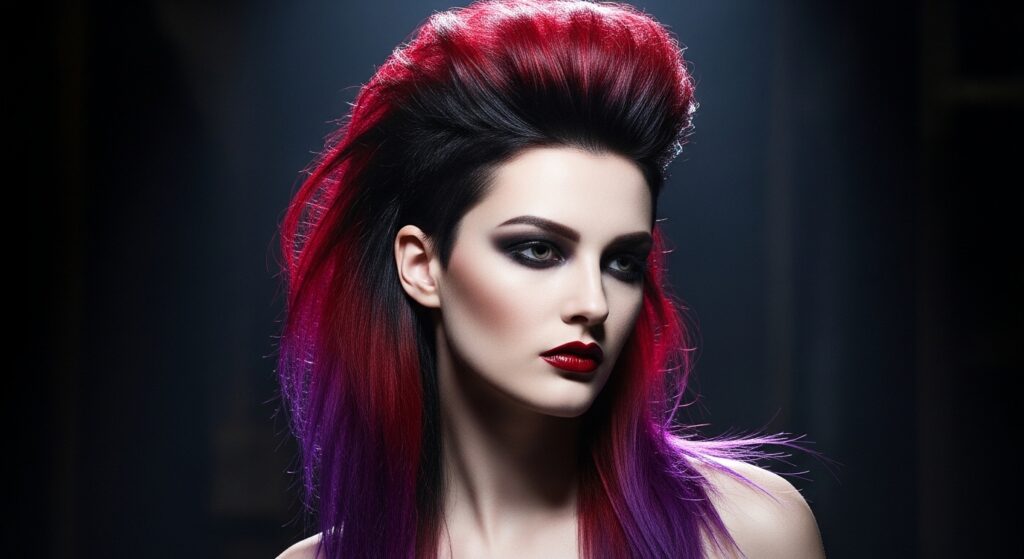
Technique 10: Shadow Root for the “Vampire” Cut
The vampire haircut (that sharp, shaggy mullet) needs a color with attitude. A deep, cool-toned shadow root (think blue-black or charcoal) melted into burgundy, violet, or silver ends is pure magic.
The shadow root grounds the edgy cut and makes the vibrant ends look even more intense. It’s a perfect match of bold shape and bold color.
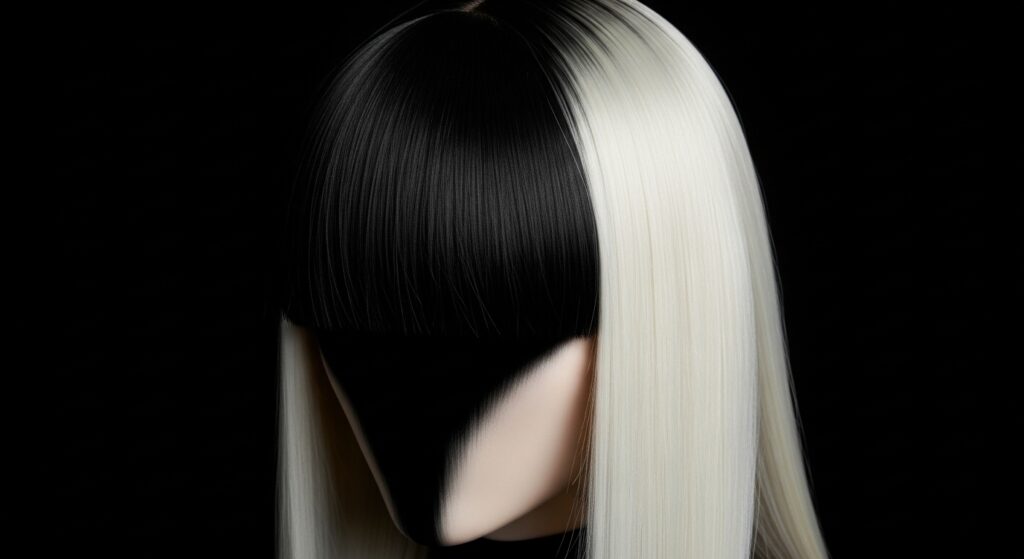
Technique 11: Perfecting the Hime Cut Contrast
The hime cut, with its straight-across fringe and sharp, long sidelocks, is a statement. A strong shadow root provides a beautiful, heavy contrast against very light, blunt ends.
This emphasizes the geometric shape of the cut. The transition can be more defined or softly melted, depending on the desired look—from anime-inspired to softly modern.
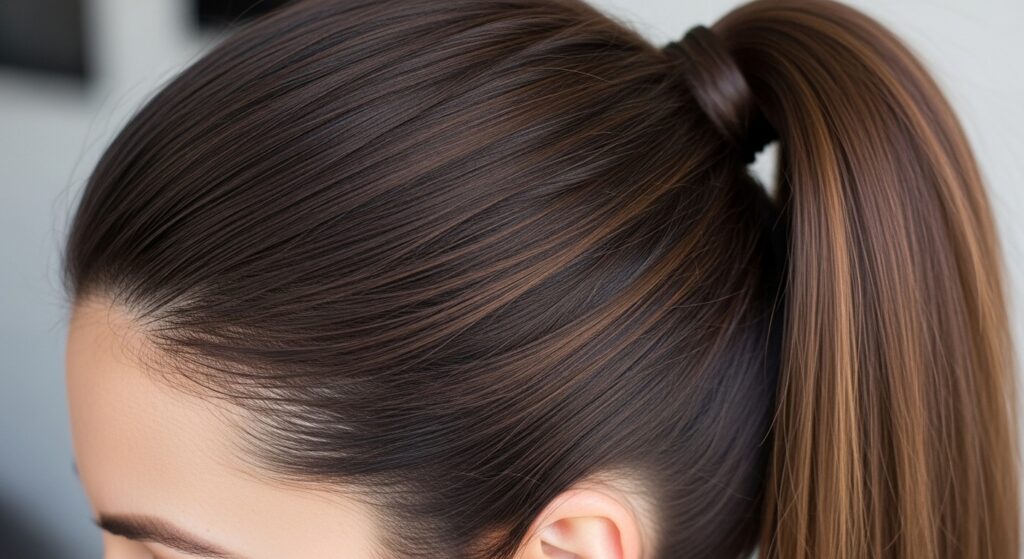
Technique 12: Tonal Shadow Roots (No Lighter)
You don’t need to go lighter to benefit from this technique. A tonal shadow root uses a shade slightly darker than your ends to create dimension on, say, all-brunette hair.
It adds richness and prevents color from looking flat. It’s the most subtle application of the technique, perfect for a professional yet polished look.
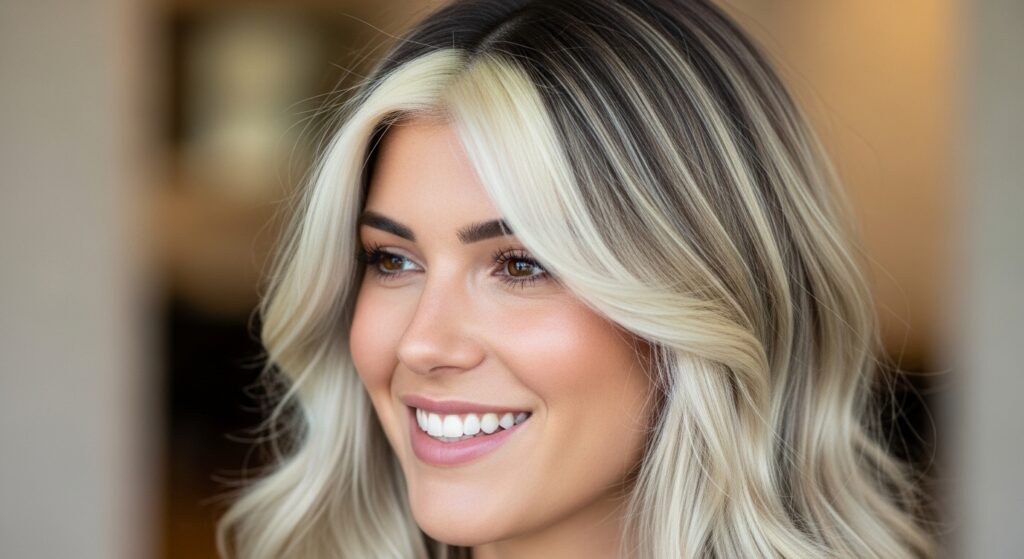
Technique 13: The Money Piece with a Shadow
The bright, face-framing “money piece” is even more striking when it emerges from a shadow root. The dark base makes those front highlights look like they’re glowing from within.
Ask your stylist to keep the shadow root soft around your face, so the bright pieces don’t look like stripes. This combo is everywhere for a reason—it’s instantly brightening.
Technique 14: The Ombre-Balayage Hybrid
This combines two techniques: a classic, graduated ombre at the ends for a strong light effect, with a balayage + shadow root on the top/mid-lengths for a soft, natural regrowth.
It gives you the best of both worlds—dramatic lightness without the harsh root line. It’s a very customizable approach for those who love a bold end result but want a soft start.
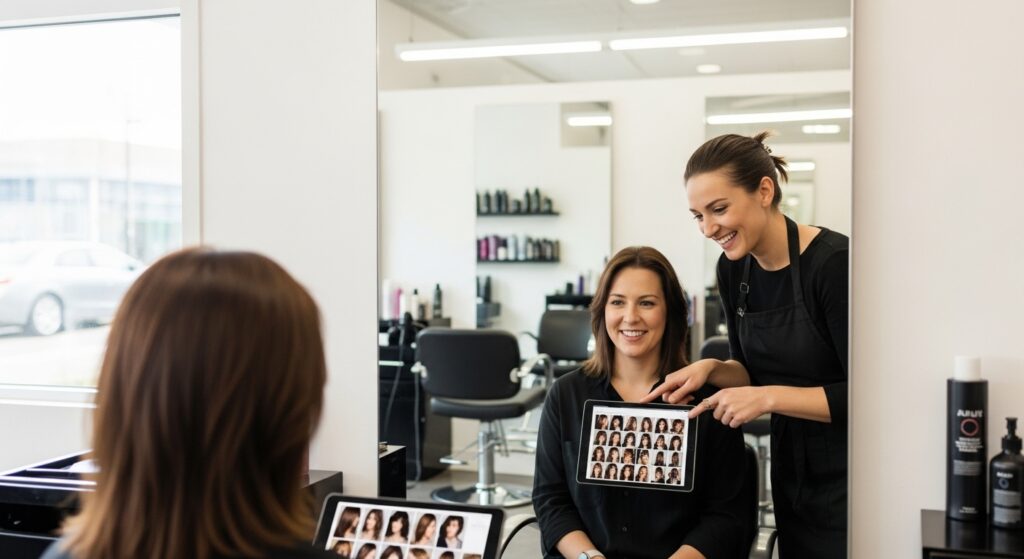
How to Talk to Your Stylist
Bring pictures! Say you want a “soft, blended shadow root” or a “lived-in root smudge.” Be clear about how much contrast you want. Do you want it to look super natural or more dramatic?
Mention your lifestyle. “I only get my hair colored twice a year” tells them to stretch the root. Good communication is the key to walking out with the hair of your dreams.
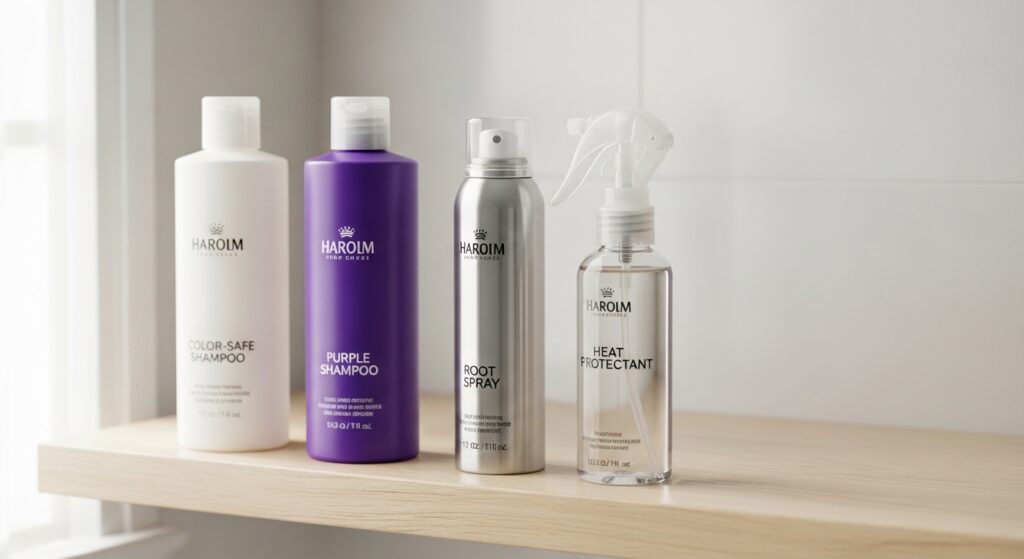
Caring for Your Shadow Root at Home
Use a color-safe, sulfate-free shampoo and conditioner. This protects your investment. A purple shampoo on your highlights (avoiding the root) can keep brassiness away.
Consider a root-concealing spray or powder for extra days between washes. It can blend any slight regrowth even further. Heat protectant is non-negotiable before styling!
- Color-safe shampoo & conditioner
- Purple shampoo (on highlights only)
- Root touch-up spray
- Heat protectant spray
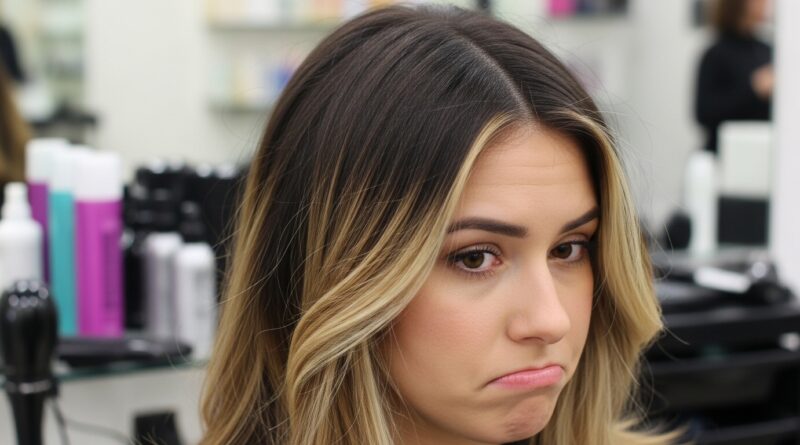
Common Shadow Root Mistakes to Avoid
The biggest mistake is a shadow root that’s too dark or too solid, creating a “helmet head” look. This happens when there’s no blending or babylights within the root section.
Another is placing the shadow root too high on the head, making hair look top-heavy. A skilled stylist will place it strategically based on your part and bone structure.
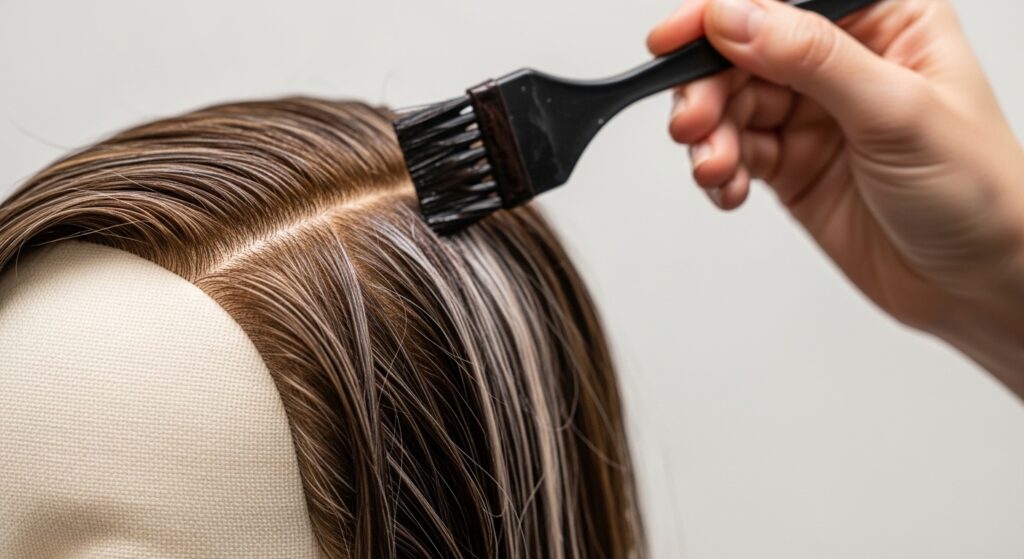
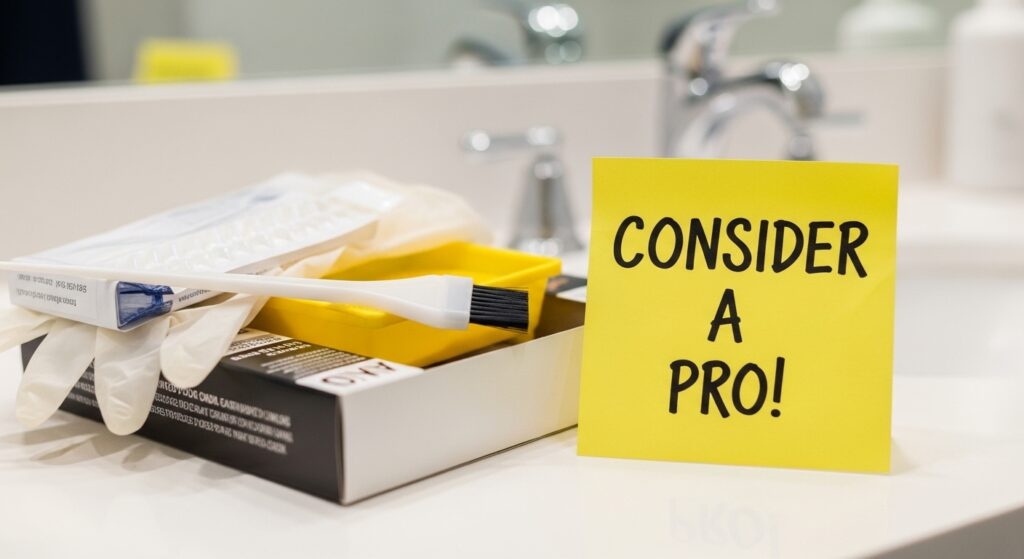
Can You Do a Shadow Root at Home?
I have to be honest: this is a pro technique. The blending is everything, and it’s very hard to do on yourself. A mistake can mean a harsh line or uneven color that’s costly to fix.
If you’re experienced with box dye, look for kits labeled “ombre” or “root smudging.” But for that seamless, salon-quality fade, investing in a professional is truly worth it.
How Often Do You Really Need a Touch-Up?
With a well-done shadow root, you can easily go 4-6 months. The whole point is that it grows out beautifully. You might just need a gloss or toner refresh around the 3-month mark to keep the ends vibrant.
Your schedule depends on your chosen contrast level and how perfect you want it to look. But say goodbye to that 6-week root touch-up panic!
Finding Your Perfect Shadow Root Shade
Your shadow root should be within 1-2 shades of your natural color for the most natural look. Cool-toned natural hair? Go for a cool ash brown shadow. Warm undertones? A golden or neutral dark blonde.
Your stylist will help you decide if you should match your natural color or go slightly darker/richer for more drama. It’s all about enhancing what you have.
Final Thoughts From the Salon Chair
A balayage with a shadow root is the ultimate in smart, beautiful hair color. It’s designed to look better with time, save you money on upkeep, and give you that “I woke up like this” vibe we all crave.
Whether you’re into quiet luxury or romantic goth vibes, this technique is your foundation. It’s the detail that takes good color and makes it great.
So, there you have it—the full breakdown of the technique that makes all the difference. I hope this demystifies what to ask for and gives you the confidence to go for that perfectly imperfect, lived-in color.
Remember, the best hair color enhances you and fits your real life. A seamless shadow root is the ultimate tool for making high-maintenance color look incredibly low-maintenance. It’s a game-changer.
Save this post to Pinterest to keep this guide handy for your next salon visit! And tell me in the comments—are you team subtle shadow root or team dramatic color melt? I read every one!