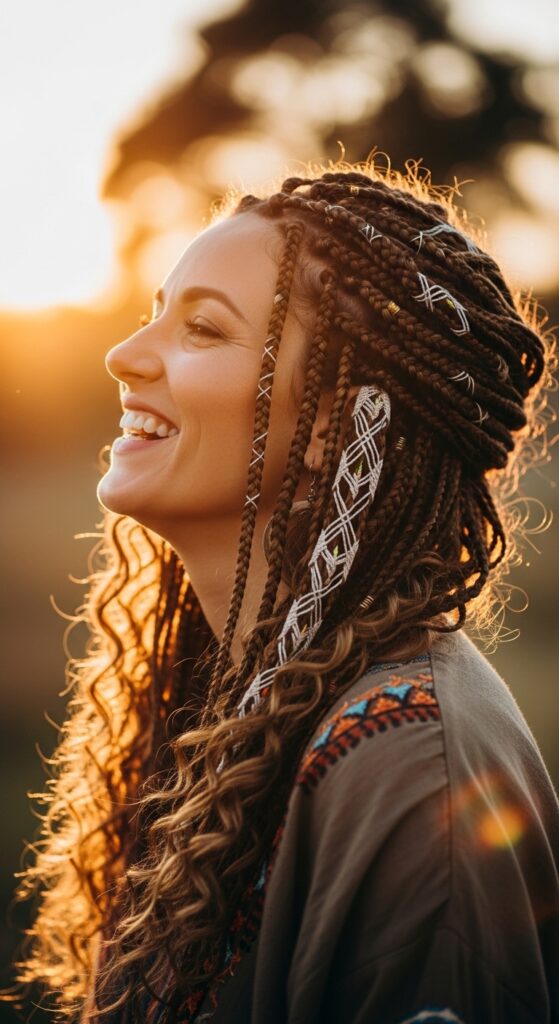
Boho Braids with Curly Ends: Step-by-Step for Beginners
Okay, let’s be real. You’ve seen those gorgeous, effortless-looking boho braids all over your feed and thought, “I could never do that myself.” I totally get it. My first few attempts were… well, let’s just say they were more “messy mom bun” than “boho goddess.”
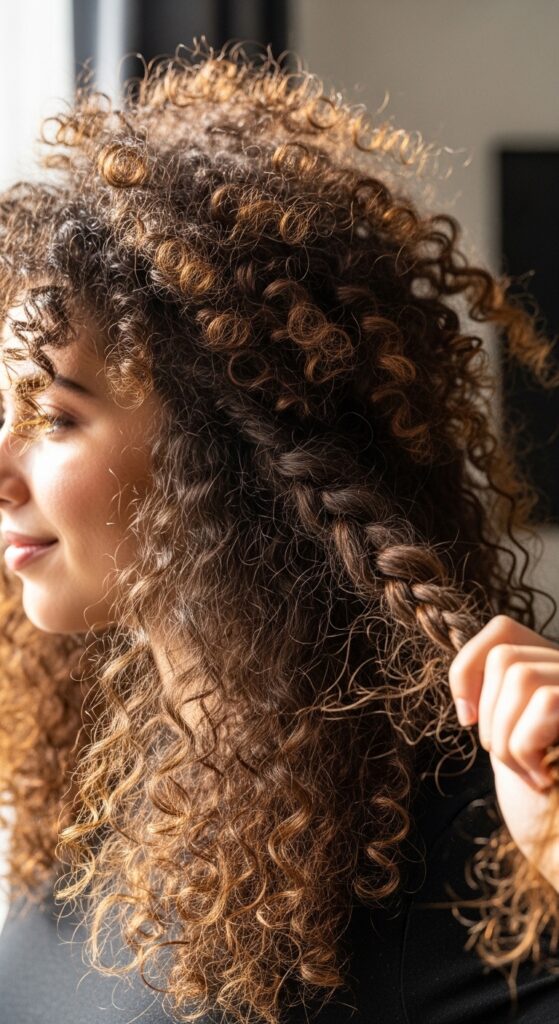
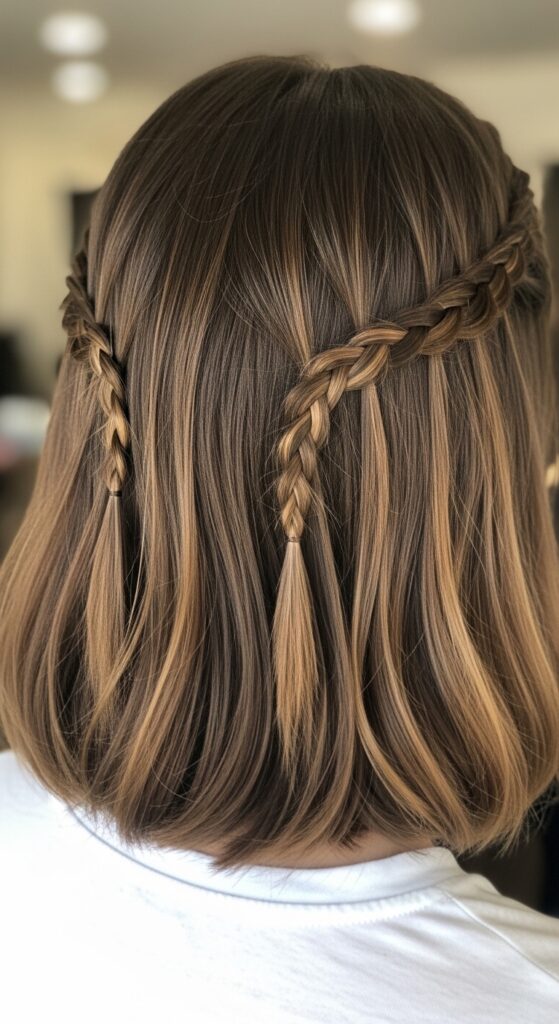
But here’s the secret: it’s way easier than it looks. This style is perfect for beginners because it’s meant to be a little loose and imperfect. The magic is in the curly ends—they add that romantic, lived-in vibe we all love.
I’m breaking it down into the simplest steps possible. No fancy skills required, just your hands, a few basic products, and about 20 minutes. Let’s turn that Pinterest dream into your everyday reality.
Why Boho Braids Are a Total Game-Changer
Boho braids are the ultimate versatile hairstyle. They work for a casual coffee run, a day at the office, or even a fancy dinner. They give you that “I woke up like this” chic without the actual effort.
Plus, they’re incredibly gentle on your hair. Unlike super tight braids, this style has enough give to prevent breakage. It’s a protective style that lets you show off your texture, especially with those soft curly ends.
While trends like the quiet luxury bob or asymmetrical lob are huge for 2026 hairstyles, braids offer a timeless, bohemian flair that never really goes out of style.
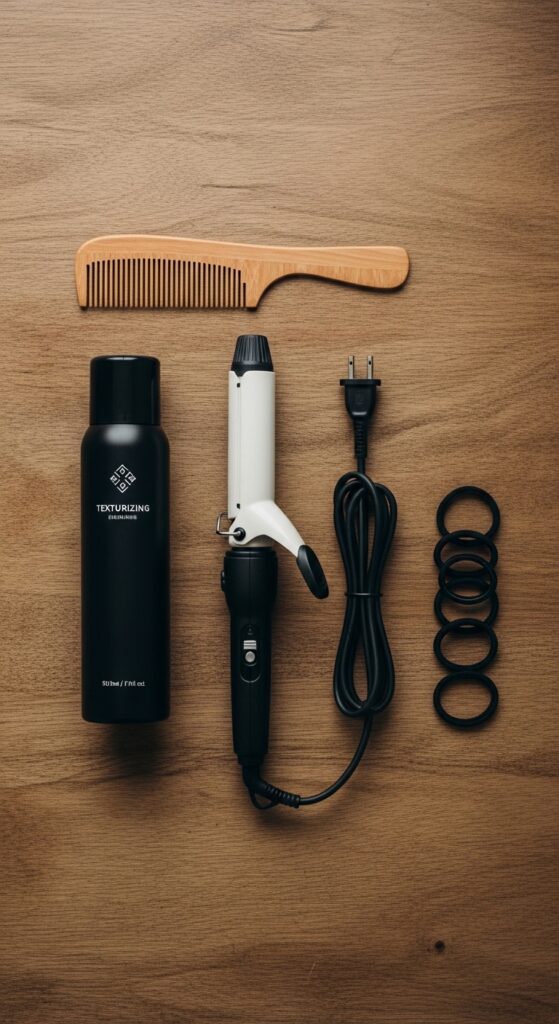
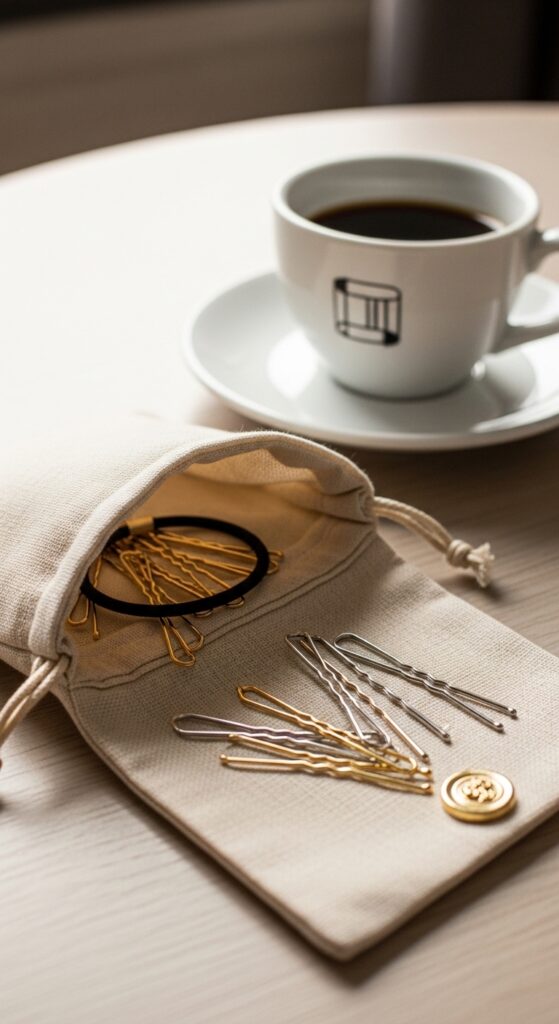
What You’ll Need: Your Simple Tool Kit
Don’t worry, you won’t need a salon’s worth of supplies. Here’s the short list of what I always grab before I start. Having everything within arm’s reach makes the whole process smoother.
- A fine-tooth comb for parting
- Regular hair ties (clear or matching your hair color)
- A light-hold texturizing spray or sea salt spray
- A curling wand or iron (1-inch barrel is perfect)
- A few bobby pins (just in case)
Step 1: Start with Day-Old Hair
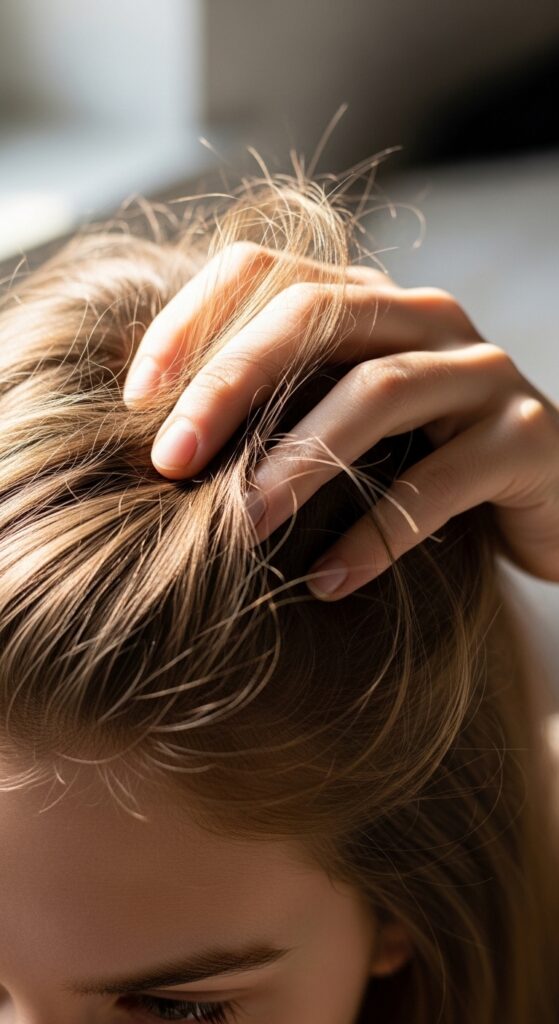
Trust me on this one. Freshly washed hair can be too slippery and soft for braids to hold their shape. Hair with a little natural oil from the day before has much better grip and texture.
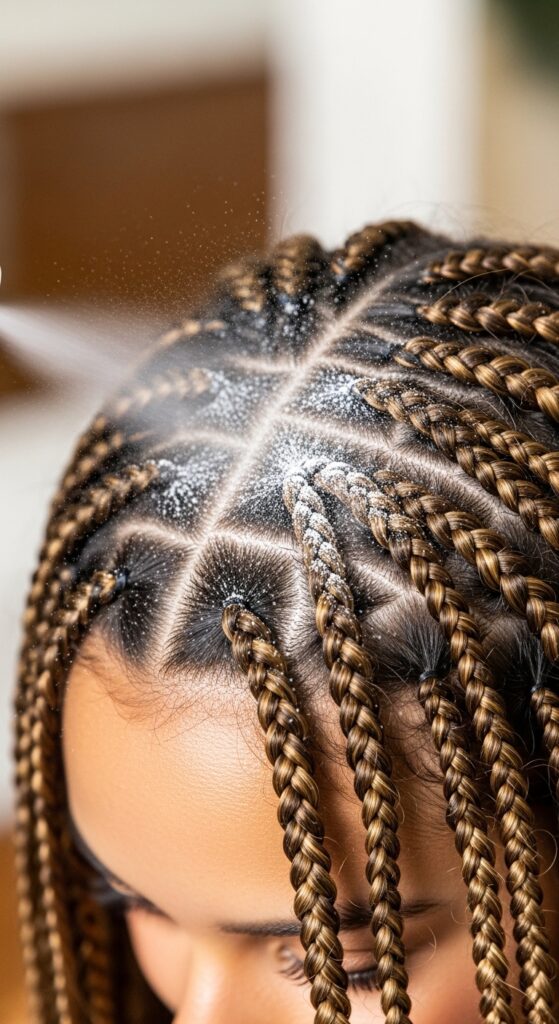
If you must wash your hair, spray in a texturizing spray at the roots. This gives your hair some grit and volume. It makes all the difference in creating braids that look full and last all day.
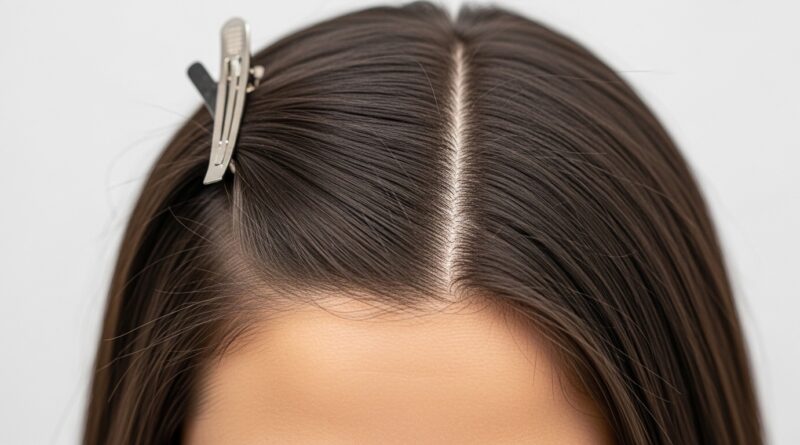
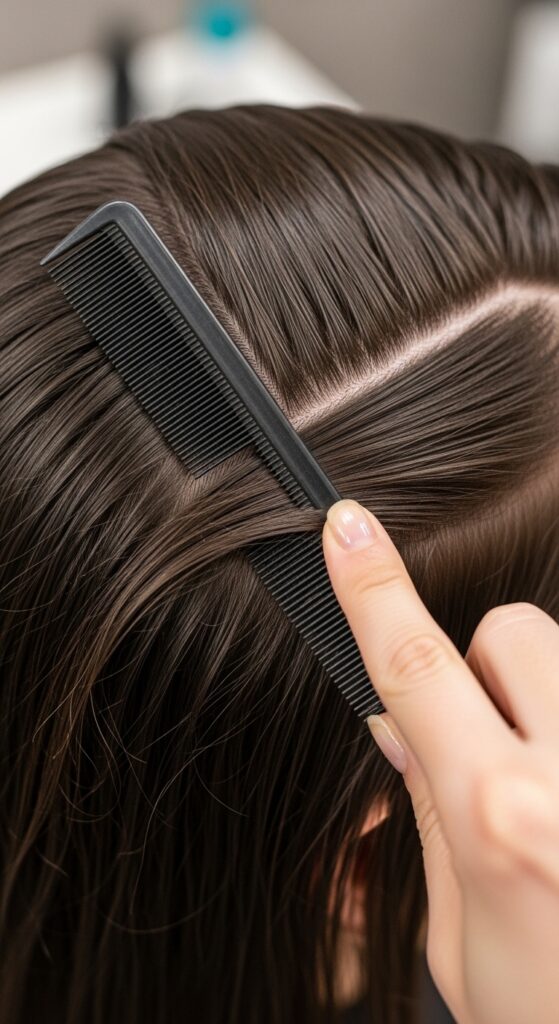
Step 2: Create a Deep Side Part
Parting is key for the boho vibe. A deep side part instantly adds volume and a touch of that romantic feel. Use the end of your comb to create a clean line from the front of your head back to your crown.
Don’t stress about it being perfectly straight. A slightly imperfect part looks more natural. This sets the foundation for your braids to fall in a soft, flattering way.
Step 3: Section Your Hair for Two Braids
We’re doing two simple braids, one on each side. Take the section of hair from your part down to about the top of your ear. This will be your front section for the first braid.
Clip or loosely tie back the rest of your hair so it’s out of the way. Keeping your sections separate prevents tangles and makes the braiding process much less frustrating.

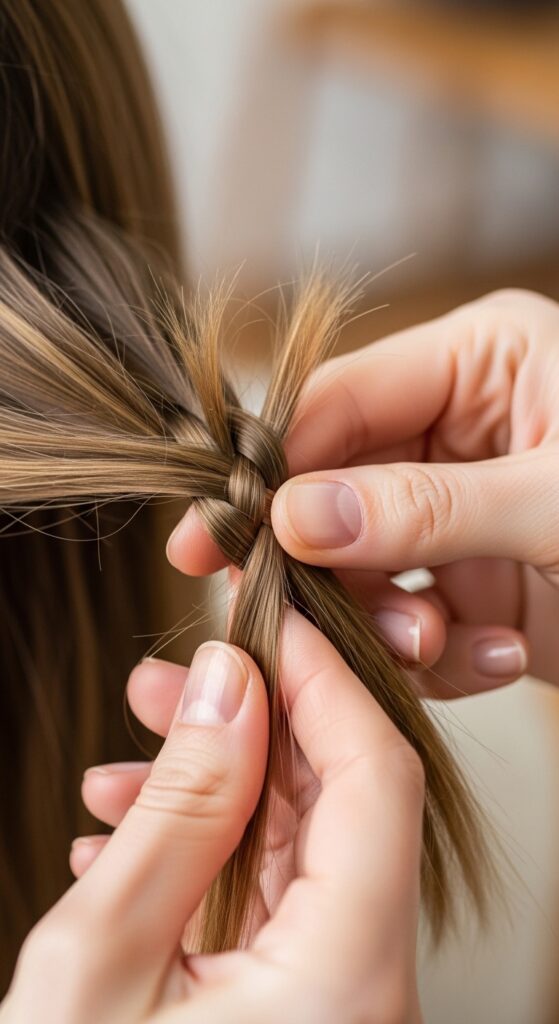
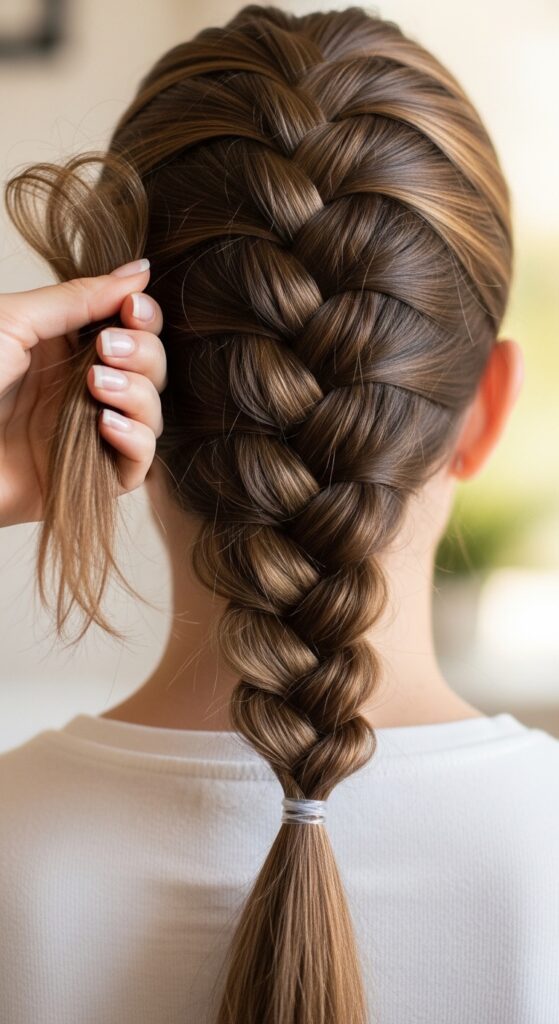
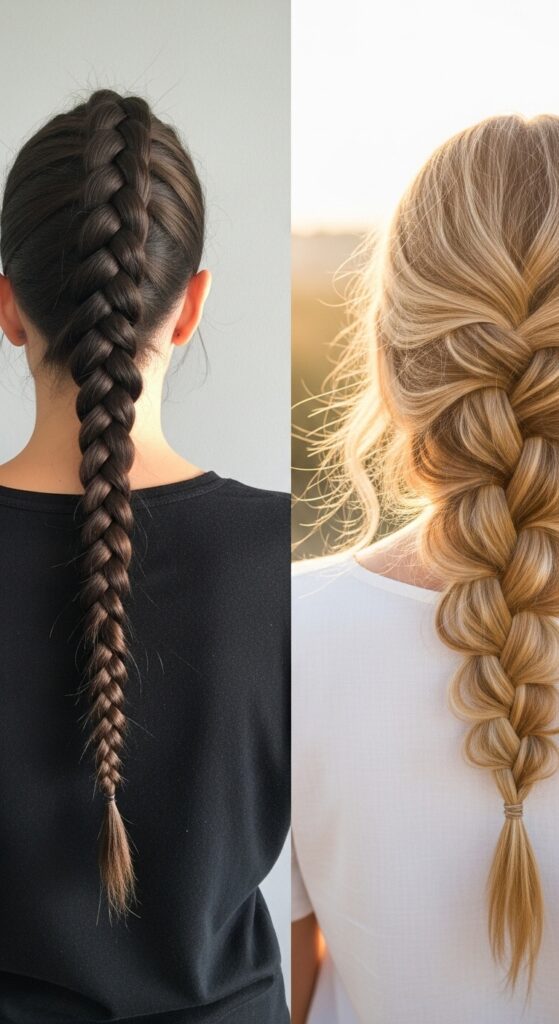
Step 4: Begin Your First Dutch Braid
We’re using a Dutch braid (which is like an inside-out French braid) because it sits on top of the hair and looks so pretty. Start with a small section of hair at your partline, dividing it into three strands.
Begin a regular braid, but instead of crossing the strands over the middle, cross them under. This is the only tricky part, but once you do it twice, you’ll get the rhythm.
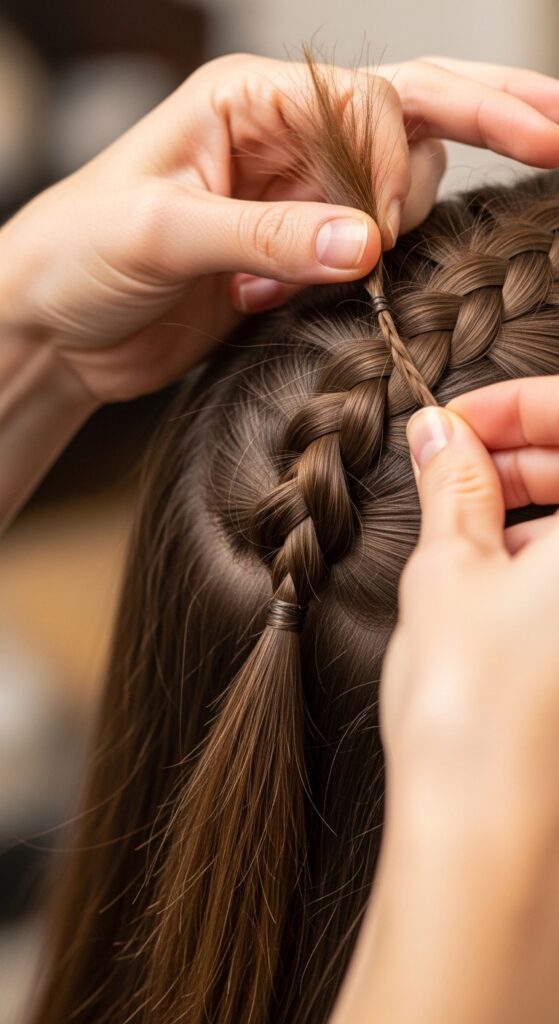
Step 5: Add Hair as You Braid
As you continue crossing each strand under, grab a small piece of hair from the front section and add it to the strand before you cross it under. Keep your adds small and even.
Braid along your hairline, following the curve from your part down toward your ear. The goal is to incorporate all the hair from that front section you set aside. Keep the tension gentle, not tight.
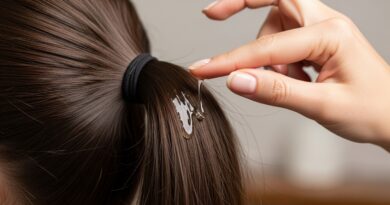
Step 6: Secure the First Braid
Once you’ve added all the hair from the front section and you’re just past your ear, stop adding new hair. Now, simply finish the braid with a regular three-strand braid all the way to the ends.
Secure the end with a clear or small elastic. Give the braid a gentle tug along its length to loosen it and make it look wider and more bohemian. Repeat all steps on the other side.
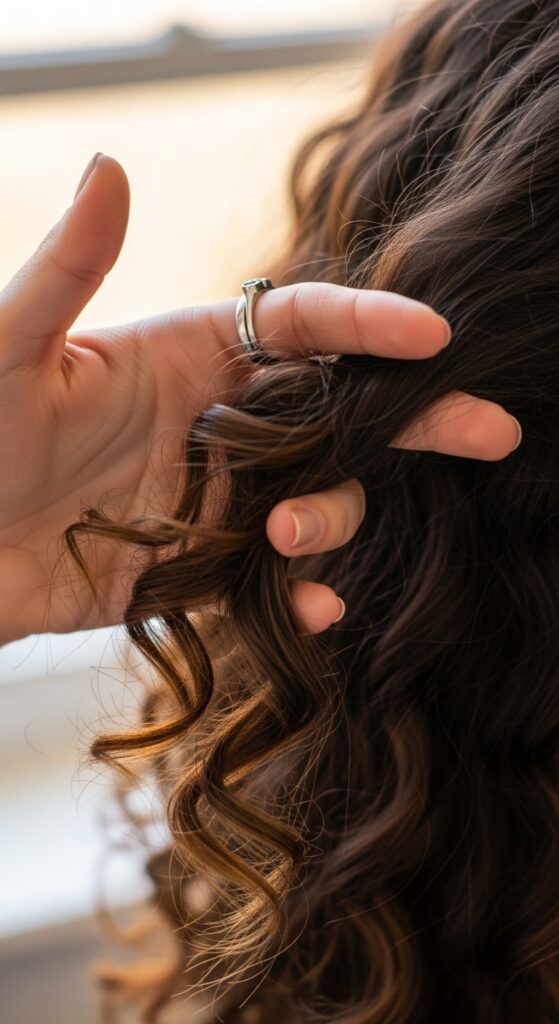
Step 7: The Magic of Pulling & Loosening
This step transforms your braids from “schoolgirl” to “boho.” Starting at the top, gently pull on the outer loops of the braid to make it wider and fuller. Work your way down to the bottom.
Don’t be shy! The braid should look soft, almost pancaked. This creates that effortless, lived-in texture that is the heart of the style. Do this on both braids.
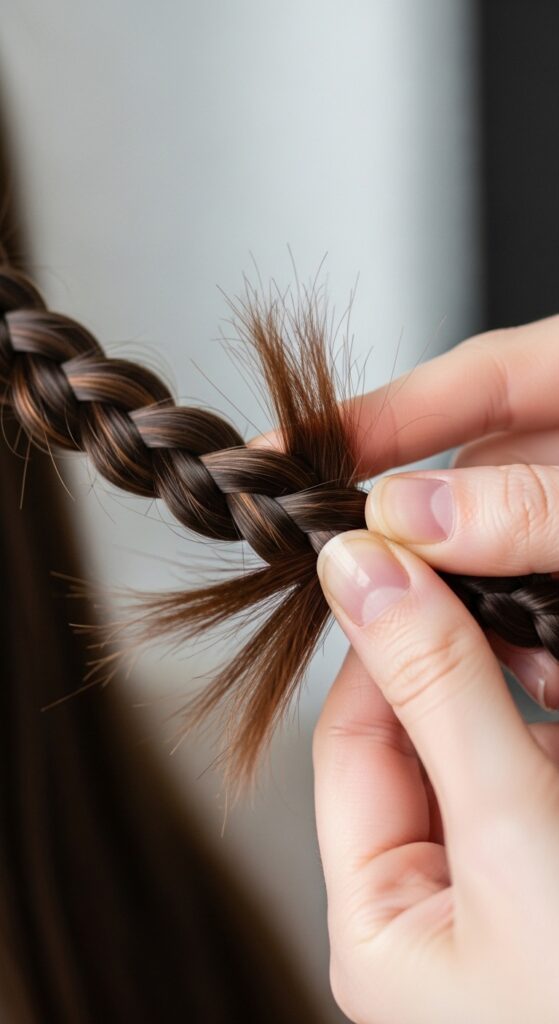
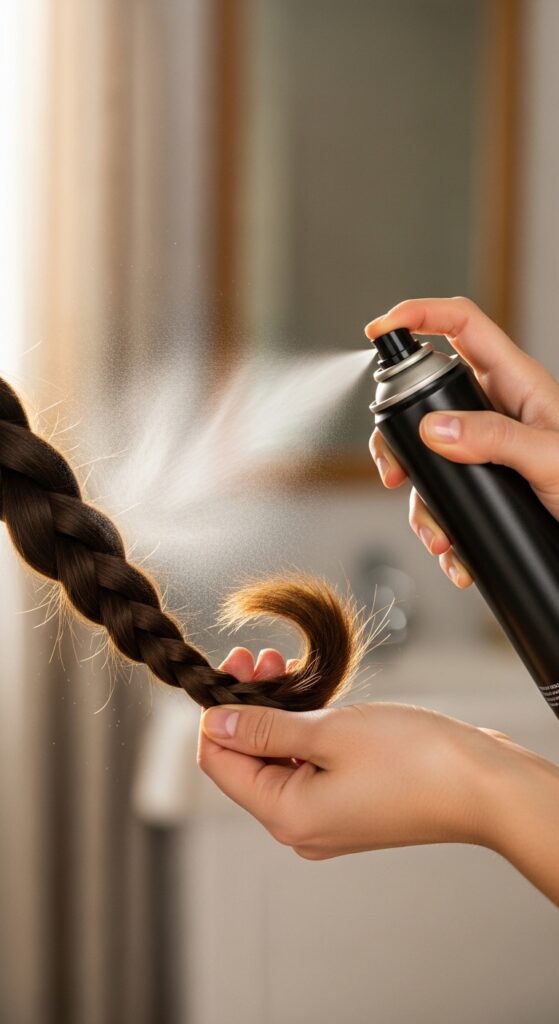
Step 8: Preparing Your Ends for Curls
Take out the elastics holding the ends of your braids. Lightly mist just the bottom few inches of your hair with a heat protectant spray. This is crucial to keep your ends healthy.
Then, take a small section of hair from one braid. We’re going to curl these pieces to create that signature curly end look. Keep the sections small for defined, lasting curls.
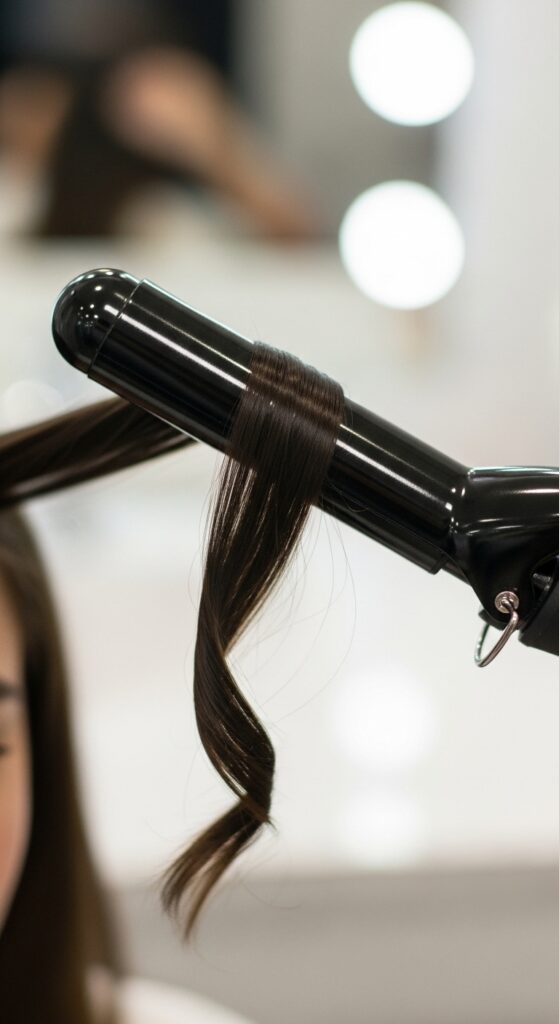
Step 9: Curling the Ends
Wrap a small section of hair around your curling wand, away from your face. Hold for only 5-8 seconds. You don’t want tight ringlets, just soft, undone waves and bends.
Drop the curl, don’t scrunch it. Let it cool. Repeat this all around your head, curling only the bottom 3-4 inches of hair from both braids and any loose hair in the back.
Step 10: Breaking Up the Curls
Once all the ends are curled and have cooled completely, run your fingers gently through just the curled sections. This breaks up the curls and blends them together into a soft, curly wave.
If you have a light hair oil, dab a tiny amount on your palms and smooth it over the curls to reduce frizz and add shine. The goal is texture, not perfection.
Step 11: Styling the Back Section
Let down the back section of your hair that you clipped away. If it looks a little flat, give it a quick spray with texturizing spray at the roots and tousle with your fingers.
The back should look soft and messy, blending seamlessly with your two front braids. You can leave it down, or twist it into a low, loose bun for a different vibe.

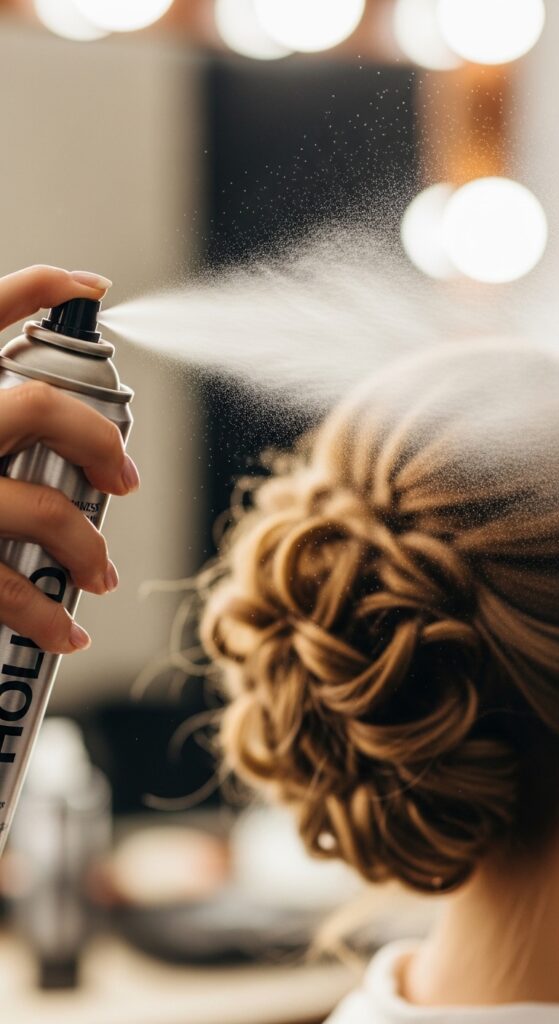
Step 12: Final Touch-Ups & Hairspray
Take a final look in the mirror. Gently pull out a few more face-framing pieces around your temples and forehead for that soft, romantic feel. This is a key boho detail.
Finish with a light mist of flexible-hold hairspray from about 12 inches away. This locks in the style without making it look crunchy or stiff.
How to Make This Style Last All Day
To keep your boho braids looking fresh, that initial texturizing spray is your best friend. It provides the grip. Also, using day-old hair gives it staying power.
Carry a few extra bobby pins and a spare hair tie in your bag. If a piece falls out, you can just pin it back casually. The style is meant to evolve a bit throughout the day, which is part of its charm.
Common Beginner Mistakes to Avoid
The biggest mistake is braiding too tightly. It should feel comfortable on your scalp. Tight braids are hard to loosen and can cause headaches and breakage.
Another is curling all of your hair, not just the ends. The contrast between the braid and the sudden curl is what makes it special. Think of it like the glitchy glam hair trend—it’s all about intentional texture contrast.
Adapting for Fine or Thin Hair
If you have fine hair, texturizing spray is non-negotiable. Spray it on before you start and again on each section before braiding. It creates the illusion of thicker hair.
When you pull and loosen your braids, be more gentle. You can also tease the hair at the crown lightly before braiding for extra volume at the roots.

Adapting for Thick or Curly Hair
You have a gorgeous advantage! Your hair will hold this style amazingly. Use a moisturizing cream before braiding to control frizz and define your natural texture.
You might not even need to curl the ends—just braid your hair while it’s damp or styled, let it dry, then take it out for incredible braid waves. It’s a perfect protective style.
From Day to Night: Dressing It Up
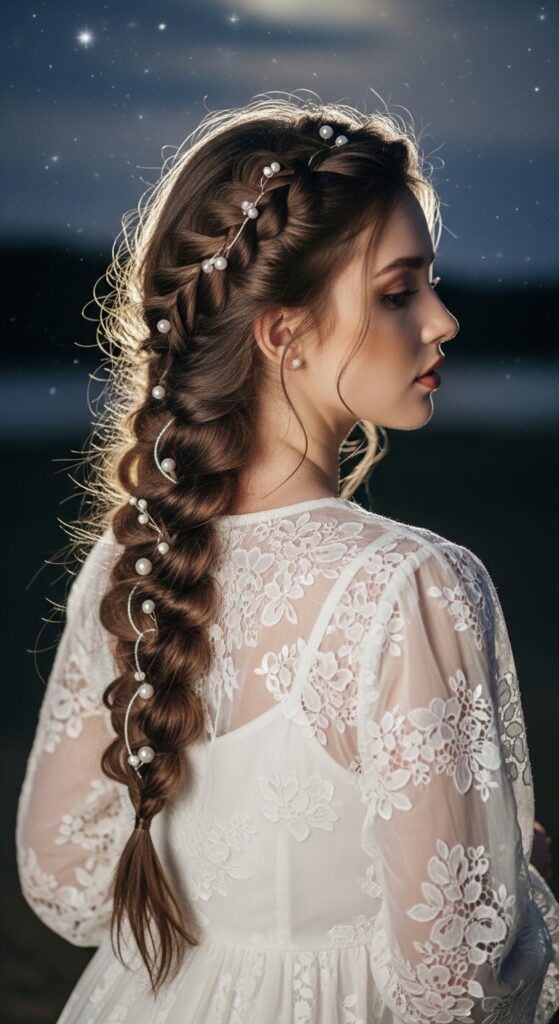
This style transitions so easily. For evening, pull out a few more tiny pieces around your face. Add a little sparkle with delicate clip-in hair jewelry or slide a silk scarf through the braids.
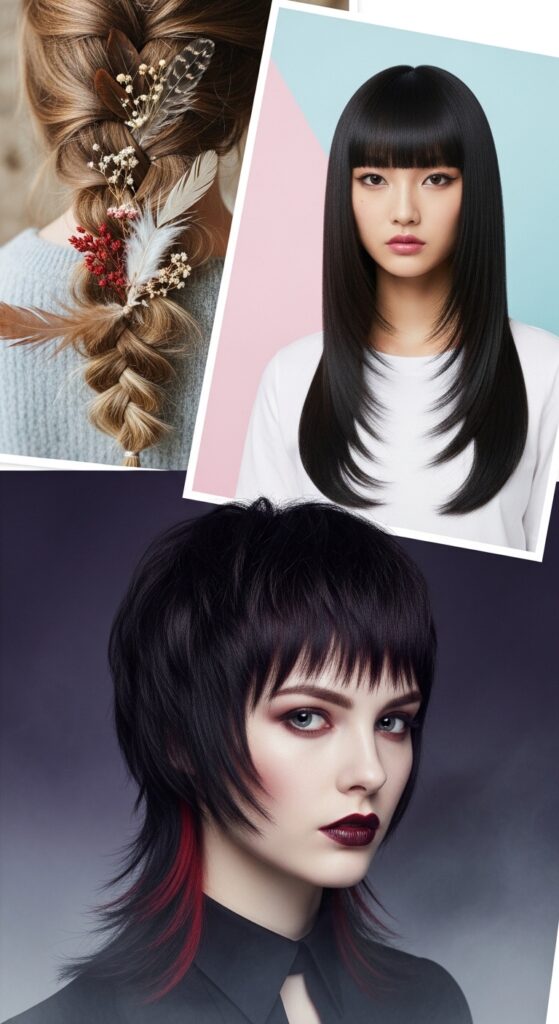
It pairs beautifully with both a minimalist old money hair aesthetic or can edge into romantic goth hairstyles with a darker lip color. It’s all in the accessories.
Boho Braids vs. Other Trendy Styles
Unlike the precise hime cut or the sharp vampire haircut, boho braids are all about softness and imperfection. They’re less about a statement cut and more about a feeling.
They share DNA with romantic goth hairstyles in their texture and detail, but without the dark romanticism. It’s a universally flattering, easy-going look.
Quick Refresh for Second-Day Braids
Woke up and your braids are still intact but a little flat? Spritz some texturizing spray at the roots and massage your scalp. Redo the curly ends with your wand in just a few minutes.
You can also completely take out the braids for incredible, voluminous waves. Just finger-comb them out and you have a whole new hairstyle ready to go.
Your Questions Answered: Boho Braids FAQ
Can I do this on short hair? Yes! If you have an asymmetrical lob or longer bob, you can do smaller, face-framing braids that lead into curly ends. It’s super cute.
My arms get tired braiding! Try braiding in front of a mirror with your elbows on a counter. And practice! It gets faster and easier every time you do it.
Pin This & Try It This Weekend!
I promise, once you get the hang of it, this will become your go-to style for busy days or when you want to feel put-together but effortless. It looks like you tried hard, but the secret is how simple it really is.
Set aside 20 minutes this Saturday morning, follow these steps, and see how you feel. Tag me if you share it—I love seeing your versions! It’s one of those 2026 hairstyles that’s actually wearable right now.
And that’s it! My complete, no-stress guide to getting those beautiful boho braids you’ve been loving. The best part about this style is that it gets better with a little practice, and even the “mistakes” usually end up looking intentional and pretty.
Remember, hair is meant to be fun. It’s not about getting every strand perfectly in place. It’s about finding styles that make you feel confident and like the best version of yourself. This one definitely does that for me.
Save this post to Pinterest so you always have the steps handy! Did you try it? What was the easiest (or trickiest) part for you? Tell me all about your braid journey in the comments below—I read every single one!